Crochet Poinsettia Flower – Free Christmas Pattern
Make a crochet poinsettia flower with this free Christmas pattern featuring layered red petals, green leaves, a textured yellow center and simple assembly.
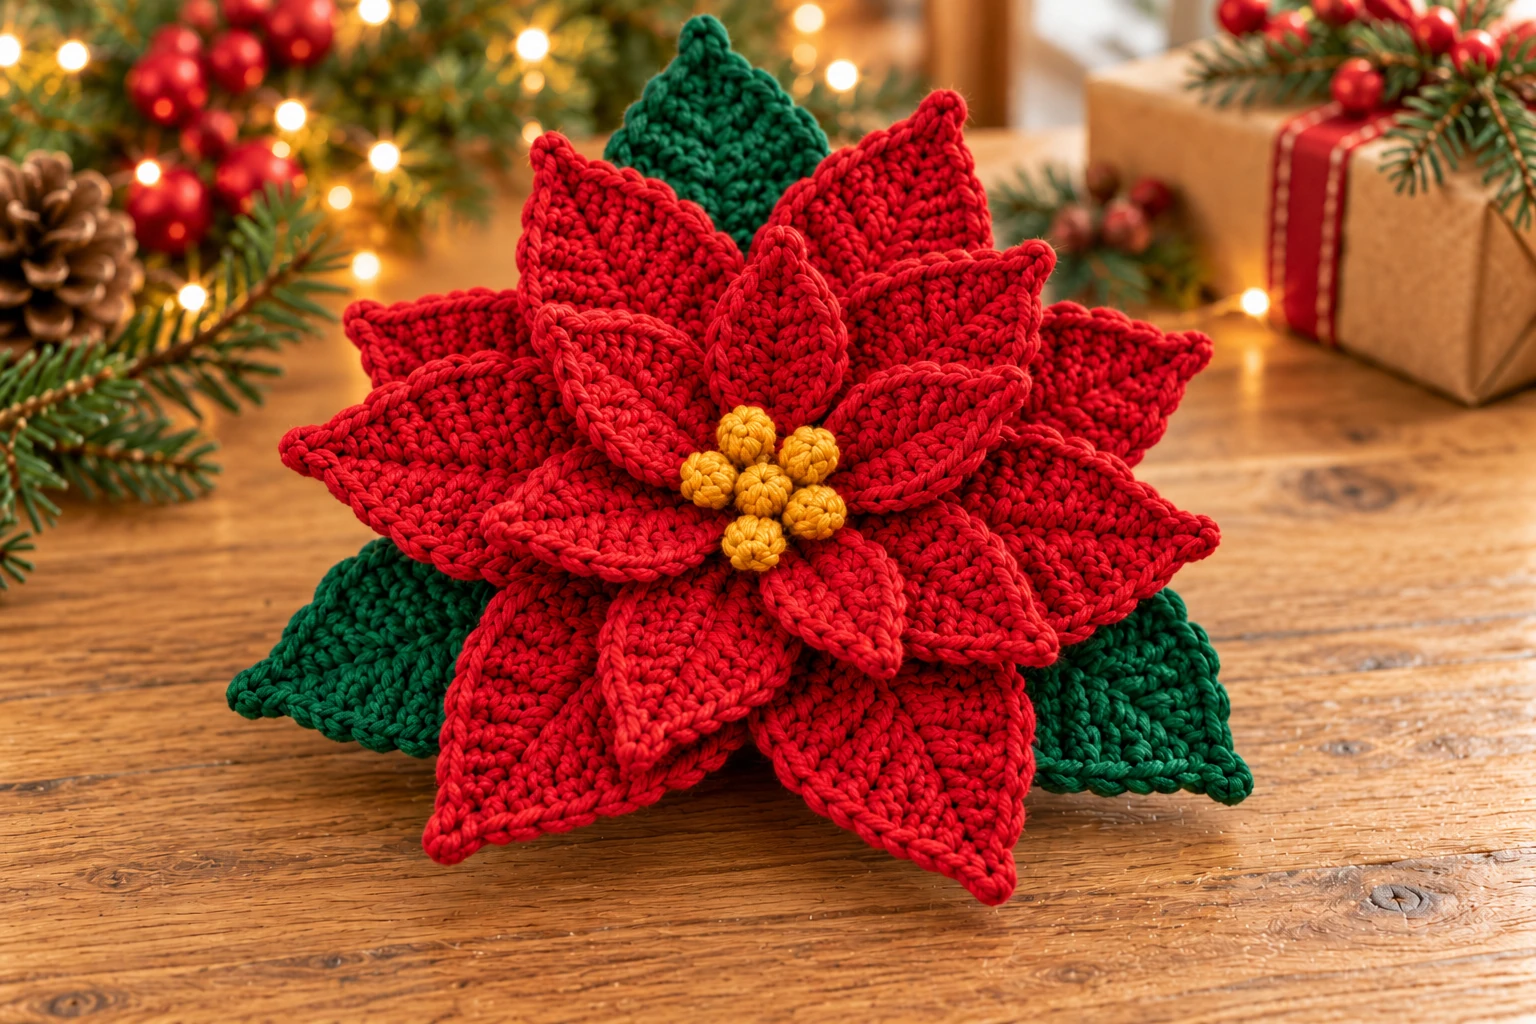
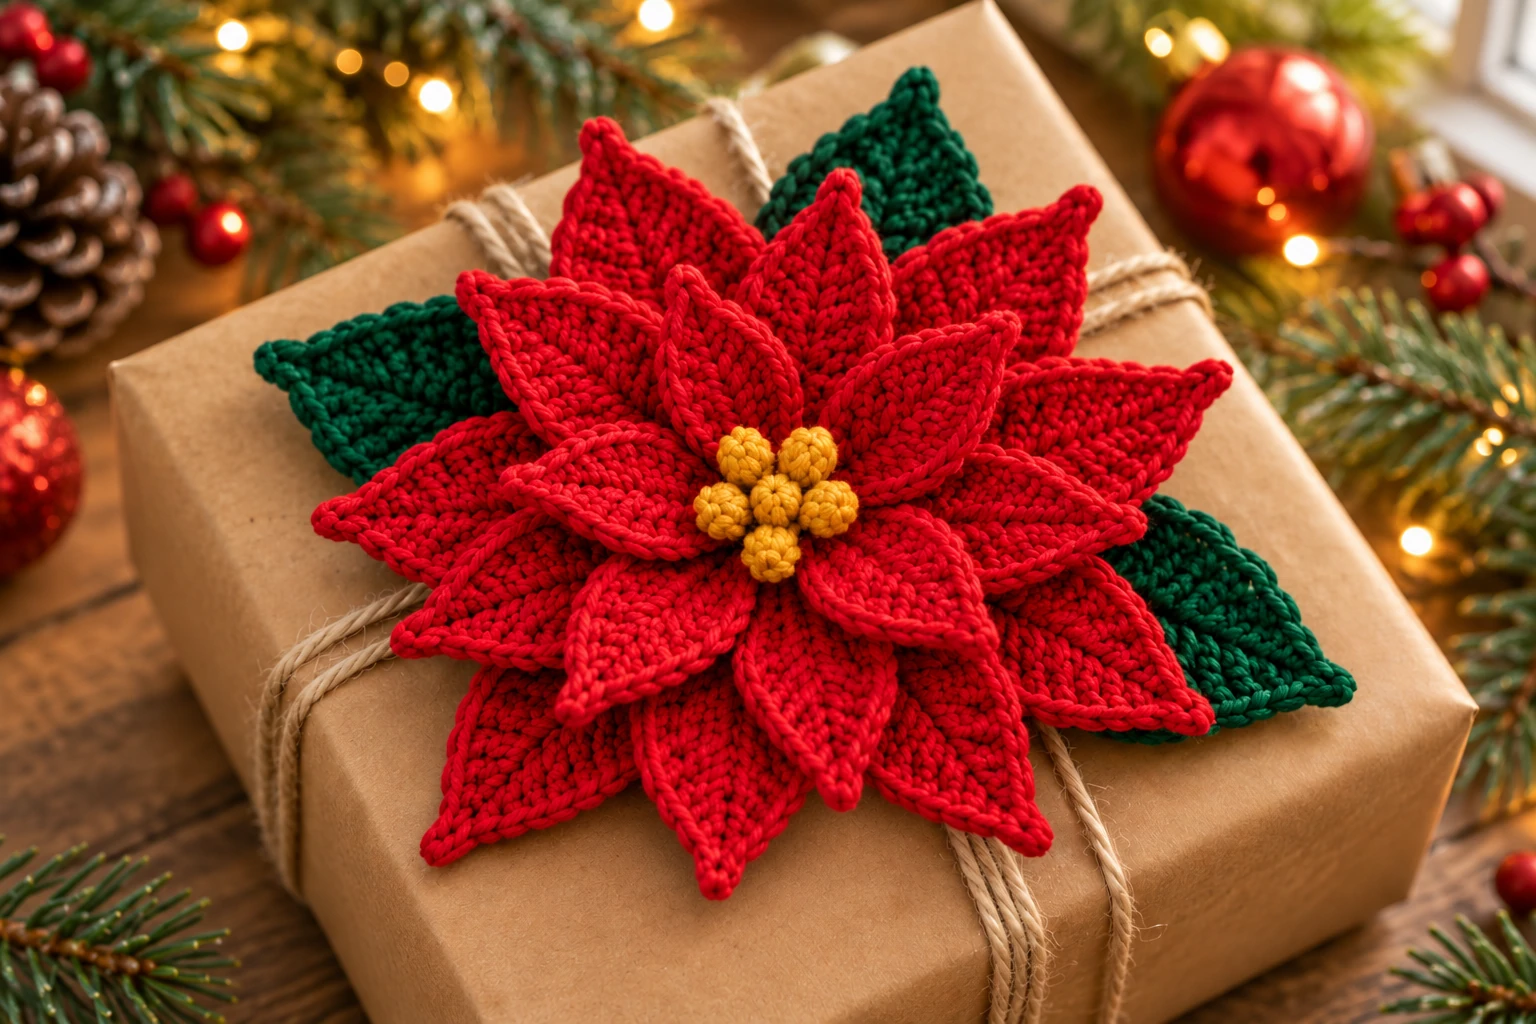
This crochet poinsettia flower is built from three layers of red petals, three green leaves, and a small textured yellow center.
Each petal is crocheted flat around a foundation chain. The stitches gradually increase in height toward the middle and become shorter again near the tip, creating the long pointed shape associated with poinsettia bracts.
The pieces are made separately, which makes it easy to adjust the final flower before sewing. The small petals sit closest to the center, medium petals form the second layer, and the largest petals create the outer shape.
The finished flower remains fairly flat, making it practical for wreaths, gift bags, table décor, garlands, Christmas stockings, wall hangings, or removable seasonal decorations.
Pattern Details
Skill level: Confident beginner
Crochet terms: US terminology
Construction: Individual pieces sewn together
Recommended yarn: DK or light worsted cotton or cotton blend
Recommended hook: 3–3.5 mm
Main stitches: Single crochet, half double crochet, double crochet, treble crochet
Pieces:
- 5 small red petals
- 5 medium red petals
- 5 large red petals
- 3 green leaves
- 1 yellow center
The pattern does not require stuffing.
Browse more projects in our crochet flowers collection.
A firm yarn gives the petals better definition, while very soft yarn creates a looser flower.
Finished Size
The finished size depends on your yarn, tension and overlap. This compact, one-round petal construction has not been physically tested, so a fixed diameter is not guaranteed.
Make one large petal first and measure it from base to tip. The red flower diameter will be roughly twice that length, less the amount hidden at the center. Position the leaves farther outward if you want a wider silhouette.
The exact size depends on yarn thickness, hook size, blocking, and how much the petals overlap during assembly.
For a smaller ornament-sized poinsettia, use thinner yarn or omit the entire large outer layer while keeping five medium and five small petals.
For a larger wreath flower, use worsted yarn and a larger hook.
Materials
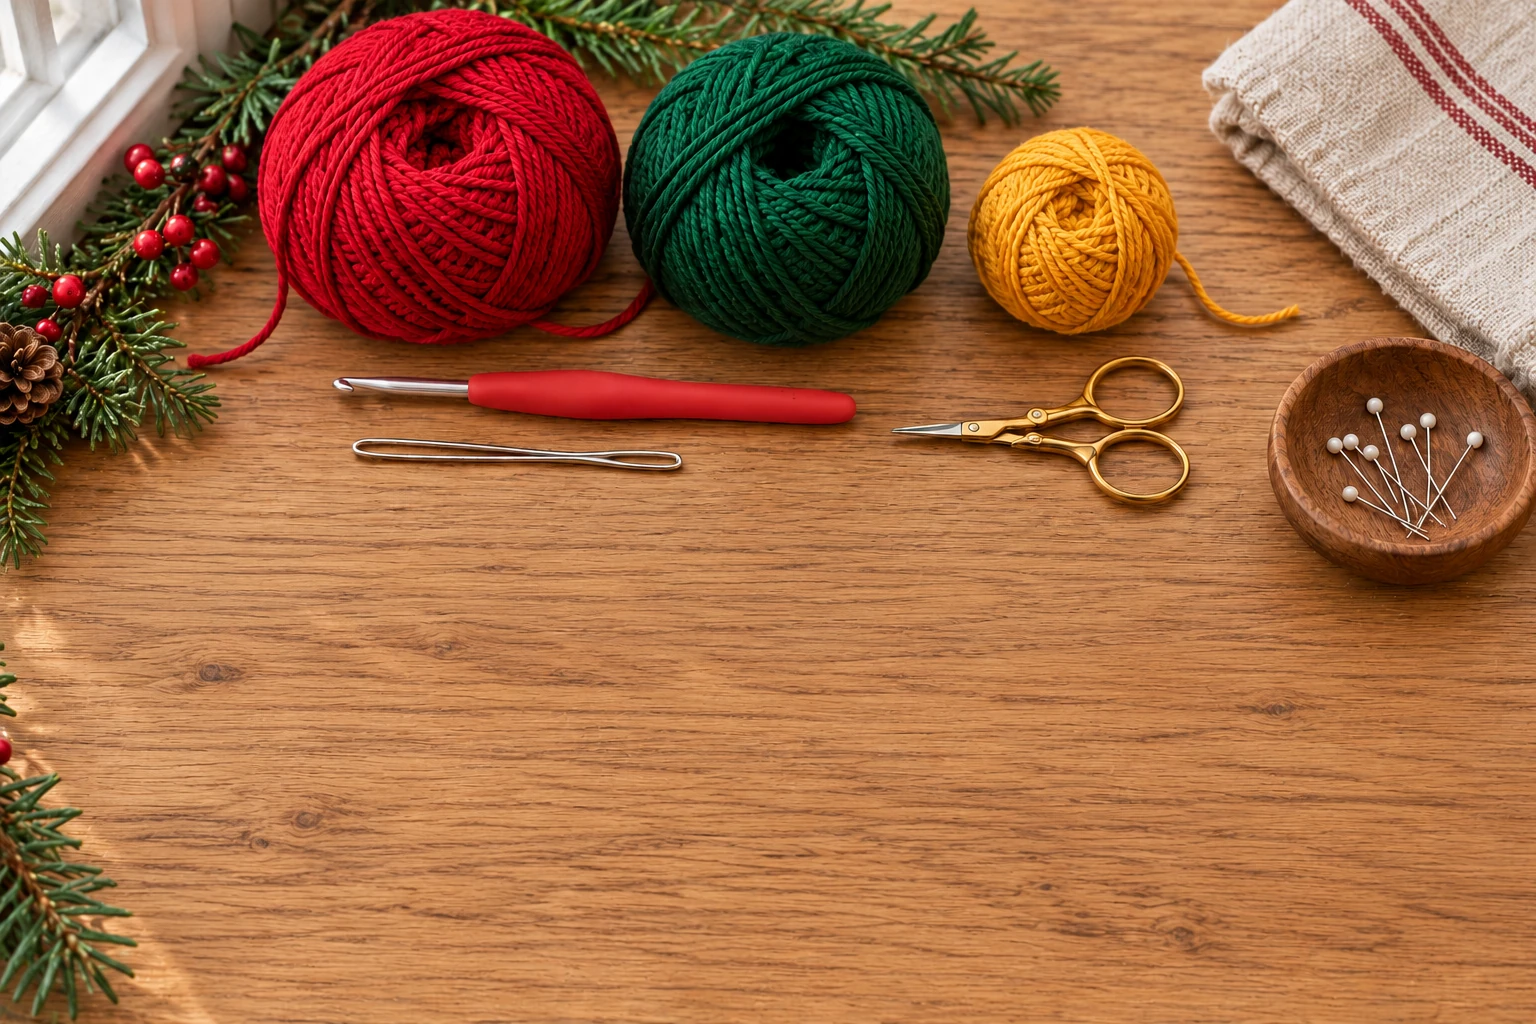
You will need:
- 40–50 g deep red yarn
- 15–20 g forest-green yarn
- small amount of mustard-yellow or gold-colored yarn
- 3–3.5 mm crochet hook
- yarn needle
- scissors
- pins
- blocking mat or folded towel
- optional spray bottle for blocking
- optional small piece of felt for reinforcing the back
A smooth cotton yarn works particularly well when you want clearly defined petals.
A cotton-acrylic blend can produce a slightly softer flower while still maintaining enough structure for decorations.
Color Palette
Traditional poinsettia colors are an easy fit for Christmas décor, but the same pattern works in several palettes.
| Flower | Leaves | Center | Style |
|---|---|---|---|
| Deep red | Forest green | Mustard | Classic Christmas |
| Burgundy | Dark green | Gold | Vintage holiday |
| Cream | Sage | Mustard | Winter neutral |
| Dusty pink | Sage | Gold | Soft Christmas |
| Bright red | Emerald | Yellow | Traditional festive |
| White | Forest green | Pale yellow | Snowy Christmas |
Using two shades of red within one flower can also create extra depth.
Find matching decorations in our Christmas crochet collection.
For example, crochet the outer petals in dark red and the inner petals in a slightly brighter shade.
Abbreviations
| Abbreviation | Meaning |
|---|---|
| ch | Chain |
| sc | Single crochet |
| hdc | Half double crochet |
| dc | Double crochet |
| tr | Treble crochet |
| sl st | Slip stitch |
| st / sts | Stitch / stitches |
| MR | Magic ring |
| FO | Fasten off |
| bobble | Five partial dc closed together; see center instructions |
Pattern Notes
Each petal begins with a foundation chain.
Photo note: These AI-generated images illustrate the stages and color arrangement; follow the written counts rather than counting stitches in the photos. The pattern has been reviewed for stitch-count consistency but has not been physically tested.
Small petals contain 15 worked stitches (6 on each side plus 3 at the tip); medium petals contain 19 (8 + 3 + 8); large petals and leaves contain 23 (10 + 3 + 10). The picot chains and finishing slip stitch do not count. Work the return side into the unused loops of the same foundation chains.
You will work along one side of the chain, place several stitches into the final chain to create the pointed turn, and then crochet back along the opposite side.
This means every petal is completed in one continuous round.
Do not make the foundation chain excessively tight.
A tight chain can cause the finished petal to curl.
Keep your stitches relaxed but even.
Leave a long yarn tail on each petal because those tails can be used during assembly.
The individual petals do not need to look perfectly identical. Small differences make the finished flower look more natural once the layers overlap.
Make the Small Petals
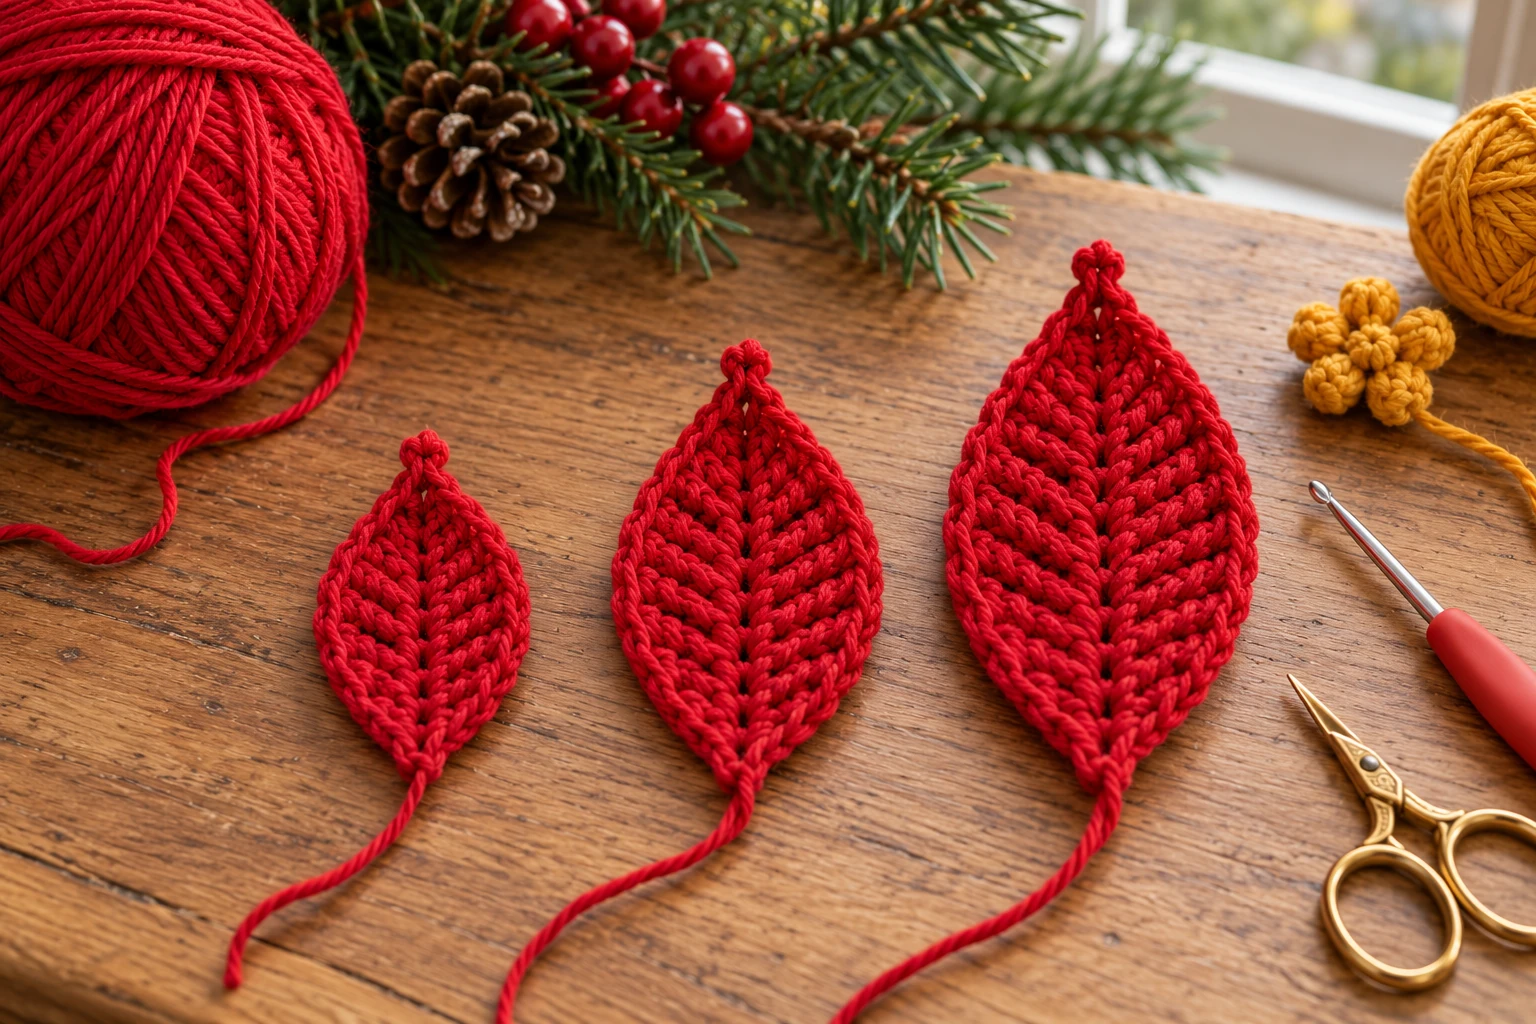
Make 5 using red yarn.
Foundation
Ch 8.
Starting in the second chain from the hook, work:
sc, hdc, dc, tr, dc, hdc
You should now have one chain remaining.
In the final chain, work sc, ch 3, sl st into the first of those 3 chains, then 2 sc into the same foundation chain. The small chain picot forms the outward tip. The turn contains 3 sc; the picot is extra and is not counted as a side stitch.
Continue along the opposite side of the foundation chain.
Work:
hdc, dc, tr, dc, hdc, sc
Sl st near the base if needed to finish the edge neatly.
Fasten off with a long tail.
Shape the Small Petal
Hold the petal between your fingers.
Gently stretch the center lengthwise.
Pinch the final chain end slightly to emphasize the point.
The starting-chain end with the sewing tail is the base and sits at the flower center. The picot end points outward.
Repeat until you have five small petals.
Make the Medium Petals
Make 5 using red yarn.
Foundation
Ch 10.
Starting in the second chain from the hook, work:
sc, hdc, dc, dc, tr, dc, dc, hdc
One chain should remain.
In the final chain, work sc, ch 3, sl st into the first of those 3 chains, then 2 sc into the same foundation chain. The small chain picot forms the outward tip. The turn contains 3 sc; the picot is extra and is not counted as a side stitch.
Continue along the opposite side.
Work:
hdc, dc, dc, tr, dc, dc, hdc, sc
Sl st to finish.
Fasten off with a long yarn tail.
The medium petal should be visibly longer than the small version but still fairly narrow.
Do not pull the stitches outward sideways.
Poinsettia petals look best when they remain long and pointed.
Make the Large Petals
Make 5 using deep red yarn.
Foundation
Ch 12.
Starting in the second chain from the hook, work:
sc, hdc, dc, dc, tr, tr, dc, dc, hdc, sc
One chain should remain.
In the final chain, work sc, ch 3, sl st into the first of those 3 chains, then 2 sc into the same foundation chain. The small chain picot forms the outward tip. The turn contains 3 sc; the picot is extra and is not counted as a side stitch.
Continue along the opposite side.
Work:
sc, hdc, dc, dc, tr, tr, dc, dc, hdc, sc
Fasten off with a long sewing tail.
Check all five large petals before assembling.
They should form the widest outer layer of the flower.
If one petal curls more than the others, reshape it during blocking instead of trying to pull the crochet stitches aggressively.
Crochet the Green Leaves
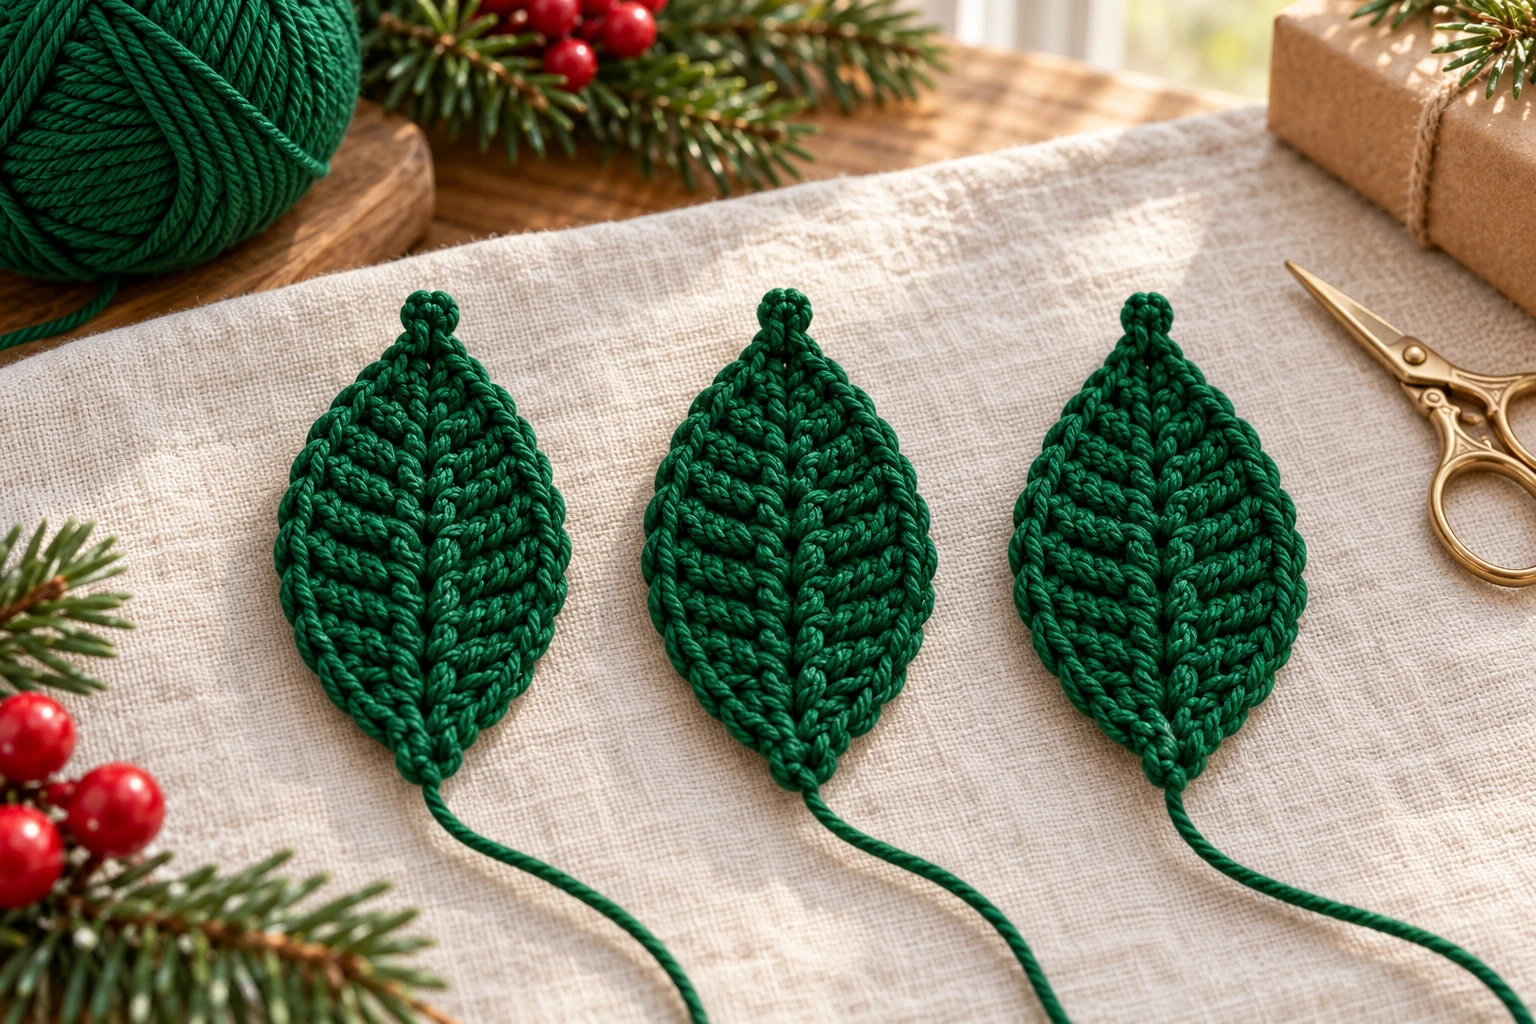
Make 3 using forest-green yarn.
Use the same construction as the large petal.
Foundation
Ch 12.
Starting in the second chain from the hook:
sc, hdc, dc, dc, tr, tr, dc, dc, hdc, sc
In the final chain, work sc, ch 3, sl st into the first of those 3 chains, then 2 sc into the same foundation chain. The small chain picot forms the outward tip. The turn contains 3 sc; the picot is extra and is not counted as a side stitch.
Continue along the opposite side:
sc, hdc, dc, dc, tr, tr, dc, dc, hdc, sc
Fasten off with a long tail.
Optional Leaf Vein
Thread a lighter green yarn through the needle.
Starting near the leaf base, embroider one straight line toward the tip.
Add two or three small diagonal stitches on each side.
Keep the embroidery flat.
The vein is optional, but it can make the green layer more visible when the flower is used against Christmas greenery.
Make the Flower Center
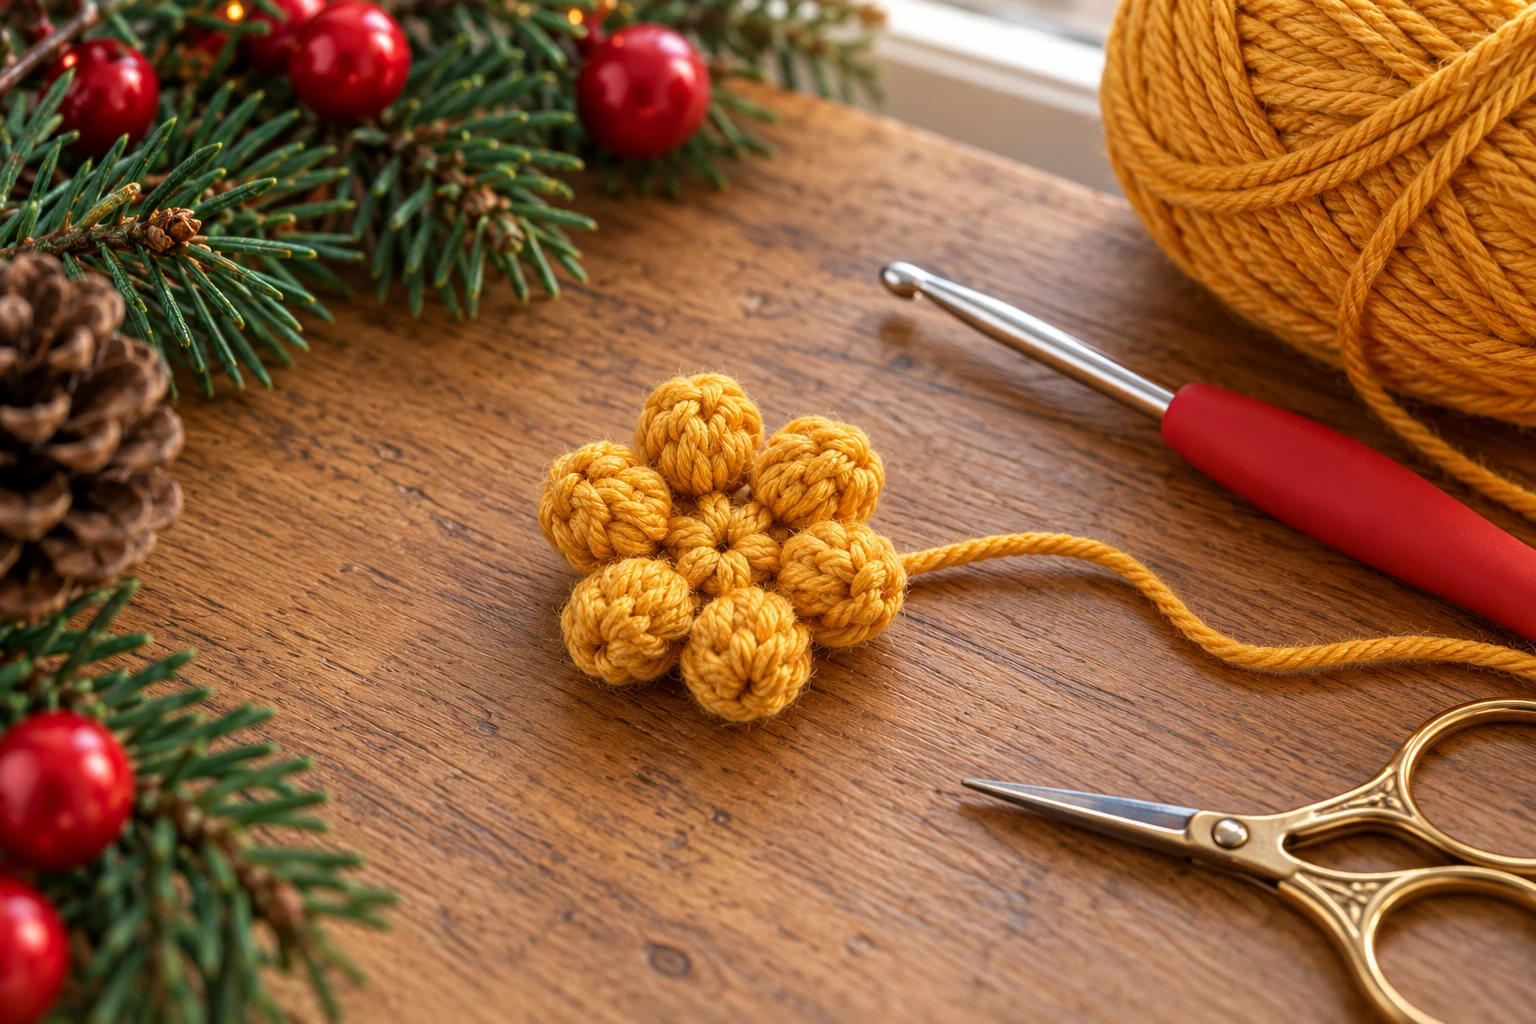
Use mustard-yellow yarn. Make one small center with six raised bobbles.
Bobble Stitch
Yarn over, insert the hook into the indicated stitch, yarn over and pull up a loop, then yarn over and draw through two loops. Repeat this partial double crochet four more times into the same stitch. You now have six loops on the hook. Yarn over and draw through all six loops. Ch 1 to close the bobble; this closing chain does not count as a stitch.
Round 1
Make 6 sc in MR. Join with a sl st to the first sc. 6 sts. Pull the ring closed.
Round 2
Ch 1 (does not count). Work one bobble into each of the six sc from round 1. Do not work into the closing chains. Join with a sl st to the top of the first bobble. 6 bobbles.
Fasten off with a long sewing tail. Push each bobble toward the front if it faces inward. Keep the six bumps close together; do not add stuffing. Sew the base of this small piece over the red petal joins later.
Block and Shape the Pieces
Blocking is especially helpful for flat crochet flowers.
Place each petal on a blocking mat or folded towel.
Stretch it gently lengthwise.
Pin the base.
Pin the pointed end.
Add one pin to each side if needed.
Keep the petals narrow.
Do the same with the leaves.
If your yarn is suitable for wet blocking, lightly dampen the pieces.
Allow them to dry completely before removing the pins.
Do not overstretch.
The goal is to smooth the pieces, not dramatically change their size.
If you are using acrylic yarn, follow the yarn manufacturer's care instructions before applying heat or steam.
Assemble the Poinsettia
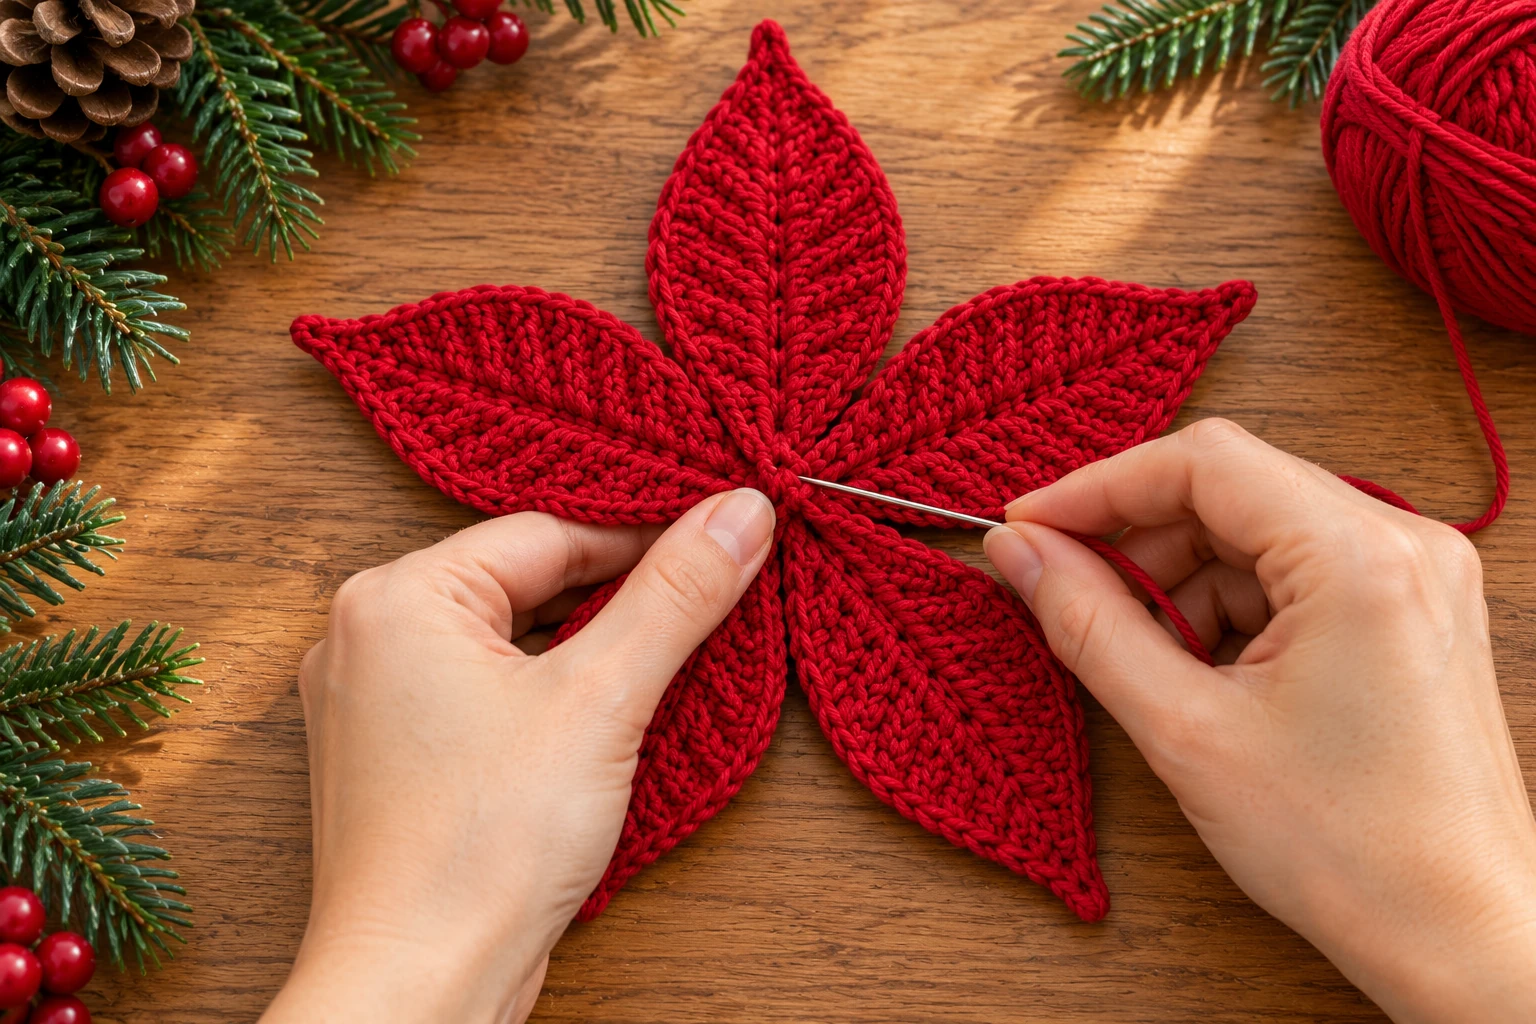
Lay all pieces on a flat surface before sewing.
Do not begin attaching petals one at a time without checking the entire arrangement.
First Layer: Large Petals
Place the five large petals in a circle.
The starting-chain bases with the yarn tails should overlap slightly in the center. Point the picot ends outward.
Arrange them approximately like the points of a star.
One petal should point upward.
The next two should angle outward.
The final two should angle downward and outward.
Check that the spacing feels even.
Thread one of the long yarn tails through a yarn needle.
Sew the petal bases together through the center.
Use several passes of yarn.
The outer ends should remain free.
Do not sew through the full length of the petals.
Only the bases need to be secured.
Our guide to sewing amigurumi pieces neatly also explains secure joins and hidden yarn ends.
Add the Medium Petal Layer
Place the five medium petals on top of the first layer.
Rotate this layer slightly so each medium petal sits between two large petals.
This staggered arrangement creates a fuller flower.
Pin the pieces.
Look at the flower from directly above.
Adjust until the spacing looks balanced.
Sew each medium petal through the center.
Pass through both the medium layer and large layer.
Avoid pulling the yarn excessively tight.
The petals should remain flat but not bunch together.
Add the Small Petal Layer
Arrange the five small petals on top.
Rotate them slightly again.
The small petals should point outward from the center without completely covering the medium layer.
Pin all five.
Check the flower one final time.
Then sew the bases securely through all three petal layers.
At this stage, the poinsettia should already have a clear layered shape.
Add the Flower Center
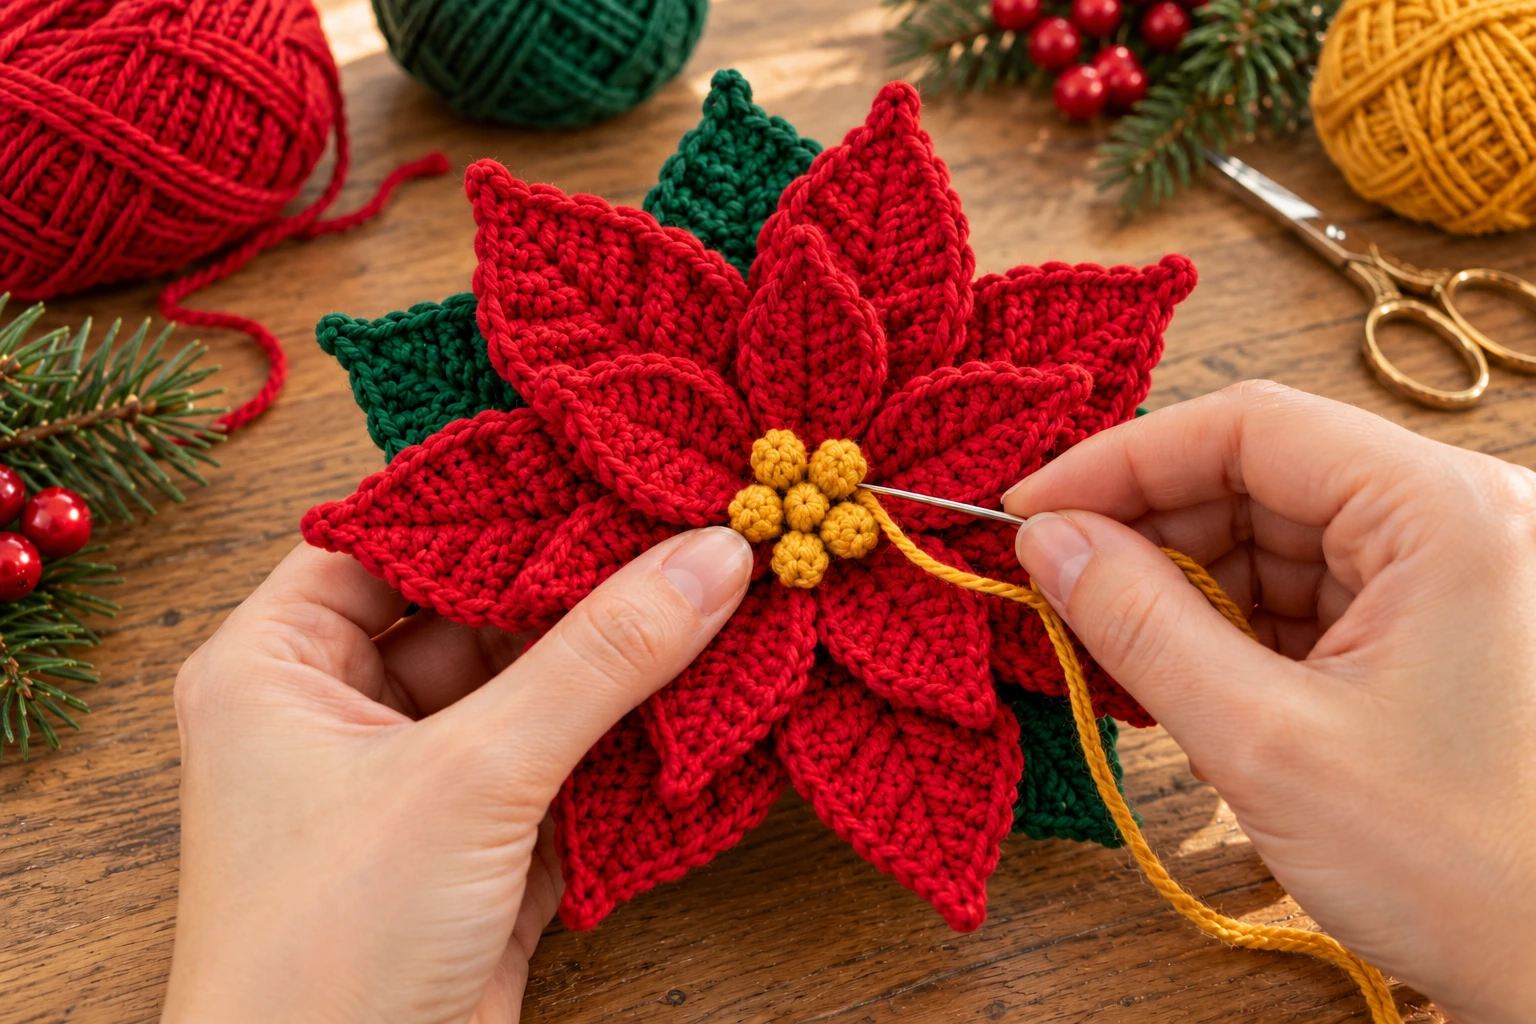
Position the yellow center over the sewn petal bases.
It should hide most of the assembly stitches.
Thread the long yellow tail through a yarn needle.
Sew around the center.
Use small stitches that catch the red petals underneath.
Keep the raised yellow bobbles free.
If you want a fuller center, add several tiny embroidered knots between the raised crochet bobbles.
Use mustard, yellow, gold, or a mixture of yellow and orange.
Add the Leaves
Turn the flower over.
Arrange three green leaves around the back.
One leaf can point upward.
Place the other two at lower-left and lower-right angles.
The leaves should extend beyond the red petals but should not dominate the flower.
Pin the arrangement.
Turn the flower back over and check the front.
Move the leaves until the green shows evenly.
Turn the piece back again.
Sew the bases of all three leaves securely to the lower petal layer.
Weave the green yarn tails through several stitches before trimming.
Optional Felt Backing
If you plan to attach the poinsettia to a wreath or gift bag, a small felt circle can make the back neater.
Cut a circle of felt slightly smaller than the flower center.
Place it over the assembly stitches on the back.
Use matching sewing thread to stitch around the edge.
Do not make the felt so large that it shows from the front.
The backing also gives you a stable place to attach:
- ribbon
- a safety pin
- a brooch pin
- a hanging loop
- removable ties
Finishing
Check the flower from the front.
Separate petals that are overlapping too heavily.
Turn some petal tips slightly upward.
Press others slightly downward.
A perfectly flat flower can look less natural than one with small variations in height.
Check that:
- the center is secure
- all five large petals are visible
- medium petals sit between the outer petals
- small petals form a clear inner layer
- green leaves show from behind
- all yarn tails are hidden
If the flower will be attached permanently to an object, complete that attachment only after all shaping is finished.
Use the Poinsettia on a Christmas Wreath
The flat back makes this pattern suitable for wreaths.
Pair it with a mini crochet Christmas tree for a coordinated display.
Make one large flower or a cluster of three.
Attach the flower with yarn ties rather than glue if you want it to remain removable.
A classic wreath combination is:
- evergreen greenery
- red crochet poinsettia
- pinecones
- cream ribbon
If your wreath contains real greenery, avoid letting damp natural materials remain pressed against the yarn for long periods.
Add It to a Christmas Gift Bag
A crochet poinsettia can replace a disposable bow.
Use a yarn needle to attach a temporary loop to the back.
Tie the flower around the gift bag handle or drawstring.
After the gift is opened, the recipient can remove the flower and use it as a decoration.
This works particularly well with a plain cream, red, green, or kraft-style gift bag.
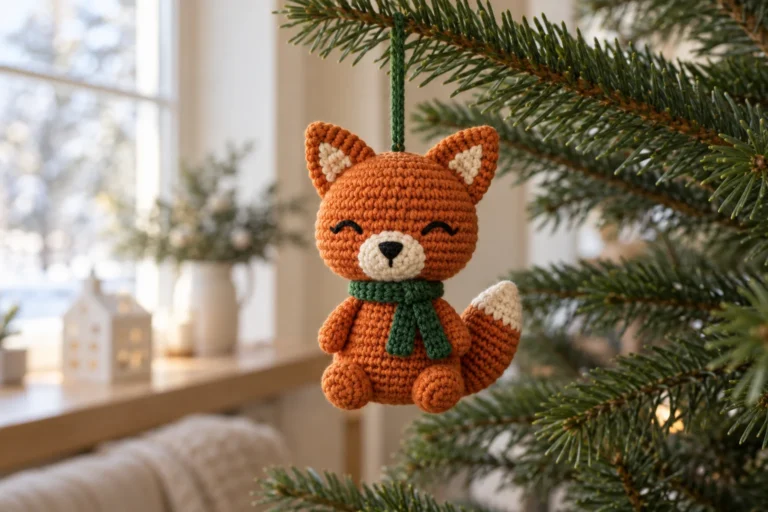
Turn It Into a Christmas Ornament
Make the pattern with thinner yarn.
Attach a hanging loop behind one large petal.
Use red or green yarn.
Ch approximately 25.
Join the chain into a loop.
Sew it across several stitches on the back.
A smaller flower looks better on a Christmas tree than a very large version.
Add a crochet snowman ornament to the same set.
Make Poinsettia Napkin Rings
Use lightweight yarn and make only:
- 5 medium petals
- 5 small petals
- 1 center
Skip the large outer layer.
Attach the smaller flower to a simple crochet chain ring.
This creates a compact table decoration without taking up too much space beside a plate.
Use It as a Bag Charm
A flower can also be attached to a handbag or crochet tote.
Try it on our granny square crochet tote.
Use a reinforced yarn loop and lightweight clasp.
Because the flower is flat, it works better as a decorative charm than many larger stuffed ornaments.
Keep the metal hardware near the flower center so the weight is distributed evenly.
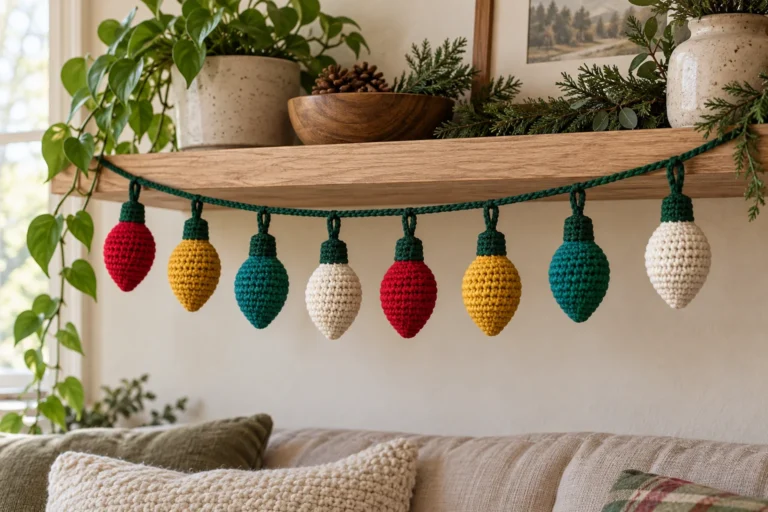
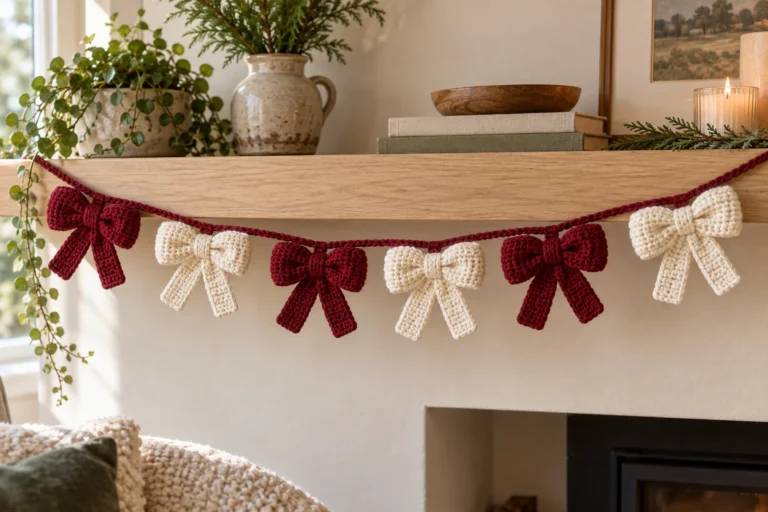
Make a Poinsettia Garland
Crochet several flowers.
Keep them the same size or alternate full flowers with smaller versions.
Make a long green crochet chain.
Sew or tie each flower to the chain at regular intervals.
Leave enough space between flowers so the petals do not overlap completely.
A simple repeating arrangement is:
flower → 15 cm chain → flower → 15 cm chain
Adjust the spacing to match the mantel, shelf, window, or table where the garland will be displayed.
White Christmas Poinsettia
Replace the red yarn with cream or warm white.
Keep the leaves dark green.
Use mustard or pale gold in the center.
This version works well with neutral Christmas décor.
You can also use a pale sage green for the leaves if you want a softer appearance.
Pink Poinsettia
Use dusty rose for the outer petals.
Make the small petals slightly lighter.
Use sage green leaves and a gold-colored center.
A pink version works especially well with pastel Christmas decorations, gift wrapping, and feminine accessories.
For another removable accessory, try the crochet bow bag charm.
Burgundy Poinsettia
Use burgundy for the large petals.
Use deep red for the medium and small layers.
Keep the leaves dark forest green.
This creates stronger contrast between the petal layers while staying within a traditional holiday palette.
Common Problems
The Petals Curl Too Much
The foundation chain may be too tight.
Make the starting chain more loosely.
Blocking can also help flatten the finished pieces.
The Petals Look Round Instead of Pointed
Pin the final chain end during blocking.
Stretch it gently away from the base.
Do not stretch the sides outward.
The Flower Looks Too Flat
Lift some of the inner petals slightly.
You can place one hidden stitch under a petal to hold it in a more raised position.
The Flower Looks Too Crowded
Your petal bases may overlap too much.
Undo the center stitches and spread the petals slightly farther apart.
The Center Is Too Small
Work a second small yellow center and layer it over the first.
You can also add embroidered knots around the existing center.
The Green Leaves Are Barely Visible
Move them farther outward before sewing.
At least part of every leaf should extend beyond the red outer layer.
The Leaves Show Too Much
Slide their bases closer toward the center.
The red flower should remain the main feature.
The Petals Twist After Sewing
The center stitches may be too tight.
Loosen the assembly slightly and reposition each petal before securing again.
One Side Looks Heavier
Lay the flower on the table and view it from above.
Use the five large petals as your main spacing guide.
Then align the other layers between them.
The Flower Does Not Hold Its Shape
Try firmer yarn or a slightly smaller hook.
Blocking and a felt backing can also provide extra structure.
Frequently Asked Questions
Is this crochet poinsettia flower beginner-friendly?
It is suitable for a confident beginner who knows chains, single crochet, half double crochet, double crochet, treble crochet, and simple sewing.
What yarn is best for a crochet poinsettia?
Cotton or a cotton blend works well because it creates clear stitch definition and petals that hold their shape.
Can I use acrylic yarn?
Yes. Choose an acrylic that is not extremely soft if you want a more structured flower.
Can I use chunky yarn?
Yes, but the finished poinsettia will become much larger and heavier.
It may work better as a wreath decoration than an ornament.
Do I need wire?
No. The standard pattern does not require wire.
The petals are shaped with stitch height, blocking, and layered assembly.
How many petals does the flower have?
The full version uses 15 red petals: five small, five medium, and five large.
Can I make fewer petals?
Yes. A simpler version can use five medium petals and five small petals.
Can I make the flower smaller?
Use thinner yarn, a smaller hook, or omit the large outer layer.
Can I make it larger?
Use thicker yarn and an appropriate hook. The written pattern does not include a fourth petal size.
Can I sew it onto a gift bag?
Yes. Use removable stitches if you want the recipient to reuse the flower later.
Can I wash the flower?
Follow the care instructions for the yarn used. If the flower has felt, hardware, glue, or other attachments, those materials also need to be considered.
Can I use the pattern outside Christmas?
Yes. Change the colors and the layered flower can become a decorative floral appliqué for bags, wall hangings, wreaths, or home décor.
Our crochet tulip bouquet pattern offers another floral project for other seasons.
Your Finished Crochet Poinsettia