Crochet Christmas Fox Ornament – Free Amigurumi Pattern
Make a crochet Christmas fox ornament with a cream muzzle, cream-tipped tail, and green scarf. Free pattern with written rounds and assembly instructions.
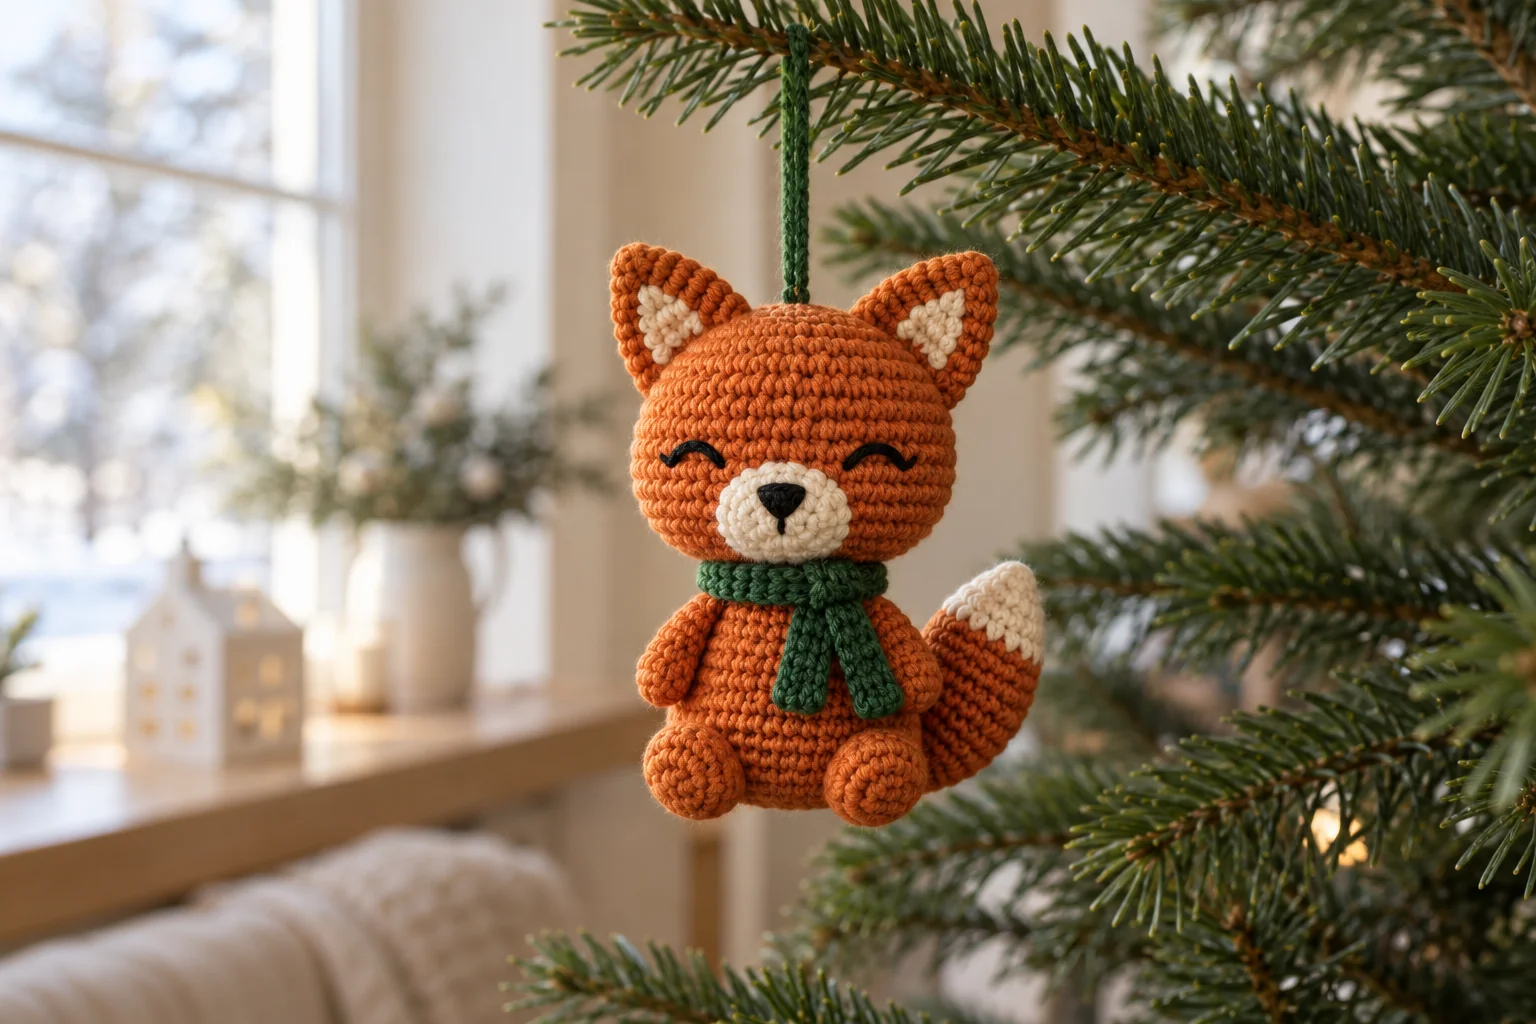
Make a crochet Christmas fox ornament with a burnt-orange body, a cream muzzle, a cream-tipped tail, and a small forest-green scarf. The fox has embroidered closed eyes and a tiny stitched nose, so the face does not require plastic eyes. A green hanging loop turns the seated woodland character into a soft tree decoration.
This free pattern covers the head, muzzle, body, ears, arms, feet, tail, scarf, and hanging loop. Most pieces use single crochet in continuous rounds, while the ears and scarf are worked flat. You will sew the pieces together after checking their placement. The result is a miniature decorative fox rather than a freestanding toy with a weighted base.
Pattern note: This original written pattern has not been physically tested. The generated images illustrate the intended design rather than a verified finished sample. Dimensions and yarn quantities are estimates. Follow the written stitch counts and check the placement of each piece before sewing it permanently.
Crochet Christmas Fox Ornament: Project Overview
The project suits a confident beginner who understands a magic ring, increases, decreases, and basic hand sewing. All instructions use US crochet terms. The fox is assembled from separate pieces; it is not a no-sew pattern. Allow time for embroidery and placement, because those details determine much of the expression.
With DK cotton and a 2.5–3 mm hook, expect a small ornament roughly 9–12 cm tall, excluding its hanging loop. That range is a planning estimate, not a measured sample. Your yarn, tension, stuffing, and seam placement will affect the final proportions. The head is intended to look larger than the small seated body.
The reference colors are burnt orange for the main pieces, cream for the muzzle and tail tip, forest green for the scarf and loop, and black for the face. Keep the design simple: the instructions do not include a hat, separate cheek patches, or a cream chest bib.
Materials and Tools
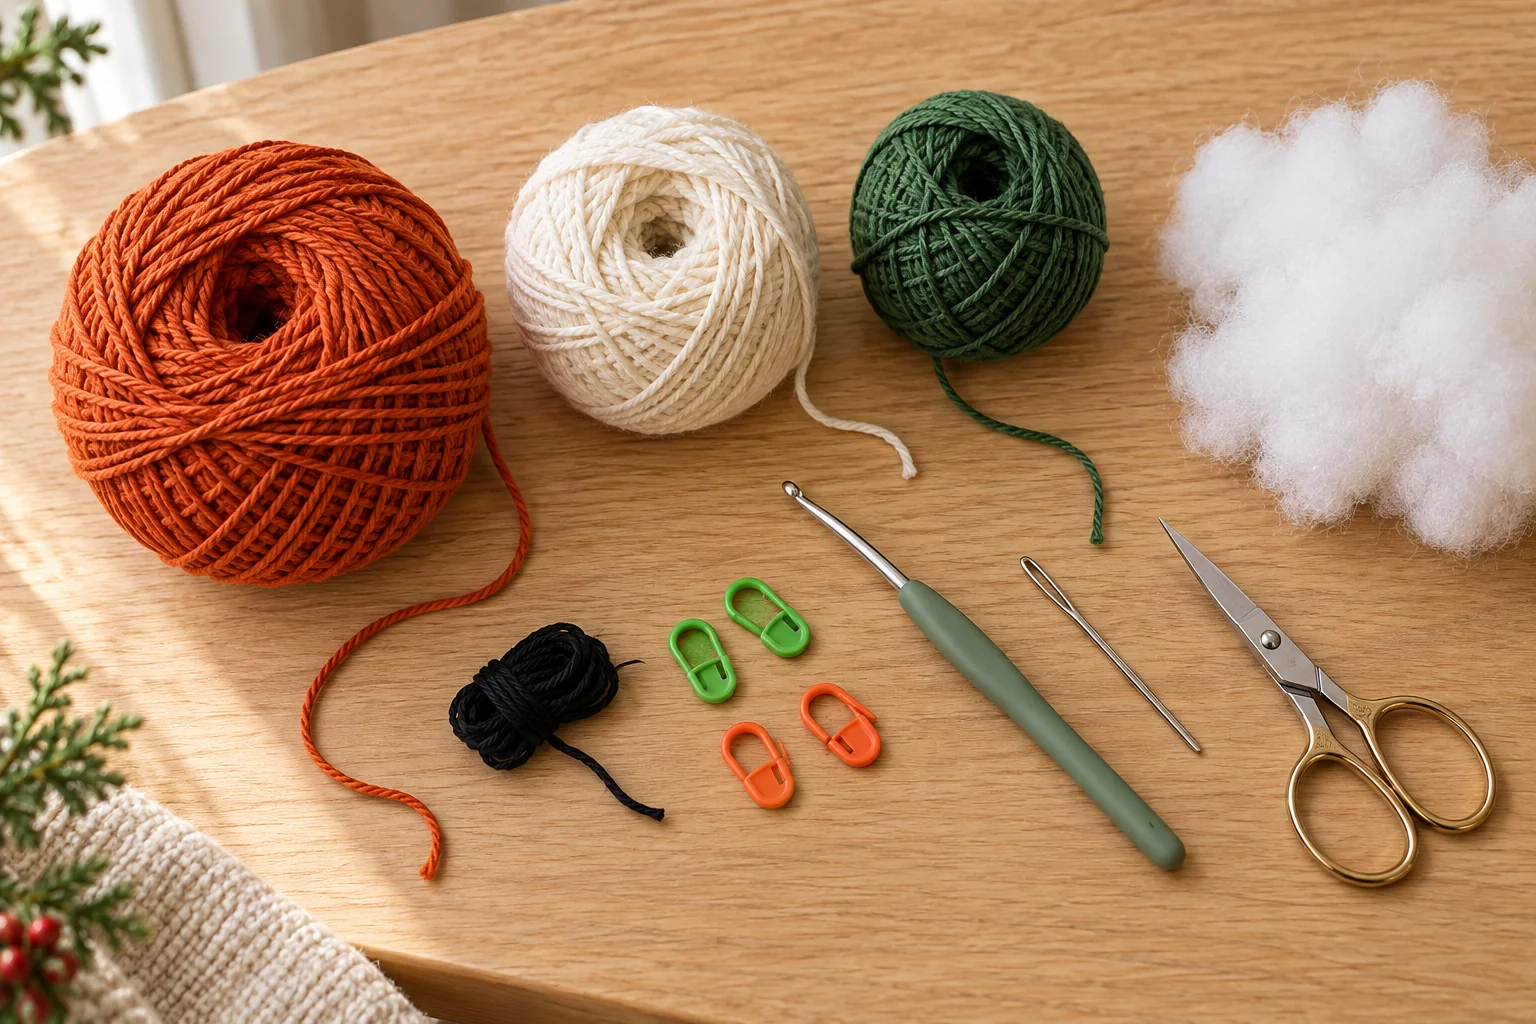
Prepare DK cotton yarn in burnt orange, cream, and forest green, plus a small amount of black embroidery thread or fine black yarn. As a starting allowance, gather approximately 35 g orange, 10 g cream, and 10 g green. These quantities are purchase estimates; actual use depends on yarn meterage and your crochet tension.
You also need a 2.5–3 mm crochet hook, polyester fiberfill, a blunt yarn needle, scissors, removable stitch markers, and a measuring tape. Use clips or removable markers to hold pieces during assembly. Keep loose tools and small parts out of reach of children and pets.
Choose a hook that creates dense fabric without making the stitches difficult to enter. The filling should stay inside the pieces without showing through obvious gaps. Smooth cotton makes the small stitches easier to count than fluffy yarn. If you substitute plush yarn, expect a different size and check the hanging-loop strength before display.
Abbreviations and Pattern Notes
ch = chain; sc = single crochet; inc = 2 sc in the same stitch; dec = decrease two stitches into one; st = stitch; sts = stitches. Repeat instructions in square brackets the stated number of times. Parentheses give the stitch count at the end of a round or row.
Work round pieces in a continuous spiral without joining or turning. Mark the first stitch of each round and move the marker as you work. On flat pieces, ch 1 to turn unless instructed otherwise; that turning chain never counts as a stitch.
An invisible decrease is useful for the stuffed shapes. Insert the hook through the front loops of the next two stitches, yarn over and pull through both front loops, then yarn over and pull through the remaining two loops. Keep the decrease compact and avoid catching loose filling in the stitch.
Step 1: Crochet the Orange Head
In orange, Round 1: 6 sc into a magic ring. Round 2: inc in every stitch. (12 sts) Round 3: [sc in the next st, inc] 6 times. (18 sts) Round 4: [sc in the next 2 sts, inc] 6 times. (24 sts)
Rounds 5–8: sc in every stitch around. (24 sts each round) Round 9: [sc in the next 2 sts, dec] 6 times. (18 sts) Round 10: [sc in the next st, dec] 6 times. (12 sts)
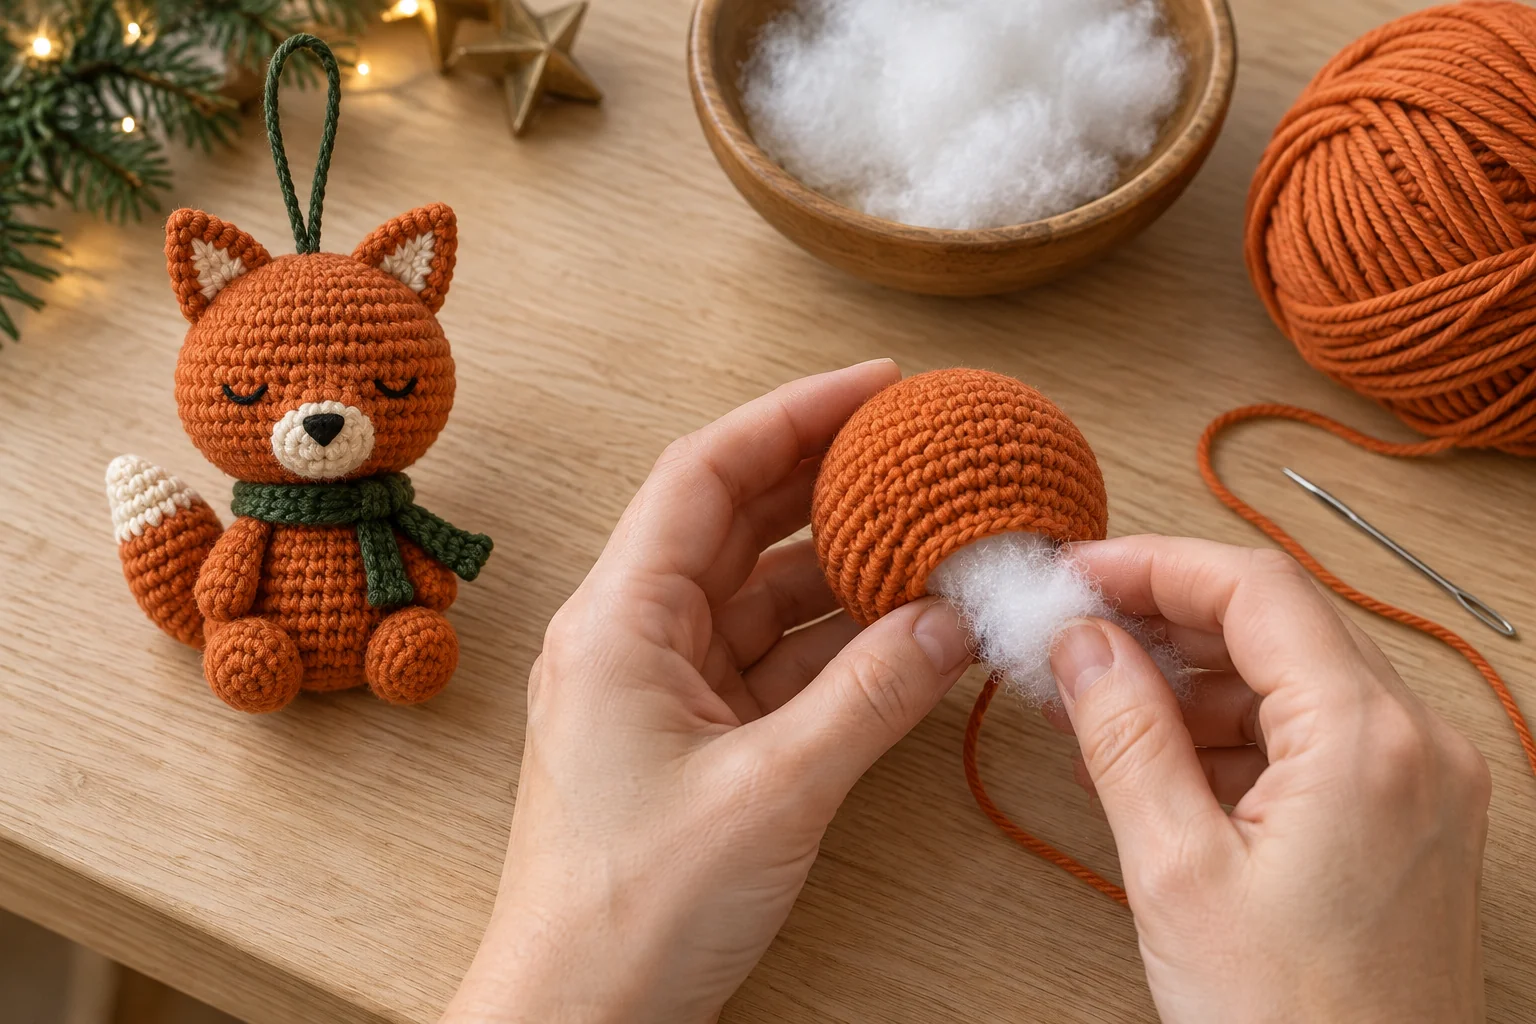
Secure the starting tail inside and add small tufts of filling. The head should be rounded and supported without stretching the fabric. Round 11: dec 6 times. (6 sts) Fasten off, thread the tail through the front loops of those six stitches, and draw the opening closed. Hide the tail inside. The closed decrease end becomes the underside of the head.
Step 2: Make the Cream Muzzle and Embroider the Face
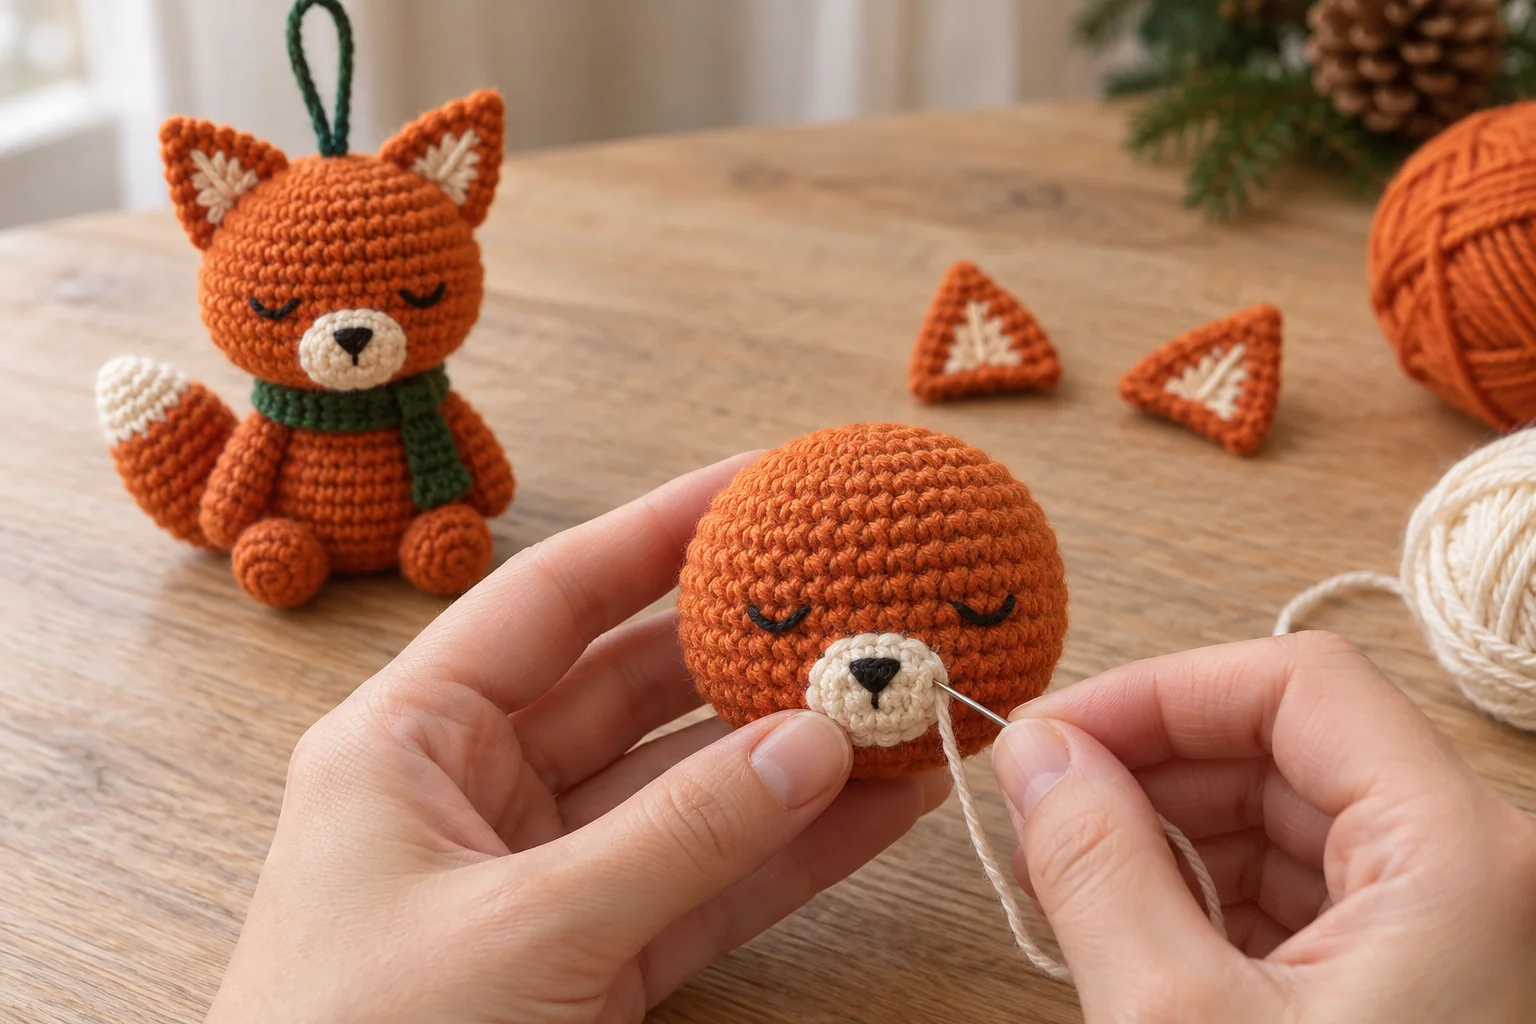
In cream, Round 1: 6 sc into a magic ring. Round 2: inc in each stitch. (12 sts) Fasten off with a sewing tail. This is a small flat circular patch, not a separate stuffed snout. Smooth it gently with your fingers before attaching it.
Position the patch on the lower front of the orange head, with its bottom edge near Round 9. Sew around the cream edge with small stitches, keeping the patch flat. Mark the front first so the head closure remains underneath rather than on the face.
Embroider a tiny black triangle on the upper half of the cream patch for the nose. Add a short vertical stitch below it if desired. On the orange fabric above the muzzle, embroider two short curved closed-eye lines, leaving roughly four visible stitch columns between their inner ends. Use the intended expression as your guide rather than adding a large number of stitches. Secure all embroidery tails inside the head.
Step 3: Crochet the Small Body
In orange, Round 1: 6 sc into a magic ring. Round 2: inc around. (12 sts) Round 3: [sc in the next st, inc] 6 times. (18 sts) Rounds 4–6: sc around. (18 sts each round)
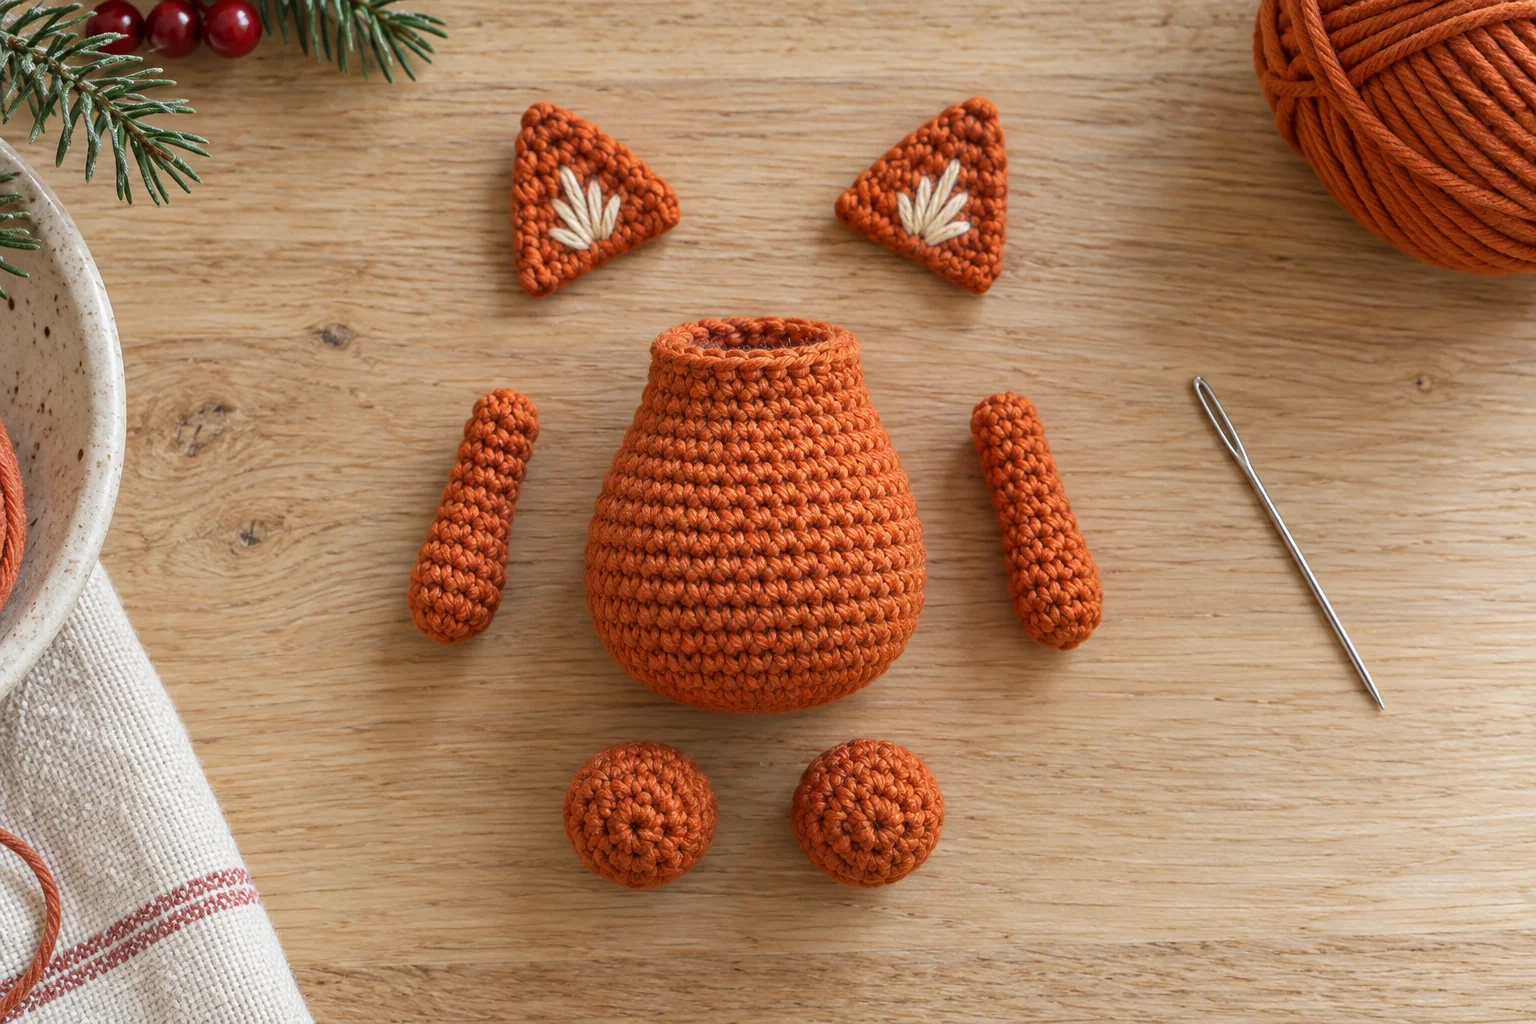
Round 7: [sc in the next st, dec] 6 times. (12 sts) Rounds 8–9: sc around. (12 sts each round) Fasten off with a long sewing tail and leave the top open. Stuff the body lightly, keeping its wider base rounded and the neck narrow.
The 12-stitch body opening will be sewn to the closed underside of the head. You are not matching two open neck edges. Keep loose filling below the rim so you can sew securely through the actual crochet stitches.
Step 4: Make the Ears, Arms, and Feet
Ears — make two in orange: ch 2. Row 1: 2 sc in the second chain from the hook. (2 sts) Row 2: ch 1, turn, inc in both stitches. (4 sts) Row 3: ch 1, turn, inc, sc in the next 2 sts, inc. (6 sts) Row 4: ch 1, turn, inc, sc in the next 4 sts, inc. (8 sts)
Fasten off each ear with a sewing tail. The final eight-stitch row is the base, and the starting point forms the tip. Add a small cream embroidered V inside each triangle, keeping the orange border visible. Do not stuff the ears or add separate cream crochet pieces.
Arms — make two in orange: work 6 sc into a magic ring. Rounds 2–4: sc around. (6 sts each round) Fasten off with a sewing tail. Leave the arms unstuffed, flatten the opening, and sew it closed through three pairs of stitches.
Feet — make two in orange: Round 1: 6 sc into a magic ring. Round 2: [sc in the next st, inc] 3 times. (9 sts) Round 3: sc around. (9 sts) Round 4: [sc in the next st, dec] 3 times. (6 sts) Add a tiny amount of filling. Round 5: dec 3 times. (3 sts) Fasten off, close the remaining opening with a needle, and leave a tail for attachment.
Step 5: Crochet the Cream-Tipped Tail
Start at the tip with cream. Round 1: 6 sc into a magic ring. Round 2: sc around. (6 sts) Round 3: [sc in the next st, inc] 3 times. (9 sts) Complete the last stitch with orange to change color.
Round 4: [sc in the next 2 sts, inc] 3 times. (12 sts) Rounds 5–7: sc around. (12 sts each round) Round 8: [sc in the next 2 sts, dec] 3 times. (9 sts) Round 9: sc around. (9 sts)
Round 10: [sc in the next st, dec] 3 times. (6 sts) Rounds 11–12: sc around. (6 sts each round) Add a small amount of filling as you go, keeping the narrow orange attachment end soft. Fasten off, flatten that opening, and close it through three pairs of stitches. Leave a long sewing tail.
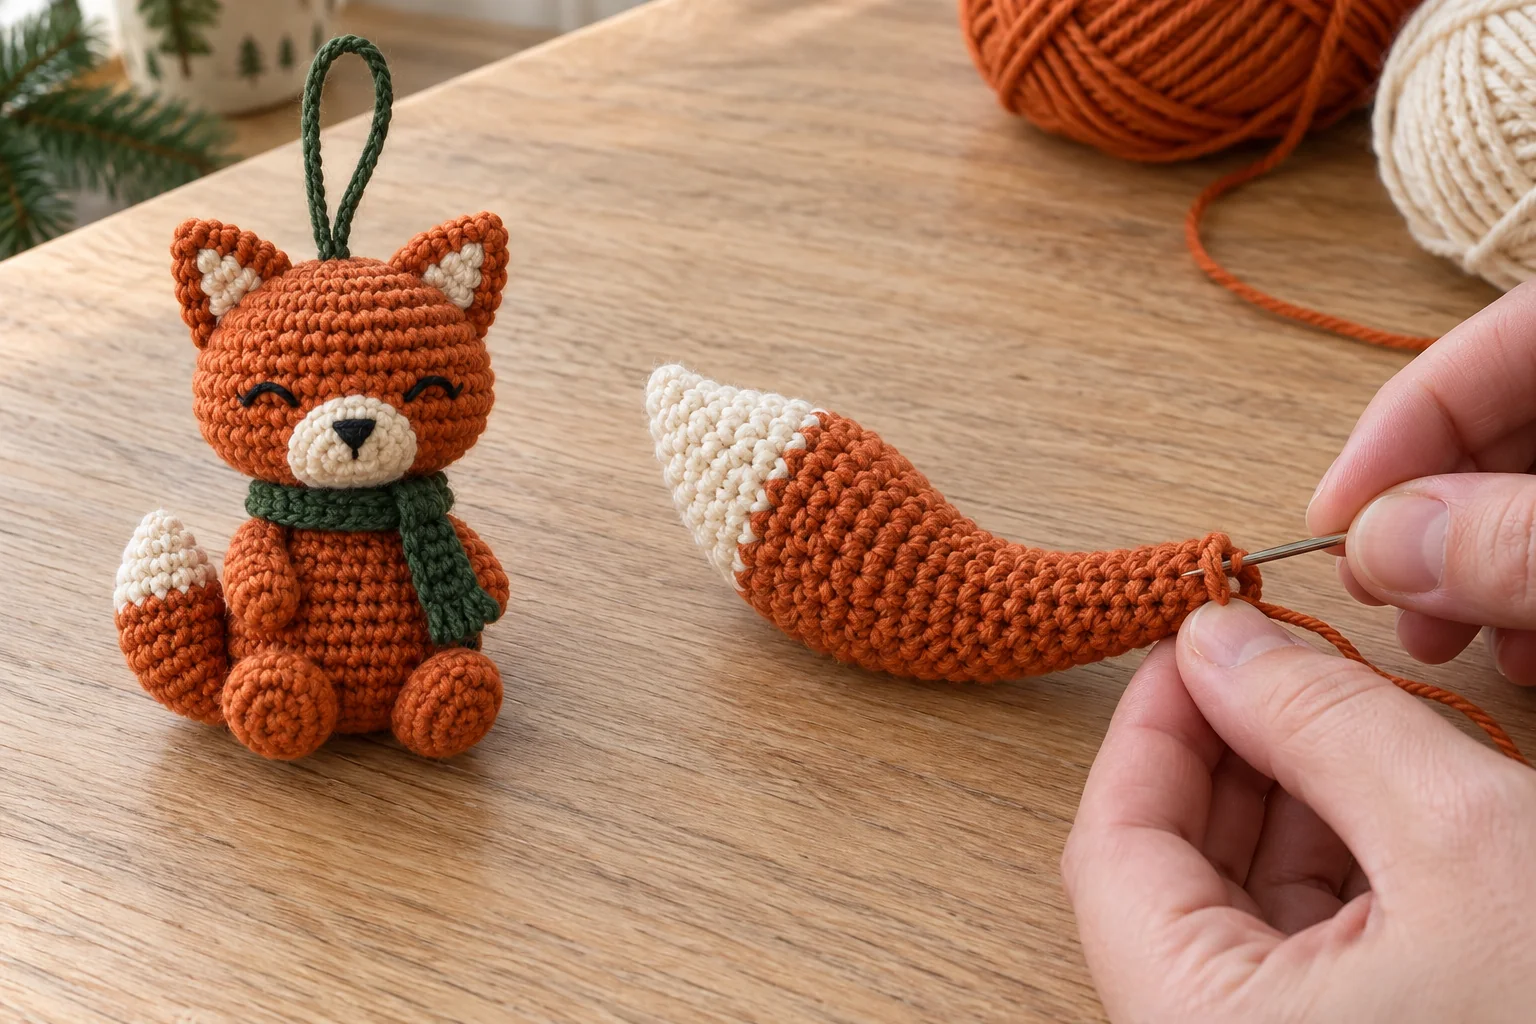
Curve the tail gently with your fingers. The cream section is its visible tip; the narrow orange end attaches to the fox. Do not add wire. The sewn position against the body helps hold the curve.
Step 6: Assemble the Seated Fox
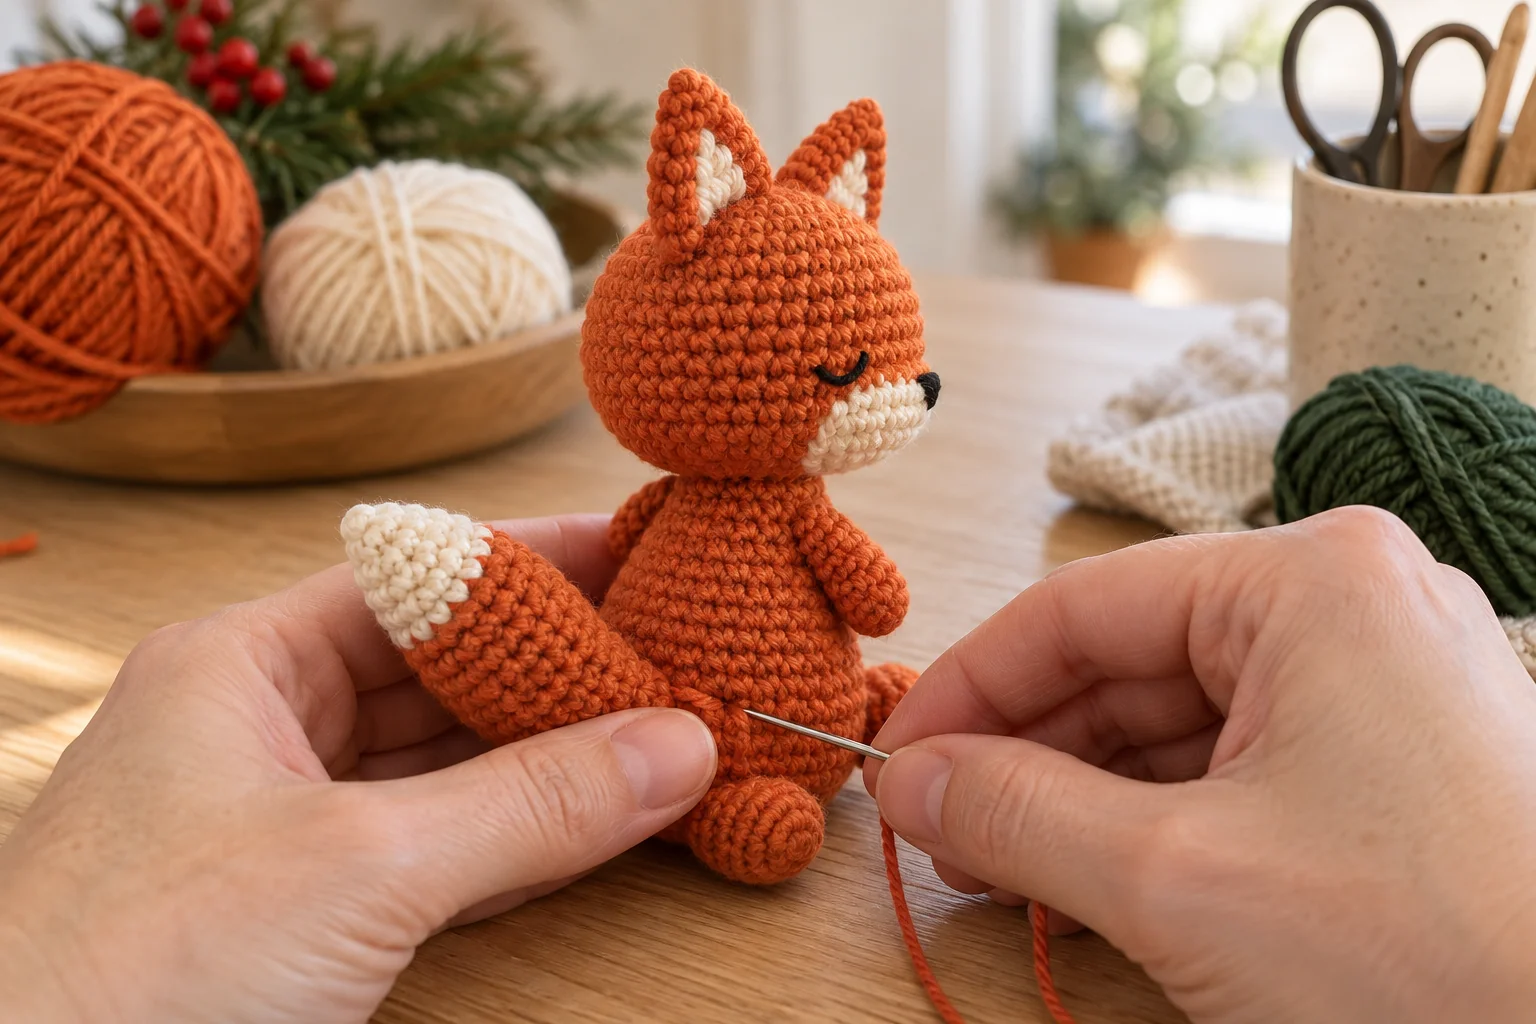
Position the body opening against the underside of the head, centered beneath the muzzle. Sew around the 12-stitch body rim into secure stitches on the head, roughly around its lower decrease area. Make a second neat pass if needed, then secure and hide the tail. Check the face direction before tightening the seam.
Attach the ear bases on opposite upper sides of the head, approximately across Rounds 3–5. Keep the tips upright and the cream embroidery facing forward. Use removable markers to compare the ears before sewing; matching their angles matters more than forcing both ears onto an identical stitch number.
Sew the flattened arm ends to the upper sides of the body, just below the neck. Sew the two small feet to the lower front, close to the base. Keep the arms free at their lower ends and check that the feet sit at a similar height.
Attach the narrow orange end of the tail to the lower back of the body. Curve the wider tail around one side so the cream tip remains visible from the front. A few hidden stitches between the orange tail and the body can hold the position. For general seam guidance, see how to sew amigurumi pieces together.
Step 7: Add the Green Scarf and Hanging Loop
Scarf: in green, ch 31. Row 1: sc in the second chain from the hook and in each remaining chain. (30 sts) Rows 2–3: ch 1, turn, sc across. (30 sts each row) Fasten off and weave in the ends.
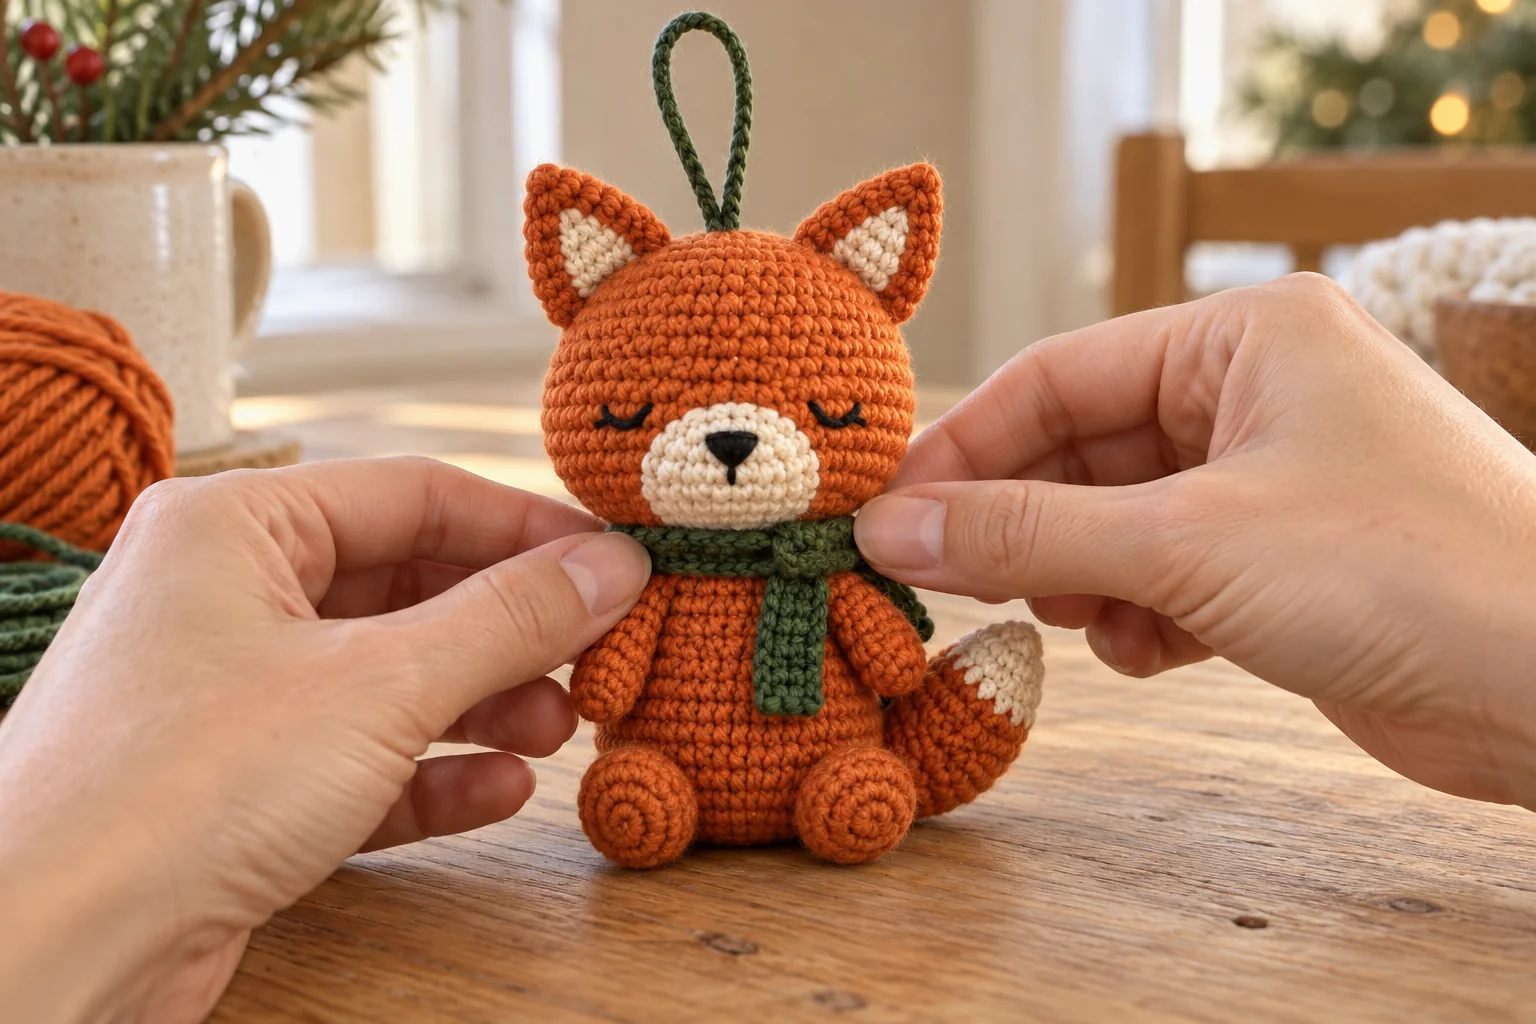
Wrap the scarf once around the fox neck and cross the two ends in front. Adjust the overlap to fit your finished fox, then secure it with a few discreet stitches so it stays in place while hanging. The scarf has straight ends without fringe or a separate knot.
Hanging loop: in green, ch 20 and fasten off with tails at both ends. Bring the ends together and sew them securely through several stitches near the top center of the head, between the ears. Anchor both ends through neighboring stitches and weave the tails inside. Lift the ornament gently over a table to check the balance and connection.
Troubleshooting and Care
The head tips forward: check that the body is centered under the head and the hanging loop is near the top balance point. The ears flop: attach the whole base and add a small hidden anchor stitch behind each ear. The muzzle puckers: loosen uneven sewing tension rather than stretching the orange head.
The tail looks stiff: remove excess filling before sealing its opening, or use fewer attachment stitches along its side. Filling shows: reduce overstuffing or use a smaller hook on a new sample. The scarf hides the face: lower its position and secure the overlap below the muzzle.
Follow your yarn label for cleaning and dry the ornament completely before storage. Spot cleaning is often easiest for a small assembled piece. Display away from heat and flames and out of reach of young children. The long loop and small assembled parts make this a decoration, not a baby toy.
Frequently Asked Questions
Is this fox pattern no-sew? No. The head, body, muzzle, ears, limbs, and tail are separate pieces that need assembly.
Does it need safety eyes? No. The reference face uses two embroidered closed eyes and a stitched nose.
Can I omit the scarf? Yes. Finish the neck seam neatly and keep the same body and head instructions.
Can I make a woodland ornament instead of a Christmas fox? Yes. Leave off the scarf or choose a different scarf color; the fox construction stays the same.
Will it stand on a table? The feet and tail may help it sit, but this untested design has no weighted or reinforced base. Its intended use is as a hanging ornament.
Can I use thicker yarn? Yes, with a suitable hook, but the fox will become larger and heavier. Check the hanging attachment and the branch or support before display.
More Christmas Amigurumi Patterns
Build a small woodland-and-winter collection with our Christmas moose, Christmas penguin, and snowman ornament. For another cookie-inspired character, try the gingerbread man pattern.
You can also pair the fox with a mini crochet Christmas tree. Finish your crochet Christmas fox ornament by checking the hanging loop, hiding the final yarn tails, and gently arranging the scarf and cream-tipped tail.