How to Sew Amigurumi Pieces Together Neatly
Learn how to sew amigurumi pieces together with neat, secure seams. Follow simple steps for pinning, positioning, joining limbs, heads, ears, and tails.
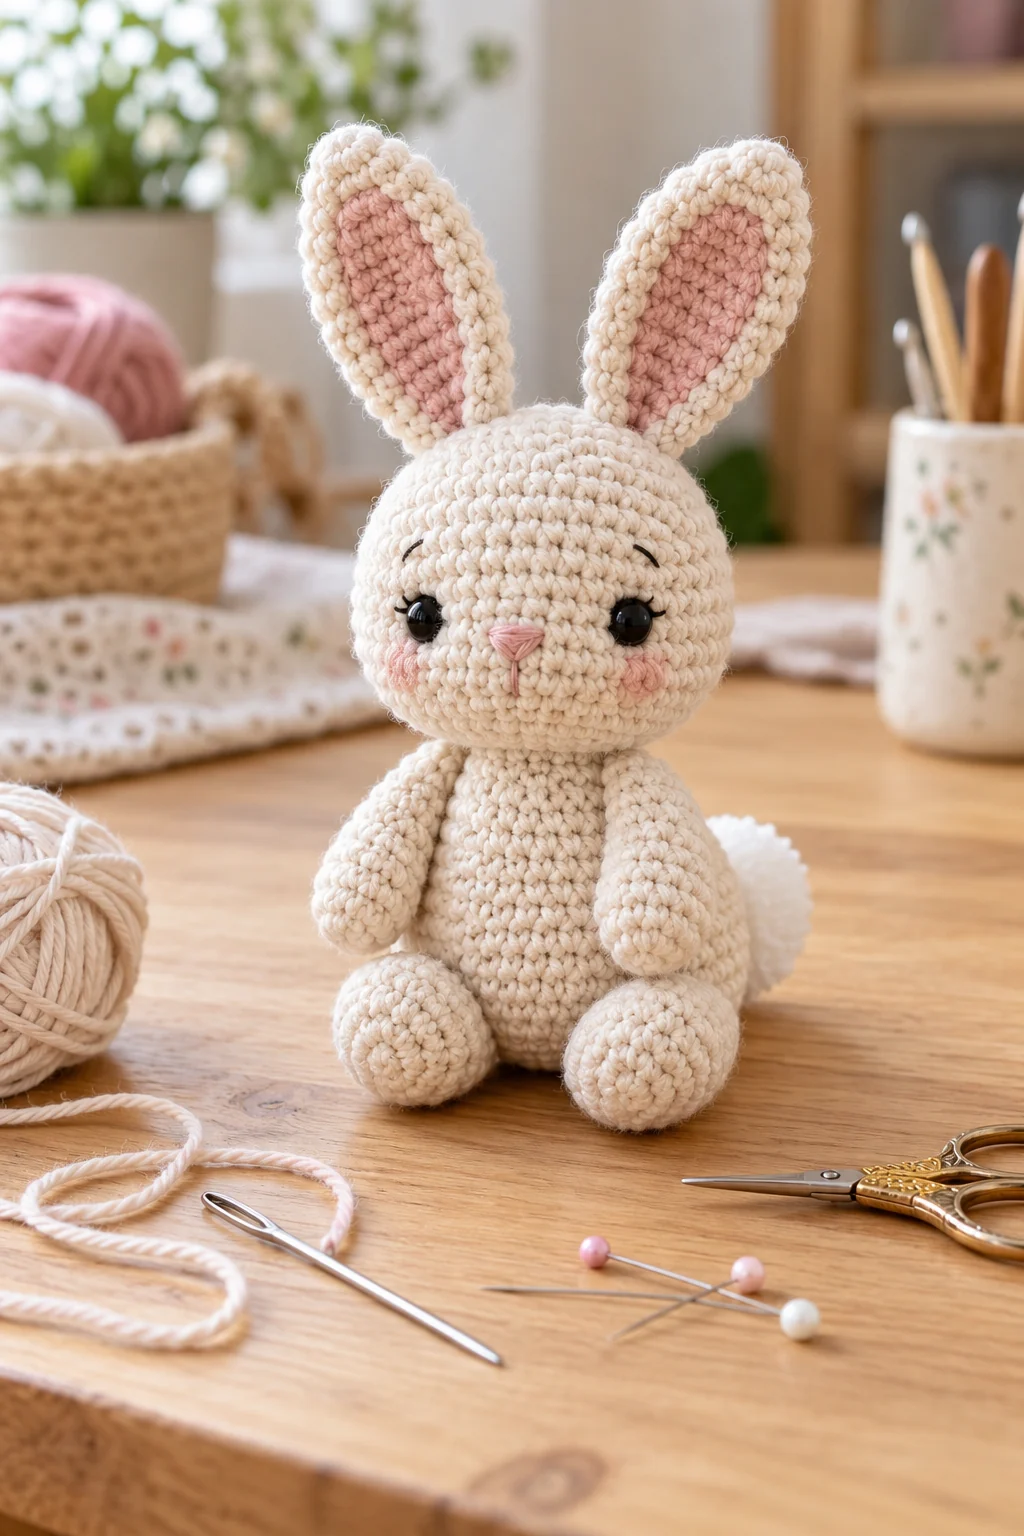
Learning how to sew amigurumi pieces together neatly can make a bigger difference to the finished toy than almost any final decorative detail. Even when the crochet itself is accurate, a head that leans, uneven arms, or mismatched ears can change the whole character.
You do not need complicated sewing skills. A blunt yarn needle, matching yarn, a few pins, and careful placement are usually enough to create clean, secure joins.
Why Amigurumi Assembly Matters
Amigurumi is three-dimensional, so every attached piece affects posture, balance, facial expression, symmetry, and the way the finished character sits or stands.
- An ear placed one row higher can make the head look tilted.
- Arms positioned slightly forward can make a toy look more animated.
- A head attached too far forward can make a seated amigurumi fall toward the front.
Assembly is not just the last step. It is part of shaping the finished character.
Tools You Need
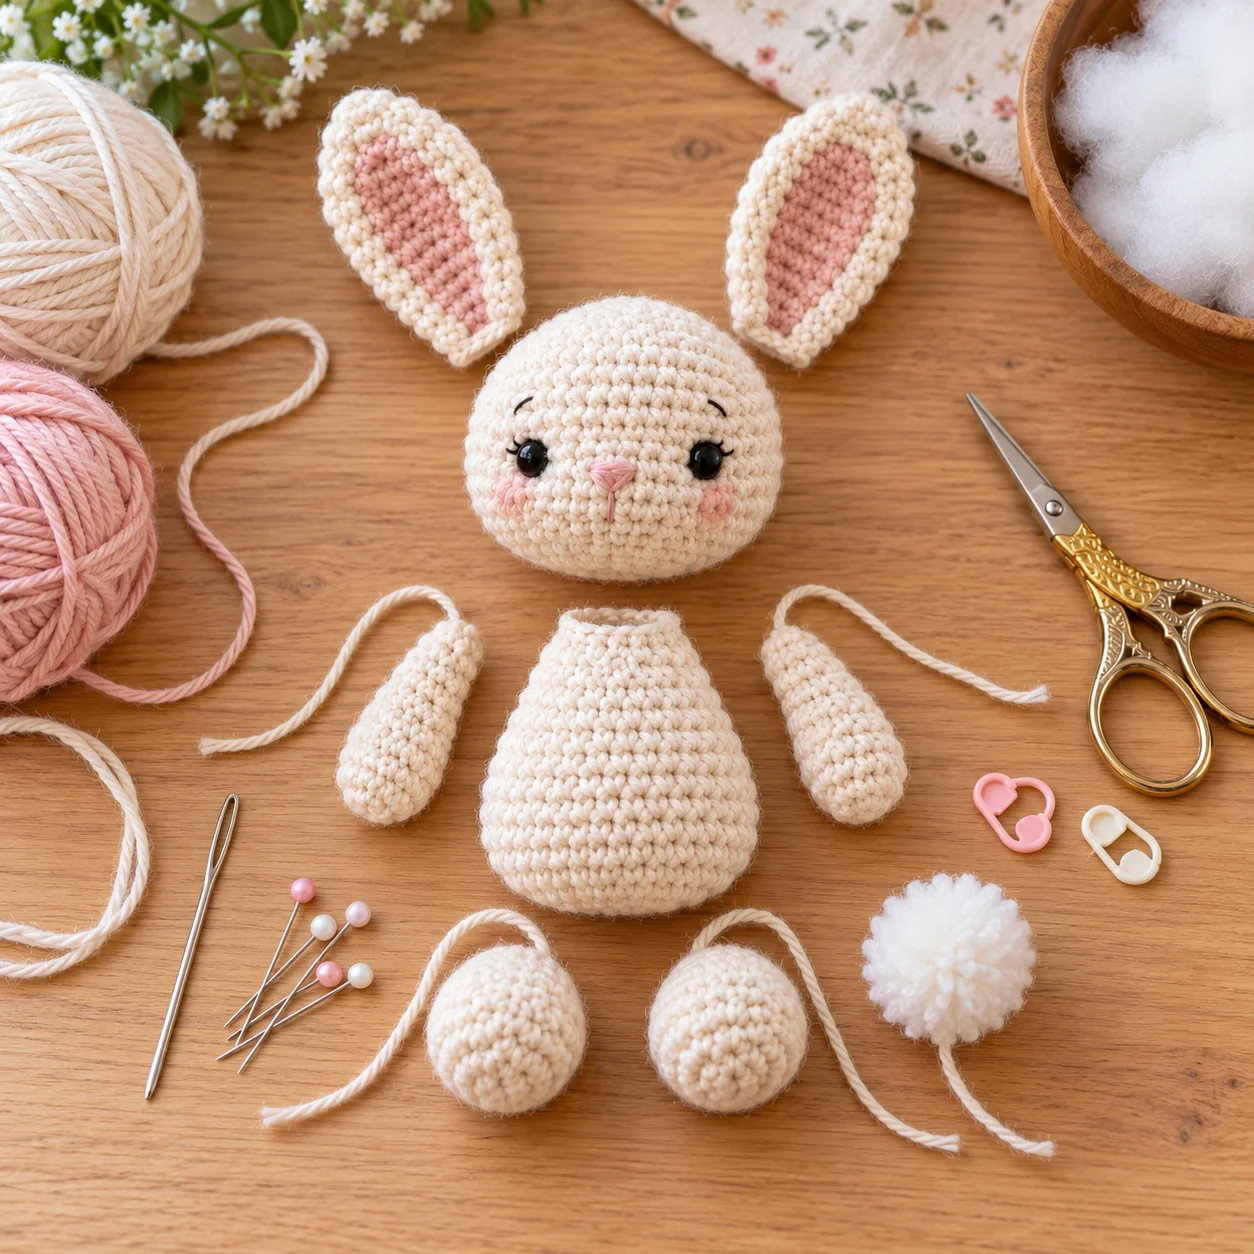
- Finished crochet pieces
- Blunt yarn or tapestry needle
- Long yarn tails left on the pieces
- Matching yarn if a tail is too short
- Straight pins or locking stitch markers
- Scissors
- Fiberfill
- Stitch marker
- A well-lit work surface
Use a Blunt Yarn Needle
A tapestry needle is usually easier than a sharp sewing needle because it passes between crochet stitches instead of splitting the yarn fibers. Choose one with an eye large enough for the yarn you used in the project.
Leave Long Yarn Tails
When a pattern says to fasten off and leave a long tail for sewing, keep that tail. It already matches the piece and helps the seam blend into the crochet fabric.
Prepare Every Piece Before Sewing
Lay all the finished pieces on a flat surface before you attach anything. Compare paired pieces such as arms, legs, ears, wings, horns, antlers, or feet.
If one piece is noticeably longer or more heavily stuffed, it is much easier to correct before sewing.
Stuff Before the Opening Becomes Too Small
Stuffed pieces such as heads and bodies should usually be filled before they are completely closed. Add small amounts of fiberfill gradually and distribute it around the outer edges instead of pushing one large clump into the center.
For arms, legs, wings, and ears, follow the individual pattern. Some pieces are lightly stuffed, while others are intentionally left flat.
Pin and Check Placement
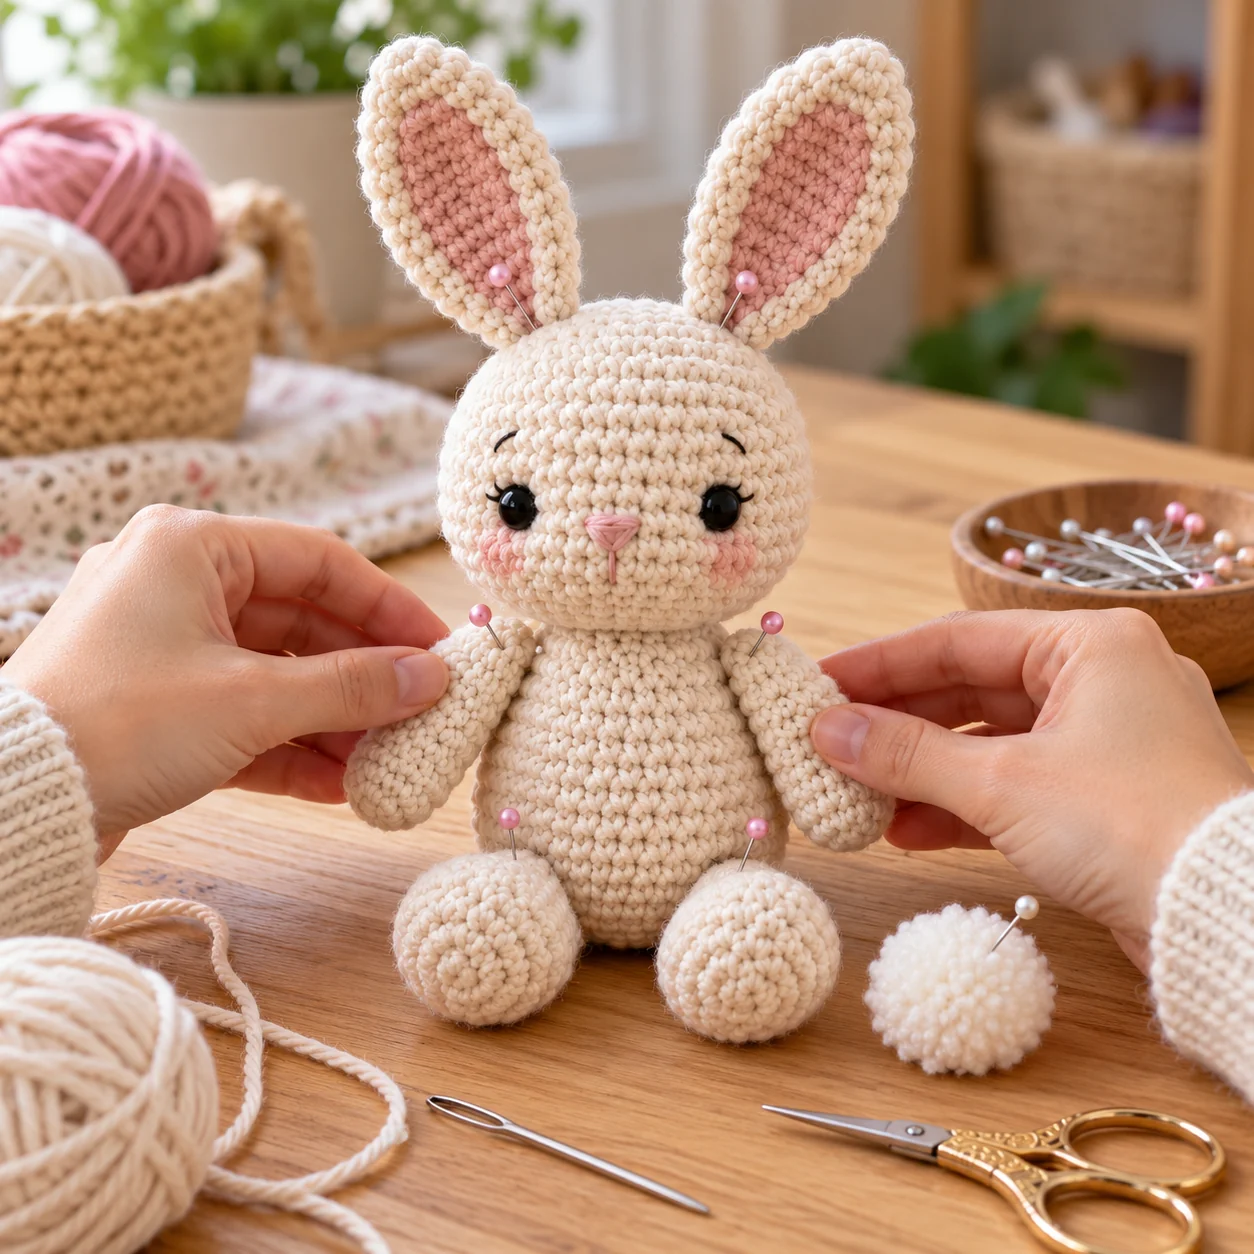
Pin first. Sew second.
Place the first part where you think it belongs, pin it, and then position the matching part. Do not judge placement only from the front.
Rotate the amigurumi and check the front, both sides, back, and top. Two pieces can look level from the front while one actually sits farther toward the back.
Count Crochet Rounds and Stitches
Use the crochet fabric itself as a measuring guide. If the left arm begins at Round 14, place the right arm at the same round. Then count stitches from a center point to keep both sides balanced.
This is more reliable than estimating by eye.
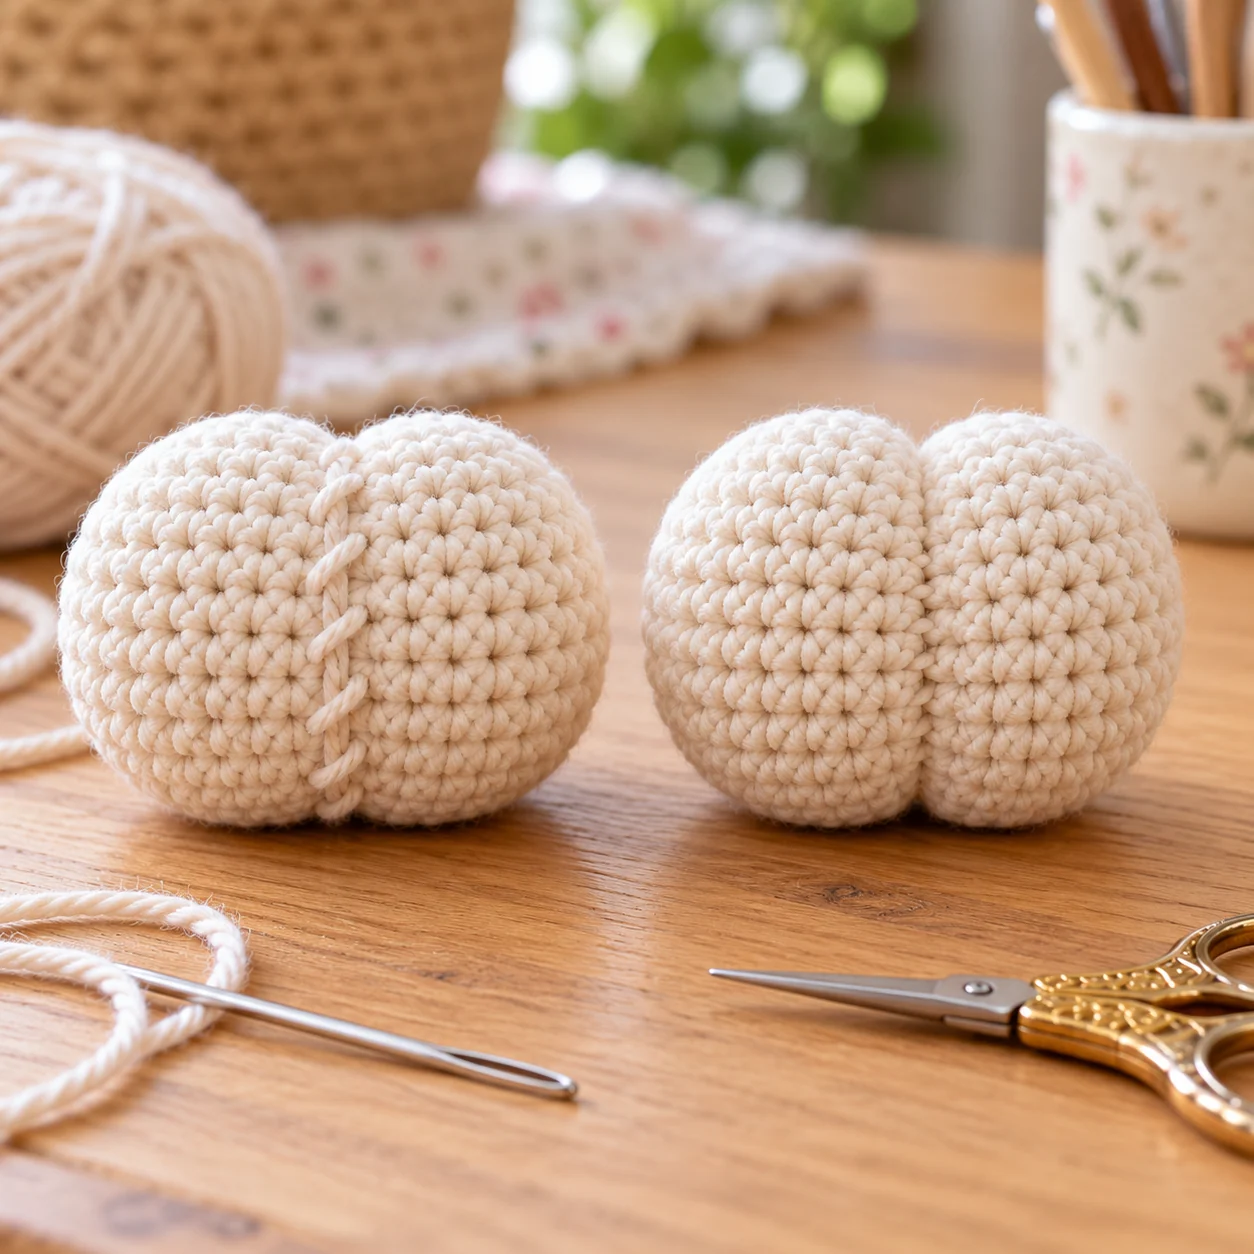
Whip Stitch vs Ladder Stitch
Whip Stitch
Whip stitch is simple, secure, and useful for many amigurumi joins. It works especially well for arms, legs, ears, flattened openings, and simple stuffed pieces.
Ladder Stitch
Ladder stitch creates a less visible seam. The needle alternates between small corresponding sections of the two pieces. When the yarn is tightened carefully, the sewing thread becomes difficult to see.
It is especially useful for rounded heads, visible front seams, and lighter yarn where the sewing thread could show.
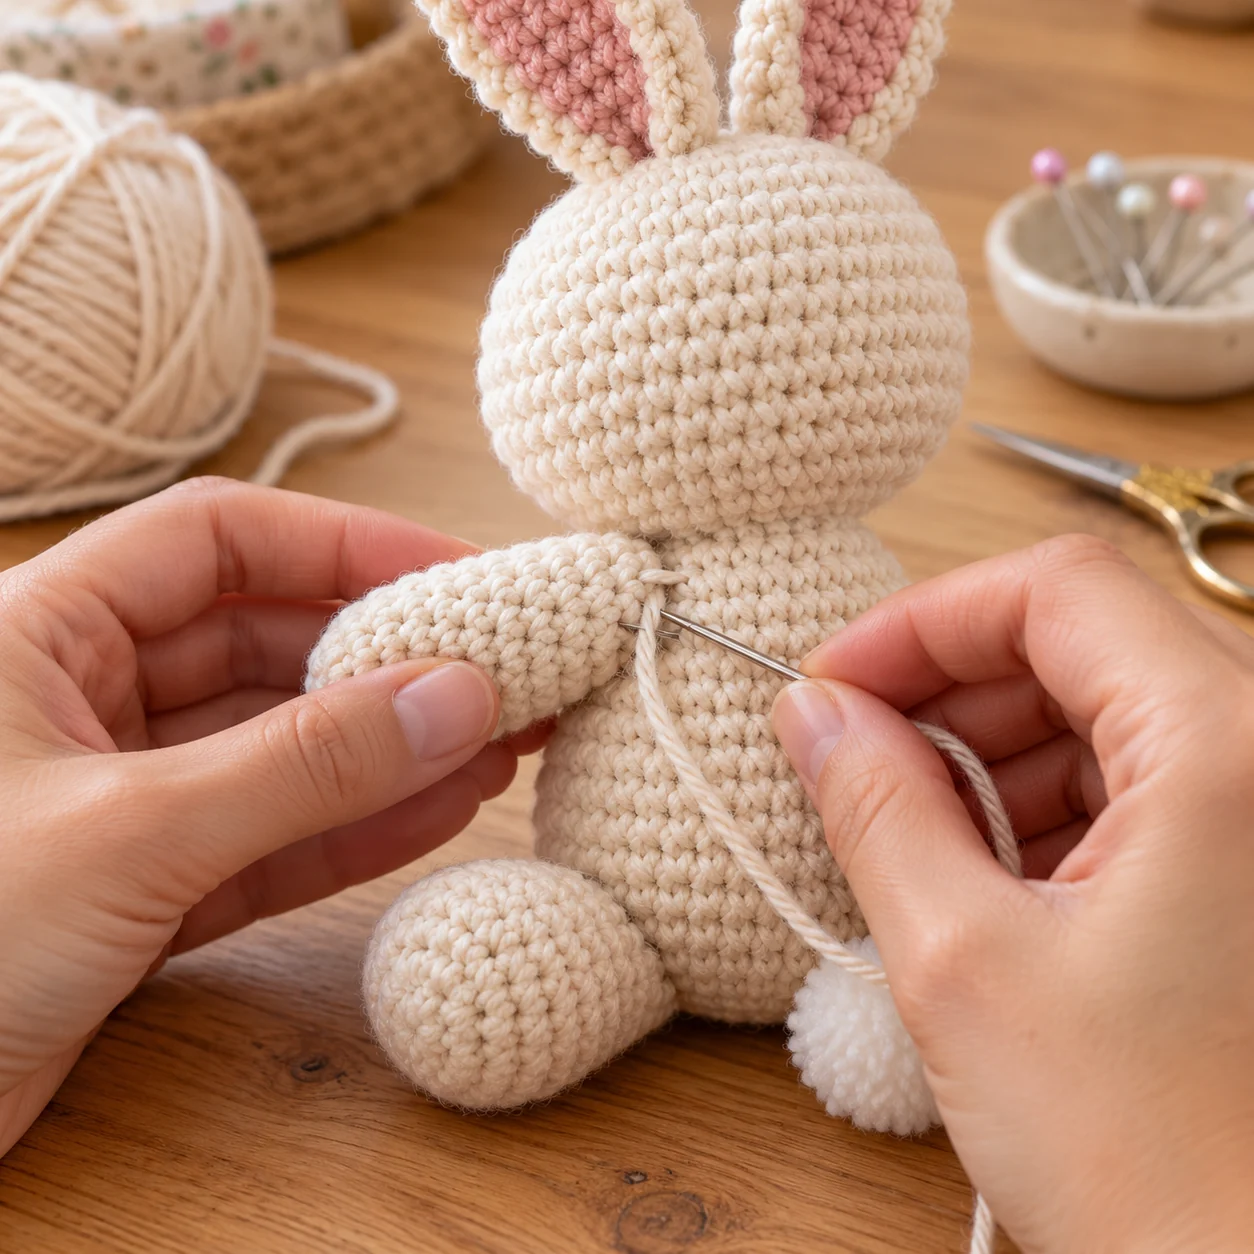
How to Attach an Arm or Leg
1. Finish the Limb
Stuff according to the pattern. If the opening should be flattened, press both sides together and close it with crochet or sewing. Leave a long yarn tail.
2. Pin the Limb
Place the limb against the body and use two pins if it rotates easily.
3. Compare Both Sides
Pin the matching limb before sewing either one permanently. Check that both pieces begin on the same round, point in similar directions, and extend the same distance from the body.
4. Thread the Needle
Use the long yarn tail from the limb whenever possible.
5. Begin Under the Limb
Insert the needle into the body close to the attachment point, bring it out through the next nearby body stitch, then catch a corresponding loop along the edge of the limb.
6. Continue Around
Move between body stitches and limb stitches using small, even passes. Keep the yarn firm enough to hold the piece in place without pulling so tightly that the body dents.
7. Reinforce the Join
For a heavy limb, add one or two reinforcing passes around the attachment area.
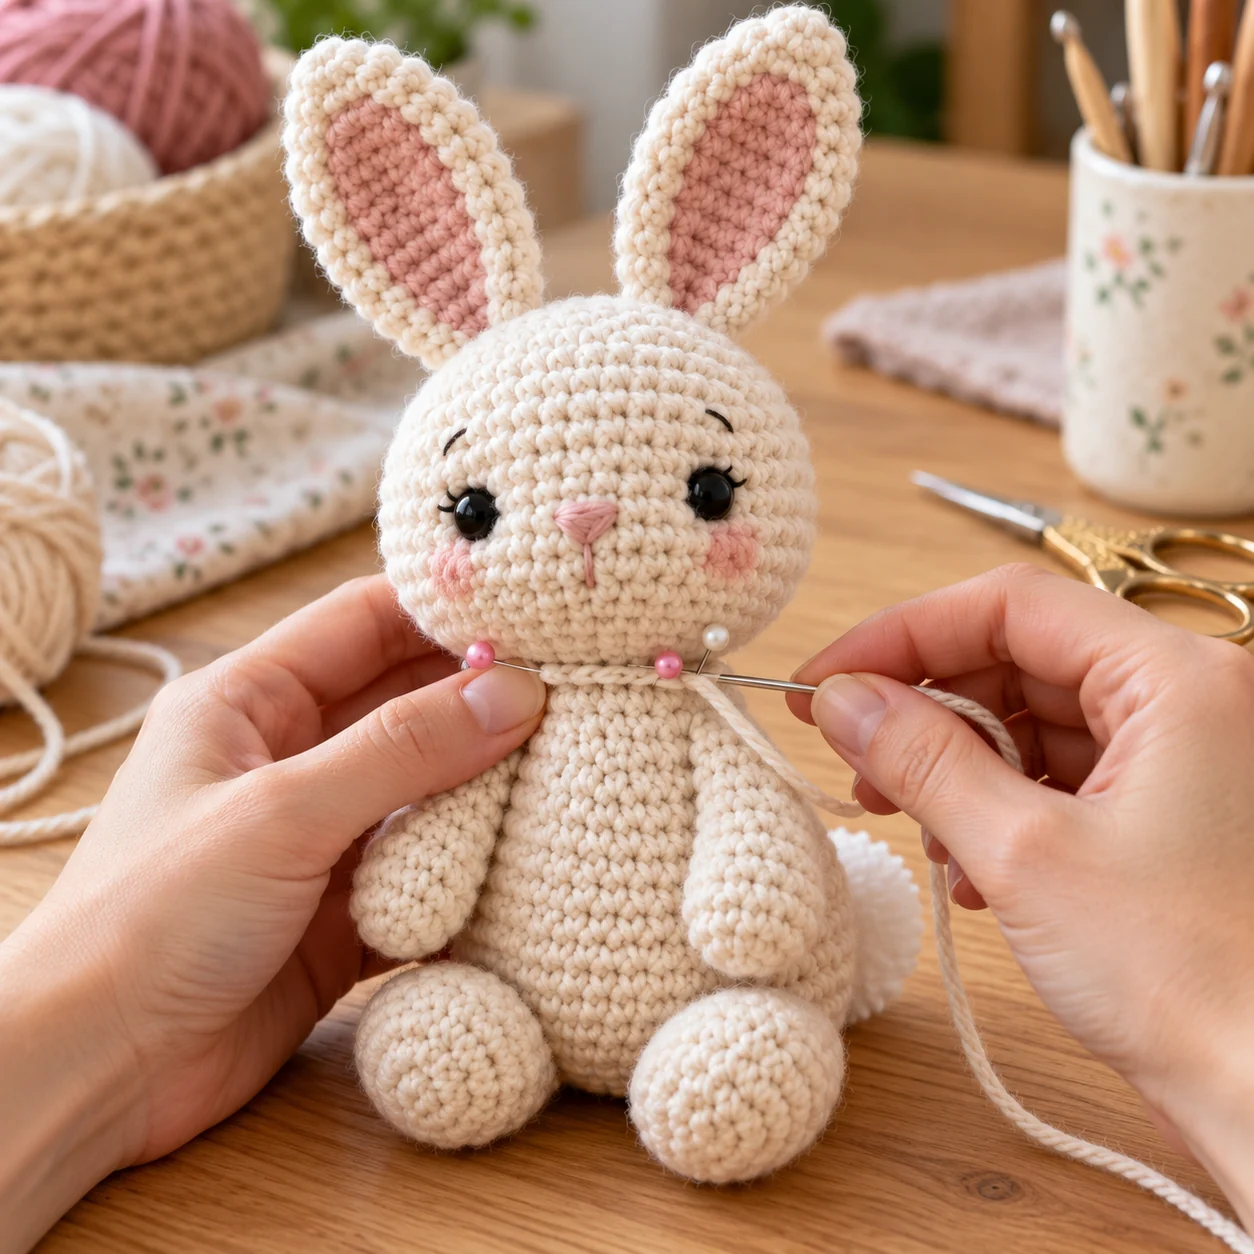
How to Sew a Head to a Body
A head is often the most noticeable part of the assembly, so take extra time with the placement.
Check the Neck
Make sure the upper body contains enough stuffing to support the head. A tight seam cannot compensate for an under-stuffed neck.
Pin the Head in Several Places
Use at least four pins at the front, back, left, and right. Look at the toy from the front and from both sides before sewing.
Sew Gradually
Sew about one quarter of the neck, stop, check the position, then continue. This makes it easier to correct a small tilt before the seam is completely closed.
Add More Support if Needed
If the head still feels unstable, add another sewing pass around the neck instead of pulling the original seam excessively tight.
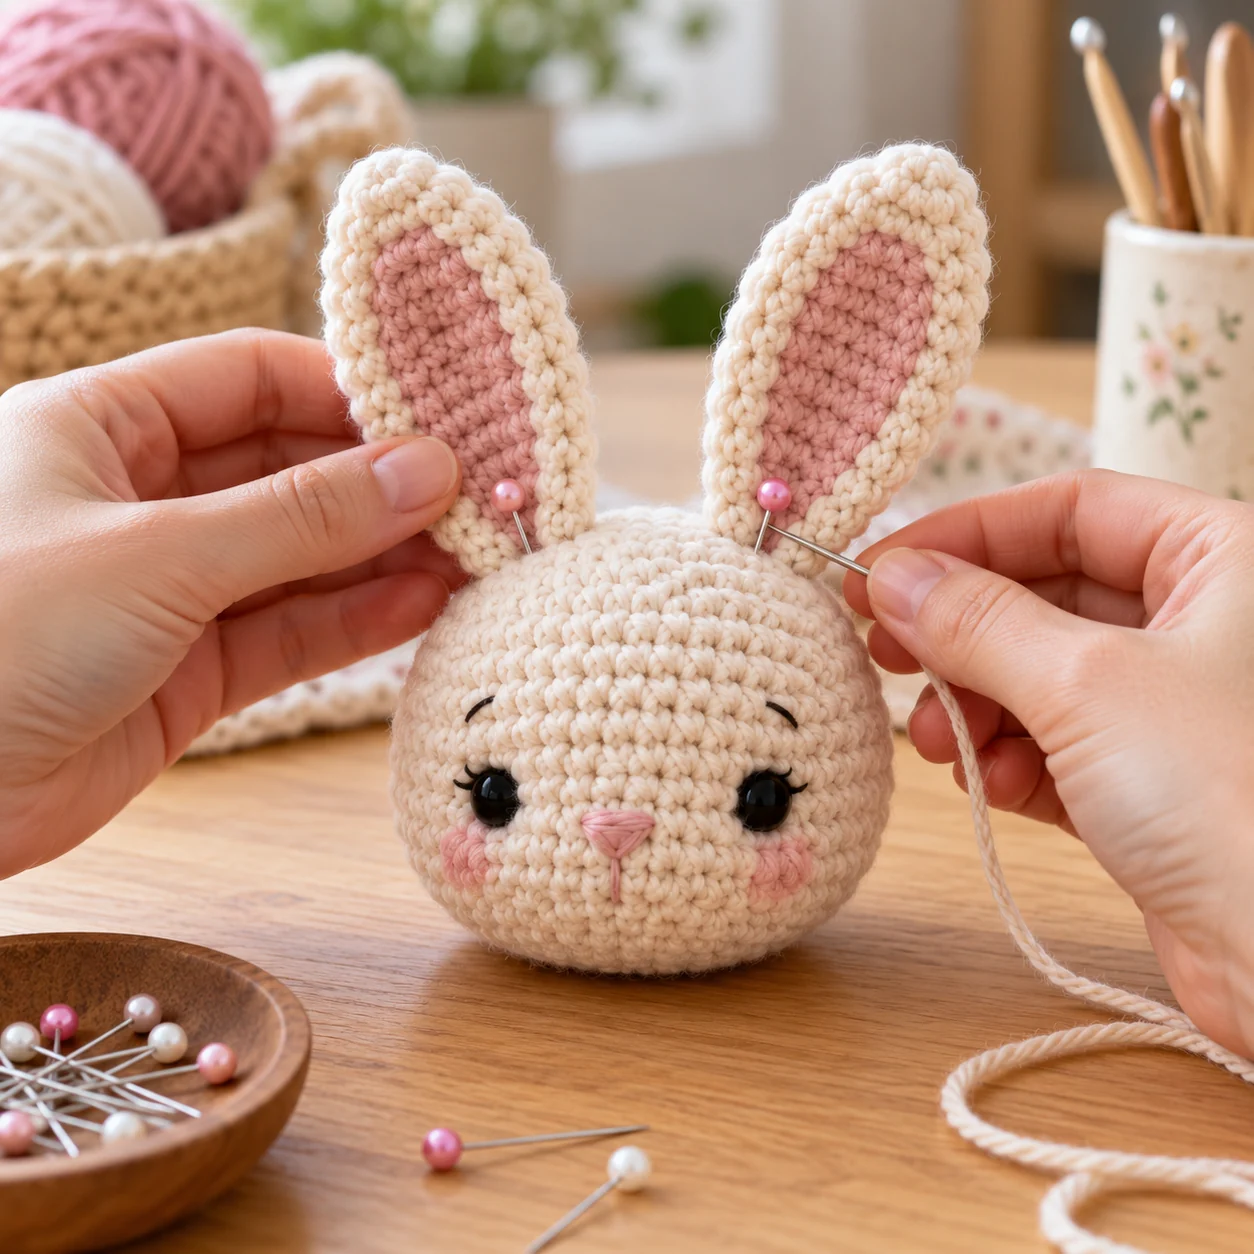
How to Attach Ears
Pin both ears before sewing. Count from the center of the head to keep their placement even.
Flat ears normally need stitching only along the base. Leaving the outer edge free gives the ear more dimension and makes the finished character look less stiff.
How to Attach a Tail
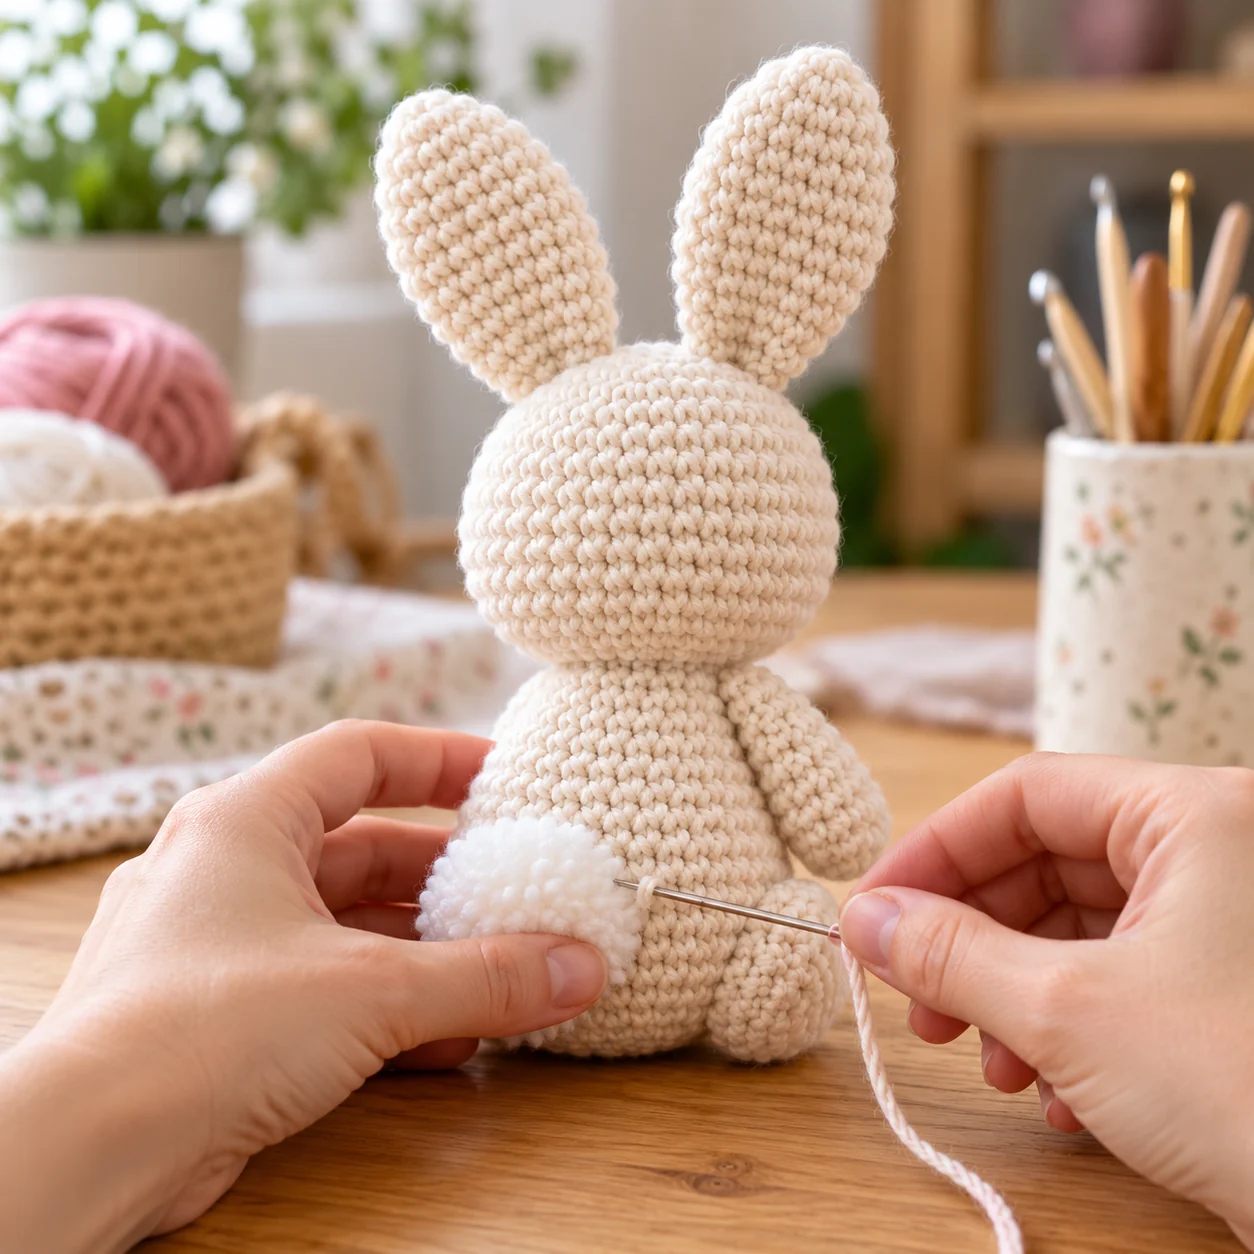
Position the amigurumi in its natural sitting or standing pose before deciding where the tail belongs. The tail can affect balance, especially on a seated animal.
Pin the tail first, then sew around the base using small alternating stitches. For a heavy tail, sew around the base twice.
How to Hide Yarn Tails
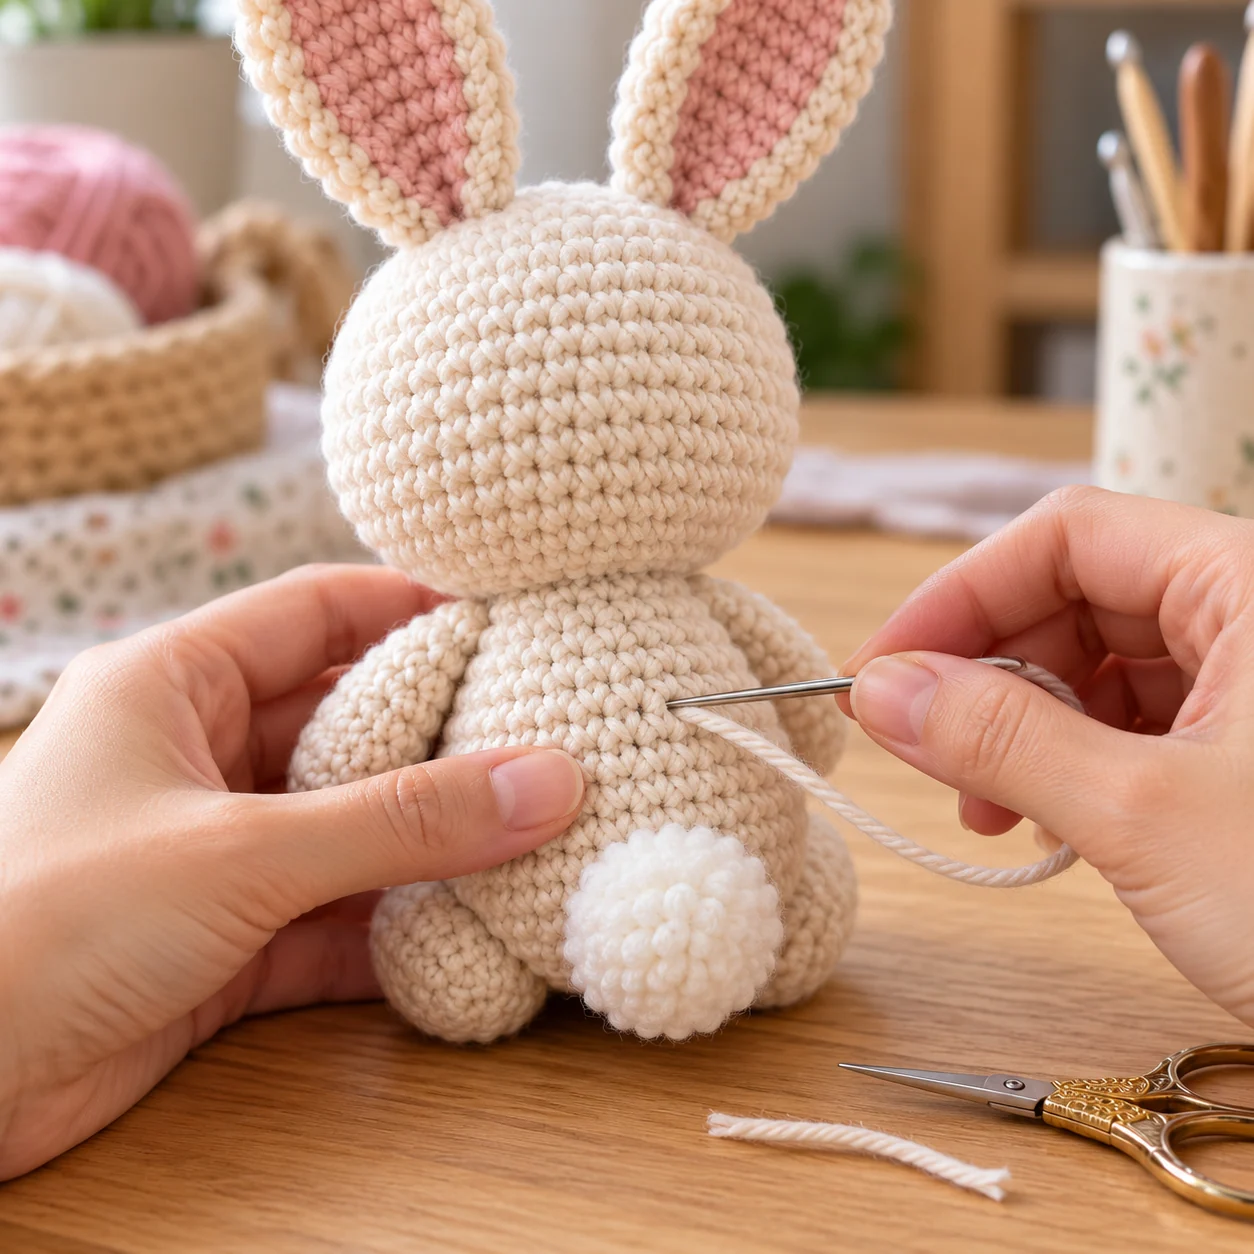
- Insert the needle into the body close to the finished seam.
- Push the needle through the stuffed body.
- Bring it out several centimeters away.
- Pull gently.
- Cut the yarn close to the crochet surface.
- Massage the body so the cut end disappears inside.
How to Keep Pieces Symmetrical
Use the Stitch Marker as a Reference
Identify the beginning of the rounds, then decide where the visual front of the character actually is. Spiral crochet naturally shifts, so these two points are not always identical.
Count Stitches
If one arm is six stitches from the center, place the matching arm six stitches away in the opposite direction.
Count Rows
Attach paired pieces at the same approximate rounds whenever possible.
Use Temporary Pins
Leave both matching pieces pinned while you compare them. Do not sew the first side permanently before checking the second.
Take a Quick Photo
A photo can make small asymmetries easier to notice than when you are holding the toy close to your face.
Common Assembly Mistakes
Sewing Without Pinning
This is one of the easiest ways to end up with uneven limbs or ears. Pin both sides before sewing.
Pulling the Sewing Yarn Too Tight
Very tight sewing can create dents around the seam. Use firm but relaxed tension.
Under-Stuffing the Neck
A large head needs support. Add enough stuffing to the neck area before the final closure.
Over-Stuffing Limbs
Arms and wings can stick outward unnaturally if they are too firm near the attachment point.
Attaching Pieces One at a Time
Pin matching pieces together first. This makes symmetry much easier to judge.
Using the Wrong Yarn Color
Use the original yarn tail or matching yarn whenever possible so the seam blends into the crochet fabric.
Sewing Through Random Areas
Move through corresponding stitches and keep each sewing pass small and consistent.
A Reliable Assembly Workflow
- Crochet all pieces.
- Stuff the pieces that require stuffing.
- Lay every piece on the table.
- Identify the visual front of the body.
- Pin all major pieces.
- Compare both sides.
- Count rows and stitches.
- Sew the largest structural pieces first.
- Attach smaller pieces such as ears, wings, tails, horns, or accessories.
- Add final embroidery.
- Hide every yarn tail.
- Shape the finished amigurumi with your hands.
Use the placement instructions from the specific dCrochet pattern you are making, since exact rows and stitch positions vary from one project to another. Practice cap-and-stem alignment with the crochet mushroom keychain pattern, or use the Christmas penguin amigurumi pattern to practice positioning separate details.
Frequently Asked Questions
What is the best stitch for sewing amigurumi pieces together?
Whip stitch is a simple and secure choice for many parts. Ladder stitch is useful when you want the join to look less visible.
Should I pin amigurumi pieces before sewing?
Yes. Pinning lets you check symmetry and position before you commit to the seam.
What needle should I use for amigurumi?
A blunt tapestry or yarn needle with an eye large enough for your crochet yarn is usually the easiest choice.
Should I use the yarn tail to sew amigurumi?
Yes, when possible. The original yarn tail matches the piece and helps the seam blend in.
How long should the yarn tail be?
Leave enough yarn to sew around the entire attachment area with extra length for securing and hiding the end.
Why does my amigurumi head keep leaning?
Common causes include uneven pinning, insufficient stuffing in the neck, or uneven sewing tension.
How do I sew amigurumi without visible seams?
Use matching yarn, make small stitches, work through corresponding loops, and avoid excessive tension.
Should amigurumi arms be stuffed?
It depends on the pattern. Some arms are lightly stuffed, while others are intentionally left flat.
How do I make both ears symmetrical?
Pin both ears first, then count rows and stitches from the center of the head.
Can I remove a piece after sewing it?
Yes. Carefully unpick only the sewing yarn and avoid cutting the crochet stitches of the body or attached piece.
Once careful pinning, counting, and even sewing tension become part of your normal workflow, attaching heads, limbs, ears, tails, and other pieces becomes much more predictable.