Crochet Christmas Light Bulb Garland – Free Amigurumi Pattern
Make a crochet Christmas light bulb garland with eight colorful ornaments. Free pattern includes round-by-round instructions, green sockets, and assembly.
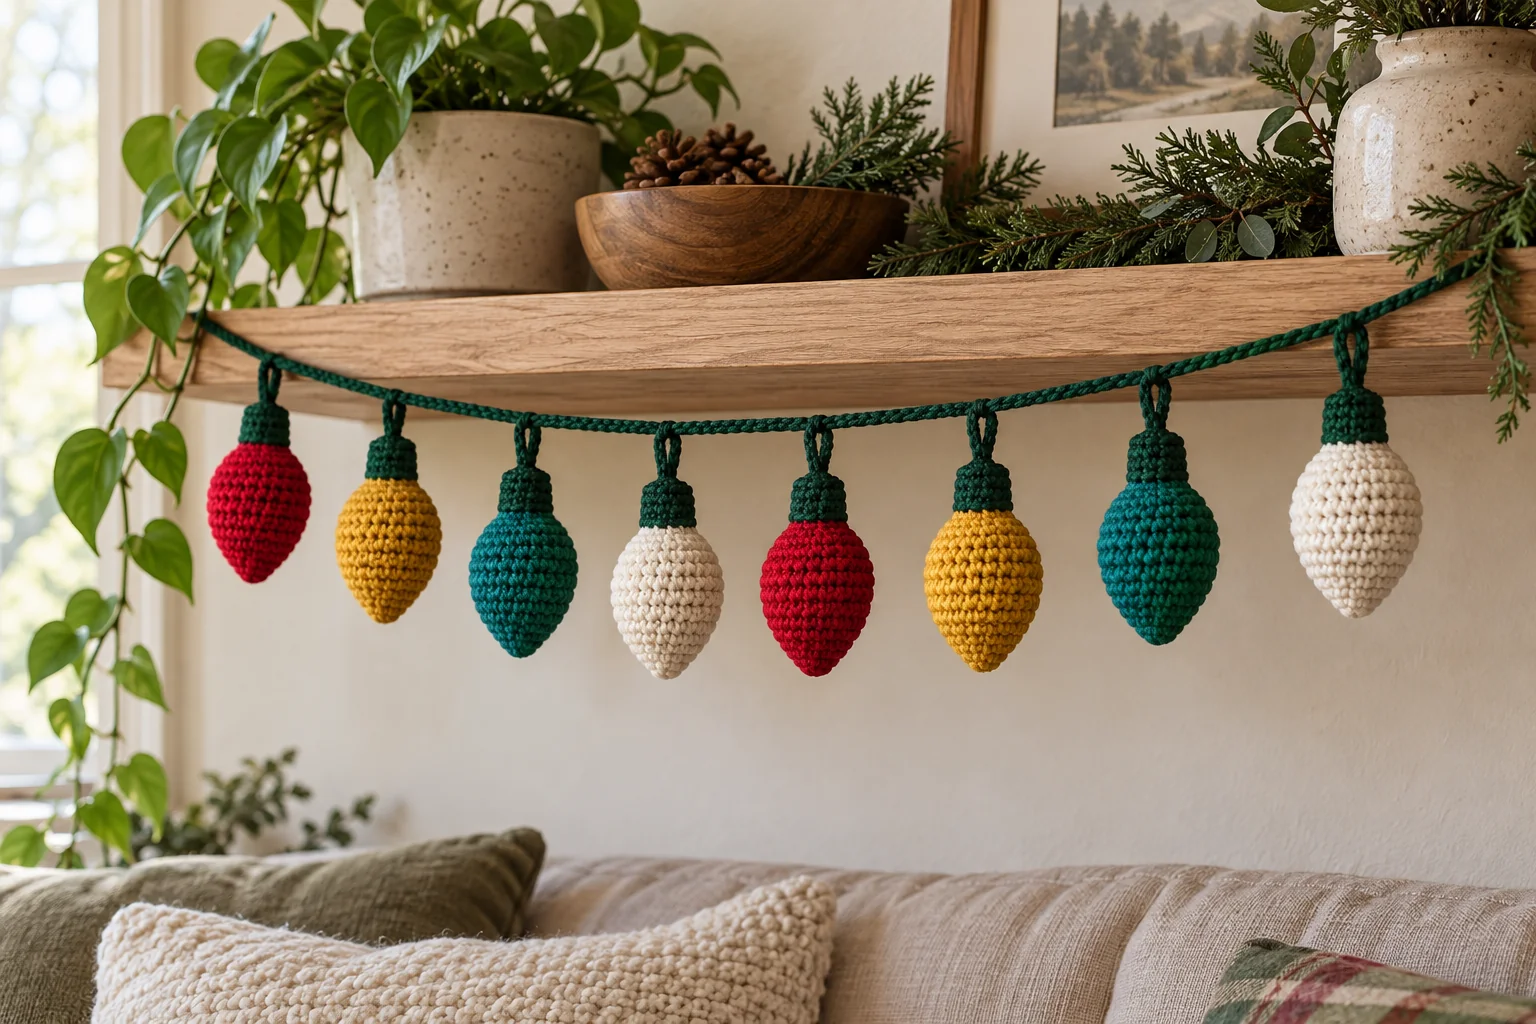
Make a crochet Christmas light bulb garland with eight soft, stuffed ornaments on a dark green crochet cord. The bulbs repeat in red, mustard gold, teal, and ivory, while matching green sockets keep the whole decoration coordinated. Each bulb is crocheted from its rounded bottom toward the narrow neck, then finished with a small green cap and hanging loop.
This free pattern includes the bulb body, socket, hanging loops, and garland assembly. The shapes use single crochet, increases, and decreases in continuous rounds. You do not need electrical components, beads, or separate plastic eyes: these are decorative yarn ornaments, and they do not light up.
Pattern note: This is an original written design that has not been physically tested. The images illustrate the intended design rather than a verified sample. Yarn quantities and finished dimensions are preparation estimates. Use the written counts as your guide, and make one complete bulb before preparing the other seven.
Crochet Christmas Light Bulb Garland: Project Overview
This project is suitable for a confident beginner who can use a magic ring, follow continuous rounds, and make a single crochet decrease. You will need a little hand sewing to secure the hanging loops and attach them to the cord. All crochet terminology below is in US terms.
Make two bulbs in each of four colors: red, mustard gold, teal, and ivory. Every bulb has the same dark forest green socket and hanging loop. Arrange them in two complete repeats of the four colors. The consistent construction lets you concentrate on improving the shape rather than learning a different pattern for each ornament.
With DK cotton and a small hook, plan for a miniature ornament roughly 5–7 cm tall, excluding its loop. This is an estimate, not a measured sample. The actual garland length depends on your chain tension and display spacing, so measure the cord you make rather than relying on a fixed finished measurement.
Materials and Tools
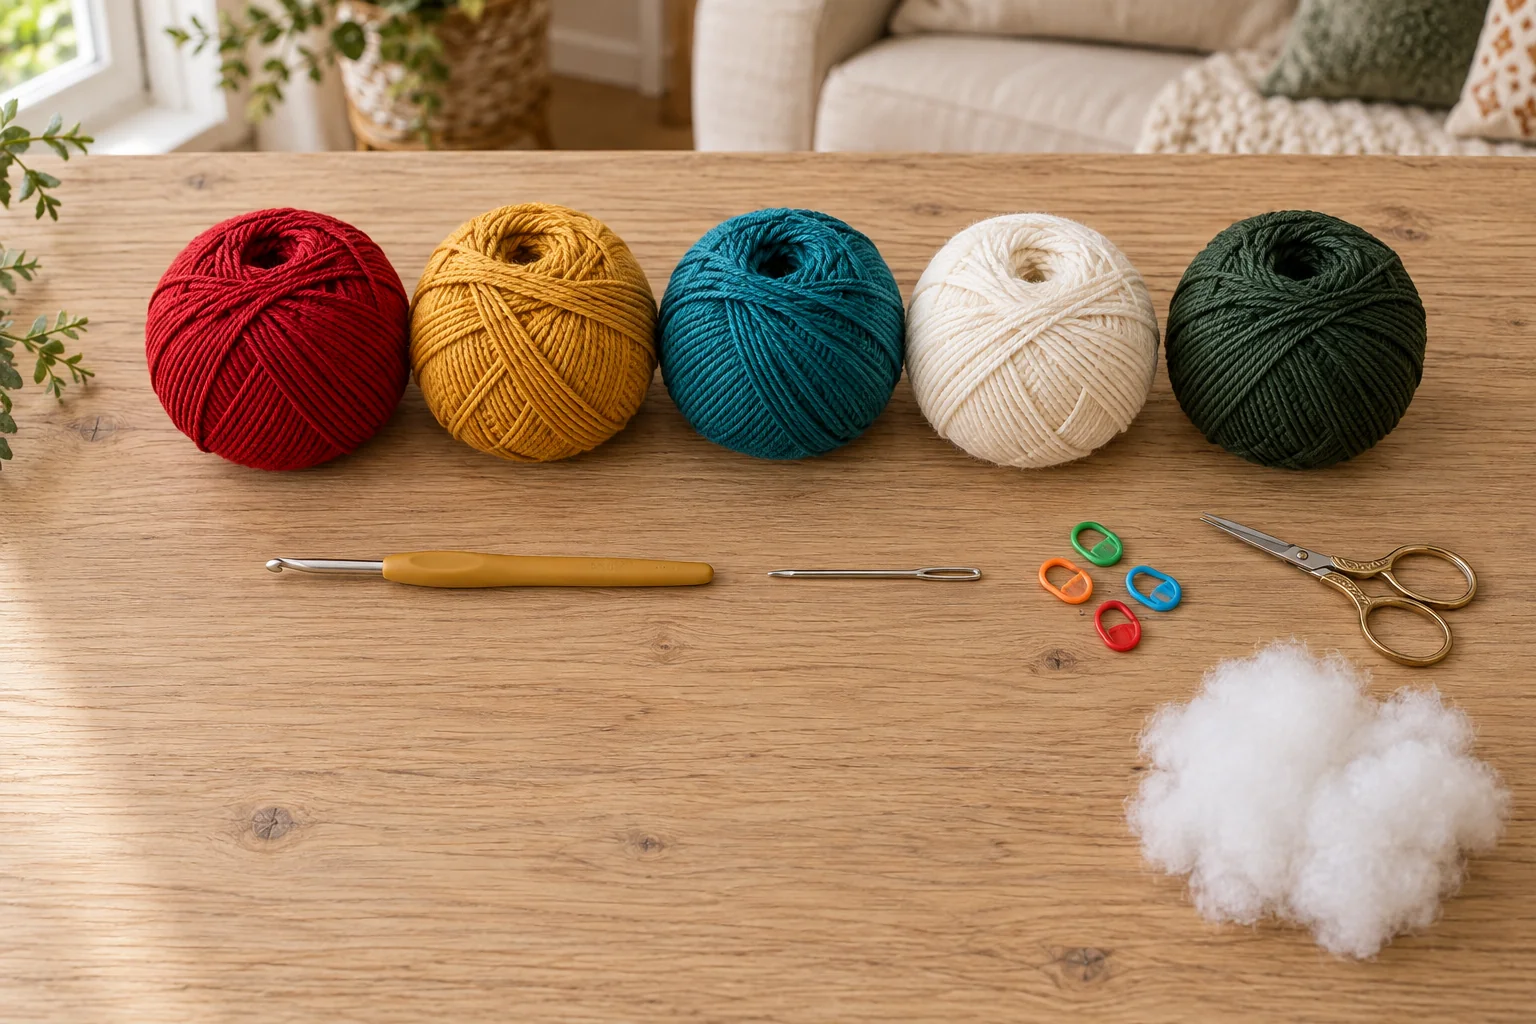
Gather DK cotton yarn in red, mustard gold, teal, ivory, and dark forest green. Allow approximately 15–20 g of each bulb color and 25 g of green as a starting preparation estimate; yarn meterage and personal tension affect the amount used. The green yarn supplies all eight sockets and loops as well as the main cord.
Use a 2.5–3 mm hook, a blunt yarn needle, scissors, a removable stitch marker, a measuring tape, and a small amount of polyester fiberfill. Choose a hook that produces firm single crochet fabric without making it painfully tight to work. If filling is plainly visible between stitches, try a smaller hook before continuing.
Smooth cotton helps you see and count the stitches. Plush or velvet yarn changes the proportions and can hide the stitch tops, so it is not the reference yarn for this tutorial. If you substitute a different fiber, first make one test bulb and check that the socket, hanging loop, and cord can support its weight.
Abbreviations and Round Counts
ch = chain; sc = single crochet; inc = work 2 sc into one stitch; dec = decrease two stitches into one; st = stitch; sts = stitches. Numbers in parentheses at the end of a round give the finished stitch count. Instructions in square brackets are repeated the stated number of times.
Work the bulb and socket in a continuous spiral. Do not join at the end of each round or add a turning chain. Place a removable marker in the first stitch of a round and move it to the first stitch of the following round. Count before moving on whenever you work an increase or decrease round.
For an invisible decrease, insert the hook through the front loop of each of the next two stitches, yarn over and pull through those two front loops, then yarn over and pull through the remaining two loops on the hook. Keep the decrease compact without pulling the surrounding fabric into a sharp crease.
Step 1: Start the Rounded Bulb Base
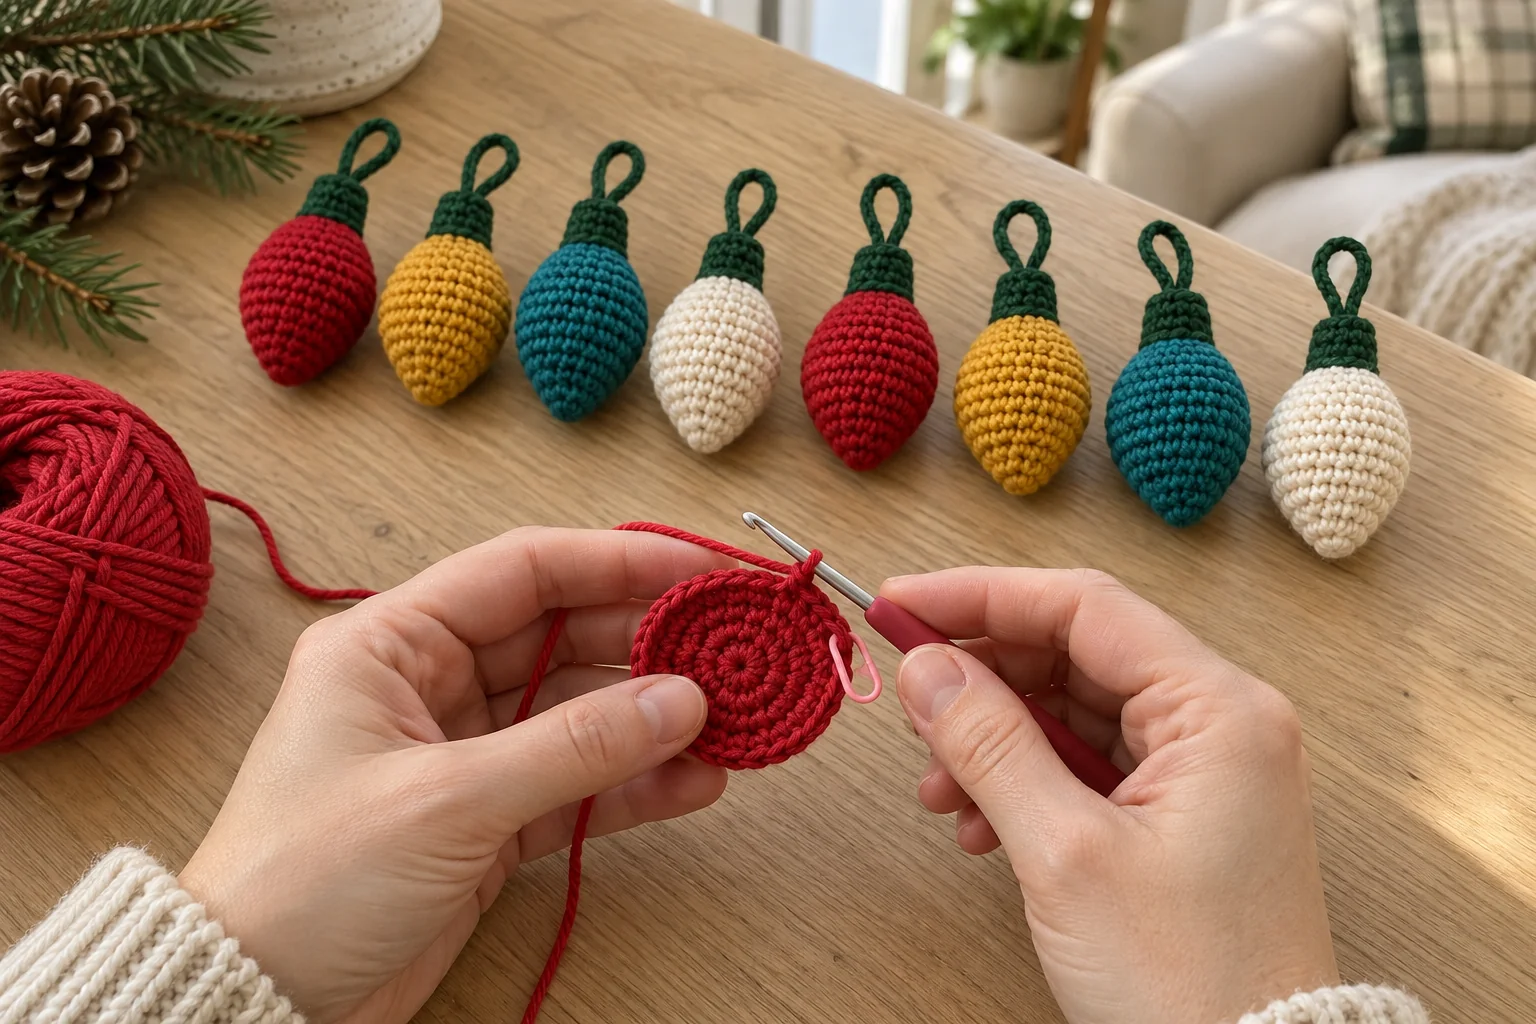
Choose the first bulb color. Round 1: work 6 sc into a magic ring. Pull the ring closed. Round 2: inc in each stitch around. (12 sts) Round 3: [sc in the next st, inc in the next st] 6 times. (18 sts)
Round 4: [sc in the next 2 sts, inc in the next st] 6 times. (24 sts) The piece should form a small expanding circle with a softly rounded center. Keep the magic-ring tail inside the piece and secure it so the opening cannot loosen when the bulb is stuffed.
Avoid pulling the starting ring so forcefully that the yarn breaks. If the opening remains visible, use the starting tail and a needle to take an additional pass through the center stitches, then secure the tail inside.
Step 2: Build the Full Bulb Body
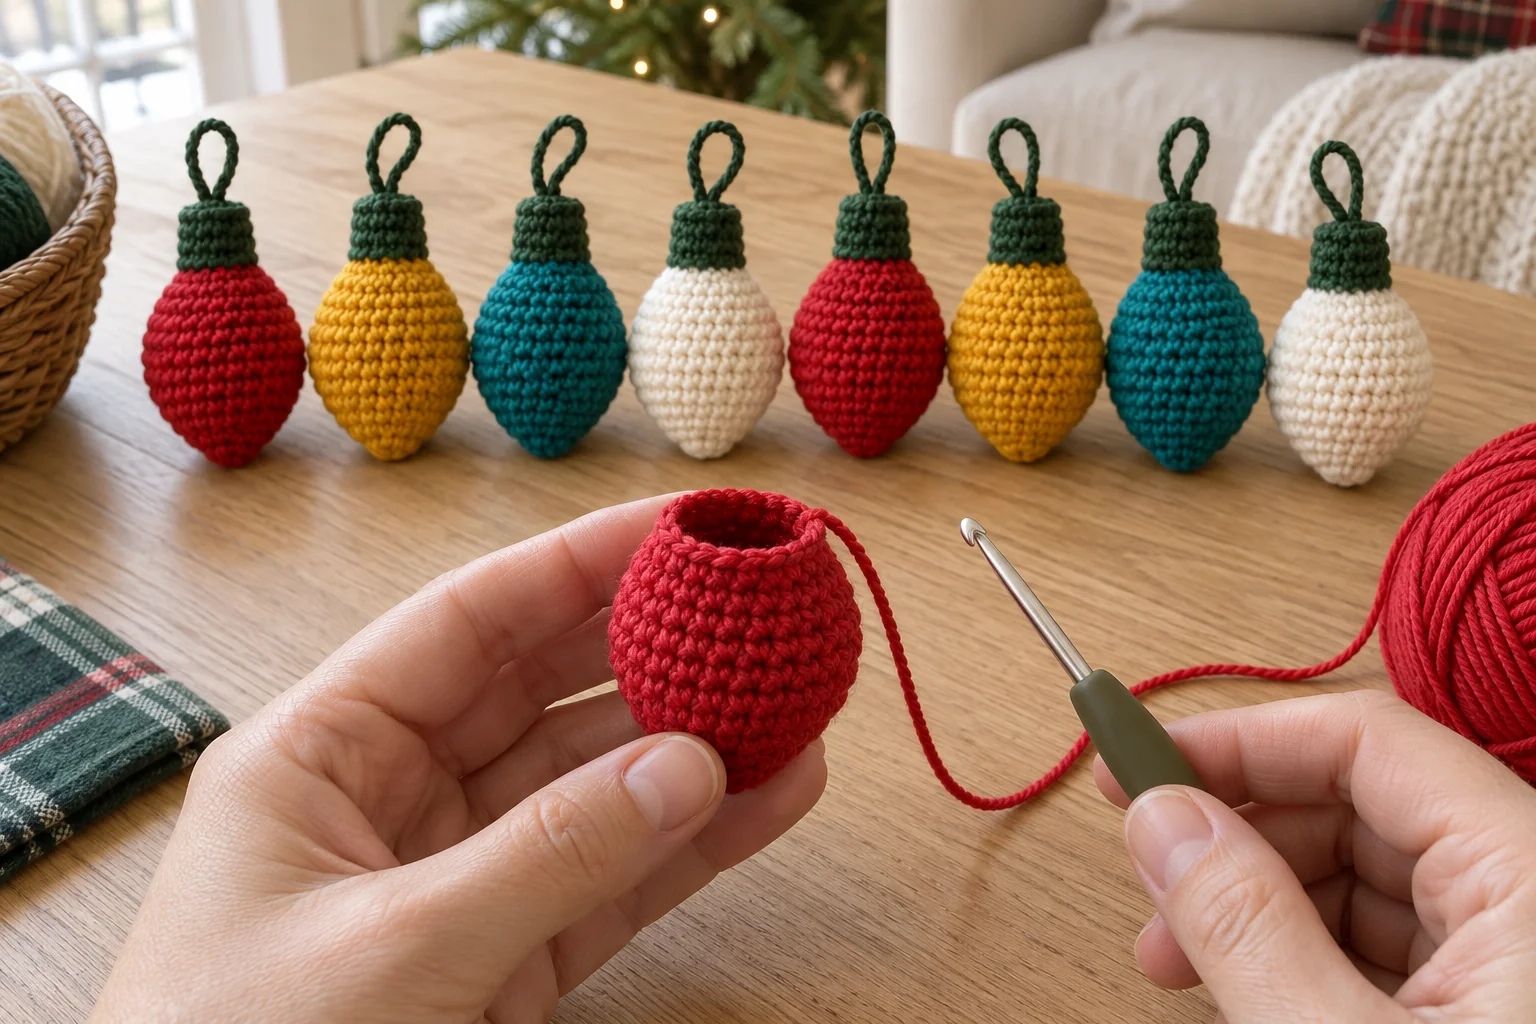
Rounds 5–7: sc in every stitch around. (24 sts in each round) These three plain rounds give the bulb its rounded lower body. There are no increases, decreases, joins, or color changes in these rounds.
Check that the intended outside of your crochet faces outward. A continuous-round piece can turn inside out as it grows; gently turn it if necessary before adding filling. The right side usually shows the small stitch V shapes more clearly, while the reverse has a different horizontal texture.
Round 8: [sc in the next 2 sts, dec over the next 2 sts] 6 times. (18 sts) Round 9: sc in every stitch around. (18 sts) The top starts to draw inward while the lower body stays rounded. Do not add extra stuffing yet if it would make the next stitches difficult to reach.
Step 3: Narrow the Neck and Add Filling
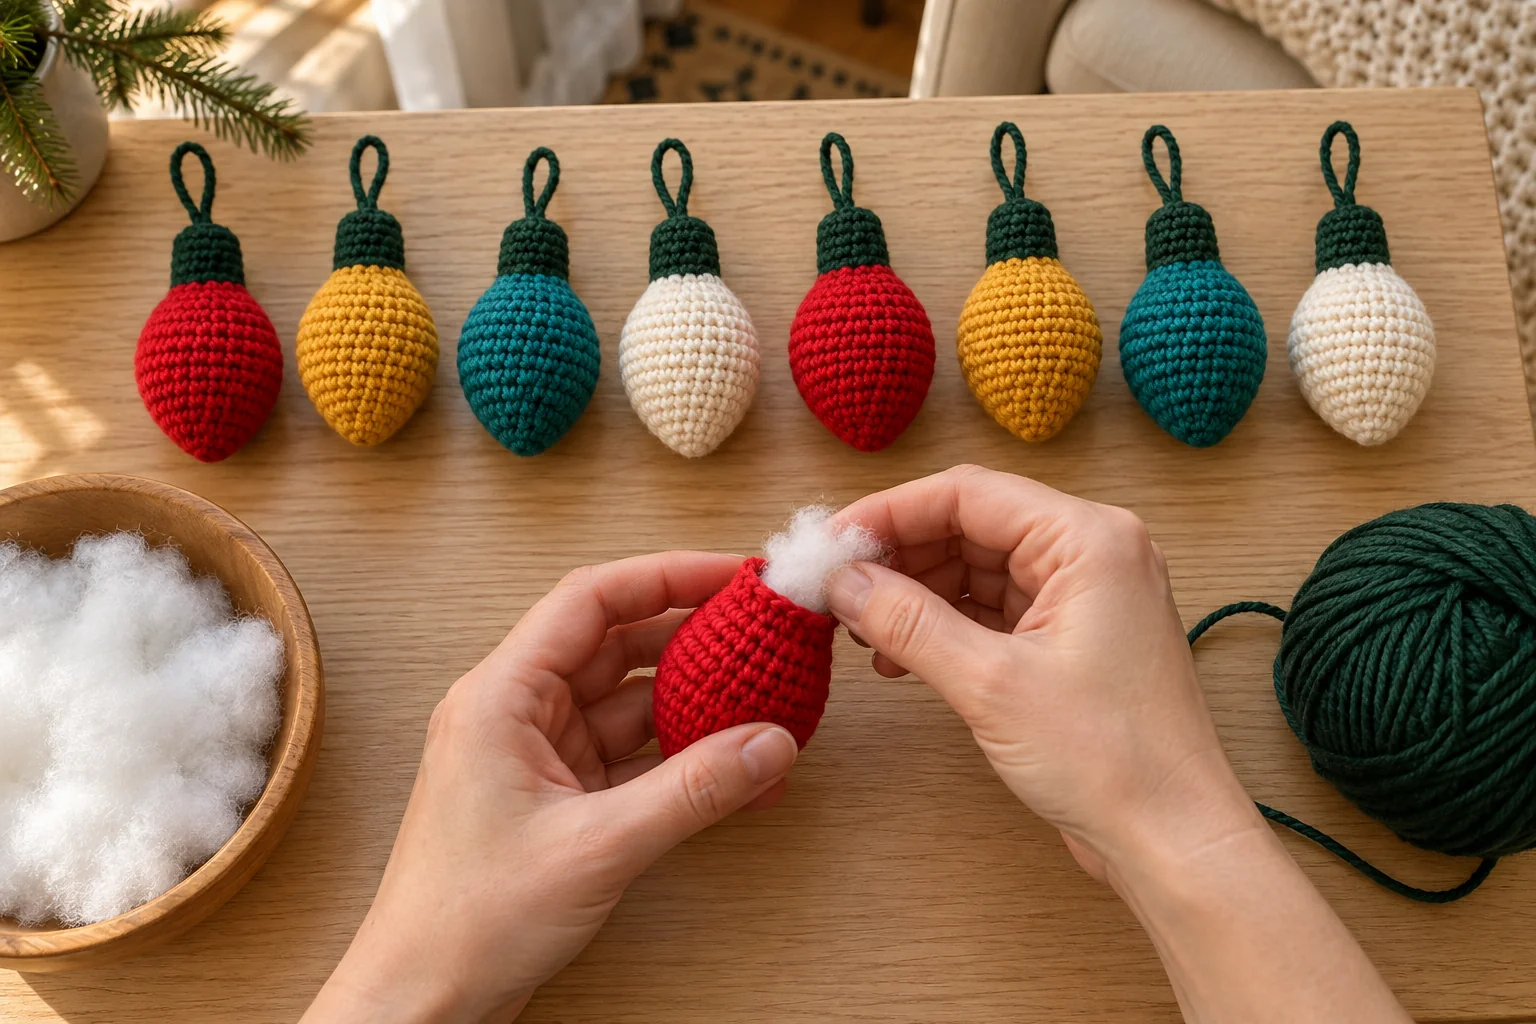
Round 10: [sc in the next st, dec over the next 2 sts] 6 times. (12 sts) Round 11: sc in every stitch around. (12 sts) Add small tufts of fiberfill through the opening, pushing them gently into the lower body with your fingers or the blunt end of a suitable tool.
Use enough filling to support the shape without stretching the stitch gaps. Small tufts distribute more evenly than one large wad. The lower body should feel rounded, while the neck remains easy to crochet. Check the magic-ring end and all decreases for visible filling before narrowing further.
Round 12: [sc in the next st, dec over the next 2 sts] 4 times. (8 sts) This round consumes all 12 stitches from Round 11 and leaves eight stitches for the socket. Add a final small amount of filling if needed, keeping loose fibers away from the working yarn.
On the final stitch of Round 12, complete the last yarn-over with dark forest green to begin the socket color. Cut the bulb-color yarn with a tail long enough to secure inside. A small color-change step can occur in spiral crochet; position that change toward the back when you attach the ornament.
Step 4: Crochet the Green Socket
Rounds 13–15: with green, sc in every stitch around. (8 sts in each round) Work through both top loops. These three rounds make a short narrow cylinder above the colored bulb. Maintain the same eight stitches instead of increasing to make a wide rim.
Keep the socket lightly filled, using only enough fiberfill to stop it collapsing. The neck and cap should remain visibly narrower than the bulb body. Too much stuffing at this stage can make the whole ornament look like a straight cylinder rather than a miniature light bulb.
Round 16: dec 4 times. (4 sts) Fasten off, leaving a sewing tail. Thread the tail through the front loops of the four remaining stitches, draw the opening closed, and secure the end inside the green socket. Do not leave an open hole beneath the hanging loop.
Step 5: Add a Secure Hanging Loop
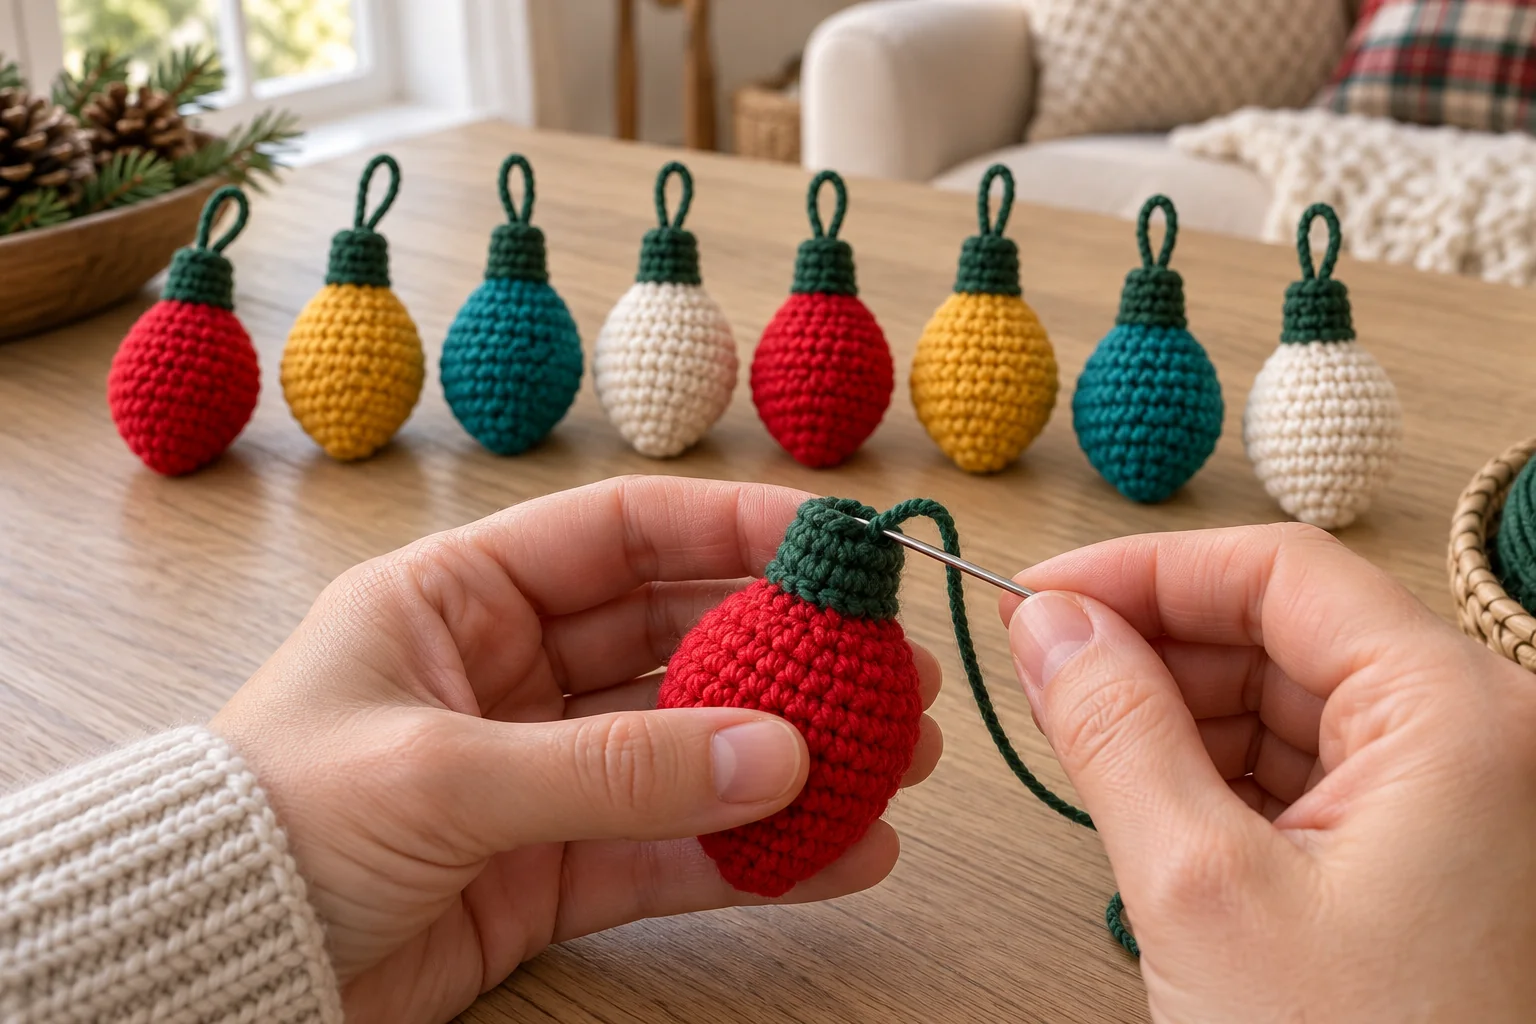
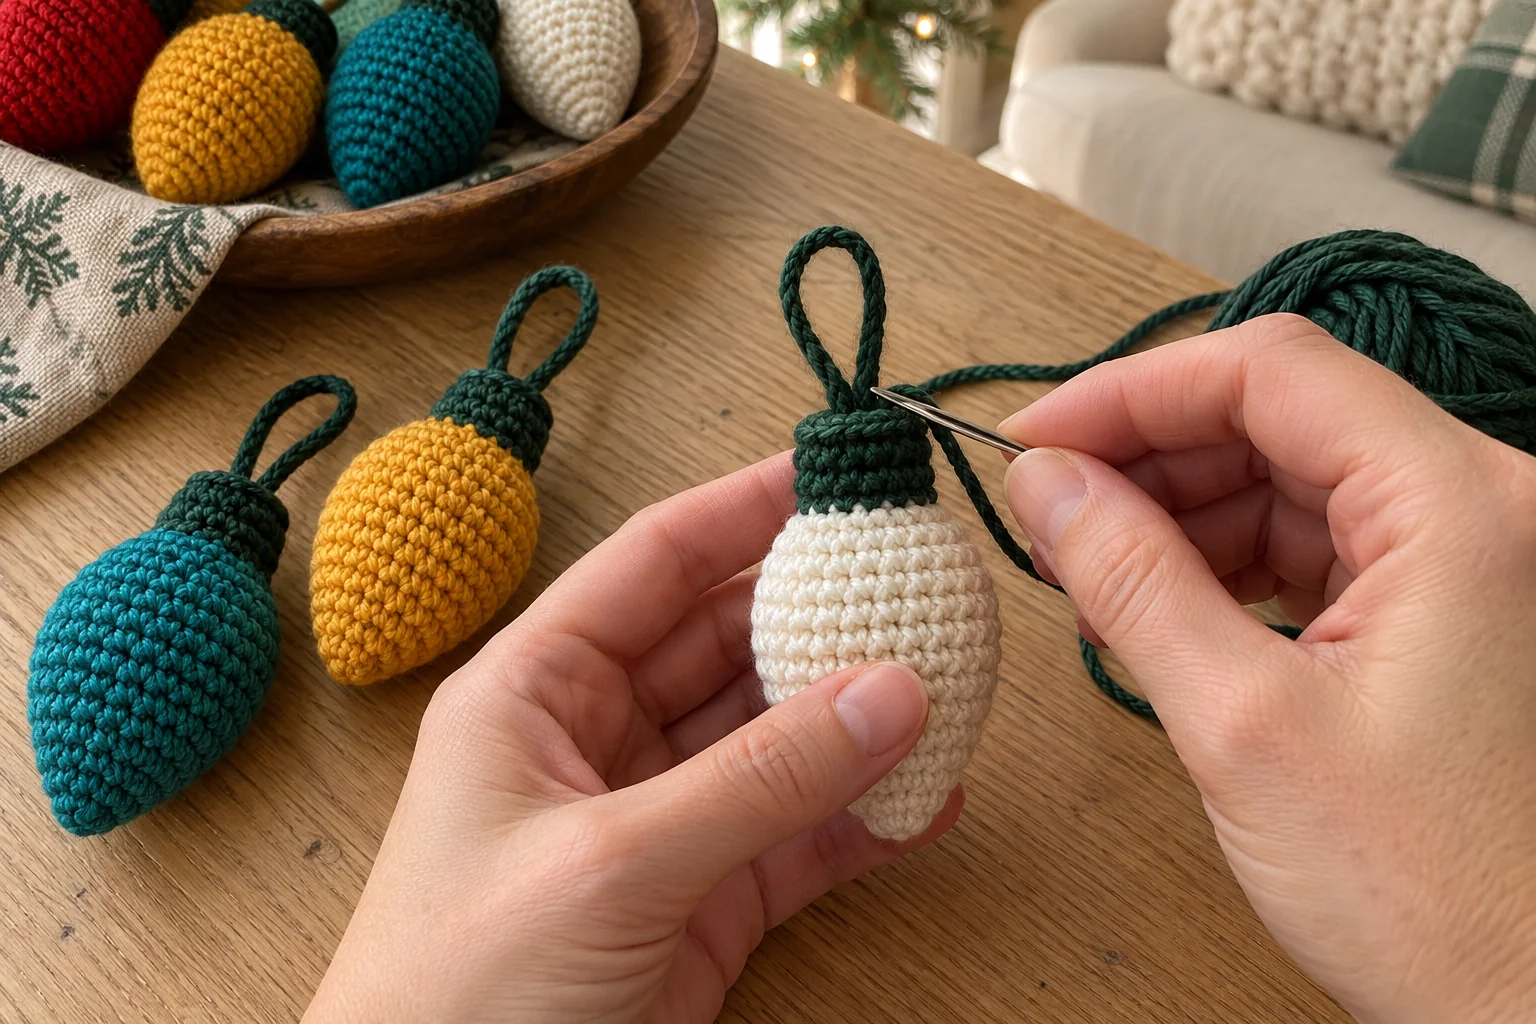
Using green yarn, ch 12 and fasten off, leaving sewing tails at both ends. This chain becomes the small hanging loop for one bulb. Bring the two chain ends together at the top of the socket and sew both ends securely through several stitches of the cap.
Keep the loop attachment near the center top so the bulb hangs upright. Make several needle passes through different neighboring stitches, then secure the tails and weave them inside. A single loose stitch at the very tip can distort or pull out when the ornament hangs.
Gently lift the bulb by its loop over the table to check the attachment. The loop should stay closed and the cap should hold its shape. Make the remaining seven bulbs in exactly the same way, for a total of two red, two gold, two teal, and two ivory ornaments.
Step 6: Make the Garland Cord
With green yarn, ch 240 at an even tension. Fasten off and secure the yarn ends by weaving them back through the chain. Lay the cord on a table without stretching it and measure its actual length. Adjust the display area to that finished cord rather than pulling it tight between distant supports.
Count from the starting end and place markers at chains 36, 60, 84, 108, 132, 156, 180, and 204. These eight attachment points are separated by 24 chains. The remaining chain at either end provides space for fastening the garland to suitable supports.
If you want substantially different spacing, lay out all eight bulbs first and choose new positions with comparable end margins. Keep a written record of those positions before attaching anything. The 240-chain version above is the reference layout for this pattern.
Step 7: Arrange and Attach the Eight Bulbs
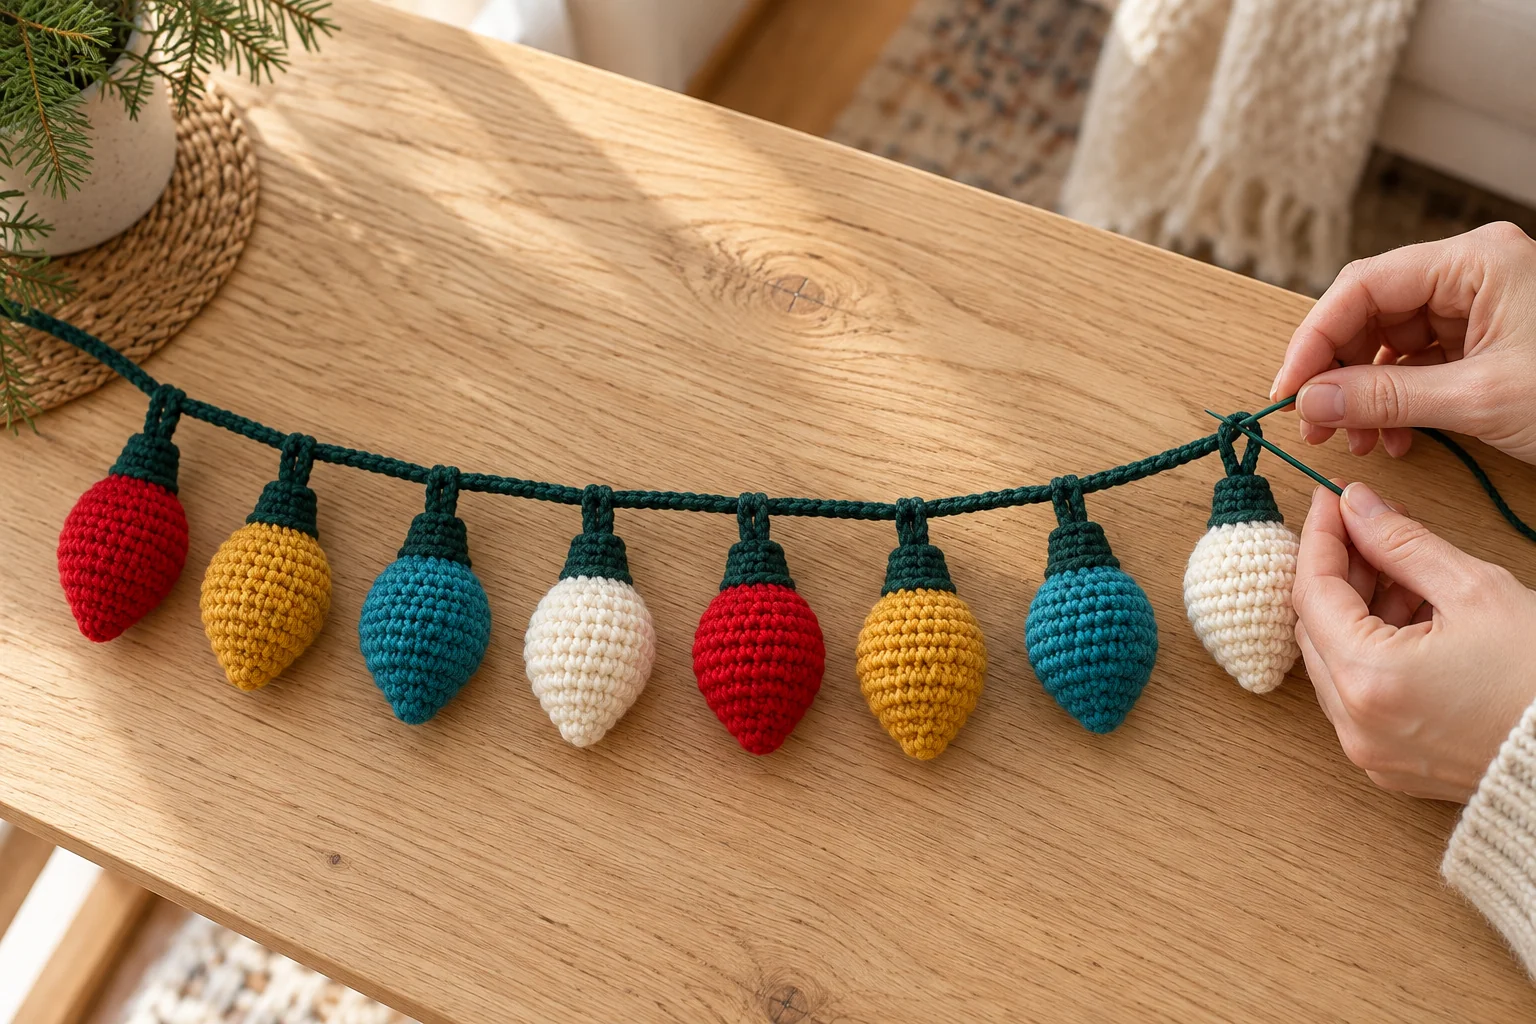
Arrange the ornaments from left to right: red, mustard gold, teal, ivory, red, mustard gold, teal, ivory. Face any obvious spiral color-change steps toward the back. Check that all sockets point upward and that neighboring bulbs have enough room to hang separately.
At each marker, sew the top of the small hanging loop to the main cord using a separate strand of green yarn. Make several secure passes around the cord and through the loop, catching neighboring chain links if necessary to spread the pull. Keep the loops free below their attachment points so the bulbs can hang naturally.
Secure and weave in each attachment tail. Lift the garland gently over the table and check all eight connections. Display with a soft drape, away from flames, heat, pets, and places where a child could become tangled in the cord. This garland is a decoration, not an electrical product, baby toy, or nursery mobile.
Troubleshooting and Care
The bulb looks too round: check that Rounds 8, 10, and 12 contain their decreases, and confirm that the socket has only eight stitches. The neck has gaps: use compact invisible decreases and reduce excessive stuffing. The base has a hole: secure the magic-ring tail before the opening becomes hard to reach.
The green cap leans: use an even loop attachment and distribute the filling more consistently. The bulb hangs sideways: reposition the hanging loop toward the center of the cap. The cord sags too far: shorten the unsupported display span or add a middle support, rather than tightening the chain until it stretches.
Follow the yarn label for cleaning. Spot clean when possible. If washing suits the yarn and filling, reshape each bulb and dry completely before storage. Store the garland loosely in a dry container so the loops do not snag and the stuffed shapes are not crushed.
Frequently Asked Questions
Do the crochet bulbs light up? No. They are stuffed yarn ornaments. Do not place electrical lights, batteries, or hot bulbs inside them.
Is this a no-sew pattern? The body and socket are worked as one continuous piece, but the hanging loops and garland connections require sewing.
Can I use the bulbs as individual ornaments? Yes. Finish each secure hanging loop and omit the long garland cord. Hang them individually on suitable branches or hooks.
Can a beginner follow the pattern? A confident beginner who understands continuous rounds, increases, and decreases can try it. Make one complete bulb to check the construction before starting a batch.
Can I use different colors? Yes. Keep the socket and cord color consistent if you want the ornaments to look like a coordinated set. Use similar yarn weights throughout.
How much stuffing goes in each bulb? There is no measured amount for this untested design. Add small tufts until the body holds its shape without opening the stitch gaps. The socket needs much less filling than the bulb.
More Handmade Christmas Projects
For another hanging decoration, explore our crochet snowman ornament or mini Christmas tree pattern. Our candy cane keychain can also inspire small seasonal gifts.
Complete a coordinated gift display with a crochet Christmas gift bag and a crochet poinsettia flower. If attaching crochet parts is new to you, read our guide to sewing amigurumi pieces together for general finishing advice.
Your crochet Christmas light bulb garland is complete once all eight ornaments hang securely, the yarn ends are hidden, and the shapes look consistent. The repeated four-color sequence creates a cheerful decoration while keeping the stitch instructions the same for every bulb.