Mini Crochet Christmas Tree: Easy 7-Step Pattern

This mini crochet Christmas tree pattern creates a stuffed green cone with a flat base, small red bobble ornaments and a cream star. It works as a shelf decoration, table centerpiece or handmade holiday gift.
Project Details
- Confident beginner
- 8 in (20 cm) tall
- 3–4 hours
- US crochet terms
Materials
- 80 g forest-green worsted yarn
- Cream and red scraps
- 3.5 mm hook
- Fiberfill, marker, needle and scissors
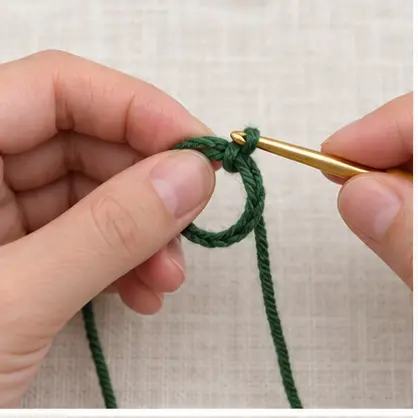
Tree Cone
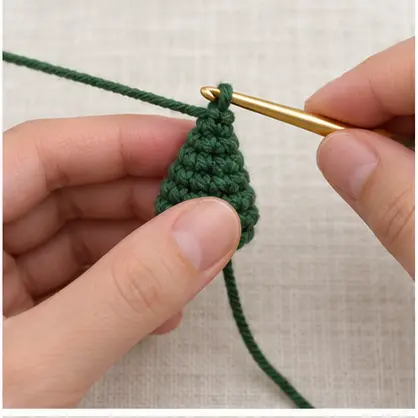
- R1: 4 sc in MR. (4)
- R2: [Sc, inc] × 2. (6)
- R3: Sc around. (6)
- R4: Inc around. (12)
- R5: Sc around. (12)
- R6: [Sc, inc] × 6. (18)
- R7–R8: Sc around. (18)
- R9: [2 sc, inc] × 6. (24)
- R10–R11: Sc around. (24)
- R12: [3 sc, inc] × 6. (30)
- R13–R15: Sc around. (30)
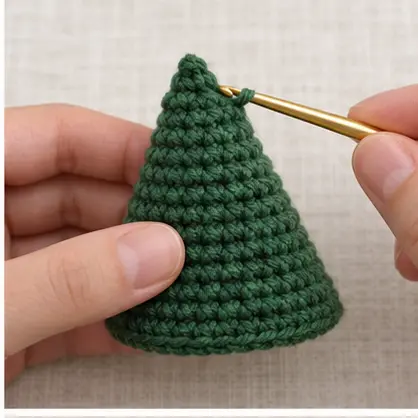
- R16: [4 sc, inc] × 6. (36)
- R17–R20: Sc around. (36). FO.
Base
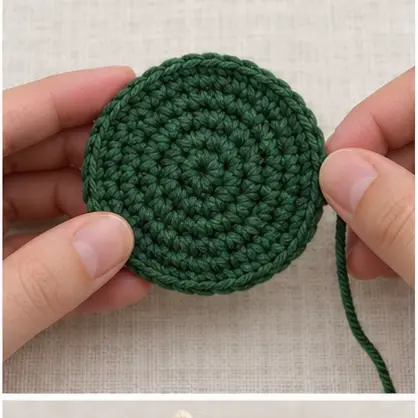
Work 6 sc in MR. Increase to 12, 18, 24, 30 and 36 stitches over five rounds. Fasten off with a long tail.
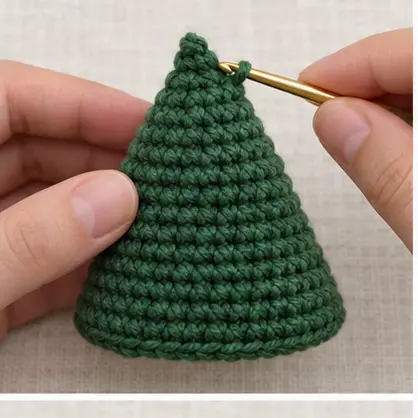
Stuff and Close
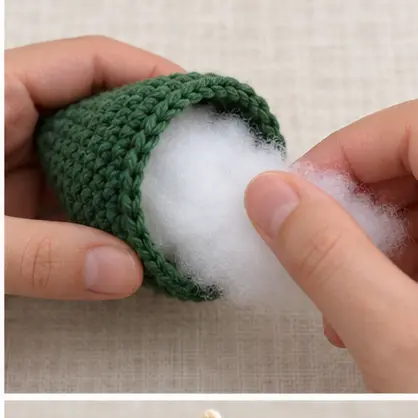
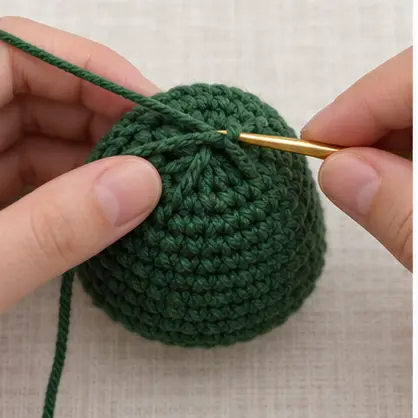
Fill the tip with small pinches, then stuff the lower cone firmly. Sew the base to the opening through both loops, checking that the tree stands level.
Ornaments and Star
Make red bobbles by working 5 dc together into a magic ring, pulling closed and knotting securely. Sew 9–12 bobbles evenly around the cone. Make two small cream stars, sew them together lightly stuffed and attach to the top.
Tips and FAQ
For a softer toddler-safe version, embroider the ornaments directly onto the cone. If the tree leans, remove the base, redistribute stuffing and resew. Scale the project with thicker yarn rather than changing stitch counts.
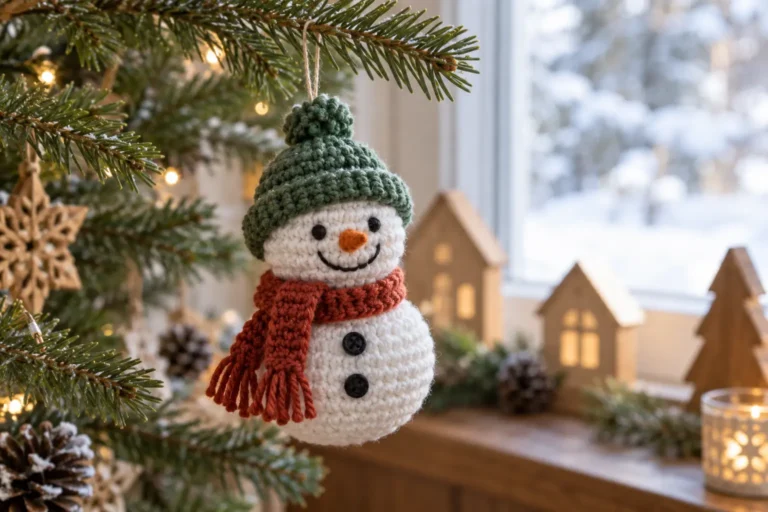
Pair it with our snowman ornament or browse Occasions.
Keep the Tree Cone Even
This mini crochet Christmas tree pattern uses regular increases to form a balanced cone. Move the round marker every time and count the stitches before beginning the next increase round. If the cone twists, gently roll it between your palms and redistribute the stuffing. The lower third should be firmer than the tip so the tree stands upright.
Attach Decorations Securely
Plan the ornament positions while the cone is still unstuffed. Embroidered French knots and short surface stitches are safer and lighter than beads. If the tree is only for adult display, small sewn decorations may be used, but glue alone is not a durable attachment. Keep the star centered by marking four equal points around the final rounds before sewing.
Turn It Into a Gift or Ornament
Add a flat crocheted base for a shelf decoration, or sew a 6 in (15 cm) hanging loop through several top stitches for an ornament. Write the year on a small removable paper tag rather than attaching a hard label to the crochet. Keep yarn decorations away from candles, fireplaces and hot bulbs. Spot-clean and air-dry before storage. Use the Craft Yarn Council weight system when choosing substitutes so the finished size remains predictable.
Mini crochet Christmas tree pattern: Final Checklist
Before finishing this mini crochet Christmas tree pattern, confirm the stitch count, shape, seam strength and care instructions. Photograph the completed mini crochet Christmas tree pattern in natural light and record the yarn and hook used so the result can be repeated accurately.
Repeat the project once to confirm the finished size and your preferred stuffing level.