Crochet Tulip Bouquet Pattern: Easy 7-Step Flower Guide
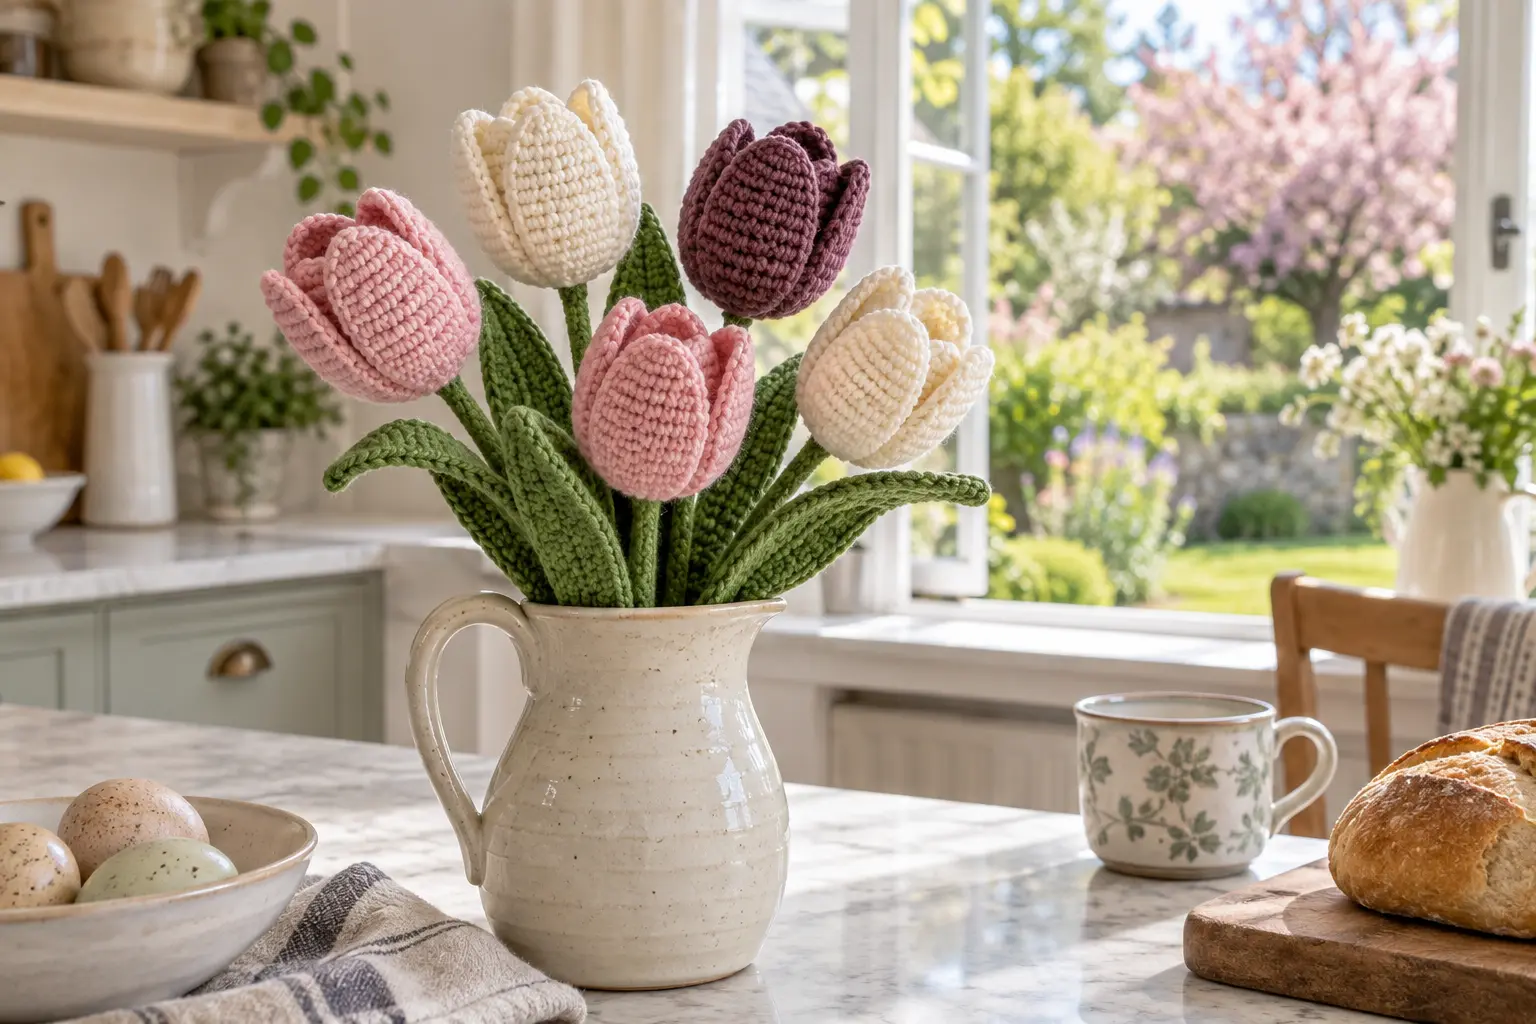
This crochet tulip bouquet pattern combines simple stuffed flower cups, textured leaves and safely wrapped stems. Make one tulip as a small gift or combine five in blush, cream and plum for a lasting spring bouquet.
Project Details and Materials
- Confident beginner; each tulip 12 in (30 cm); 2 hours per flower
- DK cotton in flower colors and green
- 2.5 mm hook, small amount of fiberfill and yarn needle
- Paper floral stems or flexible craft stems with both ends folded and fully wrapped
- Green floral tape; keep stems away from young children
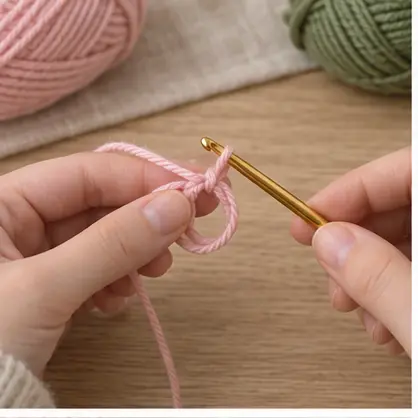
Flower Cup
- R1 6 sc in MR. (6)
- R2 inc around. (12)
- R3 [sc, inc] × 6. (18)
- R4 [2 sc, inc] × 6. (24)
- R5–R10 sc around. (24)
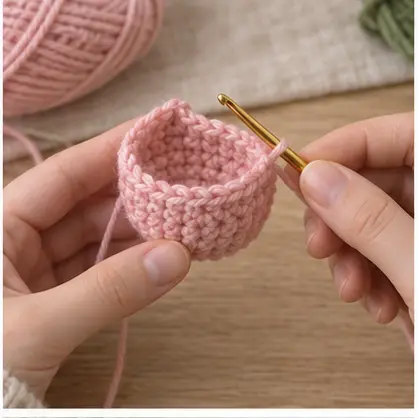
Shape the Petals
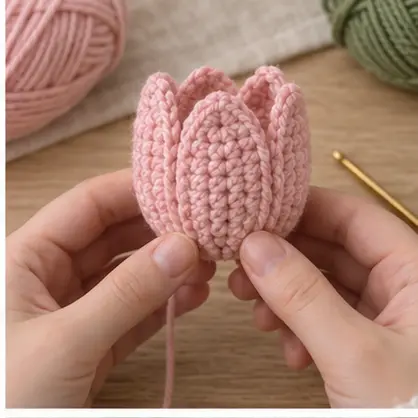
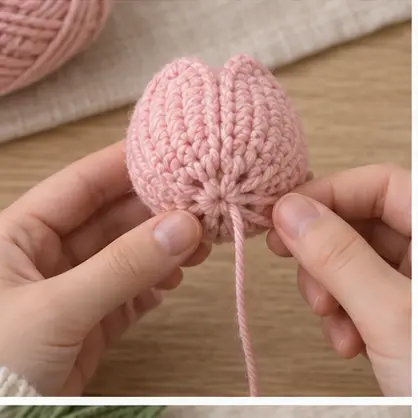
Flatten the open top. Pinch opposite sides together and make four small folds. Sew each fold for about 1 inch, alternating their direction to create overlapping tulip petals. Add only a small amount of stuffing.
Leaf
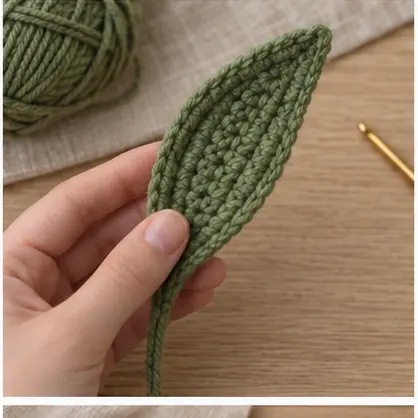
Ch 28 in green. Starting in second chain work: sl st, 3 sc, 5 hdc, 10 dc, 5 hdc, 2 sc. Work down the opposite side in reverse order and join. Fasten off with a long tail.
Safe Stem Assembly
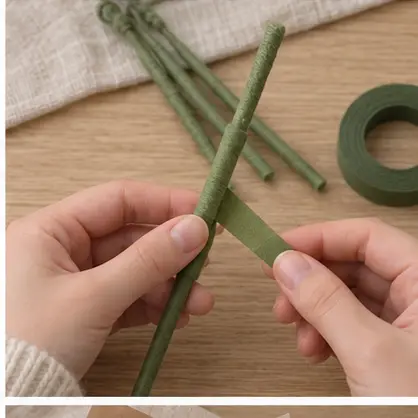
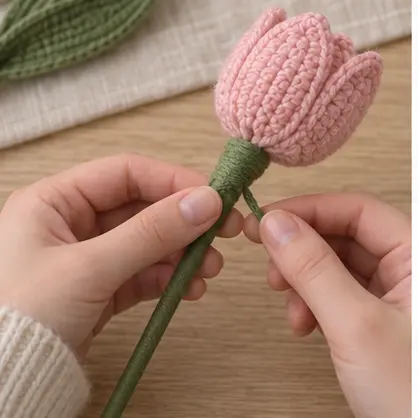
Fold and cover both stem ends. Wrap the entire stem with floral tape, place the upper end inside the stuffed flower base and sew the crochet securely around it. Continue wrapping green yarn or tape down the stem and attach the leaf midway.
Arrange and Finish
Make five flowers in three coordinated colors. Bend each stem slightly rather than making the bouquet rigid. Place taller flowers at the center and leaves around the outside. For a child-safe alternative, omit the stems and sew tulips to a soft crochet wreath.
FAQ
If petals collapse, use less stuffing and reinforce the four top folds. Steam-block leaves from a distance if the yarn allows it. Spot-clean the finished bouquet and keep it dry.
Use our finishing tutorial and browse more handmade gifts in Occasions.
Shape Consistent Tulip Cups
A crochet tulip bouquet pattern looks convincing when every flower begins with the same yarn, hook and tension. Count the final round of each cup and compare the pieces before forming the petals. Steam or damp-block only if the yarn label allows it; too much heat can flatten the stitch texture or melt acrylic fibers.
Create Natural Petal Variation
Mark the petal divisions before sewing. Pull the shaping stitches firmly enough to define three sections but not so tightly that the cup collapses. Rotate later flowers by a few degrees when attaching them to the stems. This small variation keeps the bouquet from looking mechanically identical while preserving a consistent size.
Assemble and Balance the Bouquet
Start with the tallest tulip in the center, add two medium stems behind it and place shorter flowers near the front. Distribute leaves at different heights, keeping the lower third open enough to fit the vase or wrapping. Turn the bouquet as you work and check it from every side. Use a removable ribbon so the flowers can be rearranged.
Safe Stem Alternatives and Care
Wire stems are suitable only for adult decoration. Cover every cut end, keep the bouquet away from children and pets, and do not place it near food. For a soft gift, replace wire with tightly rolled felt or omit the stems and sew the tulip heads to a wreath. Dust gently with a cool hair dryer at a distance. Match substitute yarn through the standard yarn-weight system so all flowers remain proportional.
Crochet tulip bouquet pattern: Final Checklist
Before finishing this crochet tulip bouquet pattern, confirm the stitch count, shape, seam strength and care instructions. Photograph the completed crochet tulip bouquet pattern in natural light and record the yarn and hook used so the result can be repeated accurately.