Crochet Candy Cane Keychain – Free Christmas Pattern
Make a mini crochet candy cane keychain with this free Christmas pattern. Follow the red and cream stripes, shaping, green bow and secure clasp attachment.
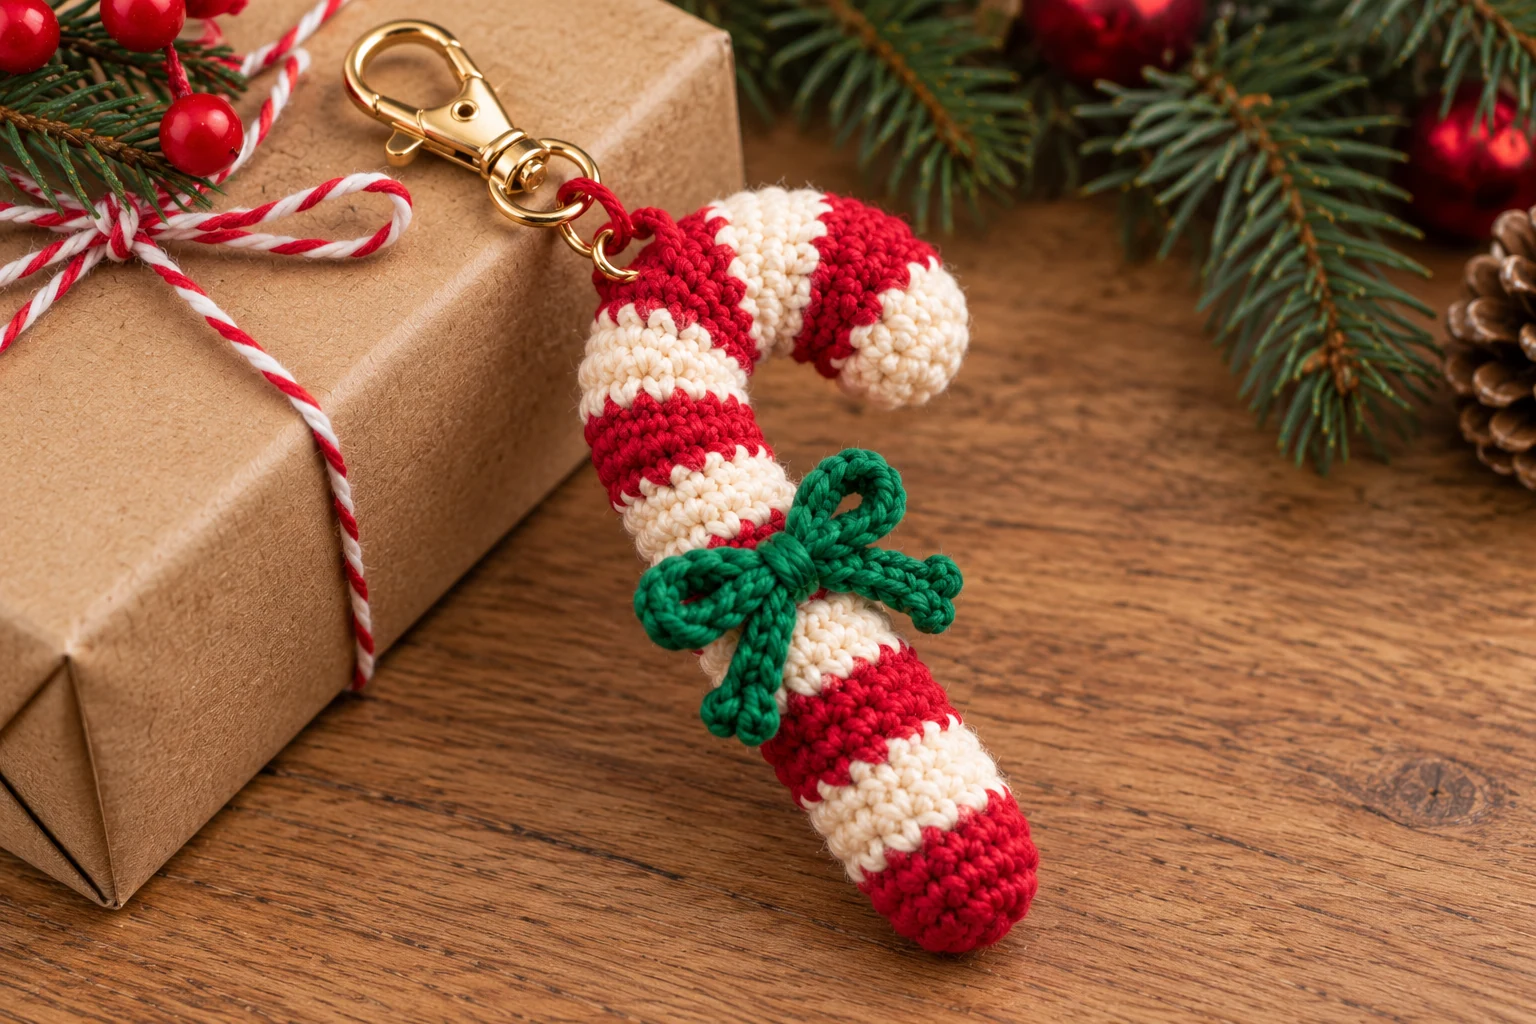
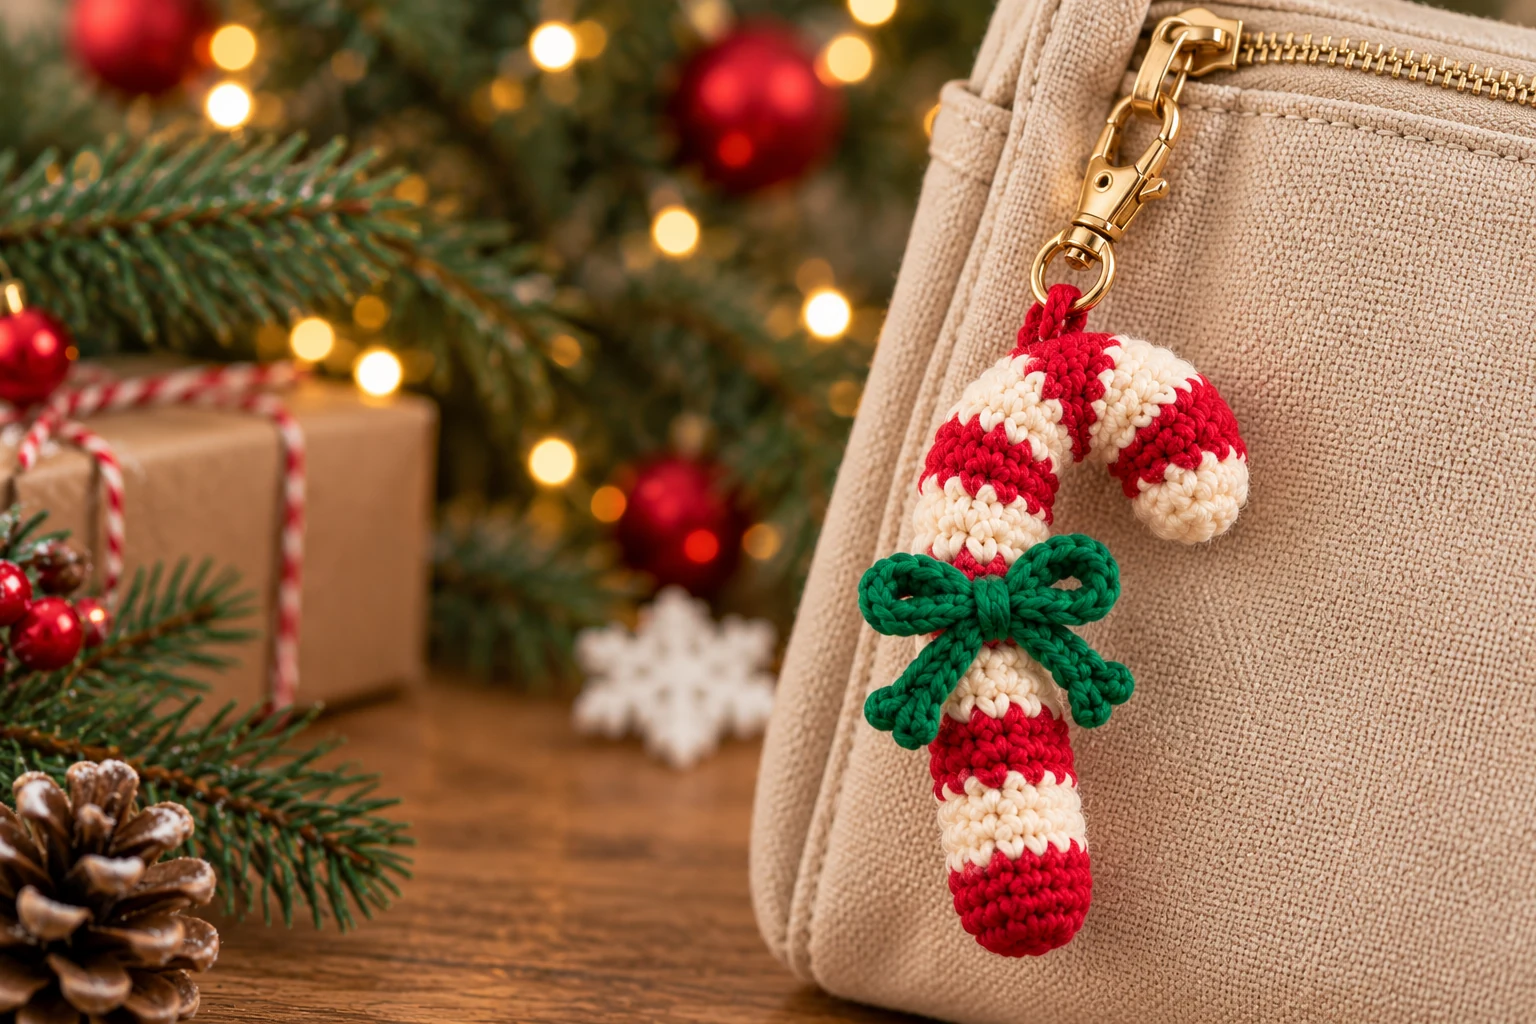
This crochet candy cane keychain is made as a narrow tube with alternating red and cream stripes. The tube is lightly stuffed, closed, and shaped into the familiar candy cane curve before a reinforced hanging loop and keychain clasp are added.
The small size makes it suitable for leftover yarn and keeps the finished charm light enough for handbags, backpacks, zipper pulls, project bags, keys, and small Christmas gifts.
The pattern uses single crochet throughout the main piece, so the most important parts are keeping an even stitch count, changing colors neatly, and shaping the curve without overstuffing the tube.
Browse our Keychains collection for more small crochet accessories.
Pattern Details
Skill level: Beginner to confident beginner
Crochet terms: US terminology
Construction: Continuous rounds
Main stitch: Single crochet
Recommended yarn: DK or light worsted cotton or cotton blend
Recommended hook: 2.5–3 mm
Stuffing: Small amount of polyester fiberfill
Main colors: Red and cream or white
Optional details: Green bow, embroidered face, tiny holly leaves
The finished crochet fabric should be dense.
If stuffing is visible between the stitches, use a slightly smaller hook.
Finished Size
The following are size targets rather than measurements from a tested sample. With DK cotton and a 2.75 mm hook, aim for approximately:
Length before curving: 11–13 cm
Finished height after shaping: 9–11 cm
Tube diameter: approximately 1.3–1.8 cm; measure your own fabric
The exact measurements will depend on yarn thickness, hook size, tension, stuffing, and how tightly the upper section is curved.
The keychain hardware is not included in these measurements.
Materials
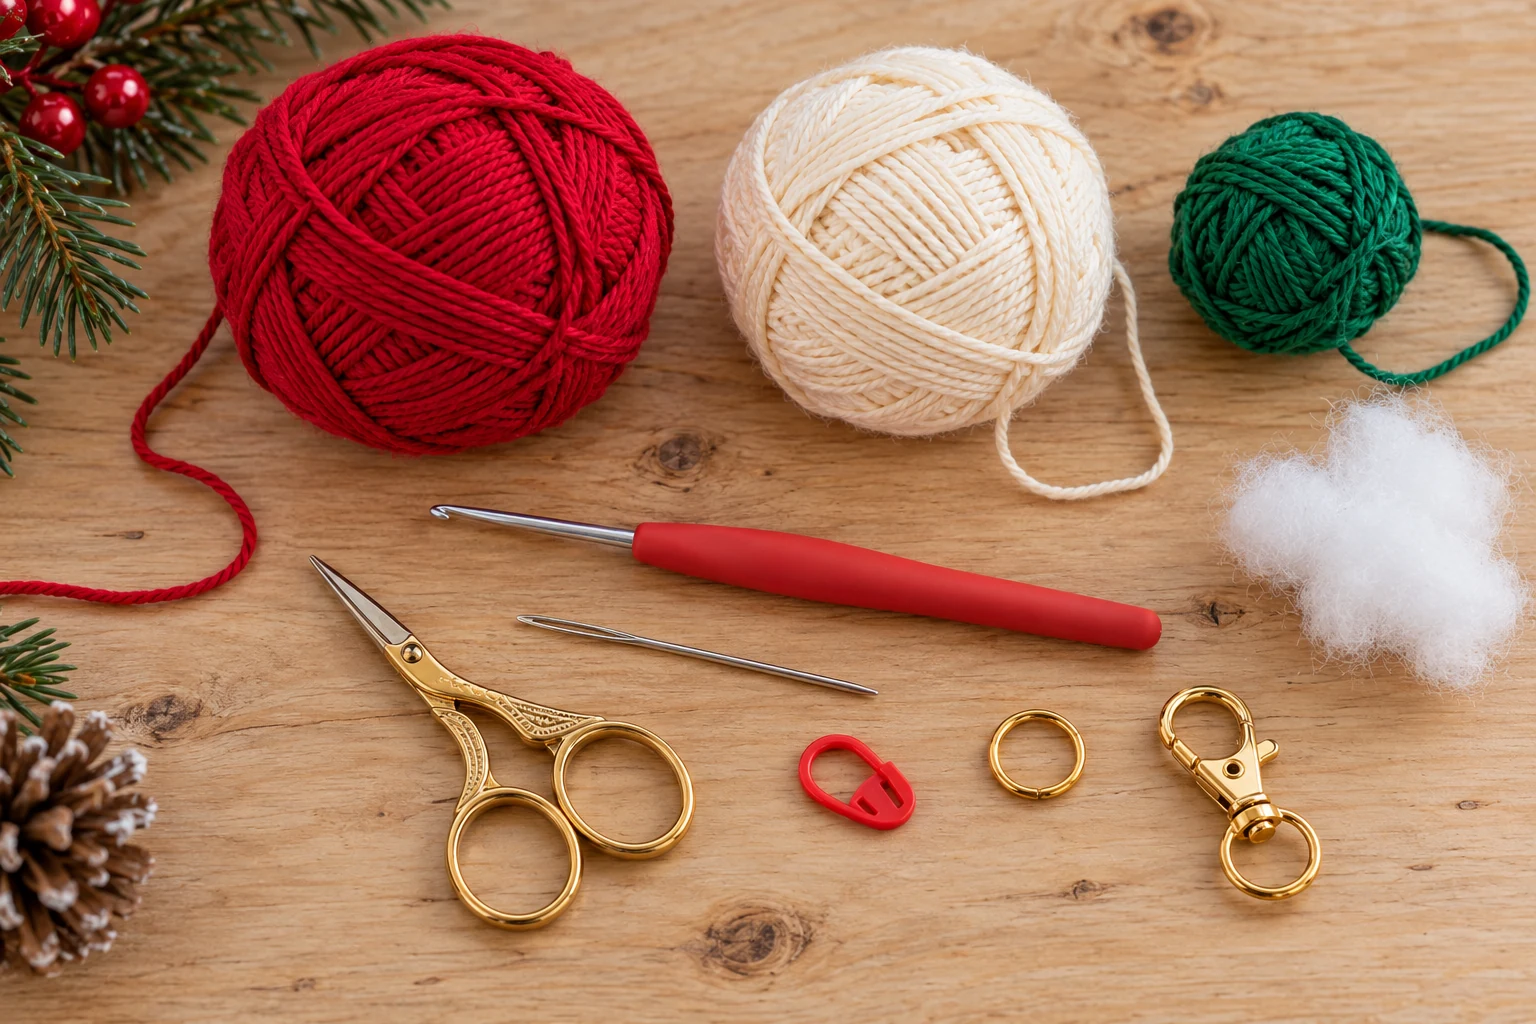
You will need:
- 10–15 g red DK or light worsted yarn
- 10–15 g cream or white yarn
- small amount of green yarn for optional bow
- 2.5–3 mm crochet hook
- polyester fiberfill
- yarn needle
- scissors
- stitch marker
- small metal jump ring
- lobster clasp, swivel clasp, or split key ring
- optional small pliers
- optional black and pink embroidery thread
A smooth cotton or cotton blend works especially well because the stripes remain clear and the finished cane holds its shape. For another small project using leftovers, try the crochet mushroom keychain pattern.
Very soft yarn can also be used, but the finished piece may need more shaping.
Color Placement
The standard version uses alternating sections of red and cream.
A simple sequence is:
Red opening cap (rounds 1–5) → 3 rounds cream → 3 rounds red → repeat, ending with a red closing cap.
The straight stripe sections contain three rounds each. The beginning and closing red caps contain shaping rounds as well, so they are longer than the middle stripes.
This creates wide, easy-to-see stripes.
For narrower stripes, use:
2 rounds red → 2 rounds cream
For a more traditional candy appearance, keep the first and last visible stripe red.
You can also reverse the colors and begin with cream.
Abbreviations
| Abbreviation | Meaning |
|---|---|
| MR | Magic ring |
| inc | Increase: 2 sc in the same stitch |
| ch | Chain |
| sc | Single crochet |
| dec | Invisible decrease |
| sl st | Slip stitch |
| st / sts | Stitch / stitches |
| FO | Fasten off |
| rnd | Round |
Pattern Notes
The candy cane is worked from one end to the other.
Photo note: The images are AI-generated illustrations of the construction stages. Follow the written stitch counts; the photos do not show exact stitch or round counts. This pattern has been checked for stitch-count consistency but has not been physically tested.
Use a stitch marker in the first stitch of every round.
The stitch count stays small, so count frequently.
Do not overstuff.
Too much stuffing makes the piece difficult to curve.
The upper hook is shaped after the tube is complete.
A hidden strand of matching yarn helps keep the curved section in place.
When changing colors, carry the unused yarn only if it does not show through the fabric. For a cleaner small project, cutting and rejoining the color usually produces a neater result.
Crochet the Candy Cane
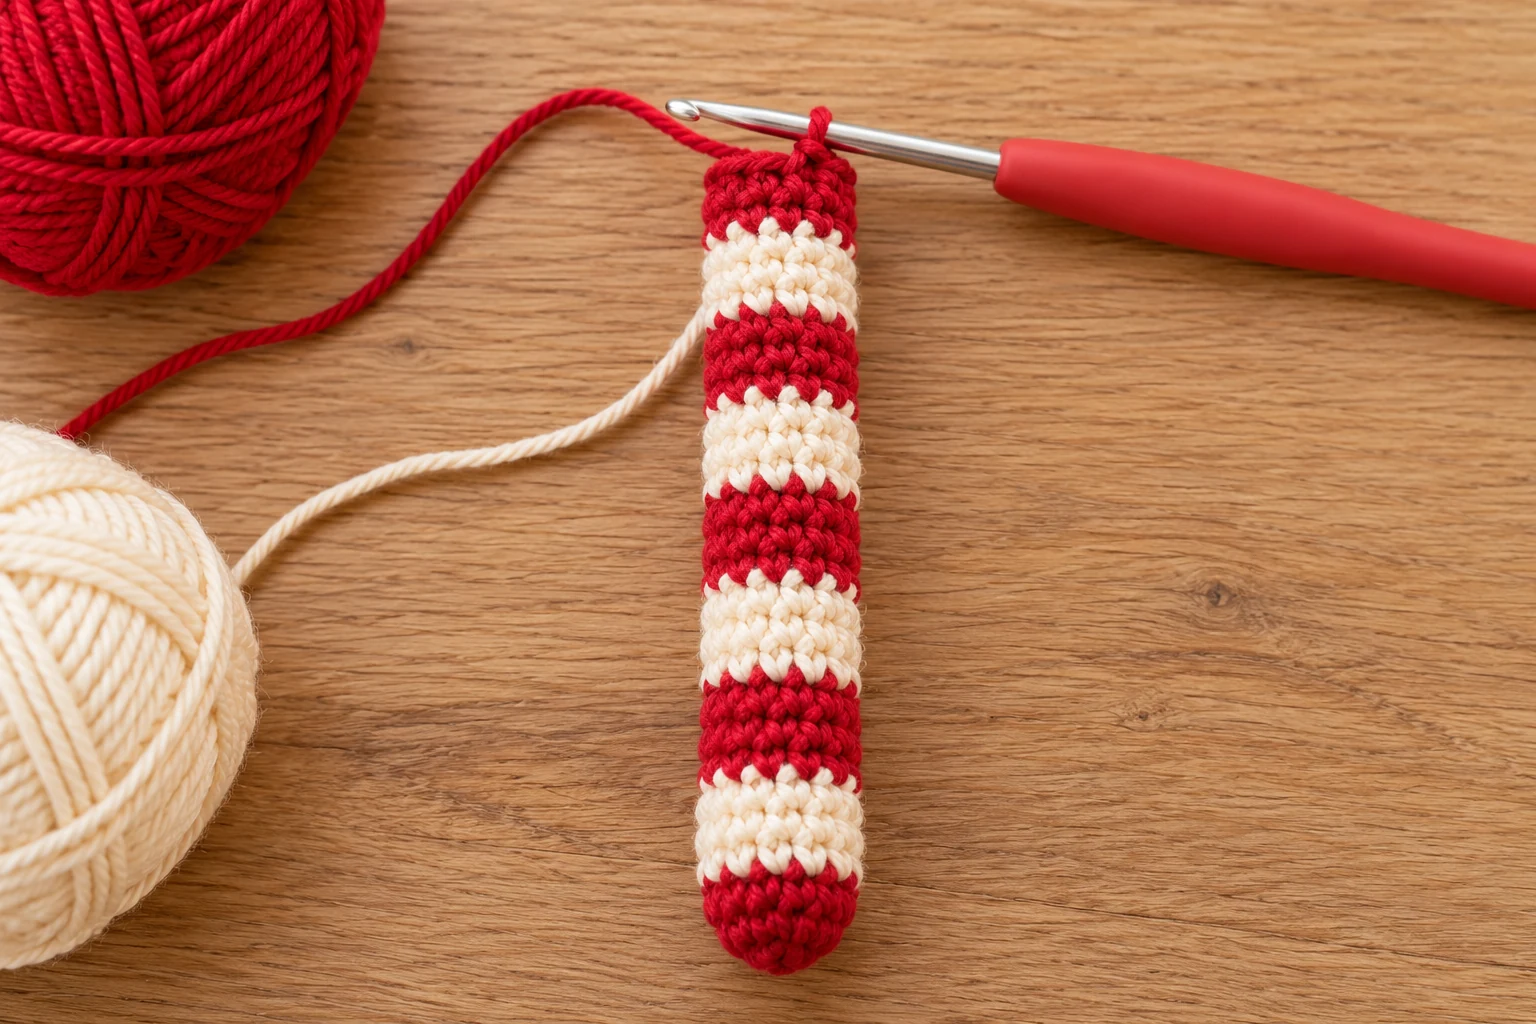
Start with red yarn.
Round 1
6 sc in MR.
(6)
Pull the ring closed.
Round 2
Inc around.
(12)
Rounds 3–5
Sc around.
(12)
Change to cream.
Rounds 6–8
Sc around.
(12)
Change to red.
Rounds 9–11
Sc around.
(12)
Change to cream.
Rounds 12–14
Sc around.
(12)
Change to red.
Rounds 15–17
Sc around.
(12)
Begin adding a small amount of stuffing.
Use the end of your crochet hook or a blunt tool to push the filling gently into the tube.
Do not pack it tightly.
Change to cream.
Rounds 18–20
Sc around.
(12)
Change to red.
Rounds 21–23
Sc around.
(12)
Change to cream.
Rounds 24–26
Sc around.
(12)
Add more stuffing gradually.
Change to red.
Rounds 27–29
Sc around.
(12)
At this stage, check the length.
For the standard keychain, the piece should be approximately 11–13 cm before shaping.
If you want a slightly longer cane, add another 3-round cream stripe and another 3-round red stripe.
Close the Candy Cane
Continue in red.
Round 30
(1 sc, dec) repeat 4 times.
(8)
Add the final small amount of stuffing.
Round 31
Dec around.
(4)
Fasten off with a long tail.
Thread the tail through the front loops of the remaining stitches.
Pull closed.
Secure the yarn.
Do not trim the tail yet if you plan to use it to help shape the top curve.
Change Colors Cleanly
Color changes are especially visible on a narrow project.
To make a cleaner transition, work the final single crochet of the old color until two loops remain on the hook.
Drop the old yarn.
Pull the new yarn through both loops.
Continue the next stitch with the new color.
This places the new color at the top of the previous stitch.
Keep the joins aligned along the back of the candy cane.
When the finished piece is curved, position that join line toward the inside or rear of the hook.
Carry or Cut the Yarn?
For short stripes, carrying yarn can save time.
However, on a small tube, carried yarn may show through light-colored stitches.
If the red yarn is visible under the cream section, cut the color and rejoin it when needed.
Weave the yarn ends into the inside of the tube before closing.
Stuff the Candy Cane
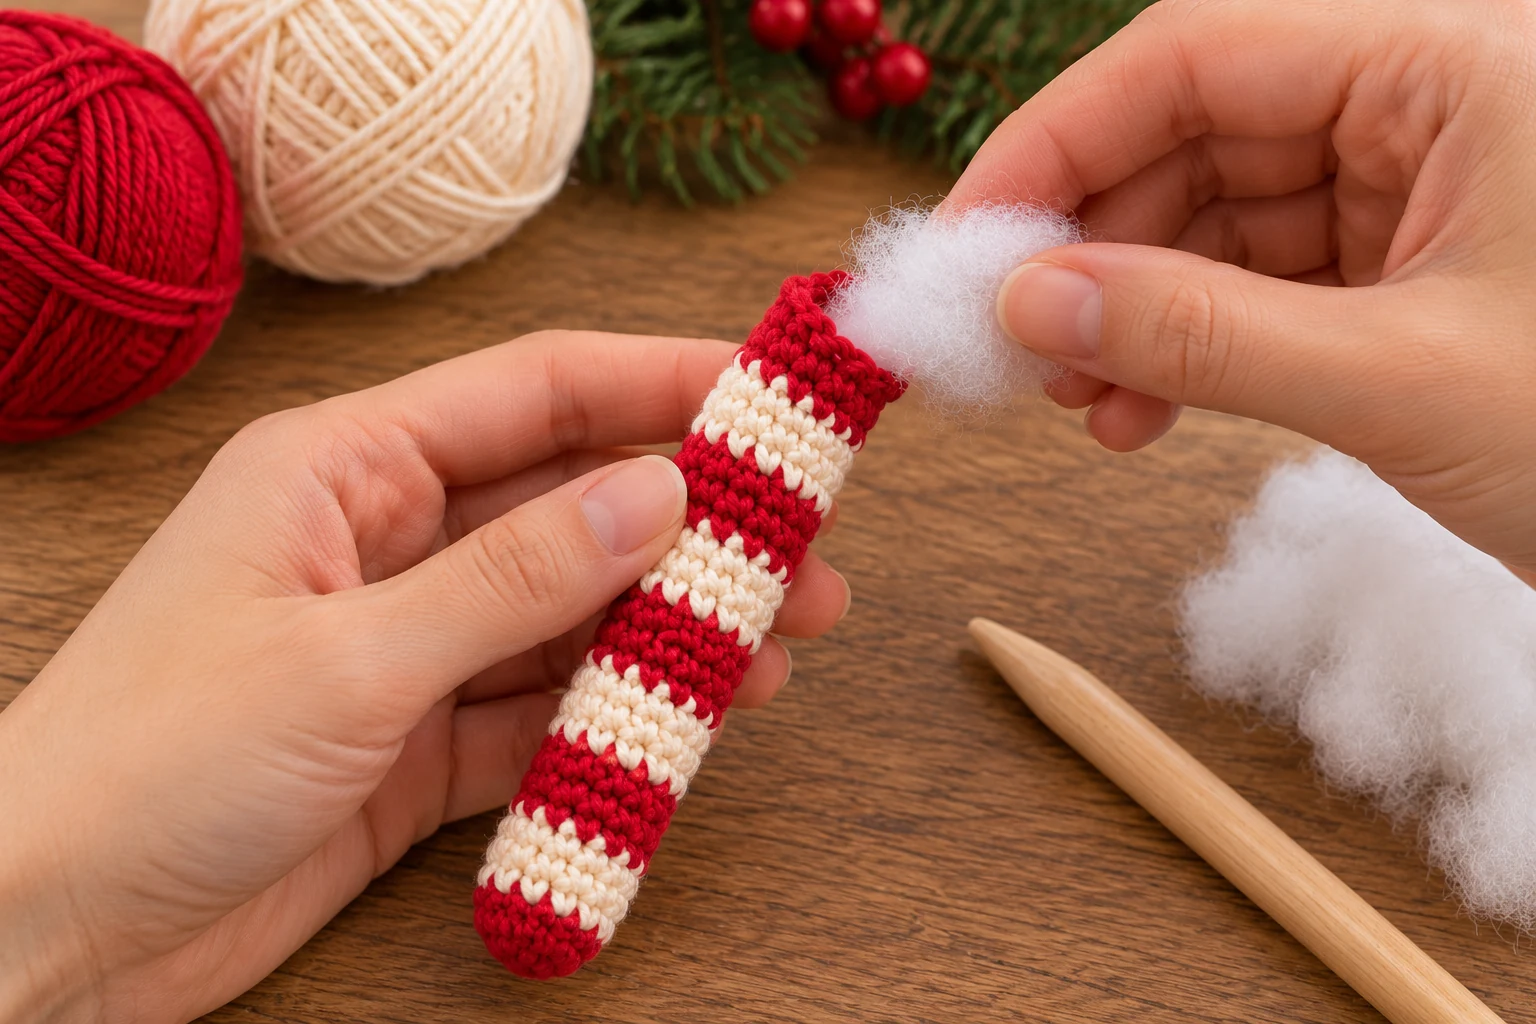
The stuffing controls how easily the candy cane curves.
Use small pieces rather than pushing in one large clump.
Stuff the lower straight section a little more firmly.
Keep the upper third softer.
That upper section needs to bend.
If the tube becomes rigid, remove some stuffing before closing.
A good result should feel filled but still flexible when gently pressed between your fingers.
Shape the Curved Top
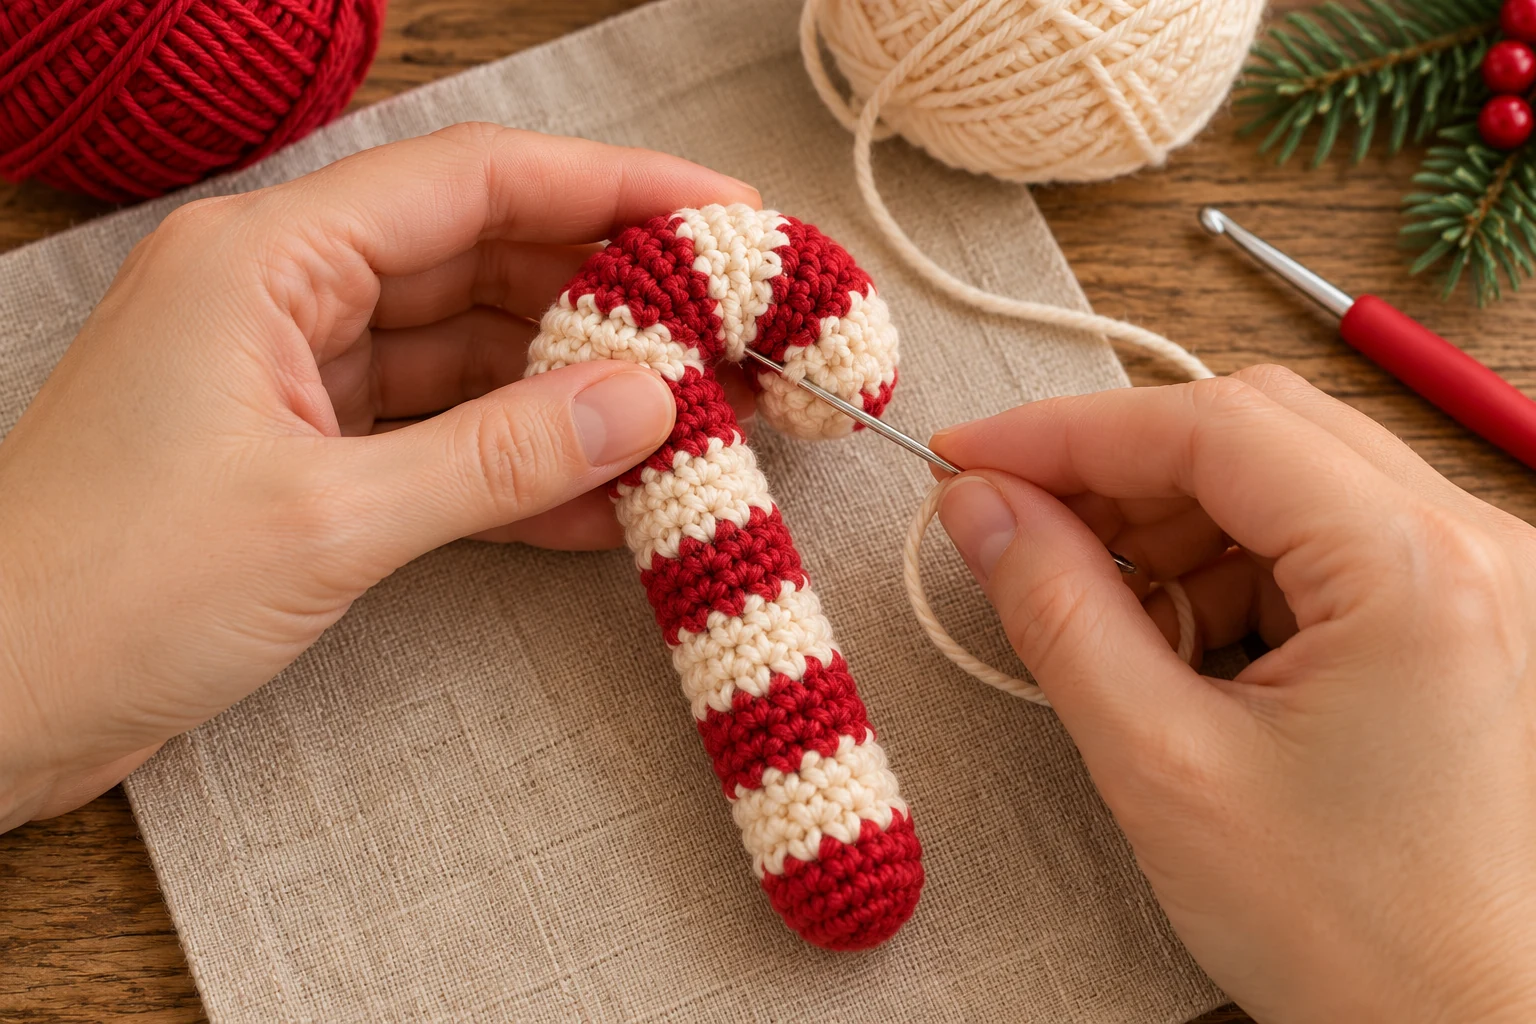
Lay the finished tube on the table.
Choose which end will become the top hook.
The upper three or four stripe sections will form the curve.
Bend the upper section slowly.
Do not fold it sharply.
The shape should look rounded.
Secure the Curve with Yarn
Thread a long strand of matching red or cream yarn through a yarn needle.
Insert the needle into the inside of the curve.
Pass through several stitches on the lower side of the hook.
Then catch several stitches higher on the curved section.
Pull gently.
The upper part should move closer to the straight section.
Repeat once or twice until the hook shape stays in position.
Tie securely.
Hide the yarn inside the crochet fabric.
Do not pull so tightly that the tube becomes flat. Our guide to sewing amigurumi pieces neatly explains how to hide joining stitches and secure yarn ends.
Optional Internal Support
The pattern uses hidden yarn stitches to hold its curve and does not require wire. If the hook relaxes, add another small shaping stitch across the inside of the bend. Keep the upper section lightly stuffed so the fabric bends smoothly.
Make the Hanging Loop
The loop should be placed near the top rear of the candy cane.
Use red yarn.
Loop
Ch 12.
Sl st into the first chain to form a ring. Ch 1, then work 1 sl st into each of the 12 chains to reinforce the loop. Join to the first slip stitch; the ch 1 does not count as a stitch.
Fasten off with two long tails.
Position the loop behind the upper curve.
Thread one tail through several crochet stitches.
Thread the second tail through nearby stitches.
Tie securely inside or behind the piece.
Then weave both ends through the fabric.
The loop should not depend on one single stitch.
Spreading the attachment across several stitches makes it more suitable for repeated movement.
Attach the Keychain Hardware
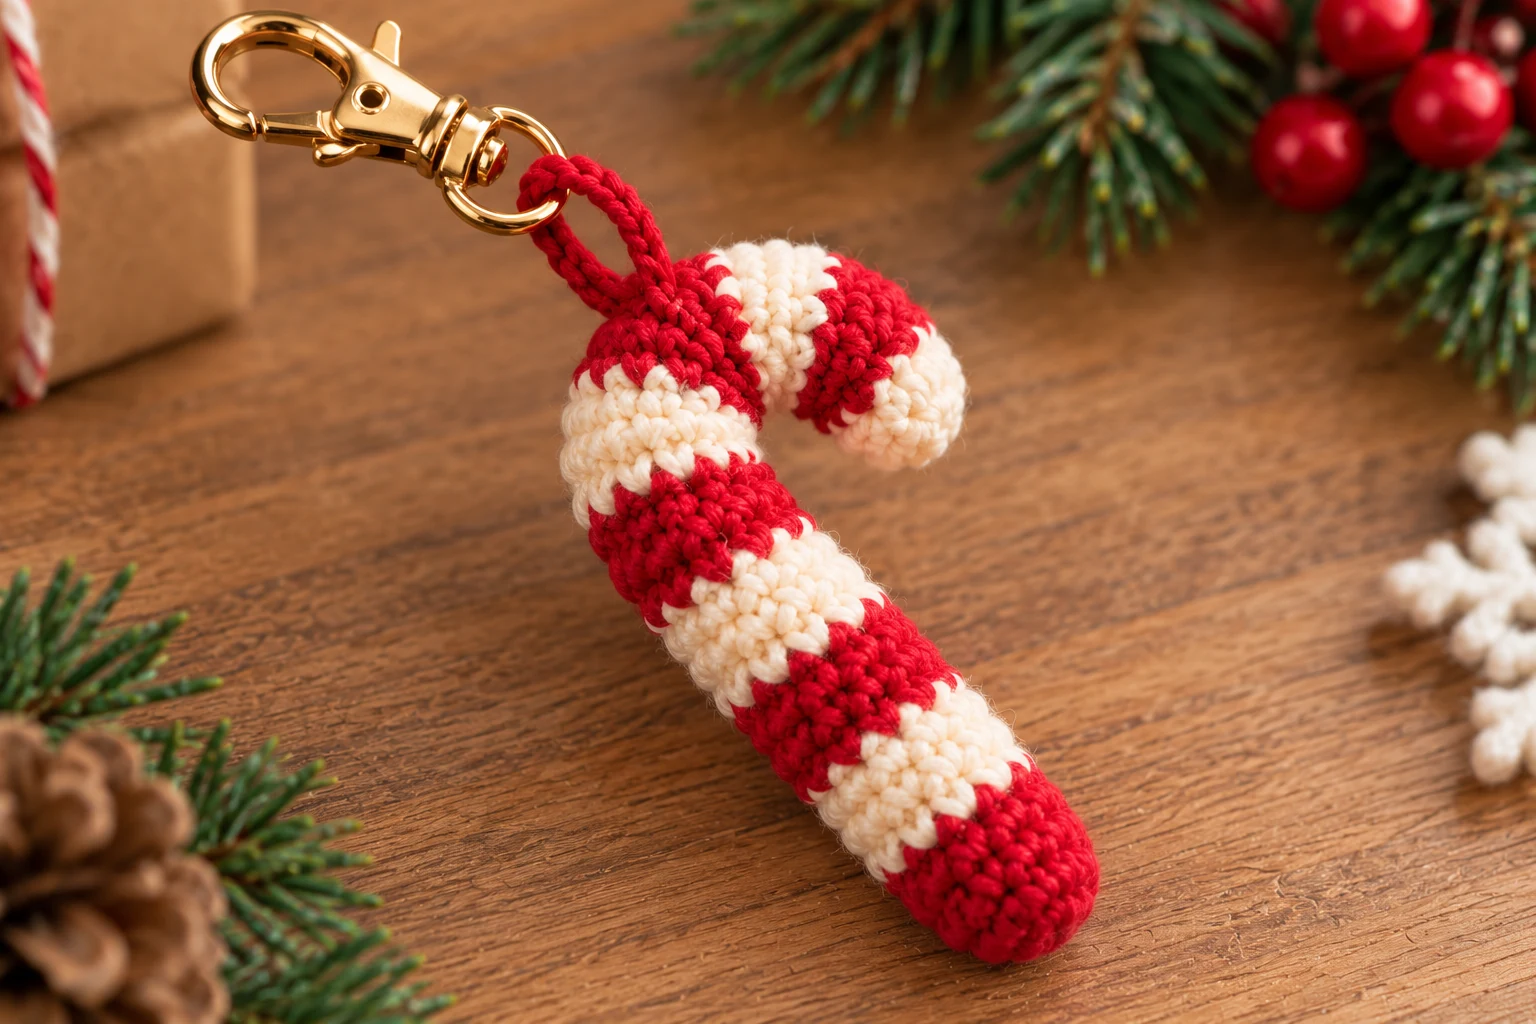
Open the jump ring.
Pass it through the crochet hanging loop.
Add:
- lobster clasp
- swivel clasp
- split key ring
Close the jump ring fully.
Check that the metal ends meet cleanly.
If there is a gap, yarn can eventually work its way through it.
Give the hardware a gentle pull before using the finished charm.
Optional Green Cord Bow
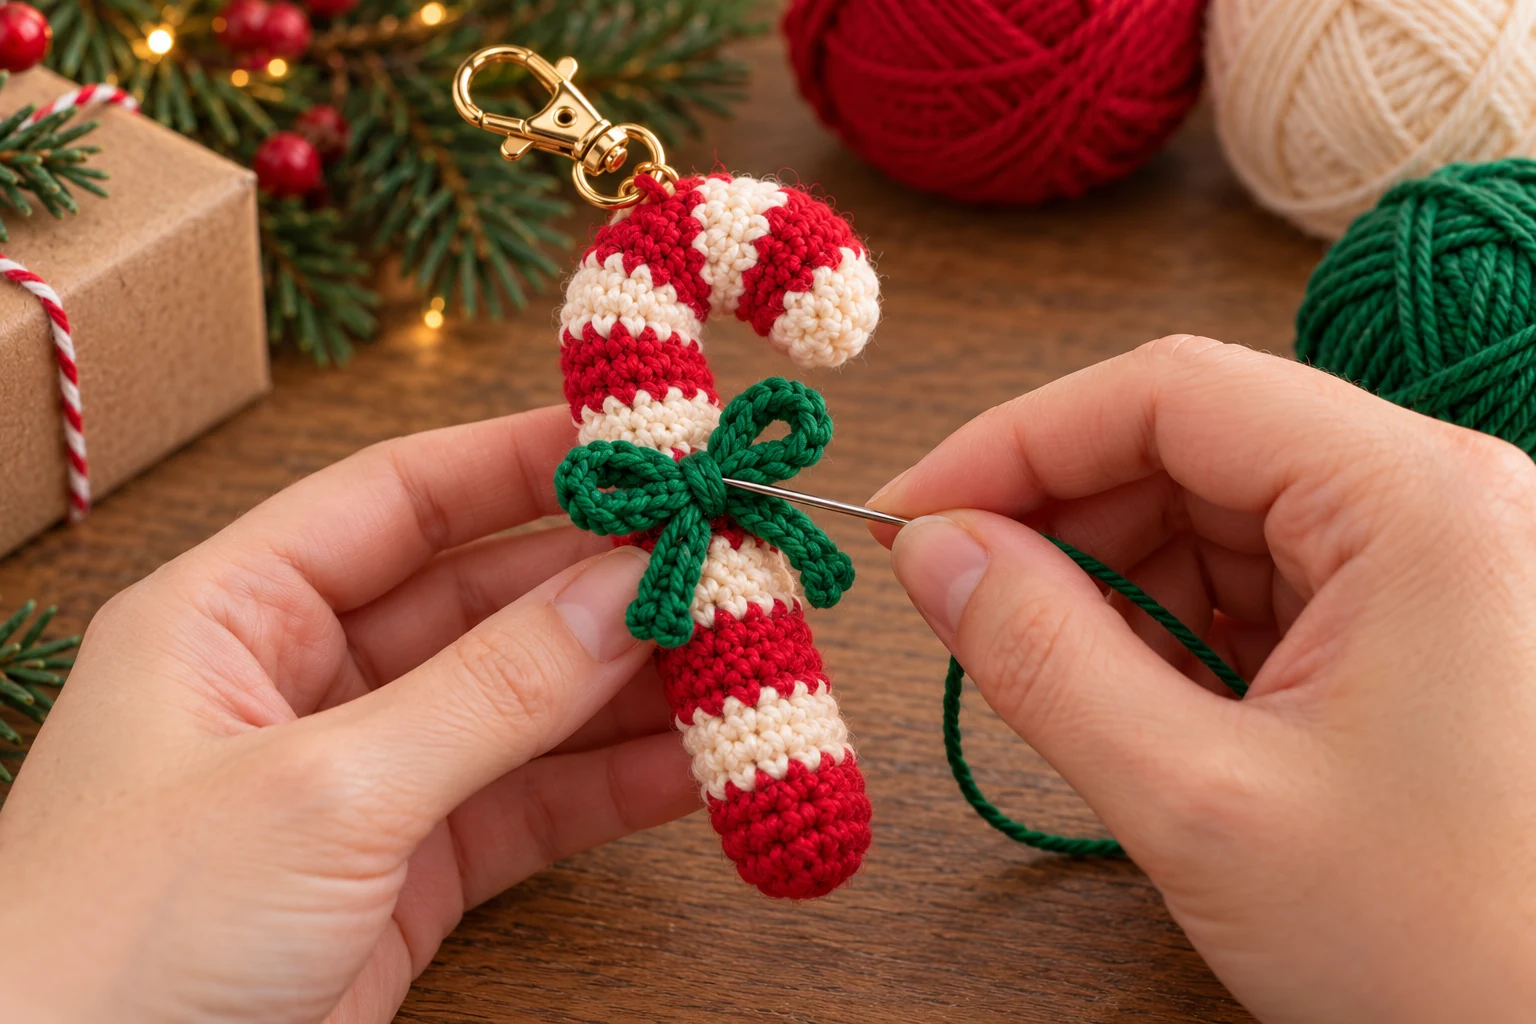
Use green yarn to make the looped cord bow shown in the illustrations.
Ch 45. Starting in the second chain from the hook, work 1 sl st into each chain: 44 sl sts. Fasten off and weave in both ends.
This makes a narrow crocheted cord. Aim for about 18–22 cm; its length depends on your tension. Adjust the starting chain if needed, keeping one slip stitch per chain.
Tie the cord into a small bow with two loops and two short tails. Adjust both loops to a similar size. Do not cut the crocheted tails shorter; remake a shorter cord if necessary.
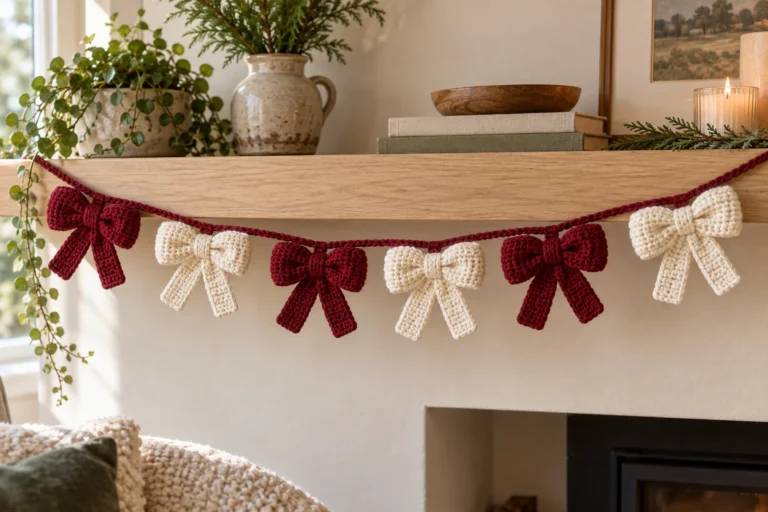
Thread a separate length of green yarn onto a needle. Sew through the center knot and several stitches of the cane just below the hook. Repeat the attachment, secure the sewing yarn and hide its ends. Keep the bow small so the stripes remain visible. If you prefer a flat bow project, see the crochet bow bag charm pattern.
Optional Mini Holly Detail
Use dark green embroidery yarn.
Make two small leaf shapes beside the bow.
Add two or three tiny red knots or stitches between them.
This works better than adding bulky separate crochet berries to a small keychain.
Optional Cute Face
If you want an amigurumi-style candy cane, add a simple embroidered face.
Place it on one cream stripe near the lower-middle section.
Use black thread for the eyes.
Make two short vertical stitches.
Add a tiny curved smile between them.
Pink cheek stitches can be placed below the eyes.
Keep the face small so the striped shape remains the main feature.
Make a No-Face Version
For a cleaner Christmas charm, skip the face completely.
Use only:
- red and cream stripes
- green bow
- gold-colored or silver hardware
This version works well on handbags, Christmas gift wrapping, or as a small stocking filler.
Turning It Into a Bag Charm
A lobster clasp makes the candy cane easy to move between bags. It also pairs with a handmade granny square crochet tote.
Attach it to:
- tote handles
- purse rings
- backpack zippers
- project bags
- gift bags
Keep the crochet loop short enough that the cane does not swing excessively.
A shorter attachment usually reduces wear on the yarn.
Turning It Into a Christmas Ornament
Skip the metal hardware.
Make a longer hanging loop instead.
Ch approximately 25–30.
Join into a loop.
Secure it across several stitches near the top.
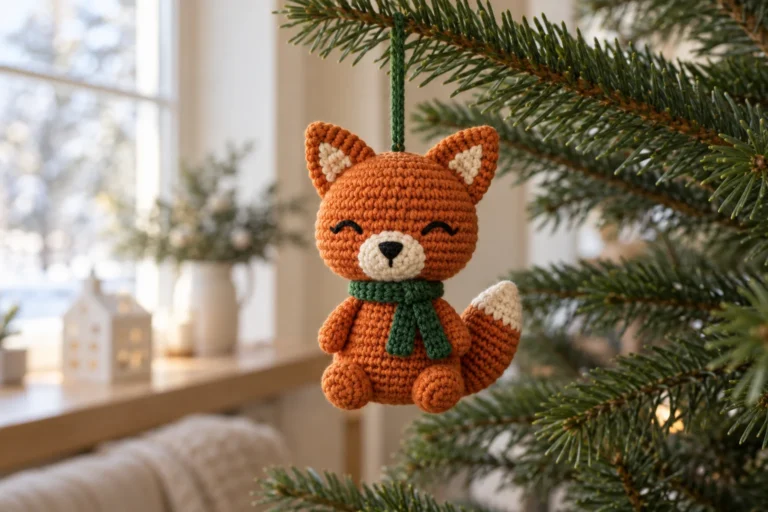
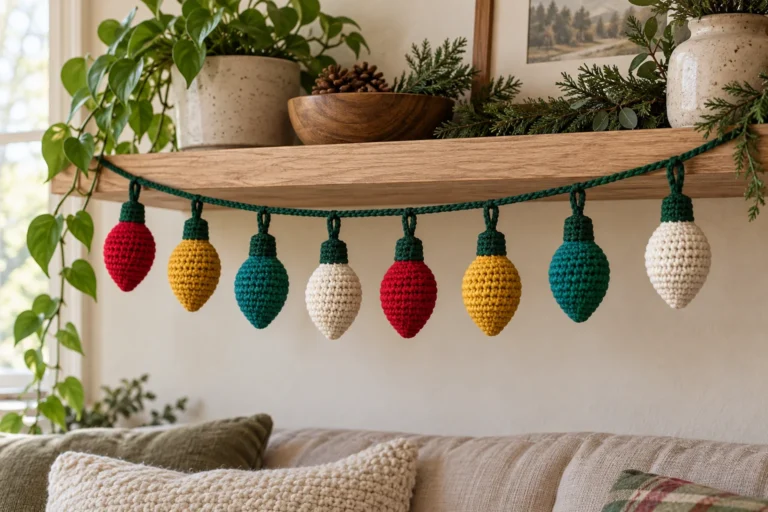
The same crochet candy cane can then hang on a Christmas tree, wreath, garland, or gift package. Make a coordinated set with our crochet snowman ornament.
Turning It Into a Gift Topper
Make the candy cane without hardware.
Pass ribbon or twine through the hanging loop.
Tie it onto a wrapped gift.
Because the charm is reusable, the recipient can later add their own key ring or hang it as an ornament.
Make a Smaller Candy Cane
Use thinner yarn and a smaller hook.
You can also reduce the number of stripe sections.
For example:
- 3 rounds red
- 3 rounds cream
- 3 rounds red
- 3 rounds cream
- 3 rounds red
Shape the final two or three sections into the hook.
A smaller version works well as a zipper pull or mini ornament.
Make a Larger Candy Cane
Use worsted-weight yarn and a 3.5–4 mm hook.
Keep the same stitch counts.
Add extra stripe sections to increase the length.
For a larger piece, make sure the top hook is not overstuffed.
The longer tube needs more flexibility to create a smooth curve.
Candy Cane Color Variations
The basic pattern can be used beyond classic red and white.
| Version | Color 1 | Color 2 | Detail |
|---|---|---|---|
| Classic | Red | Cream | Green bow |
| Peppermint | Bright red | White | No bow |
| Vintage Christmas | Burgundy | Oatmeal | Olive bow |
| Pink Christmas | Dusty pink | Cream | Red bow |
| Woodland | Forest green | Cream | Red bow |
| Gold Holiday | Mustard | Cream | Burgundy bow |
| Pastel Christmas | Pink | Mint | Cream bow |
Keep the stripe contrast strong enough that the candy cane shape remains clear.
Using Leftover Yarn
This pattern uses small amounts of yarn, making it useful for leftovers from Christmas projects.
Use similar yarn weights for both colors.
A thick red yarn combined with a thin cream yarn can make the tube uneven.
If the yarns are slightly different, adjust the tension rather than changing hook sizes halfway through the project.
Make a Matching Set
Several candy canes can be made in coordinated colors.
For example:
- classic red and cream
- burgundy and cream
- green and cream
- pink and cream
Use the same hardware on all of them for a matching collection.
These can be used as small handmade gifts or coordinated bag charms. Add a mini crochet Christmas tree or explore the Christmas crochet collection for matching decorations.
Common Problems
The Candy Cane Is Too Floppy
The fabric may be too loose.
Use a smaller hook or firmer yarn.
Also make sure the lower straight section contains enough stuffing.
The Candy Cane Will Not Curve
It may be overstuffed.
Remove some filling from the upper section.
Then shape the curve again using a hidden yarn strand.
The Curve Looks Sharp Instead of Rounded
Do not bend only one point.
Shape a wider section gradually.
The top three or four stripe areas should participate in the curve.
The Stripes Look Uneven
Count the same number of rounds for every stripe.
For the standard pattern, the middle stripes are three rounds each; the red end caps include additional shaping rounds.
The Color Join Spirals Around the Cane
Continuous rounds naturally move slightly.
Keep the color-change line toward the back when shaping the finished piece.
The Cream Yarn Looks Red
Dark yarn may be showing underneath.
Cut the red yarn rather than carrying it through the cream stripe.
The Tube Has Gaps
Use a smaller hook.
The crochet fabric should be dense enough that stuffing does not show clearly.
The End Looks Pointed
Do not pull the final closing yarn excessively tight.
Shape the tip with your fingers after closing.
The Keychain Loop Feels Weak
Attach it through several stitches.
Do not tie it to one exposed crochet loop.
The Hardware Turns Sideways
The hanging loop may be attached off-center.
Reposition it closer to the rear center of the upper hook.
Frequently Asked Questions
Is this crochet candy cane keychain beginner-friendly?
Yes. It mainly uses single crochet, basic decreases, simple color changes, stuffing, and sewing.
What yarn works best?
DK cotton or cotton blend works well because it creates clear stripes and a firm tube.
Can I use acrylic yarn?
Yes. Choose an acrylic that gives you a dense fabric with the hook you are using.
Can I use chunky yarn?
Yes, but the finished candy cane will become much larger and may work better as an ornament than a keychain.
Do I need wire inside the candy cane?
No. The standard pattern is shaped with stuffing and hidden yarn stitches.
How do I make the hook stay curved?
Keep the upper section lightly stuffed and use a hidden strand of yarn to hold the curve.
Can I use only red and white?
Yes. The green bow and other decorations are optional.
Can I make it without stuffing?
You can, but the tube will look flatter and may not hold the curve as well.
Can I turn it into an ornament?
Yes. Replace the keychain hardware with a longer yarn loop.
Can I add a face?
Yes. Embroider two eyes and a small smile onto one light-colored stripe.
Can I make it smaller?
Yes. Use thinner yarn, a smaller hook, or fewer stripe sections.
Can I make several for gifts?
Yes. The small construction and repeated stripe sequence make the pattern suitable for making matching sets.
Your Finished Candy Cane Keychain