Crochet Halloween Spider Appliqué – Free Easy Crochet Pattern
Make a flat crochet Halloween spider with an oval body, round head, embroidered eyes and eight legs. Includes stitch counts and finishing instructions.
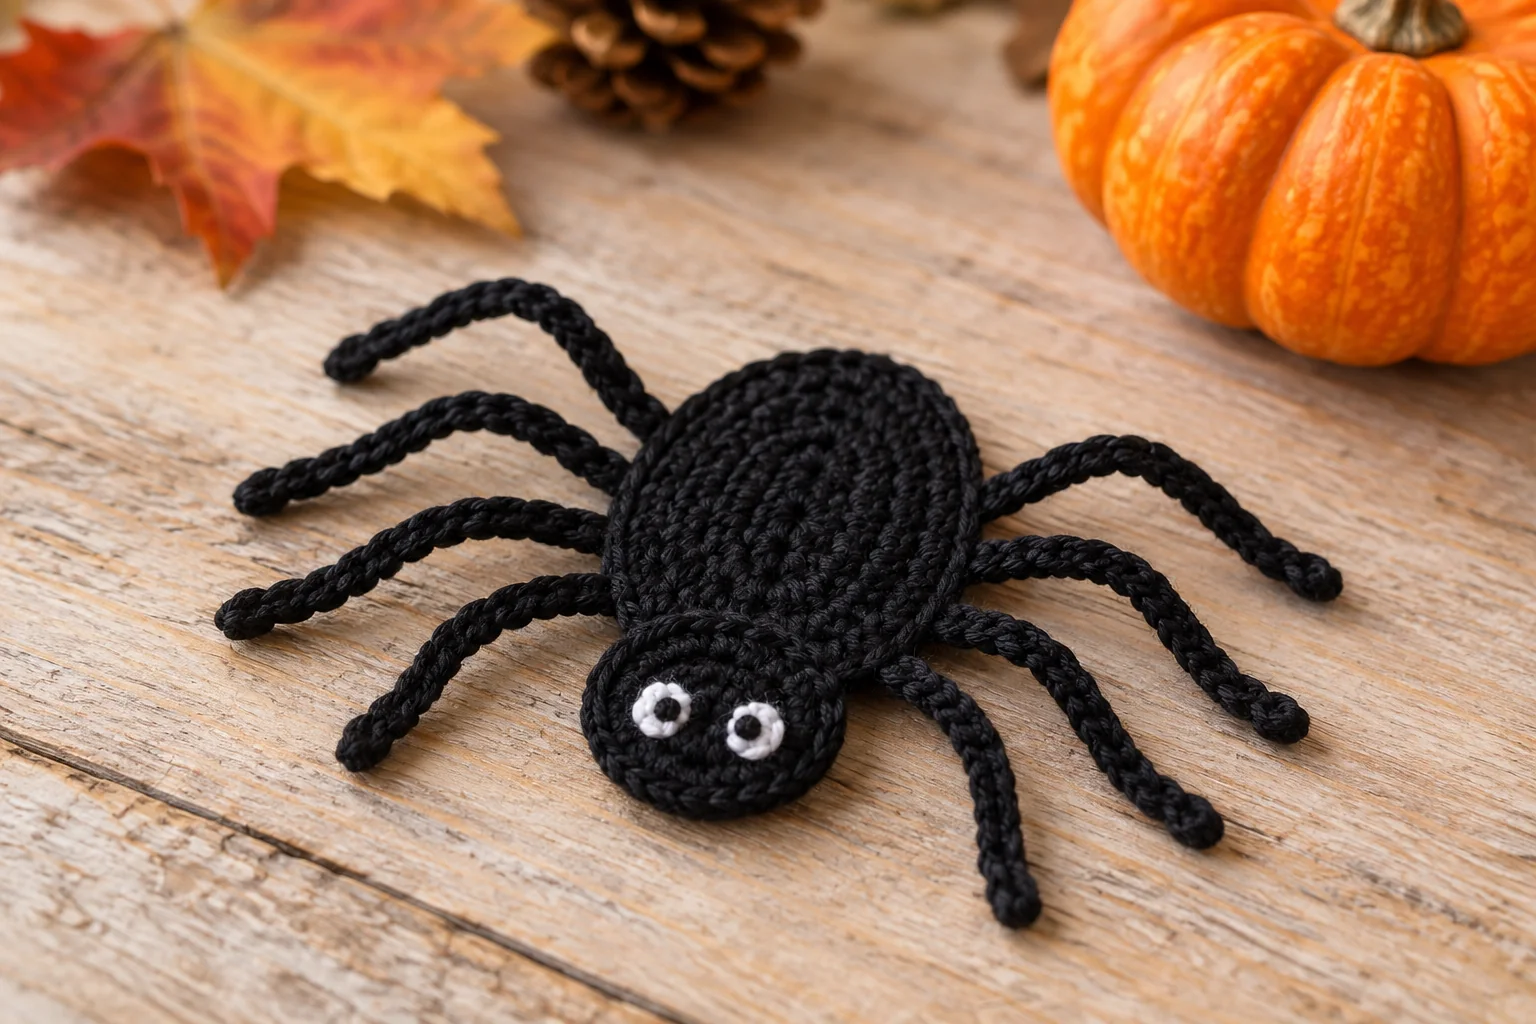
This crochet Halloween spider appliqué is a small flat project made from an oval body, a round head, and eight narrow chain legs.
The design stays lightweight and flexible because there is no stuffing. That makes it suitable for sewing onto other crochet projects without creating a bulky raised shape.
The main spider is worked in black yarn with simple embroidered eyes. You can keep the design completely black for a classic Halloween look or add purple, orange, green, or white details.
The body uses only a few rounds, and the legs are made directly from chains. Once the basic shape is finished, the entire spider can be adjusted with your fingers before it is attached to another project.
Pattern Details
Skill level: Beginner
Crochet terms: US terminology
Construction: Flat pieces
Recommended yarn: DK or light worsted cotton
Recommended hook: 3 mm
Main stitches: Chain, single crochet, slip stitch
Stuffing: None
Main pieces: Body, head, eight legs
This is a useful project for small amounts of leftover yarn.
A smooth cotton yarn gives the appliqué clean edges, but acrylic can also be used.
Avoid very fuzzy yarn if you want the head, legs, and facial details to remain easy to see.
Finished Size
Using DK yarn and a 3 mm hook, the finished spider measures approximately:
Finished dimensions: Measure your completed sample. No measured gauge or tested finished size is available for this draft.
Thickness: Flat appliqué
The exact size will depend on your yarn, hook, tension, and how widely you spread the legs.
For a smaller sample, try sport-weight yarn and a suitable hook.
For a larger decoration, use worsted-weight yarn with a suitable hook.
Materials
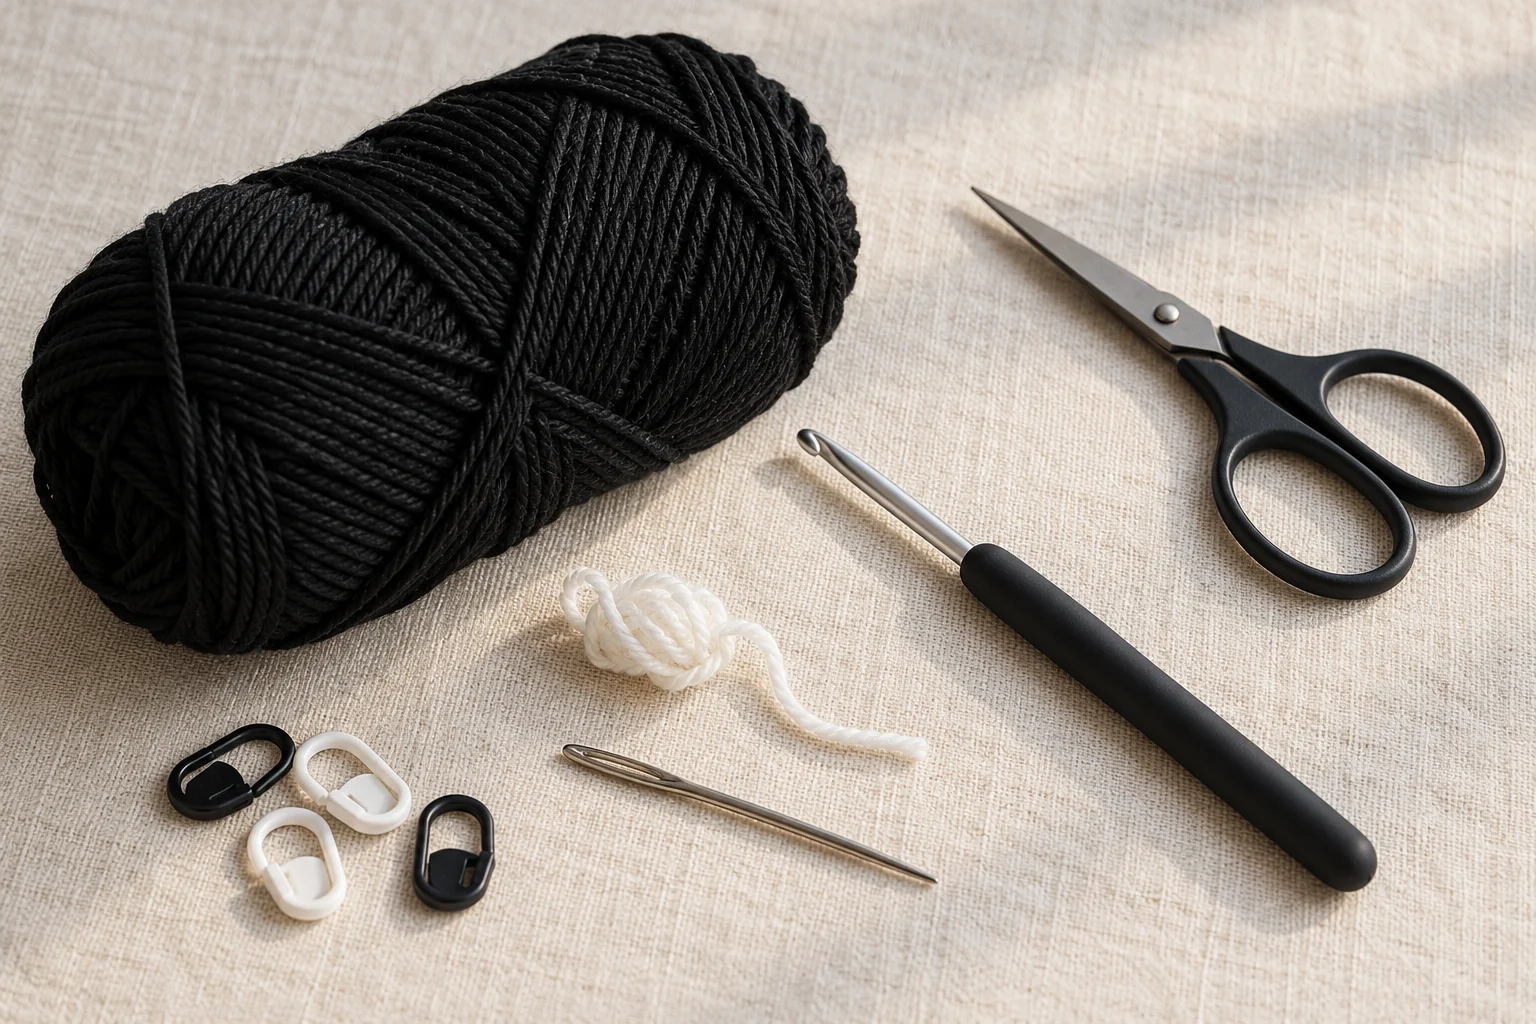
You will need:
- a small amount of black DK yarn; exact yarn usage has not been measured
- small amount of white yarn for eyes
- optional orange, purple, green, or pink yarn for details
- 3 mm crochet hook
- yarn needle
- scissors
- stitch marker
- pins
- optional sewing thread if attaching the spider to fabric
You do not need stuffing, safety eyes, wire, or plastic supports.
For a flat appliqué, embroidered eyes work better than plastic eyes because they keep the finished piece smooth.
Abbreviations
This pattern uses US crochet terminology. An increase means working 2 single crochet into the same stitch.
| Abbreviation | Meaning |
|---|---|
| ch | Chain |
| sc | Single crochet |
| inc | Increase |
| sl st | Slip stitch |
| st / sts | Stitch / stitches |
| MR | Magic ring |
| FO | Fasten off |
Pattern Notes
The main body is crocheted around both sides of a foundation chain.
This creates an oval instead of a circle.
The head is made separately as a small flat round piece.
The legs are added after the body is complete.
Each leg is made by chaining outward from the body and slip stitching back along the chain.
This method produces thin, flexible legs without eight separate pieces to sew.
Do not work the leg chains too tightly.
A slightly relaxed chain makes it easier to work the returning slip stitches.
Work body and head in continuous rounds without turning. Mark the first stitch of each round. The finishing slip stitch is not included in the round stitch count.
The round arithmetic has been checked, but this draft has not been physically crocheted or tested. Photos are generated illustrations, not stitch charts or proof of an exact result.
The spider does not need to be perfectly symmetrical. Small differences in the legs can make the finished appliqué look more playful.
Crochet the Spider Body
Use black yarn.
Foundation
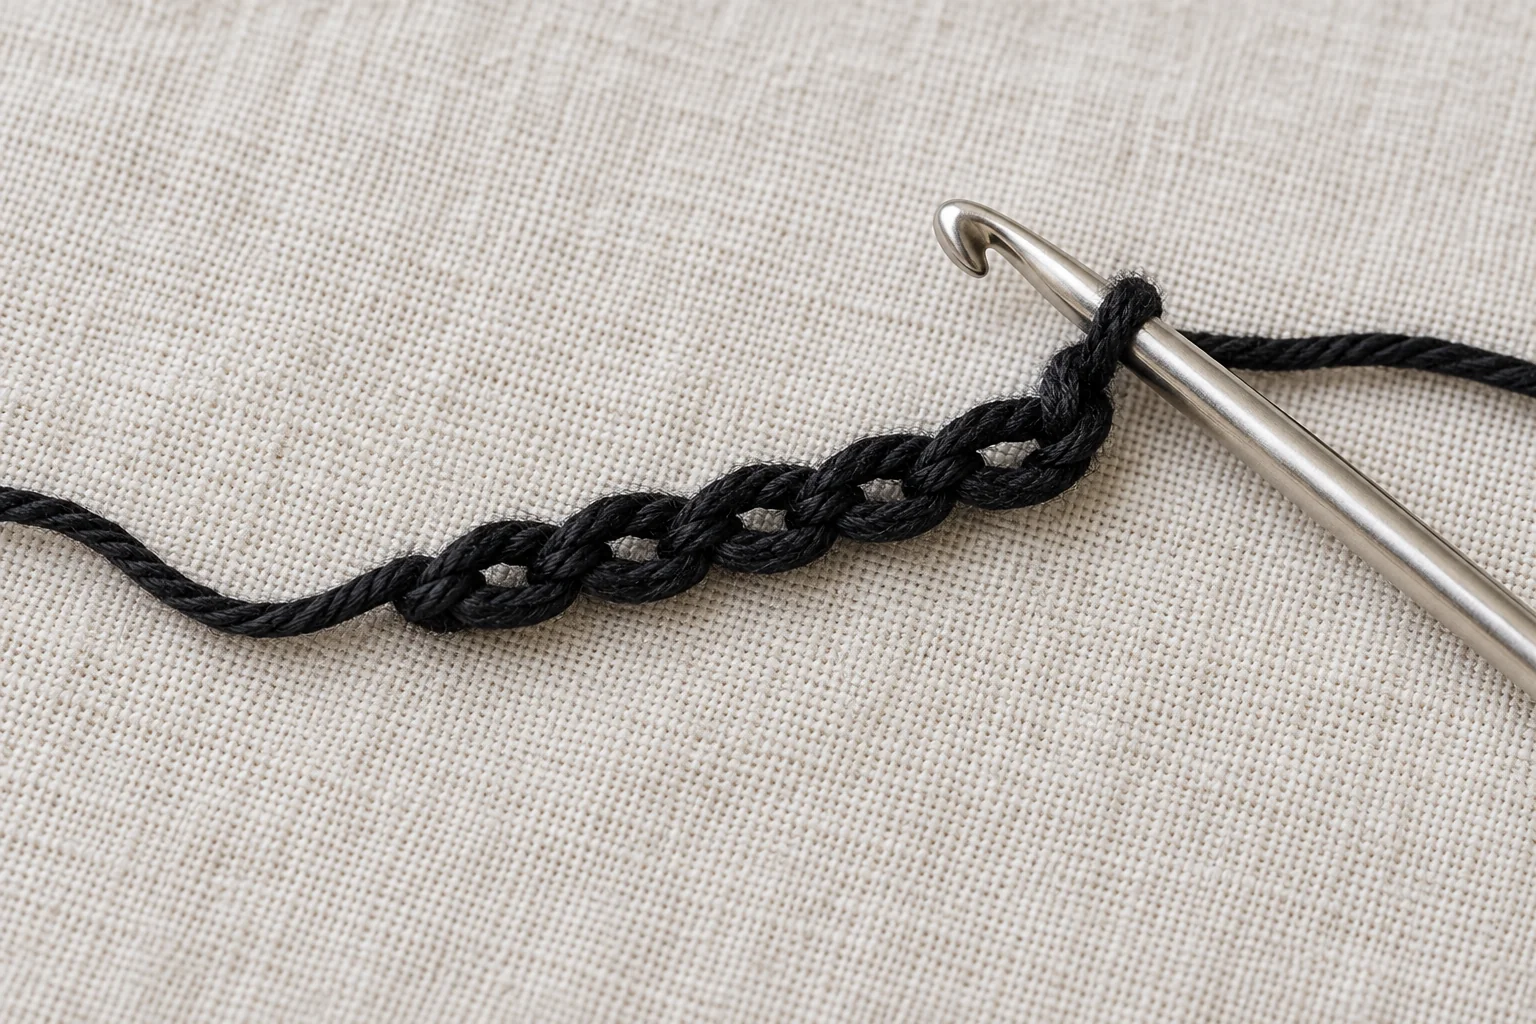
Ch 7.
Round 1
Starting in the second chain from the hook:
Sc in the first stitch.
Sc in the next 4 sts.
Work 3 sc in the final chain.
Continue along the opposite side of the foundation chain.
Sc in the next 4 sts.
Work 2 sc in the final available chain.
14 sts
You now have a small oval.
Round 2
Inc in the first stitch.
Sc in the next 4 sts.
Inc in each of the next 3 sts around the curved end.
Sc in the next 4 sts.
Inc in each of the final 2 sts.
20 sts
Round 3
Sc in the next st, inc in the next st.
Sc in the next 4 sts.
(Sc in the next st, inc in the next st) × 3.
Sc in the next 4 sts.
(Sc in the next st, inc in the next st) × 2.
26 sts
This round uses all 20 stitches of Round 2 and adds six increases at the curved ends.
Sl st into the next stitch.
Fasten off.
Leave a long tail only if you want to use it later for attaching the spider to another crochet project.
Otherwise, weave the tail into the back.
Shape the Body
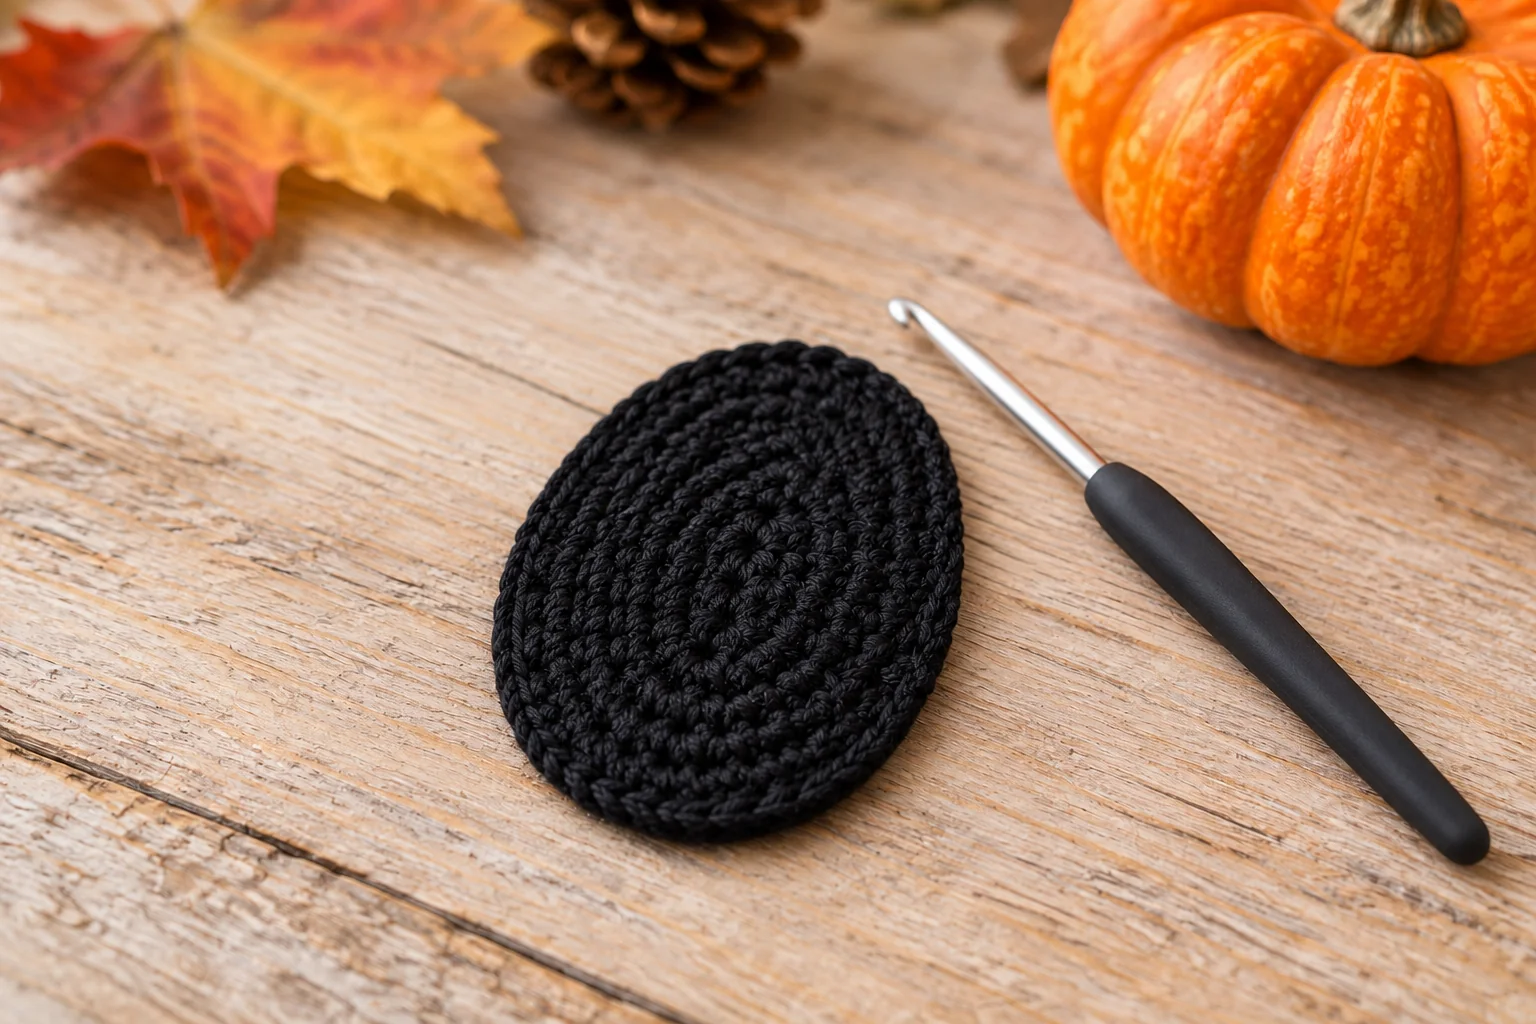
Lay the oval flat.
Use your fingers to stretch it gently lengthwise.
The body should look slightly longer than it is wide.
Do not block it into a perfect circle.
If the piece curls, check stitch counts and tension before blocking. Do not force it flat or assume blocking will fix a construction error.
More stubborn curling can be corrected later with light blocking.
Crochet the Spider Head
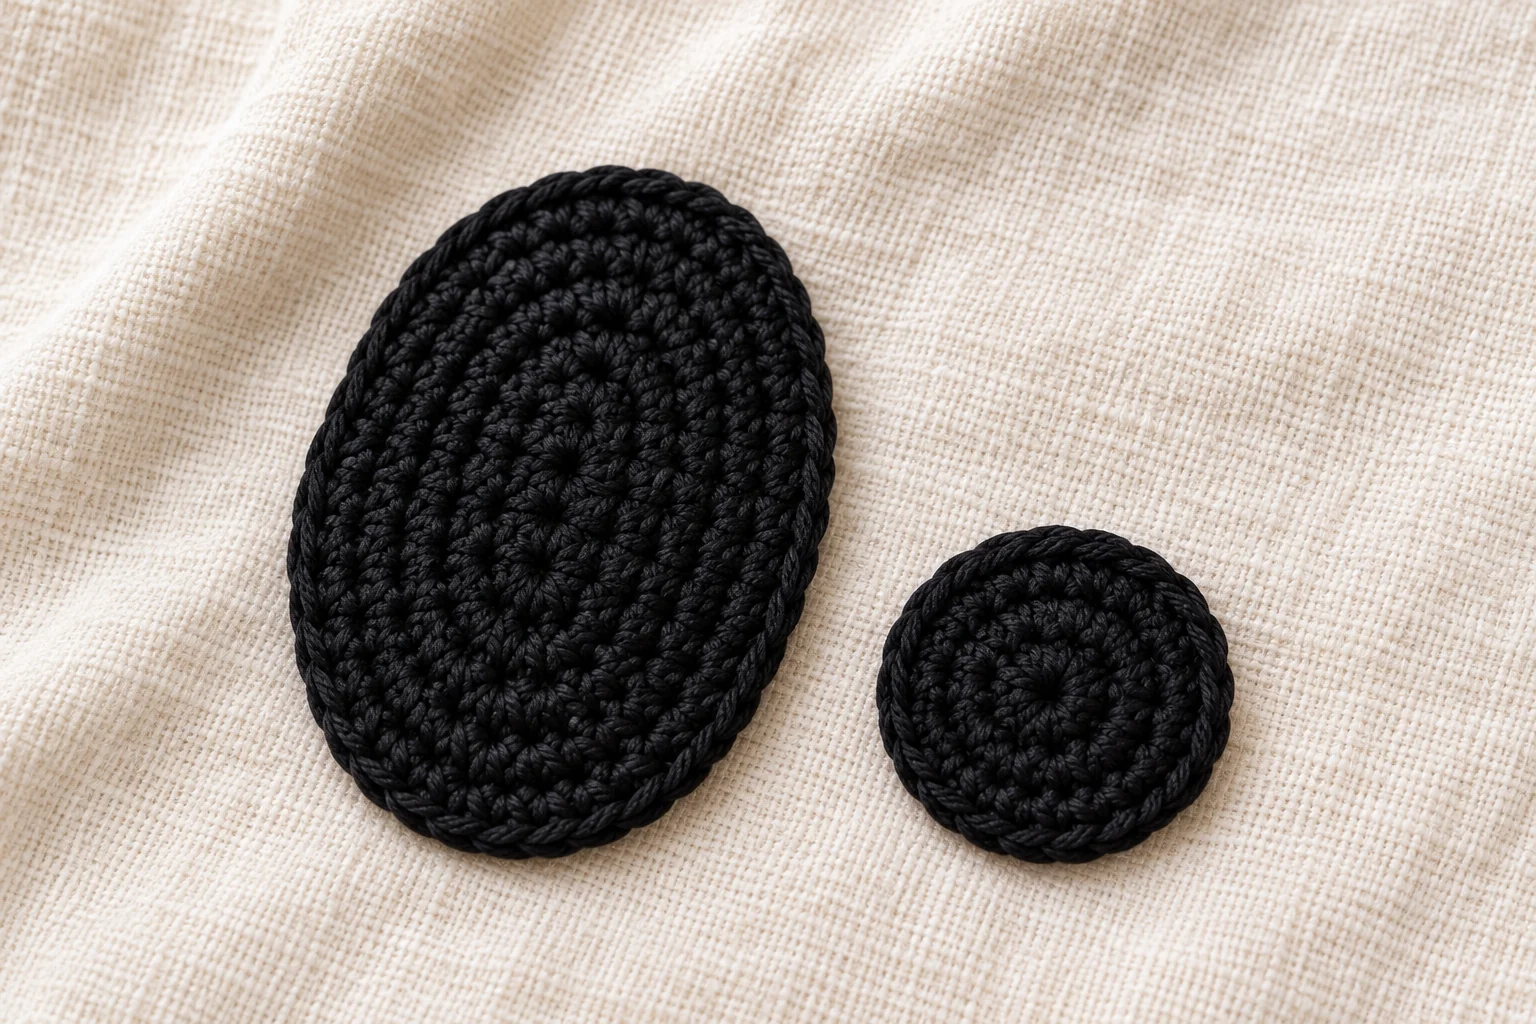
Use black yarn.
Round 1
Make 6 sc in MR.
6 sts
Round 2
Inc in every stitch.
12 sts
Round 3
(Sc in the next st, inc in the next st) × 6.
18 sts
Sl st into the next stitch.
Fasten off with a long tail for sewing.
The head should remain flat.
Do not stuff it.
Place it at one short end of the body.
The lower section of the head should overlap the body slightly.
Do not sew it yet.
First make sure the proportions look right.
Make the Eight Spider Legs
The legs are attached directly to the body.
You will make four on each side.
Use black yarn.
Lay the body vertically, with one short end pointing upward. This is where the head will sit. Mark four distinct attachment stitches along each long side, keeping the short ends clear. Mirror the positions across the body.
Choose four evenly spaced stitches along the left side.
Repeat the same spacing on the right side.
First Upper Leg
Join black yarn to the upper side of the body with a sl st.
Ch 9.
Starting in the second chain from the hook:
Sl st back along all 8 chains.
Sl st into the body again.
Fasten off. Use a new yarn join at every marked position; this keeps the attachment method consistent.
Second Leg
Join at the next marked position.
Ch 10.
Starting in the second chain from the hook, work 9 sl st back along the chain.
Sl st into the same body stitch used for joining. Fasten off.
Third Leg
Join yarn at the third marked position. Ch 10.
Starting in the second chain from the hook, work 9 sl st.
Sl st into the same body stitch. Fasten off.
Fourth Lower Leg
Join yarn at the fourth marked position. Ch 9.
Starting in the second chain from the hook, work 8 sl st.
Sl st into the same body stitch. Fasten off.
Repeat the same sequence on the opposite side:
9-chain leg → 10-chain leg → 10-chain leg → 9-chain leg
You should now have eight legs.
Why Use Two Leg Lengths?
The middle legs are slightly longer so the finished spider has a rounded silhouette instead of eight identical straight lines.
Once the legs are shaped outward, the difference becomes subtle.
Shape the Spider Legs
Lay the spider body flat.
Pull the upper pair of legs slightly upward.
Angle the second pair outward.
Angle the third pair outward and slightly downward.
Point the lowest pair more toward the bottom.
You should see four clear leg directions on each side.
If one leg curls strongly, smooth it gently between your fingers.
Do not pull on the chain hard enough to stretch the stitches.
For a more angular spider, fold each leg slightly near its middle.
Because the legs are crocheted chains, their curves depend on yarn, tension, and attachment. For a lasting angular shape, sew the bend to the background; blocking alone does not guarantee it will hold.
Add the Face
You can leave the spider without a face for a more traditional silhouette.
For the cute version, use white yarn.
Thread a short piece of white yarn through a yarn needle.
Eyes
Make two short vertical stitches on the head.
Place them evenly apart.
For a small rounded embroidered eye, place several short white stitches over the same area.
Then use black embroidery thread to add one tiny stitch inside each white eye.
This creates a simple pupil.
Optional Smile
Use white, gray, purple, or orange yarn.
Outline a small smile with several short embroidery stitches below the eyes.
Keep the mouth small.
A large smile can make the head look crowded.
Optional Cheeks
Use pink or orange yarn.
Make one tiny horizontal stitch below each eye.
These are optional.
The spider also looks good with only the eyes.
Attach the Head
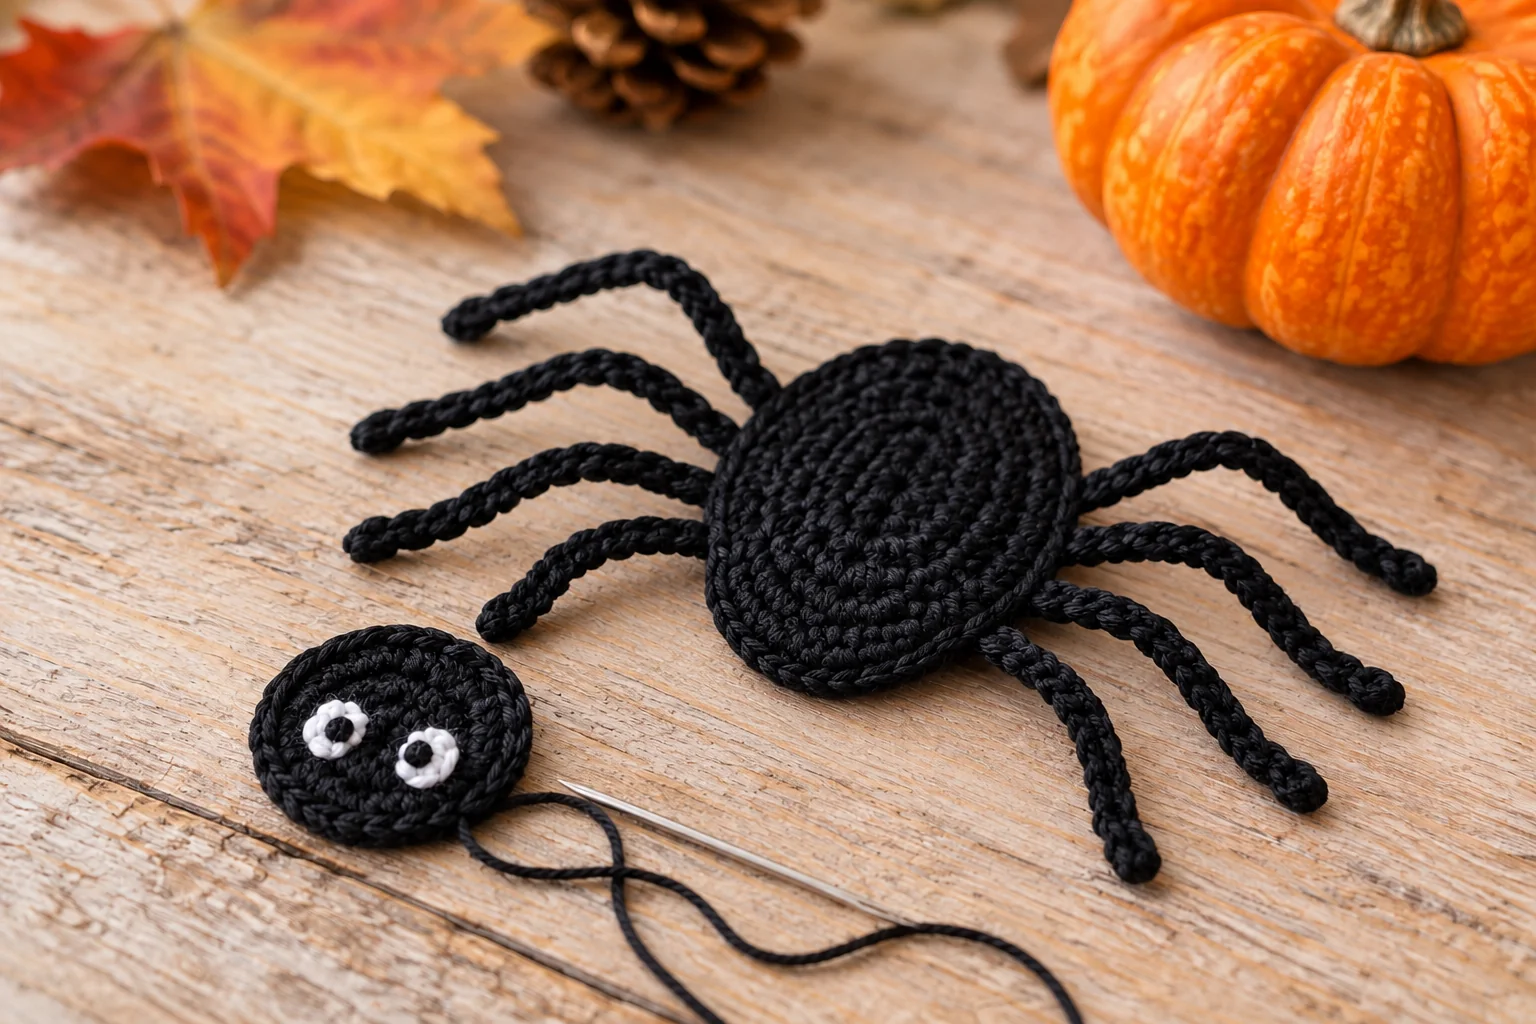
Place the finished head over one short end of the oval body.
The head should overlap approximately one row of body stitches.
Pin it in place.
Thread the long black yarn tail through a yarn needle.
Sew around the lower half of the head.
Catch both the head and body stitches.
Keep your stitches small.
Do not sew around the entire head if you want the upper section to remain slightly raised.
For a completely flat appliqué, sew around the full outer edge.
Weave the tail through the back.
Optional Body Detail
A completely black spider is simple and clear, but a small detail can make the appliqué more decorative.
Orange Stripe
Use orange yarn.
Embroider two or three short lines across the abdomen.
Keep them evenly spaced.
Purple Cross
Use purple yarn.
Make a small X in the center of the body.
White Web Detail
Use white yarn.
Make three short lines radiating from one side of the body.
Join adjacent lines using short embroidery stitches to form connecting arcs.
This creates a tiny web motif without covering the whole spider.
Keep additional decoration minimal if the appliqué will be sewn onto a patterned background.
Finishing
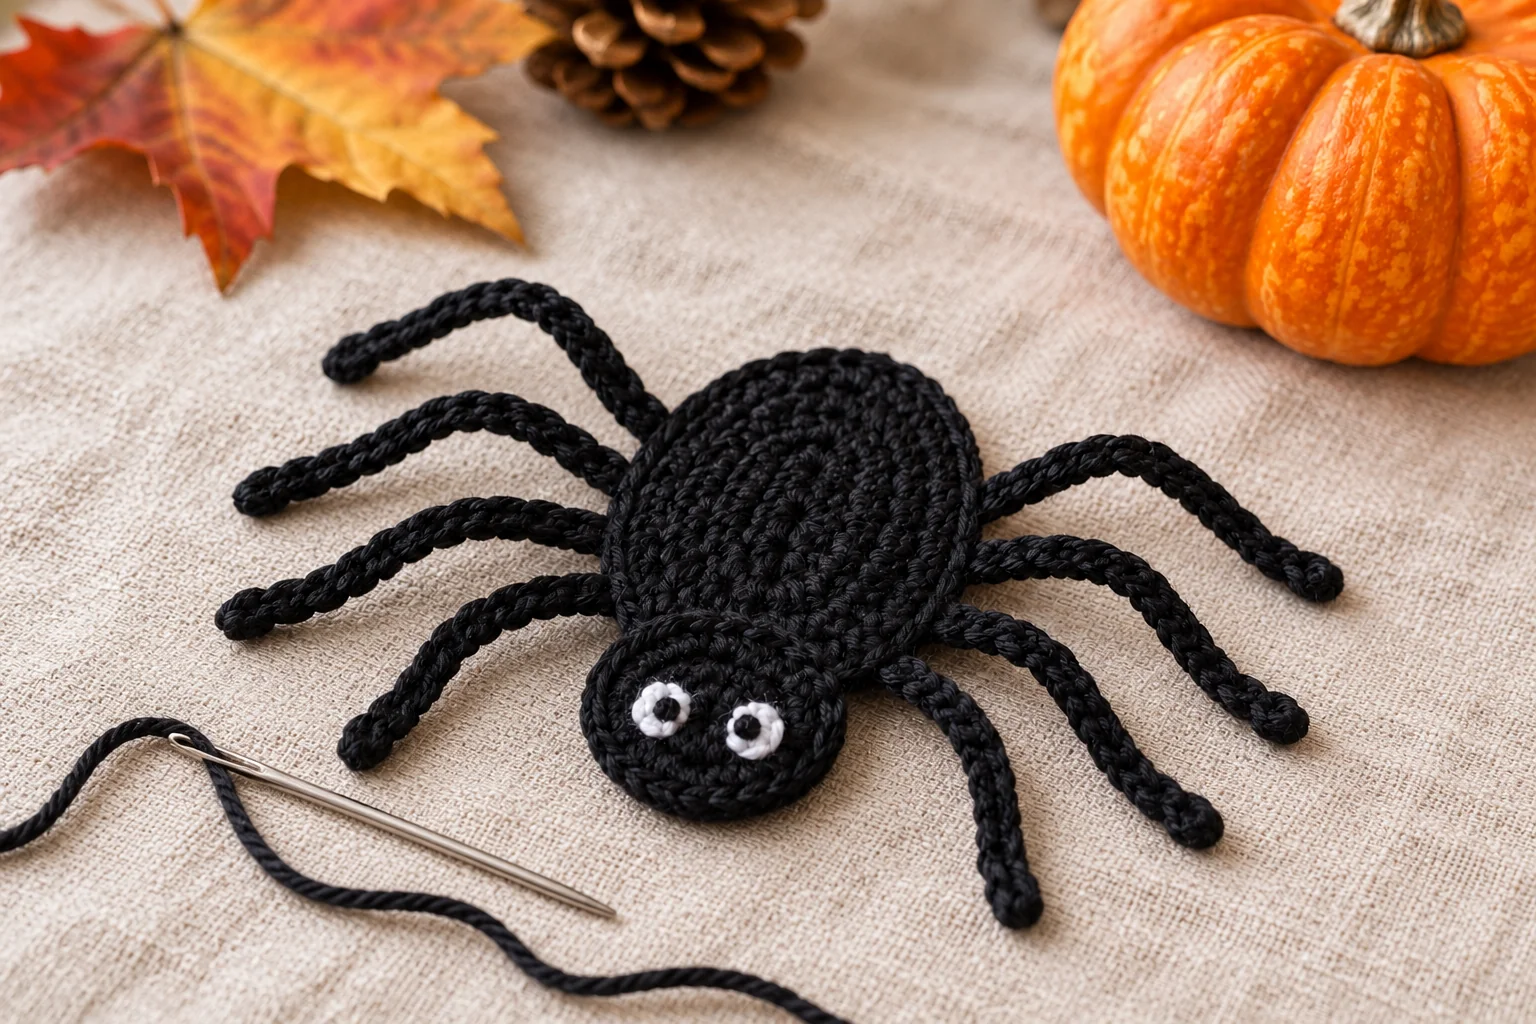
Turn the spider over.
Weave in every loose end.
Pull the yarn tails underneath nearby stitches rather than cutting them directly beside knots.
Trim only after the yarn feels secure.
Turn the spider back to the front.
Check:
- head alignment
- eight visible legs
- even left and right spacing
- flat body
- secure embroidery
- hidden yarn tails
Spread the legs into their final position.
If necessary, lightly block the appliqué.
Light Blocking
Place the spider face up on a blocking mat or folded towel.
Pin the body.
Pin each leg in the position you want.
Lightly dampen the piece if the yarn can be wet blocked.
Allow it to dry completely.
Do not stretch the legs excessively.
Blocking is most useful when the chains curl strongly or the oval body refuses to sit flat.
Halloween Color Variations
The same crochet Halloween spider appliqué can look completely different with another palette.
| Spider | Face / Detail | Style |
|---|---|---|
| Black | White | Classic Halloween |
| Purple | Lime green | Bright spooky |
| Black | Orange | Pumpkin theme |
| Lime green | Black | Monster style |
| Gray | Purple | Soft Halloween |
| Orange | Black | Jack-o’-lantern colors |
| Cream | Black | Ghostly spider |
You can also use variegated Halloween yarn if the color changes are short enough to remain visible on the small body.
Black and Orange Spider
Use black for the head and body.
Make the eight legs in orange.
Add white eyes.
This version is particularly easy to see when sewn onto:
- cream bags
- gray hats
- purple blankets
- green gift bags
The contrast helps the thin legs remain visible.
Purple Halloween Spider
Use dark purple for the body.
Make the head black.
Use lime green for the eyes.
This gives the design a brighter Halloween look without changing any stitch counts.
Ways to Use the Spider Appliqué
Because the pattern remains flat, it can be attached to many projects.
Halloween Treat Bag
Sew one spider onto the front of a plain orange, purple, green, or cream crochet bag.
Keep the legs free at their outer ends for more texture.
Crochet Hat
Use thinner yarn to make a smaller spider.
Sew the body firmly to the hat.
Add a few hidden stitches to the legs so they do not catch on clothing.
Halloween Garland
Make several spiders.
Alternate them with:
- pumpkins
- ghosts
- bats
- candy corn shapes
Attach them to a long crochet chain.
Gift Bag
Sew or temporarily tie the spider onto a reusable Halloween gift bag.
A removable spider can later be reused as a decoration.
Blanket
Make several small spiders and space them across a Halloween blanket.
Sew the legs down completely so they remain flat during washing.
Sweater or Cardigan
Use a small version.
Sew it onto the chest, pocket, or sleeve.
Use matching sewing thread if you do not want attachment stitches to be visible.
Hair Clip
Crochet the spider with fine cotton.
Add a small felt circle behind the body.
Attach the felt to a suitable clip.
Keep the finished decoration lightweight.
Make It Into an Ornament
Add a hanging loop.
Use black yarn.
Ch 20–25.
Fasten off.
Fold into a loop.
Sew both ends to the back of the body.
Attach the loop across several stitches rather than one stitch.
The spider can then hang from Halloween branches, wreaths, door decorations, or wall hooks.
Make It Into a Bag Charm
For a bag charm, the flat spider should be slightly reinforced.
Cut a small piece of black felt slightly smaller than the body.
Sew it to the back.
Add a reinforced yarn loop near the upper body.
Attach a lightweight clasp.
This gives the appliqué enough stability to hang without folding.
Resize the Pattern
Mini Spider
Use sport-weight yarn and a 2–2.5 mm hook.
Make the same body and head stitch counts.
Shorten the legs:
7, 8, 8, 7 chains
This creates a compact version suitable for gift tags, hair clips, or small ornaments.
Standard Spider
Use the pattern exactly as written.
Legs:
9, 10, 10, 9 chains
Large Spider
Use worsted-weight yarn and a 4 mm hook.
Keep the same body rounds.
Make longer legs:
12, 14, 14, 12 chains
For wider flat pieces, use an increase round rather than a plain round. A larger flat head can use (sc in the next 2 sts, inc) × 6 after its 18-stitch round, producing 24 sts.
Make the Body Larger
To add one widening round after the 26-stitch body round, work:
Sc in the next 2 sts, inc; sc in the next 4 sts; (sc in the next 2 sts, inc) × 3; sc in the next 4 sts; (sc in the next 2 sts, inc) × 2. 32 sts
This uses 26 existing stitches and adds six increases. Make a sample to check the proportions before adjusting the legs.
Make the Spider Flatter
Use cotton yarn.
If the fabric is too loose, sample a smaller hook; very tight stitches can also distort the shape.
Do not add stuffing.
Block the body and head before assembly.
Sew the head around the full edge.
Attach every leg to the finished surface with one or two tiny stitches.
This gives you a very flat appliqué that works well on clothing and blankets.
Common Problems
My Body Looks Round Instead of Oval
Stretch it gently lengthwise.
Also check that your foundation chain was long enough.
The turns should happen at the short ends of the chain.
The Body Curls
Your foundation chain may be tight.
Make the beginning chain more loosely.
Light blocking can usually correct mild curling.
My Legs Curl Too Much
Slip stitches may have been worked too tightly.
Relax your tension when returning down the chains.
Pinning the legs during blocking also helps.
The Legs Look Uneven
Count the chains.
Make sure the left and right sides use the same sequence:
9, 10, 10, 9
Then compare the attachment points before fastening off.
My Spider Has More Than Eight Legs
Four legs should be attached to each side.
Count them before weaving in the yarn tails.
The Head Looks Too Large
Use only Rounds 1–2 for a smaller head.
Skip Round 3 and finish after the 12-stitch Round 2.
The Head Looks Too Small
After the 18-stitch Round 3, work (sc in the next 2 sts, inc) × 6 for 24 sts. Sample this change before attaching the head.
The Appliqué Looks Too Bulky
Avoid thick plush yarn.
Use smooth DK or sport-weight yarn and a smaller hook.
The Legs Catch on Things
When attaching the spider to a wearable item or bag, add one tiny sewing stitch near the end of each leg.
This holds the legs close to the surface.
My Facial Features Look Uneven
Mark the eye positions with pins before embroidering.
Count the visible stitches between the two positions.
Frequently Asked Questions
Is this crochet Halloween spider appliqué suitable for beginners?
Yes. The pattern uses chains, single crochet, increases, slip stitches, a magic ring, and basic sewing.
Does the spider need stuffing?
No. It is designed as a flat appliqué.
Can I use worsted-weight yarn?
Yes. The finished spider will be larger.
Use a hook that creates a firm but flexible fabric.
Can I make the entire spider in one color?
Yes. Black is the classic option, but purple, orange, green, gray, and cream also work.
Do I need safety eyes?
No. Embroidered eyes are better for a flat appliqué.
Can I crochet the legs separately?
Yes. You can make eight chains, slip stitch back along each one, and sew them to the body. Attaching them directly to the body simply reduces assembly.
Can I make the spider without a face?
Yes. Skip the eye and mouth embroidery for a simple silhouette.
How do I attach the appliqué to a bag?
Pin it in place, then sew around the body and head. Add one or two small stitches along each leg if the bag will be used frequently.
Can I use it on clothing?
Yes. Keep the piece flat and sew all eight legs securely to the fabric.
Can I make a spider garland?
Yes. Make several appliqués and attach them to a long crochet chain.
Can I turn it into an ornament?
Yes. Add a reinforced hanging loop to the back.
Can I make it larger for wall décor?
Yes. Use thicker yarn and a larger hook, or add another body round and longer legs.
Conclusion
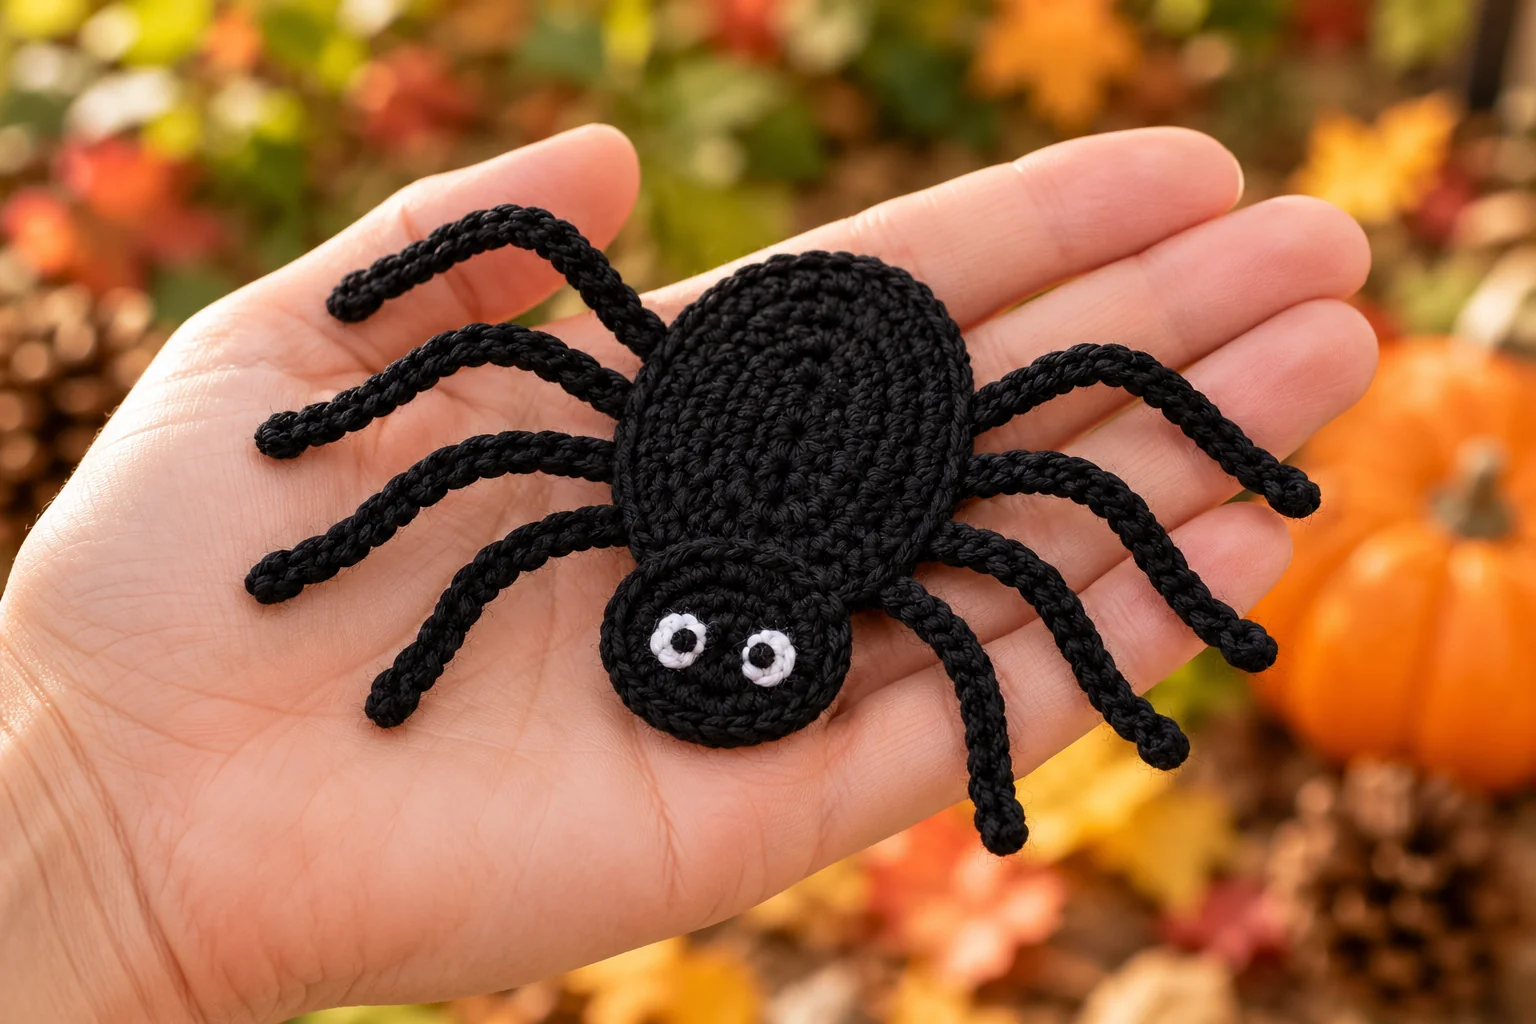
This crochet Halloween spider appliqué pattern keeps the construction simple while still giving the finished project the recognizable oval body, round head, and eight-leg spider shape.
Because it stays flat, the same spider can be sewn onto treat bags, blankets, hats, clothing, gift bags, garlands, or other Halloween crochet projects. Change the yarn color, add a face, embroider a web, or keep it completely black for a simpler finish.
Optional Crochet Spider Video Guide
This video by Pocket Yarnlings shows a different spider design. Use it for general technique guidance; follow the written pattern above for our separate head, embroidered eyes and stitch counts.