Free Crochet Mushroom Keychain Pattern: A Mini Bag Charm
Crochet a cute mini mushroom keychain with this free pattern. Make the cap, stem, spots, face, loop, and bag charm attachment step by step.
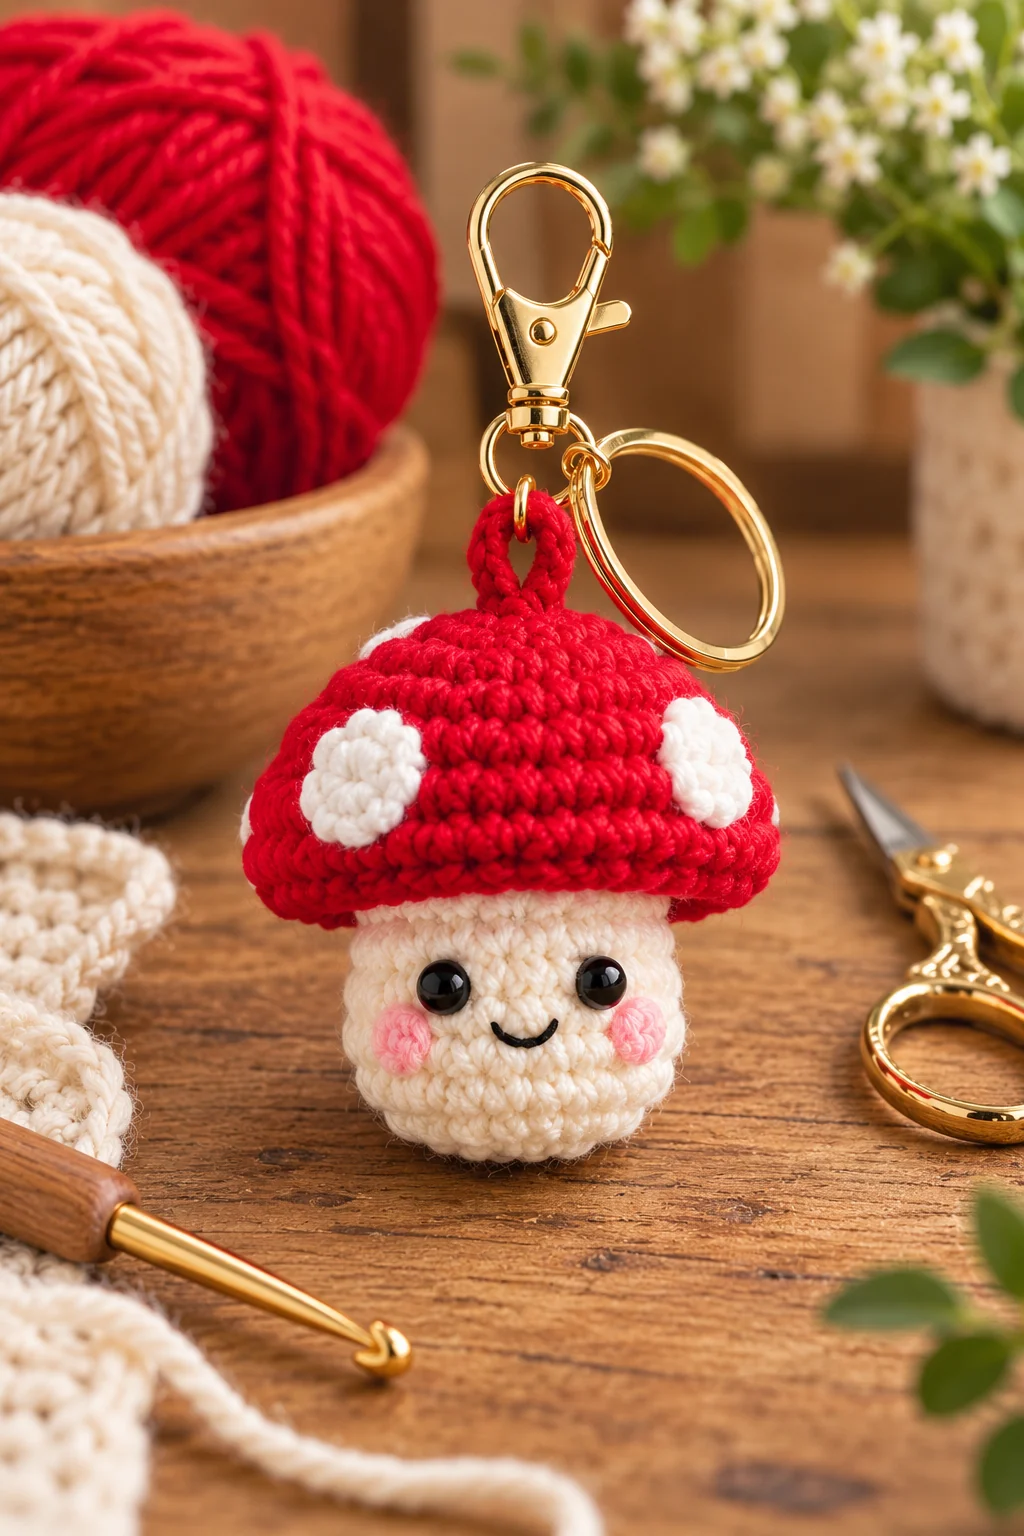
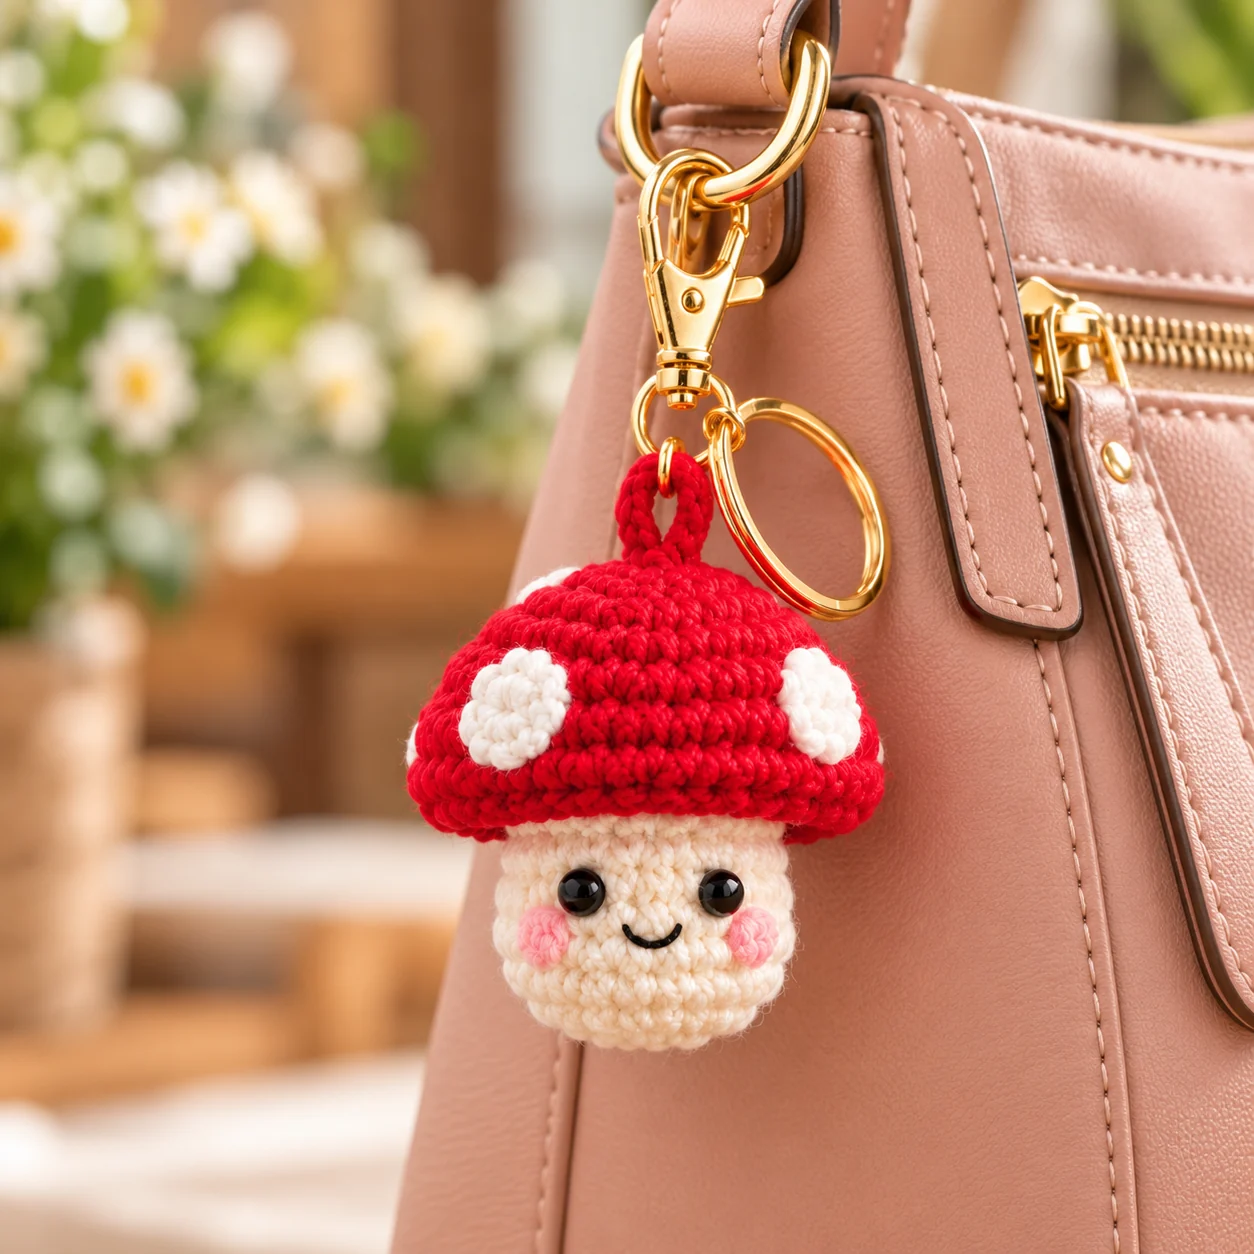
This free crochet mushroom keychain pattern makes a small, cheerful amigurumi mushroom with a rounded red cap, soft cream stem, white spots, and a simple embroidered face.
The finished mushroom works beautifully as a keychain, backpack charm, purse accessory, or small handmade gift. Because it uses only a small amount of yarn, it is also a useful project for leftover DK or light worsted yarn.
The pattern is worked mostly in continuous rounds using basic amigurumi techniques. If you are comfortable with a magic ring, single crochet, increases, decreases, and simple sewing, you can make this project. For help aligning the cap and stem, follow our guide to sewing amigurumi pieces together neatly. The finished charm also pairs well with the granny square tote bag.
Pattern at a Glance
| Detail | Information |
|---|---|
| Skill level | Confident beginner |
| Terminology | US crochet terms |
| Construction | Separate stem and cap |
| Recommended yarn | DK or light worsted cotton/cotton blend |
| Hook size | 2.5–3 mm |
| Finished height | About 7–9 cm / 2.75–3.5 in, excluding hardware |
| Gauge | Not critical |
| Working method | Continuous rounds unless stated otherwise |
The exact finished size depends on your yarn, hook size, and tension.
Materials and Tools
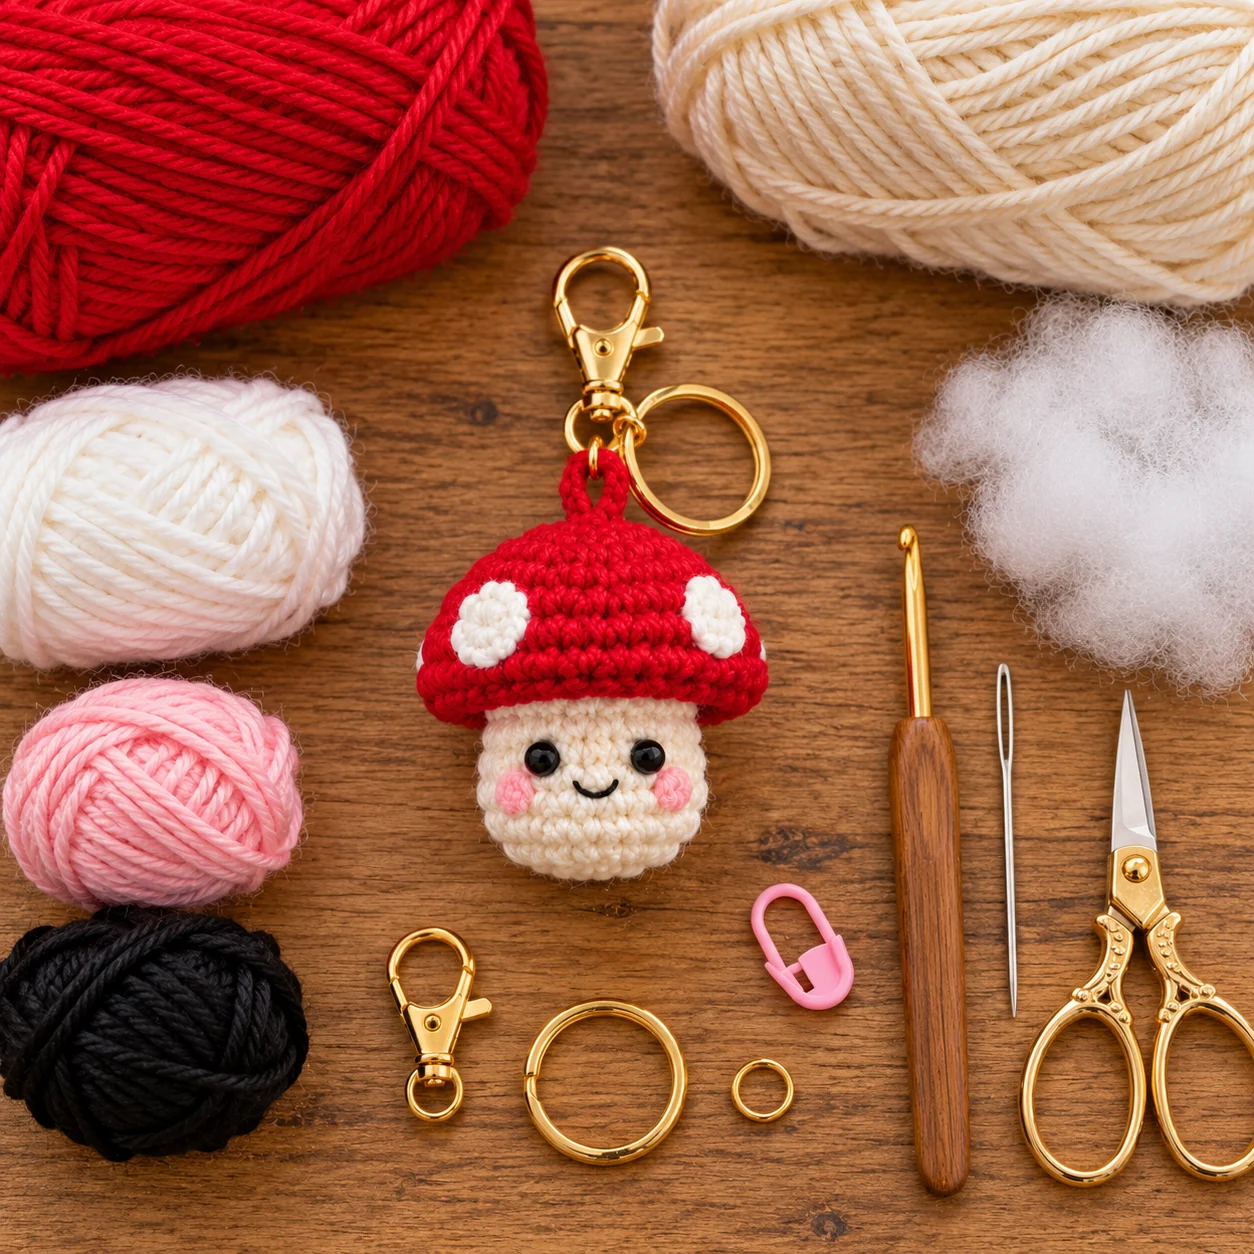
You will need:
- Red DK or light worsted yarn
- Cream yarn
- Small amount of white yarn
- Small amount of pink yarn
- Black embroidery thread or thin black yarn
- 2.5–3 mm crochet hook
- Polyester fiberfill
- Yarn needle
- Stitch marker
- Scissors
- Small split ring or jump ring
- Lobster clasp or keychain ring
For a charm intended for a young child, embroider the facial features and avoid detachable eyes or small removable hardware.
Crochet Abbreviations
| Abbreviation | Meaning |
|---|---|
| MR | Magic ring |
| ch | Chain |
| sc | Single crochet |
| inc | Increase: 2 sc in one stitch |
| dec | Invisible decrease |
| FLO | Front loop only |
| BLO | Back loop only |
| sl st | Slip stitch |
| st / sts | Stitch / stitches |
| Rnd | Round |
| FO | Fasten off |
Important Pattern Notes
Work the stem and cap in continuous rounds. Place a stitch marker in the first stitch of each round and move it upward as you work.
Keep your tension firm enough that the stuffing does not show through the stitches.
The hanging loop needs extra reinforcement because a keychain or bag charm is handled frequently. Secure it through several stitches instead of anchoring it to a single crochet stitch.
For the white mushroom spots, you can either crochet small circles and sew them onto the cap or embroider the spots directly onto the finished cap.
Crochet the Mushroom Stem
Use cream yarn.
Round 1
Make 6 sc in a magic ring. 6 sts
Round 2
Inc in each stitch around. 12 sts
Round 3
(1 sc, inc) repeat 6 times. 18 sts
Round 4
BLO sc around. 18 sts
Rounds 5–7
Sc around. 18 sts
Round 8
(4 sc, dec) repeat 3 times. 15 sts
Rounds 9–11
Sc around. 15 sts
Begin stuffing the stem. Add the fiberfill gradually so the shape stays rounded without becoming too firm.
Round 12
(3 sc, dec) repeat 3 times. 12 sts
Round 13
Sc around. 12 sts
Fasten off, leaving a long yarn tail for sewing. Leave the upper opening unfinished because it will be sewn to the underside of the mushroom cap.
Crochet the Mushroom Cap
Use red yarn.
Round 1
Make 6 sc in a magic ring. 6 sts
Round 2
Inc in every stitch. 12 sts
Round 3
(1 sc, inc) repeat 6 times. 18 sts
Round 4
(2 sc, inc) repeat 6 times. 24 sts
Round 5
(3 sc, inc) repeat 6 times. 30 sts
Round 6
(4 sc, inc) repeat 6 times. 36 sts
Rounds 7–9
Sc around. 36 sts
Round 10
(4 sc, dec) repeat 6 times. 30 sts
Round 11
Sc around. 30 sts
Round 12
(3 sc, dec) repeat 6 times. 24 sts
Leave the cap unstuffed while you crochet its underside.
Round 13
(2 sc, dec) repeat 6 times. 18 sts
Round 14
(1 sc, dec) repeat 6 times. 12 sts
Lightly stuff the cap through the remaining opening. Keep the center softly rounded and the underside relatively flat. Fasten off, leaving a long tail. The cap and stem now each have a 12-stitch opening; these edges will be sewn together during assembly.
Make the White Spots
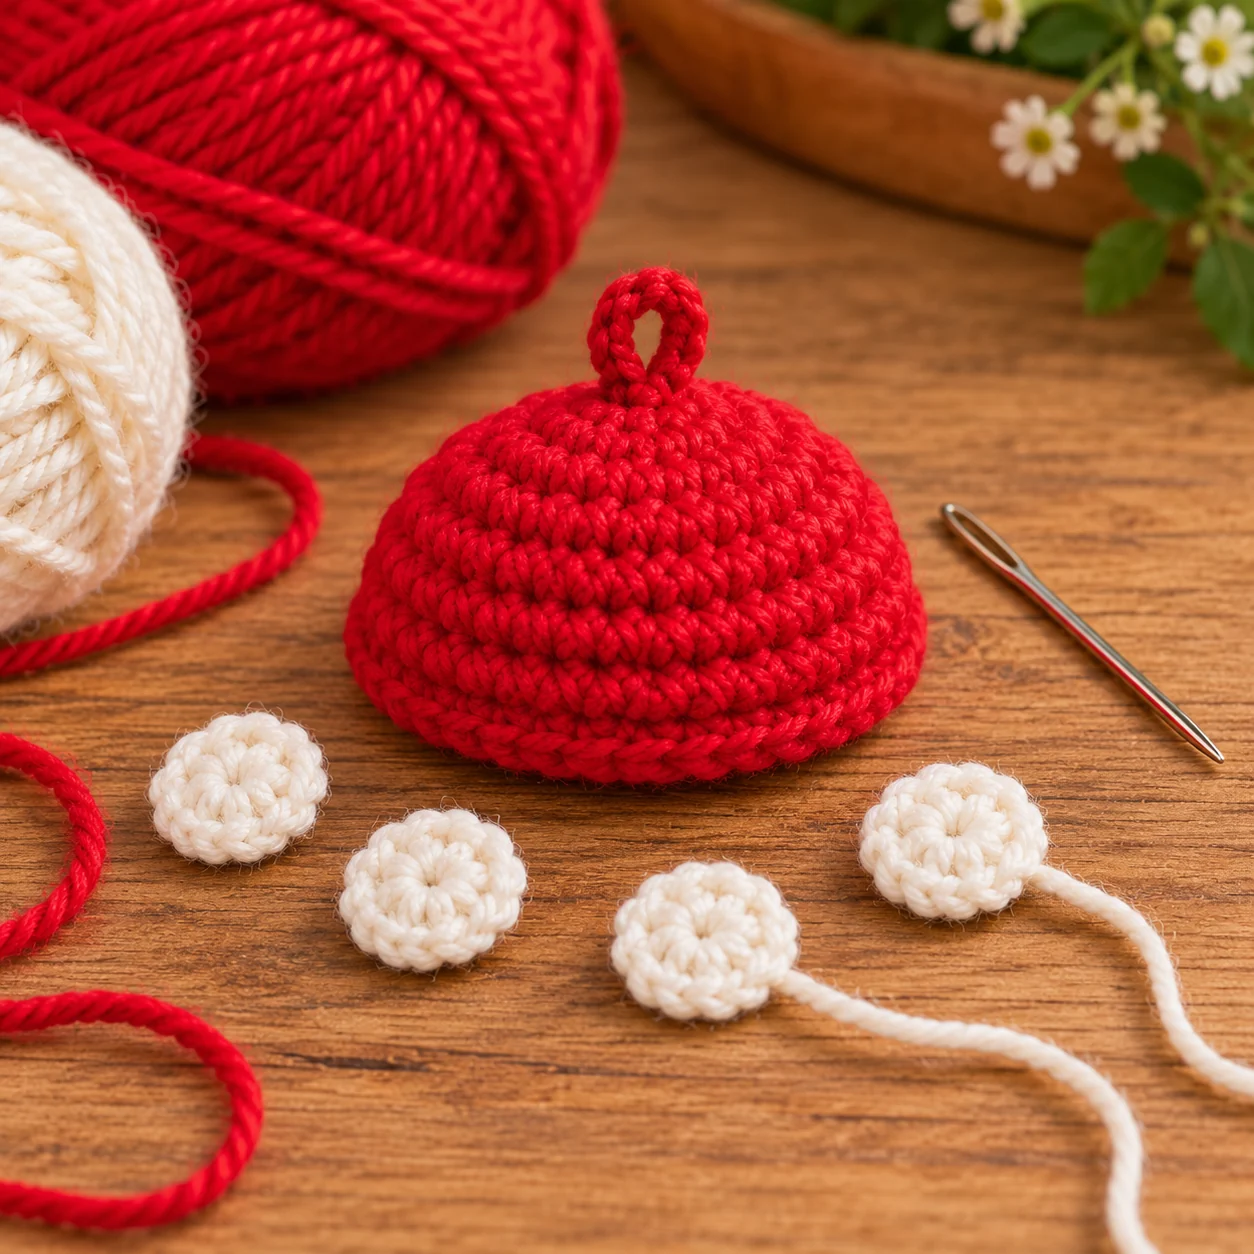
Make approximately 5–7 spots in different sizes.
Small Spot
Rnd 1: 5 sc in MR. Join with a sl st.
Fasten off, leaving a sewing tail.
Larger Spot
Rnd 1: 6 sc in MR.
Rnd 2: Inc in every stitch. 12 sts
Fasten off, leaving a sewing tail.
Arrange the spots on the cap before sewing them permanently. Avoid spacing them too evenly.
Add the Face
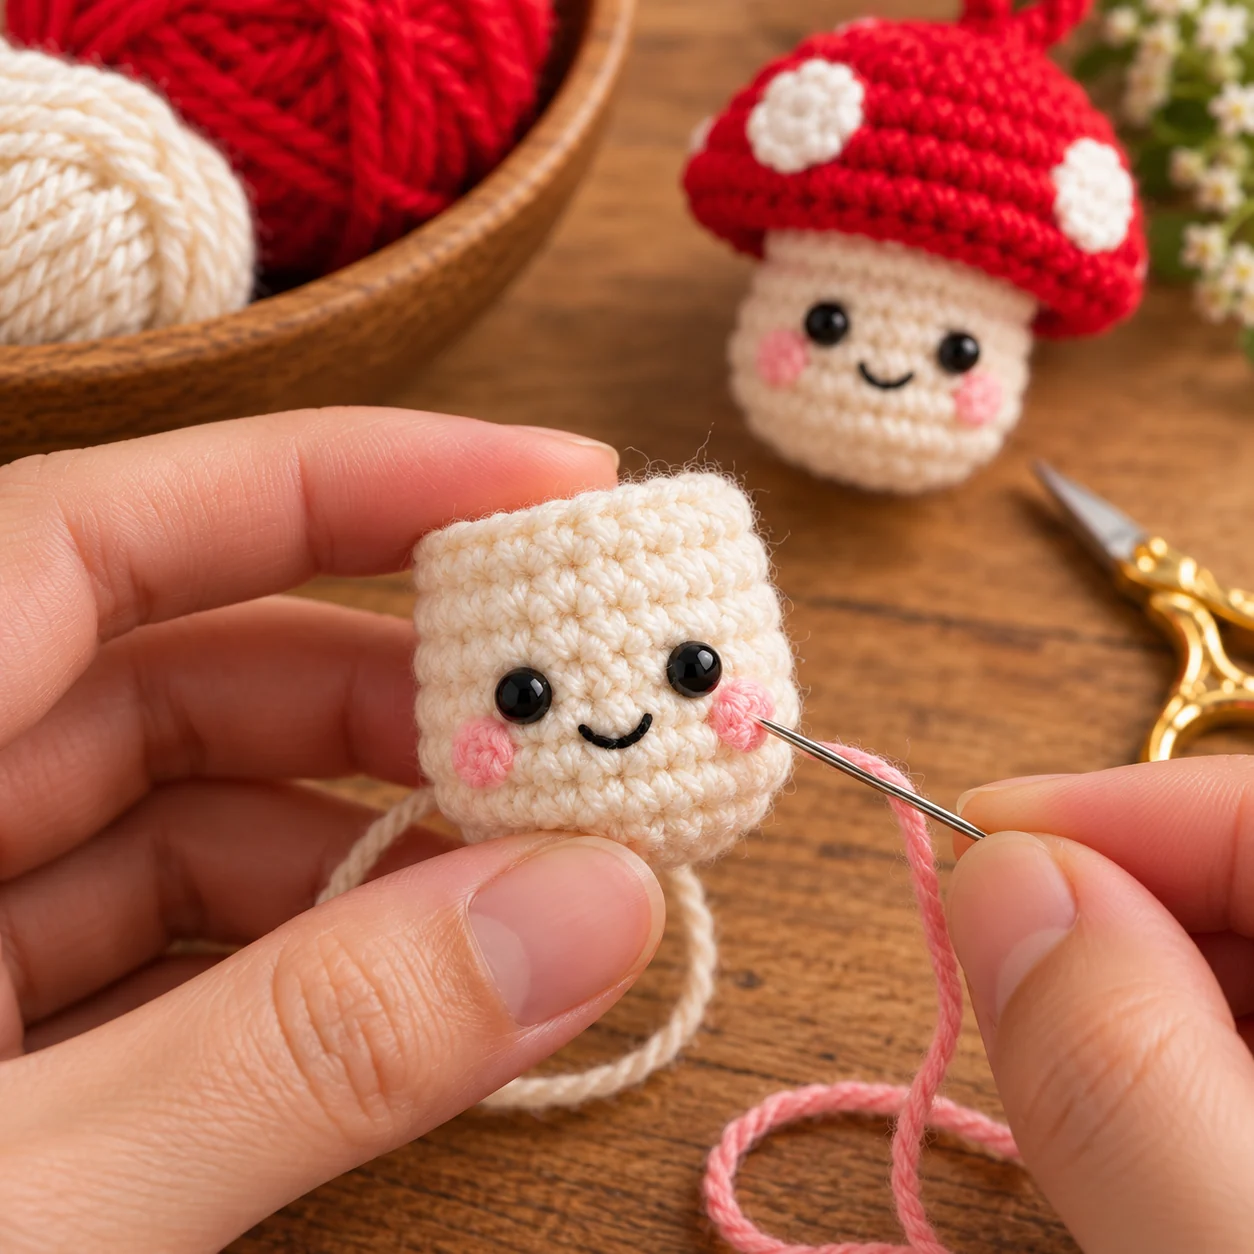
The face is embroidered onto the cream stem before final assembly.
Eyes
Use black embroidery thread or thin black yarn. Position the eyes evenly on the front of the stem with about 4–5 stitches between them.
Smile
Make a small curved smile between and slightly below the eyes.
Cheeks
Use pink yarn and make two or three short horizontal stitches beneath each eye.
Join the Cap and Stem
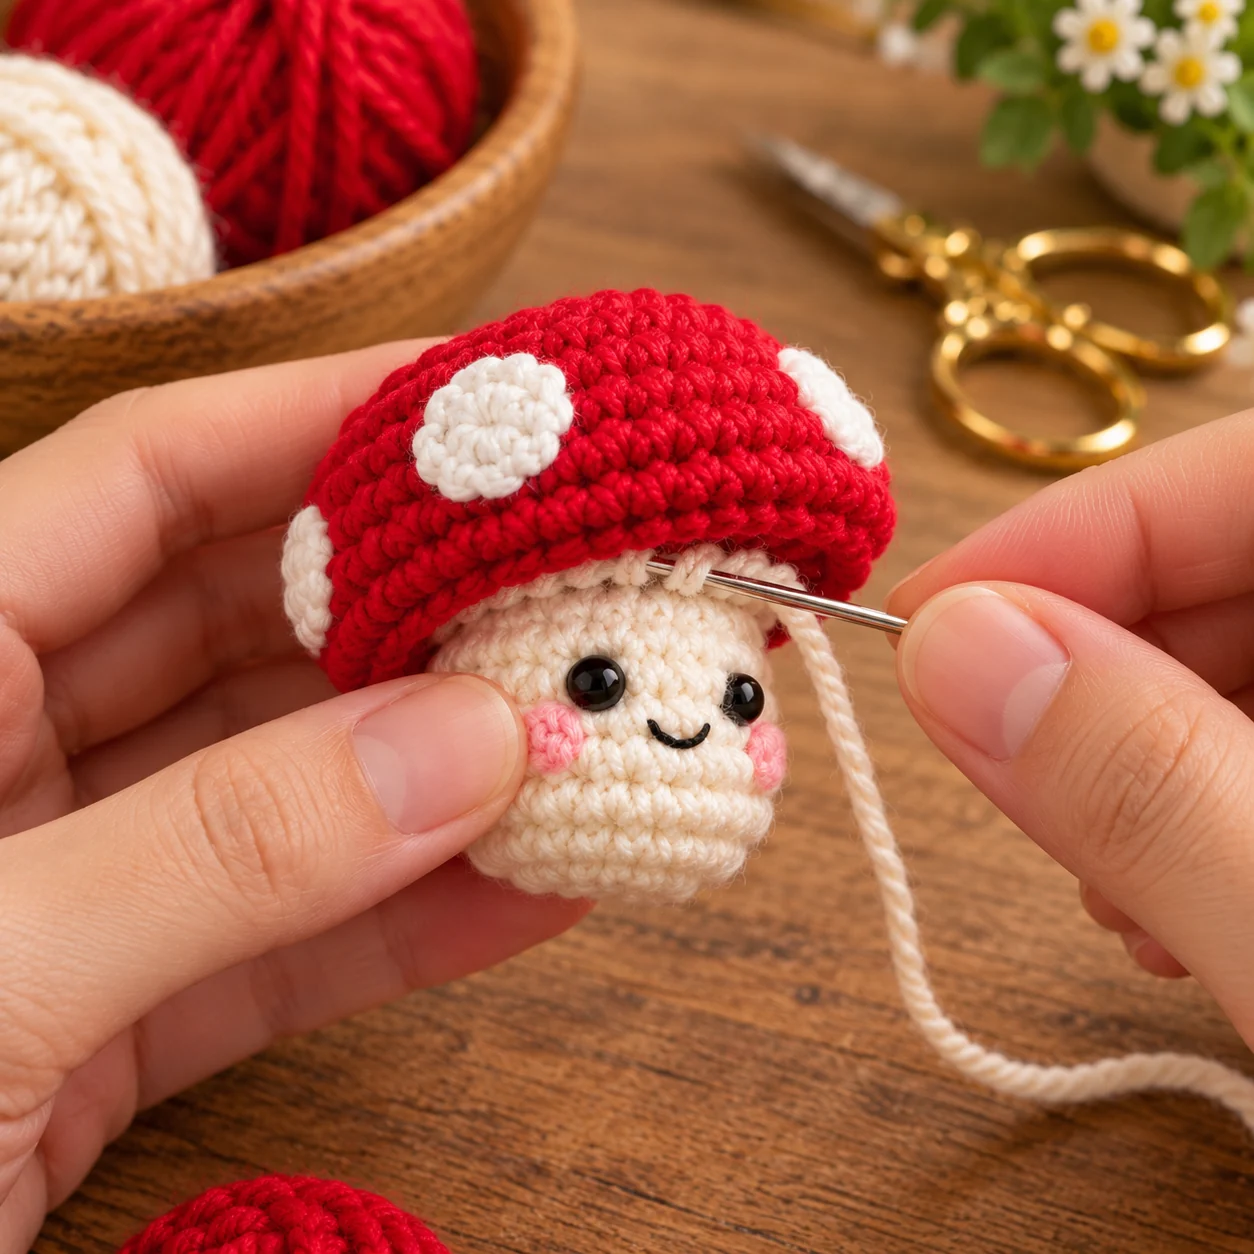
Align the 12-stitch opening at the top of the stem with the 12-stitch opening on the underside of the cap. Pin the edges together, keeping the face pointing forward.
Check the mushroom from the front, back, and sides before sewing.
Thread the cream yarn tail onto a yarn needle and sew around the upper edge of the stem, catching stitches from both the stem and underside of the cap.
Before closing the final section, add a little more stuffing if needed. Finish the seam and hide the yarn tail inside the mushroom.
Add the Keychain Loop
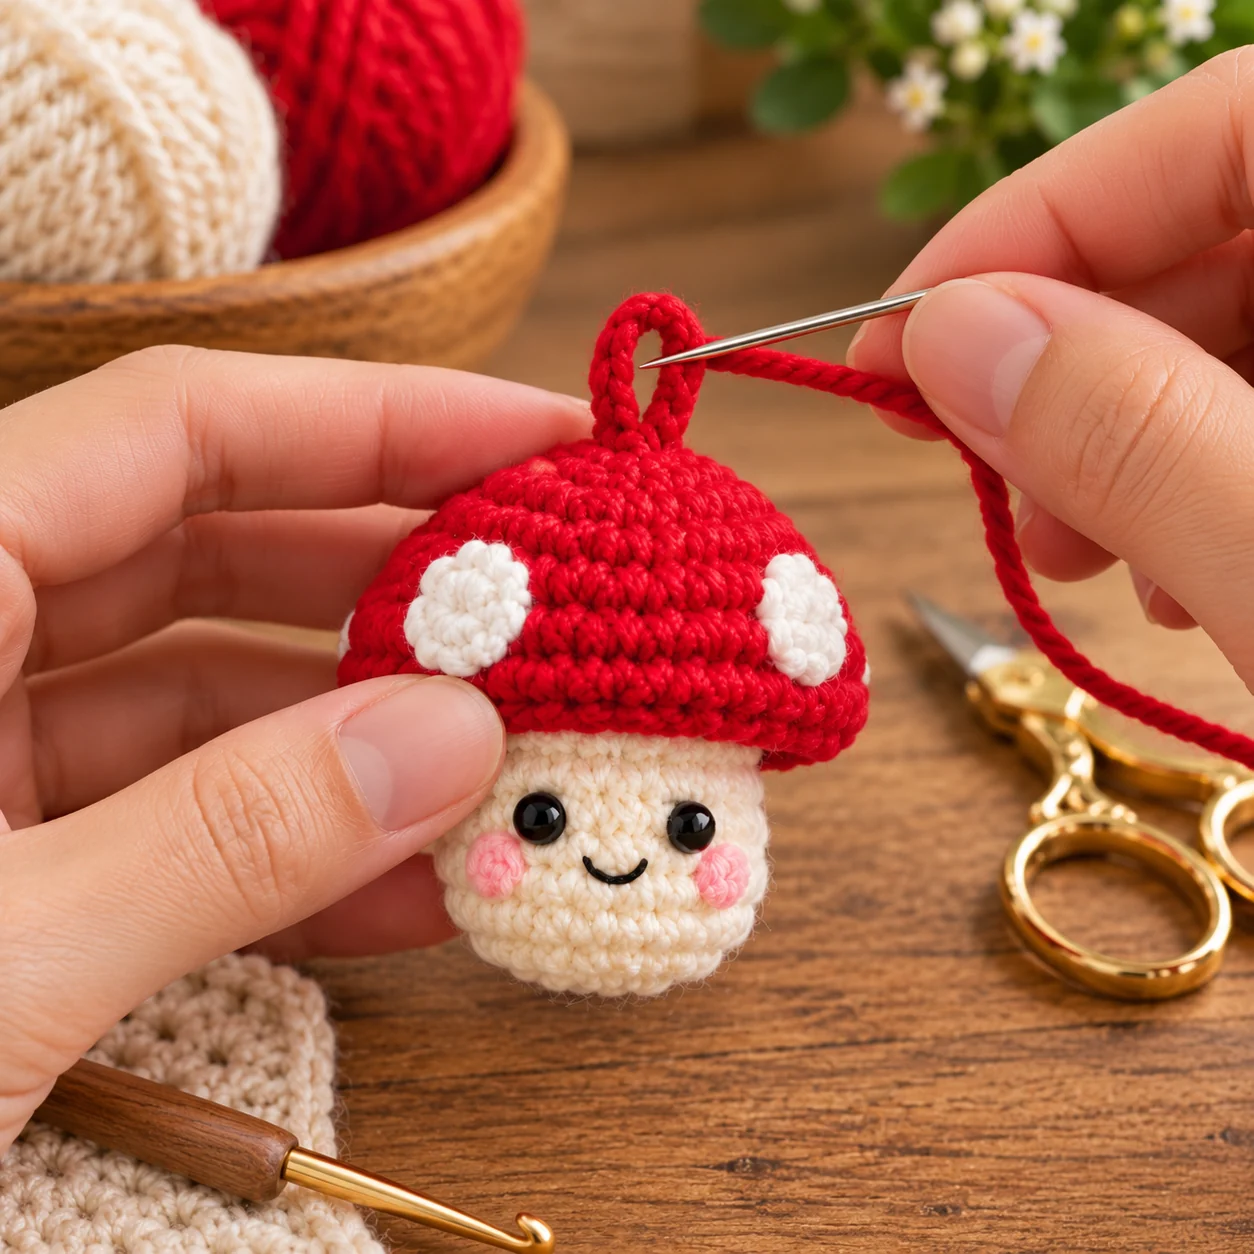
Use a strong length of red yarn.
Create a loop approximately 2–3 cm / 0.75–1.25 in long and position it at the center top of the mushroom cap.
Thread both ends into the cap and anchor them through several surrounding crochet stitches.
Pass the yarn through the area several times, secure the ends, and hide them inside the cap.
Turn It Into a Bag Charm
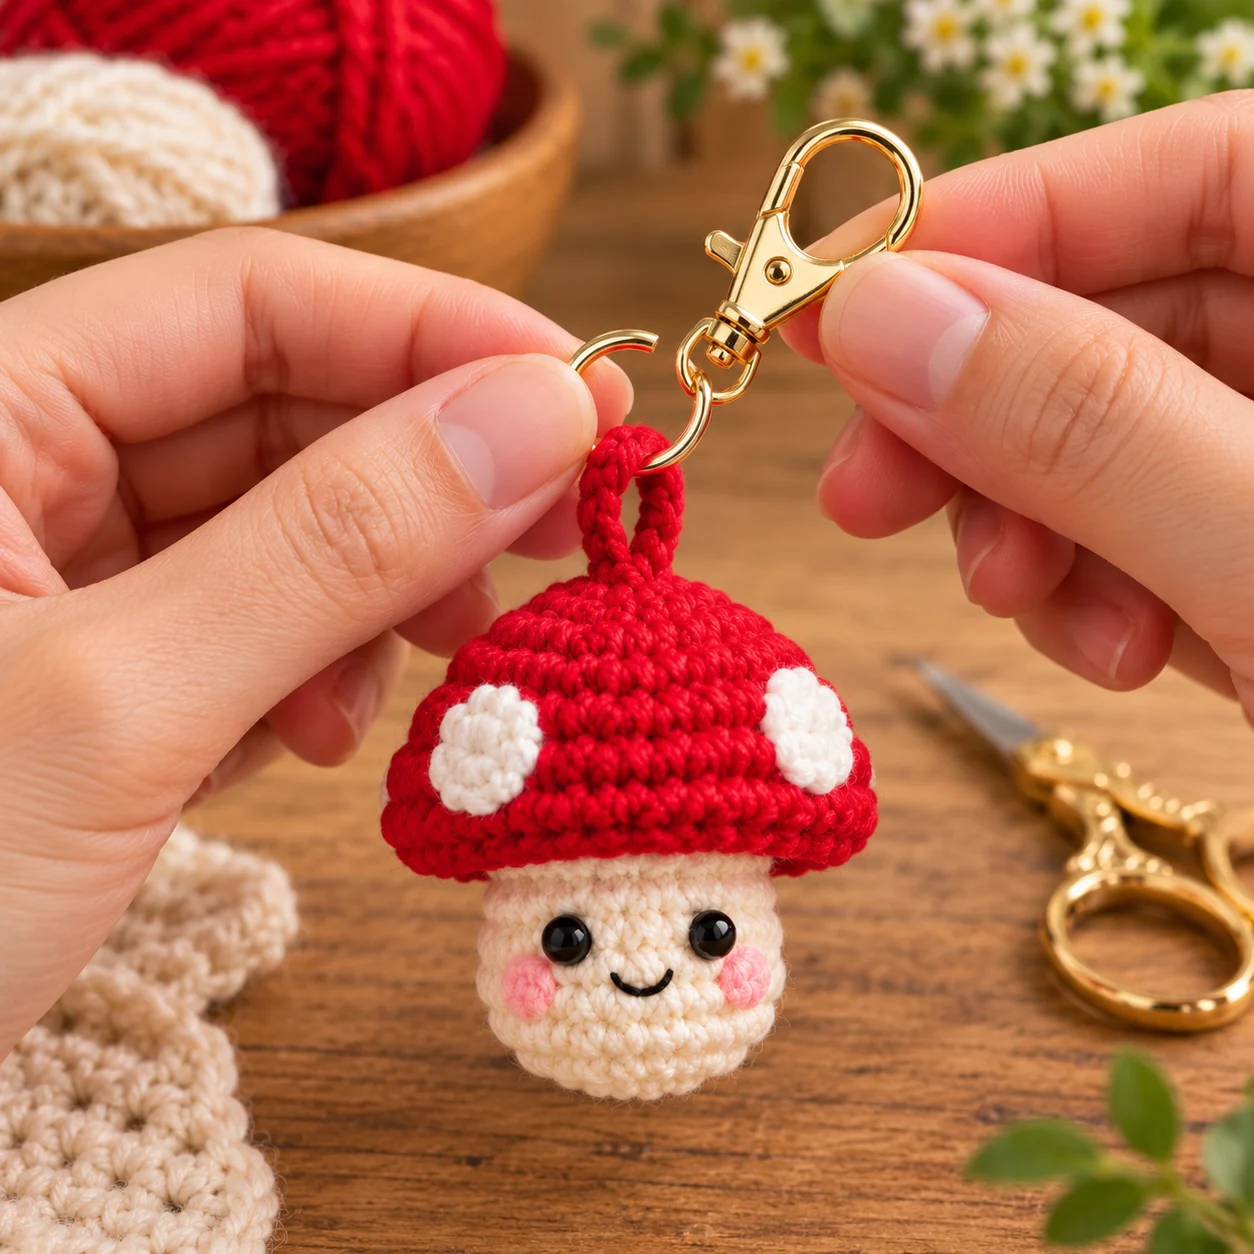
Once the crochet loop is secure:
- Open a small jump ring.
- Pass it through the crochet loop.
- Add the lobster clasp.
- Close the jump ring securely.
A lobster clasp works well for tote handles, backpack loops, purse straps, project bags, and zipper pulls.
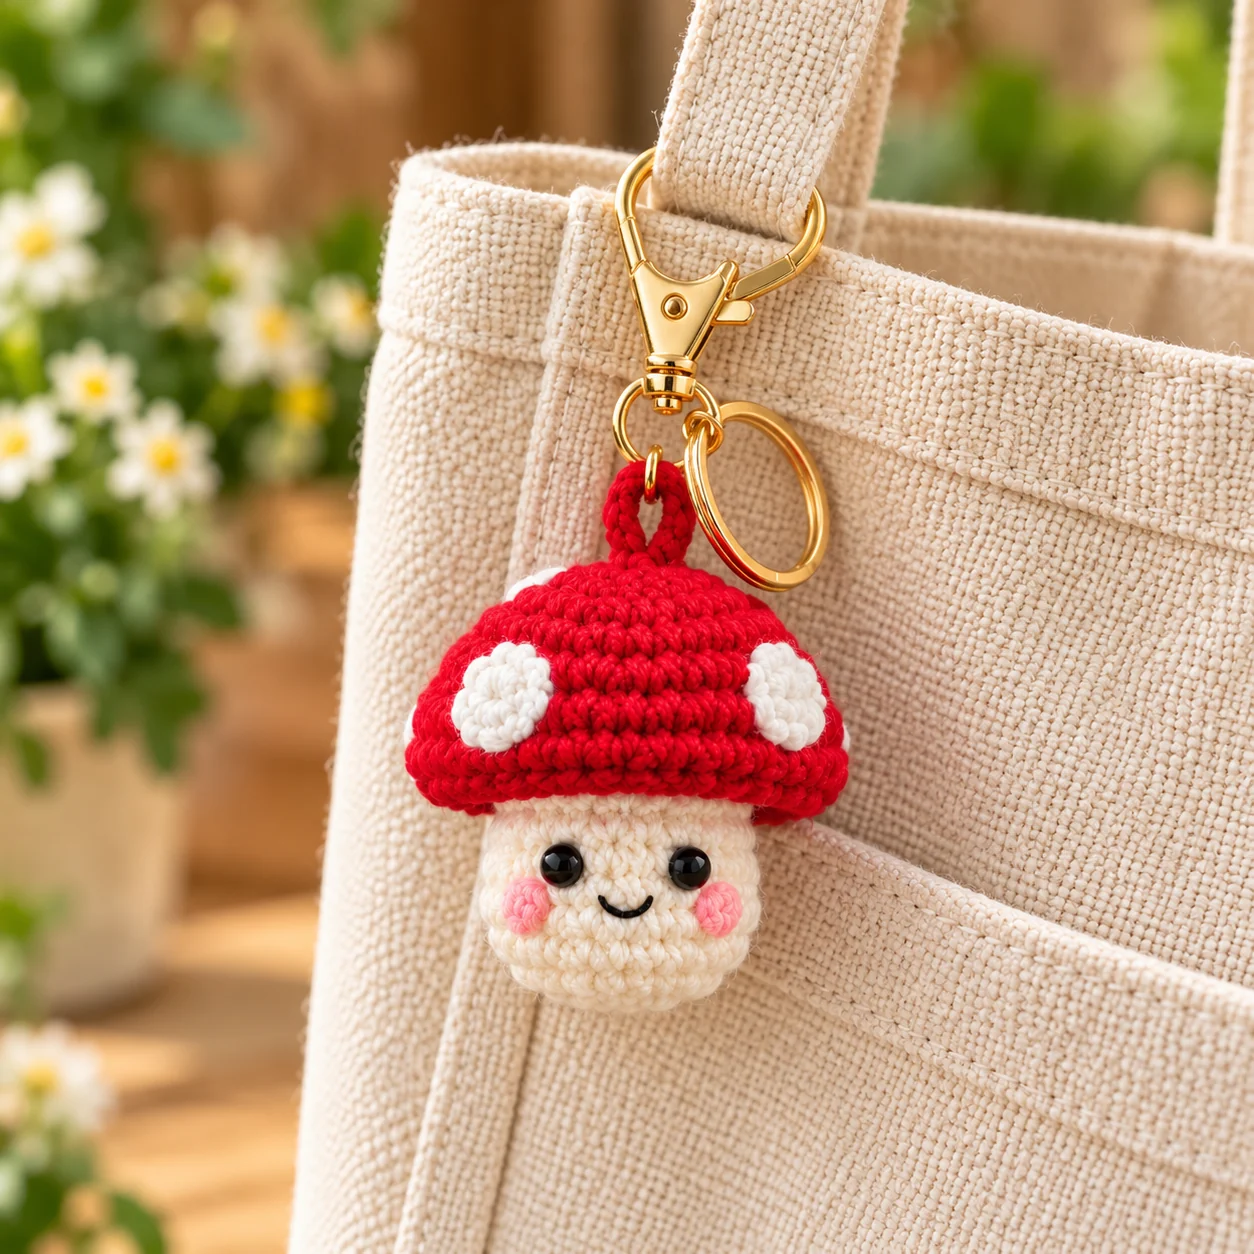
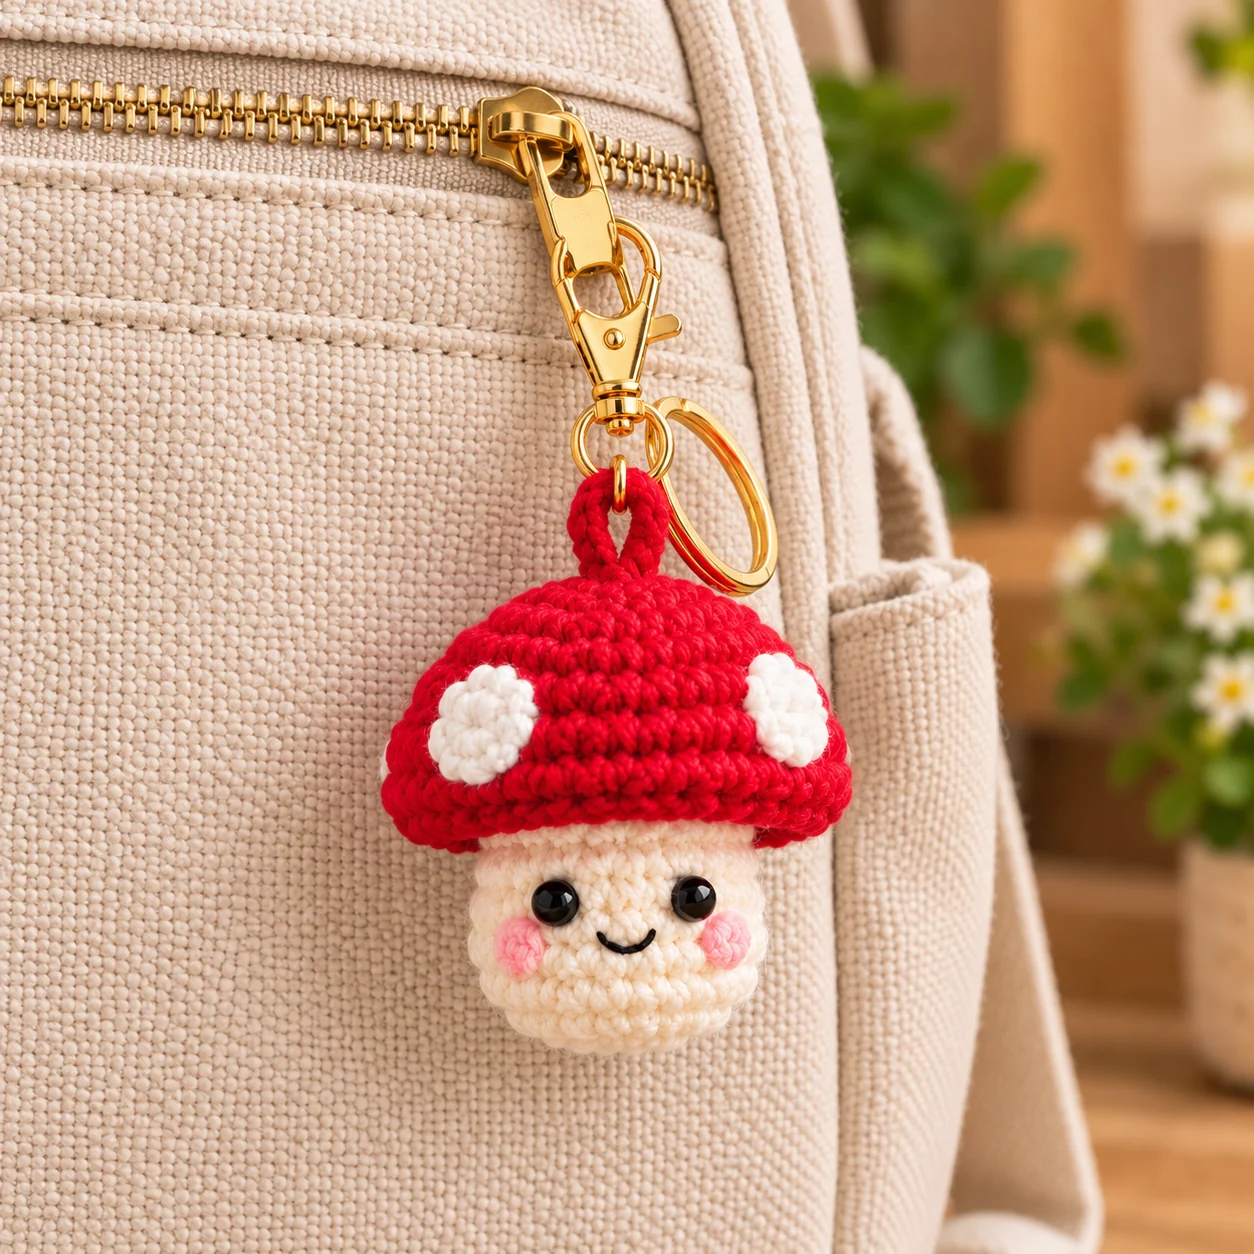
For a traditional keychain, use a split keyring instead.
Mushroom Color Ideas
| Style | Cap | Stem | Spots |
|---|---|---|---|
| Classic | Red | Cream | White |
| Cottagecore | Rust | Beige | Cream |
| Pastel | Blush pink | Ivory | White |
| Forest | Olive | Oatmeal | Beige |
| Fantasy | Purple | Pale lilac | Pink |
| Autumn | Burnt orange | Cream | Mustard |
| Minimal | Taupe | Natural | Ivory |
How to Make the Mushroom Smaller
Use thinner yarn such as fingering or sport weight and a smaller hook. Keep the same stitch counts.
How to Make It Larger
Use thicker yarn with an appropriate hook. Keep the stitch counts unchanged.
Troubleshooting
Why is my mushroom cap too round?
The cap may contain too much stuffing. Remove some fiberfill and reshape it gently.
Why does the cap look too flat?
Add a small amount of stuffing underneath the center.
Why does the stem lean?
The stem may have been sewn slightly off-center. Pin it before sewing and check from several angles.
Why are the white spots curling?
Relax your tension slightly, lightly shape the pieces, or use embroidered spots instead.
Why can I see the stuffing?
Try a slightly smaller hook or reduce the amount of stuffing.
Why does the hanging loop feel weak?
Reinforce it by sewing through several surrounding stitches in the top of the cap.
Why does the clasp twist?
Add a small jump ring between the crochet loop and the lobster clasp.
Why is the mushroom too large for a keychain?
Switch to thinner yarn and a smaller hook while keeping the same stitch counts.
Frequently Asked Questions
Is this crochet mushroom keychain pattern beginner-friendly?
Yes. It is best for confident beginners who already know the magic ring, single crochet, increases, decreases, and basic sewing.
How big is the finished mushroom?
Using DK or light worsted yarn with a 2.5–3 mm hook, expect approximately 7–9 cm / 2.75–3.5 in tall, excluding the clasp.
What yarn works best?
Smooth cotton or cotton-blend yarn works especially well because it gives the small stitches good definition.
Can I use plush yarn?
Yes, but the finished mushroom will be much larger.
Can I make it completely no-sew?
This version uses separate cap and stem pieces, so some sewing is required.
Can I embroider the mushroom spots?
Yes. Embroidered spots are a durable alternative for a frequently used charm.
Can I attach it directly to a zipper?
Yes. Use a small lobster clasp or jump ring that fits through the zipper pull.
Can I turn it into an ornament?
Yes. Leave off the metal hardware and add a longer yarn loop.
How long does one mushroom take?
The time depends on your crochet speed and experience, but it is a relatively small amigurumi project.
Is it better as a keychain or a bag charm?
Both work well. Use a split ring for keys and a lobster clasp for a tote, purse, backpack, or project bag.