Crochet Peppermint Coaster – Free Christmas Swirl Pattern
Make a cream cotton crochet coaster with six red embroidered swirl lines and a simple border. Includes counted rounds, finishing tips and six helpful FAQs.
A Flat Peppermint-Inspired Christmas Coaster
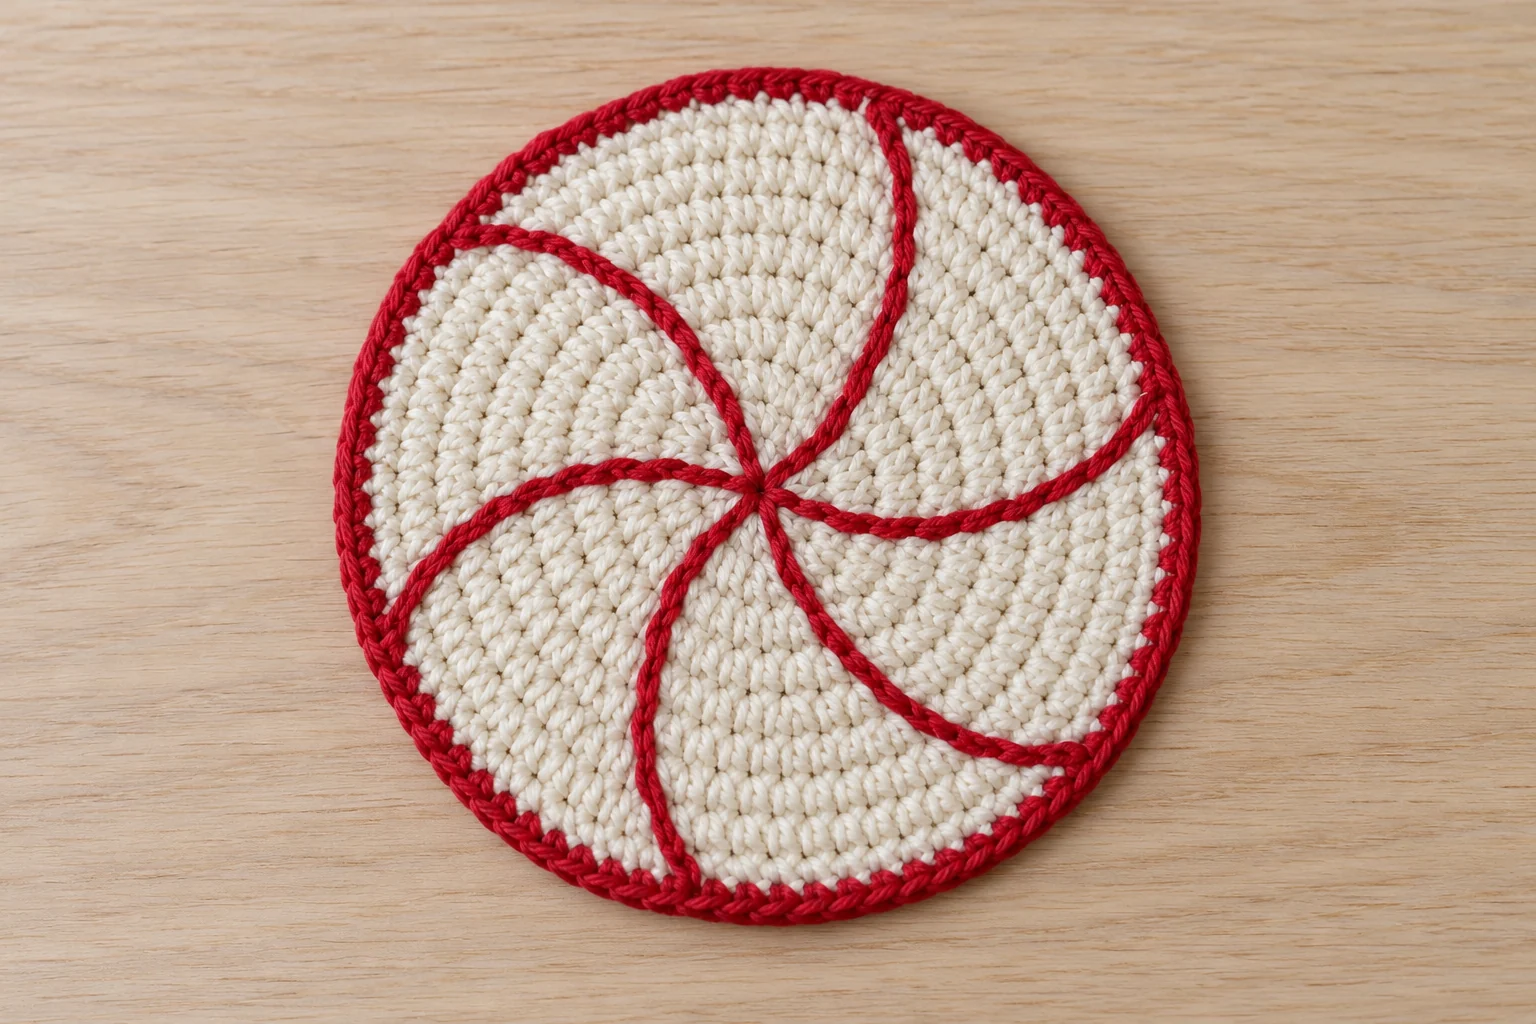
This crochet peppermint coaster pattern starts with a flat cream single crochet circle. Six curved red embroidered lines create the candy-inspired swirl, and a red edging finishes the outside. The color decoration is added after crocheting, so you do not have to carry two yarns around every round or manage a two-color crochet spiral.
The design is a practical small project for someone who can crochet a circle and sew simple decorative stitches. Its appearance is inspired by peppermint candy; it is not an edible decoration. This original written draft has checked stitch counts but has not been physically sample tested. Generated reference images are illustrations, not tested samples or exact stitch diagrams. Make one sample to assess flatness and mug stability.
Materials for a Smooth Coaster
Choose smooth cream and red cotton yarn of matching weight, a suitable crochet hook, blunt tapestry needle, removable stitch marker and scissors. DK cotton is a manageable starting point. Use the yarn label’s hook guidance and sample a fabric that lies flat without large gaps. A very small amigurumi hook can make a coaster unnecessarily stiff.
The red embroidery should be similar in thickness to the cream stitches or slightly finer. A heavy cord laid over a thin disk can create ridges under the mug. Keep the center decoration low and even, and avoid bulky knots on either face. You will need no filling, glue, beads or stiff backing.
Check red yarn for color transfer before pairing it with cream, following the yarn manufacturer’s care guidance. If you intend to make a set, use the same yarn, hook and number of rounds for every coaster. Record the measured diameter of your sample rather than relying on an untested size estimate.
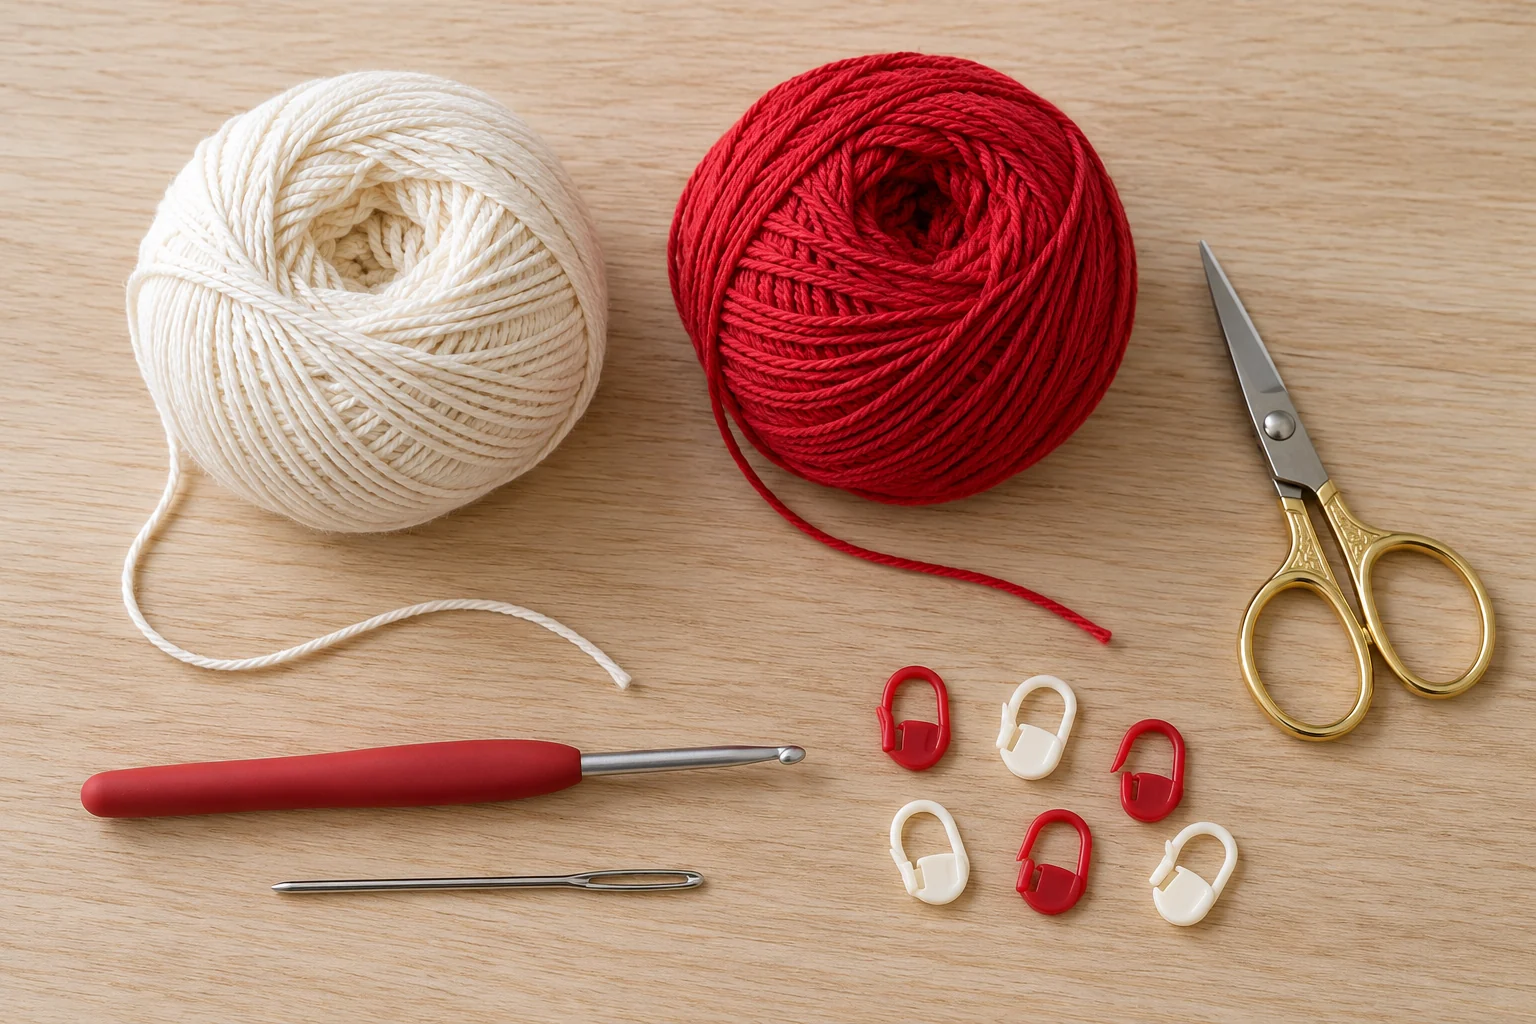
US Terms and Circle Rules
Ch means chain, sc means single crochet, inc means two sc in one stitch, sl st means slip stitch, st means stitch and FO means fasten off. Parentheses followed by a number tell you how many times to repeat the complete group. Work the cream circle in continuous rounds with no turning.
Move a marker into the first stitch of each round. Do not accidentally crochet into the marker loop or add a joining slip stitch at every round boundary. A single crochet increase creates two stitch tops from one existing stitch; the round counts below already include those increases.
For terminology help, use the Craft Yarn Council crochet abbreviations. The red lines use embroidery rather than additional crochet rounds. Their placement is described separately so the disk’s stitch counts stay easy to follow.
Step 1: Start the Cream Center
With cream yarn, make a magic ring. Round 1: work 6 sc into the ring and pull the center closed. Round 2: inc in every stitch for 12 sts. Round 3: repeat (sc, inc) six times for 18 sts. Round 4: repeat (2 sc, inc) six times for 24 sts.
Secure the starting tail on the underside by weaving through nearby stitches and changing direction. Keep the center flat rather than pulling it into a hard knot. A raised knot at this point could make a cup rock later, even if the rest of the circle is smooth.
Put the work on a table and inspect the first four rounds. Slight movement in a soft fabric is normal, but strong cupping or ruffling is a reason to check the counts. Correct an error before continuing; increasing the outer edge cannot reliably fix a missing increase near the center.
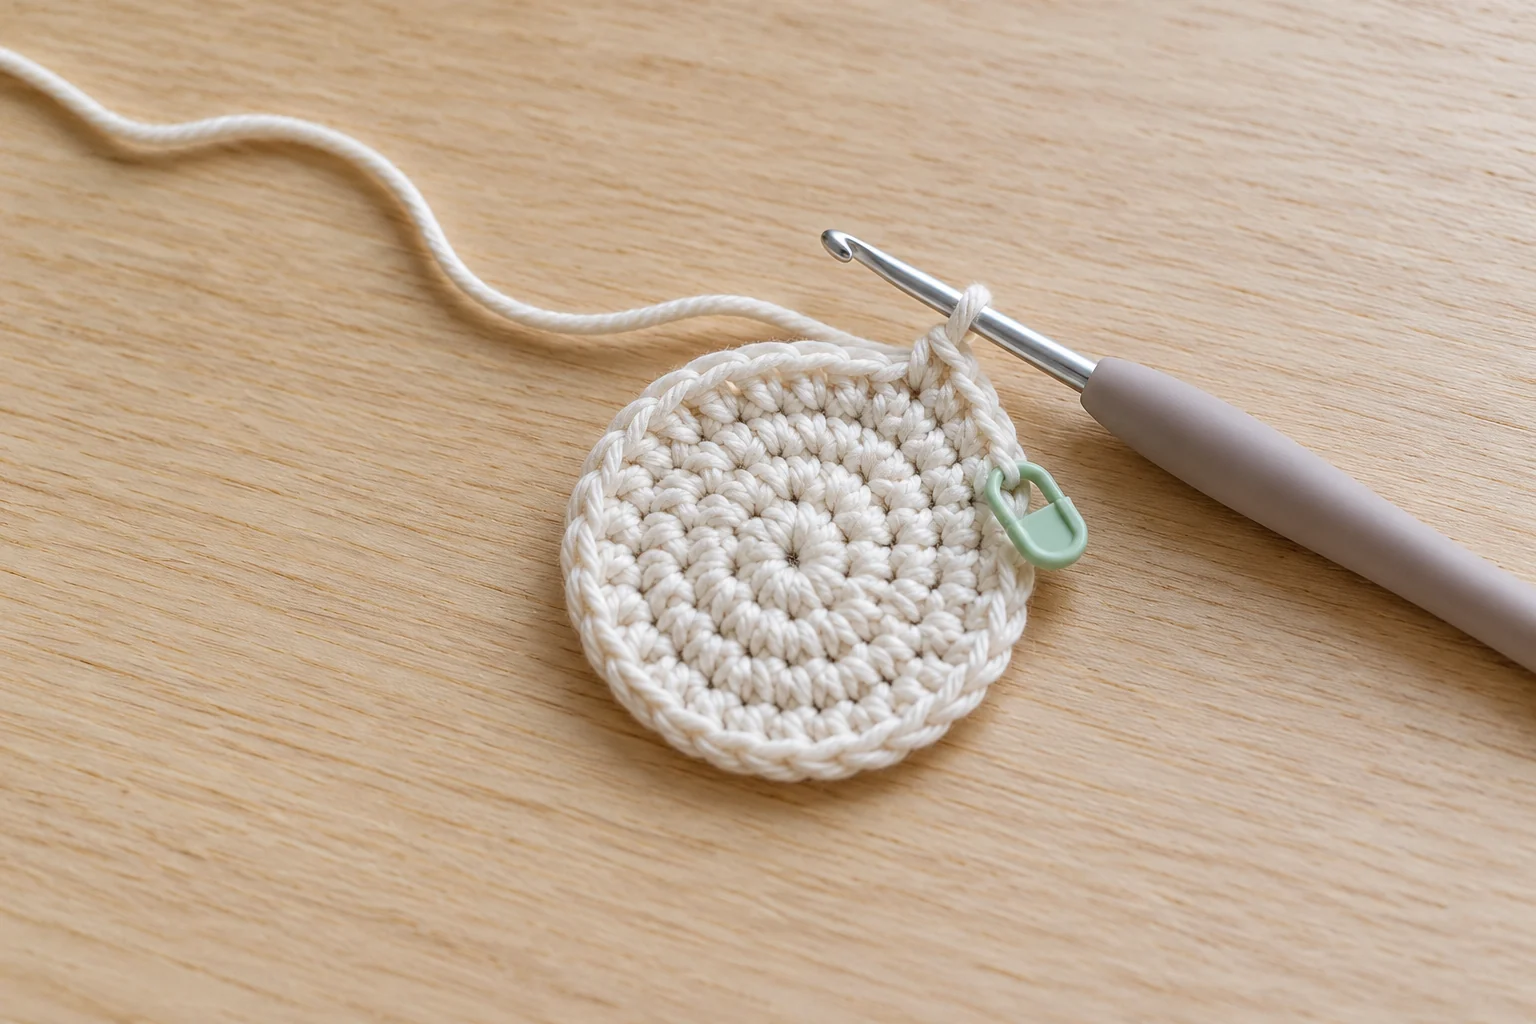
Step 2: Expand to the Full Cream Disk
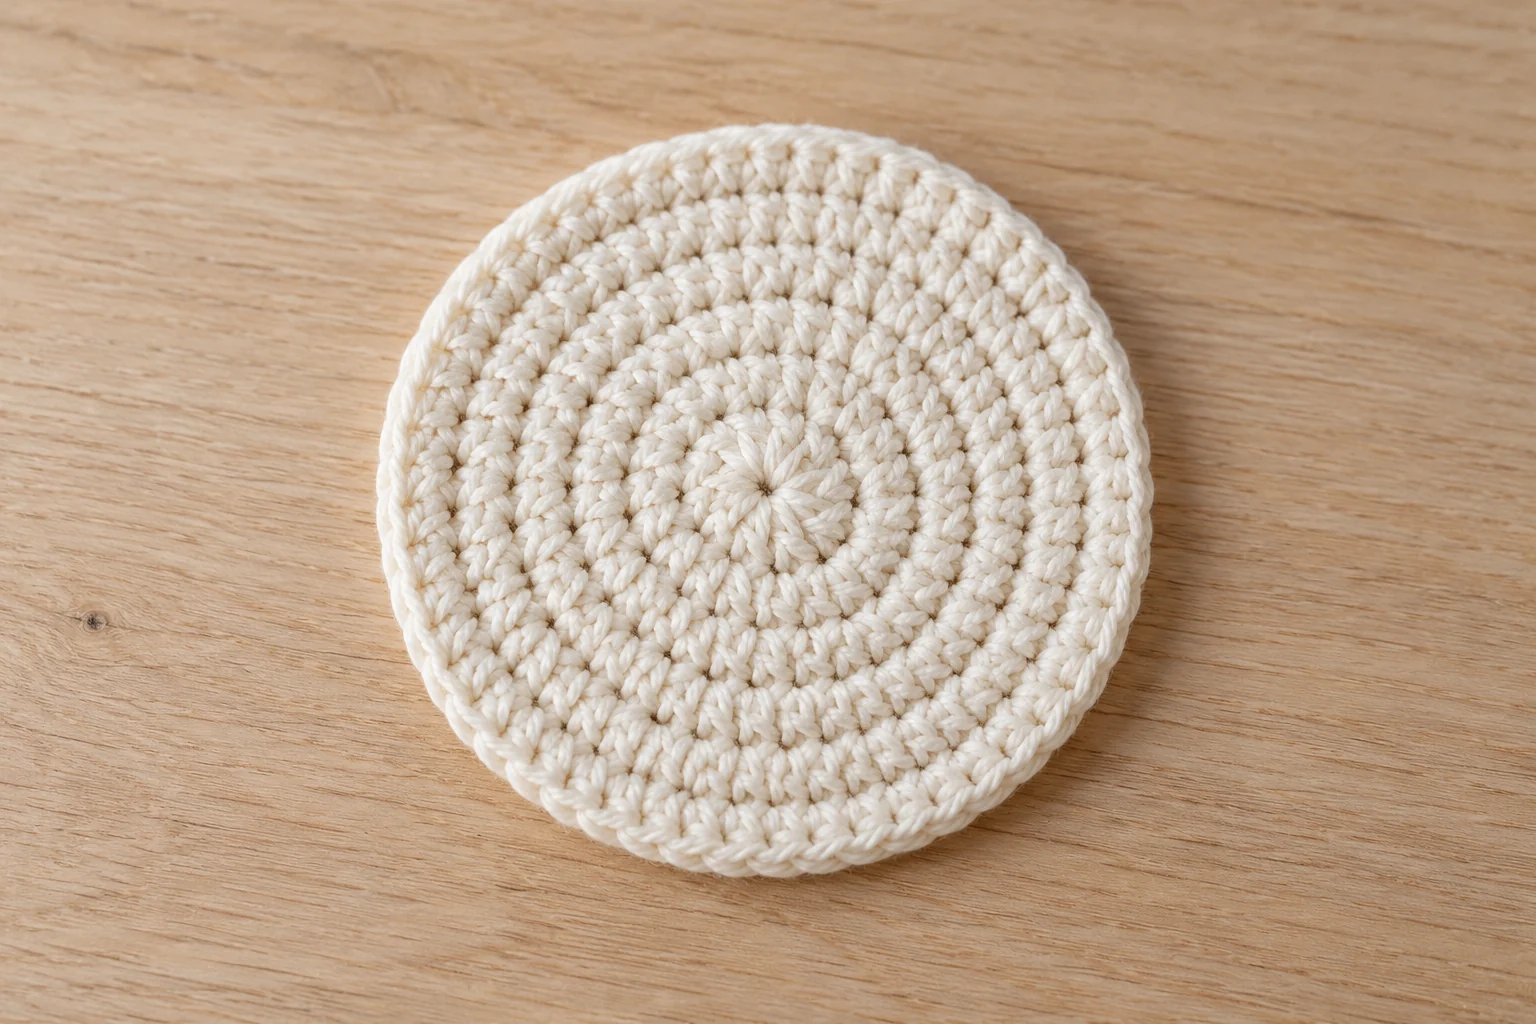
Round 5: repeat (3 sc, inc) six times for 30 sts. Round 6: repeat (4 sc, inc) six times for 36 sts. Round 7: repeat (5 sc, inc) six times for 42 sts. Round 8: repeat (6 sc, inc) six times for 48 sts. FO in cream and leave a tail to weave securely.
These rounds form a six-section increase arrangement. Depending on yarn and tension, you may see a subtle six-sided outline. Gentle blocking can soften that outline, but do not stretch the disk so hard that the stitches become open and uneven. The instructions keep the increase positions simple for a first sample.
Count all 48 stitch tops around the final round before edging. If the disk is too small for your mug, assess the materials or sample additional increase rounds as a separate size variation. Do not simply stretch this eight-round disk under a wider mug and assume it will remain stable.
Step 3: Add the Red Outer Edge
Join red yarn into any stitch of the cream disk. Ch 1, which does not count as a stitch, then sc once in that same stitch. Sc in each remaining stitch around for 48 red sc. Join with a sl st to the first actual red sc and FO.
Weave both red ends into the underside of the red border, reversing direction before trimming. The border has no increases. If it pulls the disk into a cup, first check that the tension is not much tighter than the cream rounds. If it waves heavily, check for accidental extra stitches at the join.
Keep the edging smooth and simple. A large scallop or picot border would change the size, cleaning behavior and visual balance of the coaster. Complete the plain red edge first so you can assess the peppermint design without extra decoration competing with it.
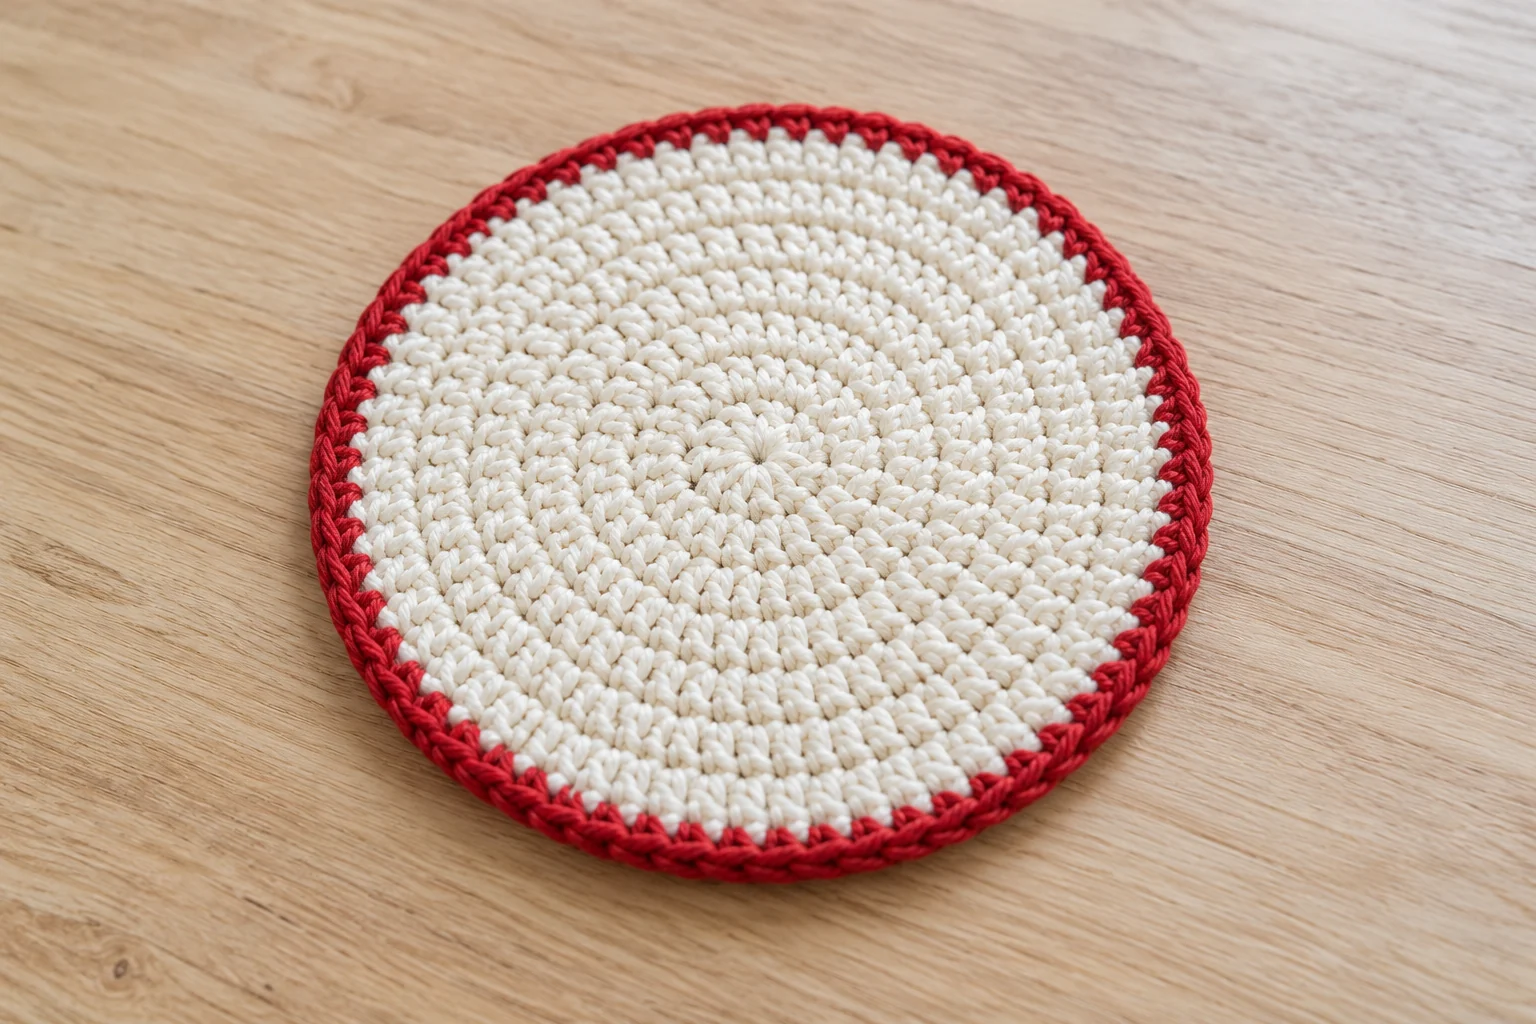
Step 4: Mark Six Curved Swirl Lines
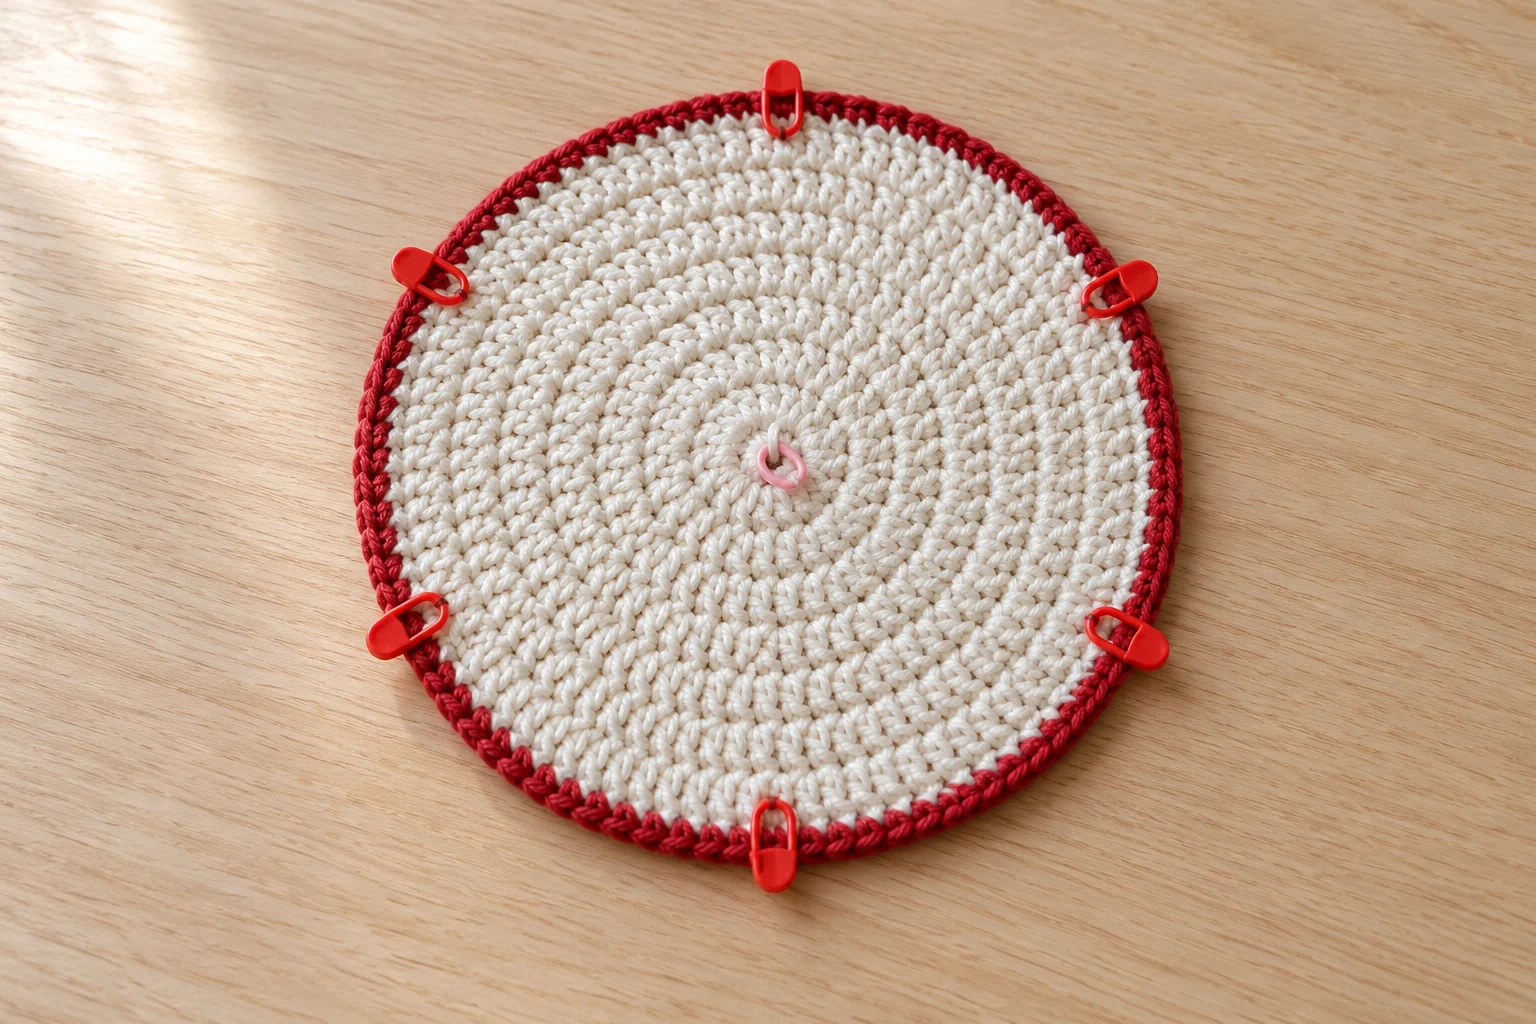
Place the disk with the preferred face upward. Use six removable markers at the outer cream round, spaced eight stitches apart. These are the ending points for six red curved lines. Place a small temporary marker near the center to show where the swirl begins.
Plan each curve from near the center toward one outside marker. Give every line the same gentle clockwise sweep, rather than drawing straight spokes. The curves should spread apart toward the edge and remain balanced around the disk. Do not force all six thick strands through one tiny center hole.
A simple paper sketch can help you choose the amount of curve before sewing. Keep the lines inside the red border and avoid crossing them. At this scale, six clear curves usually communicate the candy-inspired idea more effectively than many crowded lines.
Step 5: Embroider the Peppermint Swirl
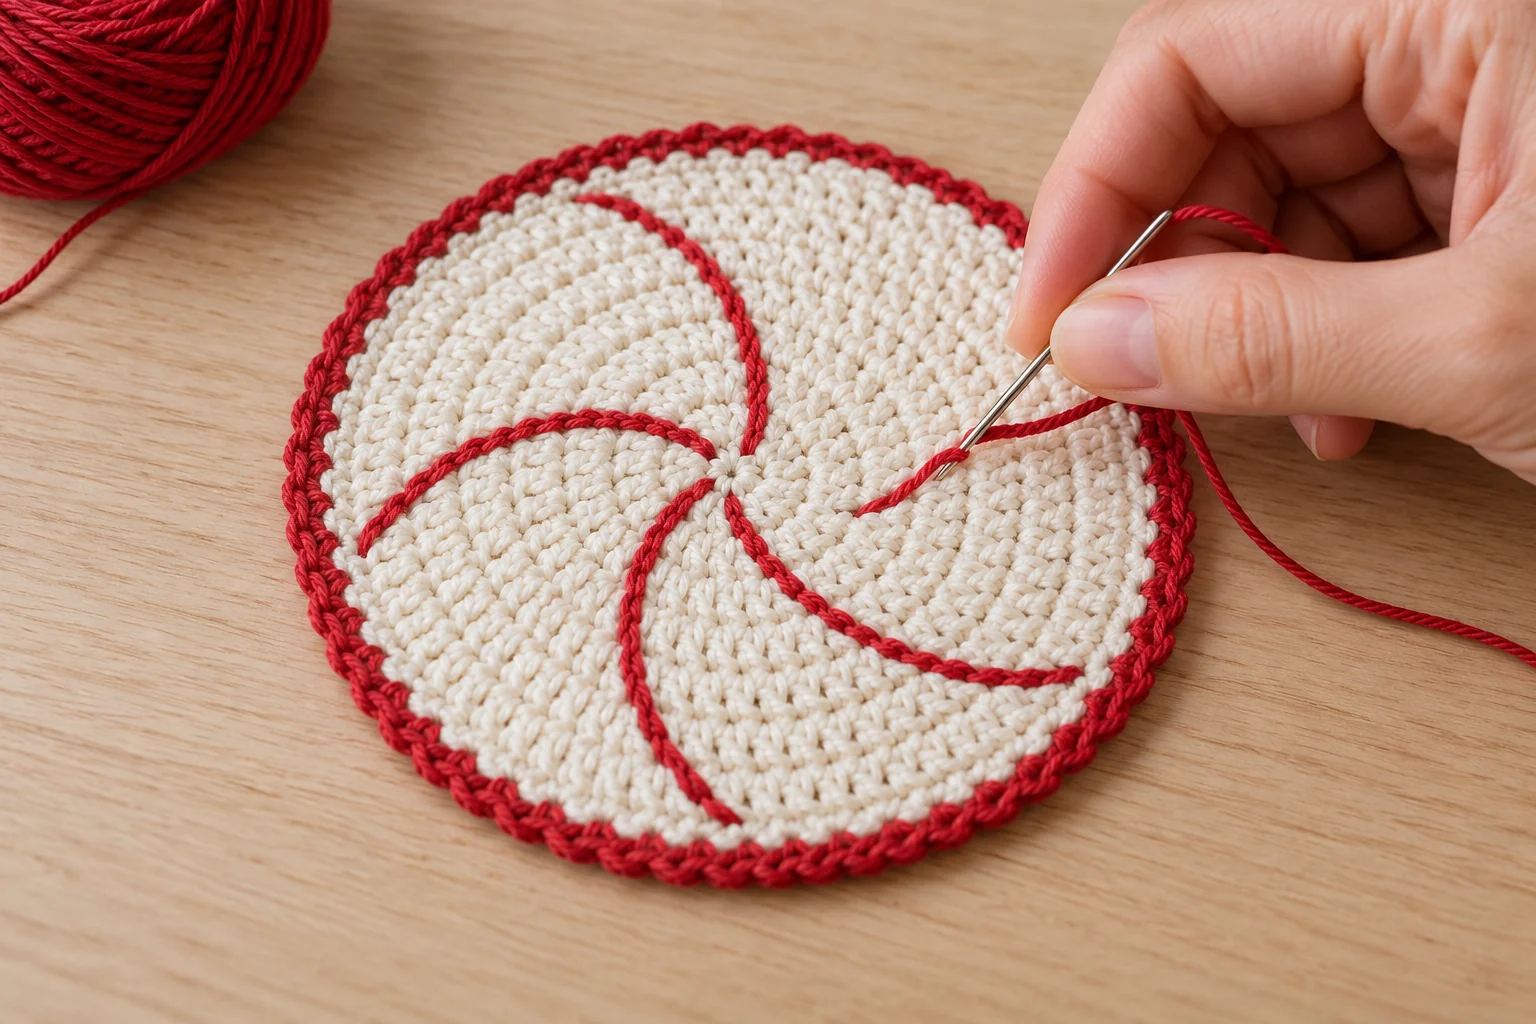
Thread the needle with red yarn and start from the underside near the center. Work small backstitches along the first planned curve. Bring the needle up one short stitch length ahead, then insert it back at the previous endpoint. Repeat, following the curve toward the outside marker.
Keep each surface stitch short enough to sit against the cream fabric. Long loose stitches can catch a cup handle or fingers during use. Pull the yarn just until it lies flat; excessive tension can gather the disk into ripples. Finish the first curve at the inner edge of the red border.
Secure the red tail through nearby underside stitches without making a bulky knot. Repeat for the other five curves, comparing their spacing as you go. Use separate manageable lengths rather than carrying one long loose red strand all the way across the back between distant lines.
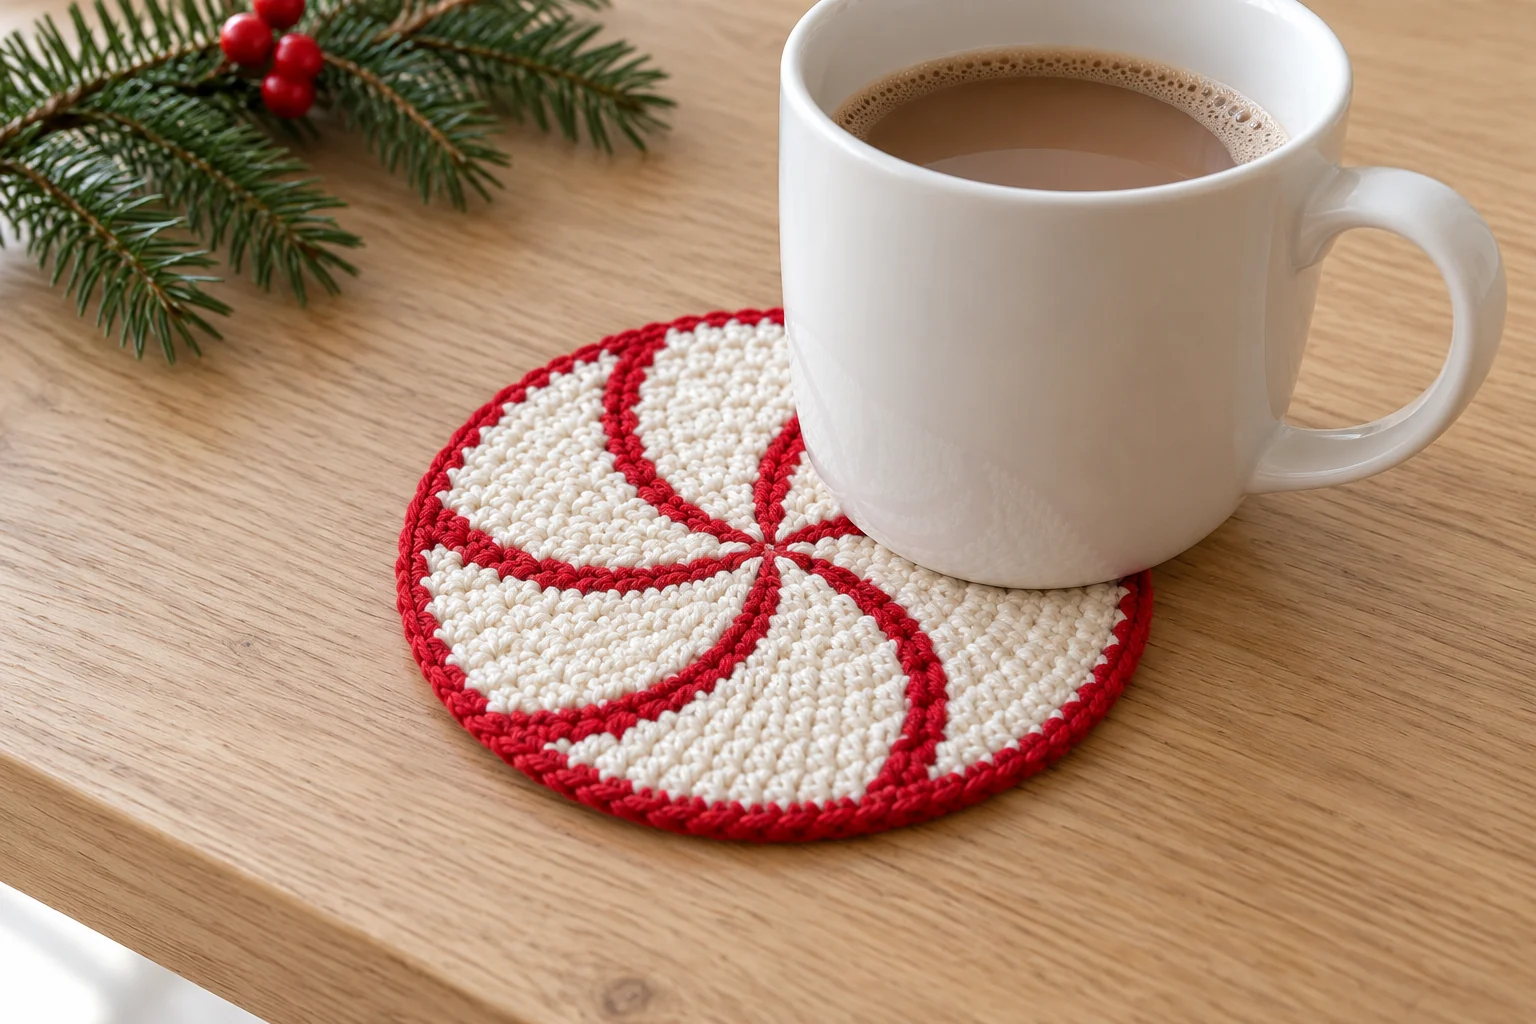
The finished effect is a cream disk with red curved embroidered rays, not wide alternating red and cream crochet wedges. That distinction matters if you are choosing a technique: this pattern prioritizes a simple one-color crochet base and adjustable surface decoration.
Step 6: Block and Check Mug Stability
If the yarn label permits damp blocking, dampen the coaster and lay it on a clean towel. Smooth the circle and arrange the red curves without stretching them. Let the coaster dry completely before placing it on furniture. A damp cotton coaster can transfer moisture to the surface beneath it.
Test it first with an empty mug on a stable table. The base should rest evenly rather than balancing on the embroidered center. If it rocks, inspect for bulky ends, raised knots or long red stitches stacked over one another. Rework those details before using a filled mug.
A crochet coaster can help catch small drips, but no heat-resistance testing has been performed for this pattern. Do not treat it as a potholder, trivet or reliable barrier for hot cookware. Follow the care instructions for your yarn, mug and furniture, and remove the coaster if it becomes wet.
Troubleshooting the Circle
If the cream disk cups before the red edge is added, recount the increase rounds and compare your working tension. If only the red rim causes cupping, rework the border more loosely. Adding random increases can fix one spot while making another area ripple.
If the embroidered lines pull sideways, loosen the yarn from the underside and redistribute the tension. Complete the red lines with the disk resting flat instead of holding it folded in your hand. Check the back as well as the front so hidden tails do not create an uneven underside.
For a coordinated set, finish and measure one sample before making the others. Consistent embroidery placement is easier when you use the same six outer markers on every coaster. Wash and dry the sample according to its yarn label before deciding whether its shape suits your intended use.
Frequently Asked Questions
Is this a two-color crochet spiral?
No. The cream circle is crocheted first, then red curved lines are embroidered onto it. The pattern does not create wide alternating crochet wedges.
Can I use acrylic yarn?
The written materials use cotton. Changing fibers can change moisture handling, care and response to warmth. Sample any substitute and do not assume the coaster is heatproof.
Why does my mug wobble?
Check for knots, bulky woven ends or stacked stitches near the center. Keep the embroidery flat and test with an empty mug before using a filled one.
Can I make the circle larger?
Yes, as a sampled variation. Continue the six-increase sequence, adding one plain sc to each repeat per round, then recalculate marker spacing for the new edge count.
Can the coaster go in the washing machine?
Follow the exact yarn label and test the red yarn for color transfer. Reshape after cleaning and let the coaster dry completely before it touches furniture.
Does it need stiffener?
No stiffener is included. It should remain flexible with a flat, stable surface. A stiffening product could affect cleaning, texture and contact with furniture.
Create a Small Christmas Table Set
Use the coaster’s red and cream palette alongside a Christmas bow garland or a crochet poinsettia. For a coordinating gift, combine the coaster with a mini Christmas mitten and place them in a reusable crochet gift bag.
A mini crochet Christmas tree can echo the handmade theme on a nearby shelf. Finish your crochet peppermint coaster with a smooth underside, an even rim and secure embroidery. Those details make the project more useful than adding extra decoration.