Crochet Hot Cocoa Ornament – Free Mini Mug Pattern
Crochet a tiny red cocoa mug with a cream rim, brown insert, curved handle and soft marshmallow. Includes counted rounds and clear sewing guidance.
A Yarn Mug for a Cozy Christmas Tree
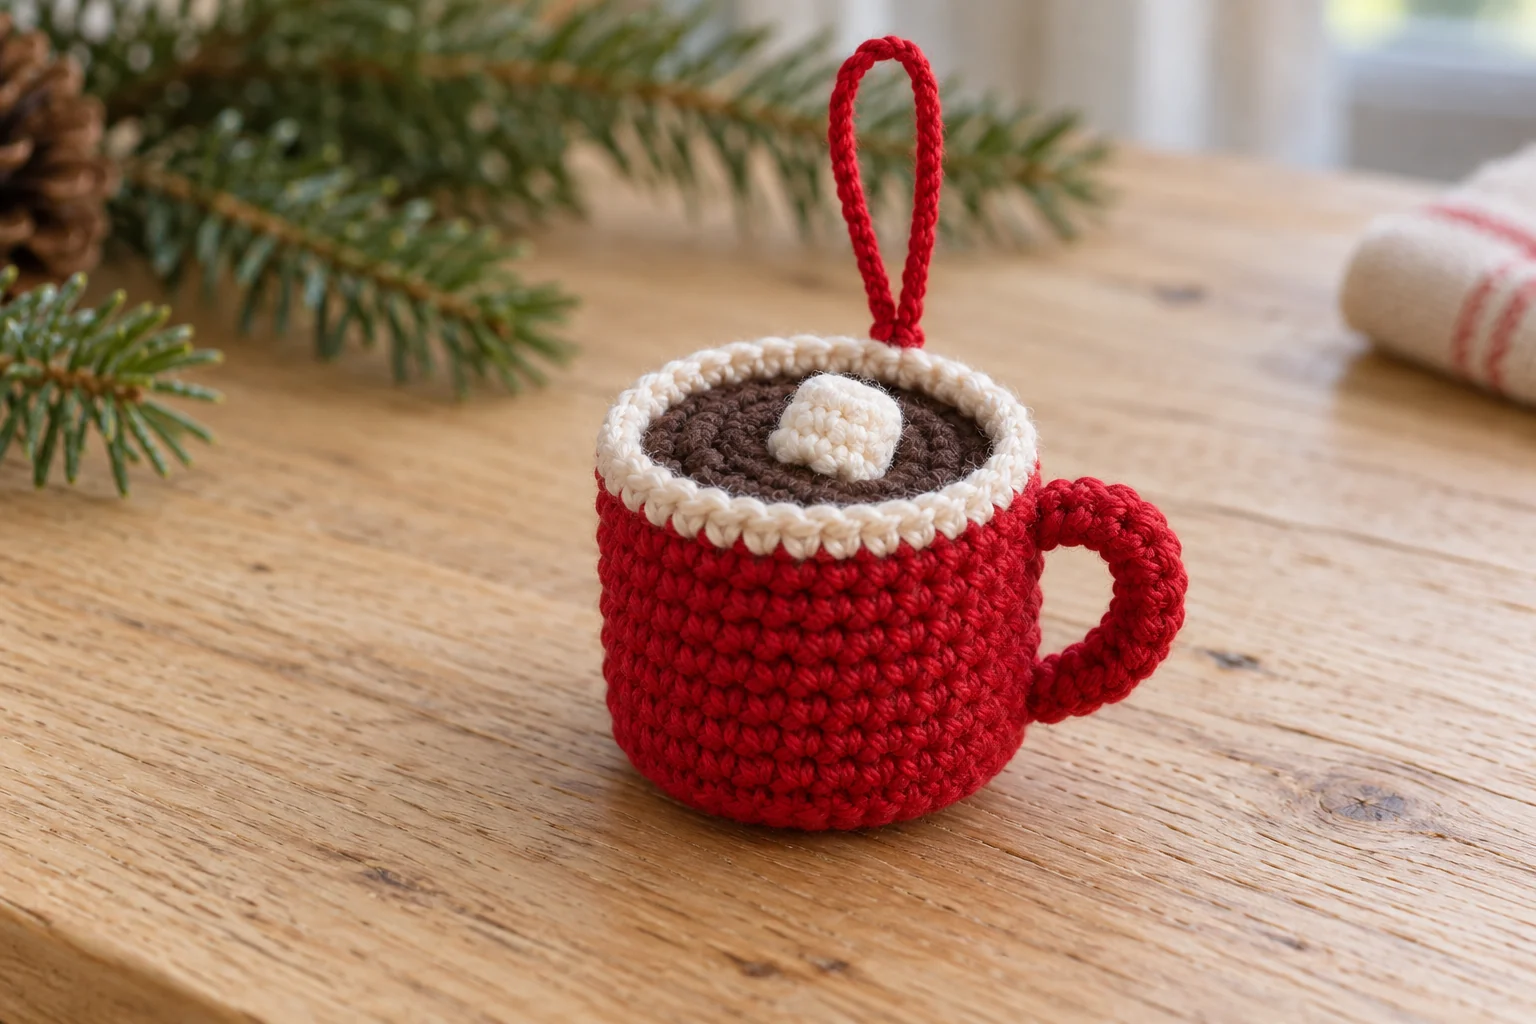
This crochet hot cocoa ornament is a small red yarn mug with a brown circular cocoa top, cream rim, curved handle and a soft cream marshmallow. Crochet the cup and cocoa insert separately, then sew them together around a little filling. A yarn loop supports the body from the back rather than pulling on the decorative handle.
The mug is a stuffed decoration, not a container for drinks. Its cozy appearance comes from the contrast between red cotton, dark brown cocoa and cream details. The written pattern below is original and its stitch arithmetic has been checked, but it has not been physically sample tested. Generated images are reference illustrations rather than tested samples or exact stitch charts; make one sample before planning a batch.
Materials and Color Planning
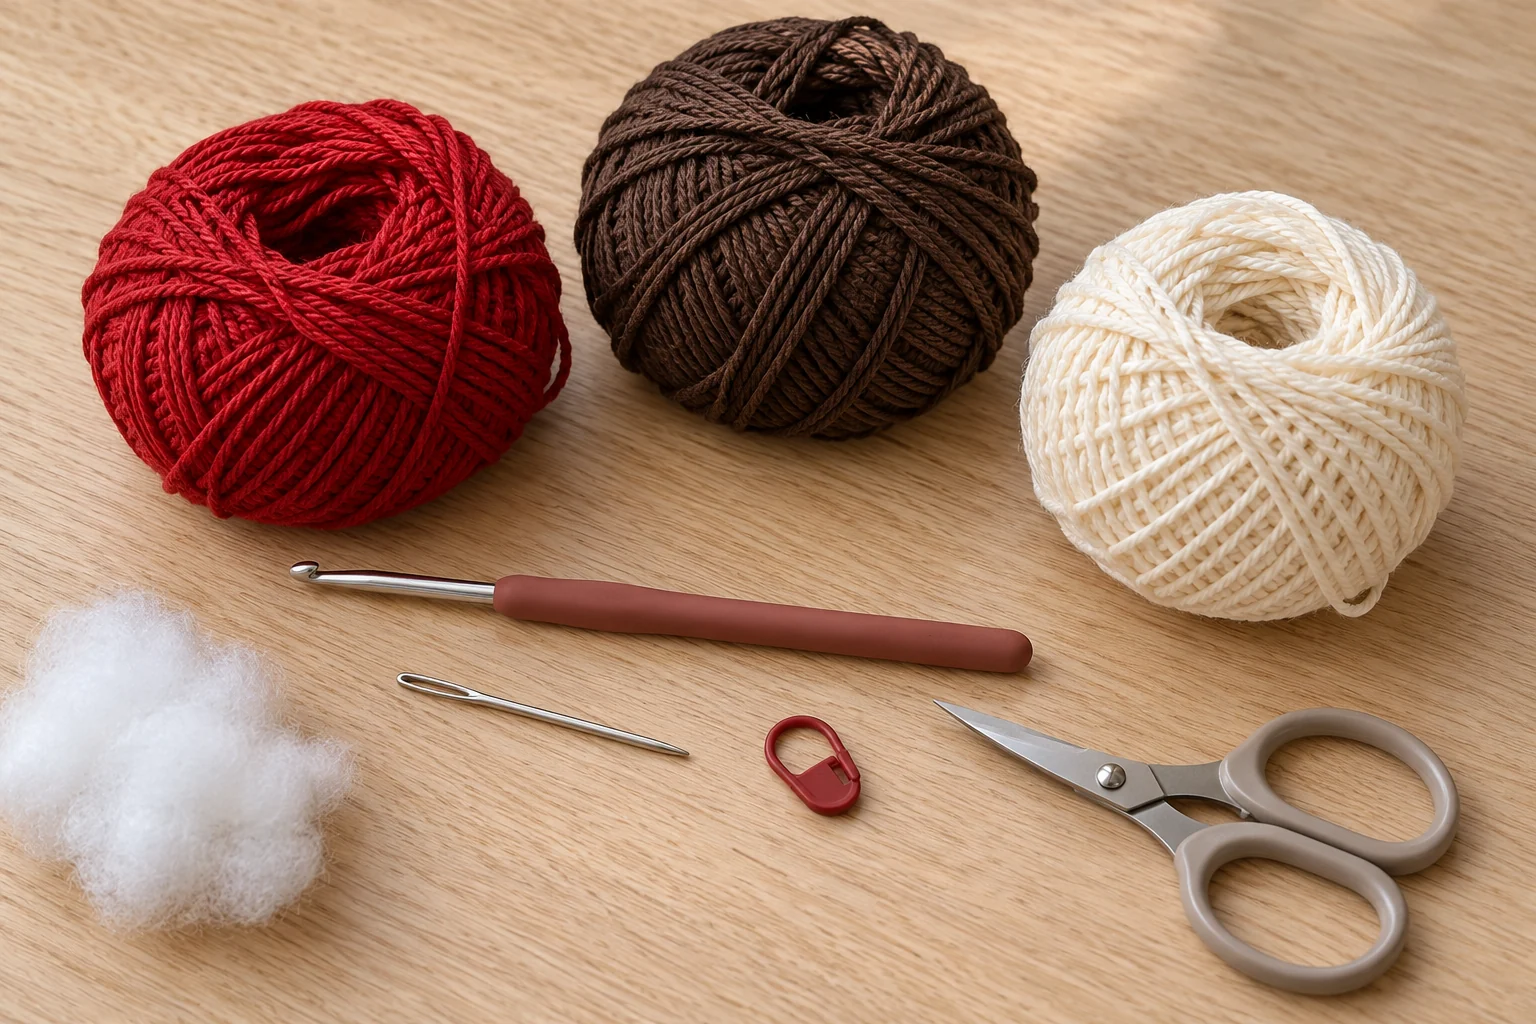
Choose smooth DK cotton in red, dark brown and cream. Gather a suitable crochet hook, removable stitch marker, blunt yarn needle, scissors and polyester filling. A 2.75 mm hook is a starting point for sampling with DK yarn. Select the size that makes a dense cup fabric without uncomfortable tension.
Use yarns of similar thickness for the cup and cocoa disk. The disk contains the same number of stitches as the cup opening, so a much thicker brown yarn may make it buckle while a much finer yarn may leave a gap. Matching labels helps, but compare the actual fabrics before assembling.
Keep a separate red length for the handle and hanger before using up a leftover ball. No glue, wire, plastic cup, beads or hard insert is needed. The marshmallow is crocheted and sewn in place. This small decoration still has filling and a hanging loop, so keep it away from babies and pets.
Abbreviations and How to Count
US terms are used. Ch means chain, sc means single crochet, inc means two sc in one stitch, dec means a single crochet decrease over two stitches, BLO means back loop only, st means stitch and FO means fasten off. Repeat the full group inside parentheses the stated number of times.
Work the cup and cocoa disk in continuous rounds without joining. Move a marker into the first stitch of every round. The cup’s single BLO round creates a turning line between its base and walls. For every later round, return to working under both loops unless the instructions say otherwise.
The handle uses turned rows. Its beginning ch 1 does not count as a stitch, so every row contains ten actual single crochets. For general definitions, consult the Craft Yarn Council crochet abbreviations. Use the written counts to check progress rather than counting stitches in an illustration.
Step 1: Crochet the Red Cup Base
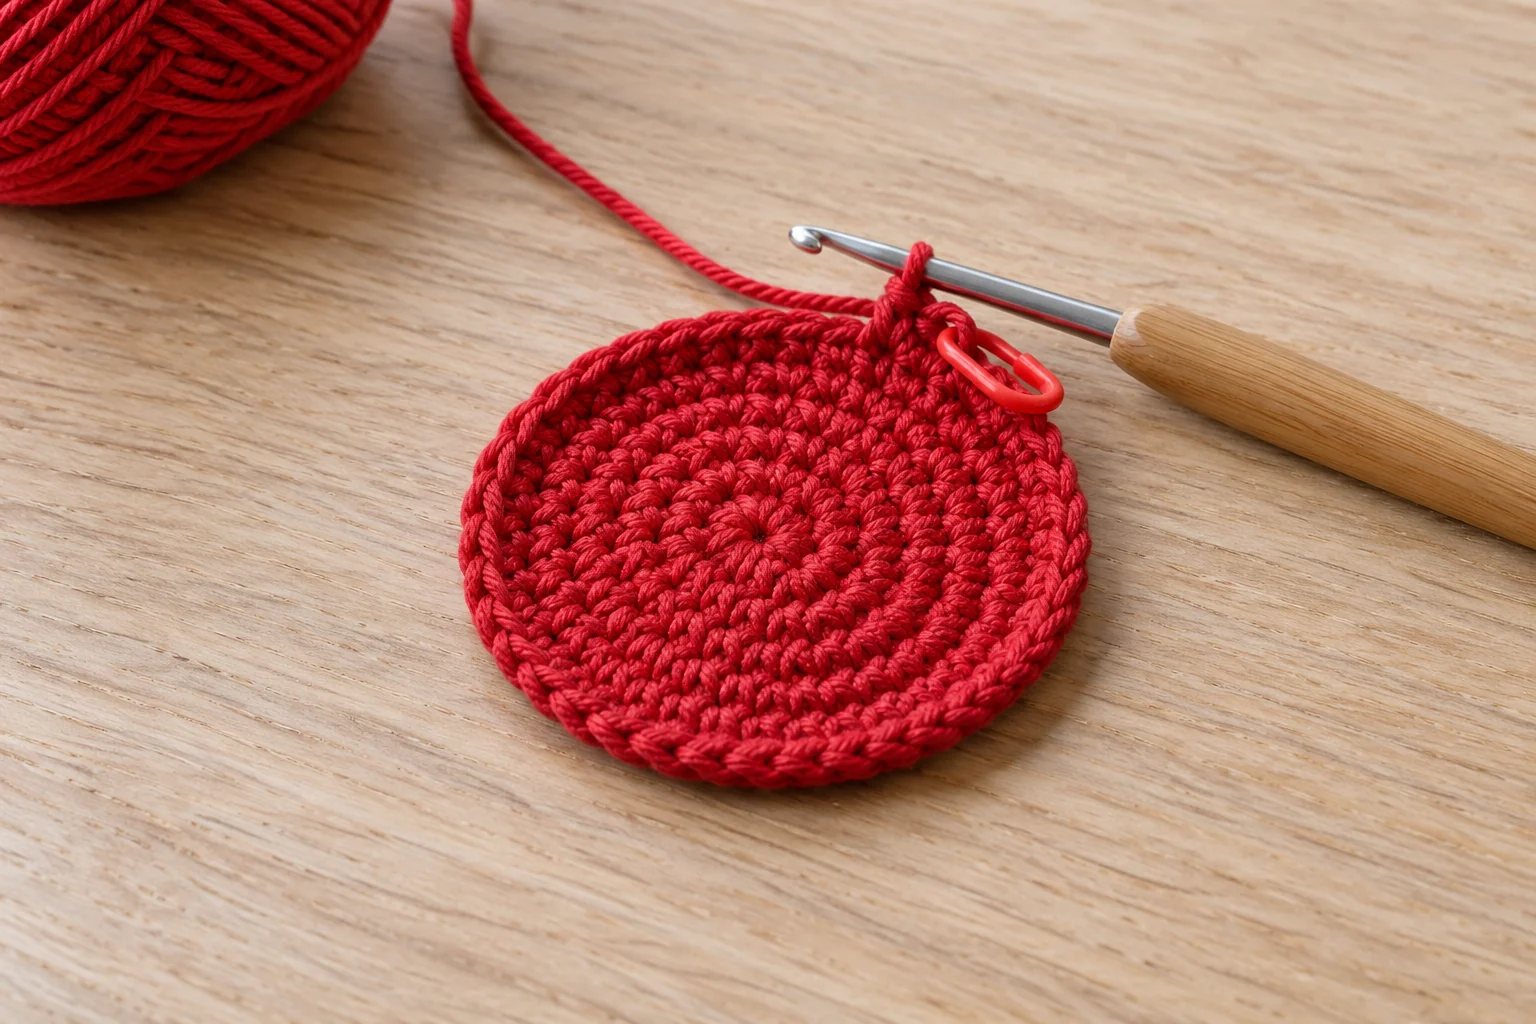
With red yarn, make a magic ring. Round 1: 6 sc into the ring. Pull the center closed and secure the starting tail. Round 2: inc in each stitch around for 12 sts. Round 3: repeat (sc, inc) six times for 18 sts.
Round 4: repeat (2 sc, inc) six times for 24 sts. Count around the entire edge before beginning the walls. The increases add six stitches per round, creating a small circular base. The first completed stitch, not the starting ring, marks the round boundary.
Smooth the base on a table without stretching it. If it curls strongly before the wall round, check for a missed increase or very tight center. If it ruffles, check for extra increases or a yarn and hook combination that produces a loose fabric. Correct those problems now rather than hiding them with stuffing.
Step 2: Build the Mug Walls
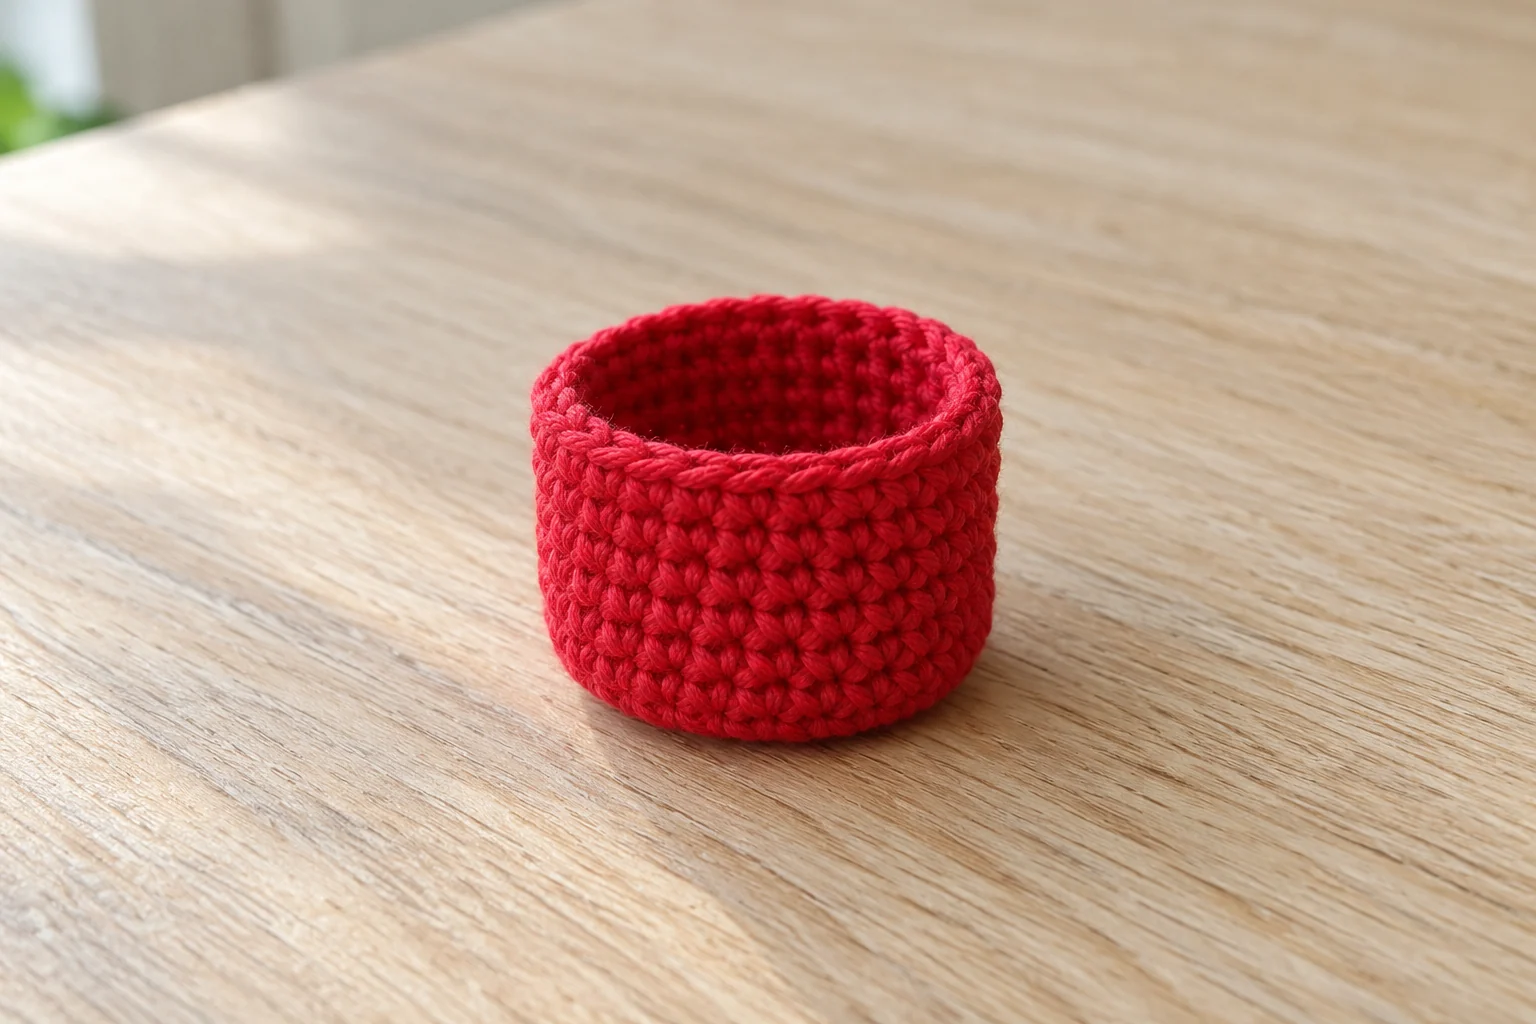
Round 5: sc in the BLO of every stitch for 24 sts. This round turns the fabric upward. Rounds 6–11: sc through both loops in all 24 stitches, keeping the count unchanged. The result is a short open cylinder with a defined lower edge.
Keep the base inside the cup and the outside facing you as you work. If the cup turns inside out, gently reverse it before the opening becomes crowded with finishing tails. The outside stitch texture should remain consistent all the way around the walls.
Count after Round 8 and again after Round 11. An accidental extra stitch at the marker can widen the top enough that the cocoa disk no longer fits neatly. A cup that narrows unexpectedly may have a skipped stitch or a decrease made while handling the marker.
Step 3: Add the Cream Rim
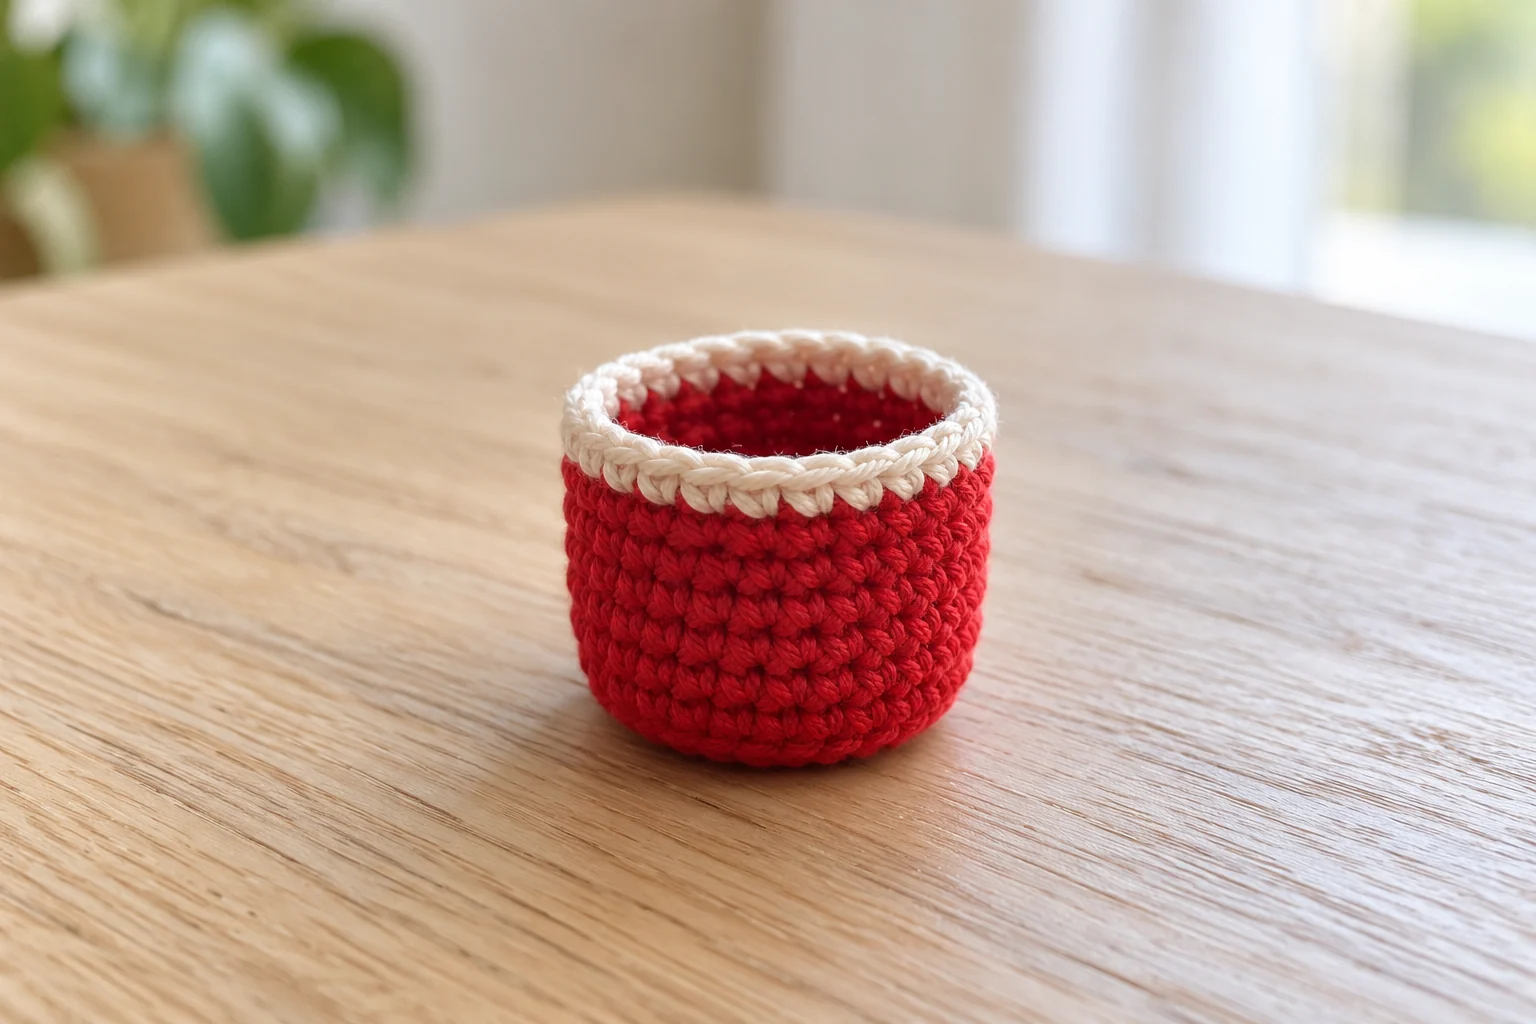
On the final pull-through of the last stitch of Round 11, change from red to cream. Round 12: sc in each of the 24 stitches. Finish the round, FO and use the yarn needle to make a neat final connection to the first cream stitch. Keep the opening clear.
Weave the completed red tail through nearby red stitches on the inside. Secure the cream tail behind the rim without carrying it across the opening. A loose strand inside can catch the filling or interfere with sewing the cocoa disk into position.
The rim is a single cream round, not a folded cuff. Avoid adding several more rounds because the cocoa disk is designed to sit just beneath this edge. If you want a taller mug, sample extra red wall rounds before the cream rim and record the change for your next ornament.
Step 4: Make the Brown Cocoa Insert
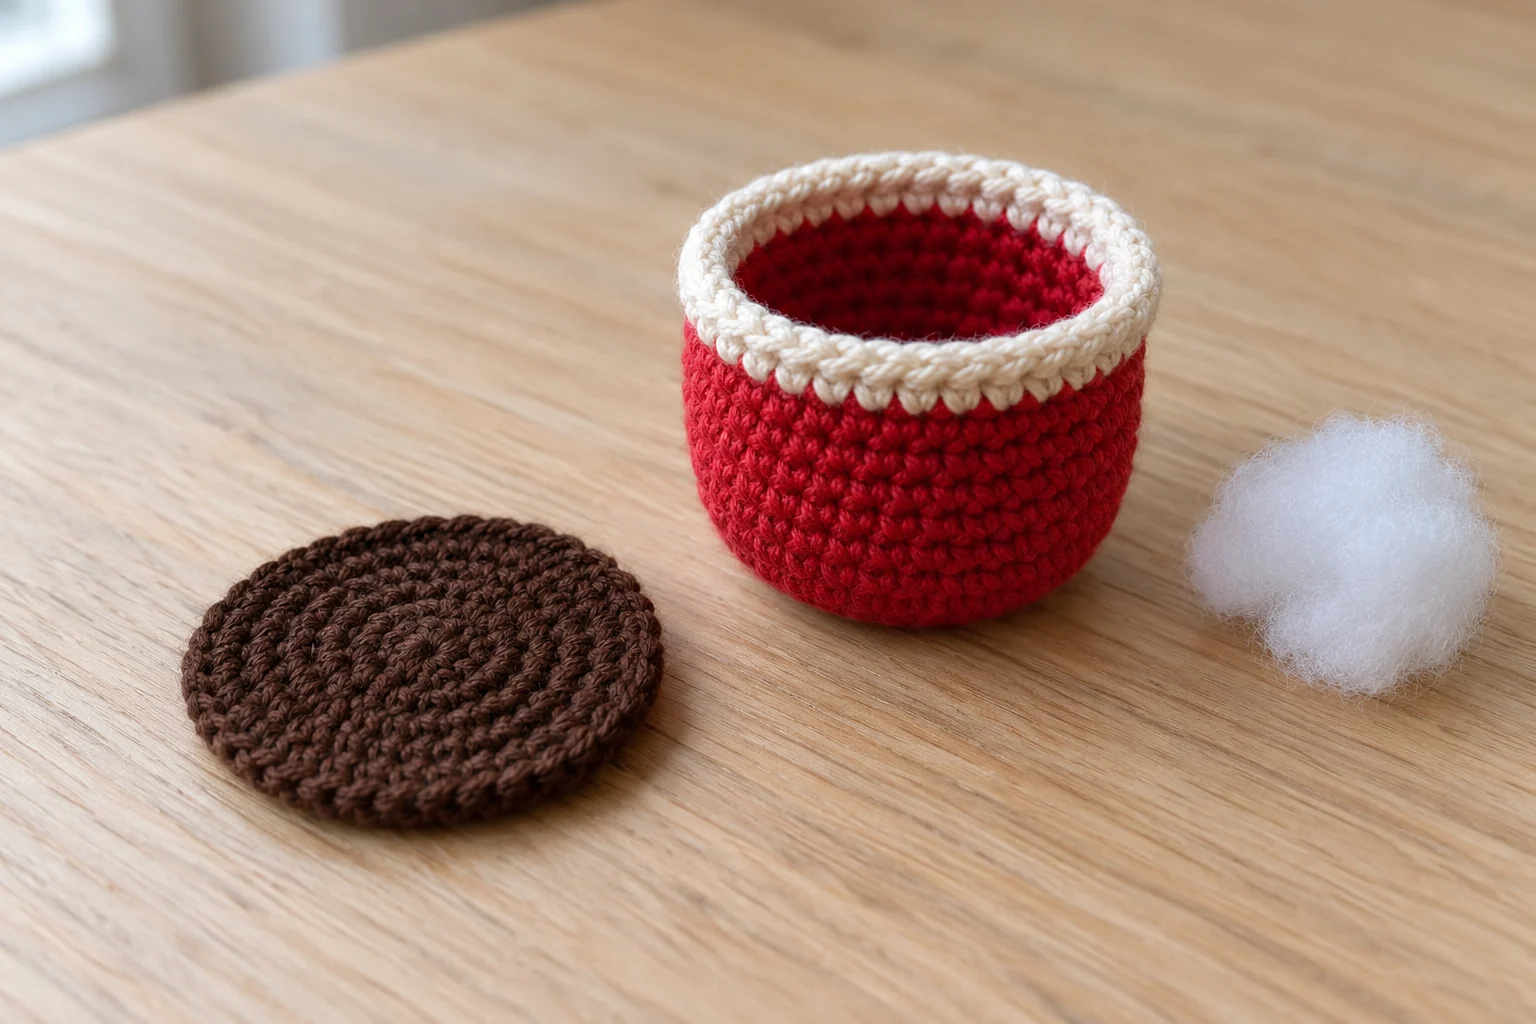
With dark brown yarn, make a magic ring. Disk Round 1: 6 sc. Disk Round 2: inc in each stitch for 12 sts. Disk Round 3: repeat (sc, inc) six times for 18 sts. Disk Round 4: repeat (2 sc, inc) six times for 24 sts. FO with a long sewing tail.
Place the disk over the cup opening to compare their sizes before adding filling. Each has 24 edge stitches, but tension can still affect the fit. The brown disk should cover the opening without needing to be pulled dramatically wider. A slightly domed cocoa surface is acceptable; heavy folds mean the fit needs adjustment.
Put small tufts of filling into the red cup, spreading them into the base and sides. Stop below the cream rim. Lay the brown disk over the filling and sew its edge to the inner side of the rim, pairing one disk stitch with one rim stitch. Complete the circle and bury the sewing tail.
The cream rim should stay visible around the brown center. Do not overfill the cup until the cocoa rises into a large ball. If the surface is too puffy, open a short section of the seam, remove a little filling, smooth the top and resew.
Step 5: Make and Attach the Handle
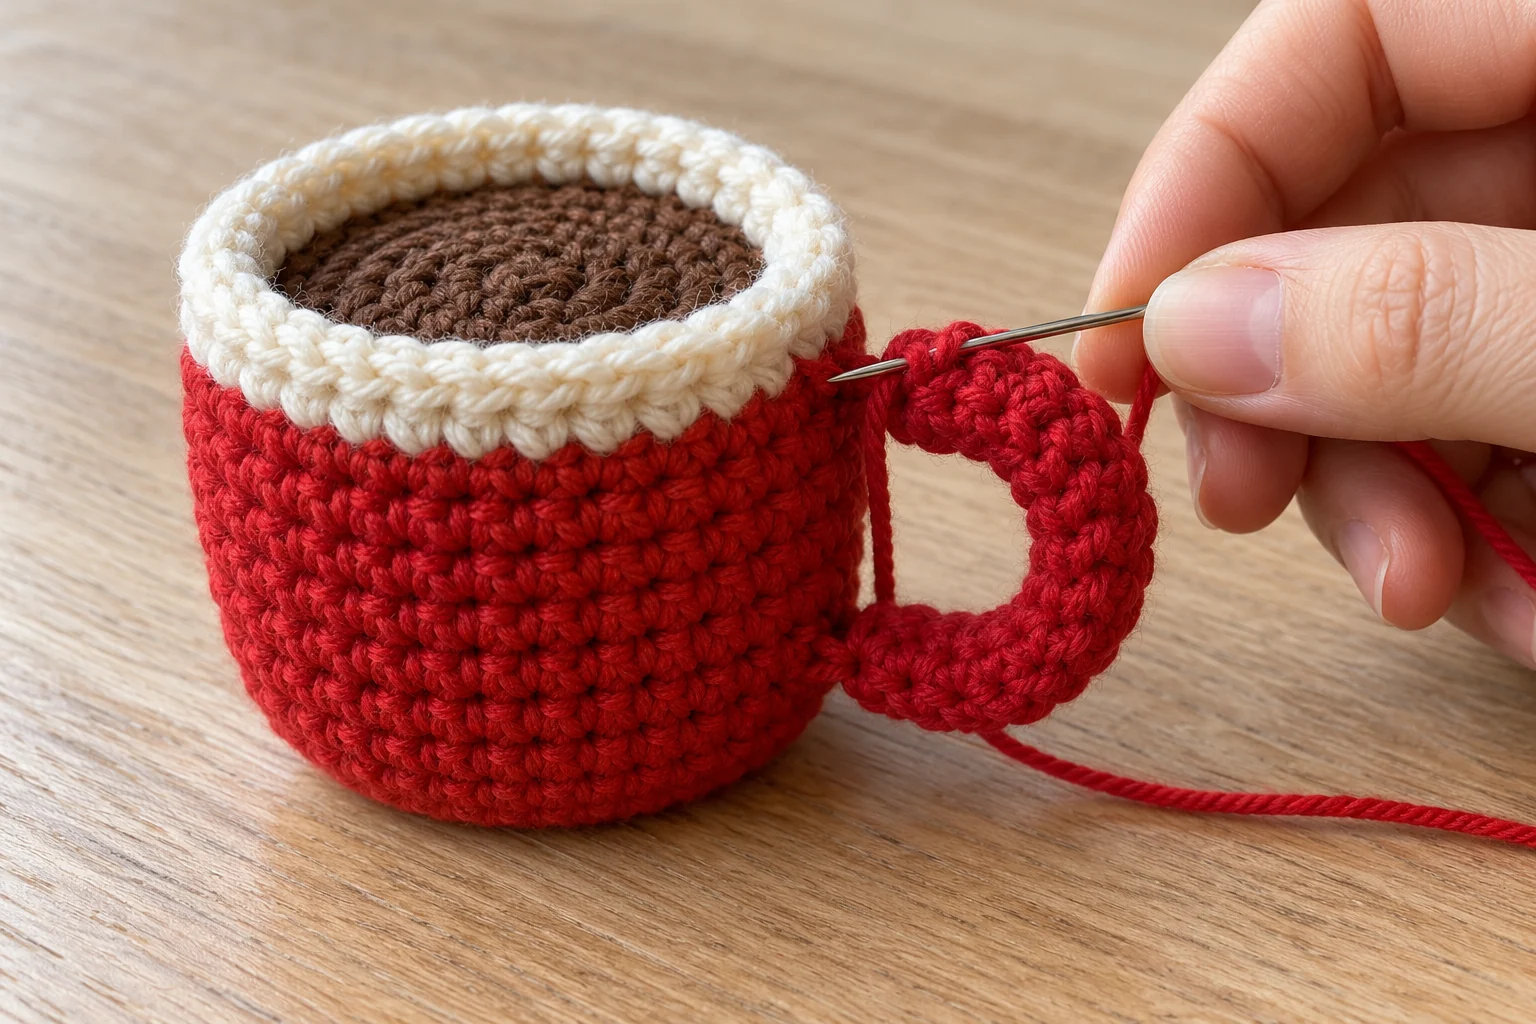
With red yarn, ch 11. Row 1: starting in the second chain from the hook, sc in each chain across for 10 sts. Row 2: ch 1, turn and sc in all 10 stitches. FO with a sewing tail at each end. The handle is a narrow two-row strip.
Curve the strip into a C shape beside the cup. Place its upper end on a red wall round just below the cream rim. Place the lower end roughly four wall rounds beneath the upper attachment. Adjust the angle until the curve projects outward without twisting.
Sew each short end through several wall stitches and through the full width of the strip. Keep the stitches inside the red area so they do not interrupt the cream rim. Test the handle with a gentle tug before securing the tails, but remember that it is decorative and will not serve as the hanging point.
If the curve collapses against the cup, check whether the strip has been sewn flat along too much of its length. Only the two short ends attach. If it twists, remove one attachment and turn the strip until both rows follow the same curve.
Step 6: Add a Soft Marshmallow
With cream yarn, make a magic ring. Marshmallow Round 1: 6 sc. Rounds 2–3: sc in all 6 stitches. Add a tiny tuft of filling only if needed to hold the shape. FO with a long tail, draw the tail through the front loops of the six remaining stitches and close.
This makes a small rounded cylindrical trim rather than a perfect cube. Sew it slightly off-center on the brown disk, leaving enough brown visible to suggest cocoa. Catch several stitches around its lower edge so it does not hang from a single thread.
A second marshmallow can crowd a very small cup and increase the ornament’s top weight. Finish the one-trim version first and assess the balance before adding more. Do not substitute loose mini pompoms or glue without separately reviewing how those trims will be attached.
Step 7: Add the Hanger and Check the Balance
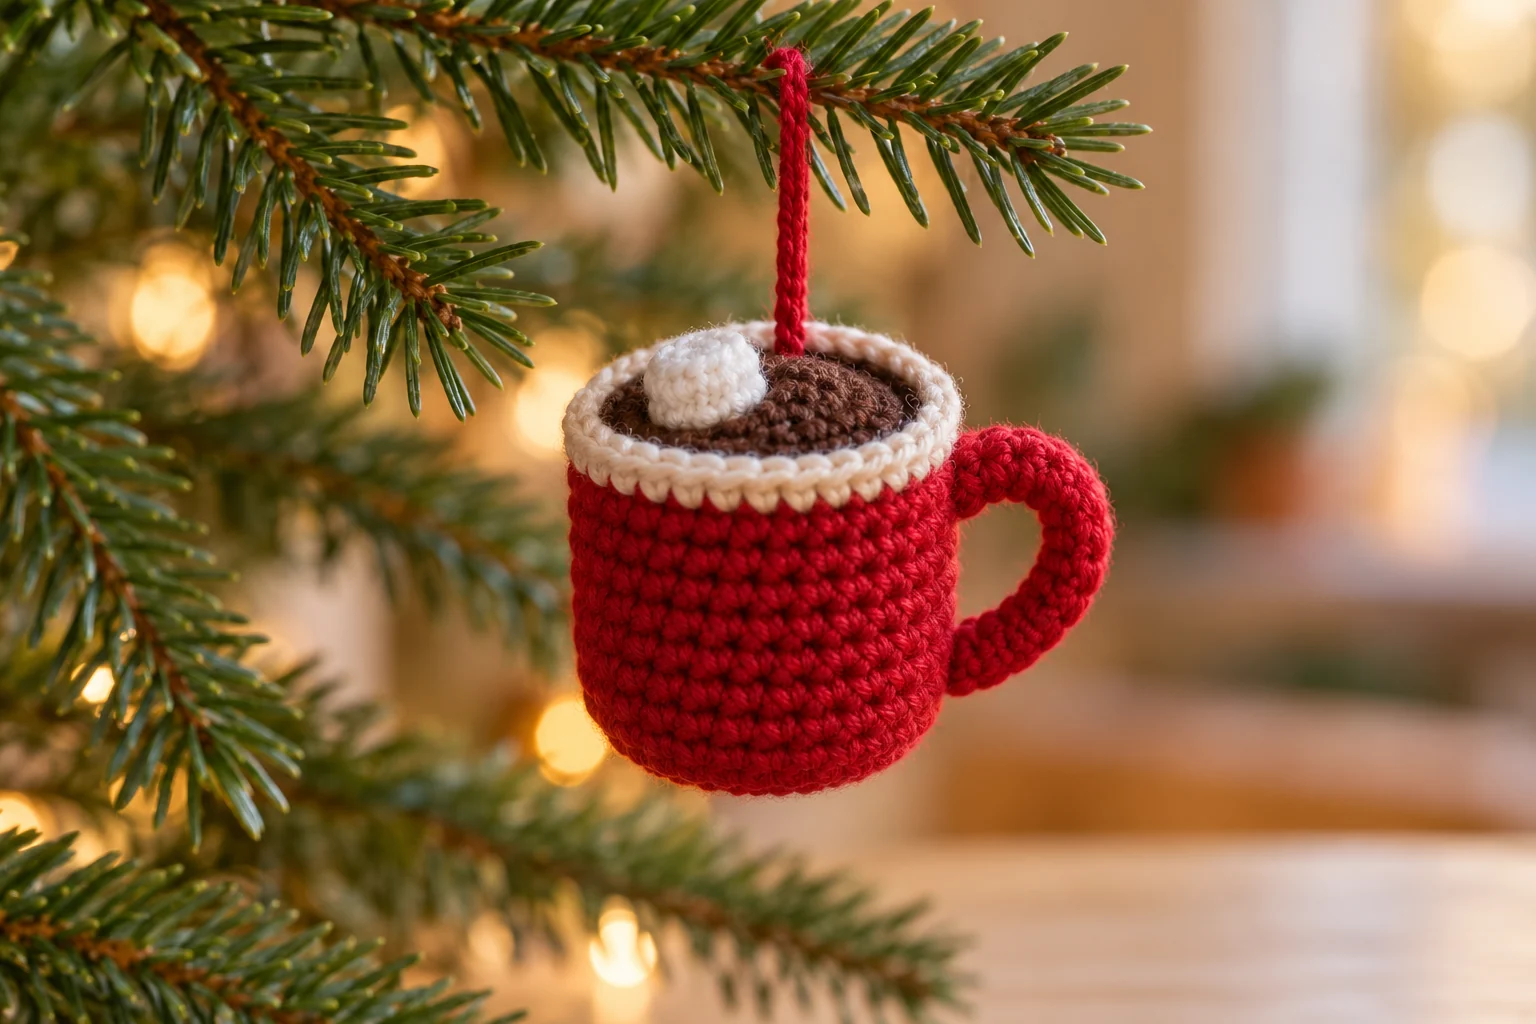
With red yarn, ch 24 as a starting length for the hanging loop. FO with sewing tails. Attach the ends at two nearby points on the rear red wall, immediately below the cream rim and opposite the front display area. Reinforce the sewing through several sound stitches.
Lift the mug by the loop and rotate it until the handle and marshmallow are visible together. If the mug leans toward the handle, move one hanger attachment slightly to rebalance it. Do not hang the ornament from its handle; doing so puts strain on two small decorative seams.
Check every tail, the cocoa seam and the marshmallow attachment. Smooth the cup without compressing the filling into a hard lump. Keep the ornament dry during display and follow the yarn and filling labels for any cleaning. Let it dry completely before storing it in a closed container.
Frequently Asked Questions
Can I use the mug for a real drink?
No. It is a small stuffed yarn ornament with a sewn top. Keep liquids out of it and display it as a decoration.
Why does the cocoa disk not fit?
Check that both edges contain 24 stitches. Then compare yarn thickness and tension. Matching stitch counts cannot compensate for a much tighter or thicker disk.
Is the whole mug stuffed?
The cup contains light filling beneath the cocoa disk. The handle stays flat and unstuffed. The marshmallow uses only a tiny amount if its yarn needs support.
Can I omit the marshmallow?
Yes. Secure the plain brown disk and keep the same cup construction. The ornament will be simpler and slightly less top-heavy.
Where should I attach the hanging loop?
Sew it to the rear red wall just below the rim, reinforcing several stitches. Avoid the decorative handle and the marshmallow as load-bearing attachment points.
How big is the finished mug?
No physically tested size is provided. Yarn, hook, tension and filling affect the result. Make and measure a sample with your chosen materials before planning a collection.
Make a Cozy Christmas Ornament Group
Pair this yarn mug with a crochet snowman ornament or the mini Christmas mitten for a winter theme. Repeat its red and cream colors in a Christmas bow garland, then add a mini crochet Christmas tree for contrast.
A crochet hot cocoa ornament also works as a decorative addition to a crochet gift bag. Keep notes from your sample, especially the handle placement and hanger balance. Those assembly choices help a group of mugs look consistent without changing the stitch pattern.