Mini Crochet Axolotl – Free Tiny Amigurumi Pattern
Make a mini crochet axolotl with pink gill fans, four tiny legs, and a flat tail. Free amigurumi pattern with clear rounds and assembly instructions.
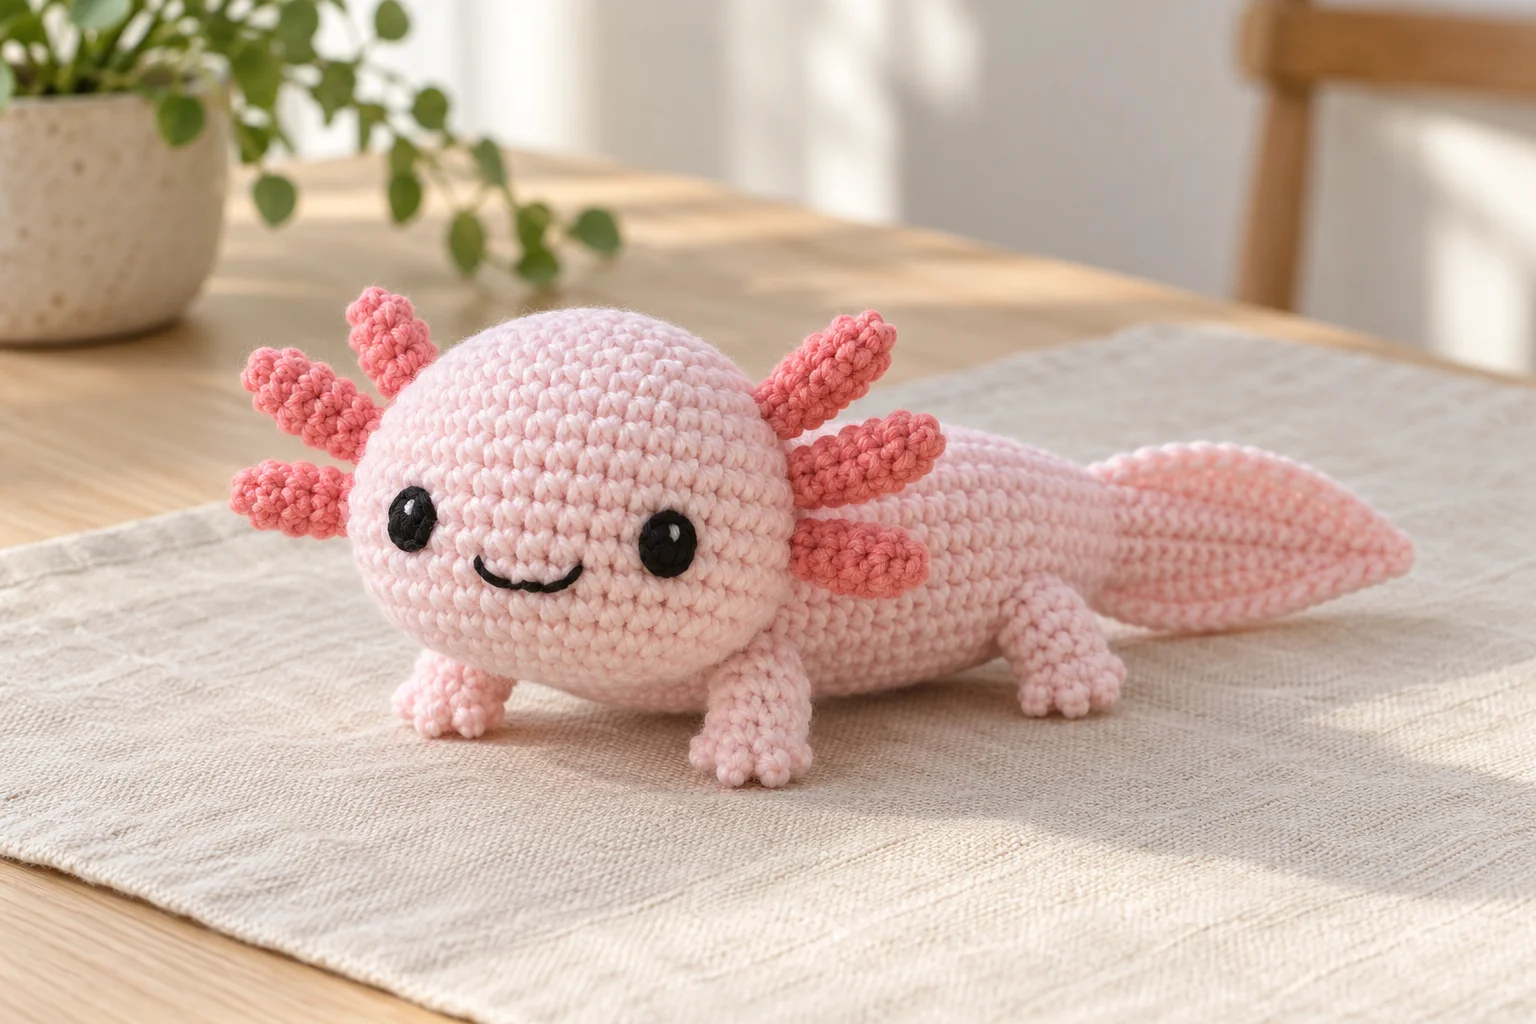
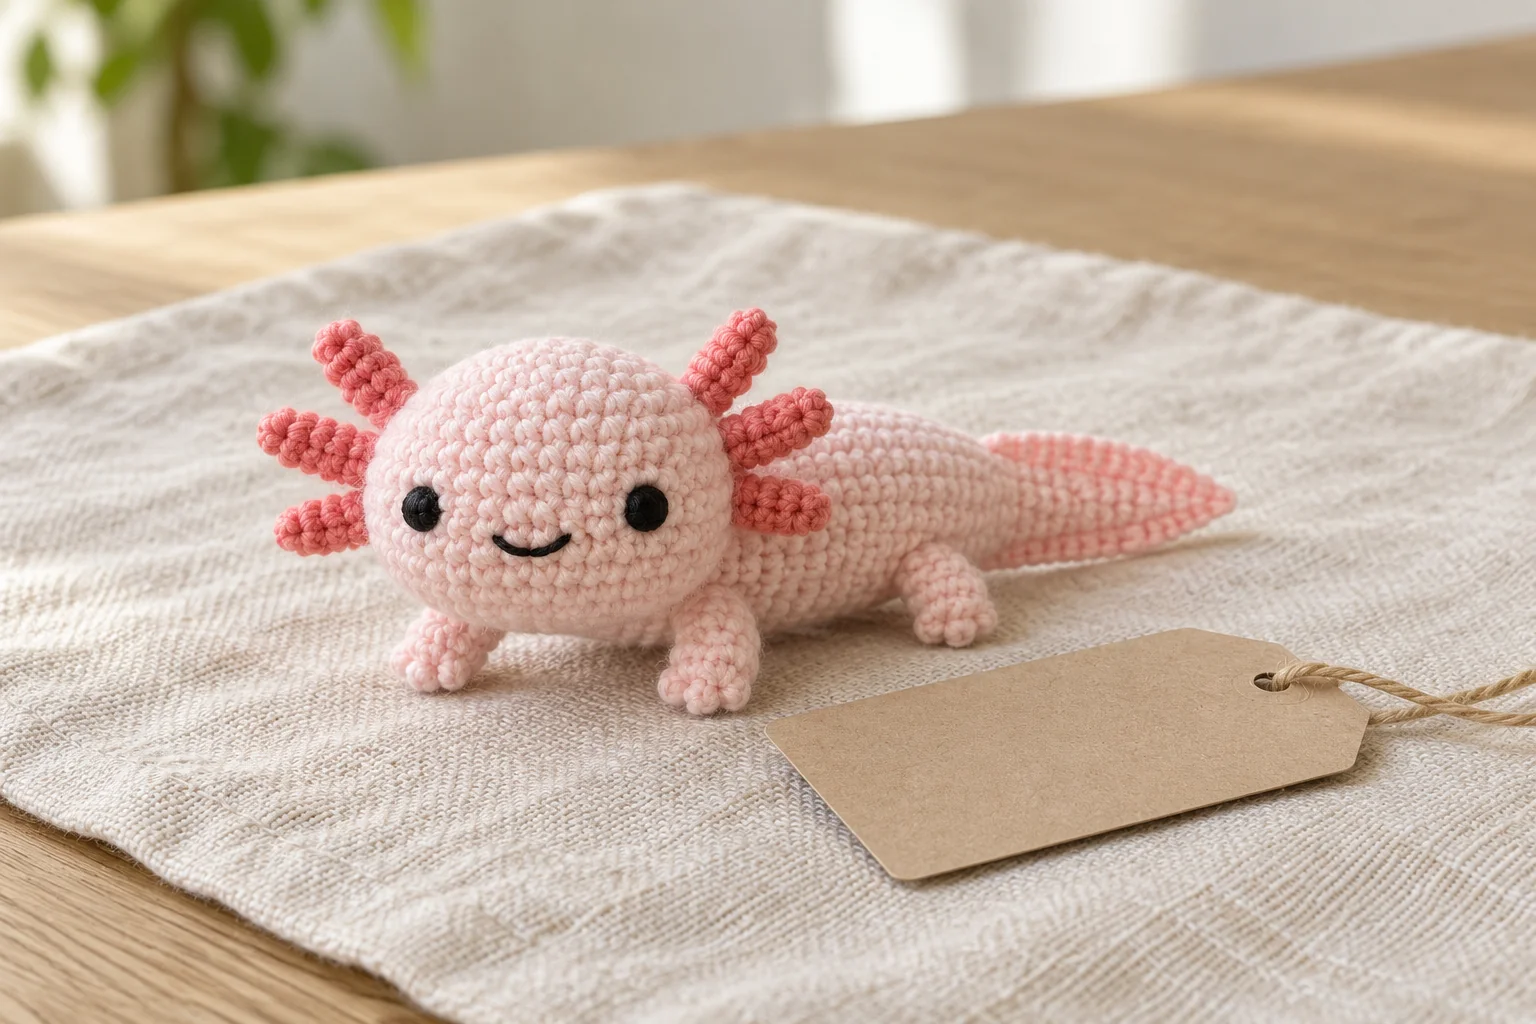
A mini crochet axolotl brings an unusual animal shape to a small handmade collection. This version has a pale pink head and body, four short legs, a flat tapered tail, and two coral gill fans. Each fan has three small branches, giving the head its recognizable outline.
The mini crochet axolotl uses separate components so you can check the proportions before sewing. Keep the face simple with embroidered eyes and a tiny smile. The contrasting gills provide most of the character, so they do not need beads, wire, or elaborate extra decorations.
Design note: this original written pattern has not been physically sample-tested. Measurements and supply amounts are estimates. AI-generated photographs illustrate the intended design and may vary in small details. Follow the written counts and compare the paired components before assembly.
Mini Crochet Axolotl Materials and Size
Choose smooth DK cotton in pale pink and coral pink, with a small amount of black embroidery yarn. Gather a 2.5–3 mm hook, a stitch marker, a blunt needle, scissors, and washable polyester filling. Estimate 20–25 g pale pink and 5–10 g coral.
The intended finished length is approximately 10–12 cm including the tail. Your yarn, hook, and tension can change that result. The skill level is confident beginner to intermediate because the small branching gills require careful handling.
Use the same yarn weight for both pink shades. If the coral yarn is much thicker, the gills may overwhelm the head. Make one fan first if you are unsure about the combination.
For another small creature with a different shape, see the mini crochet turtle. Similar yarn weights can help several animals feel like one collection, even when their dimensions differ.
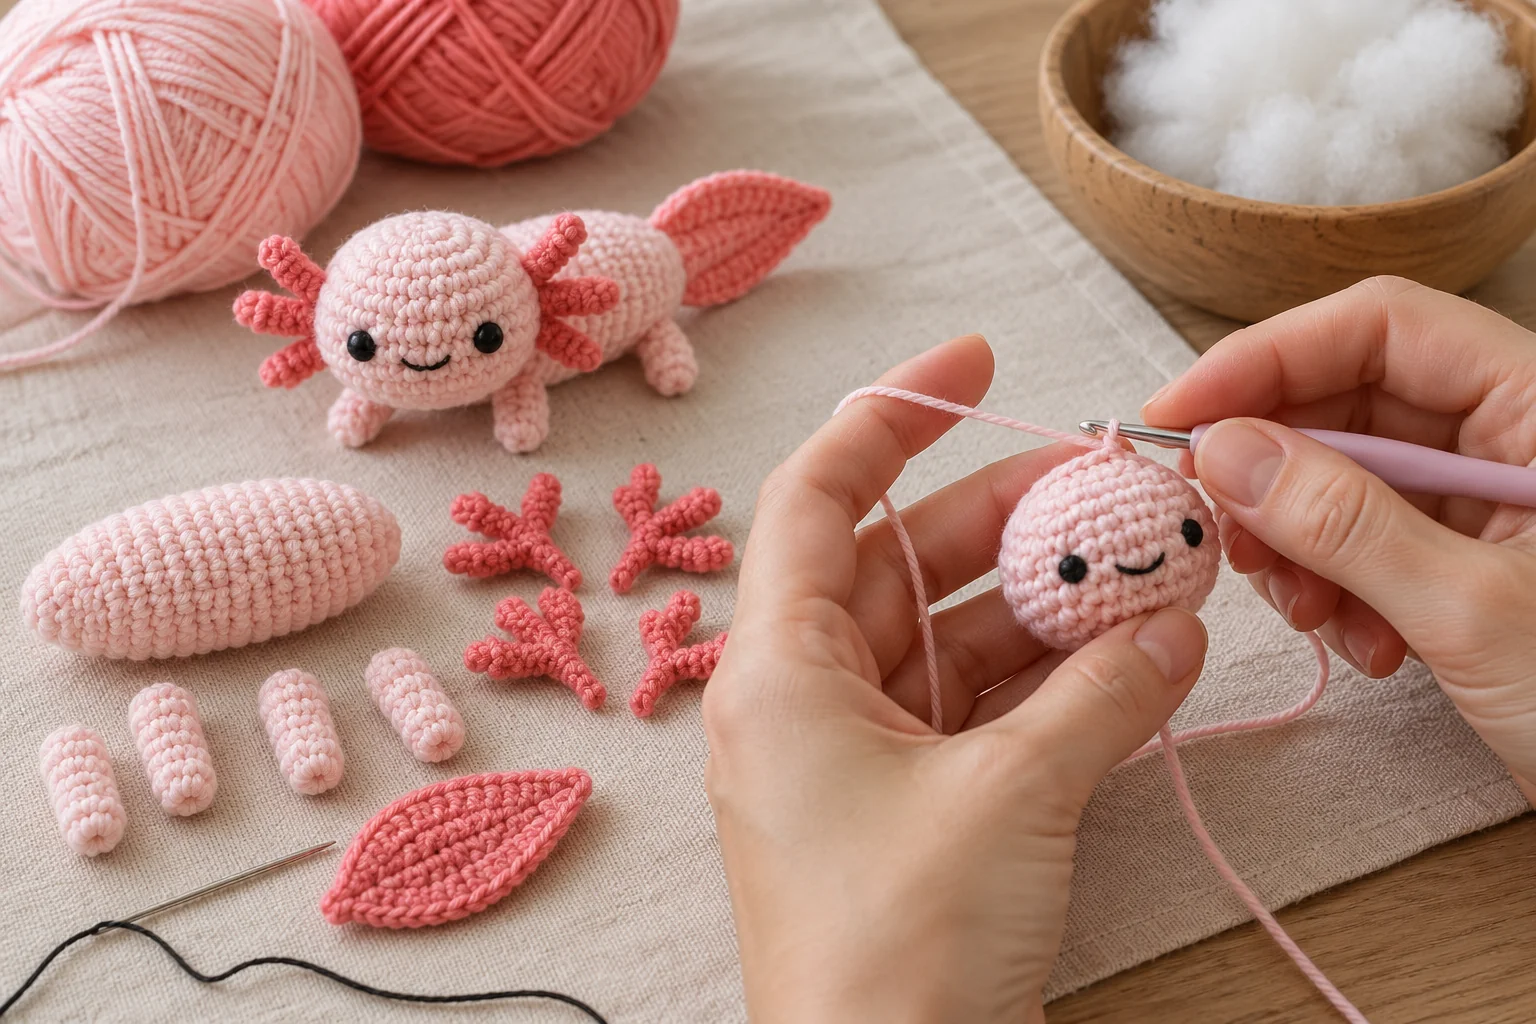
Reading This Mini Crochet Axolotl Pattern
US terms are used. ch = chain; sc = single crochet; inc = 2 sc in one stitch; dec = single crochet two stitches together; sl st = slip stitch. Numbers in parentheses show the stitch count.
Work the head, body, and legs in continuous rounds. Mark the first stitch. The tail and gill fans are flat pieces. A turning ch 1 does not count as a stitch.
The head and body receive soft filling. Leave the legs, tail, and gills unstuffed. This helps the miniature keep a slim outline and prevents the small attachments from becoming bulky.
The design has exactly four legs and two gill fans. Each fan contains three branches. Lay out all pieces before sewing so you can spot a missing or extra component.
For a standard reference when reading stitch instructions, consult the Craft Yarn Council crochet abbreviations. Check the US terms against the definitions in this pattern before starting.
Step 1: Mini Crochet Axolotl Head
With pale pink, work 6 sc into a magic ring. (6) Round 2: inc in each stitch. (12) Round 3: repeat [sc, inc] six times. (18) Round 4: repeat [2 sc, inc] six times. (24)
Rounds 5–6: sc around. (24 each round) Round 7: repeat [2 sc, dec] six times. (18) Round 8: repeat [sc, dec] six times. (12)
Add small wisps of filling, keeping the head gently rounded. Round 9: dec six times. (6) Fasten off, close through the remaining front loops, and leave an attachment tail.
Shape the head slightly wider from side to side with your hands. Do not force a sharp crease. Choose the front and embroider two small black eyes with a short smile below them.
Keep the eyes away from the side areas where the gills will attach. Short embroidery stitches are easier to secure and less likely to snag than long loops.
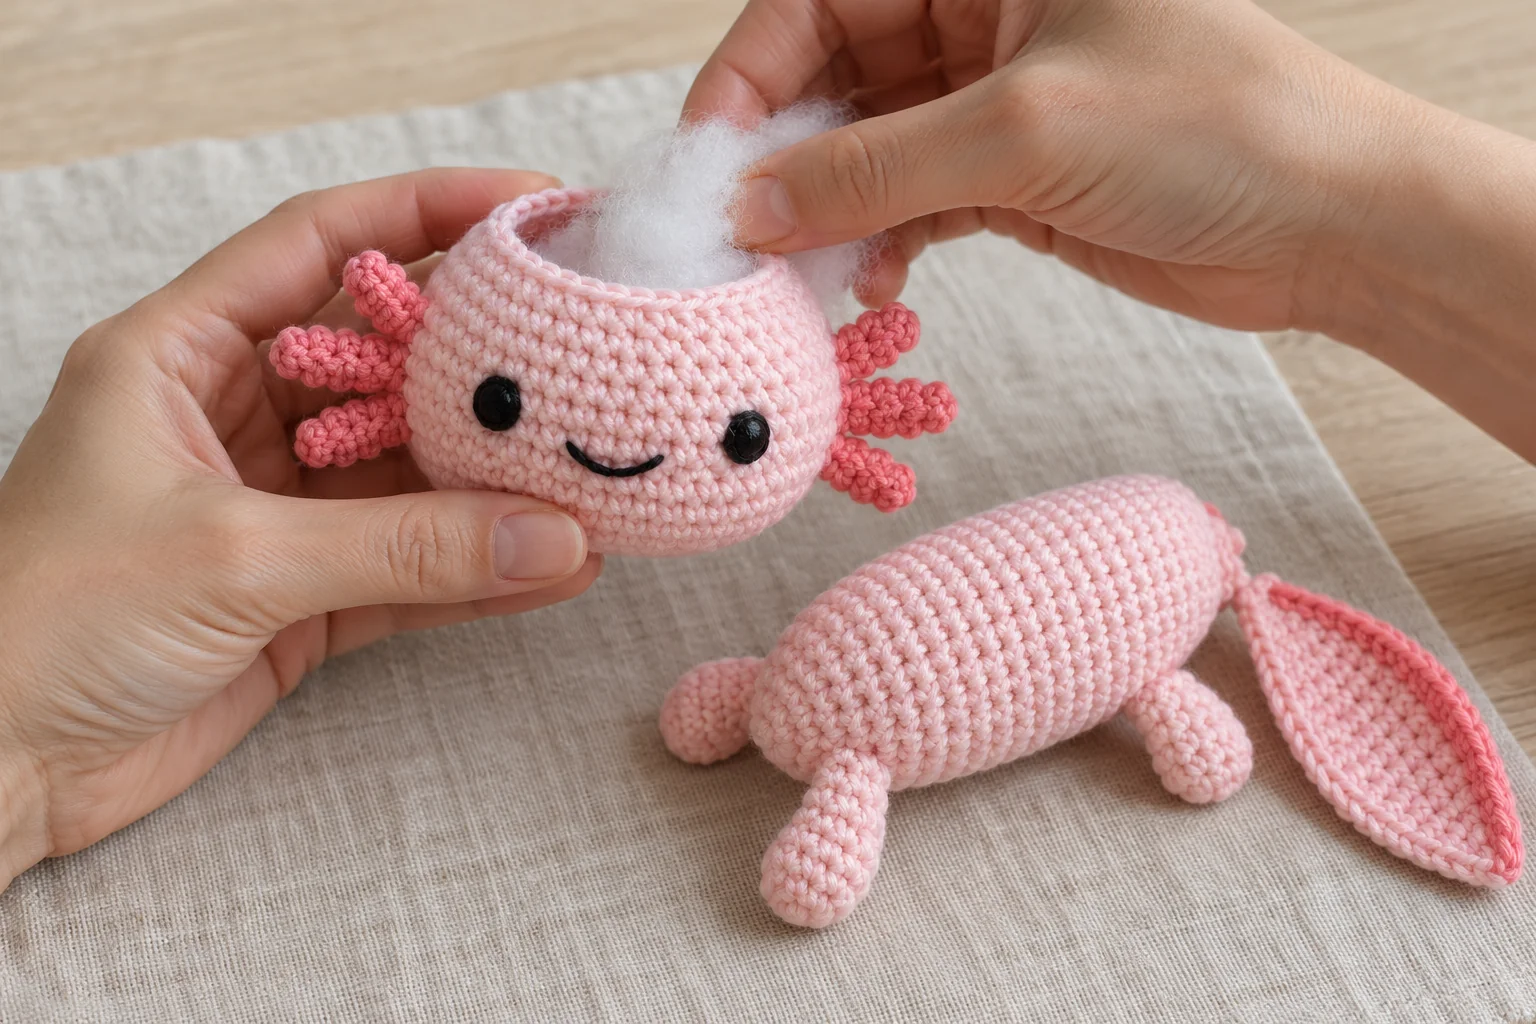
Step 2: Mini Crochet Axolotl Body
With pale pink, work 6 sc into a magic ring. (6) Round 2: inc around. (12) Round 3: repeat [sc, inc] six times. (18)
Rounds 4–9: sc around. (18 each round) These six even rounds create a slim body that is narrower than the head. Keep the same stitch count and avoid stretching the opening while adding filling.
Round 10: repeat [sc, dec] six times. (12) Add filling lightly, spreading it along the length. Round 11: dec six times. (6) Fasten off, close the opening, and leave a sewing tail.
The mini crochet axolotl body should remain flexible rather than tightly packed. Set the head at one end and check the overall shape. The other end will receive the tail.
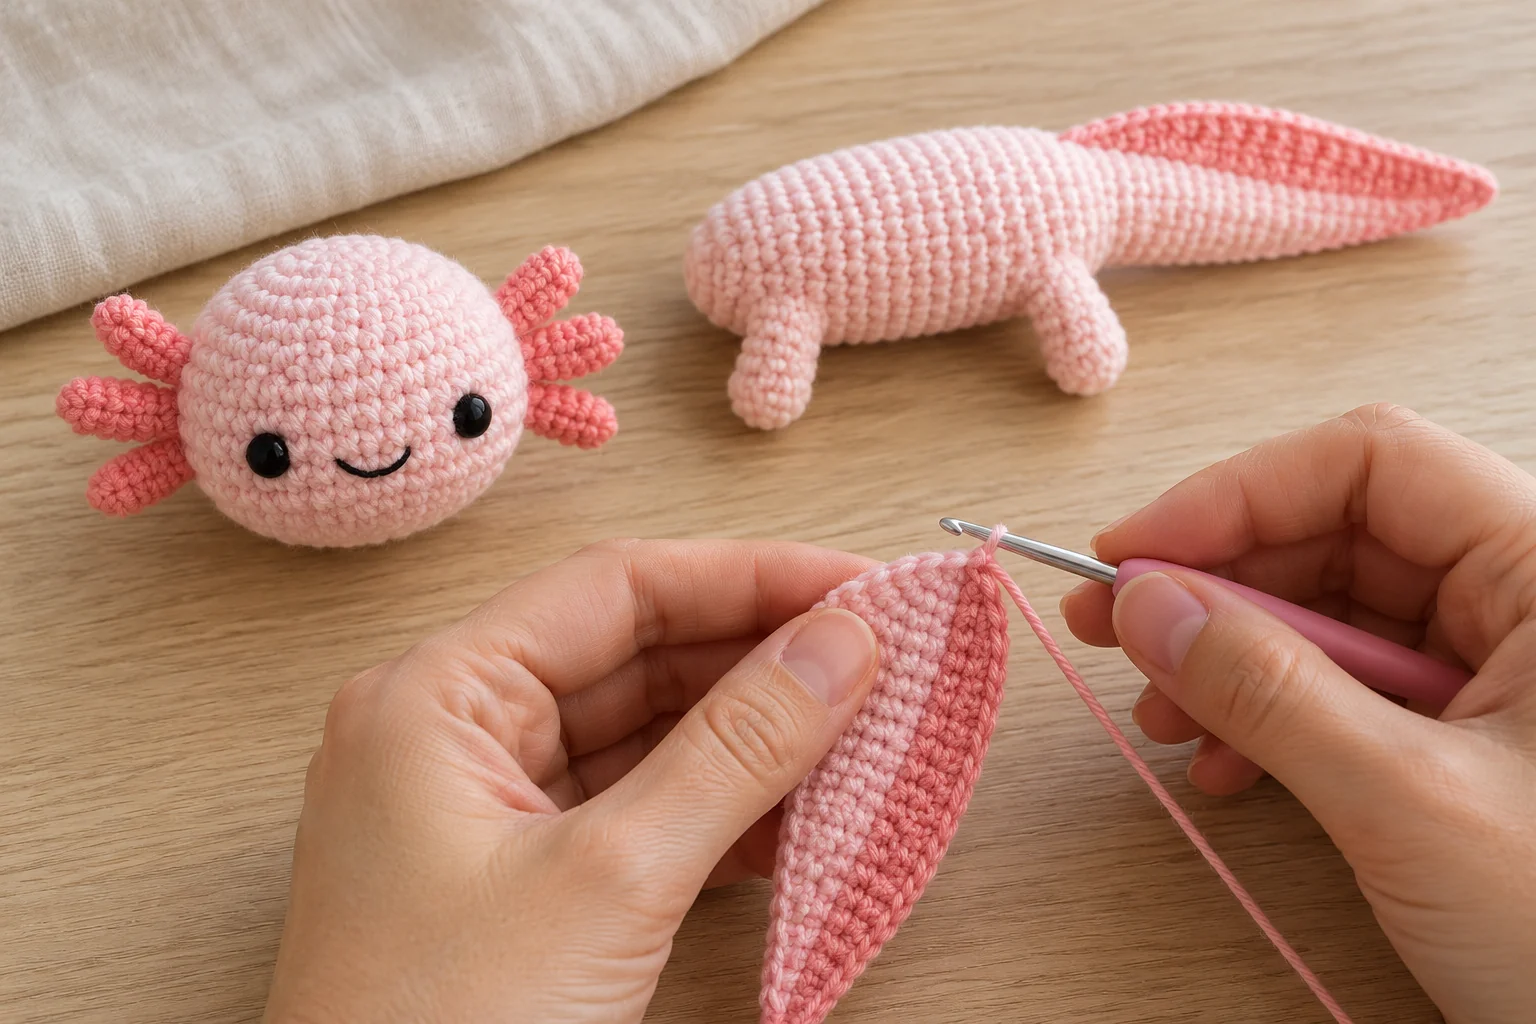
Step 3: Mini Crochet Axolotl Legs
For each leg, work 4 pale pink sc into a magic ring. (4) Rounds 2–3: sc around. (4 each round) Fasten off with a long sewing tail.
Make four matching legs. Leave them unstuffed and flatten their openings. If four-stitch rounds feel difficult, use a slightly larger hook for all four legs and compare their proportions before attaching them.
Lay two legs near the front of the mini crochet axolotl body and two near the back. Their lower ends should point outward just enough to be visible. They are decorative limbs, not rigid supports.
Keep the sewing tails untangled while you prepare the remaining pieces. Small clips can hold the components together on your work surface, but remove every temporary clip before finishing.
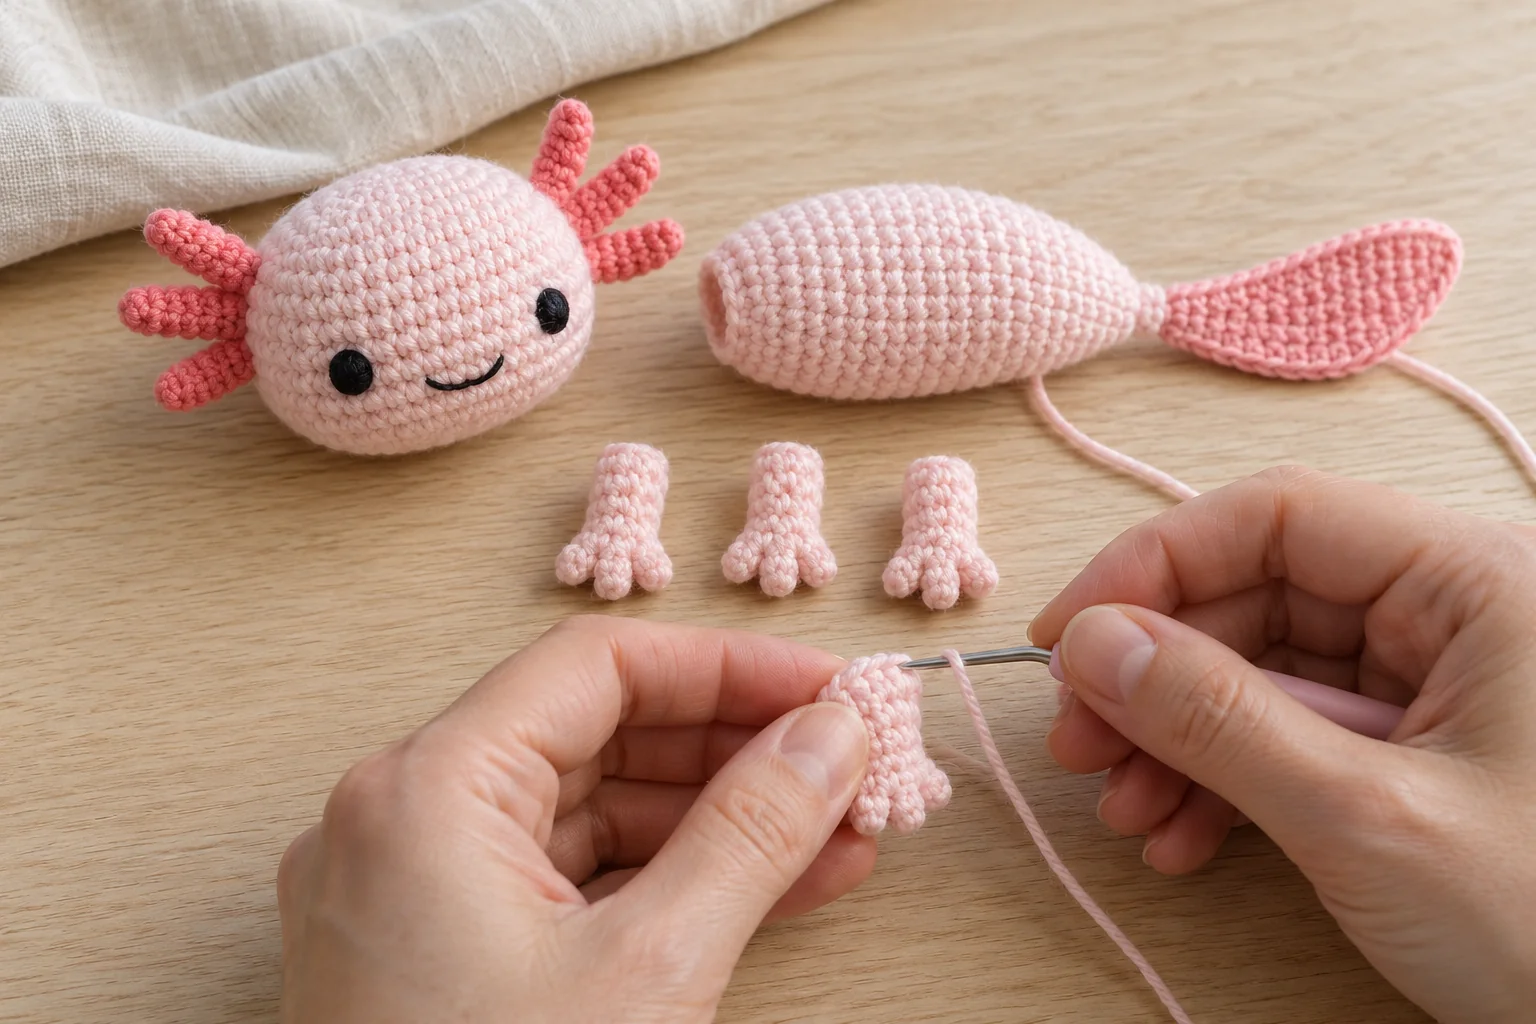
Step 4: Mini Crochet Axolotl Tail
With pale pink, ch 2. Row 1: sc in the second chain. (1) Row 2: ch 1, turn, work 3 sc in the only stitch. (3)
Row 3: ch 1, turn, inc, sc, inc. (5) Rows 4–6: ch 1, turn, sc across. (5 each row) Row 7: ch 1, turn, dec, sc, dec. (3)
Row 8: ch 1, turn, single crochet three stitches together. (1) Pull up one loop in each of the three stitches, then yarn over and pull through all four loops. Fasten off with a sewing tail.
This narrow diamond forms a simple flat tail fin. Attach one pointed end to the back of the mini crochet axolotl body, leaving the rest extending outward. The tail does not need stuffing or an internal wire.
Smooth the edges with your fingers. If your yarn label allows wet blocking, you can lightly dampen the tail and let it dry flat before assembly.
Step 5: Mini Crochet Axolotl Gills
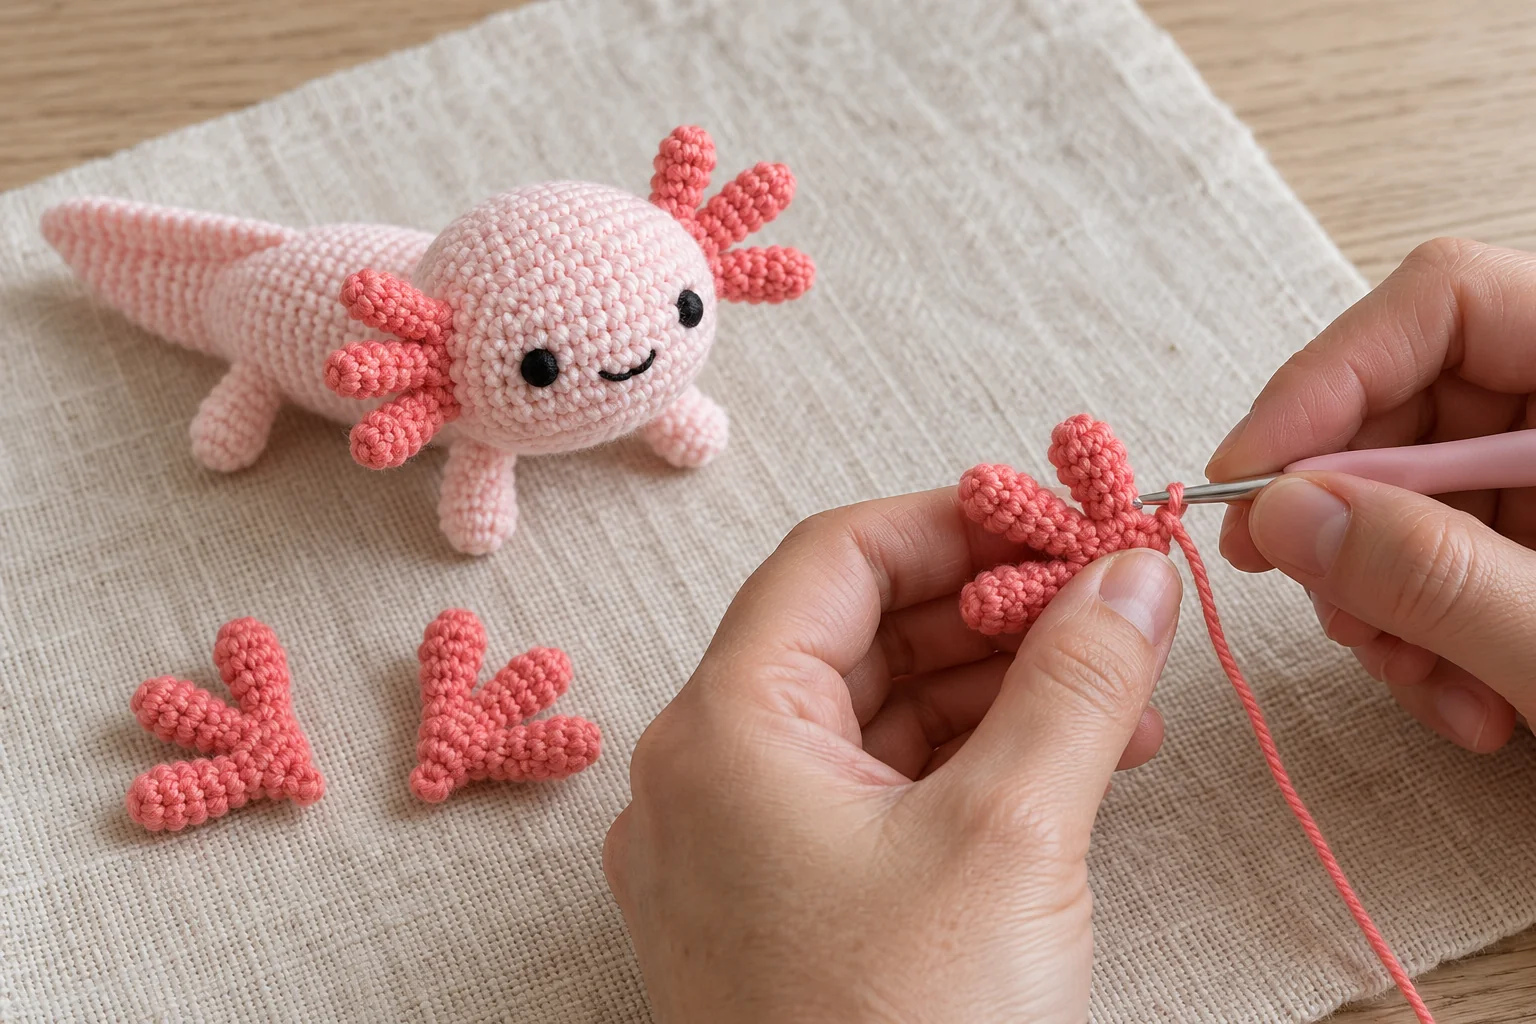
With coral, ch 4. Work sc in the second chain and each remaining chain. (3) Ch 1 and turn. These three stitches form the base of one gill fan.
In the first base stitch, sl st, ch 4, then sl st back down the chain in the second chain from the hook and the next two chains. Sl st again into the same base stitch. This creates the first short branch.
Repeat that complete branch sequence in the second base stitch, then again in the third base stitch. You will have three branches attached to a three-stitch base.
Fasten off with a long sewing tail. Make a second matching fan. Keep the chains relaxed enough for the return slip stitches, but compact enough that the branches remain short.
Lay the two fans beside the head and check their size. The branches should radiate from each side without covering the face. If one fan is much larger, remake it at matching tension.
Step 6: Mini Crochet Axolotl Assembly
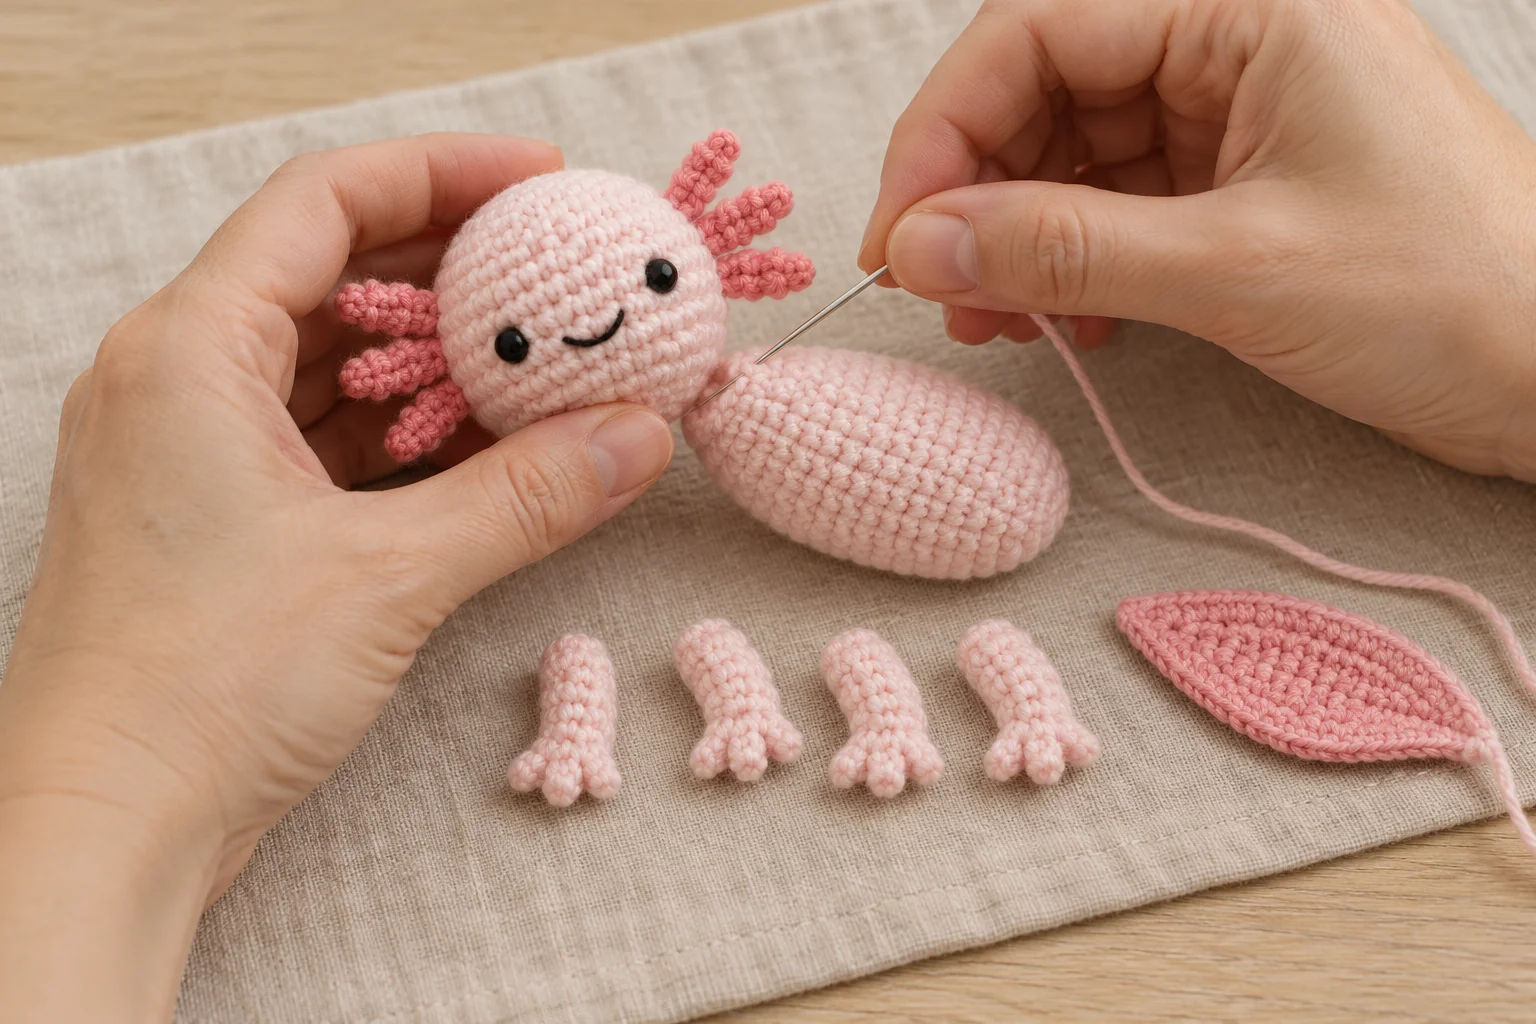
Sew the head to the front of the mini crochet axolotl body through a broad attachment area. Check that the face points forward and the body extends behind it. Add extra small stitches if the head wobbles.
Sew one gill fan to each side of the head along its three-stitch base. Keep the three branches free. The guide to sewing amigurumi pieces together can help with hidden joins.
Attach the four legs in two pairs, then sew the tail point to the back of the body. Inspect the creature from above and both sides. All four legs and both gill fans should remain distinguishable.
Do not sew through the face embroidery or pull the gill base so tightly that the branches bunch together. Secure every tail and bury the ends in the stuffed pieces or within the flat seams.
Gift Ideas, Display, and Care
Place the axolotl on a small desk tray or in a suitable crochet gift bag. A crochet tulip adds a contrasting shape to a soft pink gift arrangement.
For another compact accessory, see the crochet bow bag charm. A granny square tote is a larger project to explore after the miniature is complete.
Follow the care labels for yarn and filling. Reshape the gill branches after cleaning and let the piece dry fully. This is a decorative design with small sewn attachments, not an aquatic toy or a tested children’s toy.
Mini Crochet Axolotl: Frequently Asked Questions
How many gill branches are there?
There are three branches on each side of the head, made as two separate fans. Count six branches in total.
Does the tail need stuffing?
No. The tail is a flat diamond-shaped piece. Keeping it thin helps it extend behind the body.
Can I make the gills darker?
Yes. Use a contrasting shade of the same yarn weight so the fan size stays similar.
Why does the head droop?
Its seam may be too narrow or the head may contain too much filling. Broaden the attachment and check the pose before securing the final tail.
Is this a no-sew pattern?
No. The separate components let you adjust their positions, but they require careful sewing.
Can I use my finished mini crochet axolotl in water?
No. It is a stuffed decorative crochet figure. Keep it dry except for cleaning allowed by the care labels.
Finish Your Tiny Axolotl
Check the two gill fans, four legs, tail, and head seam before trimming the last ends. Your mini crochet axolotl adds an unusual silhouette to a small handmade animal collection. Note the yarn and finished dimensions for future matching pieces.