Mini Crochet Otter – Free Pocket Amigurumi Pattern
Make a mini crochet otter with a pale belly, tiny paws, and a tapered tail. Free pocket amigurumi pattern with clear rounds and sewing instructions.
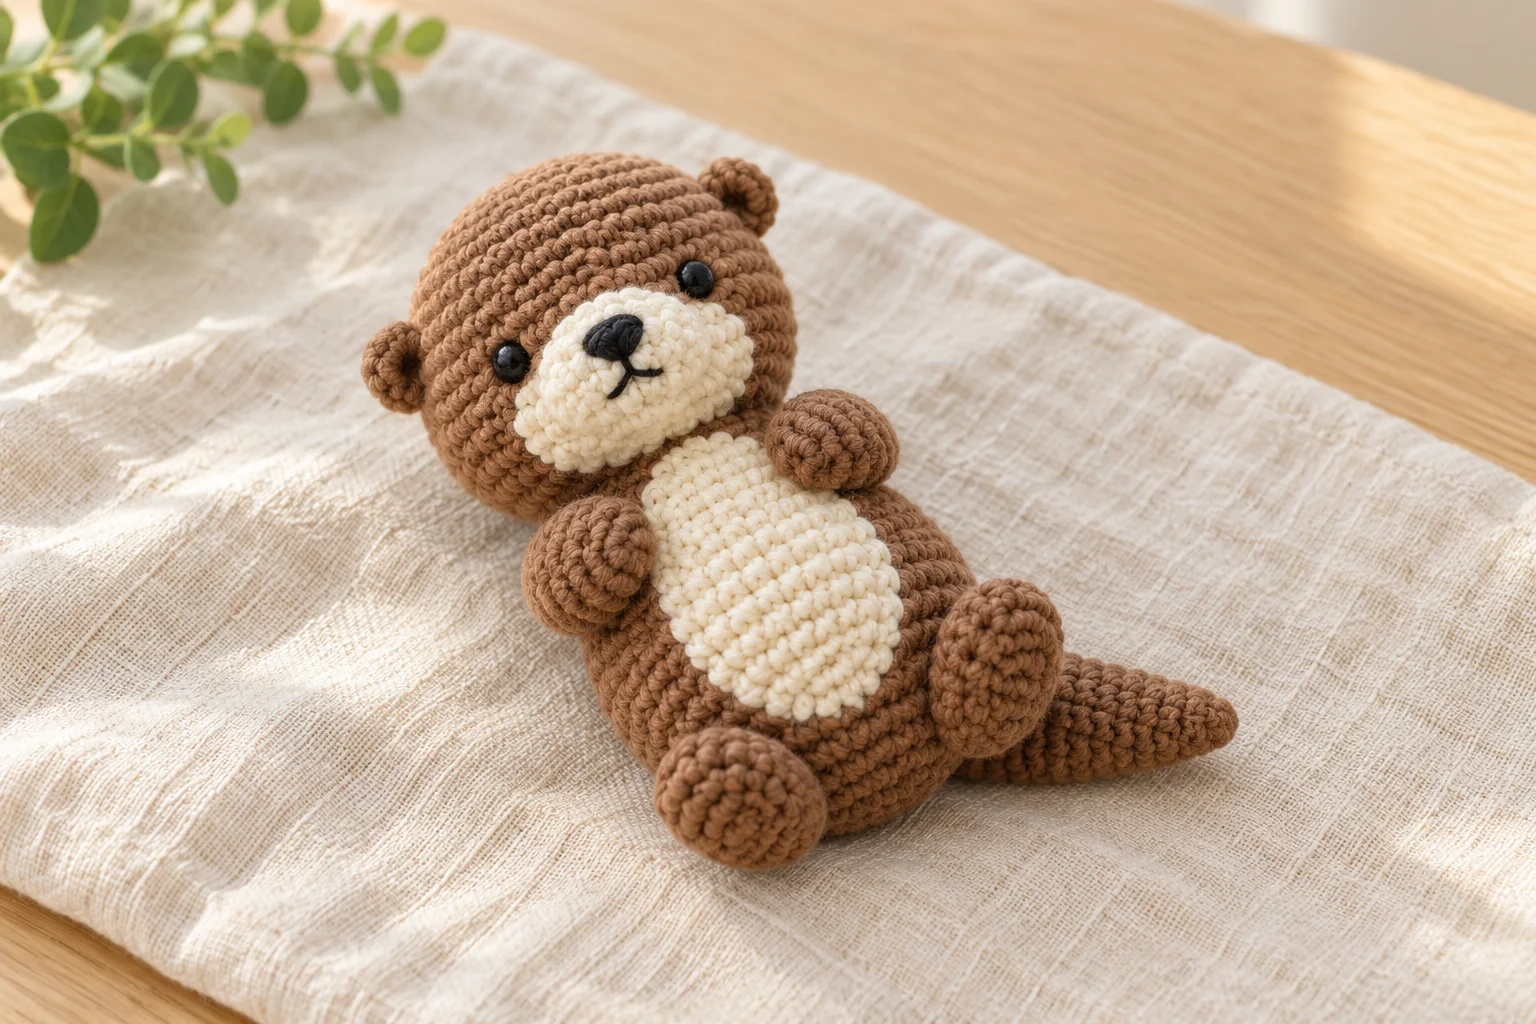
This mini crochet otter has a soft oval body, a round head, and a pale belly that stands out against caramel yarn. Small ears, short limbs, and a tapered tail create the otter shape without wire or elaborate sculpting. The face uses embroidery and a small ivory muzzle.
The mini crochet otter is designed as a decorative pocket-sized figure. It can rest slightly on its back in a gift box or sit supported against another object. Its pose depends on how you place the limbs and tail, so check the arrangement before sewing the final seams.
Design note: this original written pattern has not been physically sample-tested. Finished size and yarn quantities are estimates. AI-generated photographs illustrate the intended appearance. Follow the written counts, compare paired pieces, and adjust their placement before securing the sewing tails.
Mini Crochet Otter Materials and Size
Use smooth DK cotton in caramel brown and ivory, a little black embroidery yarn, a 2.5–3 mm hook, a stitch marker, a blunt needle, scissors, and washable polyester filling. Estimate 20–25 g caramel and 5–10 g ivory.
The intended finished length is approximately 9–11 cm, including the tail. A larger yarn and suitable hook will make a larger otter. This is a confident-beginner project with separate head, body, tail, ears, limbs, and flat patches.
Use the same brown yarn for all caramel pieces to keep the proportions consistent. If you substitute a different yarn for the ivory patches, check their size against the mini crochet otter body before sewing.
For a collection of small animals, the mini crochet turtle offers a contrasting shape. Check the actual finished sizes rather than assuming two miniature patterns will match automatically.
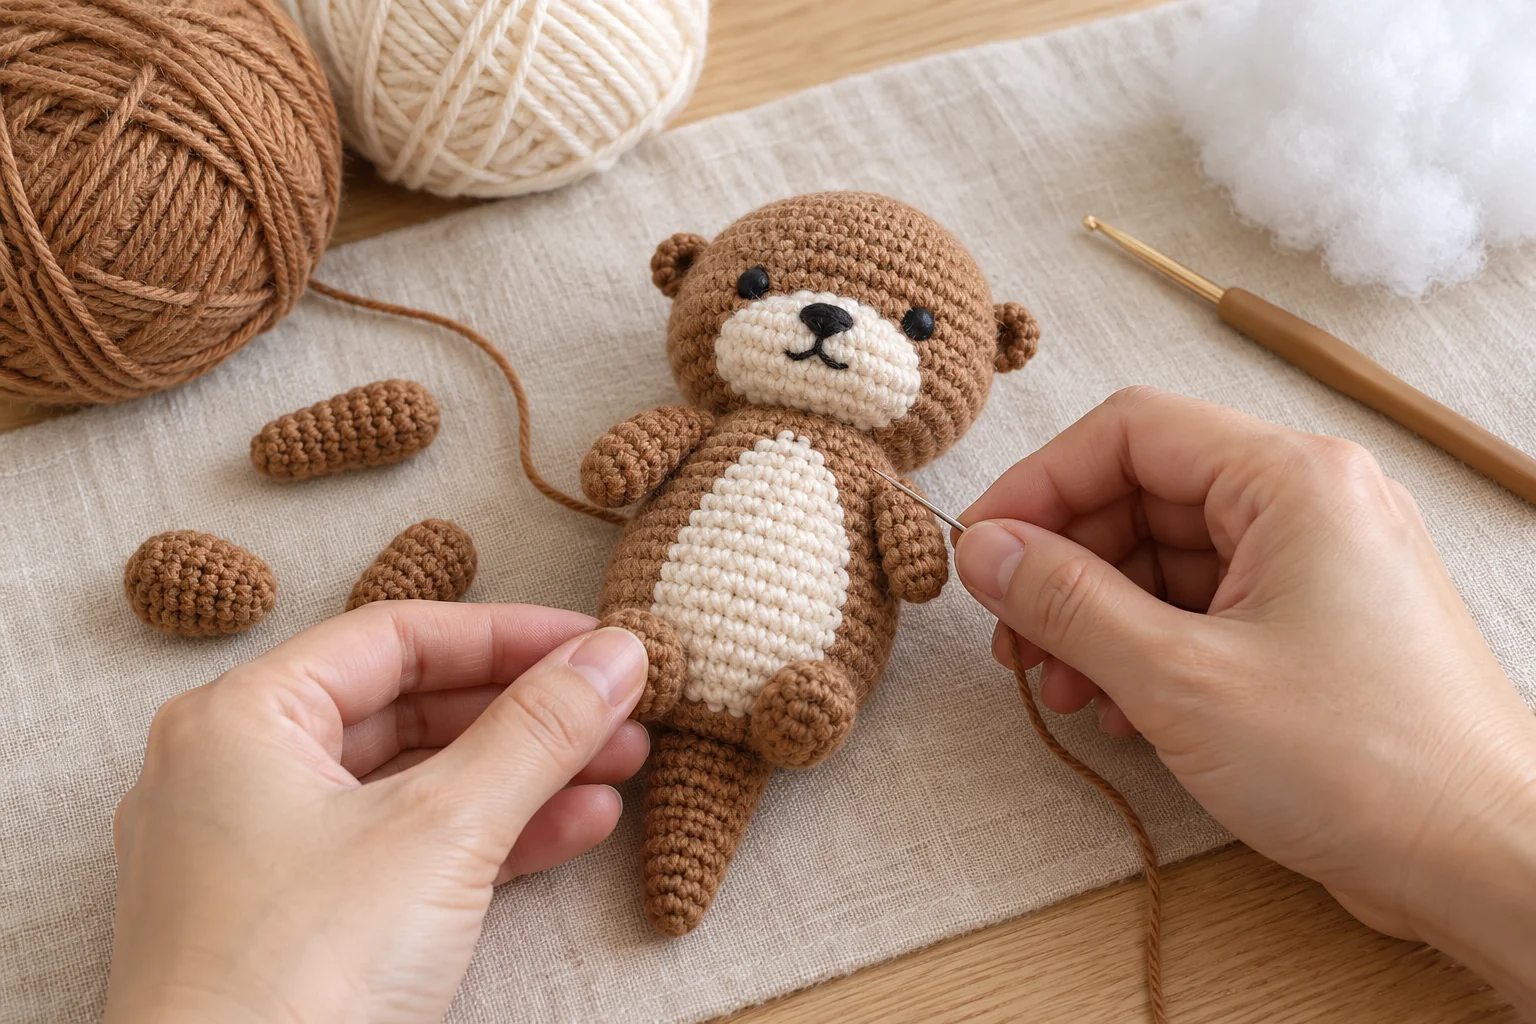
Reading This Mini Crochet Otter Pattern
US terms are used. ch = chain; sc = single crochet; inc = 2 sc in one stitch; dec = single crochet two stitches together; sl st = slip stitch. Numbers in parentheses show the stitch count.
Work the stuffed pieces in continuous rounds. Mark the first stitch and check the count at the end of each increase or decrease round. Use small amounts of filling so the fabric stays smooth rather than stretched.
The limbs and ears stay unstuffed. The tail receives only a tiny wisp near its wider end. The belly and muzzle are flat pieces, keeping the front of the animal simple.
For a standard reference when reading stitch instructions, consult the Craft Yarn Council crochet abbreviations. Check the US terms against the definitions in this pattern before starting.
Step 1: Mini Crochet Otter Body
With caramel, work 6 sc into a magic ring. (6) Round 2: inc around. (12) Round 3: repeat [sc, inc] six times. (18) Round 4: repeat [2 sc, inc] six times. (24)
Rounds 5–10: sc around. (24 each round) These six even rounds make the mini crochet otter body longer than a small ball. Keep the rounds level and do not add extra stitches at the marker.
Round 11: repeat [2 sc, dec] six times. (18) Begin filling evenly. Round 12: repeat [sc, dec] six times. (12) Add the last small amount of filling.
Round 13: dec six times. (6) Fasten off, close through the front loops, and bury the tail. Shape the mini crochet otter body into a gentle oval without squeezing one end into a sharp point.
Choose the belly side and mark it temporarily. Keep the final closure toward the lower back if possible. This leaves a smoother area for the pale belly patch.
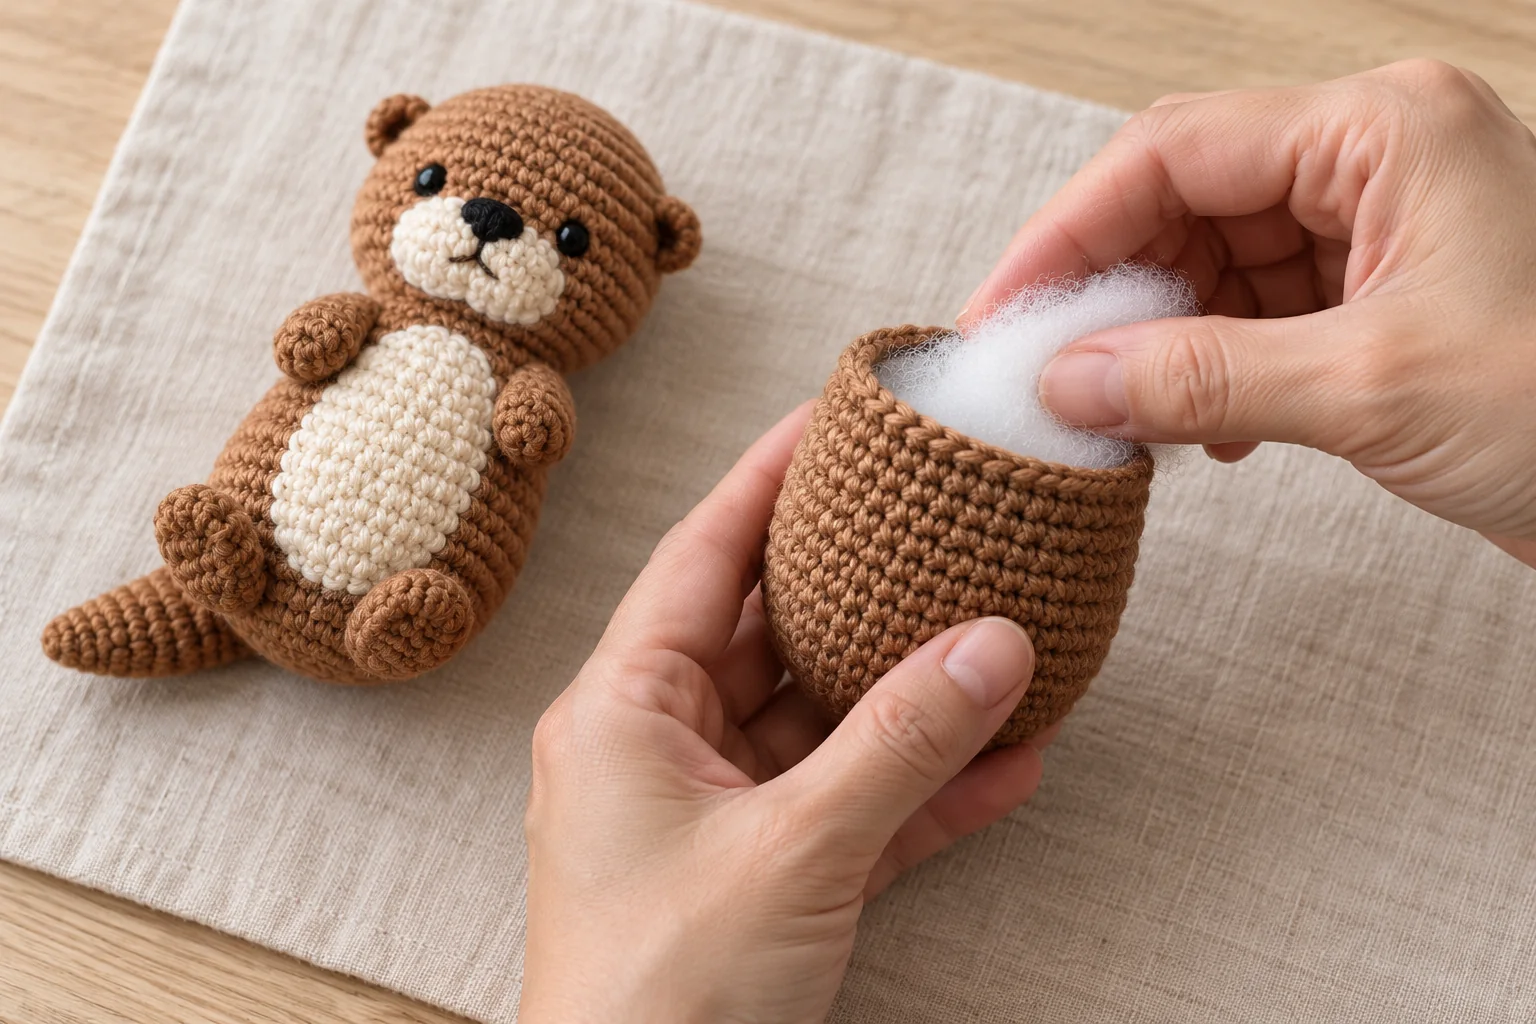
Step 2: Mini Crochet Otter Head
With caramel, work 6 sc into a magic ring. (6) Round 2: inc around. (12) Round 3: repeat [sc, inc] six times. (18) Round 4: repeat [2 sc, inc] six times. (24)
Rounds 5–6: sc around. (24 each round) Round 7: repeat [2 sc, dec] six times. (18) Round 8: repeat [sc, dec] six times. (12) Add filling.
Round 9: dec six times. (6) Fasten off, close the opening, and leave a long attachment tail. Keep the head rounded. Overfilling can make the muzzle harder to sew neatly.
Set the head above the upper body and check their relationship. The head should be clearly defined without overwhelming the oval body. Do not attach it until the facial details are in place.
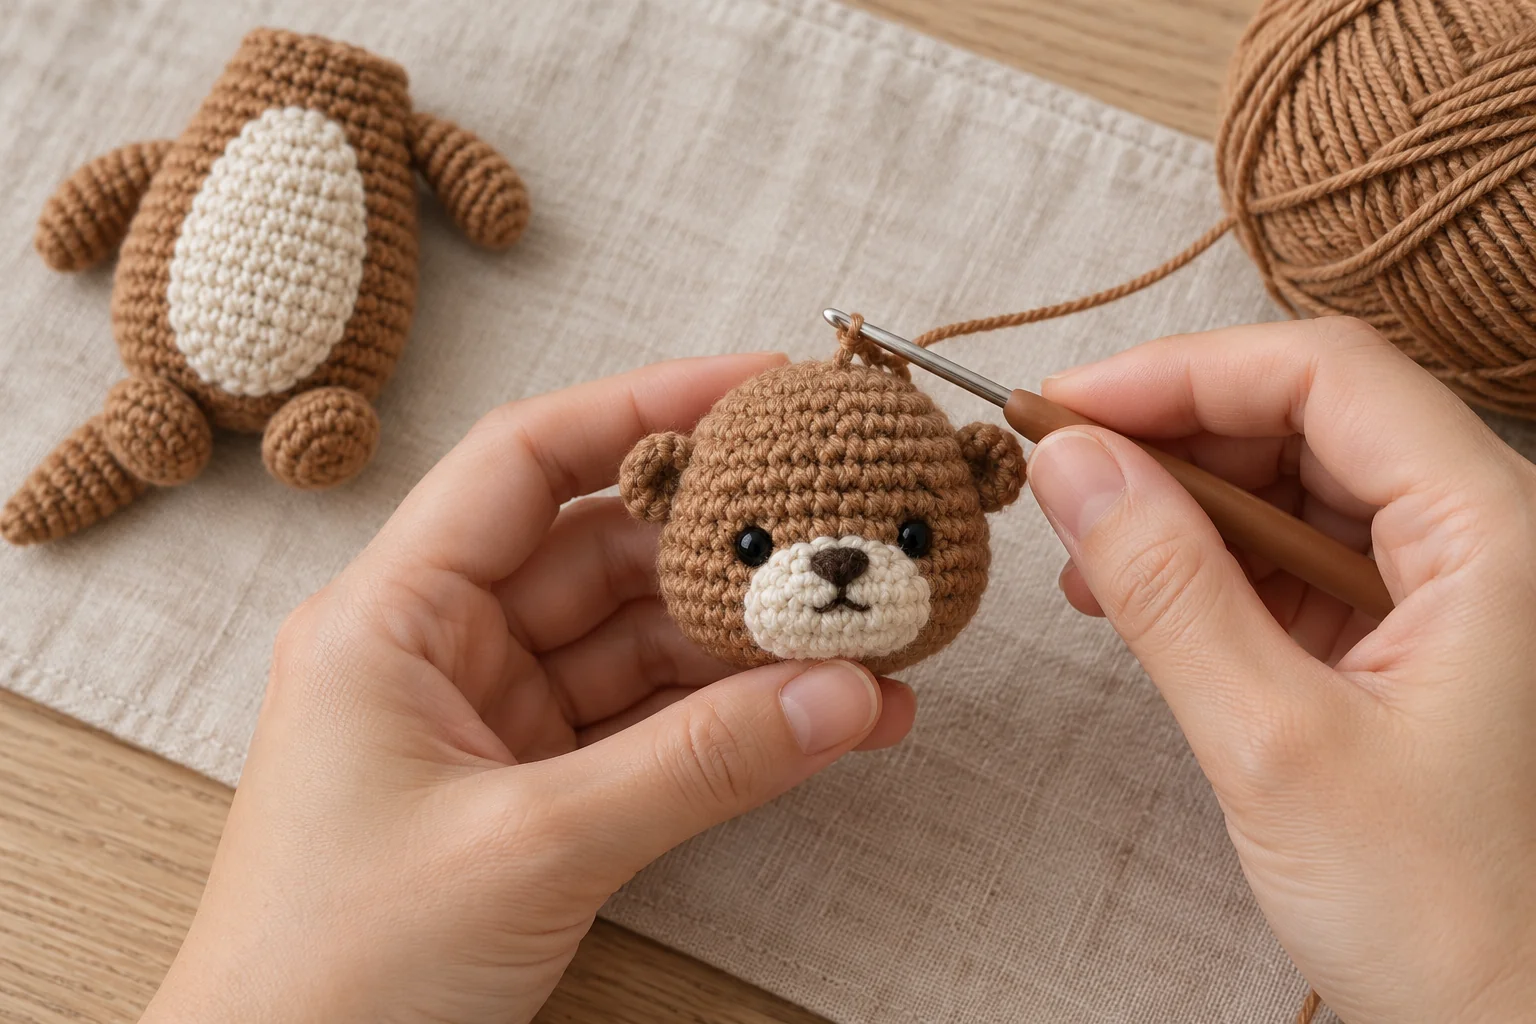
Step 3: Mini Crochet Otter Muzzle and Face
For the ivory muzzle, work 6 sc into a magic ring, close the ring, and join with a sl st. Fasten off with a sewing tail. Secure the starting tail on the back.
Sew the small disc onto the lower front of the head. Add a tiny black nose at its upper center and a short stitched line below if desired. Embroider two small black eyes above and to the sides of the muzzle.
Keep the face symmetrical enough to read clearly, but avoid pulling the embroidery tight enough to dent the head. Use short stitches and secure the ends inside. No separate plastic eyes or nose are needed.
The guide to sewing crochet components can help you hide the muzzle attachment stitches. Sew the patch before attaching the head to the mini crochet otter body so it is easier to handle.
Step 4: Mini Crochet Otter Arms
For each ear, work 6 caramel sc into a magic ring. Close and join with a sl st. Fasten off with a sewing tail. Make two flat ears.
For each limb, work 5 caramel sc into a magic ring. (5) Rounds 2–3: sc around. (5 each round) Fasten off with a sewing tail. Make four limbs: two arms and two feet.
Leave all six pieces unstuffed. Flatten the limb openings. The same small tube can serve as an arm or a foot; its position determines how it reads on the finished animal.
Attach the ears low on the upper sides of the head rather than directly on top like long rabbit ears. Keep them small and rounded. Compare both sides before tightening the final sewing stitches.
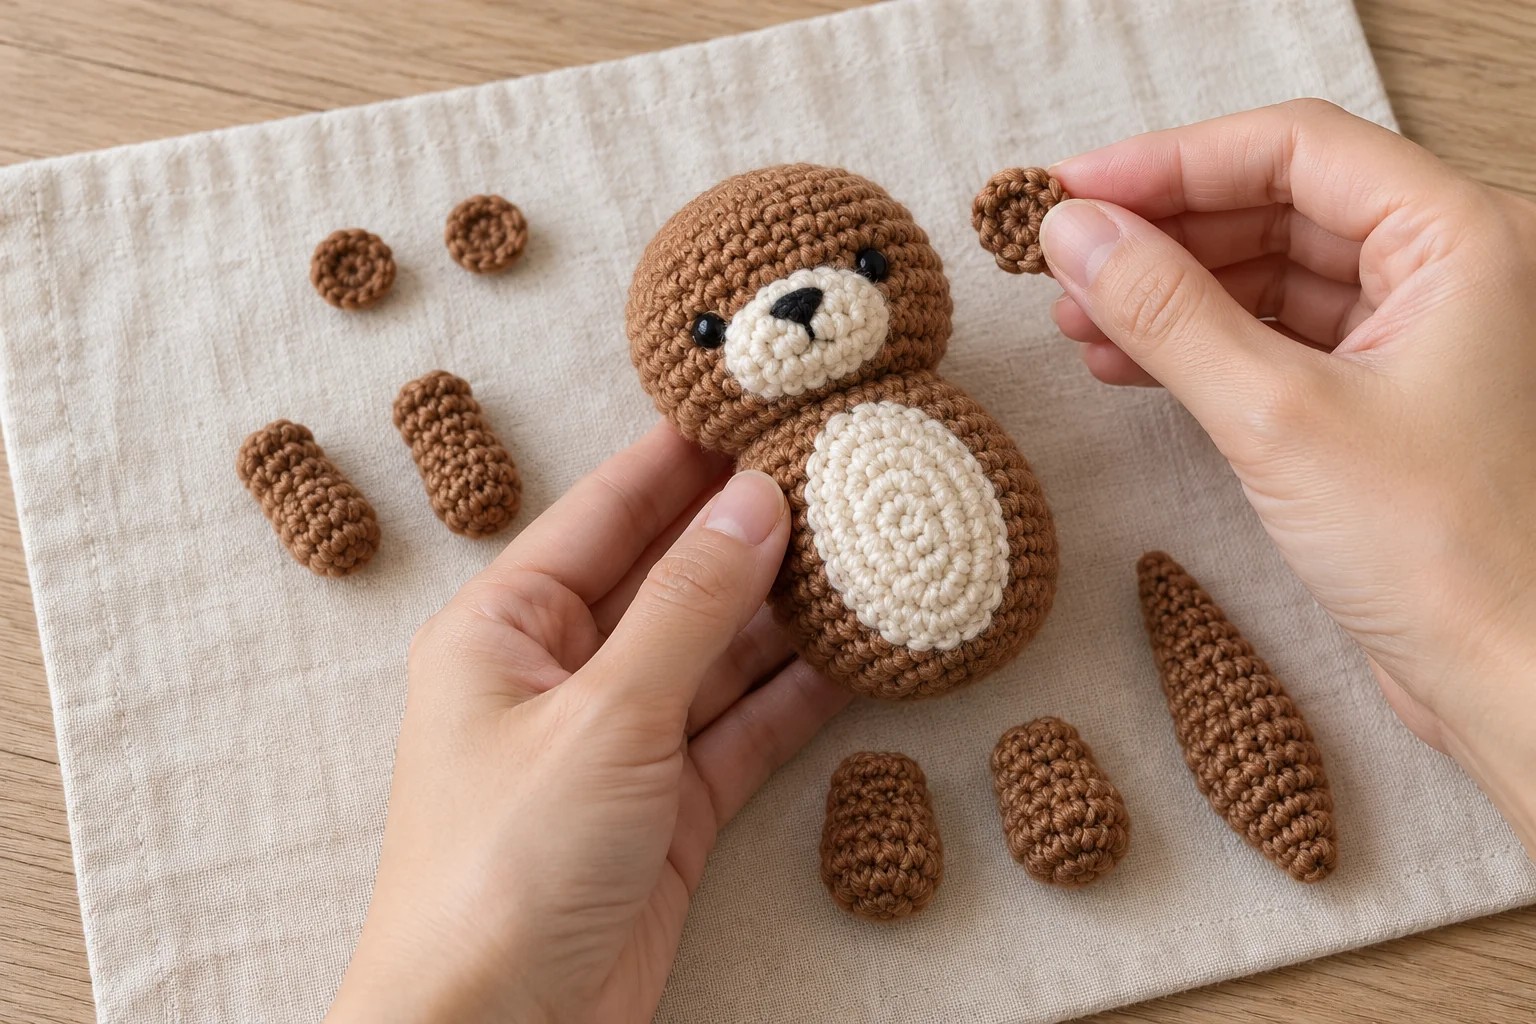
Step 5: Mini Crochet Otter Tail
With caramel, work 4 sc into a magic ring. (4) Round 2: repeat [sc, inc] twice. (6) Round 3: sc around. (6)
Round 4: repeat [sc, inc] three times. (9) Rounds 5–6: sc around. (9 each round) Fasten off with a long sewing tail.
The narrow starting end is the tail tip. Add a tiny amount of filling only near the wider opening, then flatten that opening. The tail should stay flexible and taper visibly.
Position it at the lower back of the body. Leave it angled slightly to one side so it remains visible when the otter rests on its back. Do not force the tail to support the full weight of the figure.
Step 6: Mini Crochet Otter Belly
With ivory, ch 5. Work sc in the second chain and next two chains, 3 sc in the last chain, then work along the opposite side: sc in the next two unused chain loops and 2 sc in the final unused loop. (10)
For the next round, work inc, 2 sc, inc in each of the next three stitches, 2 sc, and inc in each of the last two stitches. (16) Join with a sl st and fasten off with a sewing tail.
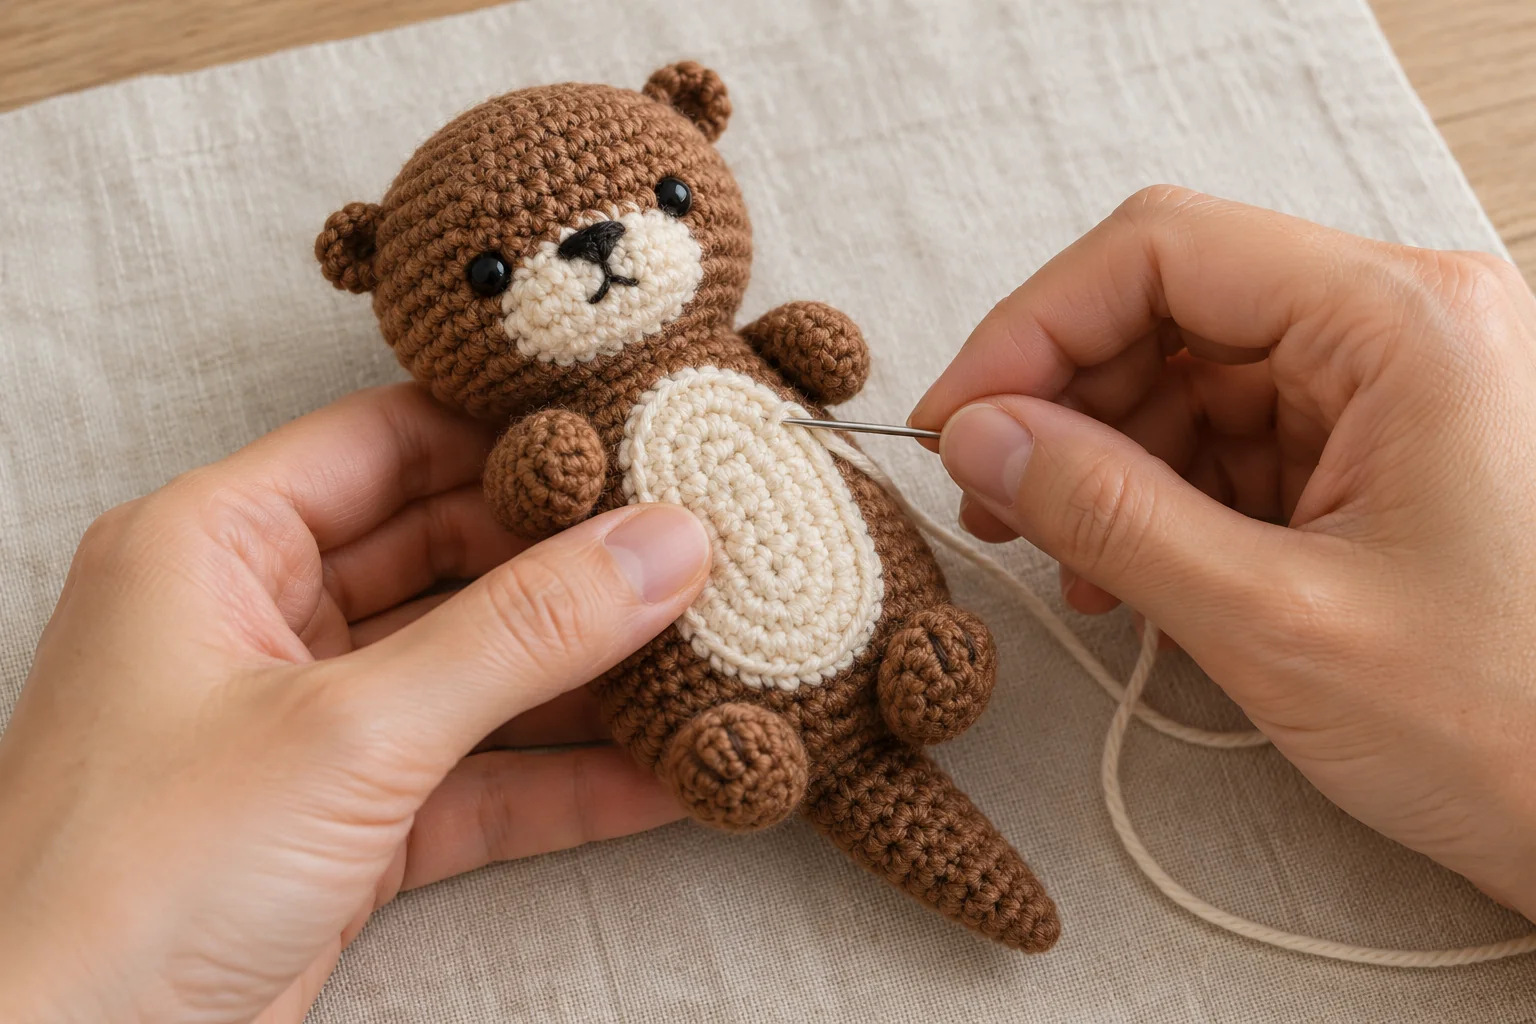
Secure the starting tail and lay the oval flat. Place it lengthwise on the front of the body. Sew around the edge with small ivory stitches, avoiding a puckered seam.
If the patch looks too wide with your yarn, stop after the first ten-stitch oval instead. Check it against the actual body before deciding, and note the choice for any matching otters.
Step 7: Mini Crochet Otter Assembly
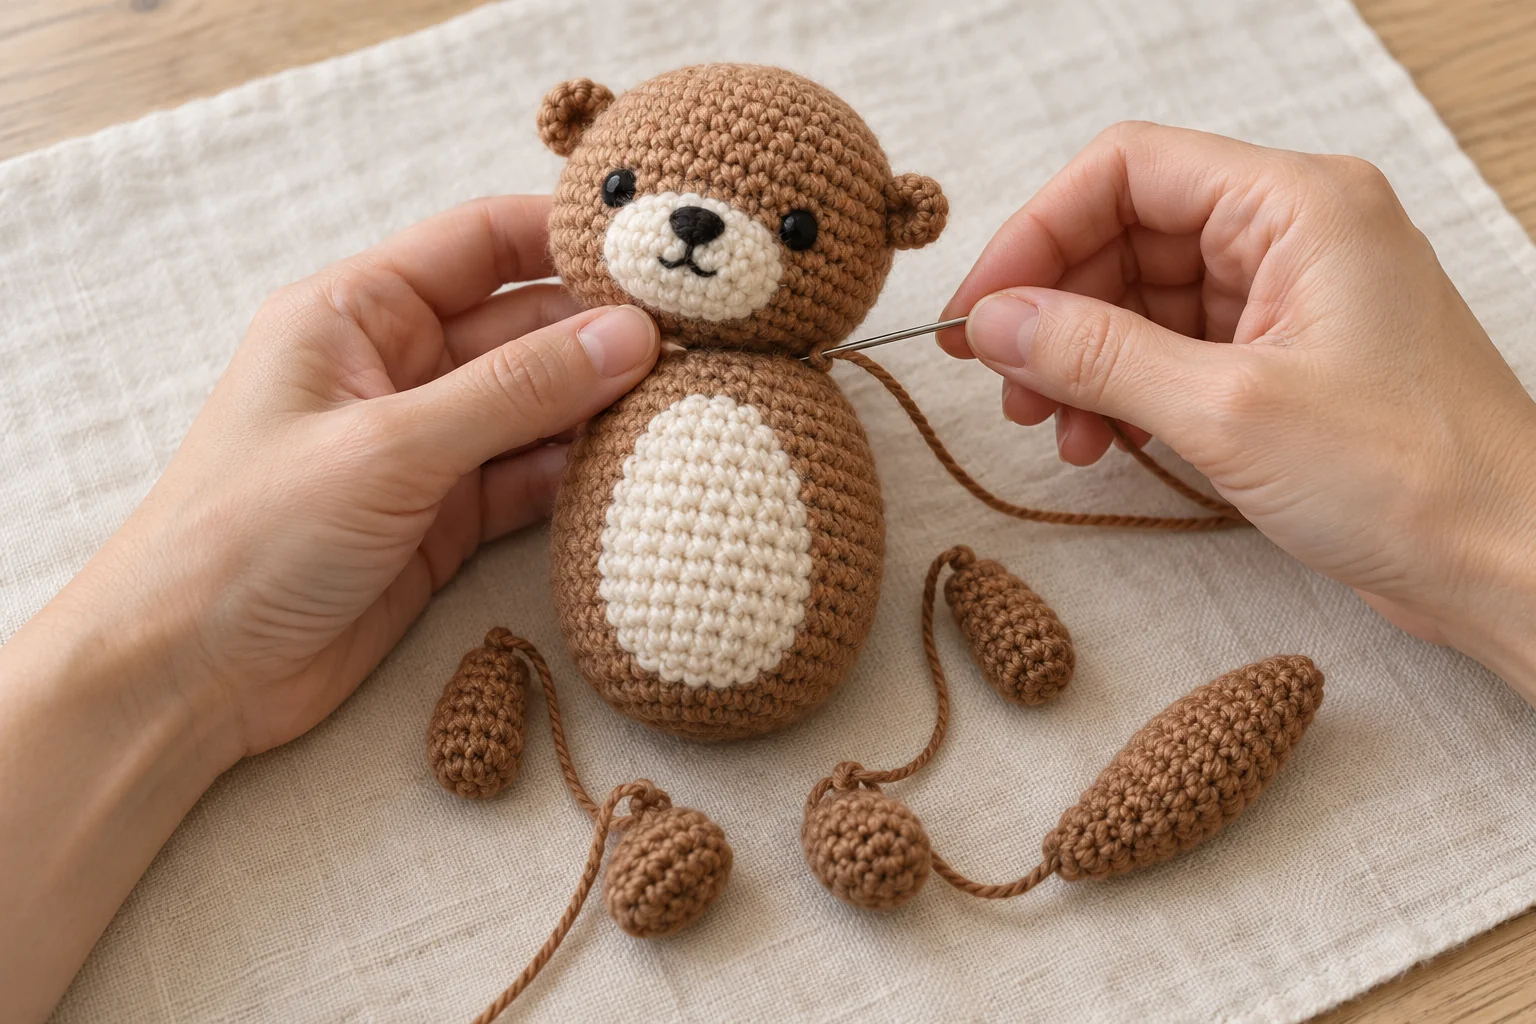
Sew the head to the upper body through a broad attachment area. Add the arms beside the upper belly and the feet near the lower front. Keep the pale belly visible between the limbs.
Attach the tail at the lower back and check the pose. The figure can rest on its back with the head slightly raised, or sit supported in a display. Its soft construction does not guarantee an unsupported upright stance.
For a gift presentation, use a suitable crochet gift bag or pair it with a small crochet flower. A crochet bow can decorate the wrapping separately.
Check every seam and weave in the tails. Follow the yarn and filling care labels, reshape gently, and dry fully. This decorative design contains filling and small sewn parts; keep it away from young children and pets.
Mini Crochet Otter: Frequently Asked Questions
Before finishing your mini crochet otter, review these questions about the construction, materials, and final use.
Is this otter designed to float?
No. It is a stuffed decorative figure. Do not place it in water as a floating toy.
Can I make the belly smaller?
Yes. Use only the first oval round if the full patch looks too large. Check the fit before sewing.
Do the limbs need stuffing?
No. The small limbs stay unstuffed and are flattened at their openings.
Why does the head tilt?
The attachment may be too narrow or uneven. Add stitches across a broader join and check the position before securing the tail.
Can I omit the tail?
The figure can be made without it, but the tapered tail helps distinguish the otter silhouette.
Can I change the colors?
Yes. Preserve the same yarn weight and keep enough contrast between the body, muzzle, and belly.
Finish Your Little Otter
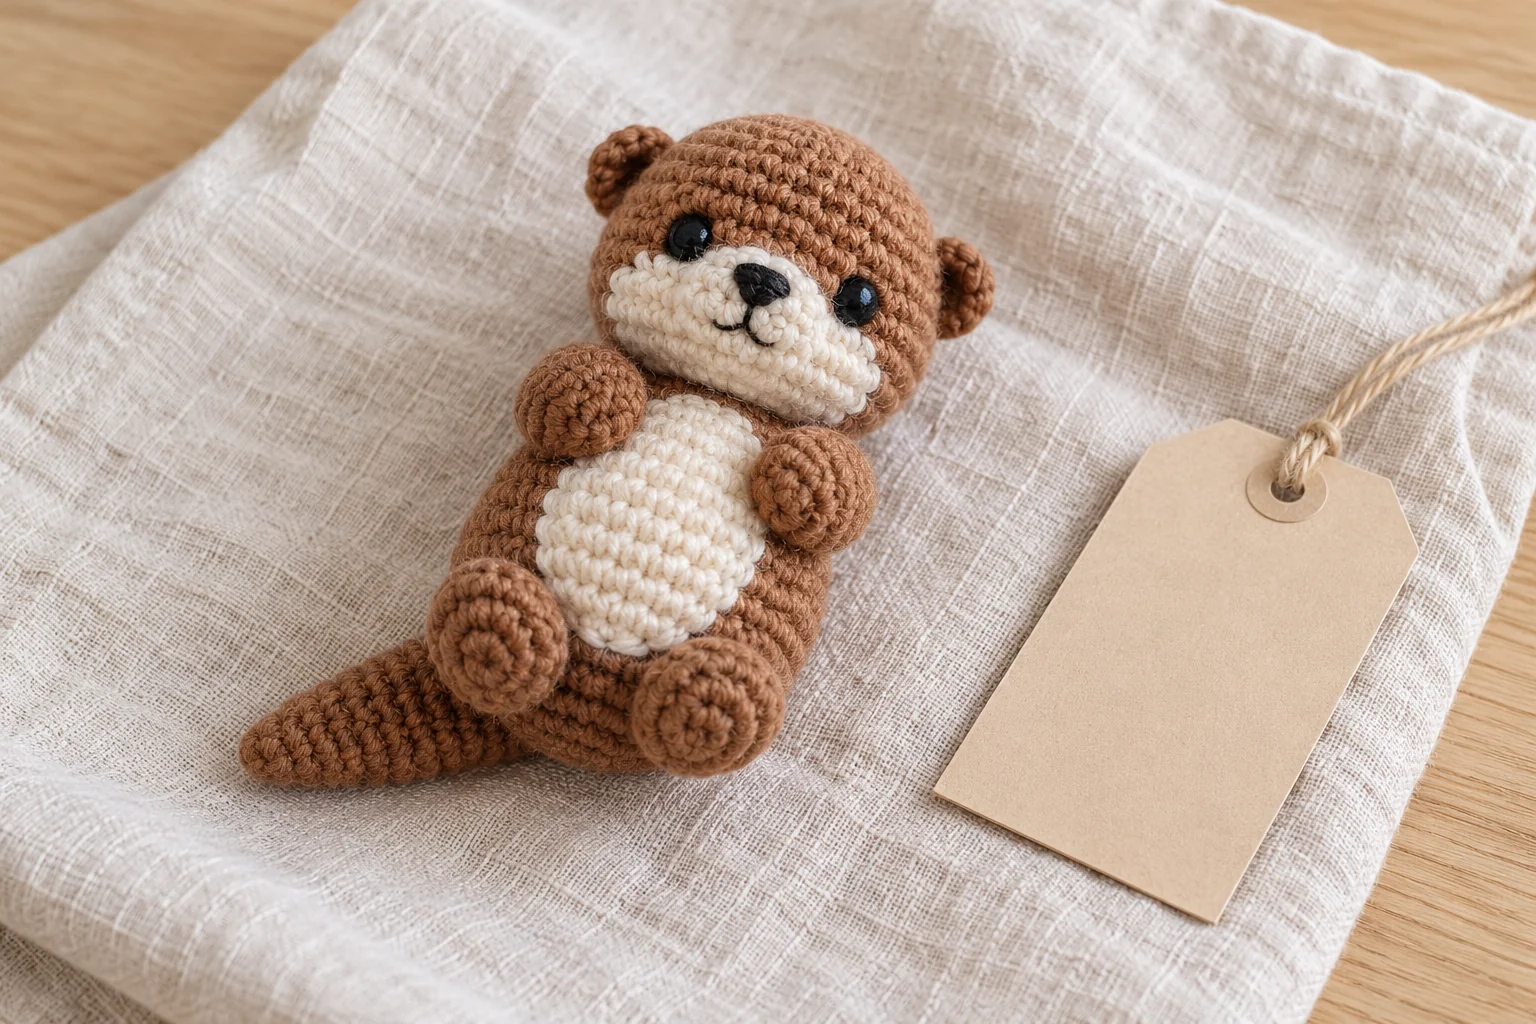
Give the face, ears, and tail one final check. Your mini crochet otter is ready for a carefully arranged handmade gift or small display. Record its finished length and yarn details if you plan to create a matching group.