Crochet Platypus Amigurumi Pattern with a Flat Bill
Crochet a low brown platypus with flat charcoal bill, four webbed feet and a paddle tail. Includes double-layer ovals and low-body assembly.
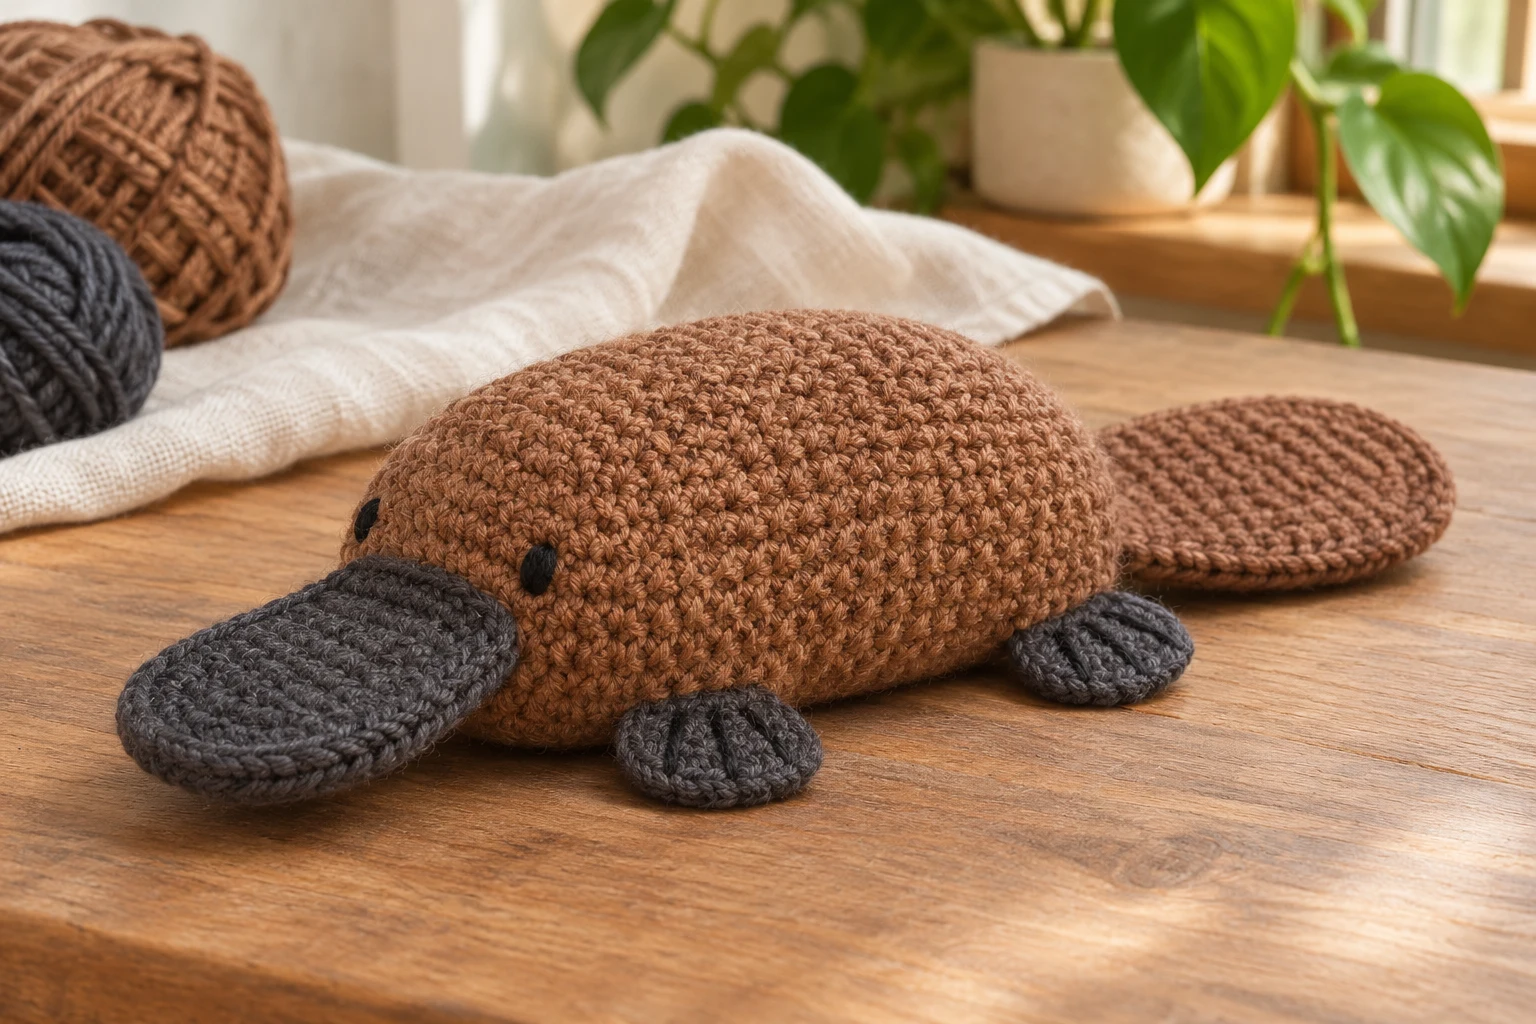
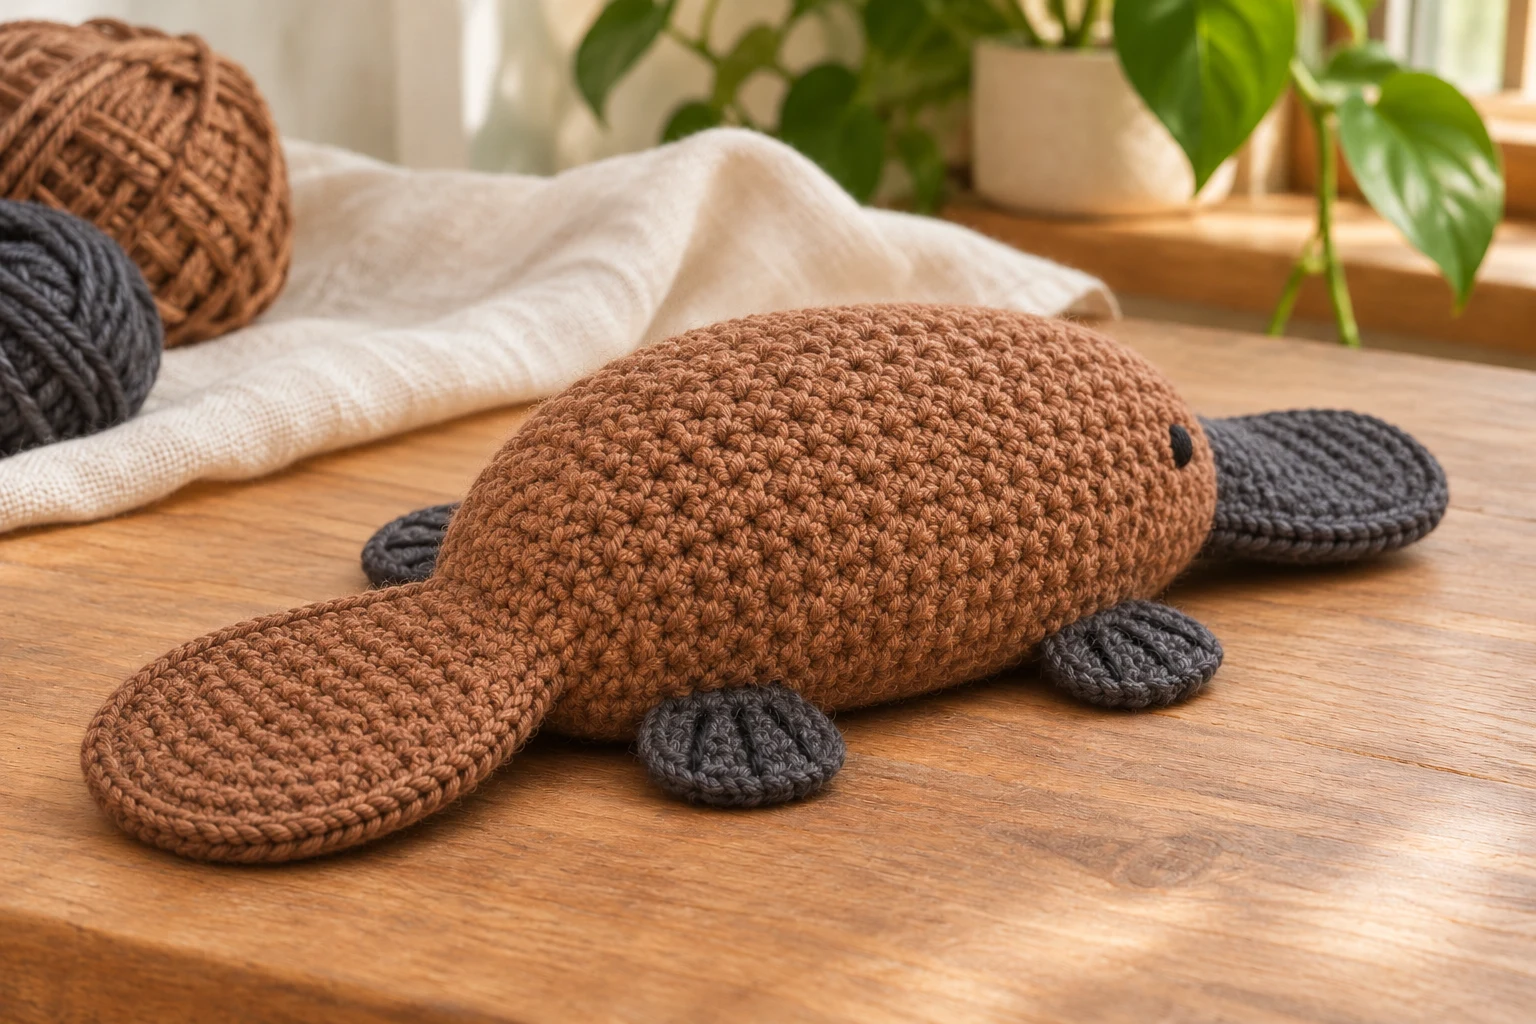
This low crochet platypus uses one elongated brown body that includes the head. A broad charcoal bill projects from the front, four flat charcoal feet sit underneath and a brown paddle tail extends behind. The bill and tail are double-layer flat ovals without filling.
Crochet the brown body to forty-two stitches, work eleven straight rounds and taper it closed. Make two matching twenty-stitch charcoal bill ovals, four sixteen-stitch foot ovals and two thirty-stitch brown tail ovals. Join the bill and tail layers, pin the low pose and sew all attachment bases broadly.
Project Overview
| Detail | Information |
|---|---|
| Terms | US crochet |
| Skill | Confident beginner with sewing |
| Construction | Crochet the brown body to forty-two stitches, work eleven straight rounds and taper it closed. Make two matching twenty-stitch charcoal bill ovals, four sixteen-stitch foot ovals and two thirty-stitch brown tail ovals. Join the bill and tail layers, pin the low pose and sew all attachment bases broadly. |
| Testing | Arithmetic reviewed; physical sample not tested |
Project views are generated illustrations of the intended construction. Sizes, yarn use and attachment performance remain unverified on a physical sample.
Materials
| Material | Suggested specification |
|---|---|
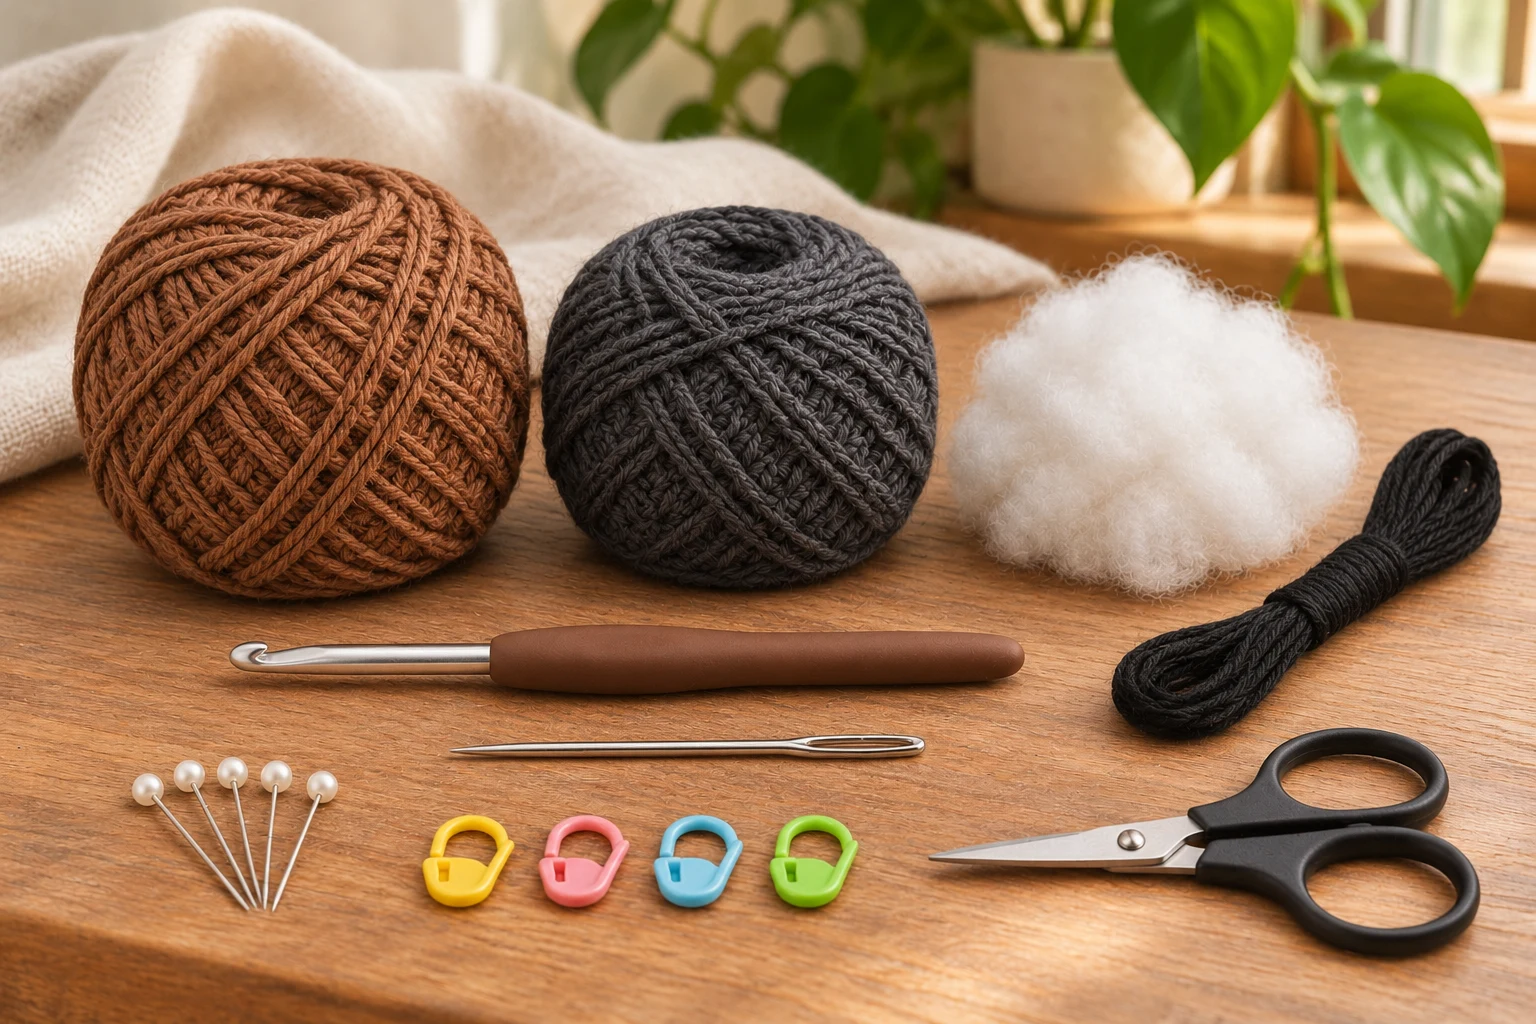
| Cotton | About 70–90 g brown DK cotton and 15–20 g charcoal; estimates |
| Hook | 2.75 mm or suitable size for dense fabric |
| Features | Black embroidery thread for eyes and charcoal thread for foot lines |
| Tools | Soft filling, needle, marker, pins and scissors |
Size and Gauge
The intended overall length is about 15–18 cm including bill and tail, unmeasured. The body is one continuous stuffed piece, not a head on a narrow neck. Keep its lower surface gently flattened during filling. Gauge and seam positions determine whether all four feet touch the table; no physical stance test has been completed.
Abbreviations and Working Notes
| Term | Meaning |
|---|---|
| ch | Chain |
| sc | Single crochet |
| sl st | Slip stitch |
| inc | 2 sc in one stitch |
| dec | Invisible sc decrease over 2 stitches |
| MR | Magic ring |
| dc | Double crochet |
US terms. Body rounds use a continuous spiral with a marker. Flat ovals join with sl st and ch 1 excluded. Mark each oval end before placing increases.
The body magic-ring end is the front behind the bill; the final decrease end is the rear beside the tail. Mark these directions before the closing point is buried.
The bill and paddle tail each contain two flat layers sewn together without filling. Feet are single flat ovals. There is no wire, rigid bill insert or plastic eye.
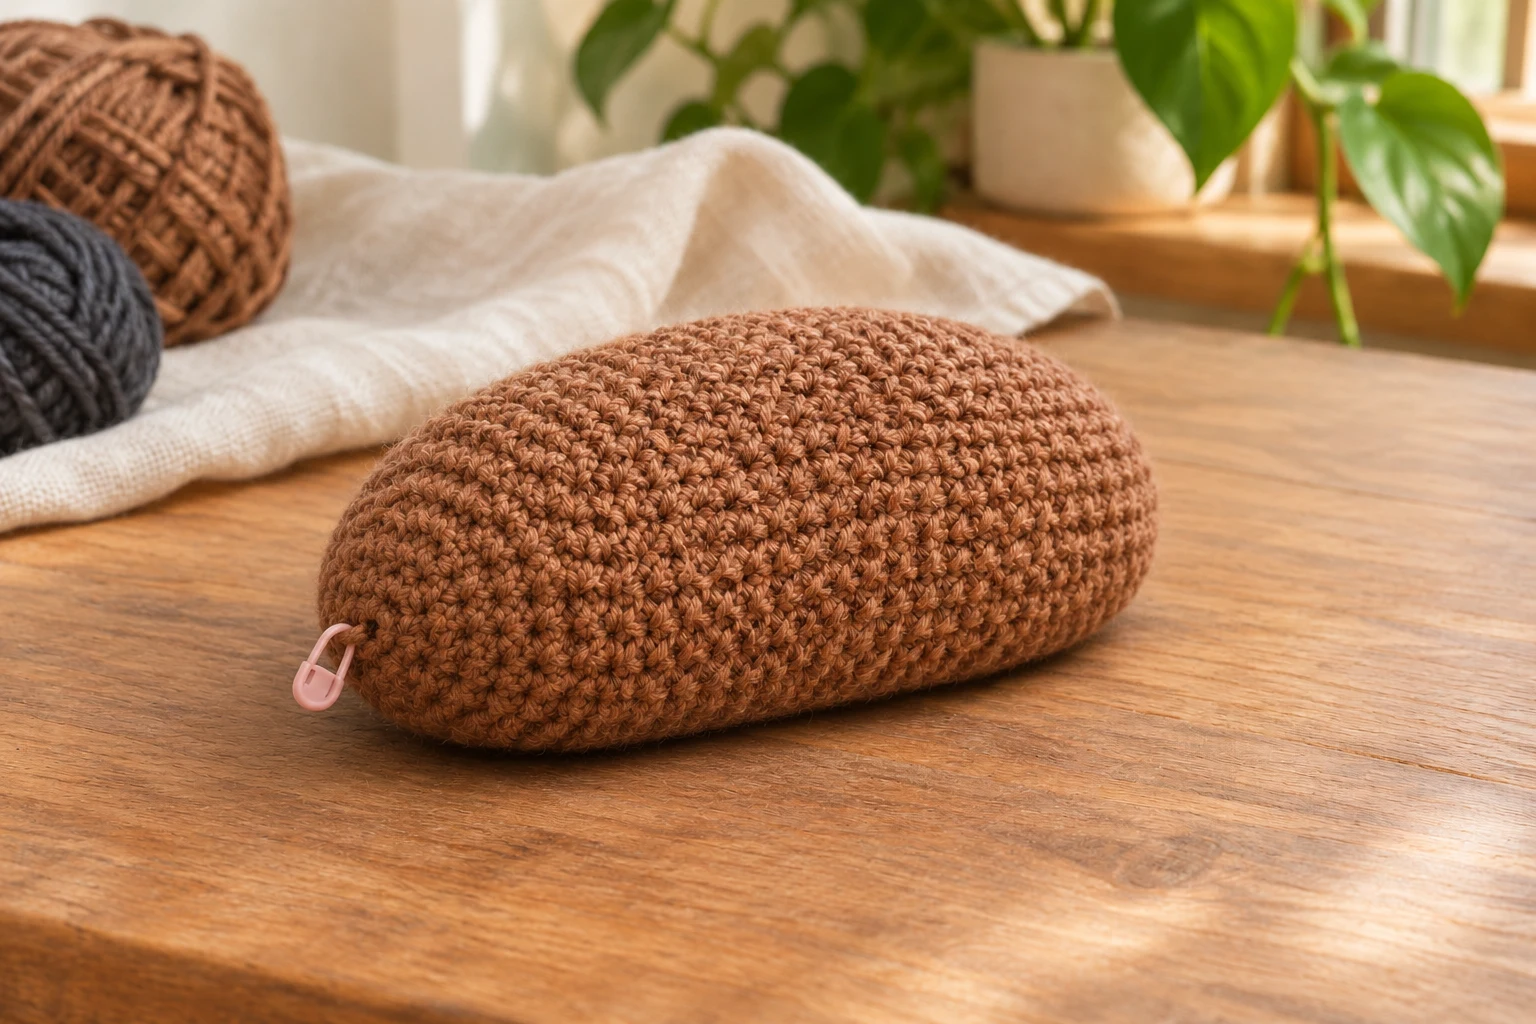
Crochet the Single Low Body
| Round / stage | Instructions | Count / check |
|---|---|---|
| 1 | Brown: 6 sc in MR | 6 |
| 2 | Inc around | 12 |
| 3–7 | Round n: ((n−2) sc, inc) × 6 | 18, 24, 30, 36, 42 |
| 8–18 | Sc around eleven rounds | 42 each |
| 19–24 | (5 sc, dec) × 6; then (4 sc, dec) × 6; (3 sc, dec) × 6; (2 sc, dec) × 6; (sc, dec) × 6; dec × 6 | 36, 30, 24, 18, 12, 6 |
Use one listed decrease instruction per round. Add filling gradually before the back narrows, preserving an elongated low oval rather than a tall sphere. Close through six front loops and bury the end. Place temporary front and rear markers before setting the body down for attachment fitting.
Make the Two-Layer Flat Bill
| Round / stage | Instructions | Count / check |
|---|---|---|
| Each bill foundation | Charcoal: ch 7 | 6 usable chains |
| 1 | Sc in second and next 4; 3 sc in last; underside 4 sc, 2 sc in start; join | 14 |
| 2 | Inc in first; 4 sc; inc in next 3; 4 sc; inc in last 2; join | 20 |
| Pairing | Make two; wrong sides together; sew rims one to one | 20 matched positions |
Keep both oval layers flat and do not stuff them. Mark one narrow end as the attachment base. The broad oval projects forward from the body front; pin the base across several neighboring body stitches near Rounds 2–4 before sewing. Its free outer edge should lie low rather than point upward like a snout.
Crochet Four Flat Feet
| Round / stage | Instructions | Count / check |
|---|---|---|
| Each foundation | Charcoal: ch 5 | 4 usable chains |
| 1 | Sc in second and next 2; 3 sc in last; underside 2 sc, 2 sc in start; join | 10 |
| 2 | Inc in first; 2 sc; inc in next 3; 2 sc; inc in last 2; join | 16 |
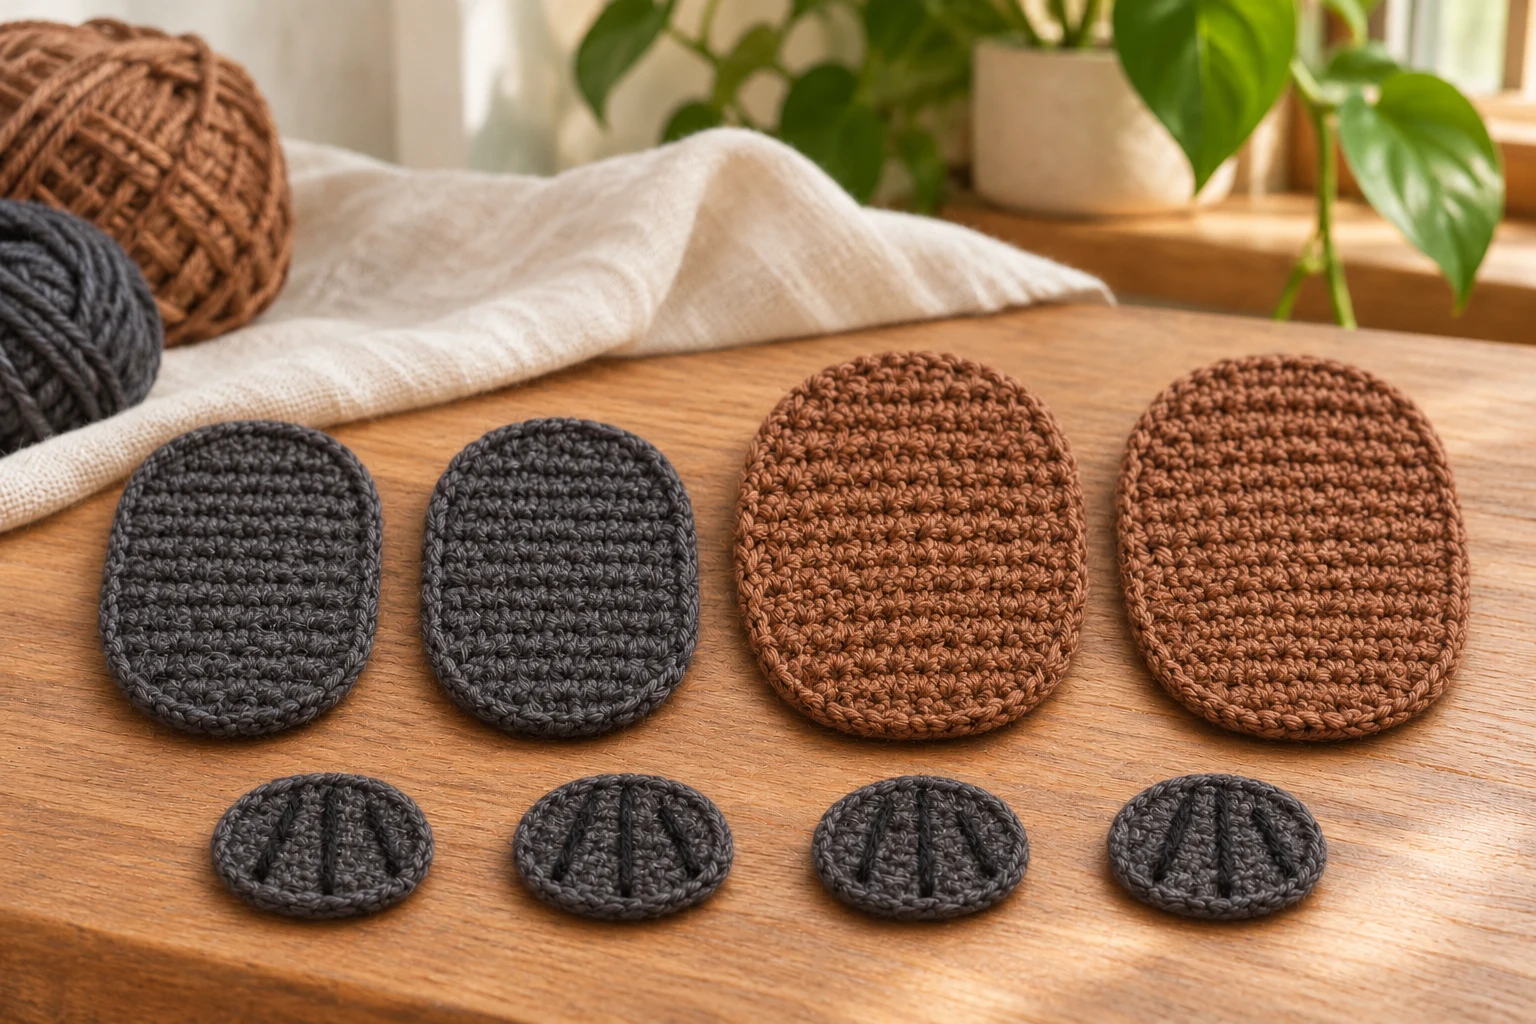
| Details | Add two short charcoal surface lines from base toward outer end | Three suggested toe sections |
Make four matching single-layer ovals, unstuffed. The two short surface lines suggest webbed toe sections without creating separate toes or loose loops. Leave a sewing tail at one narrow end of each. Keep the line tension light so the feet remain flat.
Make the Broad Brown Paddle Tail
| Round / stage | Instructions | Count / check |
|---|---|---|
| Each foundation | Brown: ch 9 | 8 usable chains |
| 1 | Sc in second and next 6; 3 sc in last; underside 6 sc, 2 sc in start; join | 18 |
| 2 | Inc in first; 6 sc; inc in next 3; 6 sc; inc in last 2; join | 24 |
| 3 | Keep six sc on each straight side; (sc, inc) × 3 within each six-stitch end group; join | 30 |
| Pairing | Make two and sew matching rims without filling | 30 matched positions |
Mark a narrow base on the joined tail. This oval has two six-stitch straight sides, while each curved end grows from three to six to nine stitches. Compare both layers before sewing so the edge does not twist. Leave its broad paddle area free of filling or stiffener.
Pin the Bill, Feet and Tail
| Round / stage | Instructions | Count / check |
|---|---|---|
| Bill | Sew marked narrow base across front body near Rounds 2–4 | Catch both bill layers |
| Front feet | Pin one each side underneath near body Rounds 7–9 | Two flat feet |
| Rear feet | Pin one each side underneath near Rounds 15–17 | Two flat feet |
| Tail | Sew marked base broadly to lower rear near Rounds 19–21 | Paddle extends behind |
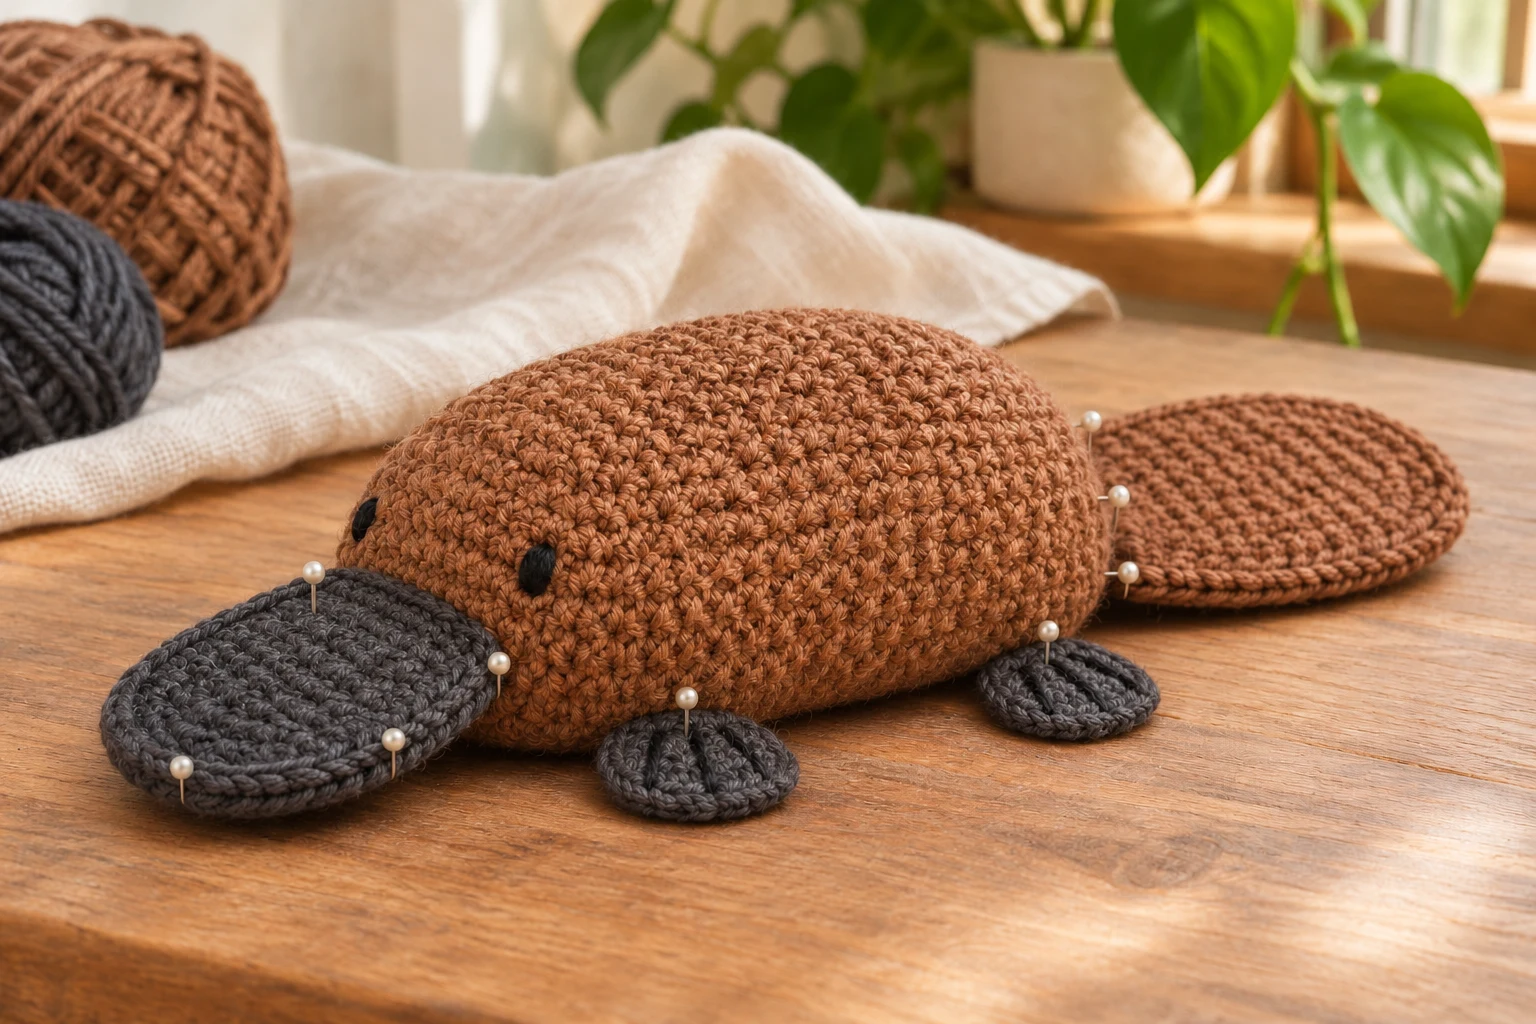
Pin all pieces before permanent attachment and set the body low on a flat table. Spread each foot base across several body stitches, allowing its free oval to rest outward. Sew both bill layers together into broad front fabric; do not rely on the earlier perimeter seam alone. Attach the tail through both layers across a short base run, reinforcing into neighboring brown fabric without narrowing the entire paddle.
Embroider Eyes and Inspect the Low Pose
| Round / stage | Instructions | Count / check |
|---|---|---|
| Eyes | Two small black embroidered eyes above and beside bill near body Rounds 5–6 | Matte flat thread |
| Underside | Four feet touch without lifting body sharply | Repin if needed |
| Finish | Remove every pin and inspect bill and tail roots | No hard inserts |
Use temporary marks to compare eye spacing before sewing. Keep the black embroidery small and bury the ends inside the body. Check the bill projects forward from the same end marked as the body front. The finished pose in illustrations is an intended arrangement; only a physical sample can establish the best filling and attachment angles.
Troubleshooting
| Problem | Likely cause | Adjustment |
|---|---|---|
| Looks like separate head | Body filled into two lumps | Redistribute into one low oval |
| Bill curls | Layers differ or rim too tight | Match twenty positions and ease seam |
| Foot lifts | Root attached too high | Repin all four on table |
| Tail twists | Oval increases drift | Mark both curved end groups |
Care and Related Projects
Follow cotton and filling care labels, spot clean where practical and dry fully. Support the whole body when lifting, avoiding pulling the bill or tail. Inspect all flat-part seams and eye embroidery after cleaning.
For another useful construction reference, see the amigurumi sewing guide. Its stitch counts and attachment positions belong to that project; keep the instructions for this design separate.
Frequently Asked Questions
Does it have a separate head?
No. One elongated brown piece forms the body and head.
Are the bill and tail stuffed?
No. Both are two flat oval layers sewn together.
How many feet are included?
Four single-layer charcoal oval feet.
Are the eyes plastic?
No. The written eyes use small black embroidery stitches.
Compact Pattern Card
| Stage | Key instruction |
|---|---|
| Crochet the Single Low Body | (5 sc, dec) × 6; then (4 sc, dec) × 6; (3 sc, dec) × 6; (2 sc, dec) × 6; (sc, dec) × 6; dec × 6 |
| Make the Two-Layer Flat Bill | Make two; wrong sides together; sew rims one to one |
| Crochet Four Flat Feet | Add two short charcoal surface lines from base toward outer end |
| Make the Broad Brown Paddle Tail | Make two and sew matching rims without filling |
| Pin the Bill, Feet and Tail | Sew marked base broadly to lower rear near Rounds 19–21 |
| Embroider Eyes and Inspect the Low Pose | Remove every pin and inspect bill and tail roots |