Crochet Kangaroo Amigurumi Pattern with a Working Pouch
Make a sandy crochet kangaroo with long feet, upright ears, an open front pouch and tapered tail. Includes component counts and assembly.
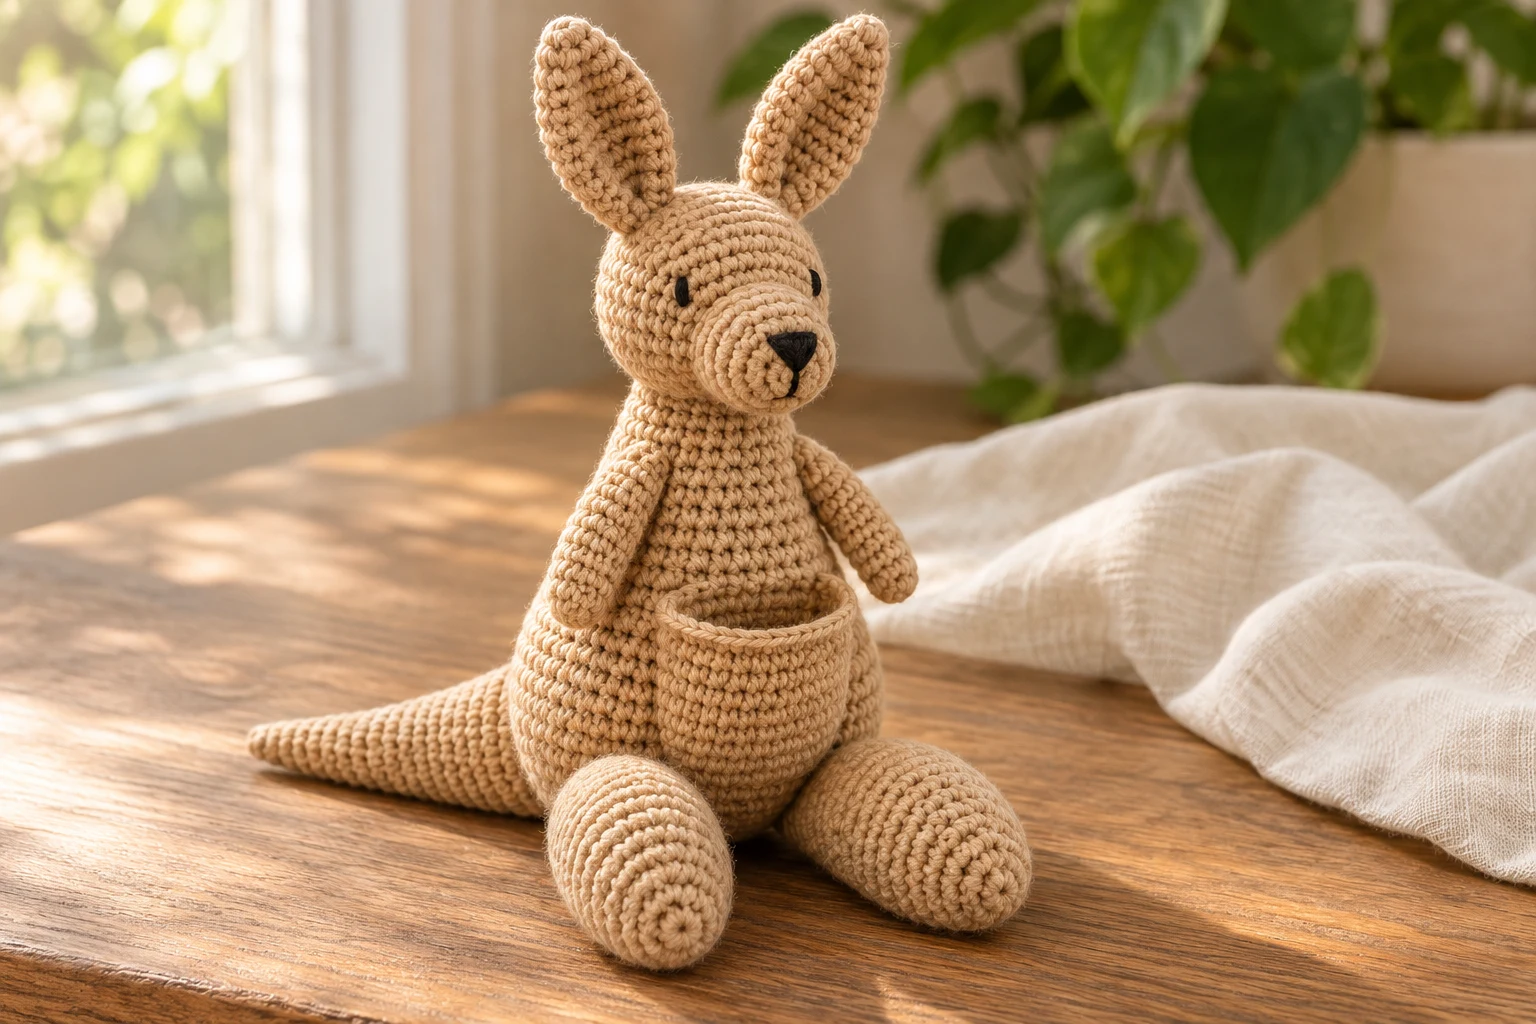
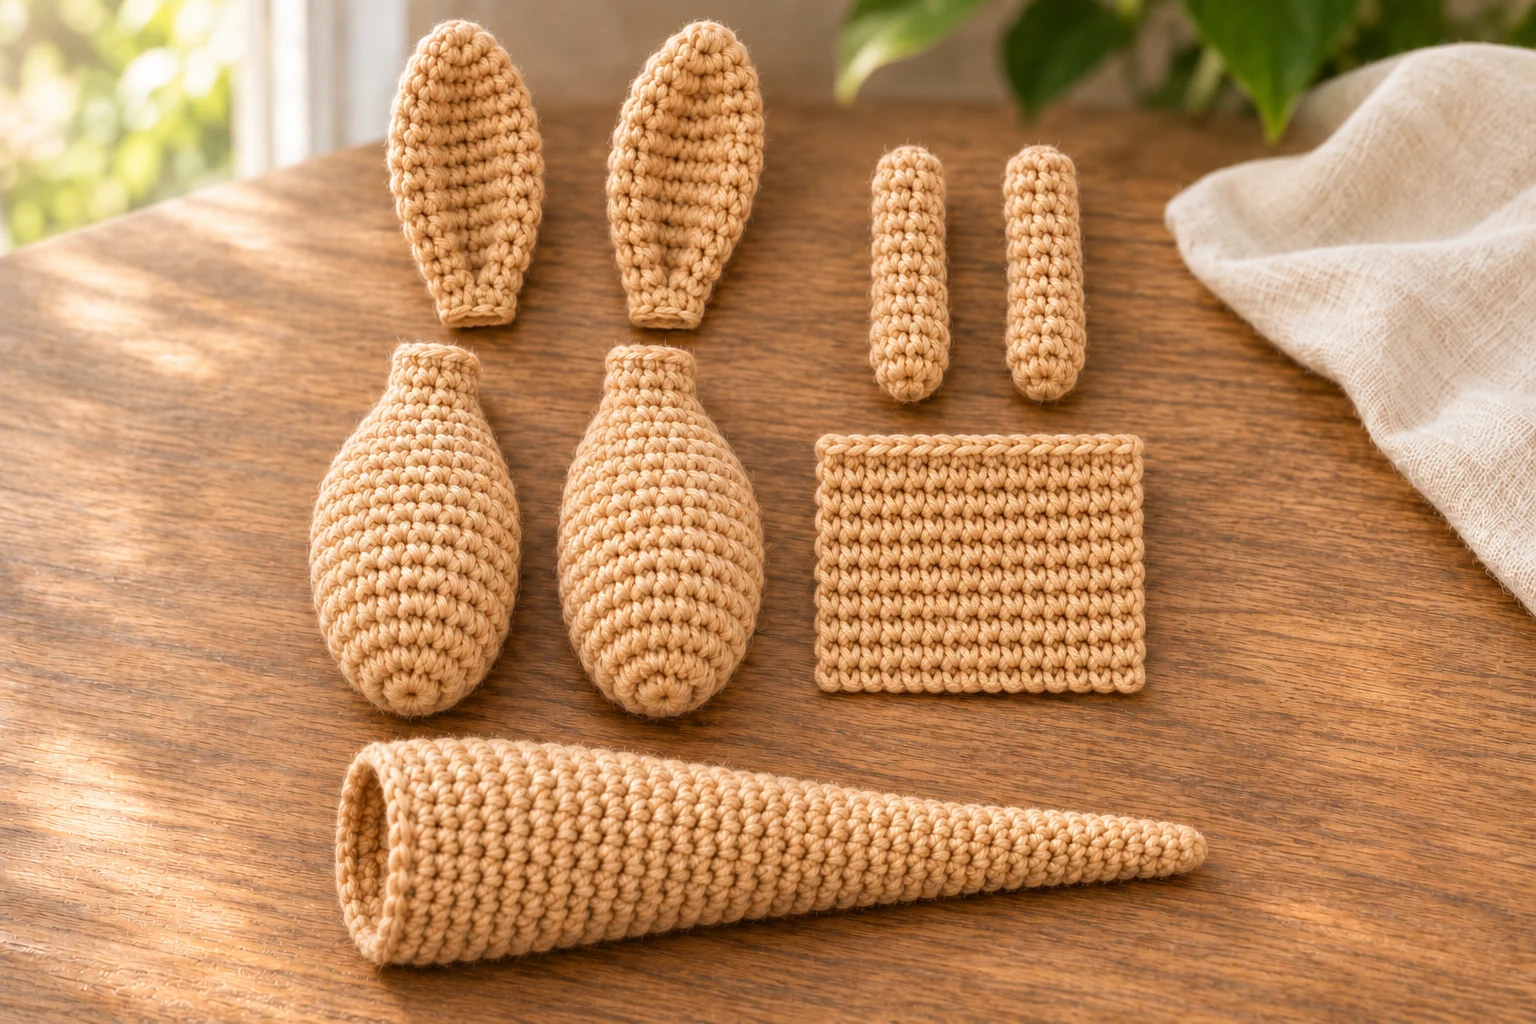
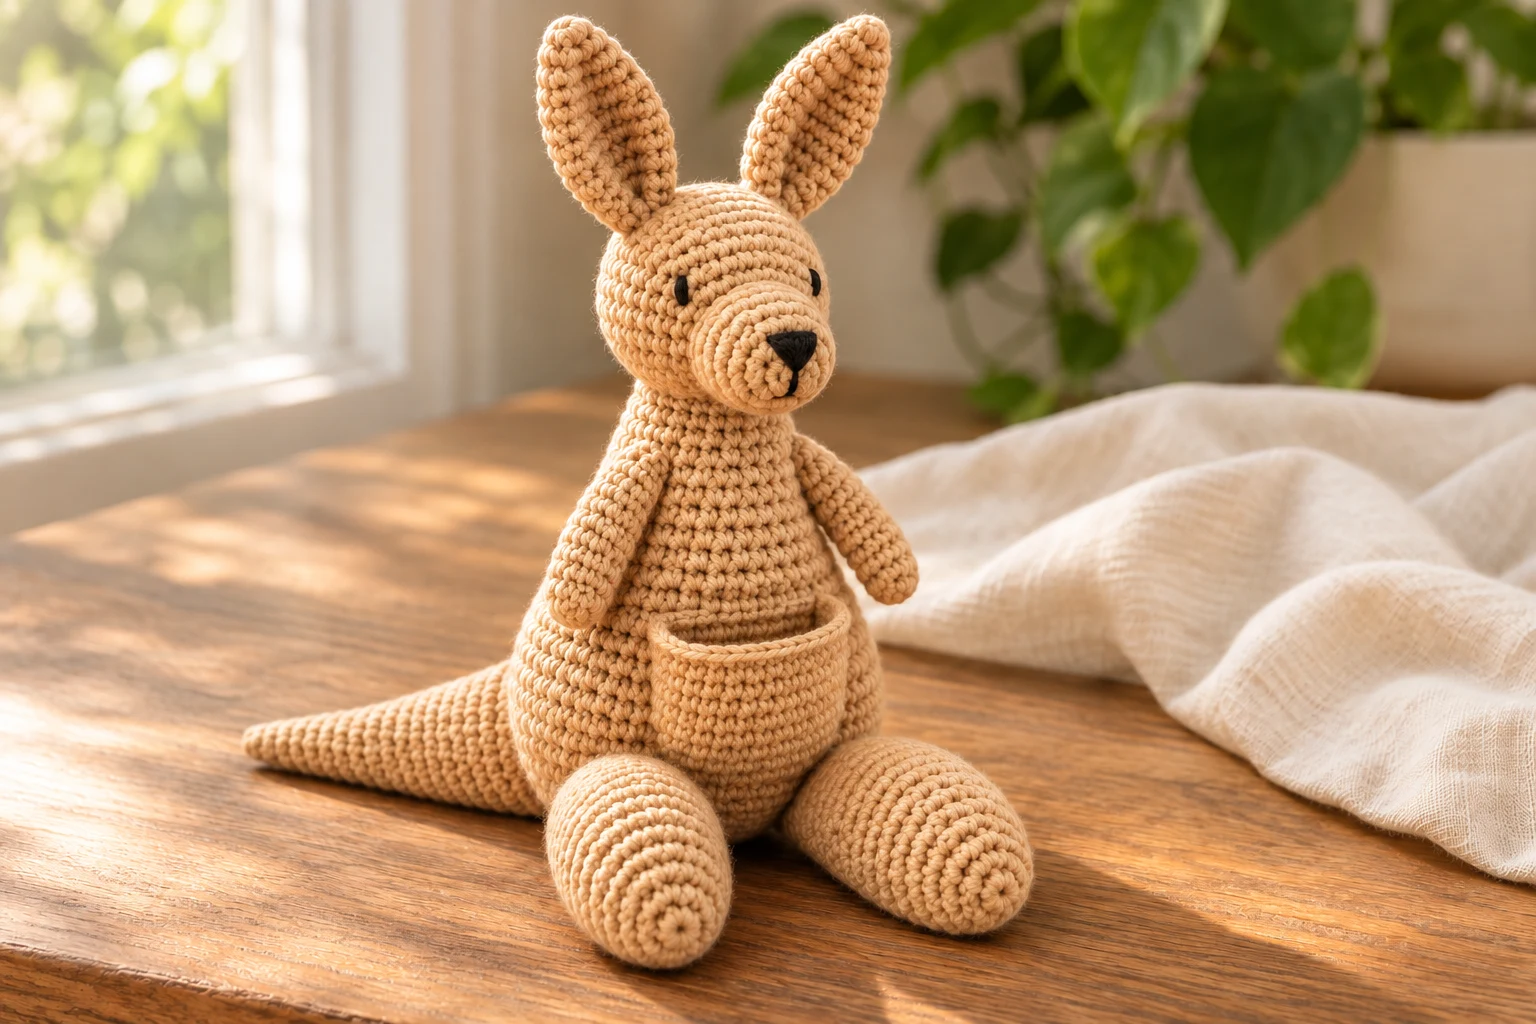
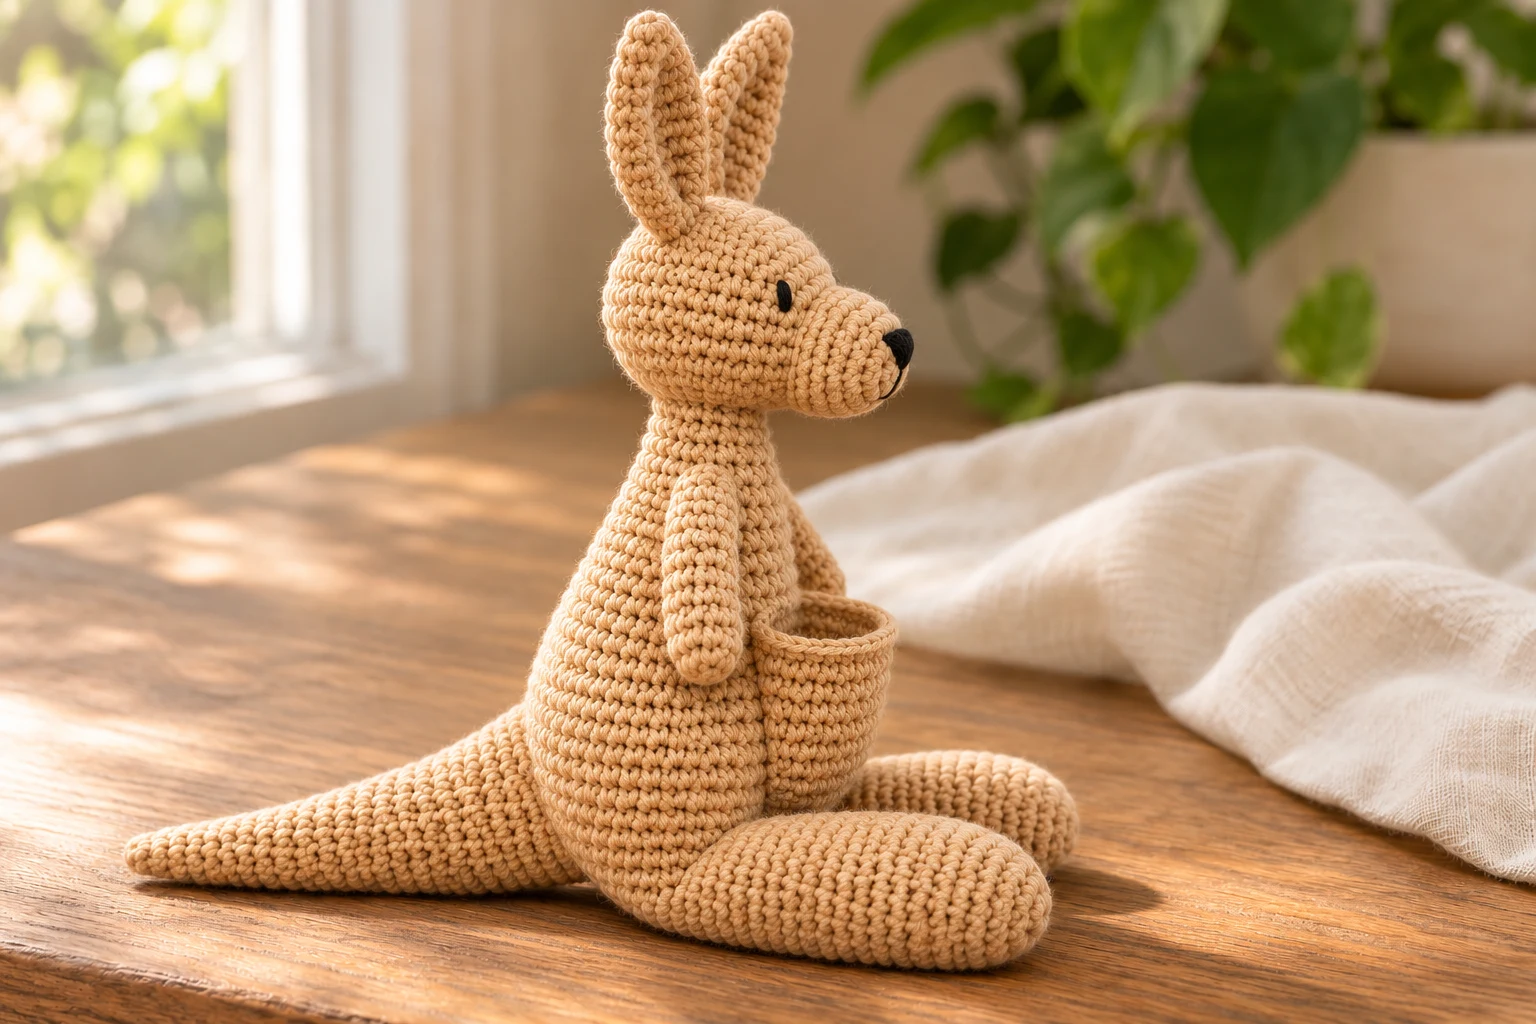
This sandy crochet kangaroo has long oval feet, upright ears, a projecting muzzle and a small working front pouch. The pouch is sewn along three sides and left open at the top. Its broad-rooted tapered tail reaches behind the seated body, with the feet and tail arranged on the same table before sewing.
Make a thirty-six-stitch sitting body, a separate thirty-stitch head and a small projecting muzzle. Add two long feet, two slim arms, upright oval ears and a tapered tail. Sew a twelve-stitch-wide front pouch on three sides, keeping its upper edge free.
Project Overview
| Detail | Information |
|---|---|
| Terms | US crochet |
| Skill | Confident beginner with sewing |
| Construction | Make a thirty-six-stitch sitting body, a separate thirty-stitch head and a small projecting muzzle. Add two long feet, two slim arms, upright oval ears and a tapered tail. Sew a twelve-stitch-wide front pouch on three sides, keeping its upper edge free. |
| Testing | Arithmetic reviewed; physical sample not tested |
Project views are generated illustrations of the intended construction. Sizes, yarn use and attachment performance remain unverified on a physical sample.
Materials
| Material | Suggested specification |
|---|---|
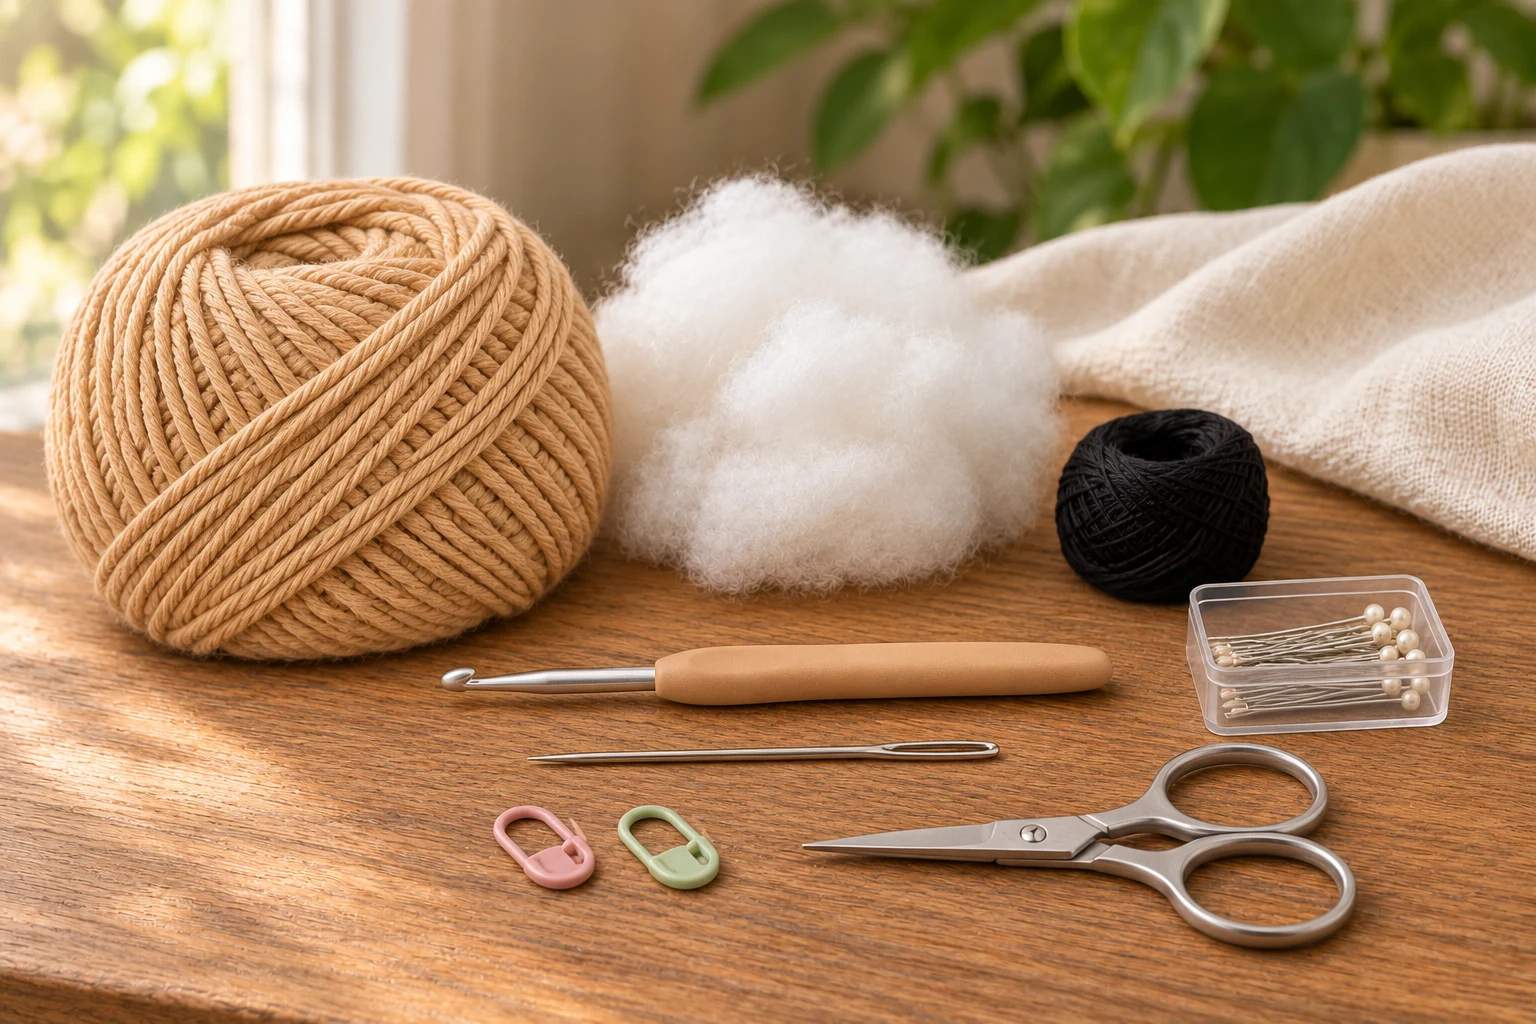
| Cotton | About 90–120 g sandy tan DK cotton; estimate |
| Hook | 2.75 mm or suitable size for dense fabric |
| Features | Black embroidery thread for eyes and nose; no plastic eyes |
| Tools | Filling, needle, marker, pins, scissors and tape measure |
Size and Gauge
The intended seated height is about 16–19 cm, unmeasured. The tail and long feet are intended to touch a flat surface behind and ahead of the body, but no standing or balance test has been completed. Use one yarn family and hook for all tan pieces. The pouch is decorative storage for a tiny light item, not a tested carrier or a safety feature.
Abbreviations and Working Notes
| Term | Meaning |
|---|---|
| ch | Chain |
| sc | Single crochet |
| sl st | Slip stitch |
| inc | 2 sc in one stitch |
| dec | Invisible sc decrease over 2 stitches |
| MR | Magic ring |
| dc | Double crochet |
US terms. Main parts use continuous spirals. Flat ovals join with sl st; ch 1 and joins do not count. Pouch rows turn with ch 1 excluded.
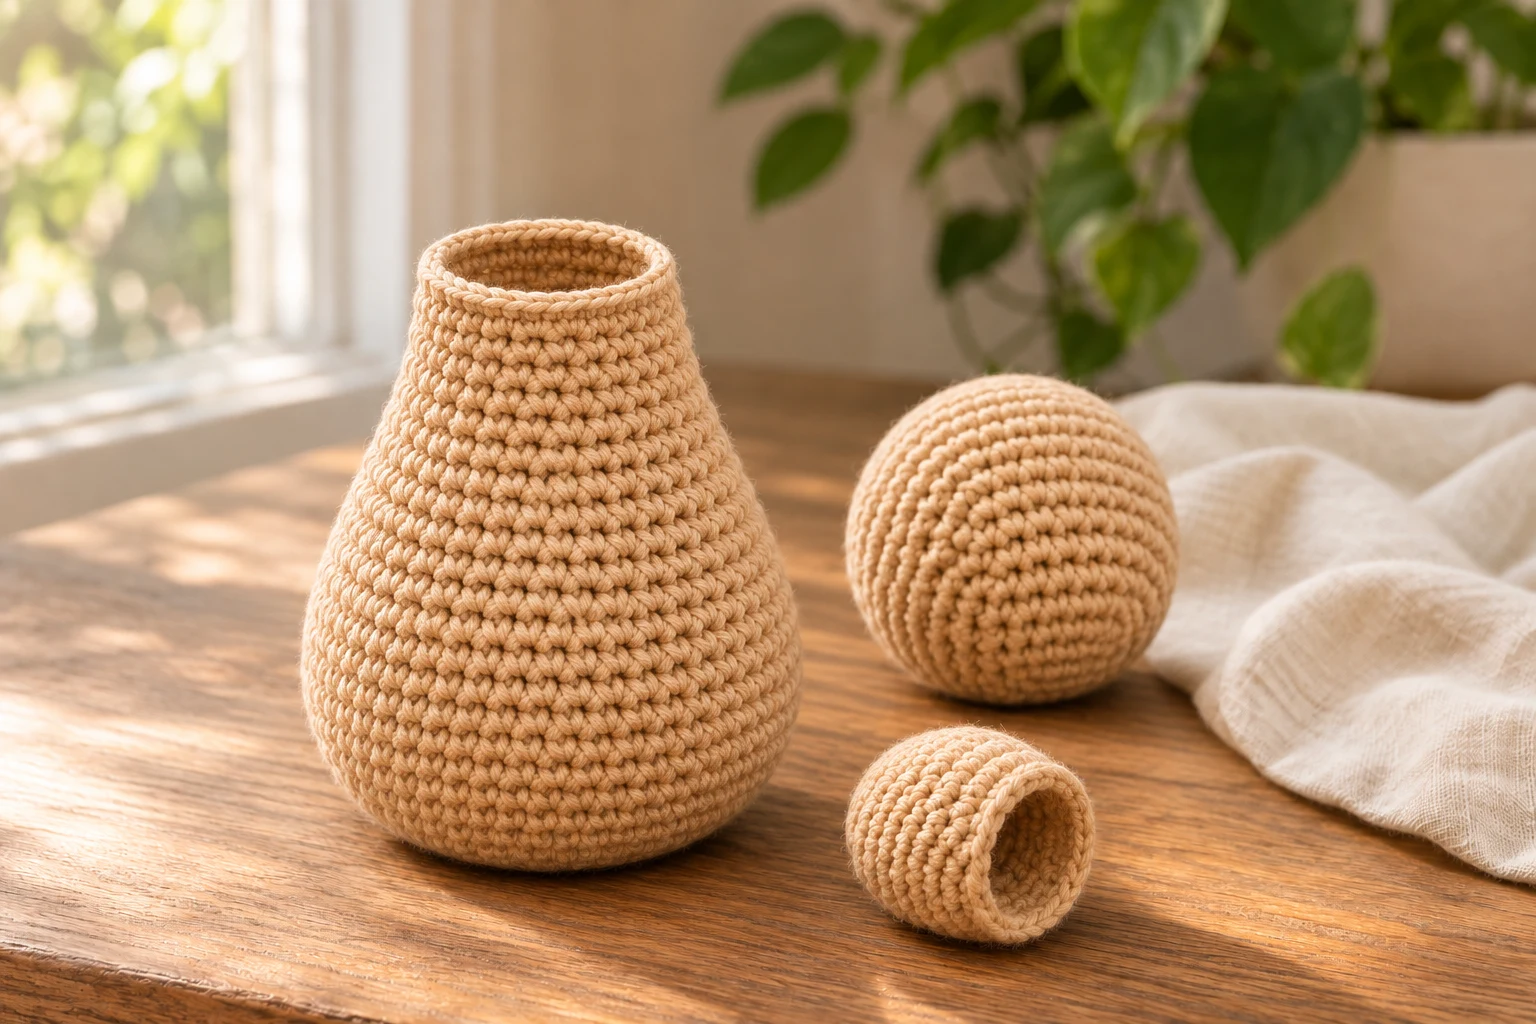
The body starts underneath. The head starts at its front and closes at the back. The muzzle starts at its projecting tip and stays open at its sewing base.
The written design has no baby kangaroo. Its open pouch, two ears, two arms, two large feet and one tapered tail are separate sewn components.
Crochet the Sitting Body
| Round / stage | Instructions | Count / check |
|---|---|---|
| 1 | 6 sc in MR | 6 |
| 2 | Inc around | 12 |
| 3–6 | Round n: ((n−2) sc, inc) × 6 | 18, 24, 30, 36 |
| 7–14 | Sc around eight rounds | 36 each |
| 15 | (4 sc, dec) × 6 | 30 |
| 16–18 | Sc around three rounds | 30 each |
| 19 | (3 sc, dec) × 6 | 24 |
| 20 | (2 sc, dec) × 6 | 18 |
| 21 | Sc around; leave open | 18 |
Add filling gradually and preserve a broad lower body. Keep the final neck rim open with a long tail. Mark the intended front before placing the pouch so its top will sit below both arms.
Make Head and Projecting Muzzle
| Round / stage | Instructions | Count / check |
|---|---|---|
| Head 1–5 | 6 sc in MR; inc around; (sc, inc) × 6; (2 sc, inc) × 6; (3 sc, inc) × 6 | 6, 12, 18, 24, 30 |
| Head 6–11 | Sc around six rounds | 30 each |
| Head 12–15 | (3 sc, dec) × 6; (2 sc, dec) × 6; (sc, dec) × 6; dec × 6 | 24, 18, 12, 6 |
| Muzzle 1–3 | 6 sc in MR; inc around; (sc, inc) × 6 | 6, 12, 18 |
| Muzzle 4–7 | Sc around four rounds; leave open | 18 each |
Stuff and close the head through its last six front loops. Lightly fill the muzzle and pin its entire eighteen-stitch rim around the head front, centered over the magic-ring area. Sew its base broadly rather than attaching only at the top. Embroider a black nose at the projecting tip and two small eyes above and to either side of the muzzle.
Make Two Large Oval Feet
| Round / stage | Instructions | Count / check |
|---|---|---|
| Foundation | Ch 9 | 8 usable chains |
| 1 | Sc in second chain and next 6; 3 sc in last; underside 6 sc, 2 sc in start; join | 18 |
| 2 | Inc in first; 6 sc; inc in next 3; 6 sc; inc in last 2; join | 24 |
| 3–5 | Sc around three rounds | 24 each |
| 6 | (2 sc, dec) × 6 | 18 |
| 7 | (Sc, dec) × 6 | 12 |
| 8–13 | Sc around six rounds; flatten and close | 12 per round, 6 closing sc |
The oval base has two six-stitch straight sides and two three-stitch end groups before its increase round. Fill the long lower foot lightly before narrowing the ankle. Leave the upper root soft. Flatten its twelve-stitch mouth into six pairs, and compare both feet before sewing. Their long oval toes project forward from the sitting body.
Make Slim Arms and Upright Ears
| Round / stage | Instructions | Count / check |
|---|---|---|
| Arm 1–2 | 6 sc in MR; (sc, inc) × 3 | 6 then 9 |
| Arm 3–13 | Sc around eleven rounds | 9 each |
| 14 | (Sc, dec) × 3; flatten and close | 6, then 3 closing sc |
| Each ear 1 | Ch 8; sc in second and next 5; 3 sc in last; underside 5 sc, 2 sc in start; join | 16 |
| Each ear 2 | Inc in first; 5 sc; inc in next 3; 5 sc; inc in last 2; join | 22 |
Make two arms with lightly filled ends and soft roots. Make two unstuffed flat ears; pinch a narrow lower base and sew only that folded base to the head. The long upper ovals remain free and upright in the intended pose, without wire.
Crochet the Tapered Tail
| Round / stage | Instructions | Count / check |
|---|---|---|
| Tail 1–4 | 6 sc in MR; sc around three further rounds | 6 each |
| 5 | Inc around | 12 |
| 6–10 | Sc around five rounds | 12 each |
| 11 | (Sc, inc) × 6 | 18 |
| 12–16 | Sc around five rounds | 18 each |
| 17 | (2 sc, inc) × 6 | 24 |
| 18–22 | Sc around five rounds; leave root open | 24 each |
The six-stitch starting end is the narrow closed tip; the twenty-four-stitch mouth is the broad attachment root. Add soft filling as the tube widens, allowing a gentle bend. Pin the whole broad root low at the back before deciding its final angle. It should reach the table without forcing the body forward.
Make and Sew the Open Pouch
| Round / stage | Instructions | Count / check |
|---|---|---|
| Foundation | Ch 13; sc in second chain and across | 12 |
| Rows 2–10 | Ch 1, turn; sc across | 12 each |
| Attachment | Sew bottom and both sides to body front | Top twelve-stitch edge stays open |
Pin the pouch to the body front with its bottom around body Round 5 and upper edge below the arms near Rounds 13–14. Row gauge controls the actual position; fit the panel without stretching it. Sew the lower edge and both row-end sides through broad body fabric. Keep the top entirely free and confirm the opening with a fingertip. A soft pouch can sag; do not imply it can carry significant weight.
Assemble the Seated Pose
| Round / stage | Instructions | Count / check |
|---|---|---|
| Feet | Pin roots at lower front near body Rounds 5–8 | Two long toes forward |
| Tail | Pin broad root to lower back near Rounds 5–9 | Tip reaches table behind |
| Arms | Pin roots near upper body Rounds 16–19 | Pouch mouth free |
| Head | Spread eighteen neck positions over lower rear head near Rounds 10–13 | Broad join |
| Ears | Sew pinched bases to upper head near Rounds 7–9 | Two upright ovals |
Pin every major part before sewing the pose. Set both feet and tail on a flat surface; adjust all three together without compressing one seam to force balance. Sew flattened limb roots across their full widths and the tail around its whole twenty-four-stitch mouth. Attach the head over a broad underside area and then sew both ears. Remove every pin, inspect the open pouch and check the intended stance gently over a table. No physical tripod or toy-safety validation has been performed.
Troubleshooting
| Problem | Likely cause | Adjustment |
|---|---|---|
| Body tips | Tail root or feet angle mismatched | Repin whole pose on table |
| Pouch mouth closed | Top edge accidentally caught | Unpick only top attachment |
| Foot twists | Oval ends increased unevenly | Mark two curved groups |
| Ears flop | Loose fabric or narrow base seam | Check gauge and folded attachment |
Care and Related Projects
Follow cotton and filling labels, spot clean where practical and dry fully. Support the body while lifting and keep the pouch empty during cleaning. Inspect ear, muzzle, pouch and tail seams after use.
For another useful construction reference, see the amigurumi sewing guide. Its stitch counts and attachment positions belong to that project; keep the instructions for this design separate.
Frequently Asked Questions
Does the pouch open?
Yes. Only its bottom and sides are sewn.
Is there a baby pattern included?
No. This project is the adult kangaroo with an empty pouch.
Is the tail a guaranteed stand?
No. Its intended angle must be evaluated on a physical sample.
Are the long ears stuffed?
No. They are flat ovals with pinched attachment bases.
Compact Pattern Card
| Stage | Key instruction |
|---|---|
| Crochet the Sitting Body | Sc around; leave open |
| Make Head and Projecting Muzzle | Sc around four rounds; leave open |
| Make Two Large Oval Feet | Sc around six rounds; flatten and close |
| Make Slim Arms and Upright Ears | Inc in first; 5 sc; inc in next 3; 5 sc; inc in last 2; join |
| Crochet the Tapered Tail | Sc around five rounds; leave root open |
| Make and Sew the Open Pouch | Sew bottom and both sides to body front |
| Assemble the Seated Pose | Sew pinched bases to upper head near Rounds 7–9 |