Crochet Snail Bookmark – Free Whimsical Reading Gift Pattern
Make a crochet snail bookmark with a flat spiral shell, green ribbon, and little leaf. Free reading gift pattern with an adjustable ribbon length.
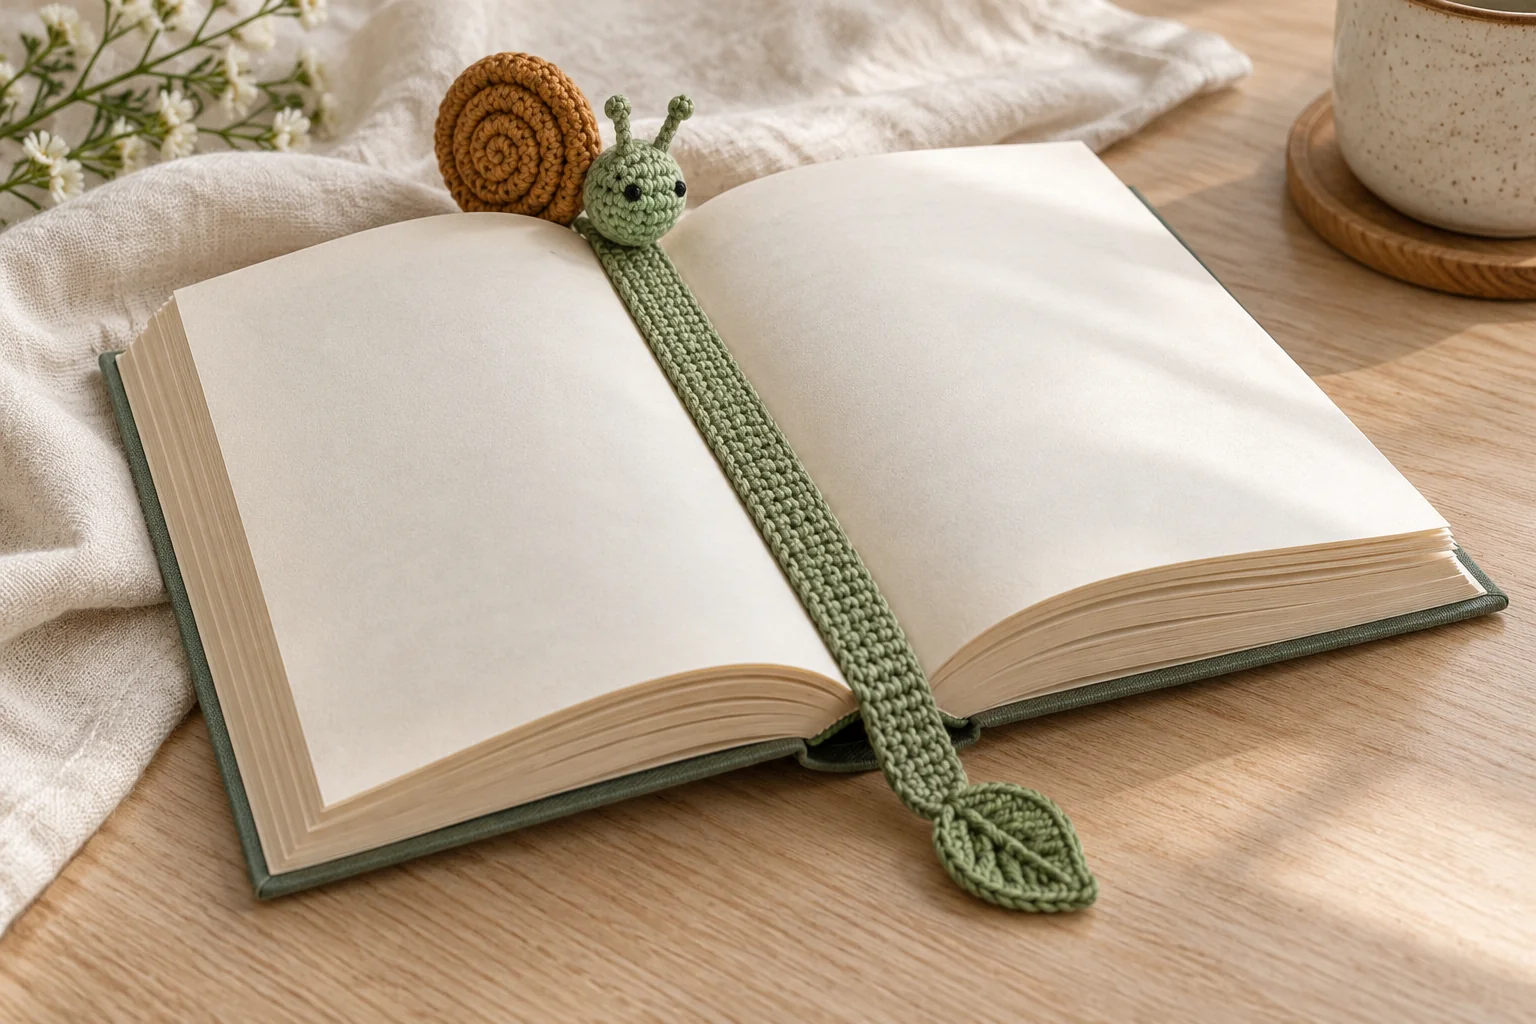
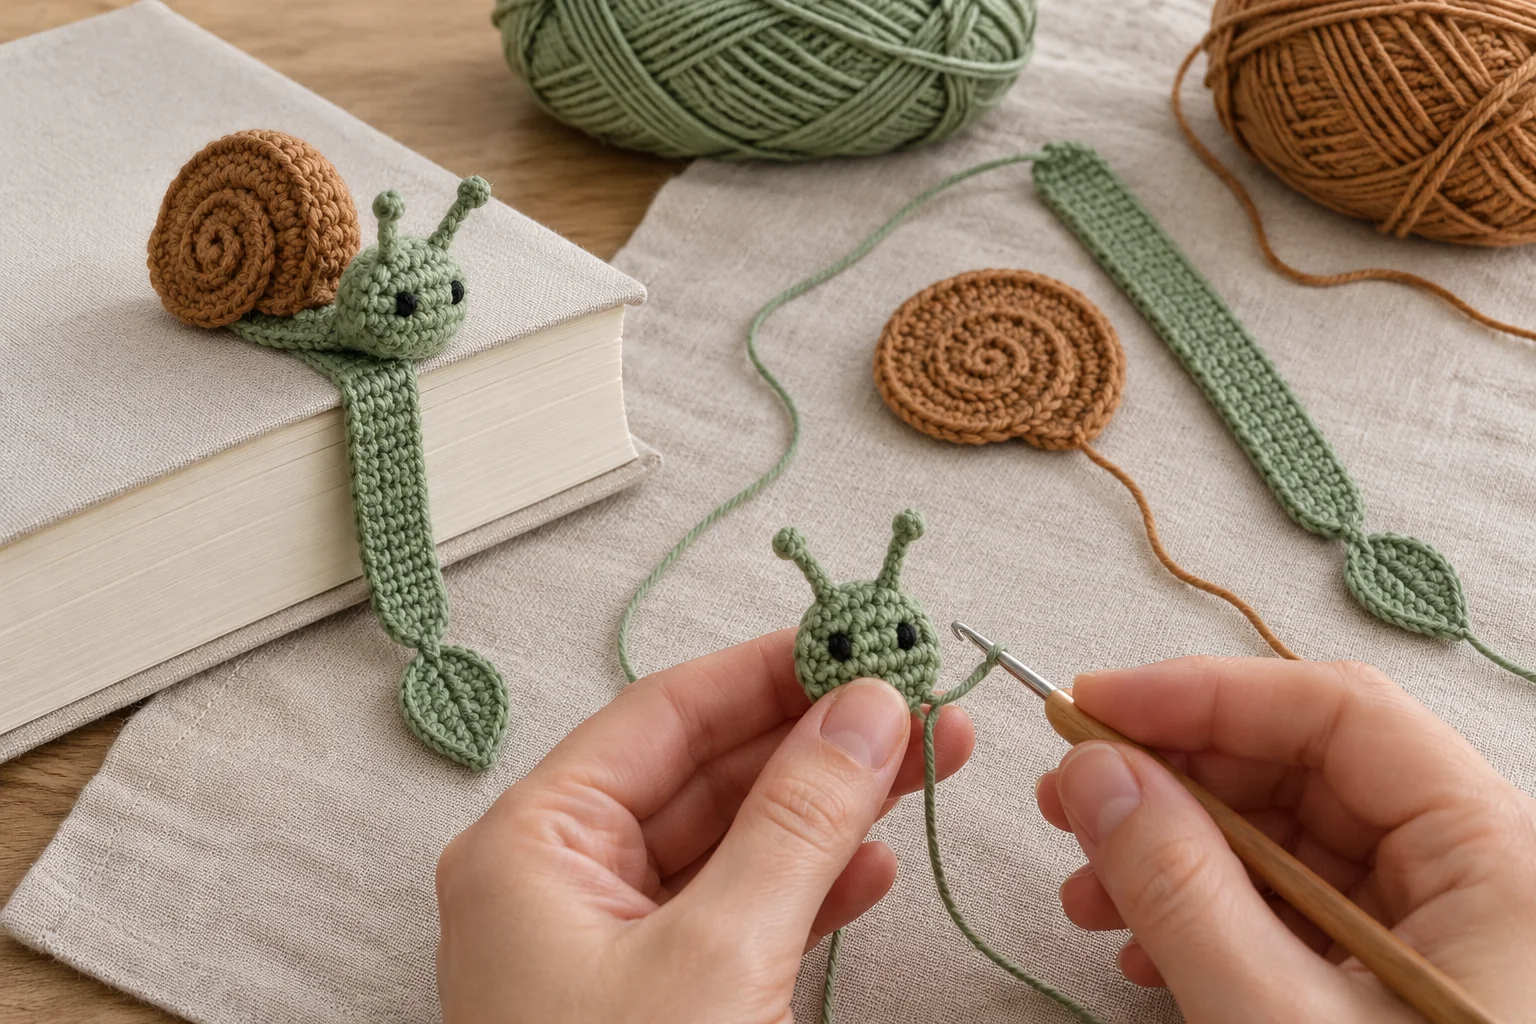
A crochet snail bookmark brings a playful woodland detail to a reading gift. The snail sits above the book while a narrow green ribbon marks the page. Its caramel shell stays flat, with an embroidered spiral instead of a stuffed coil. A small leaf finishes the lower end of the ribbon.
This version is designed around a useful distinction: the decorative snail remains outside the book, and only the thin ribbon sits between the pages. That helps keep the book from bulging around a thick amigurumi shape. Measure the ribbon against the book you actually plan to use.
Design note: this original written pattern has not been physically sample-tested. Sizes and yarn estimates are approximate. AI-generated photographs illustrate the intended appearance. Check the crochet snail bookmark in a book before sewing the final pieces, and avoid forcing a bulky decoration between delicate pages.
Crochet Snail Bookmark Materials and Size
Choose smooth fine cotton or light DK cotton in sage green and caramel, with a little dark brown and black embroidery thread. Gather a suitable 2.5–3 mm hook, blunt needle, scissors, and the book you want to mark. Only a tiny wisp of filling for the head is needed; no wire, beads, or metal hardware is required.
Estimate 10–15 g green and a few grams of caramel. The ribbon length is adjustable. For many books, a finished ribbon around 20–25 cm is a useful starting estimate, but a small paperback may need less and a tall journal may need more.
This confident-beginner project uses rows, small flat rounds, simple shaping, and embroidery. Smooth cotton makes the ribbon easier to keep flat. Avoid plush or heavily textured yarn for the section that will sit between pages.
For another reading-themed gift, see the crochet book sleeve. Make sure the sleeve and bookmark colors coordinate without assuming they will have identical gauge.
Reading This Crochet Snail Bookmark Pattern
US terminology is used. ch = chain; sc = single crochet; inc = 2 sc in one stitch; dec = single crochet two stitches together; sl st = slip stitch. The turning ch 1 does not count as a stitch.
The shell is a flat disc and the head is a tiny rounded piece. The shell is larger, and the head sits beside it. Two short chain antennae attach above the head. The crochet snail bookmark ribbon joins behind the lower shell area, leaving the decorated top outside the book.
Keep seams thin. Use a single sewing strand of matching yarn and weave tails into the decorative pieces rather than stacking several bulky knots along the ribbon.
For a standard reference when reading stitch instructions, consult the Craft Yarn Council crochet abbreviations. Check the US terms against the definitions in this pattern before starting.
Step 1: Crochet Snail Bookmark Ribbon
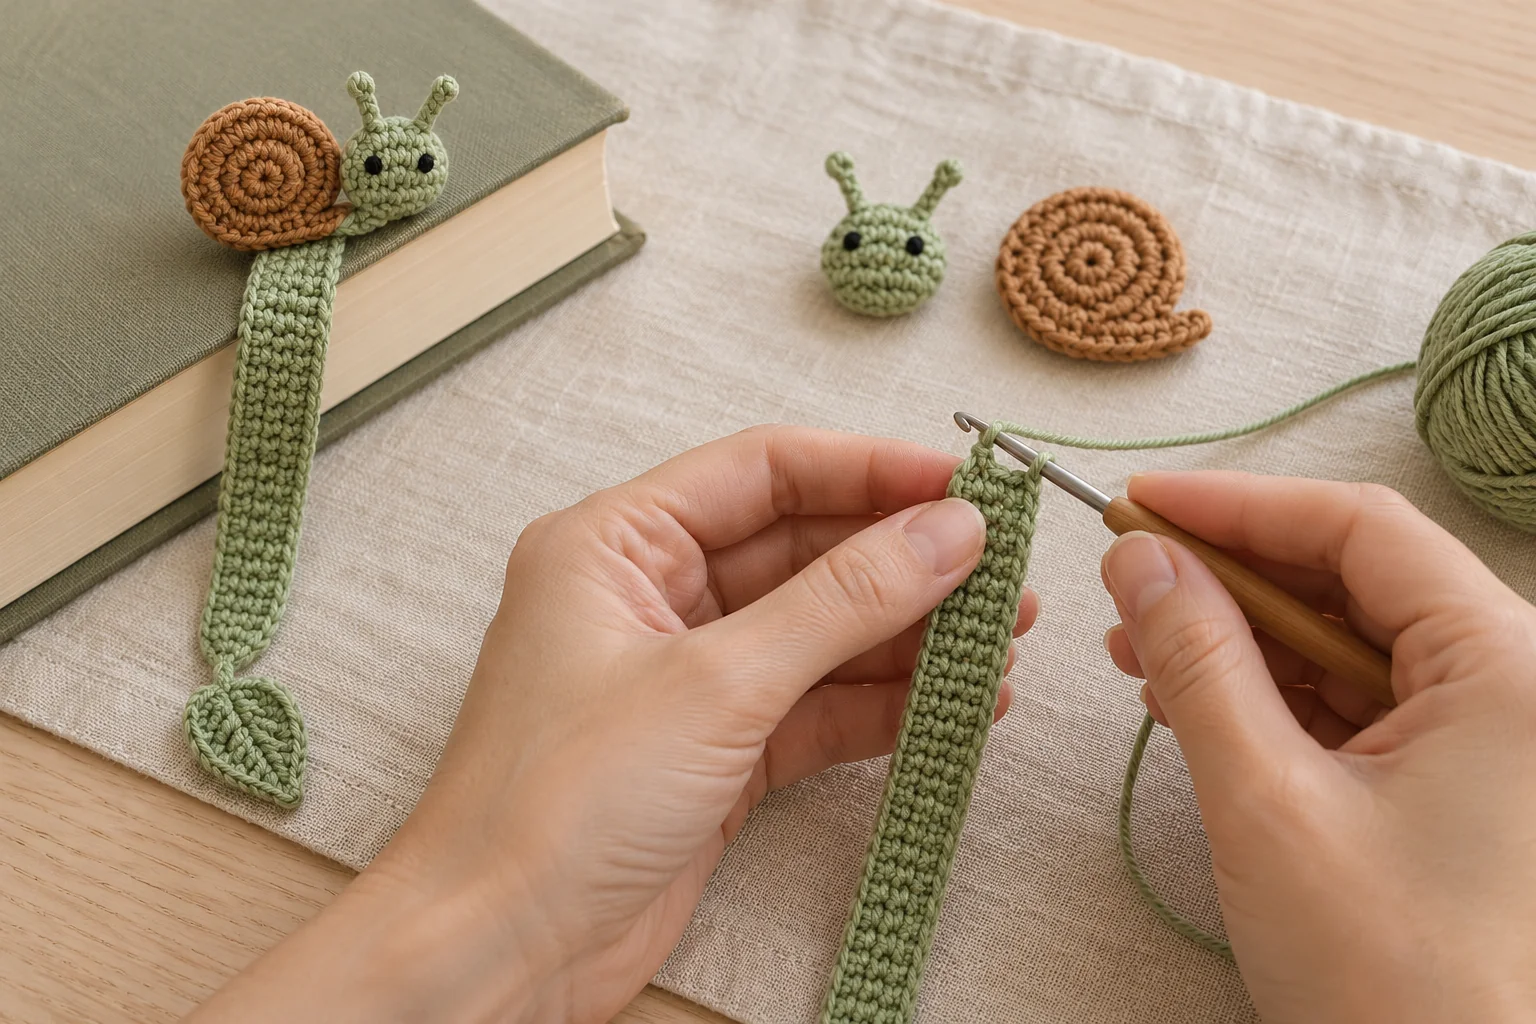
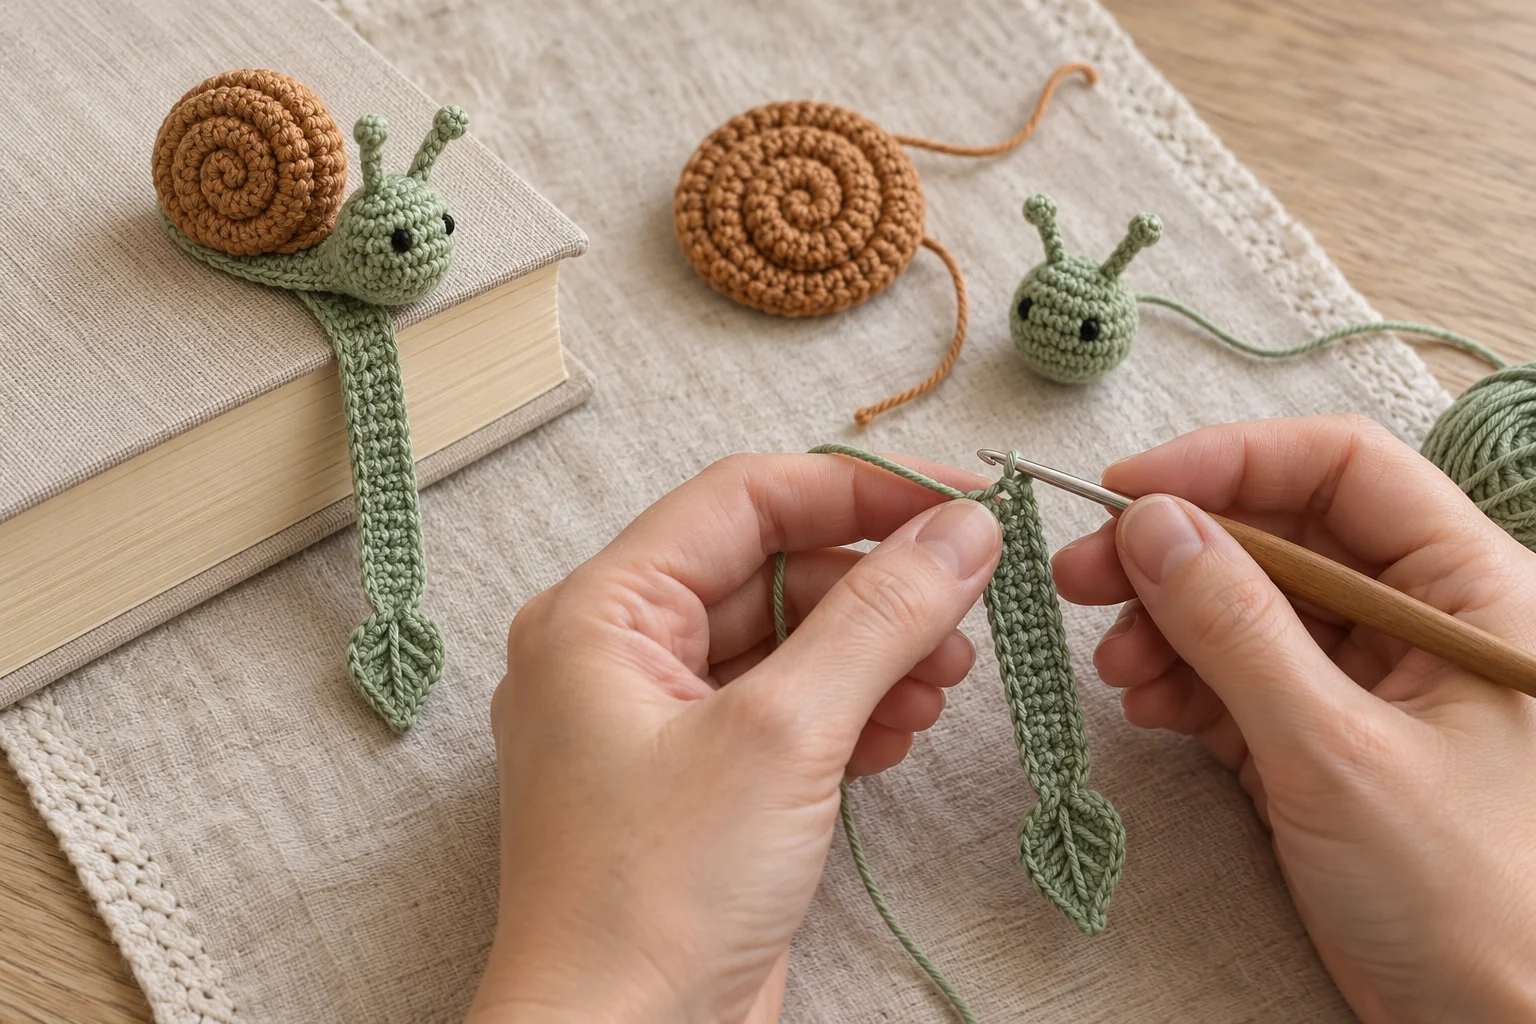
With green, ch 5. Row 1: sc in the second chain and each remaining chain. (4) Row 2: ch 1, turn, sc in each stitch. (4) Repeat Row 2 until the strip matches your chosen book height plus approximately 2 cm.
Measure the strip laid flat without stretching. The extra length allows the snail to sit above the top edge and the leaf to hang slightly below the bottom. Adjust that allowance to suit the book and the way you prefer to use a bookmark.
Fasten off with a sewing tail at the upper end. Keep the ribbon four stitches wide throughout. If a row has five stitches, check whether you worked into the turning chain by mistake.
Lay the strip between a few pages and close the book gently. It should lie reasonably flat without a hard ridge. If it feels bulky, use finer yarn for the whole bookmark rather than pulling the existing strip tighter.
Step 2: Crochet Snail Bookmark Shell
With caramel, work 6 sc into a magic ring. (6) Round 2: inc in every stitch. (12) Round 3: repeat [sc, inc] six times. (18) Join with a sl st to the first sc and fasten off with a sewing tail.
Pull the starting ring closed and secure its tail on the back. Smooth the disc with your fingers. It should remain flat, with no filling added.
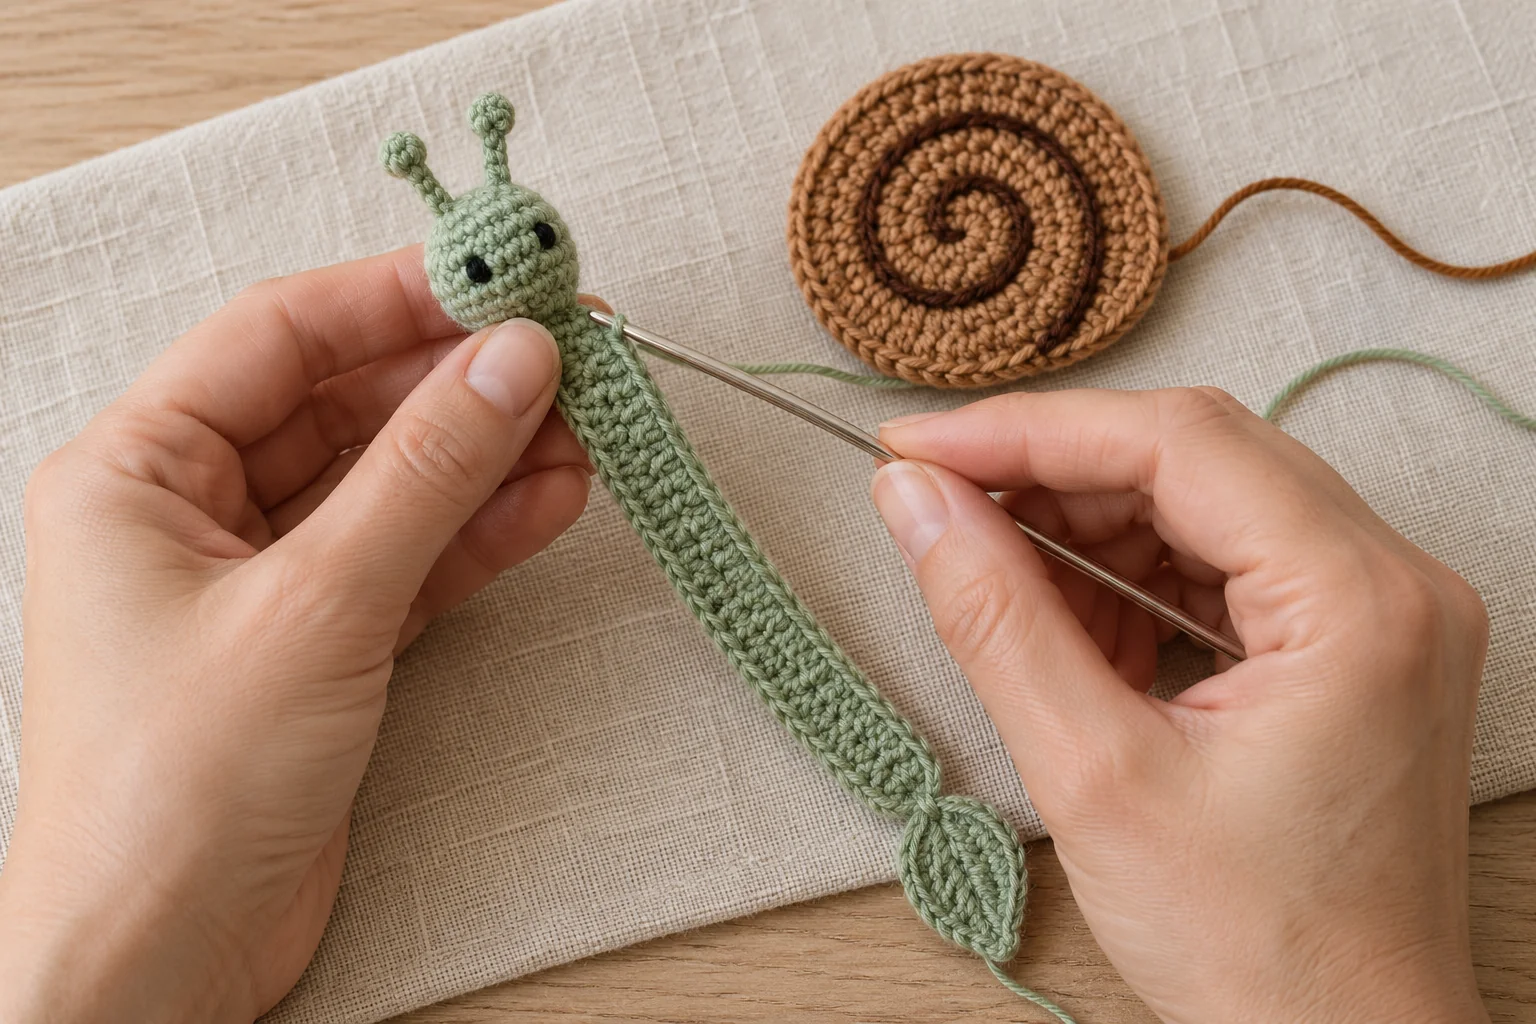
Use dark brown embroidery yarn to stitch a loose spiral from the center toward the outer edge. Make short stitches that follow the curve, leaving visible caramel fabric between the turns. The spiral is embroidered onto the disc; it is not a separate crocheted tube.
Do not pull the embroidery so tightly that the shell cups. Check the back after several stitches and relax any strand that pinches the fabric. Secure the ends within the disc before trimming.
Step 3: Crochet Snail Bookmark Head
With green, work 6 sc into a magic ring. (6) Round 2: inc around. (12) Round 3: sc around. (12) Add only a tiny wisp of filling. Round 4: dec six times. (6) Fasten off, close through the front loops, and leave a sewing tail.
Place the head to one side of the shell, overlapping the head base and shell edge by a few stitches. The head should remain clearly visible rather than disappearing behind the larger shell. Choose the same side consistently if you are making several bookmarks.
Embroider two tiny black eyes near the upper half of the head and a short mouth below. Keep the stitches close together and avoid long loops. You can use a single small eye if you prefer a side-view face.
Step 4: Crochet Snail Bookmark Antennae
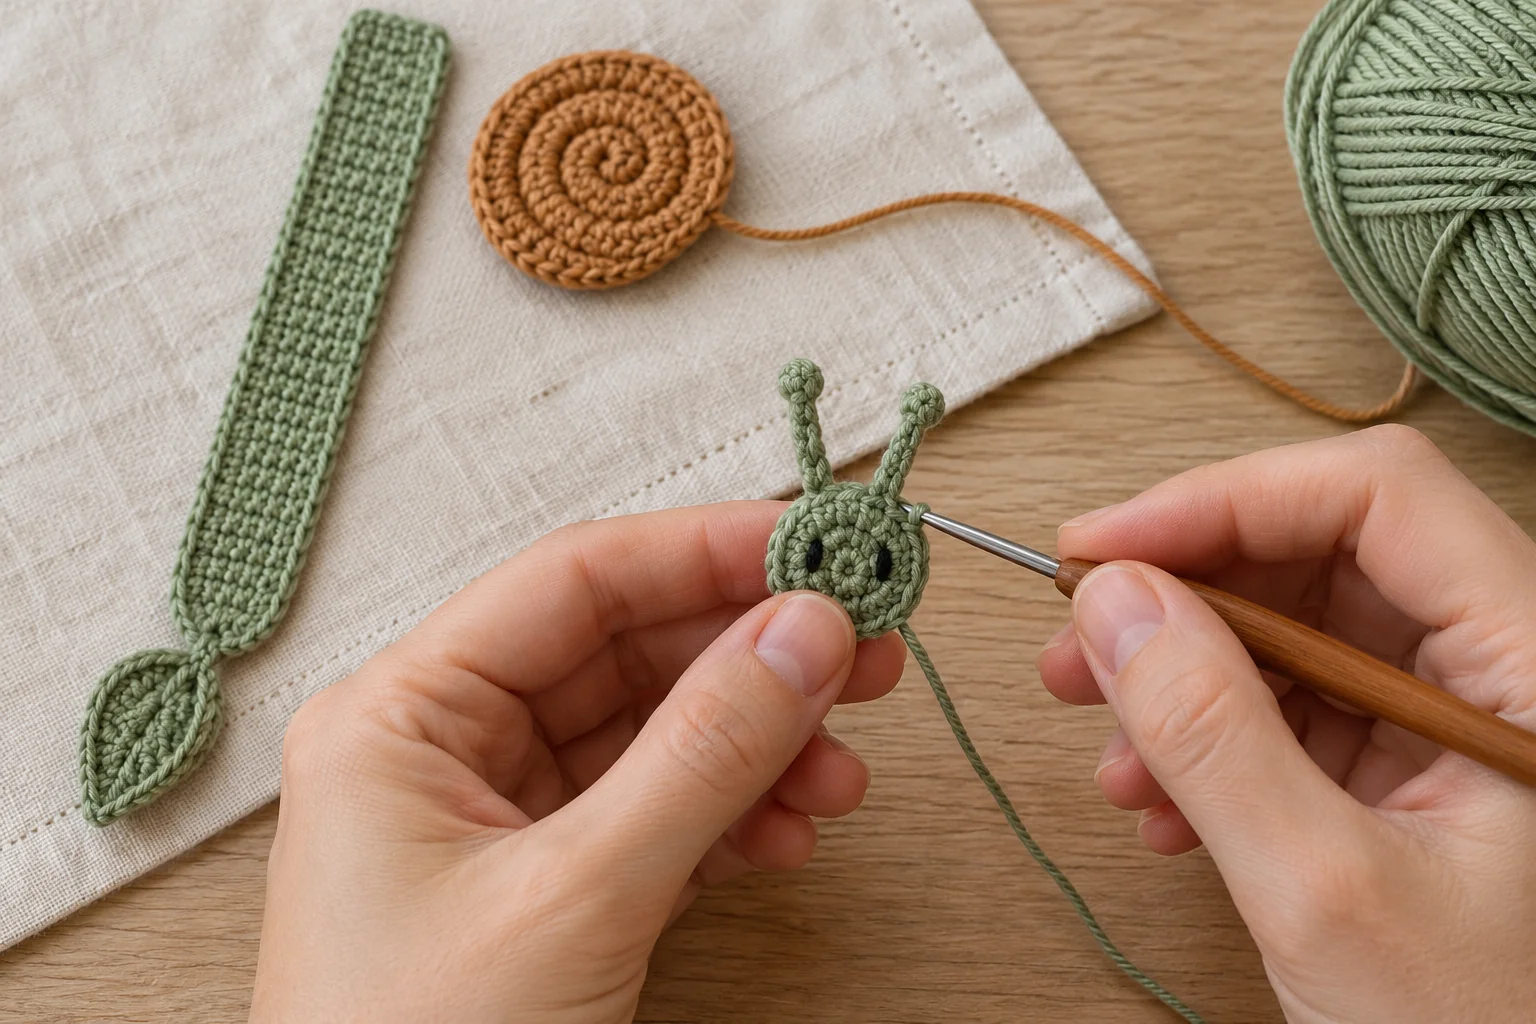
For each antenna, ch 4 in green and fasten off with a sewing tail at one end. Make two. The chains should be short and lightly curved rather than long and floppy.
Sew one end of each chain to the upper edge of the head. Anchor each attachment through several head stitches. Leave the outer chain end simple, with no bead or separate pom-pom.
Tuck the finishing tail back through the chain before trimming. Check that both antennae remain attached when moved gently. If the yarn ends make the tiny chains too stiff, shorten the tails after they have been securely woven in.
Step 5: Crochet Snail Bookmark Leaf
With green, ch 2. Row 1: sc in the second chain. (1) Row 2: ch 1, turn, work 3 sc in the only stitch. (3) Row 3: ch 1, turn, inc, sc, inc. (5)
Row 4: ch 1, turn, dec, sc, dec. (3) Row 5: ch 1, turn, single crochet three stitches together. (1) To make that decrease, pull up a loop in each of the three stitches, then yarn over and pull through all four loops.
Fasten off with a sewing tail. This tiny diamond is a simple leaf shape. Leave it flat and unstuffed. If desired, add one short green embroidery line down its center using a slightly darker shade.
Sew the leaf to the lower end of the ribbon with a small overlap. Keep the seam below the book edge when the crochet snail bookmark is in use. The leaf is a decorative end piece, not a weight.
Step 6: Crochet Snail Bookmark Assembly
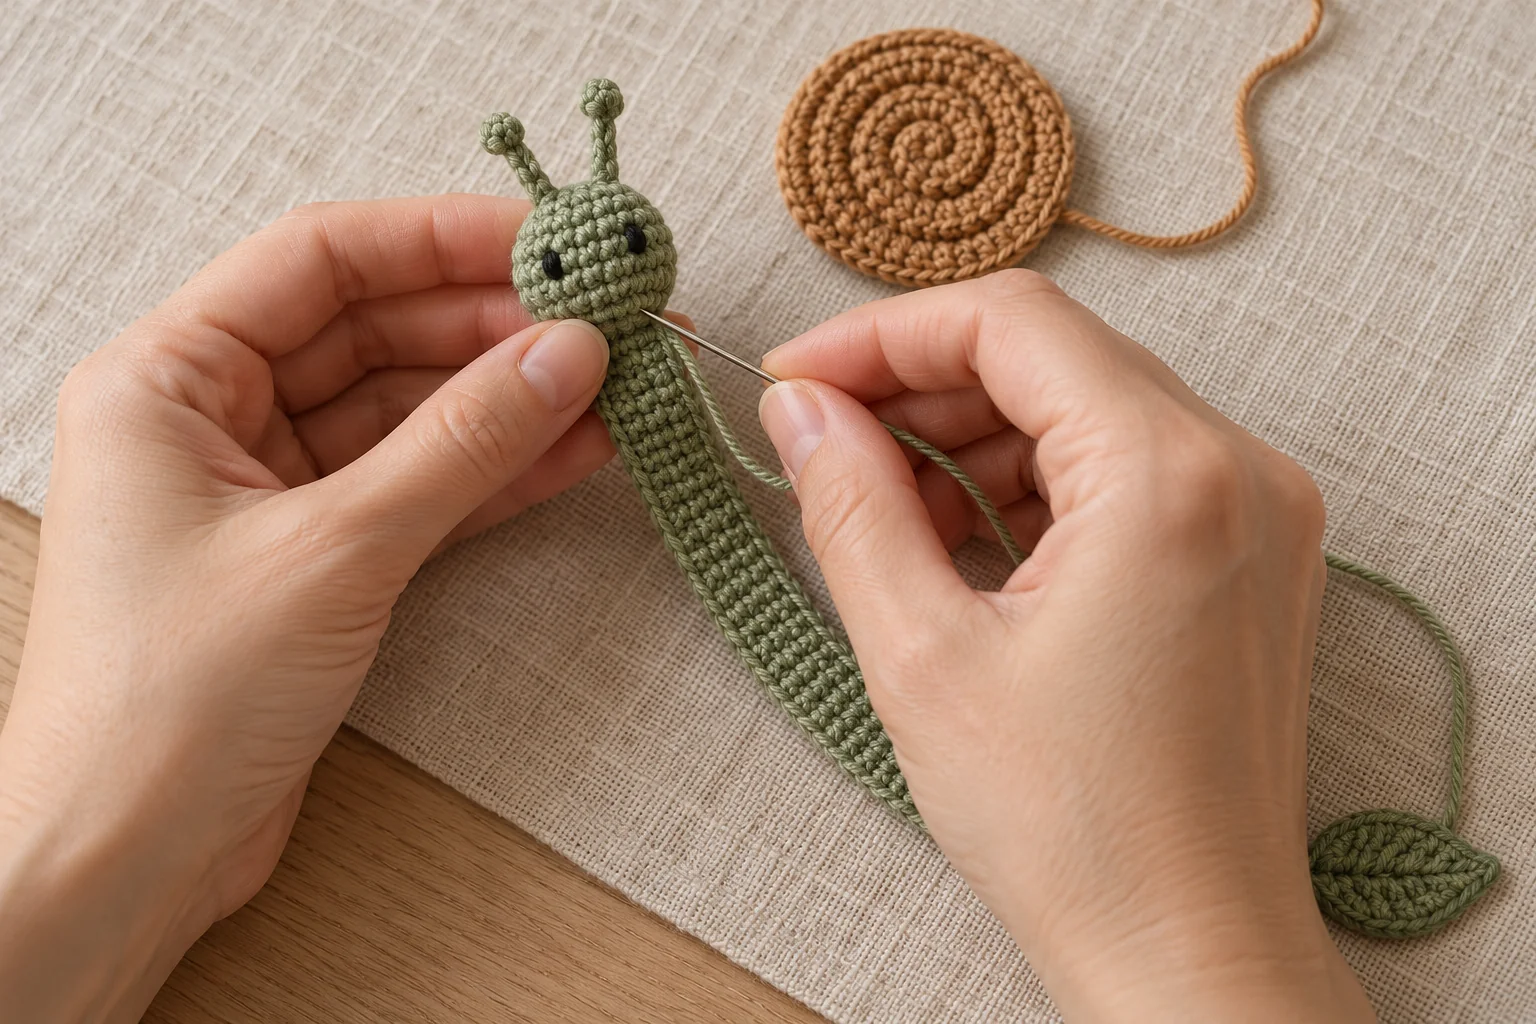
Sew the head to the side of the shell using their small overlapping area. Take a few stitches through the head base and shell edge, checking that the face points outward. Keep the back tidy because it may rest against the book cover.
Position the upper ribbon end behind the lower half of the shell. Sew it across several shell stitches, spreading the attachment over a small area rather than one central stitch. Reinforce the upper ribbon corners.
The guide to sewing crochet pieces together can help you hide the attachment thread. For this mostly flat project, use especially small stitches and avoid building a thick seam.
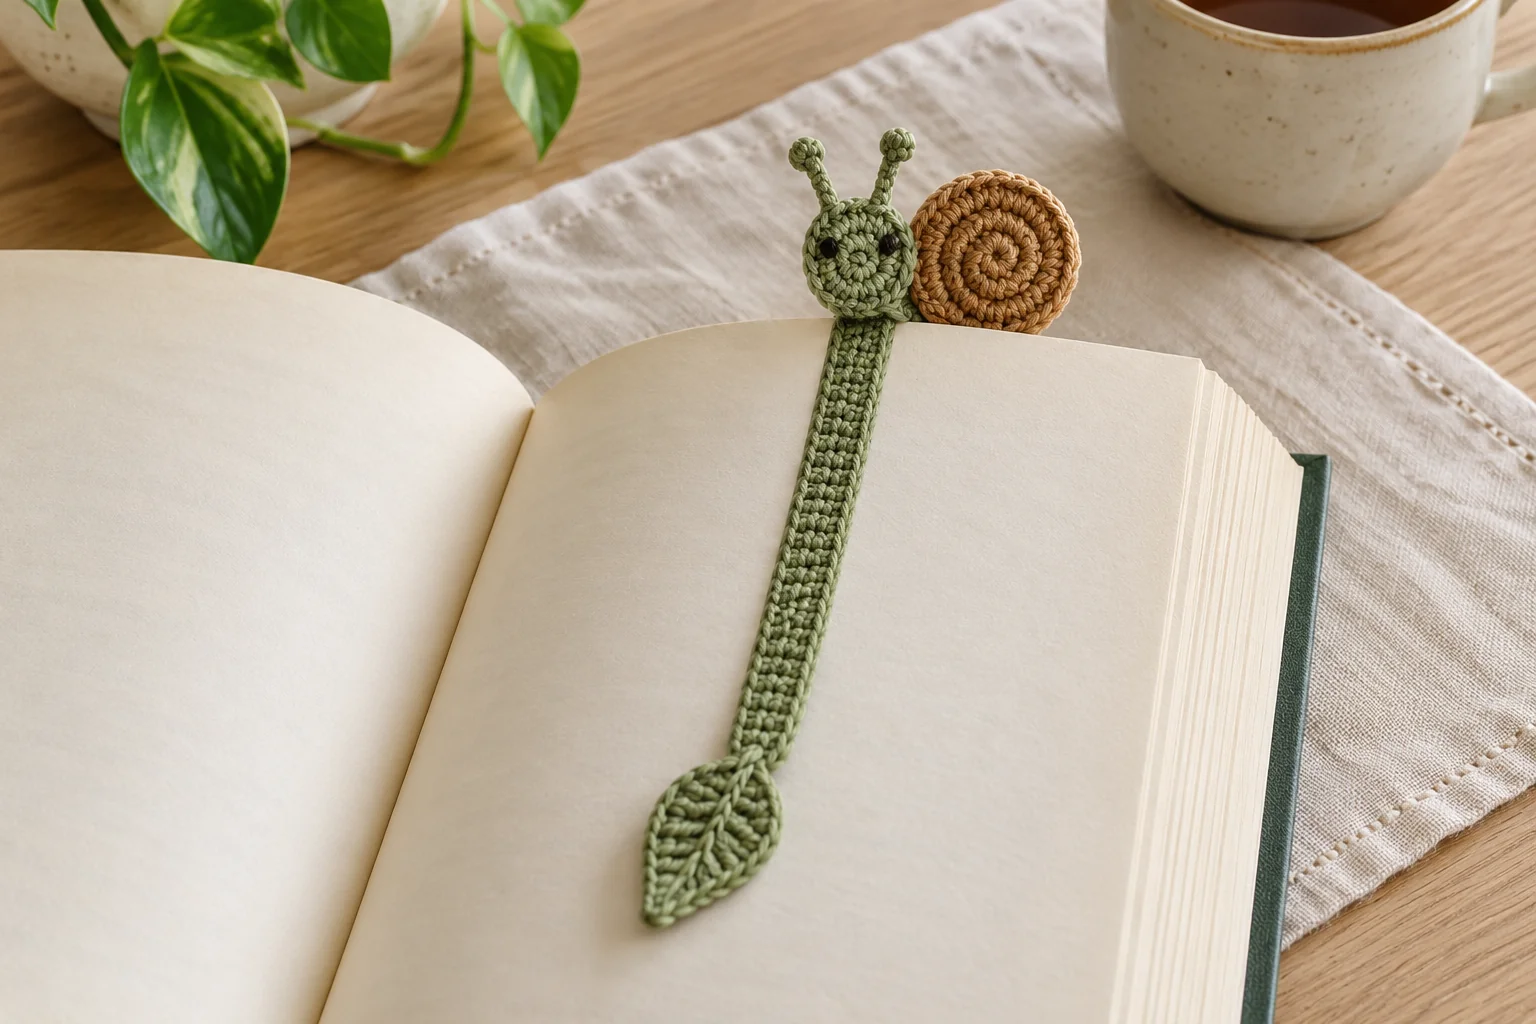
Put the ribbon inside the book with the snail above the pages. Adjust the attachment if the snail folds over the top edge. The shell should remain outside the book instead of being trapped between pages.
Finishing and Gift Presentation
If your yarn label allows wet blocking, dampen the ribbon lightly and lay it straight on a towel. Shape the shell and leaf gently. Let everything dry fully before placing it inside a book.
Pair the crochet snail bookmark with a crochet tulip for a reading gift, or tuck it into a suitable crochet gift bag. A small crochet bow can decorate the wrapping separately.
Use the crochet snail bookmark gently and avoid pulling the book by the snail. Follow the yarn care label and check the antennae and leaf seams after cleaning. Small decorative pieces should stay away from young children and pets.
Crochet Snail Bookmark: Frequently Asked Questions
Before finishing your crochet snail bookmark, review these questions about the construction, materials, and final use.
Does the shell go between the pages?
No. Keep the snail above the book and place only the narrow ribbon between the pages.
Can I make the ribbon longer?
Yes. Repeat the four-stitch row until it fits your book. Measure without stretching and check the placement of the lower leaf.
Why does my ribbon twist?
Uneven tension or extra edge stitches can cause twisting. Count four stitches per row and block gently if the yarn care instructions allow it.
Can I leave off the antennae?
Yes. The spiral shell and green head still suggest a snail. Embroidered details are enough for a minimal version.
Should I stiffen the bookmark?
This pattern does not require stiffener. A suitable fine cotton and flat construction keep the ribbon soft against the pages.
Can I use it in a delicate old book?
Use care. Any handmade bookmark can add pressure or snag fragile paper. A thin plain paper marker may be more suitable for very delicate books.
Finish Your Crochet Snail Bookmark
Check the head, antennae, ribbon, and leaf attachments before use. Your crochet snail bookmark combines a whimsical top with a practical adjustable ribbon. Note the finished ribbon length if you want to make more for the same book size.