Crochet Christmas Book Sleeve – Free Gift Pattern
A crochet Christmas book sleeve is a simple way to protect a favorite paperback while turning a practical project into a seasonal handmade gift.
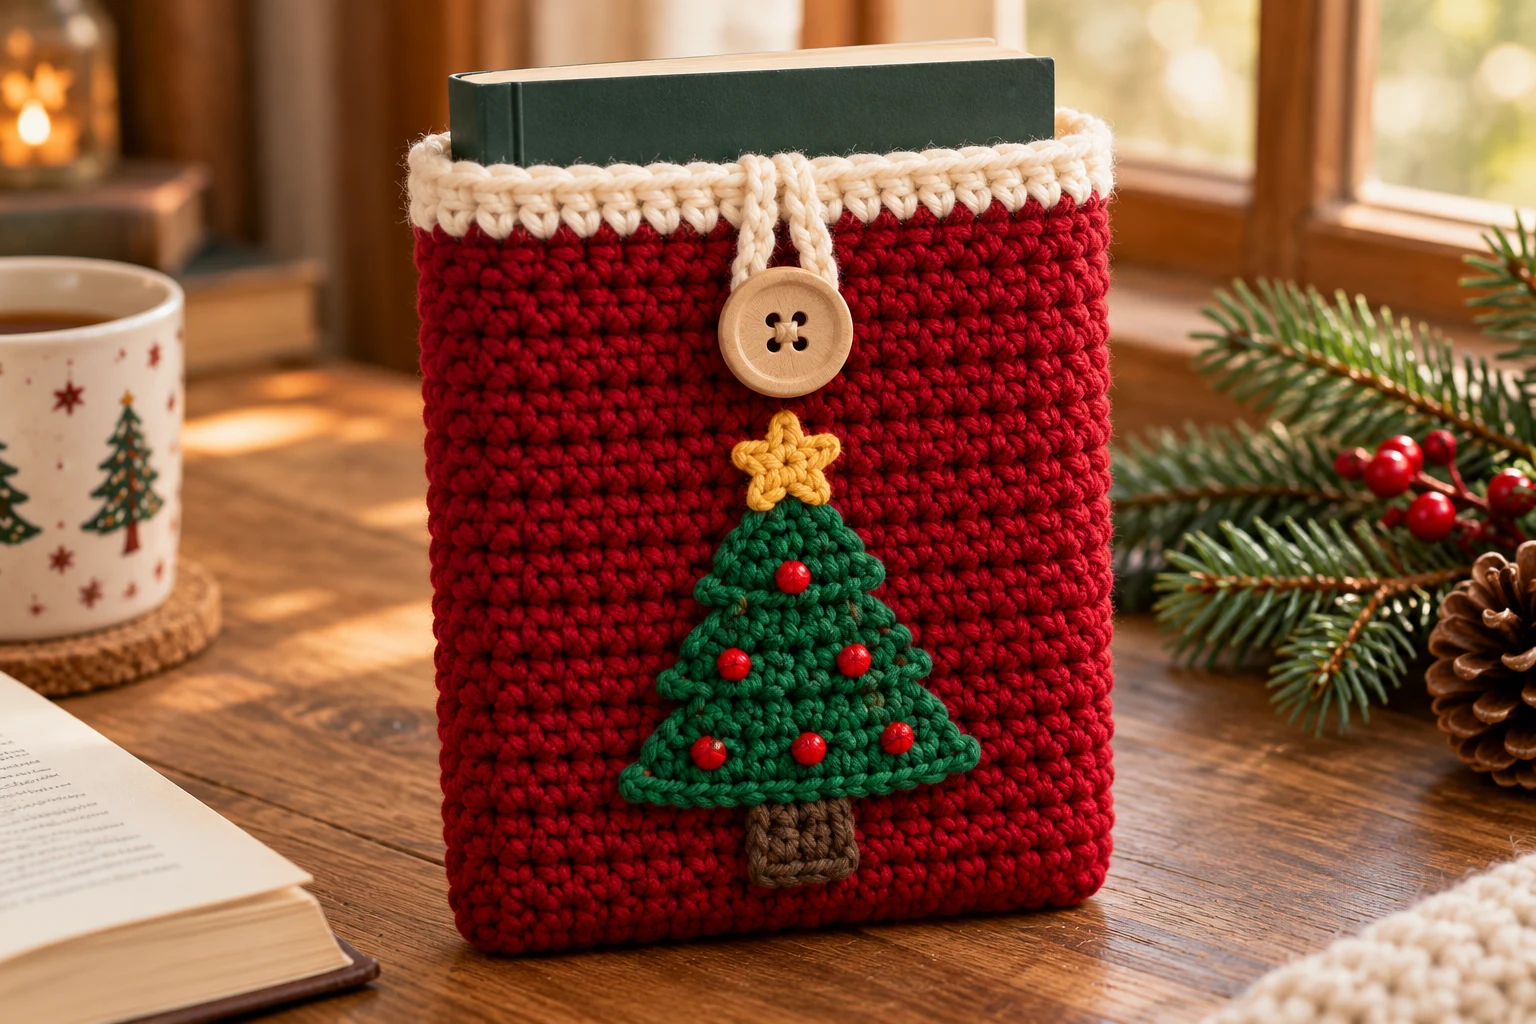
This version uses a dense single-crochet fabric so the sleeve feels substantial without becoming bulky. A contrasting top border gives the opening more structure, while a small button-and-loop closure helps keep the book secure inside.
The sleeve is made from one long rectangle folded in half and seamed along both sides. The opening stays flap-free, with a cream border and a centered loop that reaches over the opening to a wooden button on the front.
The finished sleeve can be made in traditional Christmas colors, soft winter neutrals, or colors chosen to match the recipient’s favorite books.
Pattern Details
Skill level: Beginner to confident beginner
Crochet terms: US terminology
Main stitch: Single crochet
Construction: Flat rectangle folded in half, with two side seams and no flap
Recommended yarn: Worsted weight or sturdy light worsted cotton blend
Recommended hook: 4–4.5 mm
Closure: Crochet loop and button
Optional details: Christmas tree, snowflake, stripe pattern, lining
A dense fabric works better than a loose fabric because the purpose of the sleeve is to protect the book.
If the stitches have large gaps, move down half a hook size.
Finished Size
The standard version is designed for an average paperback or compact hardcover.
Approximate finished measurements:
Width: 16–17 cm
Height: 23–24 cm
Opening: No flap; cream border with button-and-loop closure
These measurements are only a starting point.
Books vary considerably in width, height, and thickness, so measuring your actual book before starting gives the best fit.
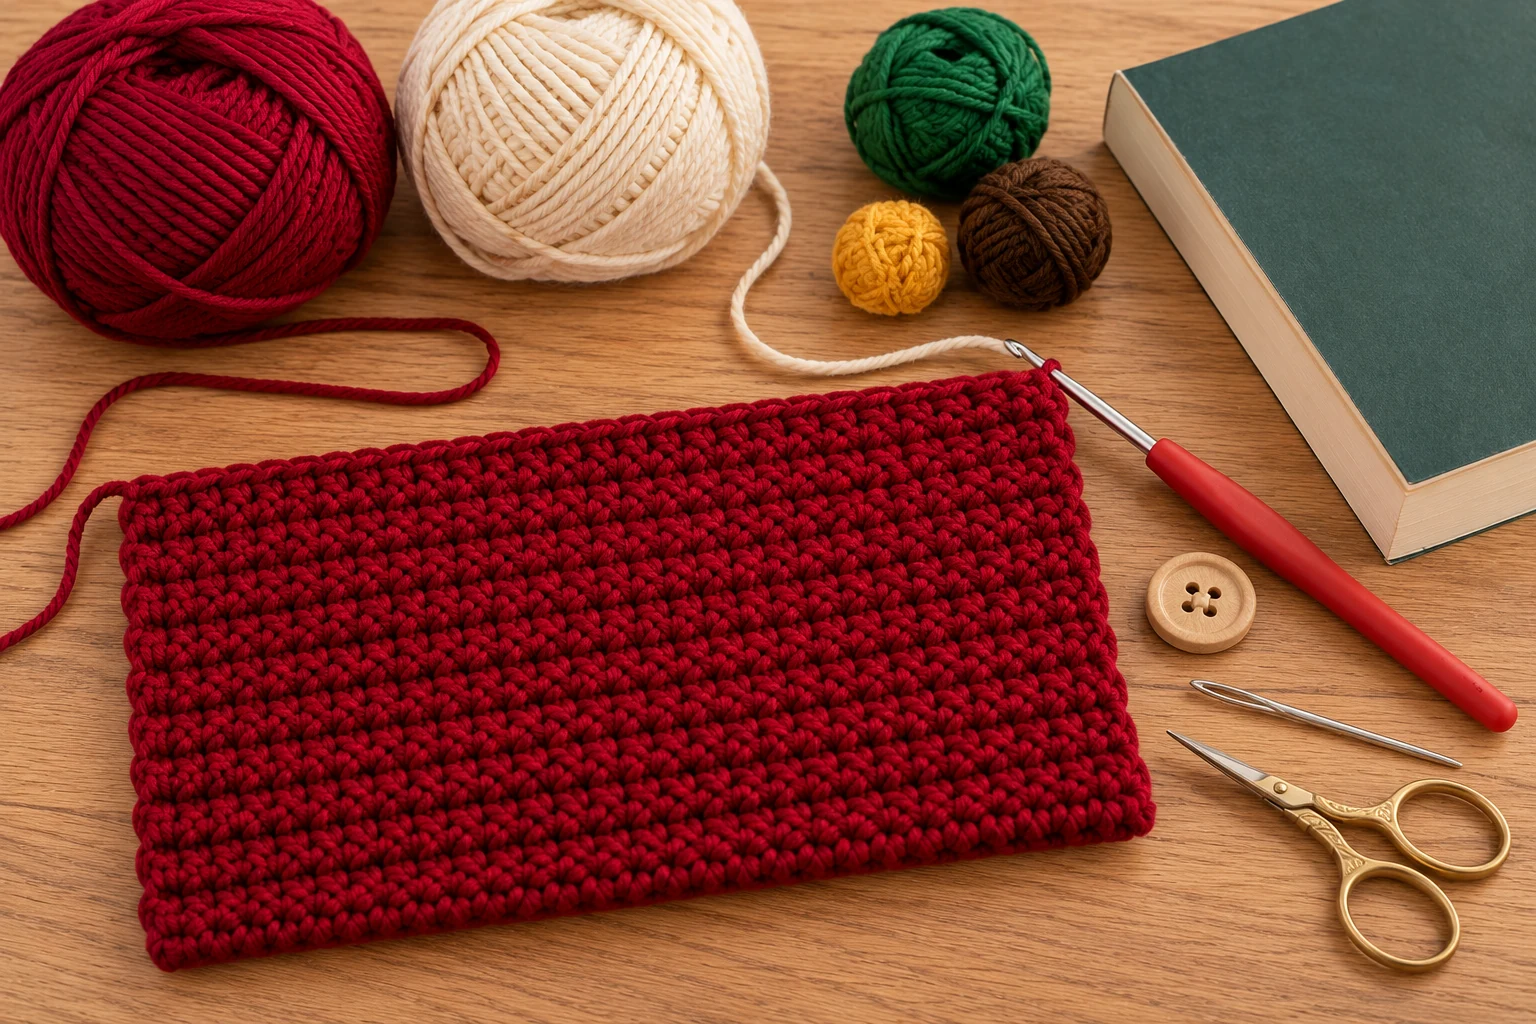
Materials
You will need:
- 100–130 g worsted-weight yarn in the main color
- 20–30 g contrasting yarn
- small amounts of green, red, cream, or gold yarn for decoration
- 4–4.5 mm crochet hook
- yarn needle
- scissors
- stitch markers
- 1 medium button
- pins
- measuring tape
- optional cotton fabric for lining
- optional sewing needle and thread
A firm cotton or cotton-acrylic blend works especially well.
Very soft yarn can still be used, but the sleeve may stretch more around the book.
Yarn and Color Options
Choose a holiday palette that suits the recipient.
Classic Christmas
Main sleeve: deep red
Border: cream
Appliqué: green tree with gold star
Evergreen
Main sleeve: forest green
Border: cream
Button: wood or dark brown
Winter Neutral
Main sleeve: oatmeal
Border: taupe
Appliqué: white snowflake
Candy Cane
Main sleeve: red and cream stripes
Border: red
Button: white
Rustic Holiday
Main sleeve: warm beige
Border: dark green
Detail: burgundy tree or star
Midnight Christmas
Main sleeve: navy
Border: cream
Detail: silver-gray snowflake
The sleeve does not need a large decorative element to look seasonal. A strong Christmas color combination can be enough.
Abbreviations
| Abbreviation | Meaning |
|---|---|
| ch | Chain |
| sc | Single crochet |
| hdc | Half double crochet |
| dc | Double crochet |
| sl st | Slip stitch |
| st / sts | Stitch / stitches |
| BLO | Back loop only |
| FO | Fasten off |
| inc | Work 2 sc in the same stitch |
Sizing Your Book Sleeve
Before making the starting chain, measure the book you want to cover.
Measure:
- book width
- book height
- book thickness
Place the book flat on the table.
Measure from one side edge to the other.
Then measure from the bottom edge to the top.
Finally, measure the spine thickness.
For a comfortable sleeve, the finished crochet width should be slightly wider than the book.
A useful starting allowance is about:
Book width + thickness + 1–2 cm ease
For height, add enough room so the top does not pull tightly when the book is inserted.
A slightly roomy sleeve is usually better than one that is too tight.
Crochet the Main Panel
Use your main color.
Make a Gauge Swatch First
Work a single-crochet swatch with your chosen yarn and hook. Wash and dry it according to the yarn label, then measure stitches and rows across the center. The example below assumes 20 sc and 22 rows per 10 cm. This is a calculation example, not a tested gauge; your yarn may produce different measurements.
The turning chain does not count as a stitch.
Calculate the Panel Size
For a flat sleeve without a gusset, use these starting measurements:
- Panel width = book width + book thickness + 1–2 cm ease, plus allowance for both side seams.
- Panel length = twice the required body height. Start with body height = book height + half the thickness + about 1 cm ease.
Check the fit around your actual book before sewing. A thick book may need additional room.
For example, a book measuring 14 × 21 cm with a 2 cm spine can start with a panel about 18 cm wide and 46 cm long, including a modest seam allowance. At the example gauge, that is 36 sc across and about 101 rows. Change these counts to match your own swatch.
Foundation and Row 1
For the example size, ch 37. Sc in the second chain from the hook and each remaining chain: 36 sc. Ch 1, turn.
Row 2 and Following Rows
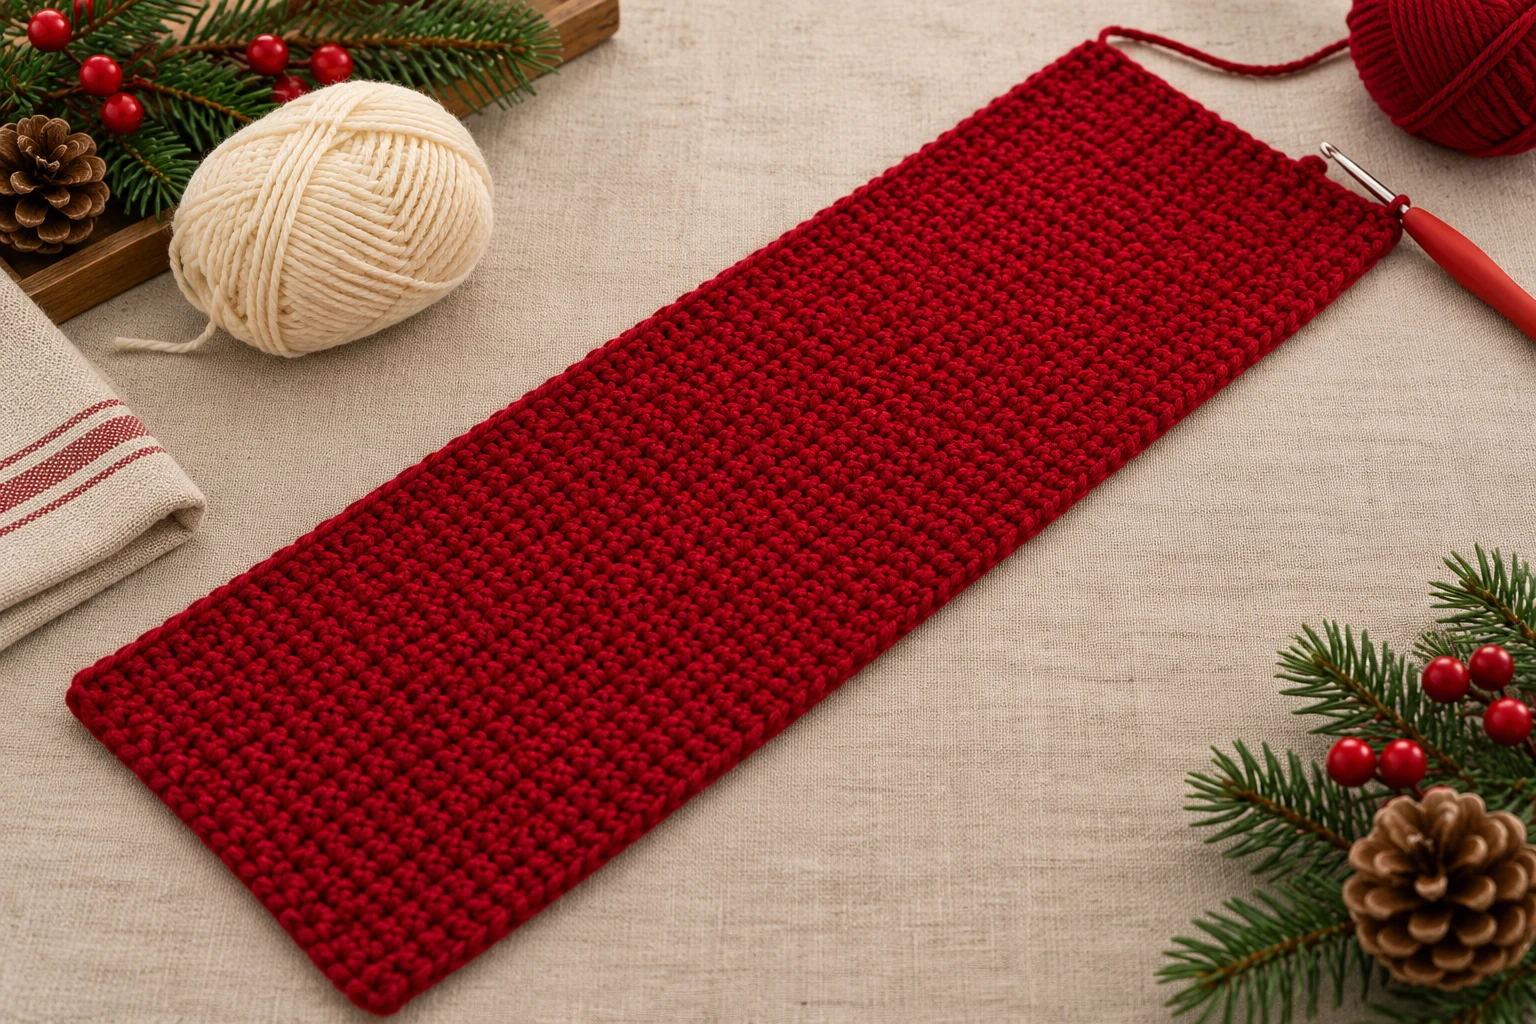
Sc in each stitch across: 36 sc. Ch 1, turn. Repeat until the panel measures approximately 46 cm, or the length calculated for your book. Work to measurement rather than relying on a fixed row count. Fasten off and weave in the ends.
For another width, multiply the desired panel width in centimeters by your stitches per centimeter, round to a whole stitch, and chain one more than that number.
Check the Fit and Fold the Panel
Fold the rectangle in half across its length, with the two short edges aligned at the opening. The fold becomes the bottom and each layer becomes one side of the sleeve. There is no flap.
Pin both side seams and carefully check the book inside without stretching the crochet. Allow for the space the seams will take up. Adjust the panel width or length before joining if necessary, then remove the book.
Seam the Sides
There are two good ways to join the sides.
Slip-Stitch Seam
Insert the hook through both layers at the lower corner.
Join the yarn.
Sl st through both layers all the way to the top of the folded body.
Fasten off.
Repeat on the second side.
This creates a firm visible edge.
Sewn Seam
Thread a long matching yarn tail through a yarn needle.
Use whip stitch or mattress-style stitches along the side edge.
Work through matching rows on both layers.
Keep the tension even.
Do not pull so tightly that the sleeve narrows.
The sewn version creates a softer side edge.
Add the Cream Top Border
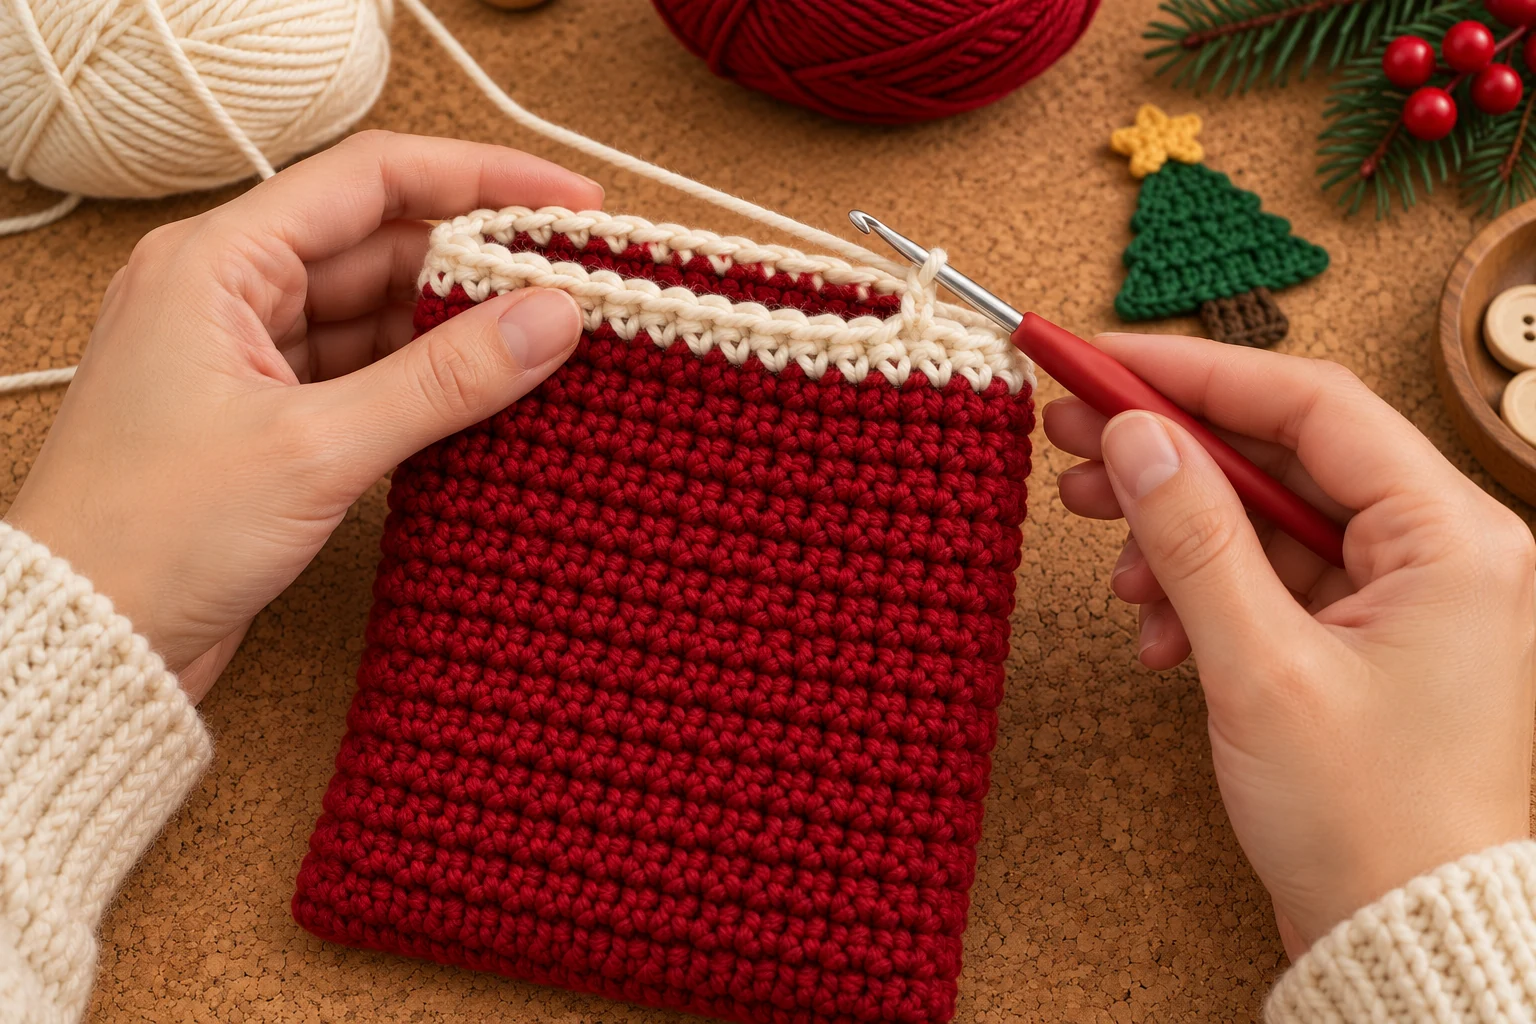
Join cream yarn at a side seam. Work 1 sc into each stitch along the front opening, then along the back opening. Join with a sl st to the first sc. Ch 1 and work a second round if desired, keeping the stitch count unchanged. Fasten off.
The exact round count depends on the panel width and the stitches taken up by the seams. Avoid adding extra stitches that make the opening flare.
Make the Closure Loop
Join cream yarn at the center of the back opening. Ch 12 as a starting point and sl st into the attachment point to form a loop. Before fastening off, insert the book and check that the loop reaches over the opening and fits around the intended button position on the front.
Adjust the chain count for the book thickness, button diameter, and your tension. Reinforce the attachment and weave in the ends securely. The loop should hold the opening together without pulling it tight.
Add the Button
Insert the book into the sleeve.
Bring the loop over the opening.
Mark where the crochet loop naturally touches the front of the sleeve.
Remove the book.
Sew the button to that position.
Pass the sewing thread or yarn through the crochet fabric several times.
Do not sew the button only through one loose stitch.
Check the closure.
The opening should close without stretching the sleeve or pressing tightly against the book.
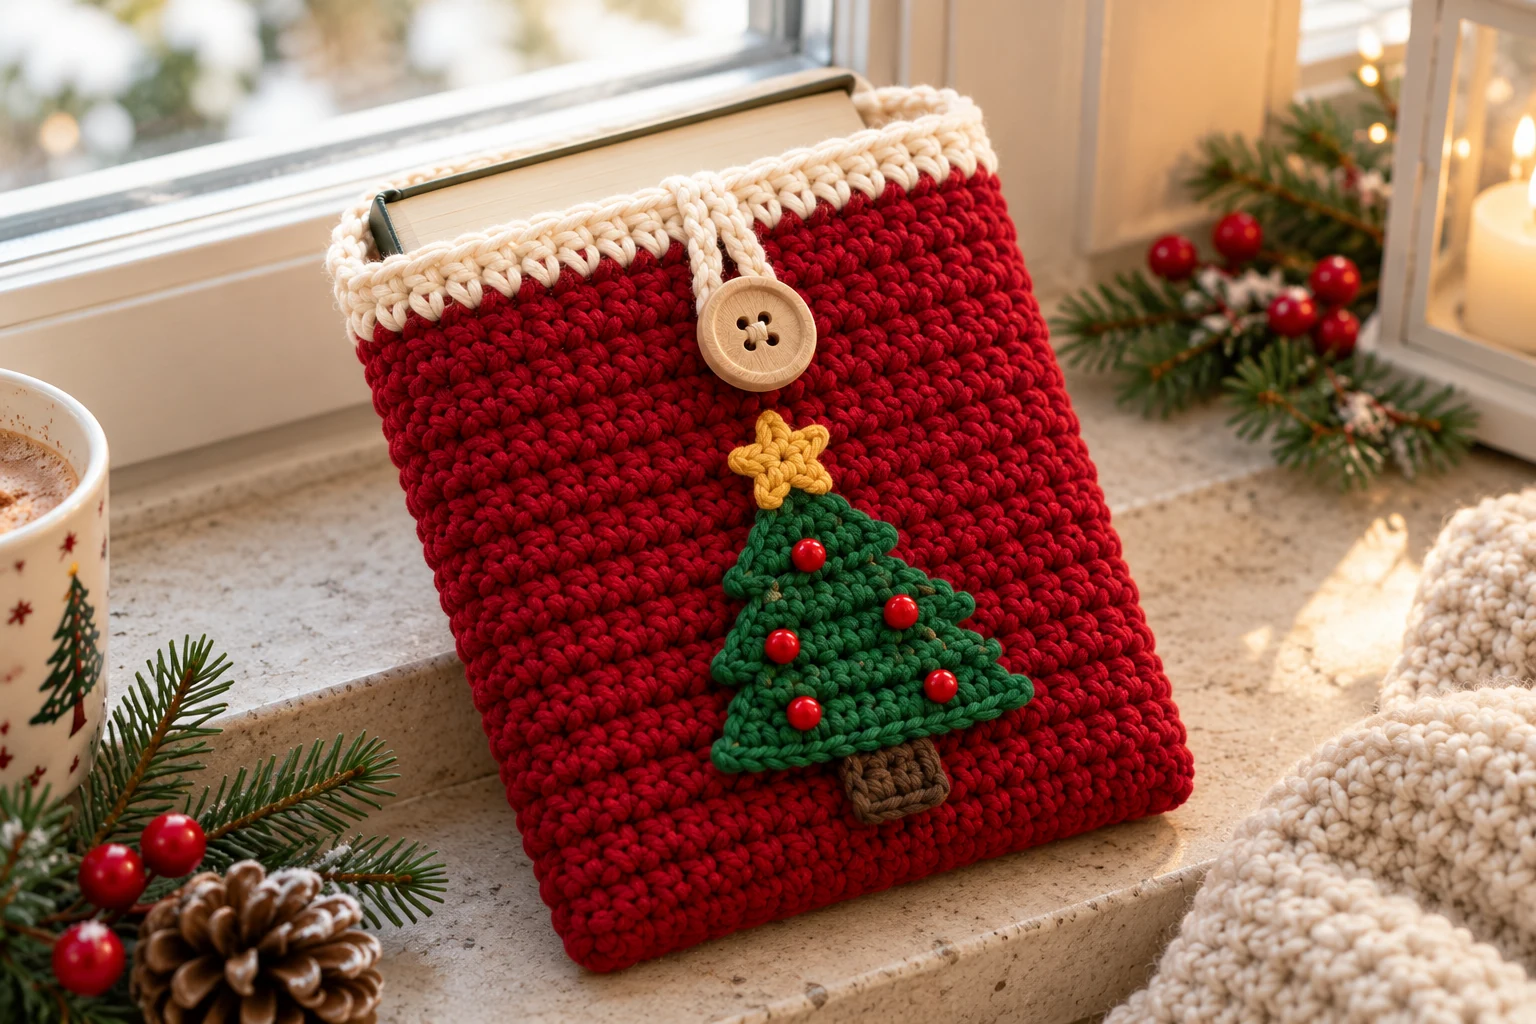
Optional Christmas Tree Appliqué
Use green yarn.
Row 1
Ch 2.
Work 2 sc in the second chain from the hook.
Ch 1, turn.
Row 2
Inc in each stitch.
4
Ch 1, turn.
Row 3
Sc across.
4
Ch 1, turn.
Row 4
Inc, sc 2, inc.
6
Ch 1, turn.
Row 5
Sc across.
6
Ch 1, turn.
Row 6
Inc, sc 4, inc.
8
Fasten off.
This creates a simple triangular tree.
Tree Trunk
Use brown yarn.
Ch 4.
Starting in the second chain:
3 sc.
Fasten off.
Sew the trunk behind the lower center of the tree.
Place the finished tree on the front of the sleeve.
Pin before sewing.
Keep it below the button so that the closure remains easy to use.
Use green yarn to sew around the outer edge.
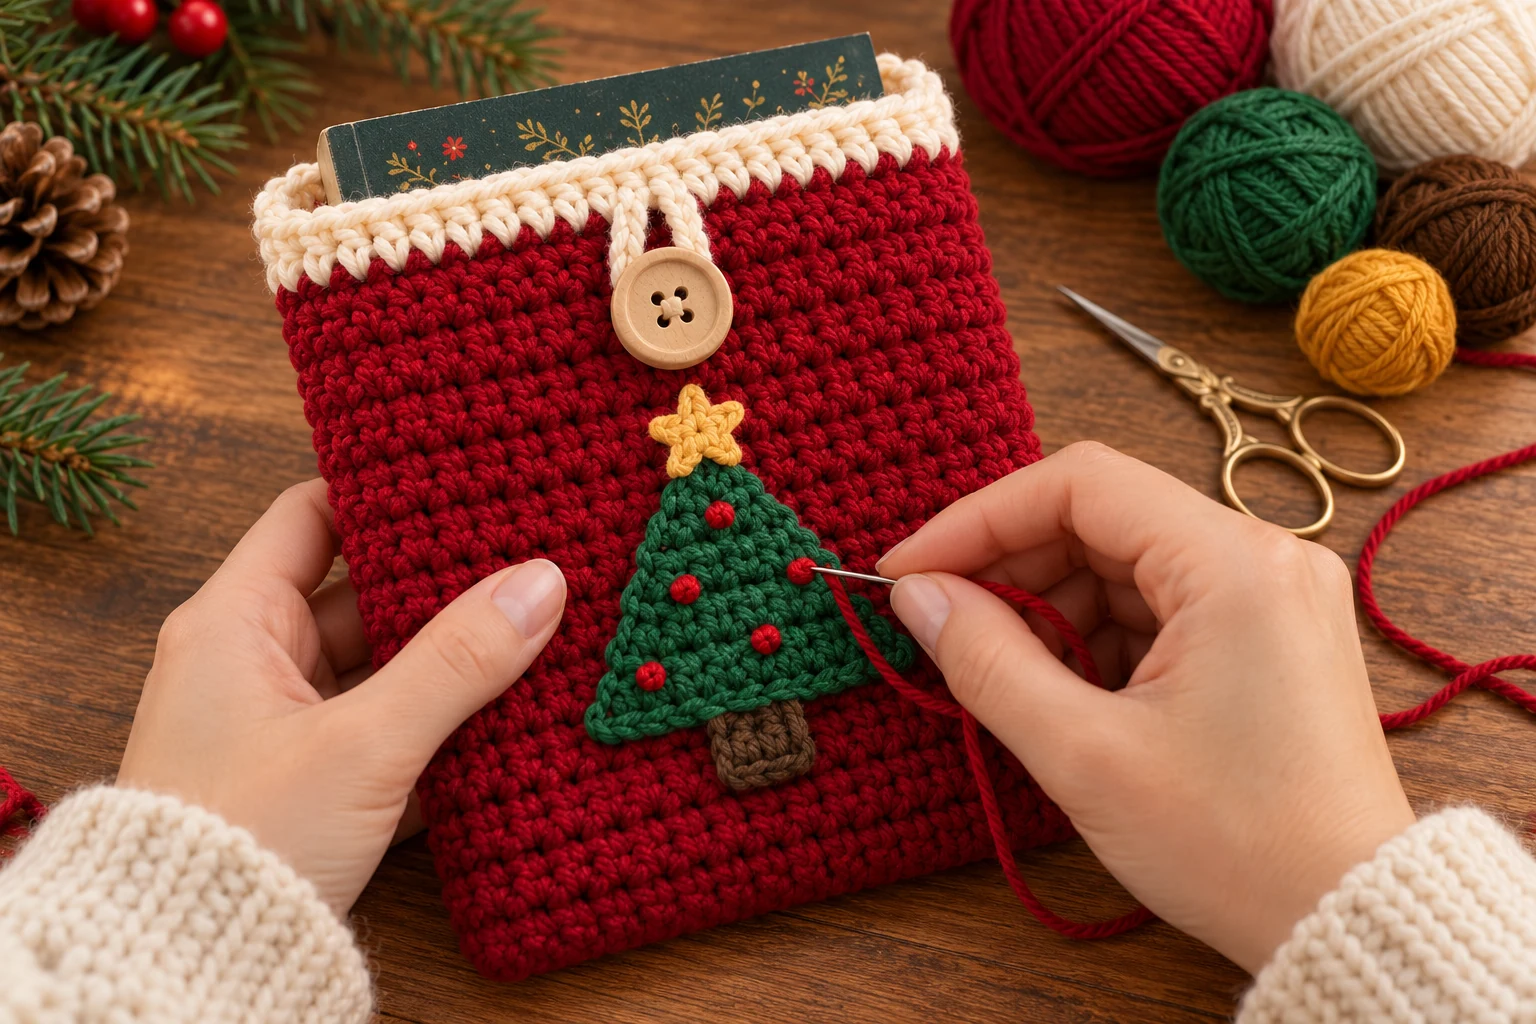
Add Small Christmas Decorations
The tree can remain simple, or you can add small embroidered details.
Use:
- red French knots for ornaments
- short cream stitches for snow
- yellow embroidery for a star
- gold-colored yarn for a tiny garland
Do not use heavy decorations on a book sleeve.
Bulky beads and large buttons can press against the book when the sleeve is placed inside a bag.
Flat embroidery is safer and more practical.
Optional Snowflake Detail
If you prefer a winter design instead of a Christmas tree, embroider a simple snowflake.
Use cream or white yarn.
Mark the center point.
Create three long stitches that cross through the center.
Add short diagonal stitches near the ends.
Keep the snowflake flat.
Several small snowflakes can also be scattered across the front panel.
A navy or dark green sleeve works especially well with white snowflake embroidery.
Optional Stripe Pattern
A striped sleeve is another easy way to create a Christmas look.
Instead of working all rows in one color, alternate:
Rows 1–4: red
Rows 5–6: cream
Repeat this sequence.
Carrying yarn along the edge is possible, but cutting and joining produces cleaner color changes for beginners.
Weave the ends securely before seaming.
For a subtler stripe:
Work 8–10 rows in the main color followed by one contrasting row.
Add a Fabric Lining
A lining is optional, but it gives the sleeve more structure and prevents small objects from entering through crochet gaps.
Choose lightweight cotton fabric.
Measure the Lining
Lay the finished crochet sleeve flat.
Measure:
- width
- body height
Measure the usable interior rather than the outside of the sleeve. Cut two lining pieces to that size plus 1 cm seam allowance on the sides and bottom and 2 cm for the top hem. Check the sewn lining around the book before attaching it.
Sew the Fabric
Place the right sides together.
Sew along both side edges and the bottom.
Keep the lining wrong side out and insert it into the crochet sleeve. The right side of the fabric should face the book; the seam allowances should face the crochet, hidden between the two layers.
Fold the top raw fabric edge inward.
Pin it below the crochet border.
Hand sew around the opening using small stitches.
Avoid pulling the crochet fabric while sewing.
Keep the lining below the opening so that the cream border remains visible.
Why a Dense Stitch Works Best
Book sleeves are different from decorative crochet bags.
They need to protect corners and covers.
A tight single-crochet fabric offers:
- fewer gaps
- better structure
- less stretching
- more protection from light rubbing
Very open stitches may look attractive, but they offer less protection.
For this reason, the pattern uses single crochet instead of an open lace stitch.
Adjust the Pattern for a Larger Hardcover
Measure the hardcover first.
Increase the foundation chain until the width matches the book plus ease.
Continue the rows until the folded section covers the full height.
Increase the full panel length to twice the required body height.
For a thick hardcover, add more width rather than pulling the crochet tightly around the spine.
A sleeve that stretches aggressively around the book may lose its shape over time.
Adjust the Pattern for a Small Paperback
Reduce the foundation chain.
A typical mini paperback version may begin around:
Ch 29–32
Work the same single-crochet rows.
Stop when the full panel measures twice the required body height. Fold it in half, keeping both top edges aligned; this sleeve has no flap.
You do not need to change any other part of the construction.
Make a Kindle or E-Reader Sleeve
The same pattern can be adapted for an e-reader.
Measure the actual device.
Add a small amount of ease.
For electronics, consider adding a soft fabric lining.
Do not use bulky buttons positioned directly over the screen area.
Place the button near the upper edge instead.
The sleeve should protect the device without compressing it.
Christmas Gift Version
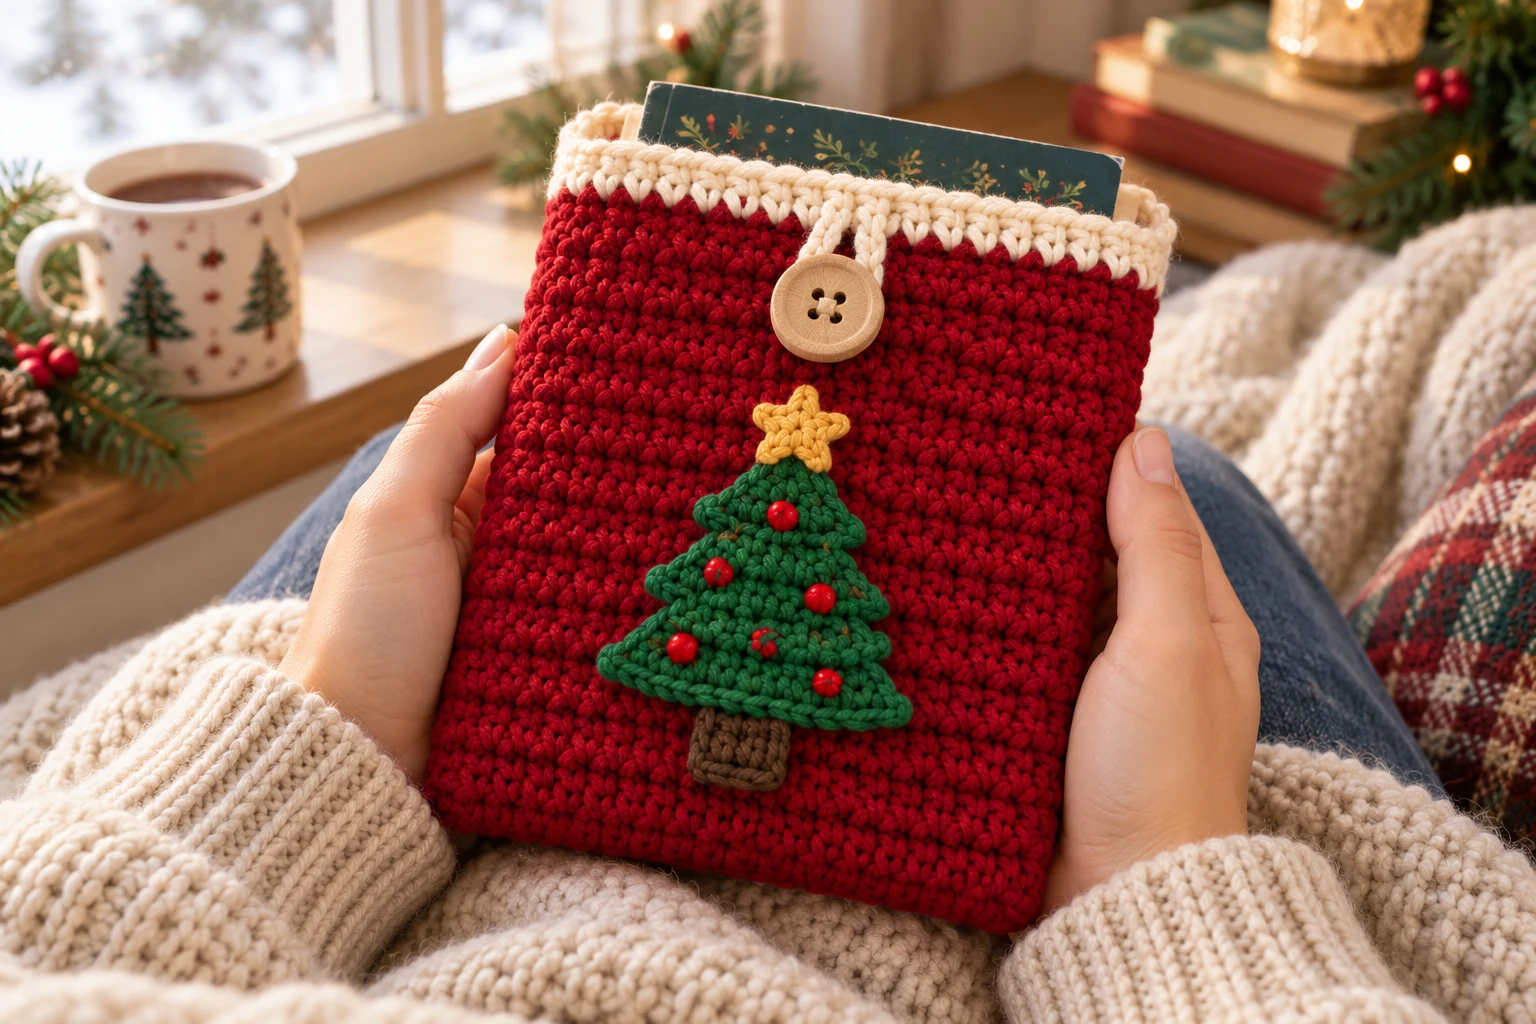
For a gift-ready version, use:
Main body: deep red
Border: cream
Tree: forest green
Button: wood
Detail: small embroidered gold star
Place a paperback inside the finished sleeve.
Add a simple removable gift tag to the button loop.
This allows the book and sleeve to be gifted together without attaching anything permanently to the crochet.
Winter Reading Version
For a sleeve that can remain useful after Christmas, choose more neutral colors.
Try:
- cream + sage
- navy + white
- oatmeal + burgundy
- taupe + forest green
- gray + deep red
Replace the tree with a simple snowflake or leave the sleeve plain.
This gives the finished project a winter look rather than a strictly Christmas design.
Add a Small Pocket
A flat pocket can be added to the front or back.
Ch 21.
Starting in the second chain:
20 sc.
Ch 1, turn.
Work approximately 10–12 rows.
Fasten off with a long tail.
Place the pocket on the sleeve.
Sew the two sides and bottom edge.
Leave the top open.
Use the pocket for:
- bookmarks
- reading notes
- small gift card
- paper tag
Avoid placing bulky objects inside because they can press against the book.
Add a Bookmark Loop
A small loop can be sewn inside the upper edge.
Ch approximately 25–30 with thin yarn.
Fasten off.
Secure one end inside the sleeve near the top seam.
The chain can sit between the book pages as a simple bookmark.
Keep it thin so the book closes comfortably.
How to Make the Sleeve More Structured
If the sleeve feels too soft:
Use Cotton Yarn
Cotton tends to create a firm, defined fabric.
Use a Smaller Hook
A slightly smaller hook reduces gaps.
Add a Lining
Fabric helps prevent stretching.
Work BLO Texture Carefully
You can alternate standard sc rows with BLO rows for texture, but keep most of the body dense.
Avoid Overstretching
Do not force a thick book into a sleeve that is too small.
Make a larger sleeve instead.
Common Problems
The Sleeve Is Too Tight
Your starting chain may be too short.
Do not rely on stretching the fabric.
Remove the panel and restart with several additional chains.
The Sleeve Is Too Loose
If the difference is small, a fabric lining can improve the fit.
For a large difference, reduce the starting chain.
The Side Seams Pucker
The seam may be too tight.
Undo the affected section and sew again with relaxed tension.
The Opening Flares Out
The top border may contain too many stitches.
When working into row ends, avoid adding multiple stitches into every edge.
The Opening Pulls Tight
Check the loop length with the book inserted. Lengthen the loop or reposition the button closer to the opening if the closure distorts the sleeve.
The Closure Loop Is Too Loose
Remove it and make a shorter chain.
The loop should stretch only slightly over the button.
The Book Catches on the Inside
Loose yarn tails may still be exposed.
Weave all ends flat against the inside.
A lining also creates a smoother interior.
The Sleeve Stretches After Use
Cotton and acrylic can both relax with repeated use.
A dense stitch, smaller hook, and optional lining reduce this problem.
The Tree Appliqué Curls
Sew around the full outside edge.
Do not pull the sewing stitches too tightly.
Light blocking can also help if appropriate for the yarn.
Frequently Asked Questions
Is this crochet Christmas book sleeve beginner-friendly?
Yes. The main sleeve uses chains, single crochet, simple seams, a border, and a basic button loop.
What yarn is best for a crochet book sleeve?
A firm worsted-weight cotton or cotton blend works well because it creates a dense fabric and holds its shape.
Does a crochet book sleeve need lining?
No. The sleeve can be used without lining, but fabric adds extra structure and creates a smoother interior.
Can I make this for a hardcover?
Yes. Measure the specific book and increase both the width and panel length as needed.
Does this sleeve have a flap?
No. Both top edges meet at the opening, and a loop attached at the back reaches over to a button on the front.
Can I use a zipper?
Yes, although sewing a zipper into crochet requires more finishing work. A button-and-loop closure is simpler for beginners.
Can I use chunky yarn?
Yes, but the sleeve will become much thicker.
For books, medium-weight yarn usually creates a more practical result.
Can I make a Christmas tree without sewing an appliqué?
Yes. Embroider a simple triangular tree directly onto the front panel.
Can I use this as an e-reader sleeve?
Yes. Measure the device and consider adding a fabric lining for extra protection.
How do I resize the pattern?
Change the foundation chain to match the book width, then continue rows until the folded body reaches the required height.
Can I add handles?
You can, but a book sleeve is usually easier to carry inside a larger tote. Short handles would turn it into more of a mini book bag.
Is this a good handmade Christmas gift?
It works especially well as a gift when sized around a specific book, e-reader, or reading journal.
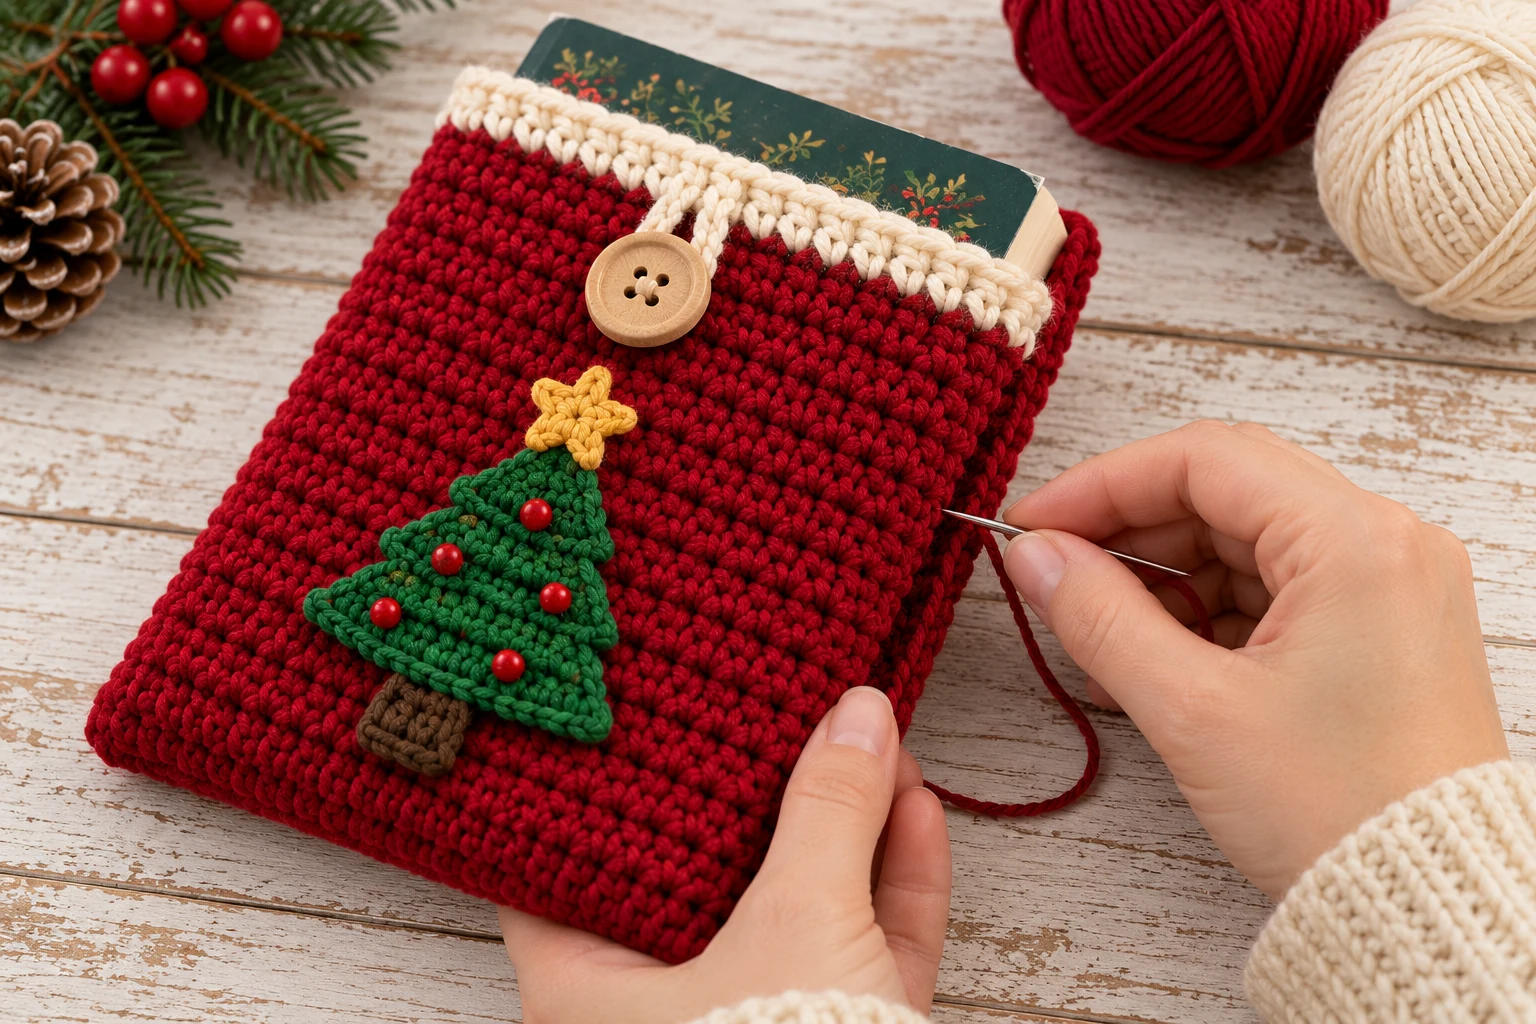
Decoration Notes
The simple triangular appliqué above is a beginner alternative to the tiered tree shown in the illustration. For a flat, practical finish, embroider red ornaments and a small yellow star instead of adding beads. The image illustrates the intended styling; stitch counts and fit should be checked on your own sample.