Crochet Cloud Pouch – Free Small Drawstring Bag Pattern
Make a crochet cloud pouch with a sleepy face, three rounded humps, and blue drawstrings. Free small bag pattern with eyelets and sewing instructions.
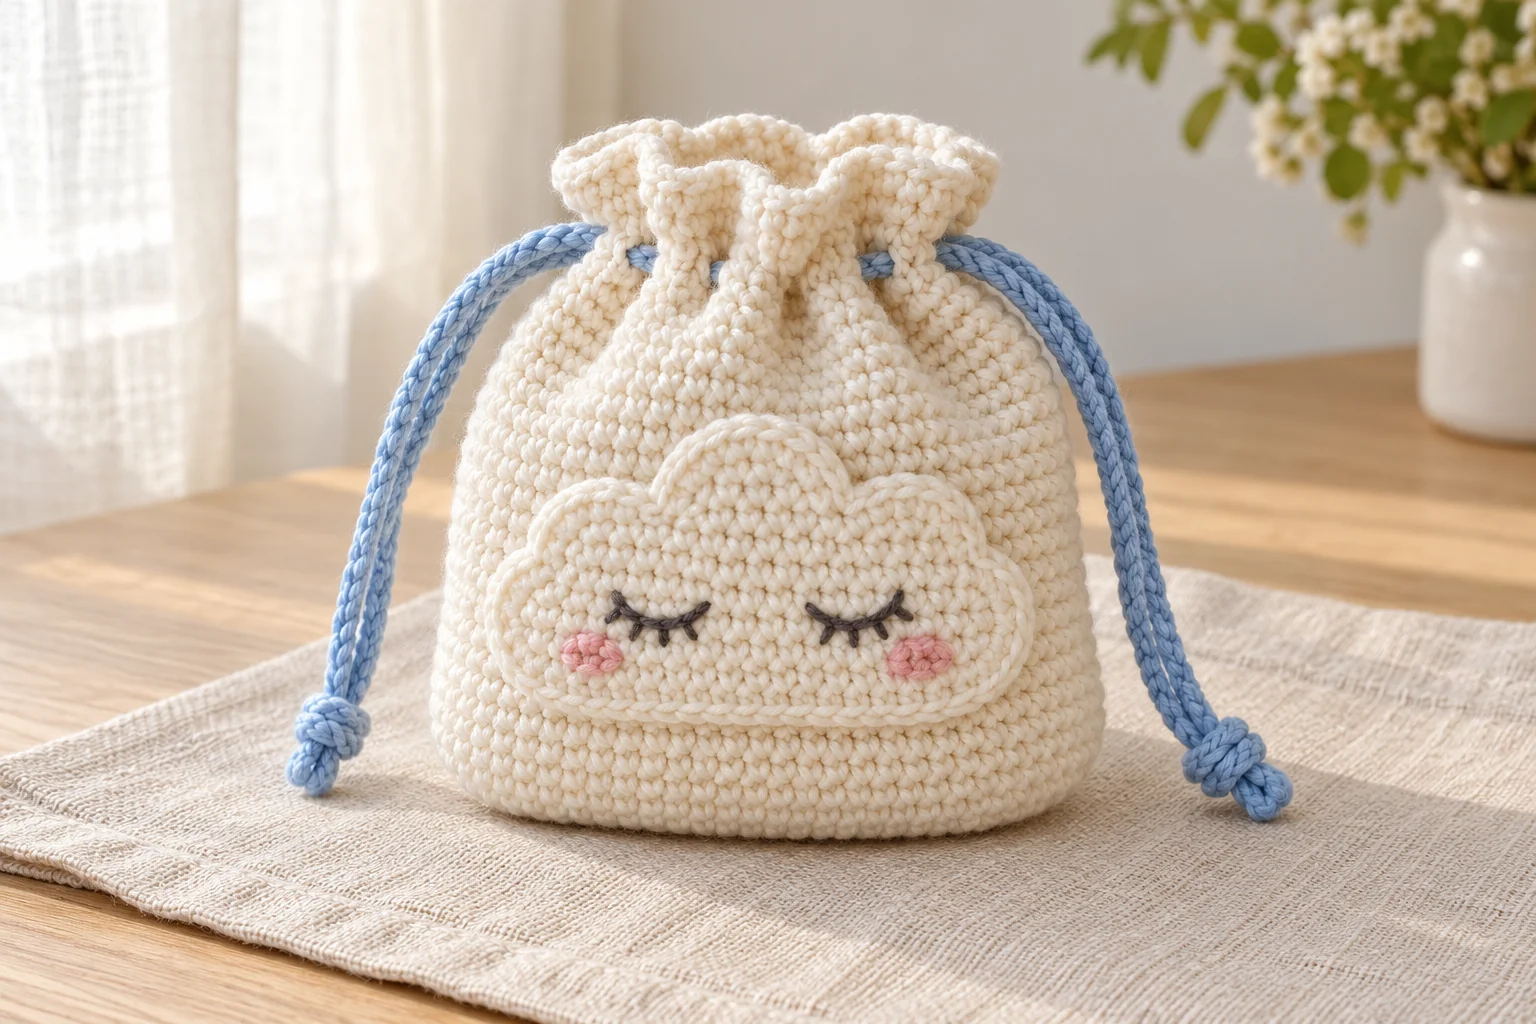
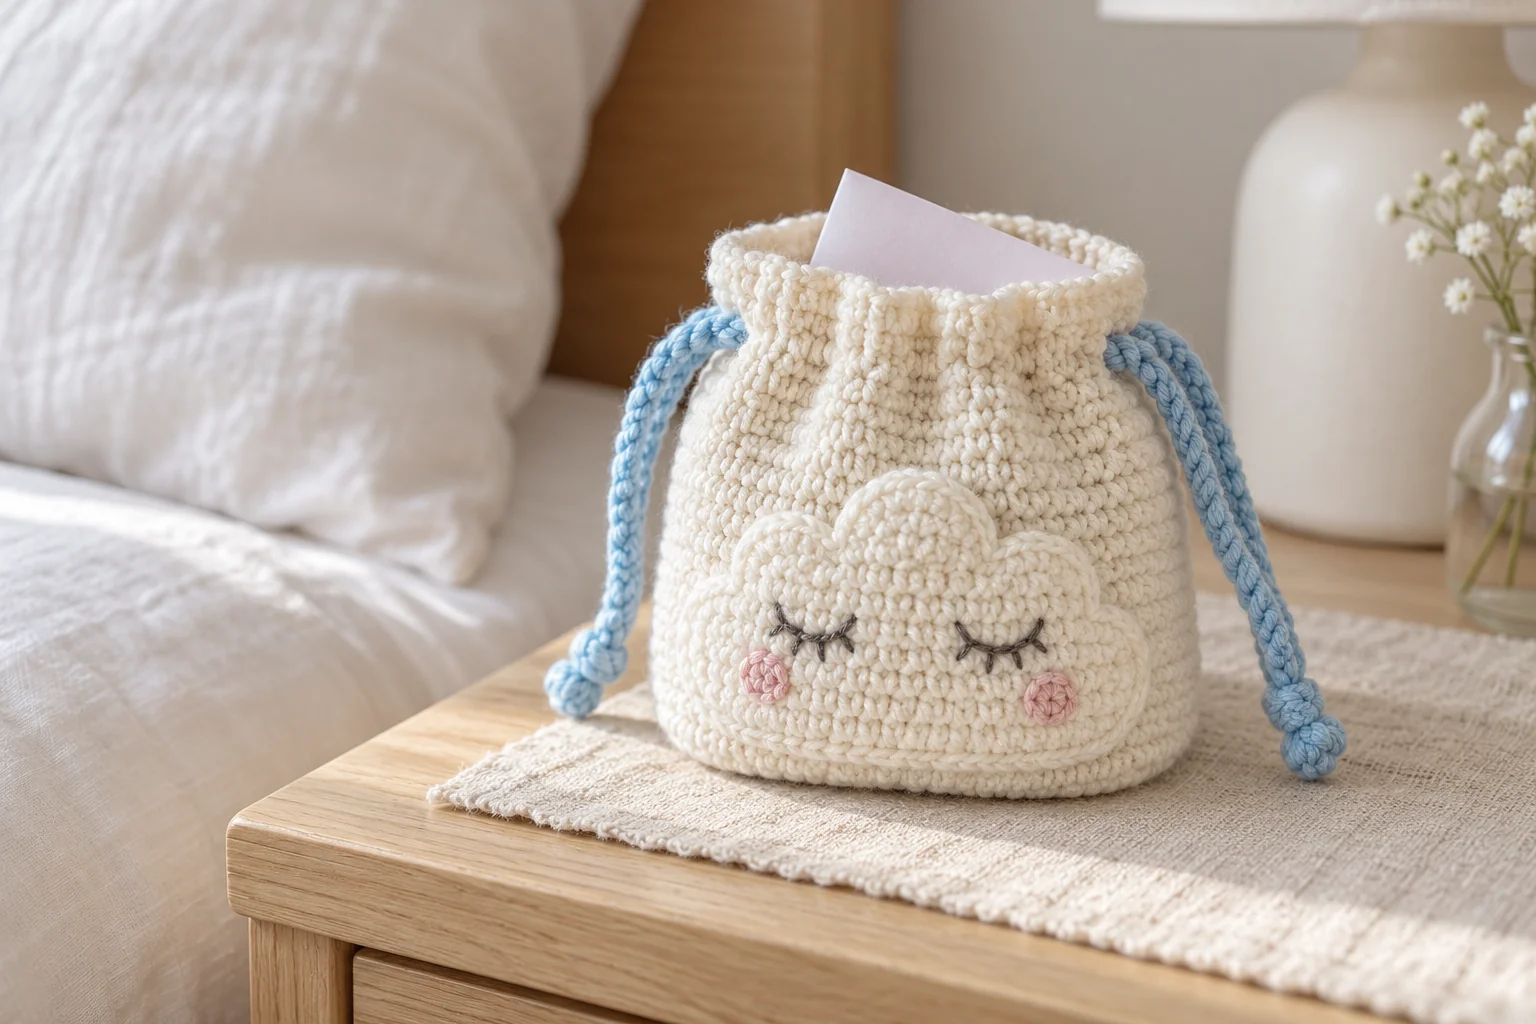
This crochet cloud pouch combines a small drawstring bag with a sleepy cloud appliqué. The ivory bag stays simple and useful, while three rounded cloud humps, stitched eyes, and pink cheeks add a gentle character. Blue drawstrings provide a clear color accent.
The cloud is a flat decoration sewn onto the front of a round-bottom pouch. It does not replace the bag opening or create extra pockets. Use the finished pouch for a folded note, a few small craft supplies, or another lightweight dry item that fits comfortably inside.
Design note: this original written pattern has not been physically sample-tested. Size and supply amounts are estimates. AI-generated photographs illustrate the intended appearance. Check the opening and drawstrings with your actual yarn before relying on the crochet cloud pouch to hold a particular object.
Crochet Cloud Pouch Materials and Size
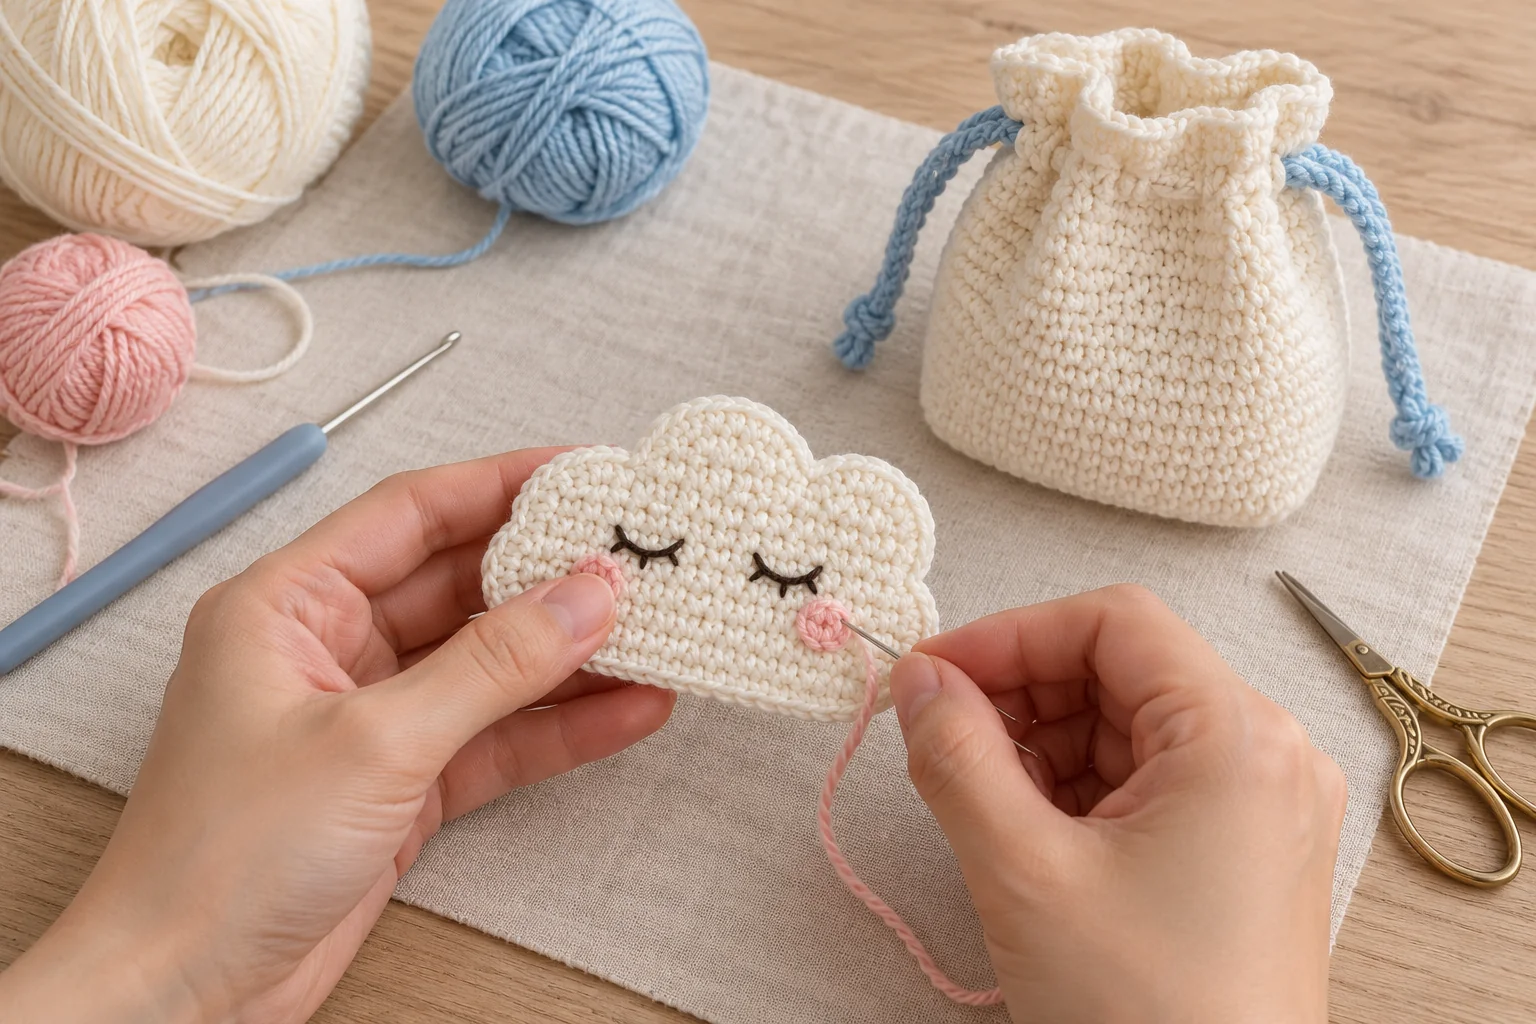
Choose smooth DK cotton in ivory and sky blue, with black and pink embroidery yarn for the face. Gather a 3 mm hook, a stitch marker, a blunt needle, and scissors. No filling, lining, zipper, beads, or buttons are required.
Estimate 25–35 g ivory and 5–10 g blue. The intended pouch is approximately 8–10 cm tall, with the width determined by the thirty-stitch circumference. Your gauge may produce a different size.
This project suits a confident beginner who can work rounds, chain spaces, simple rows, and flat circles. The cloud decoration is made from a small rectangle and three discs, keeping the scalloped outline manageable.
For a different drawstring construction, see the crochet Christmas gift bag. Compare the actual dimensions of each bag before choosing which one suits your gift.
Reading This Crochet Cloud Pouch Pattern
US terms are used. ch = chain; sc = single crochet; inc = 2 sc in one stitch; sl st = slip stitch; BLO = back loop only. Numbers in parentheses give the stitch count.
Work the crochet cloud pouch in continuous rounds until the eyelet round. Mark the first stitch and count carefully. The turning ch 1 on the cloud rectangle does not count as a stitch.
The eyelet round preserves a thirty-position circumference: twenty-four sc and six chain spaces. In the following round, work one sc into each chain space as well as one into each existing sc.
Use two separate drawstrings that begin on opposite sides. Pulling both pairs of ends gathers the opening. Keep the cords short enough for a small pouch and away from young children.
For a standard reference when reading stitch instructions, consult the Craft Yarn Council crochet abbreviations. Check the US terms against the definitions in this pattern before starting.
Step 1: Crochet Cloud Pouch Base
With ivory, work 6 sc into a magic ring. (6) Round 2: inc around. (12) Round 3: repeat [sc, inc] six times. (18)
Round 4: repeat [2 sc, inc] six times. (24) Round 5: repeat [3 sc, inc] six times. (30) Pull the ring closed and secure the starting tail.
Check that the base lies reasonably flat. Count thirty stitches before turning up the sides. A ruffled circle often contains an extra increase; a strongly cupped circle may indicate too few stitches or a tension change.
Round 6: sc in BLO around. (30) The unused front loops make a subtle ridge at the lower edge. Keep that ridge on the outside of the crochet cloud pouch.
Step 2: Crochet Cloud Pouch Walls
Rounds 7–18: sc in both loops of every stitch. (30 each round) These twelve even rounds create the bag height. Pause halfway through to check the circumference and inspect the inside for loose yarn tails.
You can add or remove even rounds to adjust the height. Keep the stitch count at thirty so the eyelet sequence will still fit. Write down any change before making a matching pouch.
Set the bag on its base and check how it opens. It should remain soft and flexible. The pouch is unlined, so tiny items that could slip through crochet fabric should be placed in a separate suitable container.
Step 3: Crochet Cloud Pouch Eyelets
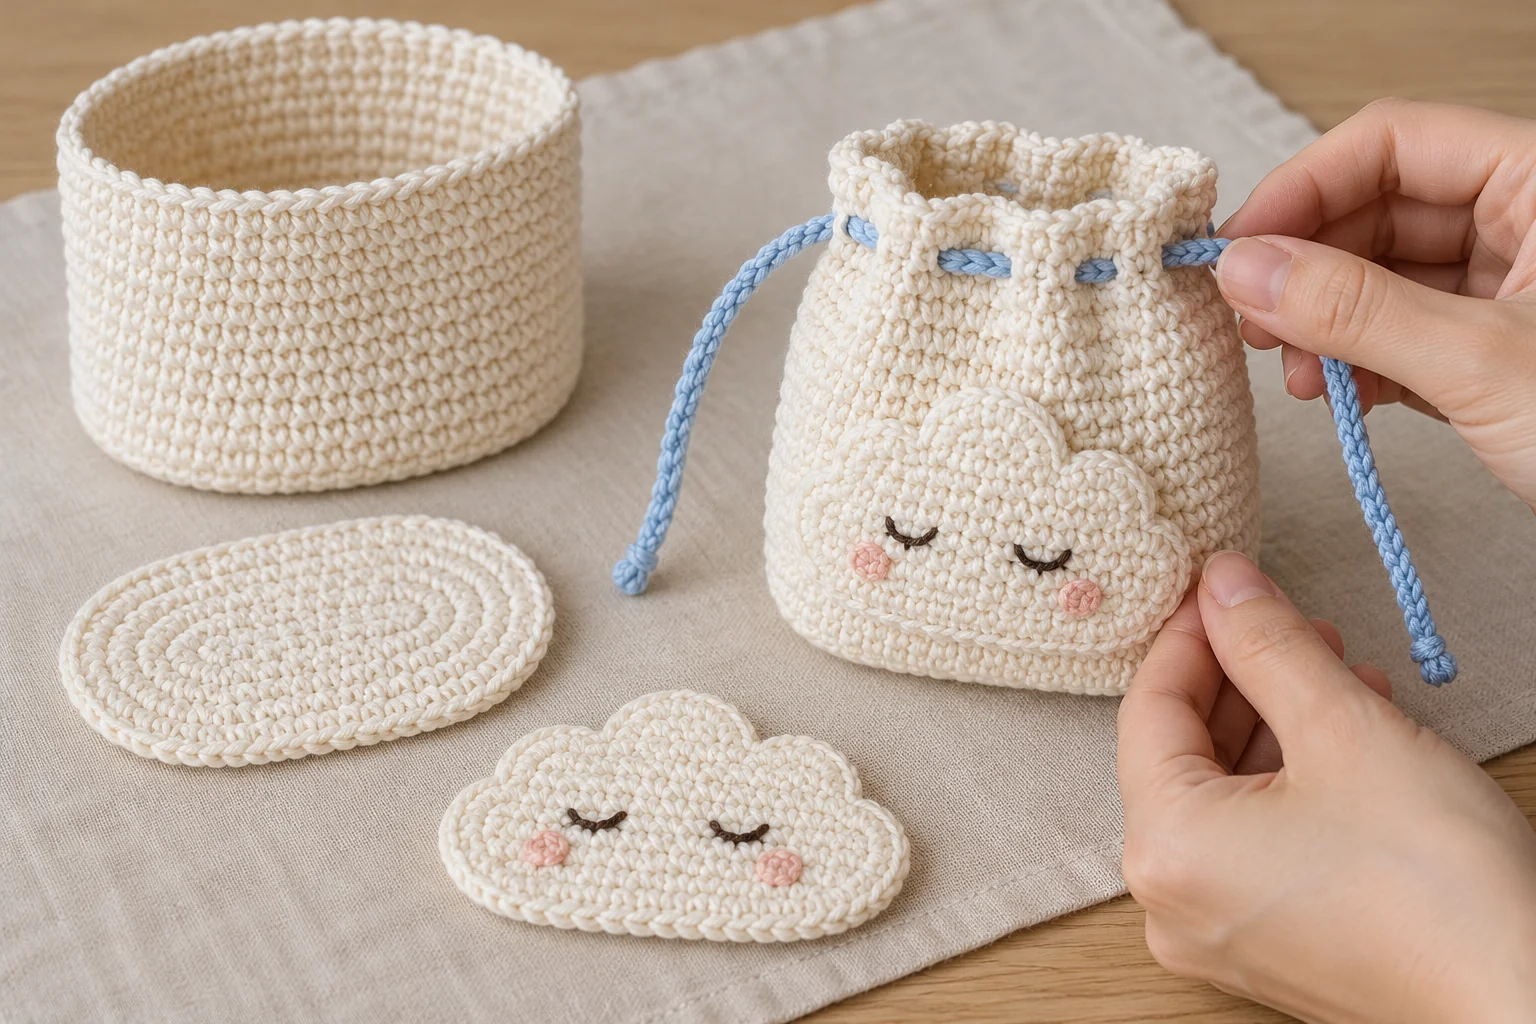
Round 19: repeat [3 sc, ch 1, skip the next stitch, sc in the next stitch] six times. This uses all thirty stitches from the previous round and creates twenty-four sc plus six chain spaces.
Count the six openings before continuing. If the final repeat does not fit, check the skipped stitches rather than adding an extra chain space at the end.
Round 20: work one sc into each sc and one sc into each ch-1 space. (30) Round 21: sc in every stitch. (30) Finish with a sl st in the next stitch and fasten off.
Weave the finishing tail into the inside of the upper edge. Do not sew across an eyelet or block an opening with a knot. The cords need to move freely through all six spaces.
Step 4: Crochet Cloud Pouch Appliqué Base
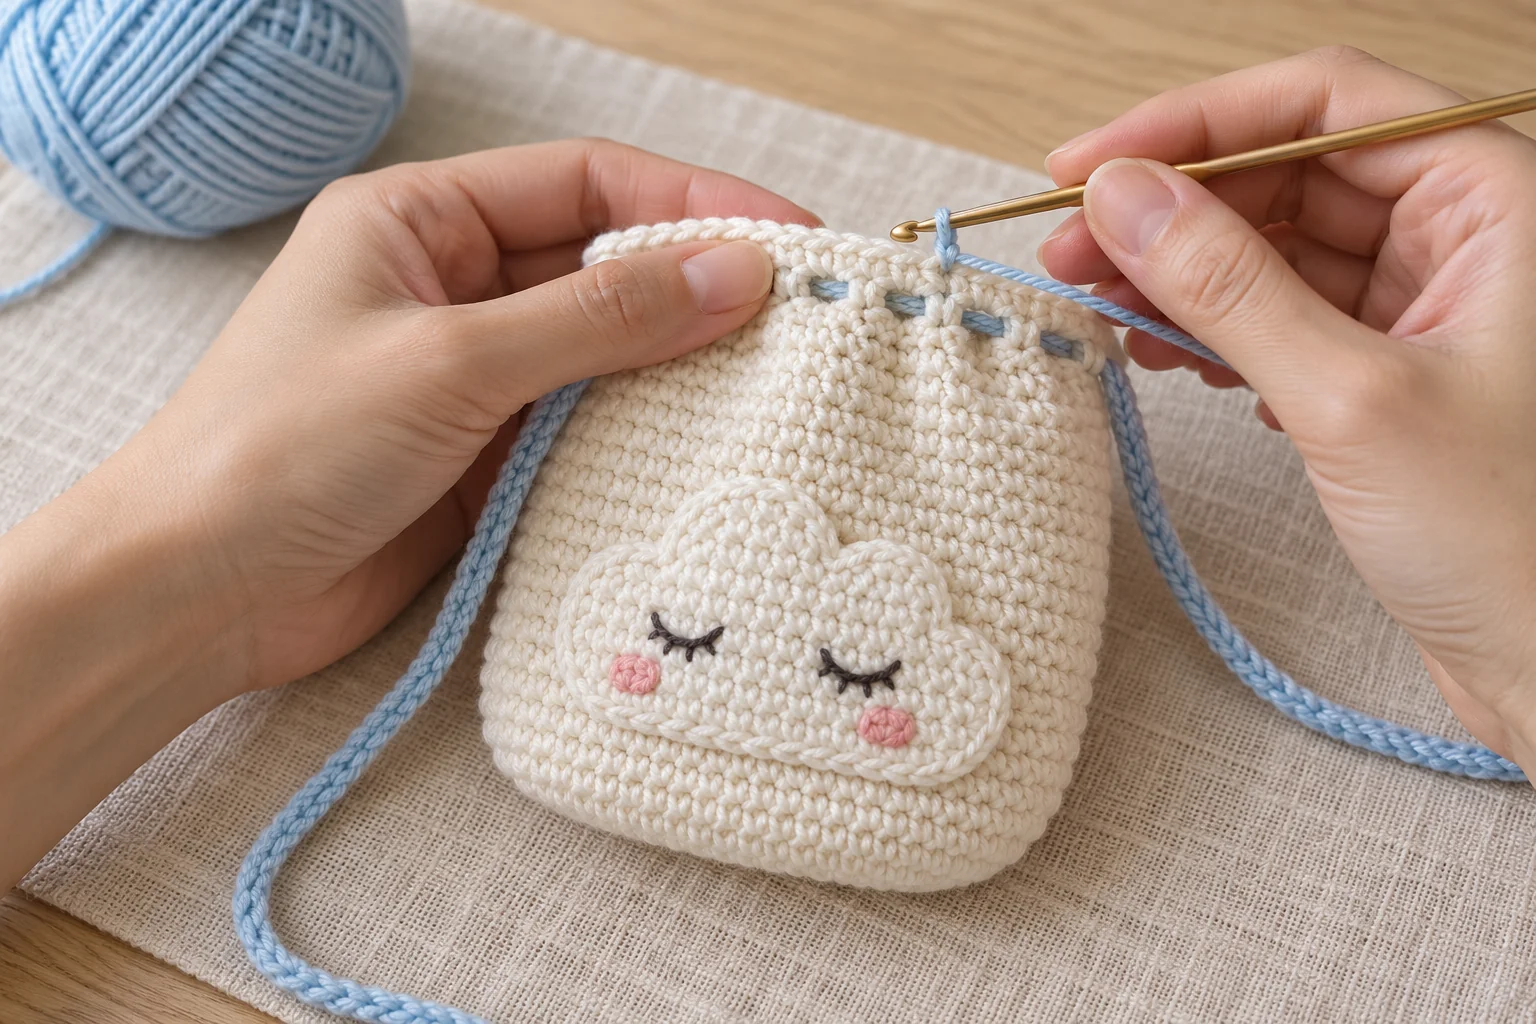
With ivory, ch 13. Row 1: sc in the second chain and each remaining chain. (12) Rows 2–4: ch 1, turn, sc across. (12 each row) Fasten off with a sewing tail.
This small rectangle forms the lower part of the cloud. Keep its edges straight and its fabric flat. The three circular humps will sit behind its upper edge.
Place the rectangle against the crochet cloud pouch front to check the scale. Leave space between the cloud and eyelet row so the drawstring can gather without folding the decoration.
Step 5: Crochet Cloud Pouch Humps
For each disc, work 6 ivory sc into a magic ring. (6) Round 2: inc in every stitch. (12) Join with a sl st and fasten off with a sewing tail. Make three matching discs.
Secure each starting ring and flatten the circles gently. Arrange them behind the top of the rectangle, with only their upper halves showing. Space them across the left, center, and right thirds.
Sew the lower half of each disc to the back of the rectangle. Keep the upper semicircles free to create three rounded humps. The overlap can vary slightly to suit your yarn, but the overall cloud should fit the crochet cloud pouch front.
Check the back for bulky knots. Weave the tails through the flat pieces and trim only after they are secure. The cloud remains an appliqué, not a stuffed shape.
Step 6: Crochet Cloud Pouch Face
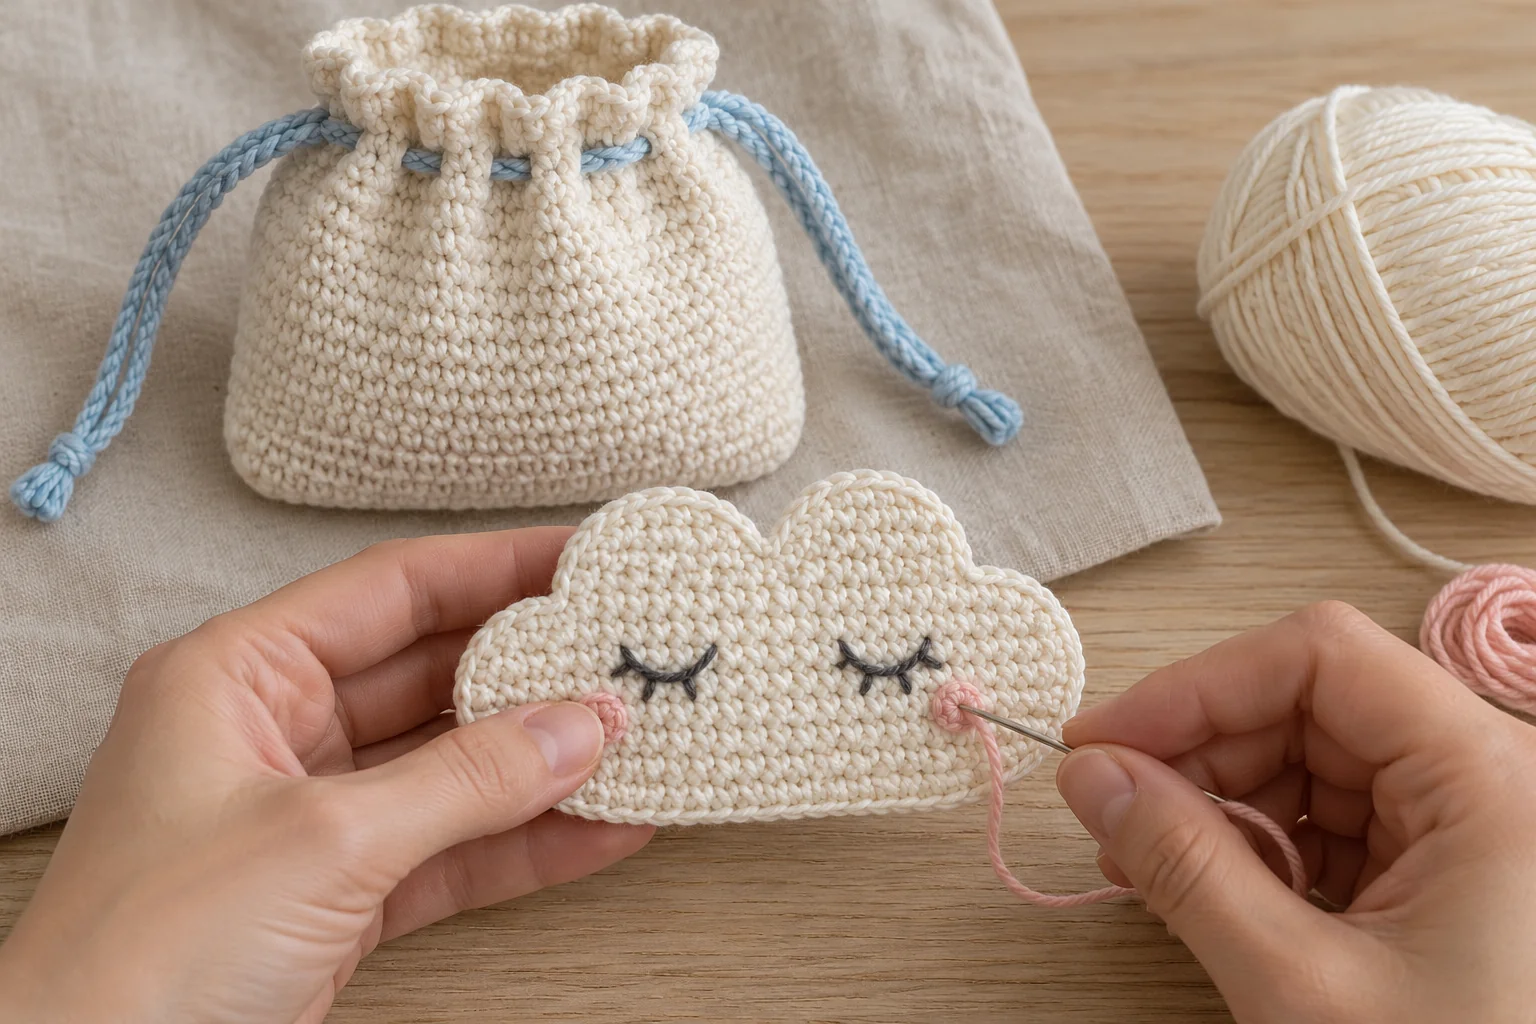
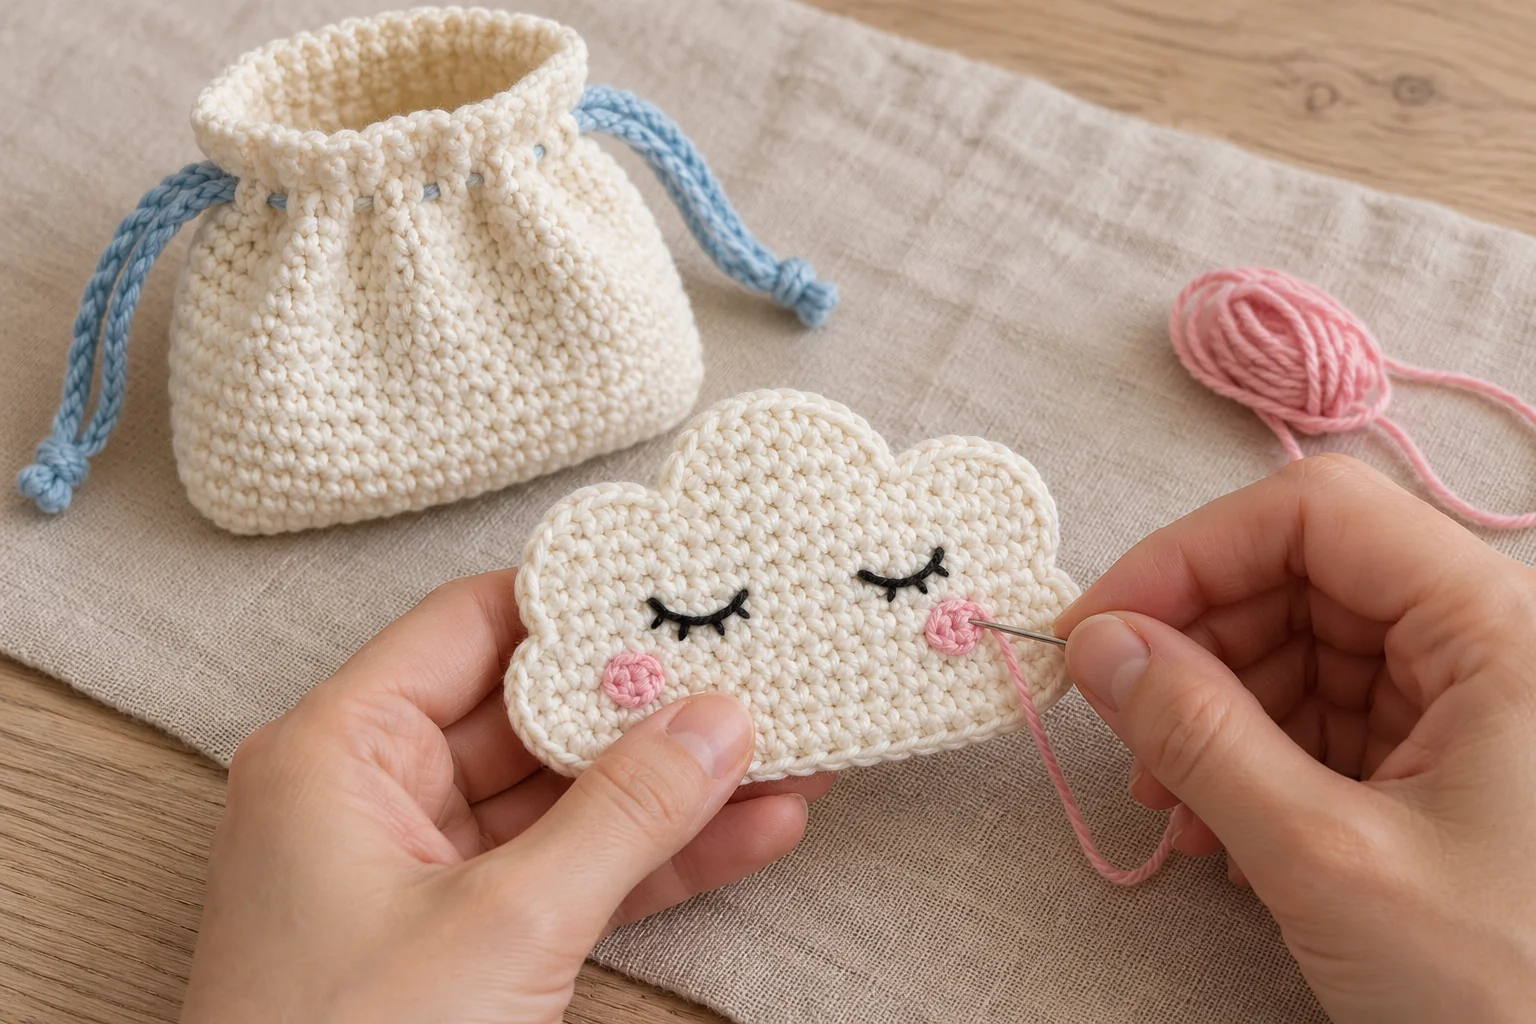
Use black yarn to stitch two short downward curves on the cloud rectangle. Make each eye with two or three small stitches rather than one long loose strand.
Add a few pink stitches beside the eyes for cheeks. Keep the face centered below the middle hump. You can omit a mouth for a simple sleepy expression.
Complete the embroidery before attaching the cloud to the pouch. This lets you secure the ends on the back of the appliqué without sending dark thread through the bag wall.
For help with neat attachment stitches, see how to sew crochet pieces together. Keep the face stitches close to the fabric and avoid pulling them into deep dents.
Step 7: Assemble the Crochet Cloud Pouch
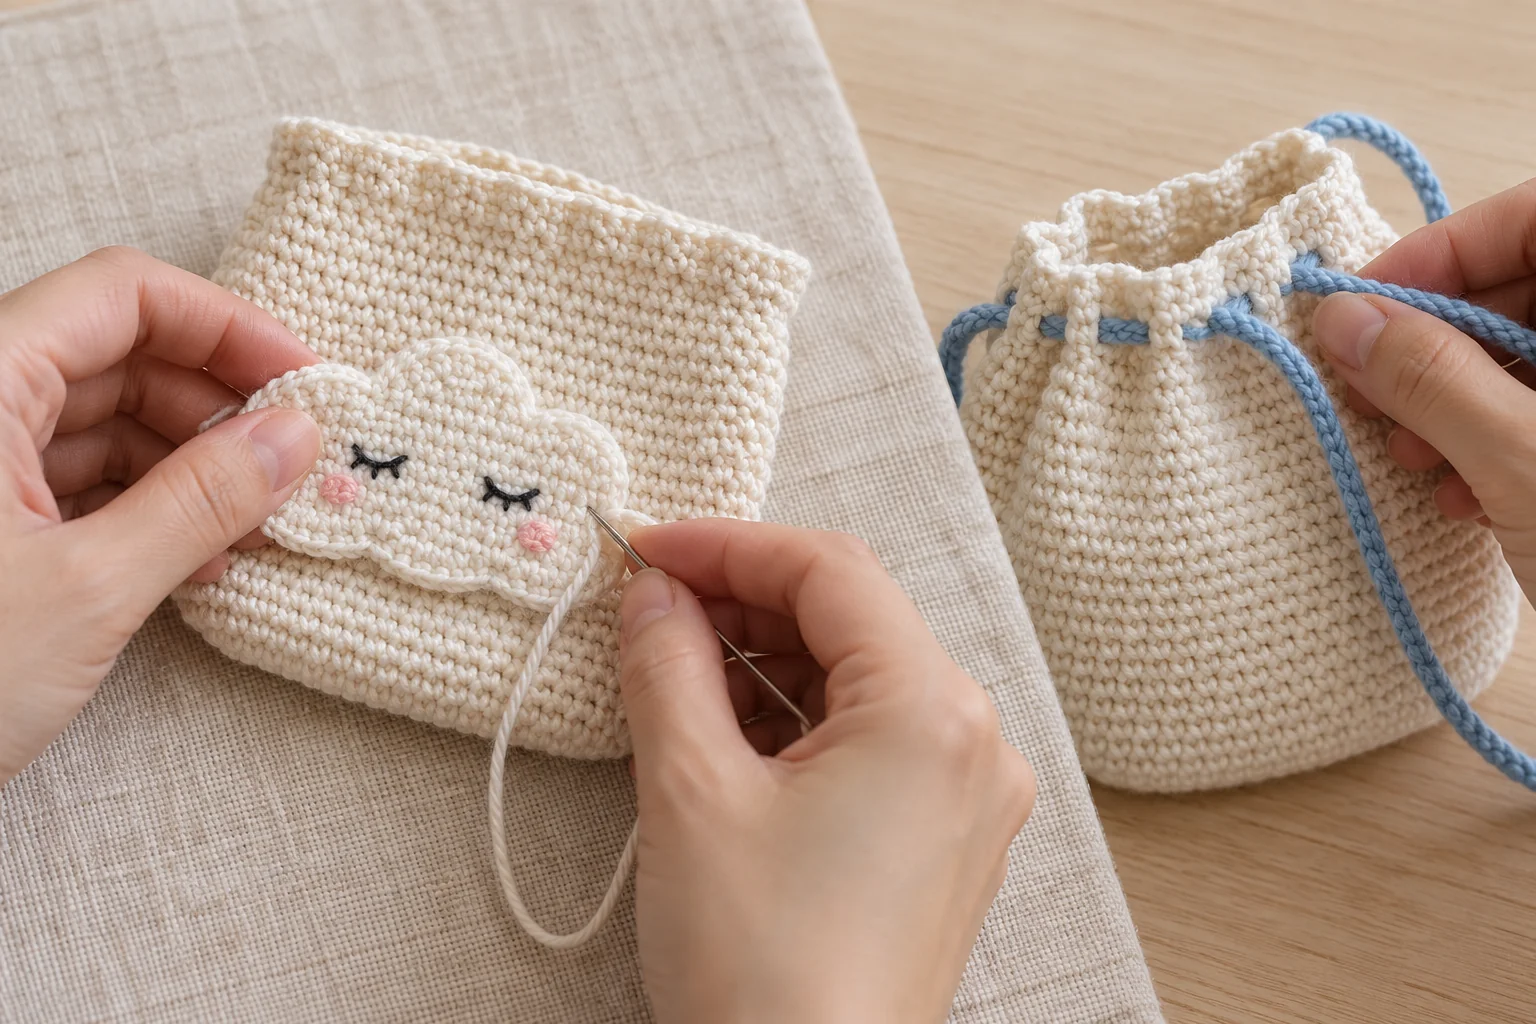
Position the cloud on the pouch front below the eyelets. Keep one hand inside the bag while sewing so you do not accidentally join the front and back walls.
Sew around the lower rectangle and along the lower parts of the three humps. Add a few small securing stitches near the upper humps if they lift too far from the bag. Keep the cloud shape visible.
For each blue cord, begin with a chain long enough to travel around the eyelet path and leave short ends for tying. Start by checking a chain of sixty against your pouch, then add or remove chains as needed. Make two equal cords.
Thread the first cord through all six eyelets, returning to its starting side. Thread the second through the same path from the opposite side. Tie each cord’s own two ends together in a secure knot.
Pull the two knotted pairs gently apart to gather the opening. The bag should close without the cord cutting into the eyelets. If the chain is too thick to move freely, remake both cords in finer matching yarn.
Uses, Finishing, and Care
Try the pouch for a folded message, a small dry gift, or lightweight craft notions that cannot fall through the fabric. A crochet bow charm can decorate the gift wrapping separately.
For another small bag shape, see the crochet black cat pouch or the acorn drawstring pouch. A granny square tote offers a larger project when you want more carrying space.
Follow the yarn care label. Reshape the cloud after cleaning and dry fully. Keep the drawstrings away from young children and pets, and do not use this small unlined pouch for heavy or sharp items.
Crochet Cloud Pouch: Frequently Asked Questions
Does the cloud need stuffing?
No. The cloud is a flat layered appliqué. Keeping it unstuffed reduces bulk on the pouch front.
Can I make the bag taller?
Yes. Add even thirty-stitch rounds before the eyelet round. The cord openings and upper edge stay the same.
Why does my drawstring stick?
The cord may be too thick or a tail may block an eyelet. Check all six openings and use finer cord yarn if needed.
Can I use one drawstring?
One can gather the opening, but the written design uses two from opposite sides for a balanced pull.
Is a lining included?
No. The pouch is unlined. Consider what can pass through your actual crochet fabric before choosing its contents.
Can I leave the face off?
Yes. The three-hump cloud silhouette works as a plain decoration in the same ivory yarn.
Finish Your Crochet Cloud Pouch
Check the cloud seams, eyelets, and cord knots. Your crochet cloud pouch is ready for a small lightweight gift. Record the finished dimensions and cord length if you plan to make another.