Crochet Acorn Drawstring Pouch – Free Autumn Bag Pattern
Make an autumn crochet acorn drawstring pouch with a rounded tan body, textured brown cap, and matching cord. Includes round-by-round instructions and finishing tips.
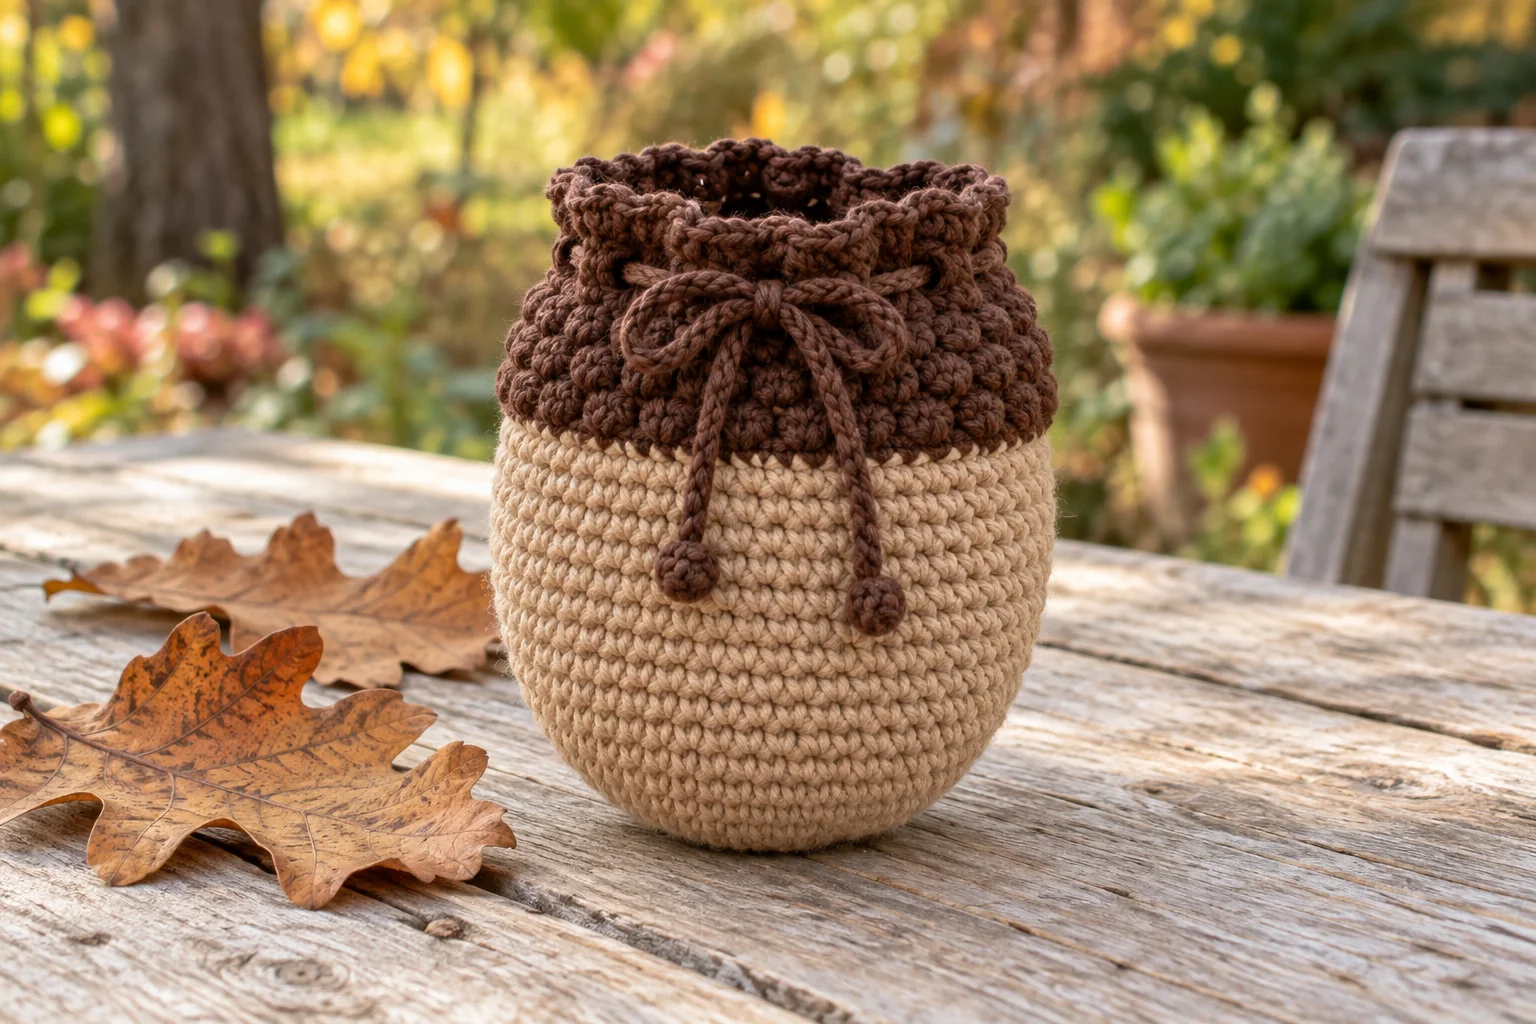
Bring a little woodland charm to your crochet projects with this acorn-inspired drawstring pouch. A warm tan body forms the rounded nut shape, while a textured brown upper band gives the impression of an acorn cap.
The brown section remains open at the top, making this a usable pouch rather than a stuffed decoration. A matching crochet cord passes through eyelets near the rim and gathers the opening closed.
This free crochet acorn drawstring pouch pattern includes the body, textured upper section, drawstring, and finishing instructions. Use it for small accessories, wrapped treats, or an autumn gift.
Pattern note: This is an original written pattern that has not been physically tested. The generated images illustrate the intended design rather than a verified sample. Follow the written stitch counts and expect differences in proportions depending on your yarn, hook, and tension.
Project Overview
- Skill level: Confident beginner to intermediate.
- Crochet terms: US.
- Construction: Worked from the bottom upward.
- Main stitches: Single crochet, increases, decreases, and bobbles.
- Closure: One crochet drawstring threaded through six eyelets.
- Estimated height: Approximately 10–14 cm with DK cotton and a small hook.
The finished size is an estimate. There is no required gauge for this decorative pouch, but your fabric should be firm enough to hold its shape. The design has no separate lid, handles, or lining. Its brown upper section is part of the pouch itself.
Materials and Tools
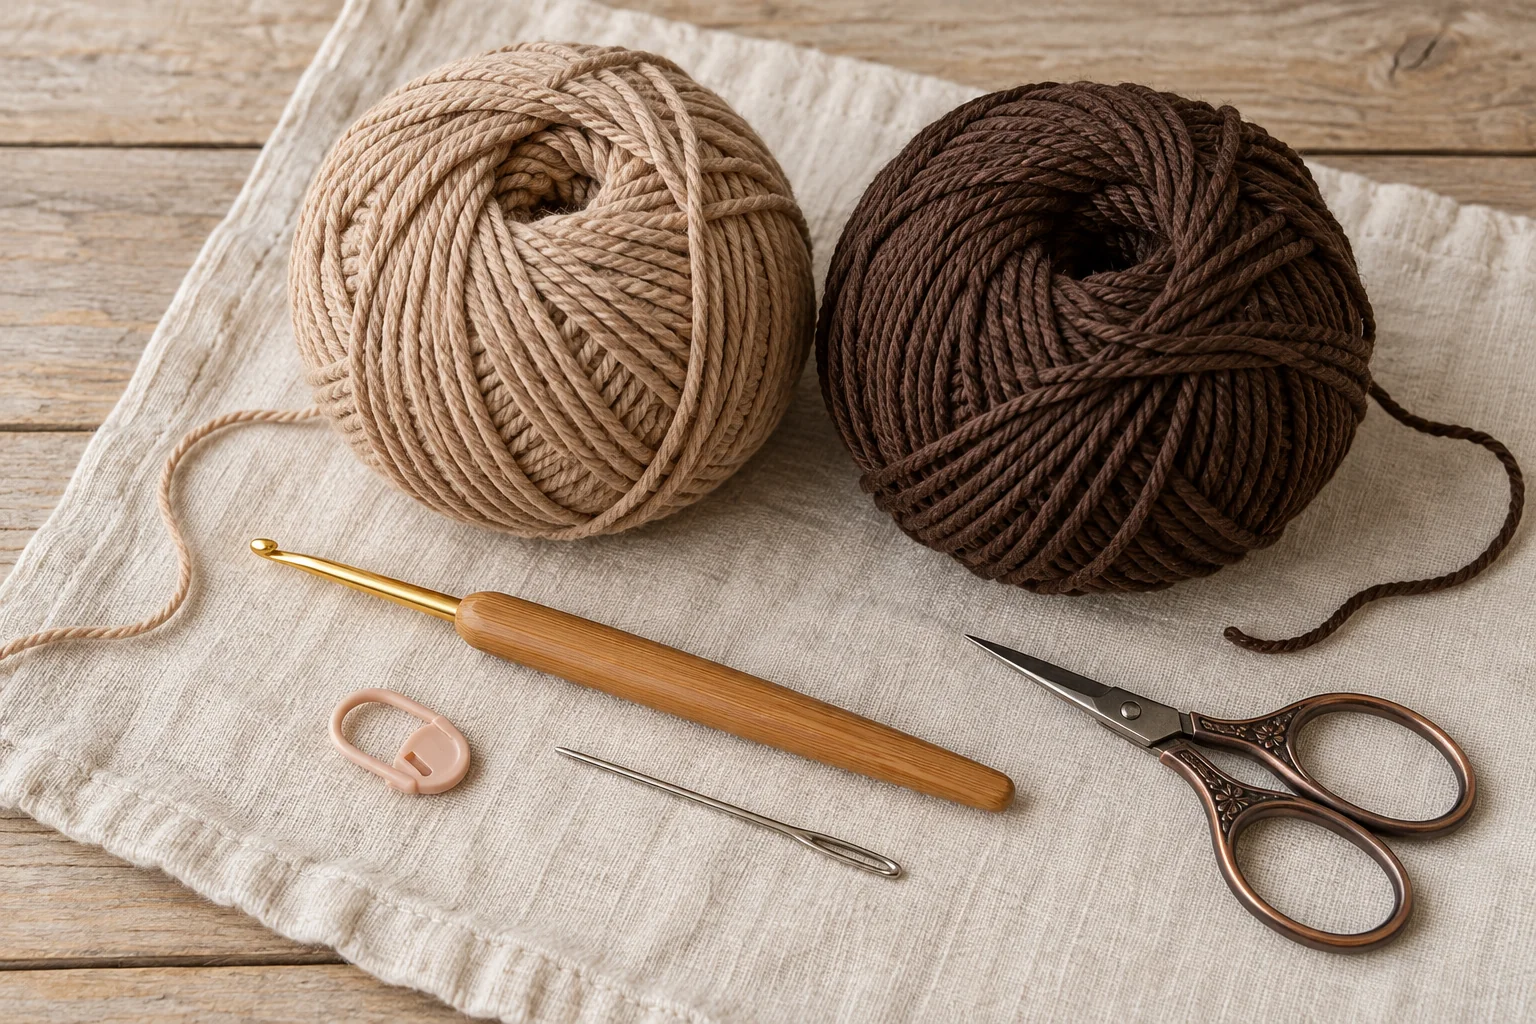
You will need:
- DK cotton yarn in light tan; allow approximately 40 g.
- DK cotton yarn in dark brown; allow approximately 25 g.
- A 3 mm crochet hook, or a size that produces firm fabric.
- A stitch marker.
- A blunt yarn needle.
- Scissors.
- A removable marker for the beginning of the brown section.
These yarn quantities are preparation allowances rather than measured consumption from a tested sample.
Use yarns of a similar thickness for both colors. A much heavier brown yarn may make the upper section stiff or noticeably wider than the tan body.
Cotton gives the pouch a clear stitch texture. If you choose another fiber, make a small practice section to check that the fabric holds its shape without becoming difficult to gather.
Do not add stuffing. The inside must remain empty so the pouch can hold small items.
Abbreviations
| Abbreviation | Meaning |
|---|---|
| MR | Magic ring |
| ch | Chain |
| sc | Single crochet |
| dc | Double crochet |
| inc | Work 2 sc into the same stitch |
| dec | Single crochet 2 stitches together |
| sl st | Slip stitch |
| R | Round |
Numbers in parentheses show the total stitch count at the end of each round. Instructions such as (3 sc, inc) × 6 mean repeat the sequence six times.
Unless instructed otherwise, work in continuous rounds without joining. Move the stitch marker to the first stitch of every new round.
How to Make the Bobble Stitch
Each bobble in this pattern uses five unfinished double crochet stitches worked into one stitch.
- Yarn over, insert the hook into the indicated stitch, yarn over, and pull up a loop.
- Yarn over and pull through two loops. Leave the remaining loops on the hook.
- Repeat those movements four more times in the same stitch.
- You should now have six loops on the hook.
- Yarn over and pull through all six loops.
The completed bobble counts as one stitch. Do not add a closing chain. Push the bobble toward the outside of the pouch if it settles inward. The next single crochet helps hold it in place.
Practice a few bobbles before starting the brown section. Keep them relaxed enough to work comfortably, but avoid leaving long loose loops.
Before You Begin
The tan base starts with a small circle and grows gradually. Straight rounds build the main body, then two decrease rounds narrow the opening before the brown band begins.
Count your stitches after every increase and decrease round. Correcting a missed stitch early is easier than adjusting the textured band later.
The drawstring eyelets are made with chains and skipped stitches. In those rounds, the chains count toward the total circumference.
Keep the pouch empty throughout construction. You can place a small folded cloth inside temporarily for photography, but remove it before using the bag.
Step 1: Crochet the Rounded Base
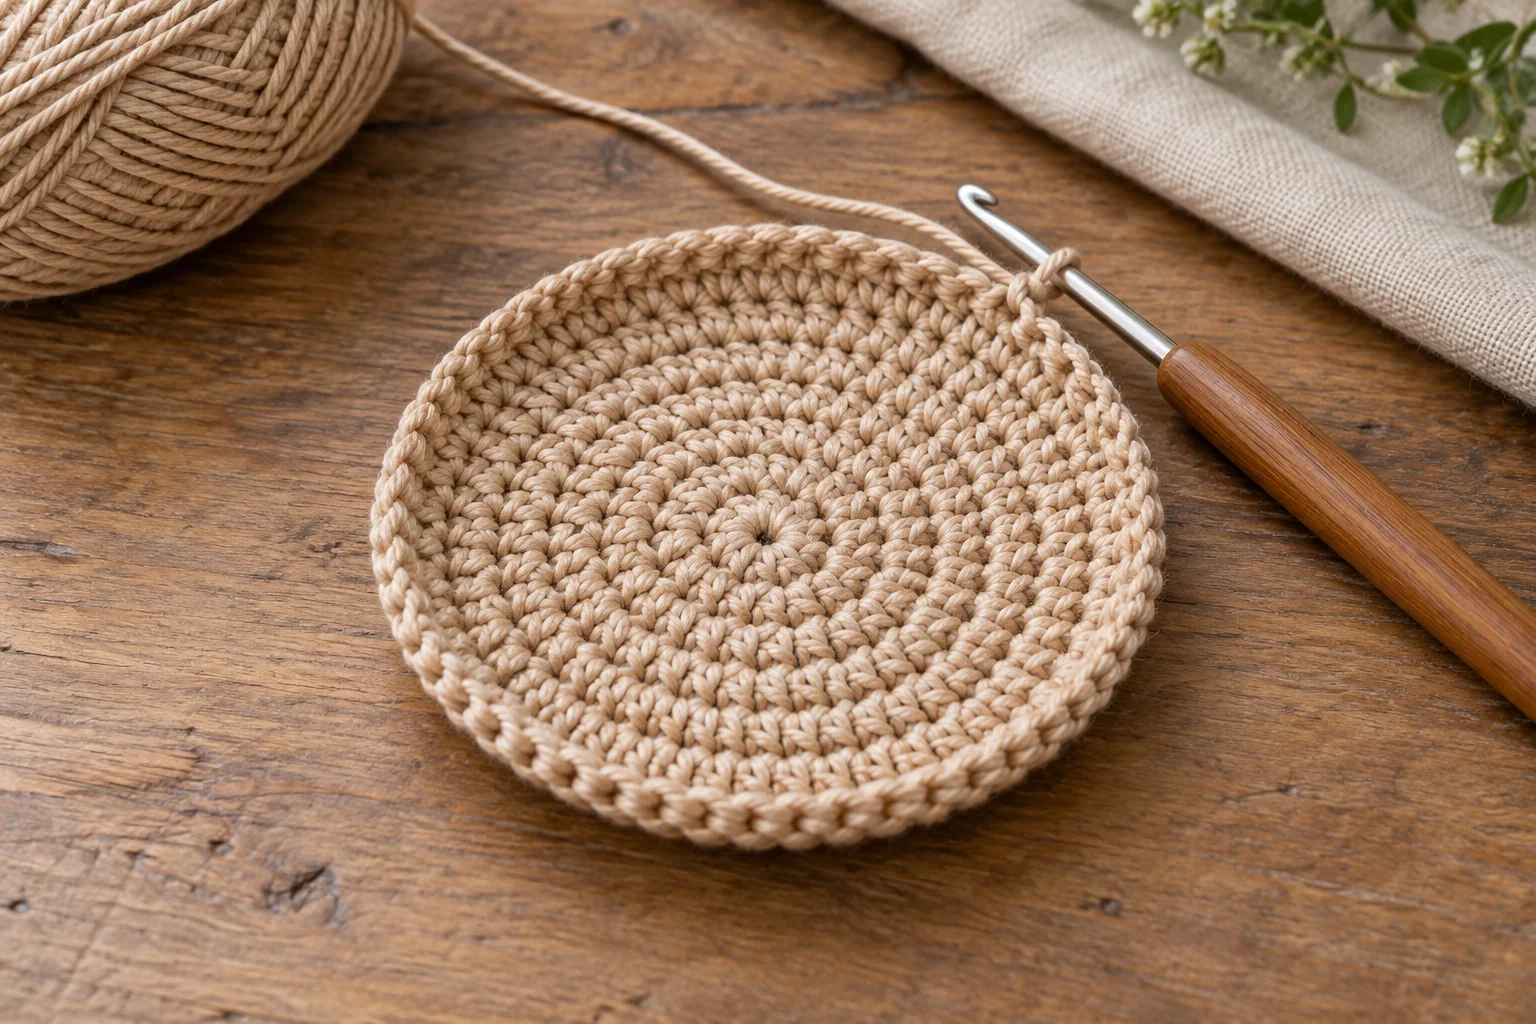
Use light tan yarn.
- R1: Work 6 sc into a MR. (6)
- R2: Inc in each stitch around. (12)
- R3: (1 sc, inc) × 6. (18)
- R4: (2 sc, inc) × 6. (24)
- R5: (3 sc, inc) × 6. (30)
- R6: (4 sc, inc) × 6. (36)
- R7: (5 sc, inc) × 6. (42)
- R8: (6 sc, inc) × 6. (48)
Pull the magic ring closed and secure the starting tail on the inside. The base begins as a circle. Its rounded lower shape develops as you add the side rounds, so do not expect a finished acorn silhouette at this stage.
Check that R8 contains 48 stitches before continuing. If the base ripples heavily, confirm that you have not added extra increases. If it cups slightly, continue a few side rounds before deciding whether the tension needs adjustment.
Step 2: Build the Tan Pouch Body
Continue in light tan.
- R9–R20: Sc in each stitch around. (48 each round)
These twelve rounds create the main storage section. Smooth the sides gently with your fingers as you work. Keep the fabric relaxed rather than stretching it flat.
The lower body should appear rounded, with enough depth to hold small items. It will soften and change shape when filled.
For a shorter pouch, you may omit a few of these straight rounds. For a taller version, add straight rounds before the shaping section. Keep the stitch count at 48 so the following decreases still match. Remember that changing the height also changes the amount of yarn required.
Step 3: Narrow the Upper Body
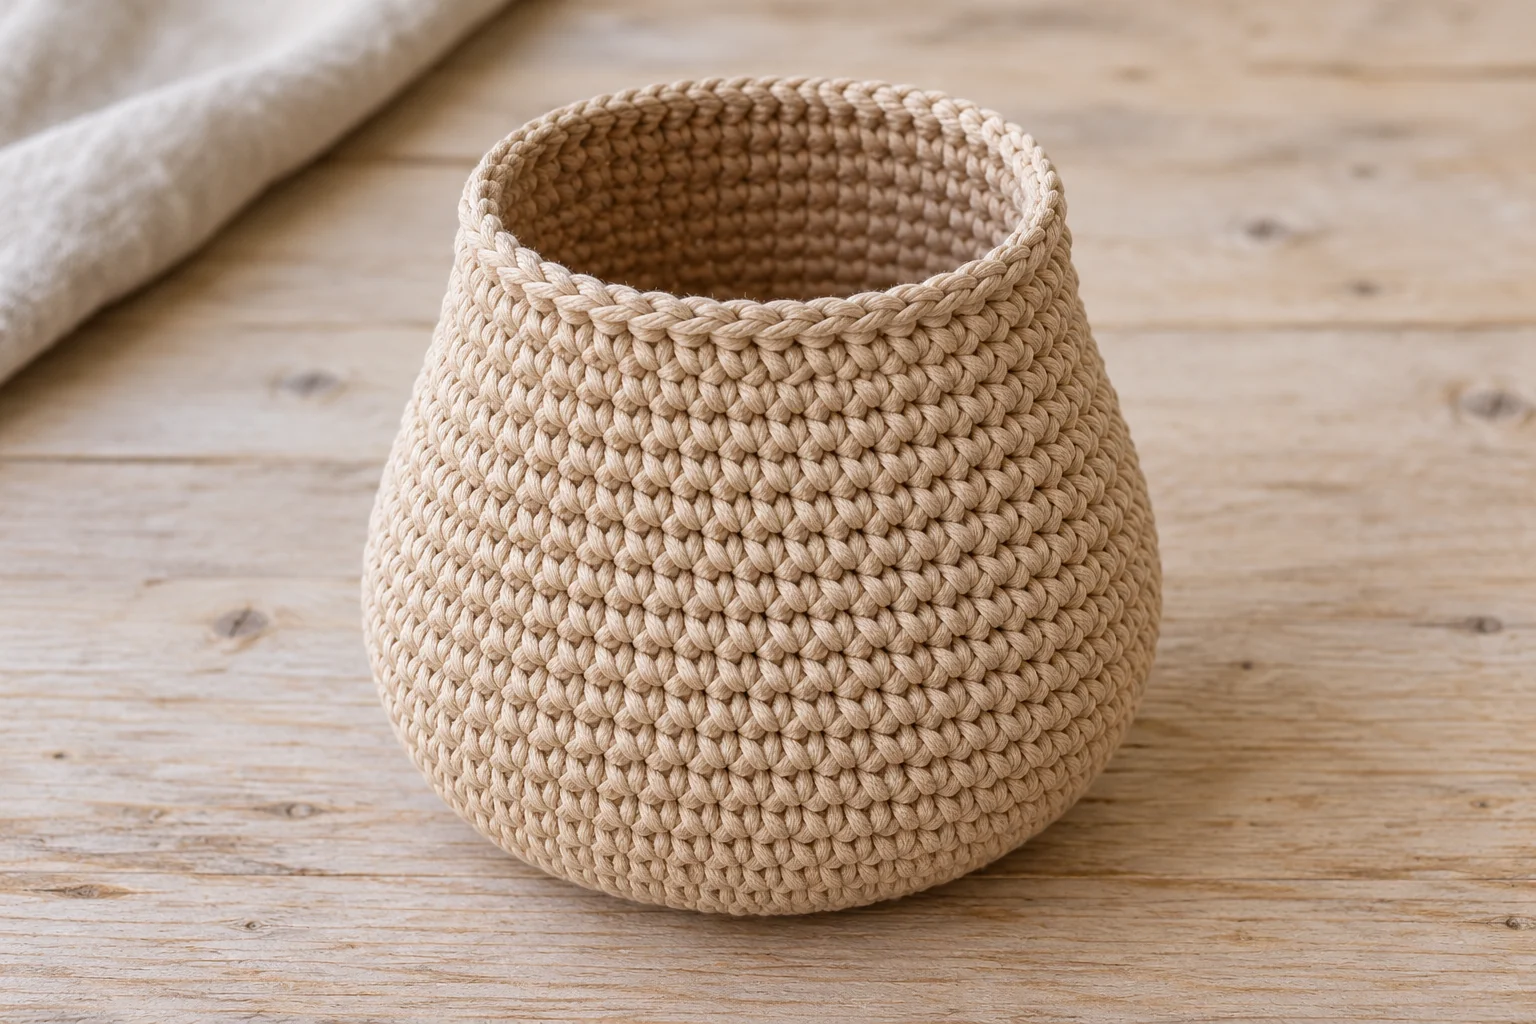
Continue in tan.
- R21: (6 sc, dec) × 6. (42)
- R22: (5 sc, dec) × 6. (36)
These rounds gently narrow the body toward the brown cap. Avoid pulling the decreases unusually tight. The transition should be smooth, and the opening must remain flexible enough to gather later.
At the end of R22, check that you have 36 stitches. Change to dark brown on the final yarn-over of the last stitch. Cut the tan yarn, leaving enough tail to weave securely into the inside of the pouch.
Step 4: Crochet the Textured Brown Cap
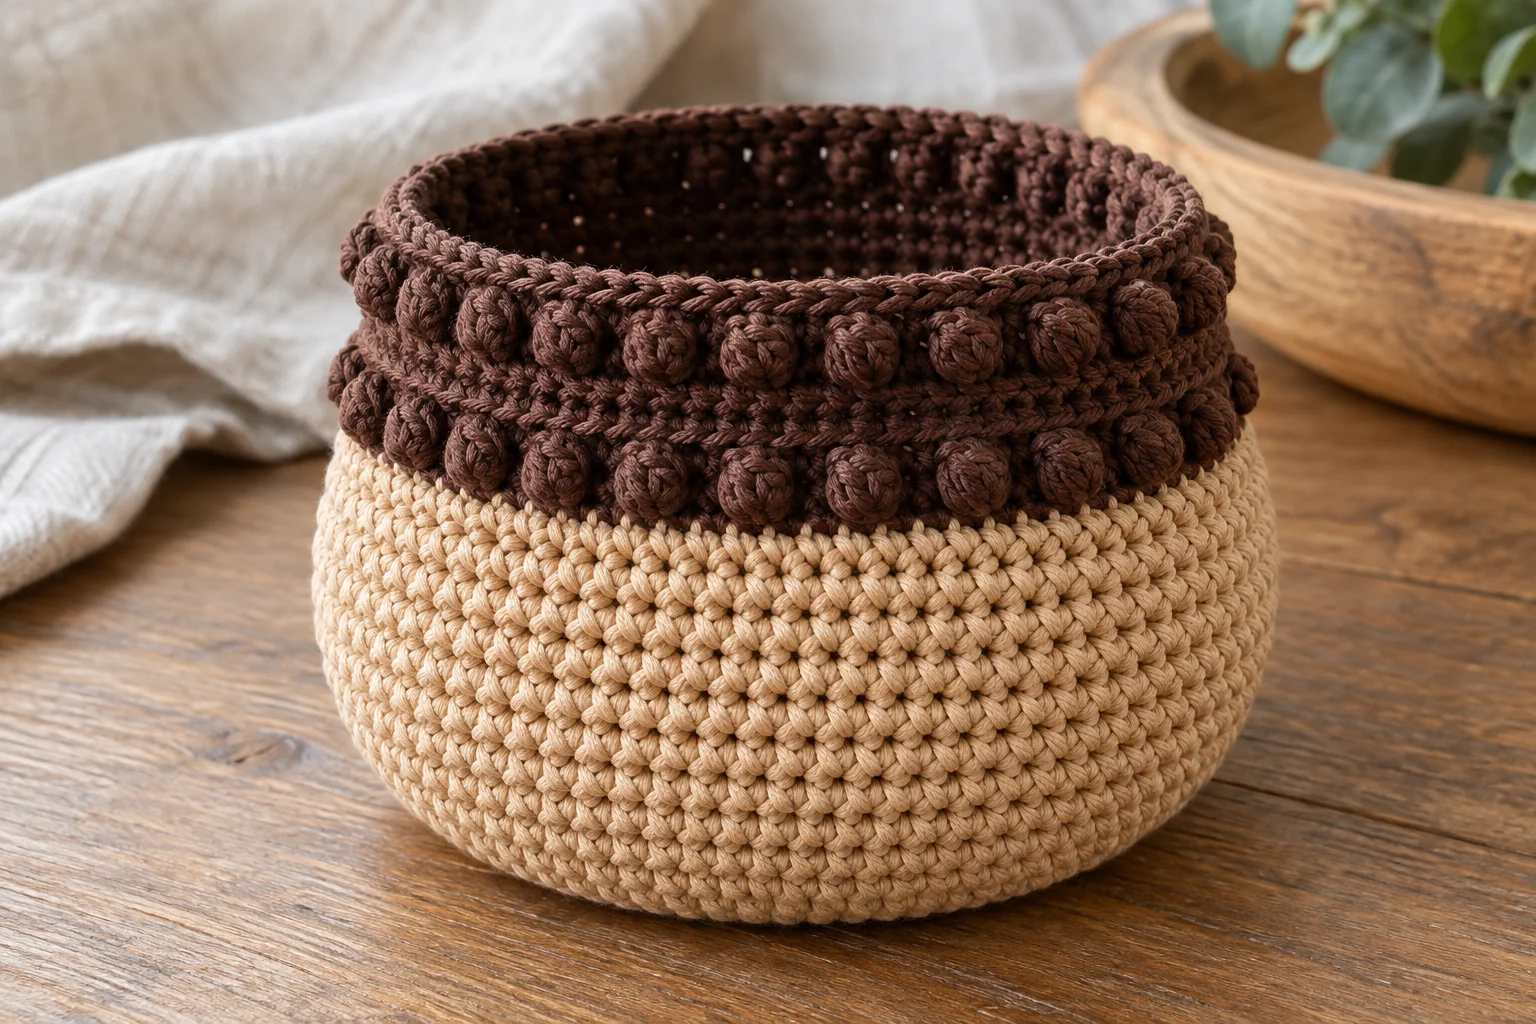
Continue with dark brown yarn.
- R23: Sc in each stitch around. (36)
- R24: (2 sc, bobble) × 12. (36)
- R25: Sc in each stitch around. (36)
- R26: (2 sc, bobble) × 12. (36)
- R27: Sc in each stitch around. (36)
Each textured round contains 24 single crochet stitches and 12 bobbles. Because every bobble counts as one stitch, the total remains 36.
After R24 and R26, check that the bobbles sit on the outside. Gently push any inward-facing bobble outward before continuing.
The plain rounds between the bobbles make the upper section easier to handle and give the texture room to stand out. Keep the brown band flexible. If the bobbles are tightly compressed, the top may become harder to gather with the drawstring.
Step 5: Make the Drawstring Eyelets
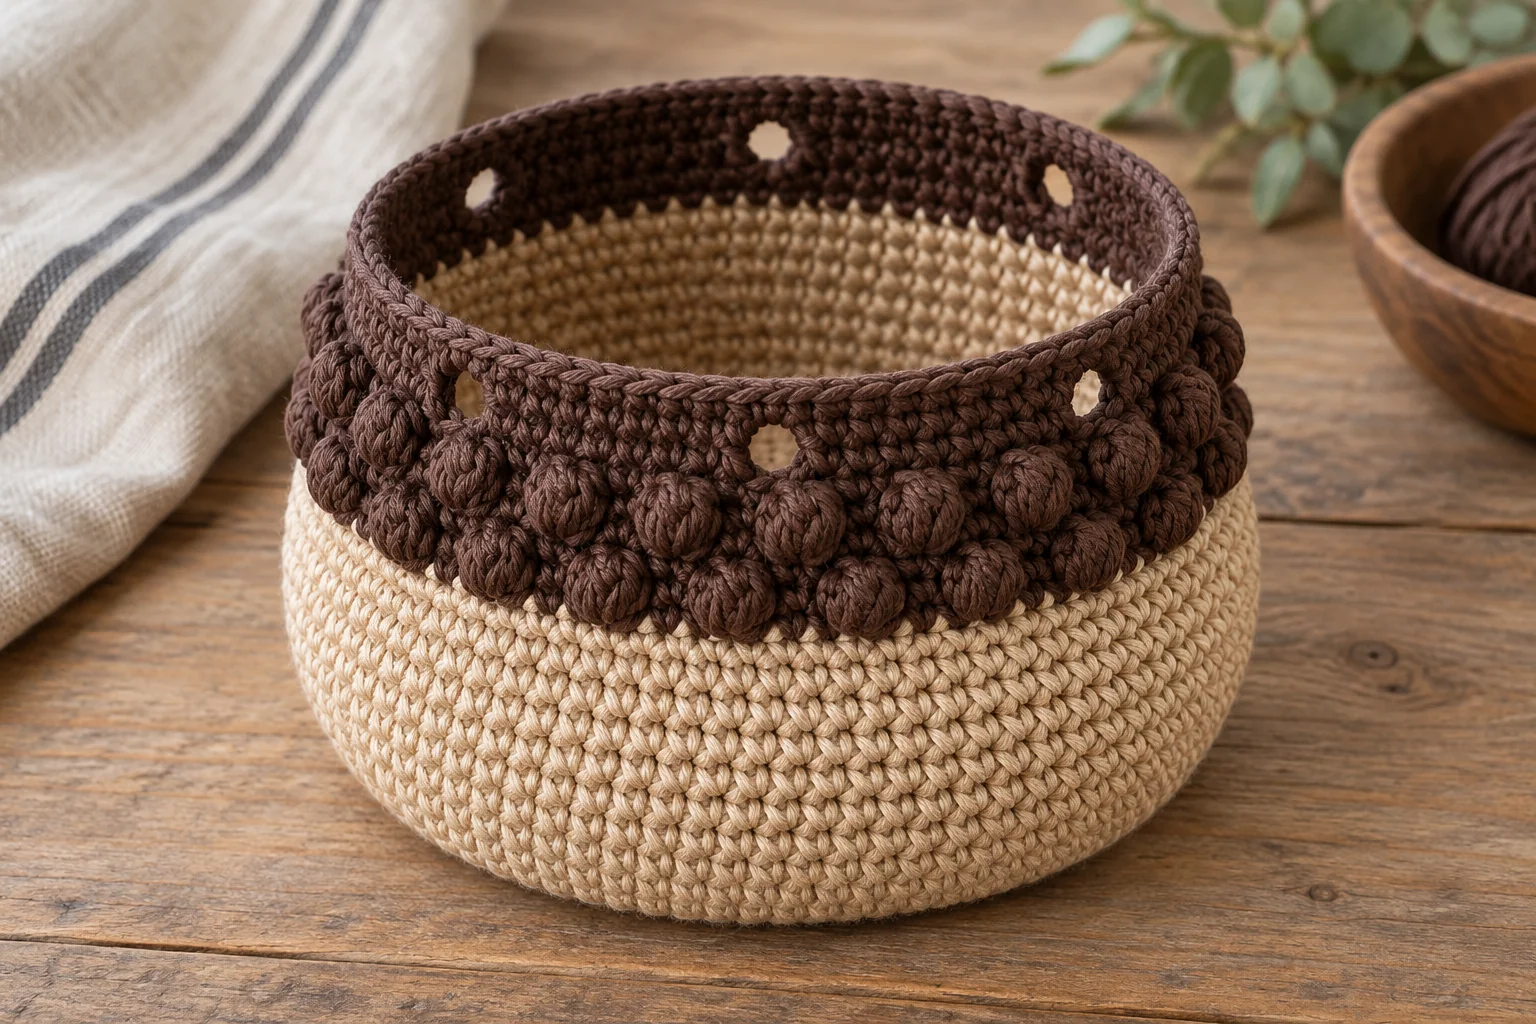
Continue in brown.
- R28: (4 sc, ch 2, skip the next 2 stitches) × 6. (36, counting the chains)
You should now have six evenly spaced eyelets. This round contains 24 single crochet stitches and twelve chains. The chains replace the twelve skipped stitches.
- R29: Repeat 4 sc, 2 sc into the next ch-2 space six times. (36)
- R30: Sc in each stitch around. (36)
In R29, work the two stitches into each chain space, rather than into the individual chains. This creates a neat upper edge around the openings.
Finish with a sl st into the next stitch. Fasten off and weave in the end. Check that all six eyelets remain accessible. They should be large enough for the crochet cord to pass through without forcing it.
Step 6: Crochet the Brown Drawstring
Use dark brown yarn.
- Foundation: Ch 101.
- Row 1: Starting in the second chain from the hook, sl st into each chain across. (100 sl sts)
Fasten off and weave in both ends. Slip stitches can tighten the foundation considerably. Work them gently so the cord remains flexible.
Before threading, wrap the cord loosely around the pouch opening. It needs enough length to travel around the rim and leave two ends for tying a bow.
If your cord is too short, make a longer foundation chain. If it is much too long, remake it with fewer chains rather than cutting through the finished stitches.
Small knots at the cord ends are optional. The written pattern does not include separate crocheted end beads.
Step 7: Thread the Cord and Finish
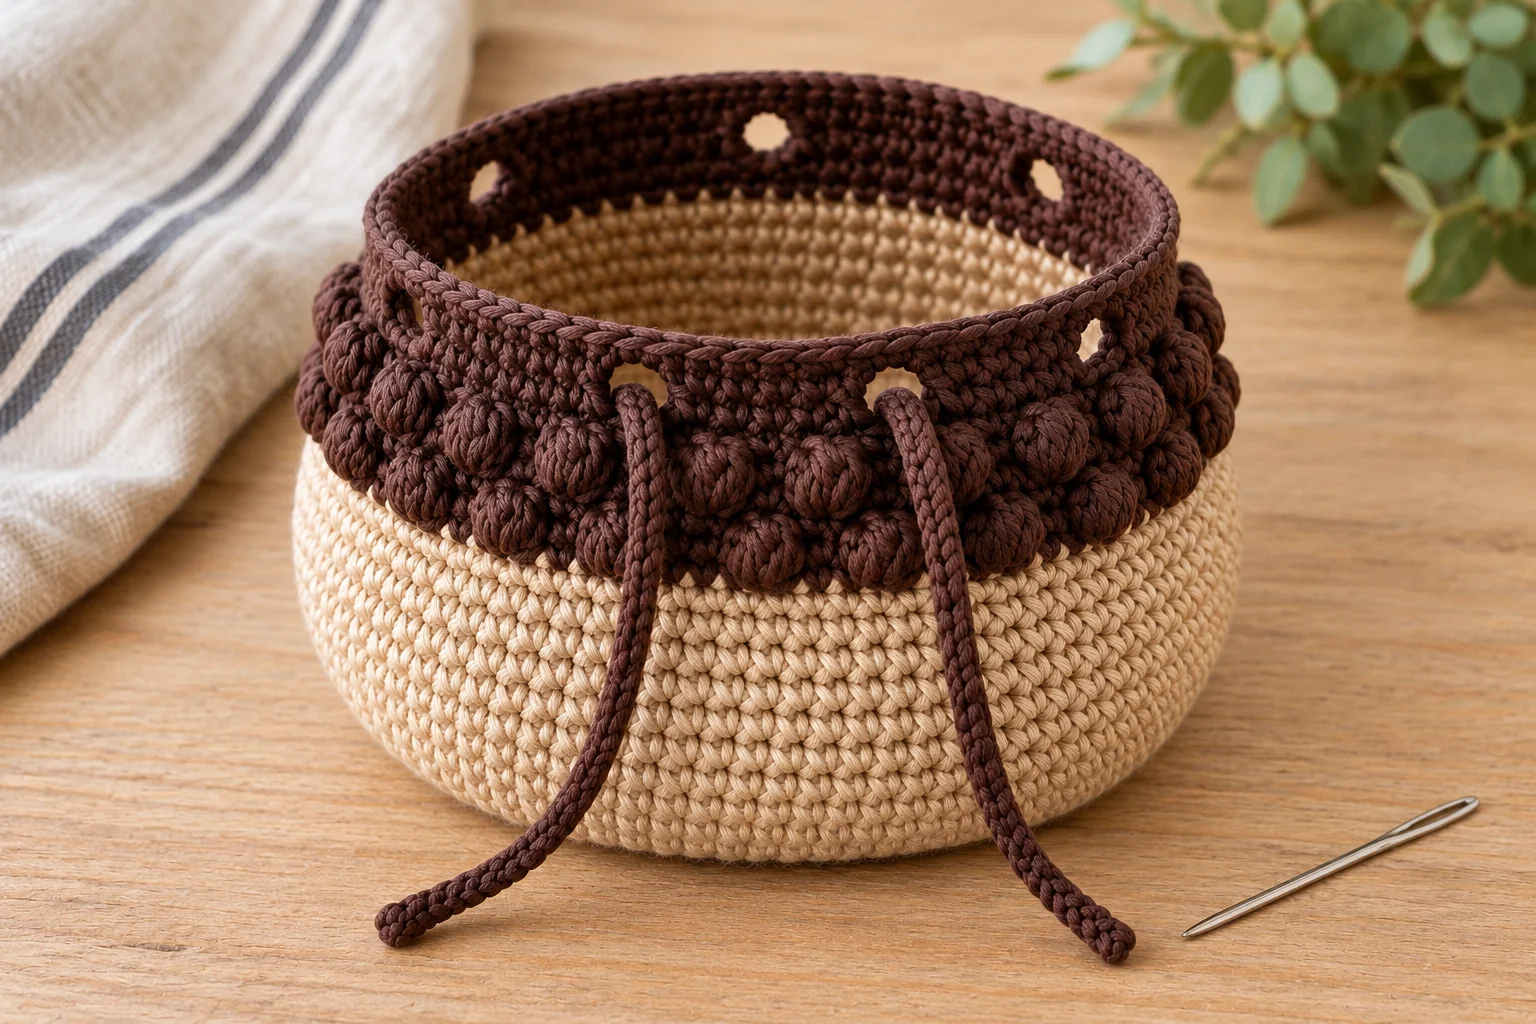
Choose one eyelet as the front starting point. Using a yarn needle, thread the cord through that eyelet and continue around the pouch, weaving alternately through the remaining openings.
Bring the second end back out through the starting eyelet. Both ends should now emerge together at the front. Center the cord so the ends are approximately equal.
Pull them gently to gather the opening, then tie a loose bow. To open the pouch, untie the bow and spread the rim with your fingers.
Check that the cord slides freely through the eyelets. The closure should gather the top without twisting the brown band. Finish by weaving in any remaining yarn tails and inspecting the magic ring at the base.
Troubleshooting
The base has a visible hole
Tighten the magic ring and secure its tail through several nearby stitches. Do not rely on a single loose knot to keep the center closed.
The tan body looks too cylindrical
Check that you completed both decrease rounds before changing to brown. The narrowing at R21 and R22 helps distinguish the rounded body from the cap.
The bobbles disappear inside the pouch
Push them outward after each textured round. Make sure the following single crochet is snug enough to hold the bobble without crushing it.
The brown section feels stiff
Loosen your bobble tension and check that the brown yarn is not thicker than the tan yarn. The cap needs to bend when gathered.
The drawstring does not slide smoothly
Check for tight chains in the eyelet round and an overly thick cord. Avoid pulling forcefully, which can stretch the openings.
Small items can slip through the fabric
Crochet fabric is not a sealed container. Use a small inner bag for tiny objects, or add a separately made fabric lining if you have the sewing skills to fit one.
Color and Gift Ideas
Light tan and dark brown create a natural woodland palette. You can also use warm beige with chestnut brown, or muted gold with a deeper chocolate cap.
Keep the lower body lighter than the upper band if you want the acorn shape to remain easy to recognize.
For gift wrapping, place a small wrapped present inside and tie the cord loosely. Avoid overfilling the pouch, since a tightly packed body prevents the top from gathering comfortably. Use an inner wrapper for food rather than placing unwrapped treats directly against the yarn.
Frequently Asked Questions
Is this crochet acorn drawstring pouch suitable for beginners?
It suits confident beginners who can work in rounds, increase, decrease, and make simple bobbles. Practicing the bobble stitch first will make the brown section easier.
Does the pouch need stuffing?
No. This is an open storage pouch. Stuffing would prevent it from functioning as a bag.
Is the brown cap a separate lid?
No. The brown section is crocheted directly onto the tan body and remains open at the top. The drawstring closes the opening.
Can I use thicker yarn?
Yes, but the pouch will become larger and may need a longer cord. Choose a hook that produces firm fabric and check that the eyelets fit your drawstring.
Can I replace the bobbles with single crochet?
Yes. Work 36 sc in R24 and R26 instead. The cap will have a smoother surface, while the stitch counts and closure remain the same.
Can I make the pouch taller?
Yes. Add extra 48-stitch rounds in the tan body before R21. Keep the shaping and brown cap instructions unchanged.
Will my pouch look exactly like the images?
The images illustrate the intended design. The pattern has not been physically tested, and your result will vary with yarn, tension, and finishing. Use the written construction as your guide.
Your Crochet Acorn Pouch Is Finished
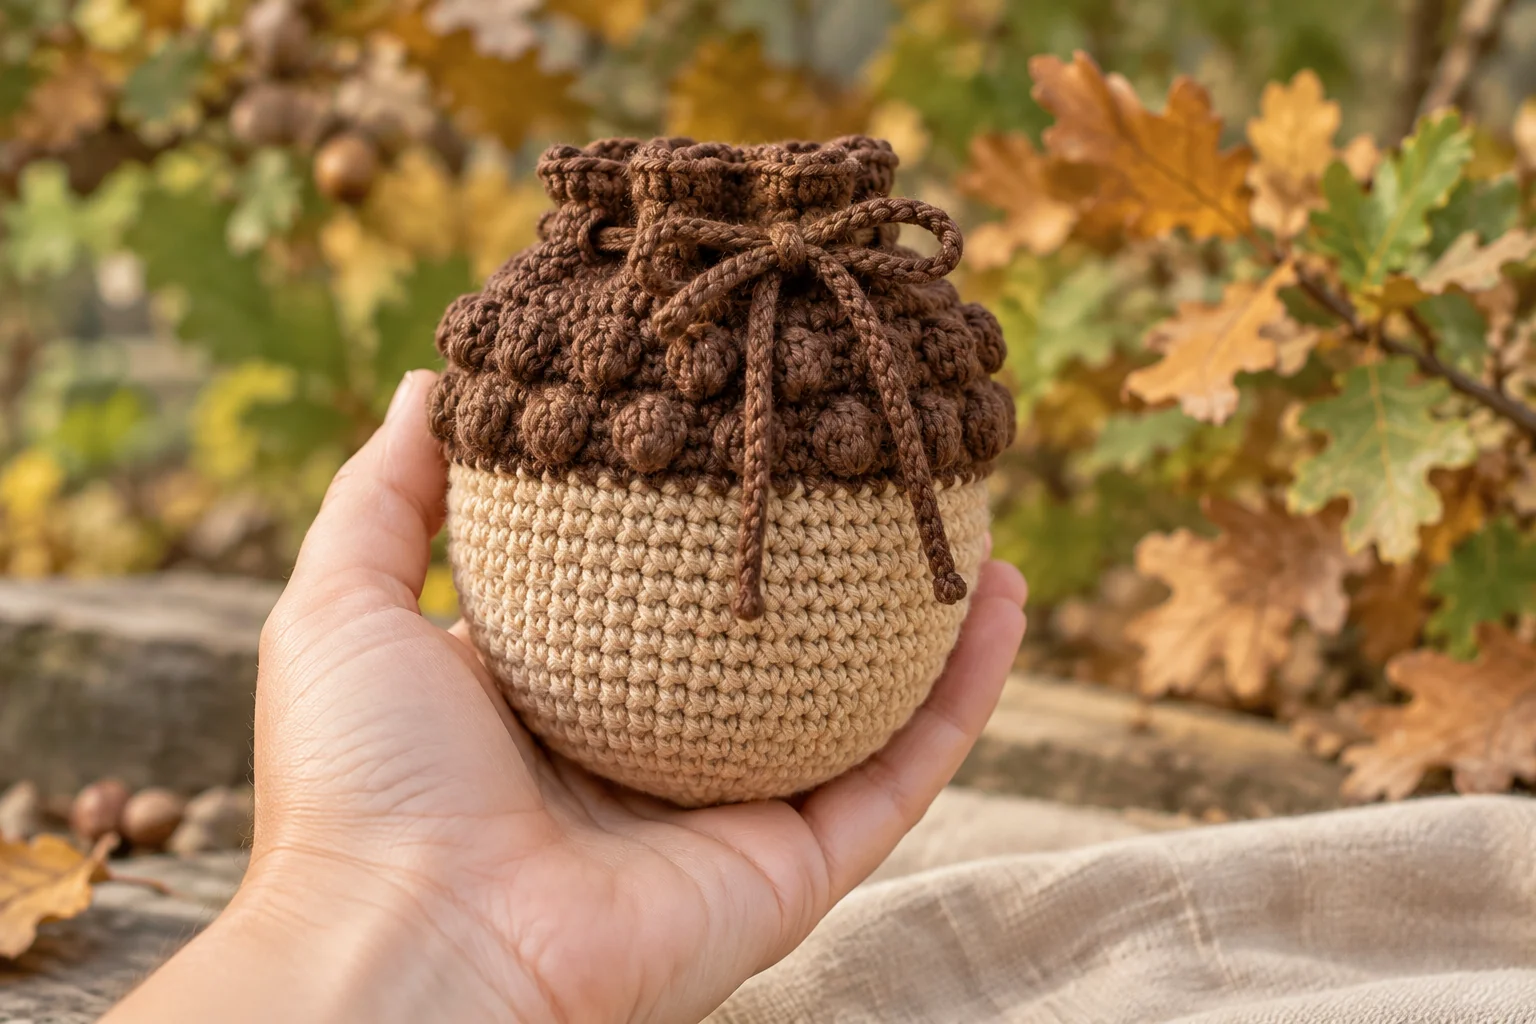
Open and close the drawstring several times to check that it moves freely. Straighten the textured brown band and inspect the base and woven ends.
Your crochet acorn drawstring pouch is ready to hold small accessories or become part of an autumn gift. Its rounded tan body and textured cap bring a simple woodland theme to a useful little bag.
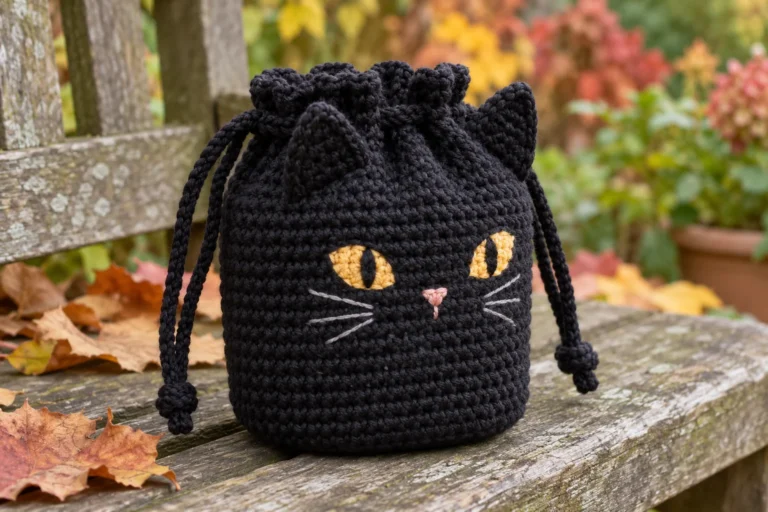
For another seasonal bag project, explore our crochet Halloween trick-or-treat bag pattern. You can also make a small matching gift accessory with our crochet witch hat keychain pattern.