Crochet Christmas Pickle Ornament – Free Bobble Pattern
Crochet a tiny green Christmas pickle with staggered bobbles, counted rounds, light filling and a reinforced hanger. Includes a clear bobble stitch guide.
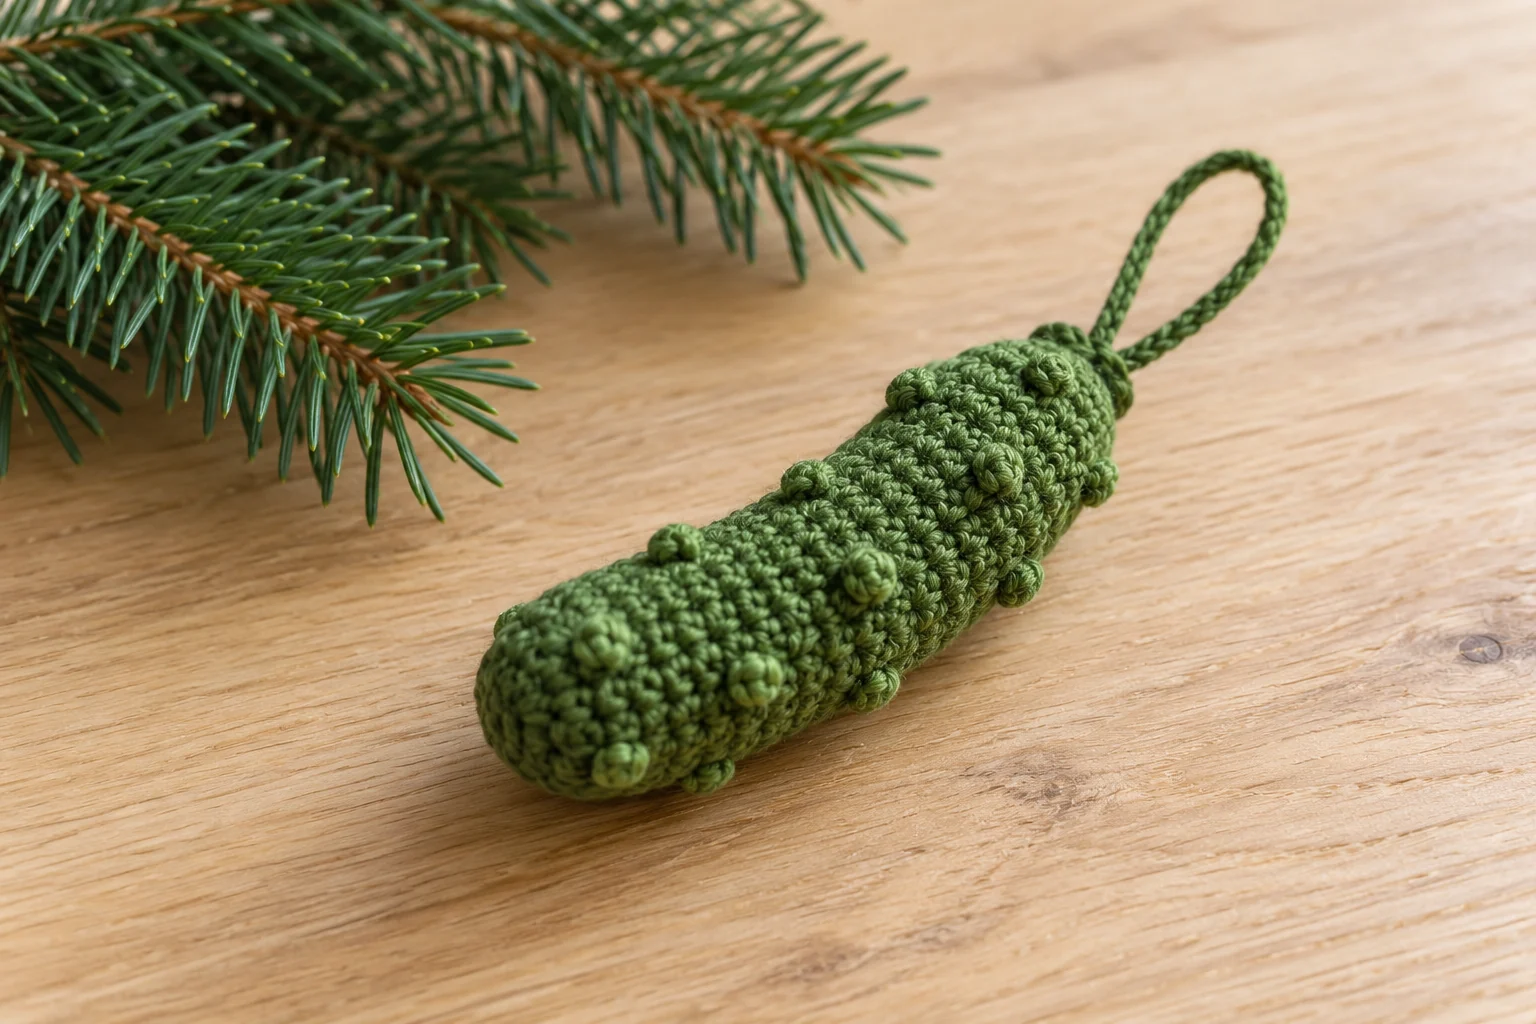
A Tiny Bumpy Green Christmas Decoration
This crochet Christmas pickle ornament uses a narrow stuffed shape and small crochet bobbles to create a playful green decoration. Begin with a rounded end, work a slim body with staggered texture, then decrease and close the other end. A separate green chain forms the hanger, keeping the finished piece completely yarn based.
The project suits a crocheter who already follows continuous amigurumi rounds and wants to practice bobbles without making a large toy. This is an original written draft with checked stitch arithmetic, not a physically sample-tested pattern. Generated images are illustrative references rather than exact stitch diagrams or tested samples. Finished size and yarn consumption depend on your sample and are not claimed here.
Materials and Texture Choices
Gather smooth green DK cotton, a crochet hook that produces dense single crochet, polyester filling, a removable stitch marker, blunt yarn needle and scissors. A 2.75 mm hook is a starting point to sample. Choose a green that contrasts with your tree if you want the ornament to remain visible among the branches.
Use one yarn thickness throughout the body and bobbles. A thicker strand for the bumps would change their size and make the counting less predictable. Smooth cotton helps you identify the stitch immediately after each bobble. Fuzzy yarn can hide that stitch and encourage an accidental skip.
The ornament needs no wire, buttons, eyes, beads or separate bumps to sew on. Its texture is crocheted directly into the body. It remains a small stuffed hanging decoration, so keep it away from babies and pets. Avoid leaving long loose yarn loops between the surface bobbles.
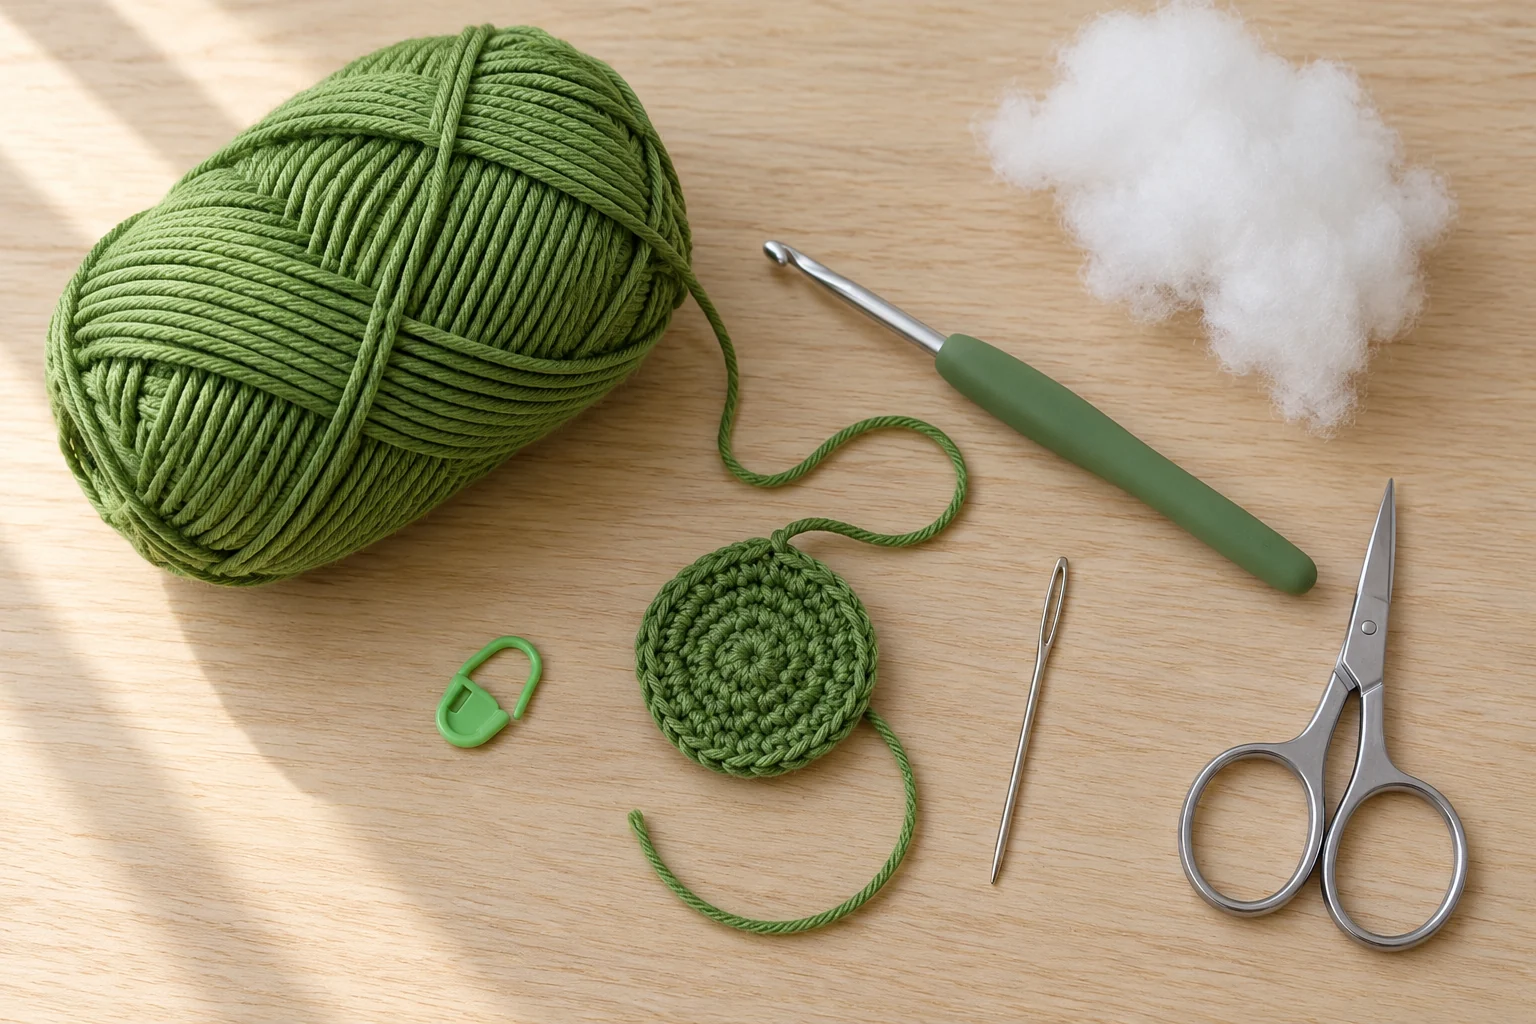
US Crochet Terms and Round Rules
Ch means chain, sc means single crochet, inc means two sc in one stitch, dec means a single crochet decrease over two stitches, st means stitch and FO means fasten off. Work in a continuous spiral without joining or turning. Move the marker into the first completed stitch of each round.
Every body round from Round 3 through Round 13 has 18 stitch positions. A bobble replaces one single crochet in its specified position; it is not added between two stitches. This distinction keeps the body narrow and prevents the textured rounds from widening it.
An invisible decrease works through the front loops of the next two stitches before completing one sc. It consumes two existing stitches and makes one new stitch. See the Craft Yarn Council abbreviation reference for general terminology, and use the specific bobble definition below for this pattern.
How to Make the Five-Leg Bobble
Work the complete bobble into one existing stitch. Yarn over, insert the hook into that stitch, yarn over and pull up a loop, then yarn over and pull through two loops only. Two loops remain on the hook. Repeat that partial-double-crochet action four more times into the same stitch.
You now have six loops on the hook: the original working loop plus one loop retained from each of the five partial stitches. Yarn over and pull through all six loops to close the bobble. Do not add a chain after it in this pattern. The closed top counts as one stitch.
Push the bump toward the outside of the ornament, then work the next sc into the next actual stitch of the previous round. On the following round, work one sc into the bobble’s single closed top. Practice this stitch on a small scrap before beginning the pickle if the loop count is unfamiliar.
Step 1: Crochet the Rounded Starting End
With green yarn, make a magic ring. Round 1: work 6 sc into the ring. Close the center and secure the starting tail inside. Round 2: inc in every stitch for 12 sts. Round 3: repeat (sc, inc) six times for 18 sts.
Round 4: sc in all 18 stitches. The piece should begin to curve into a small cup rather than stay completely flat. That curve becomes the first rounded end of the ornament. Keep the chosen outside facing outward and make sure the starting tail is safely inside.
Check the 18-stitch count before adding texture. A missed increase near the starting end can affect every later bobble position. Mark the first stitch clearly, and keep a separate written round tally so the marker does not have to tell you both stitch position and round number.
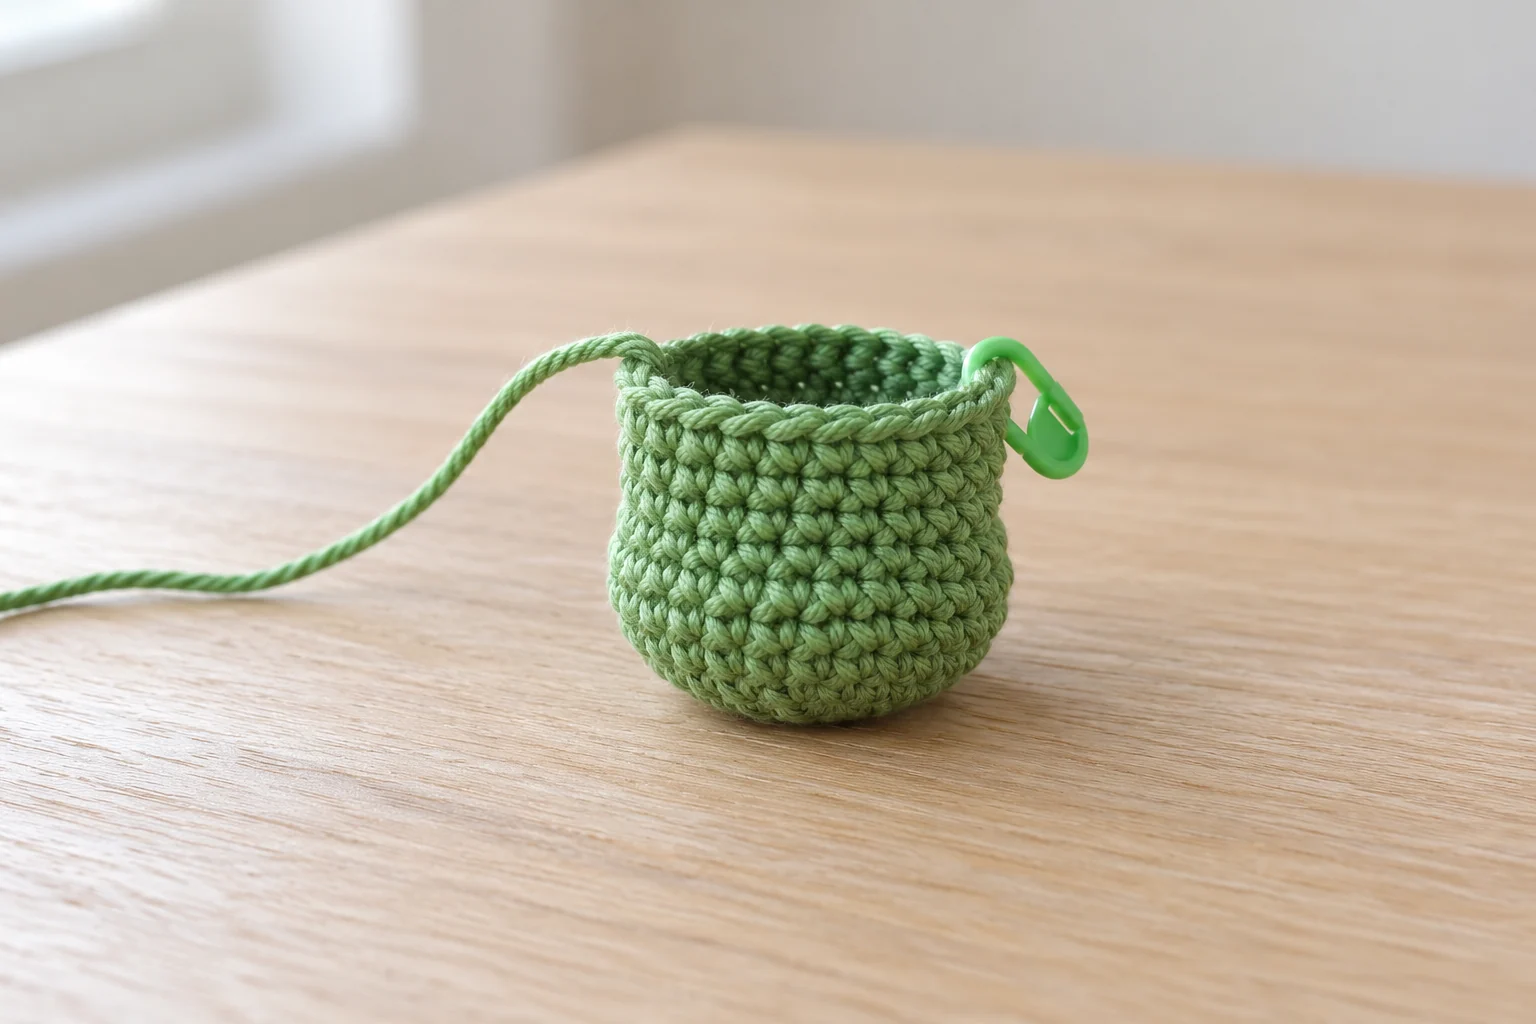
Step 2: Work the First Two Texture Rounds
Round 5: 2 sc, one bobble, 6 sc, one bobble, then 8 sc. The round contains 16 single crochets and 2 bobbles, for 18 stitches total. Do not crochet an extra sc into either bobble’s base stitch. Round 6: sc in every stitch, including each bobble top, for 18 sts.
Round 7: 5 sc, one bobble, 8 sc, one bobble, then 3 sc. Again, you have 16 sc plus 2 bobbles, for 18 sts. Round 8: sc in every stitch for 18 sts. The new bobbles are offset from the first pair, creating a staggered surface.
If the bobbles turn inward, gently push them outward before the body becomes tightly filled. Do not pull them with a needle or tighten the closing loop until the yarn strands distort. The next plain round helps hold their bases in the surrounding fabric.
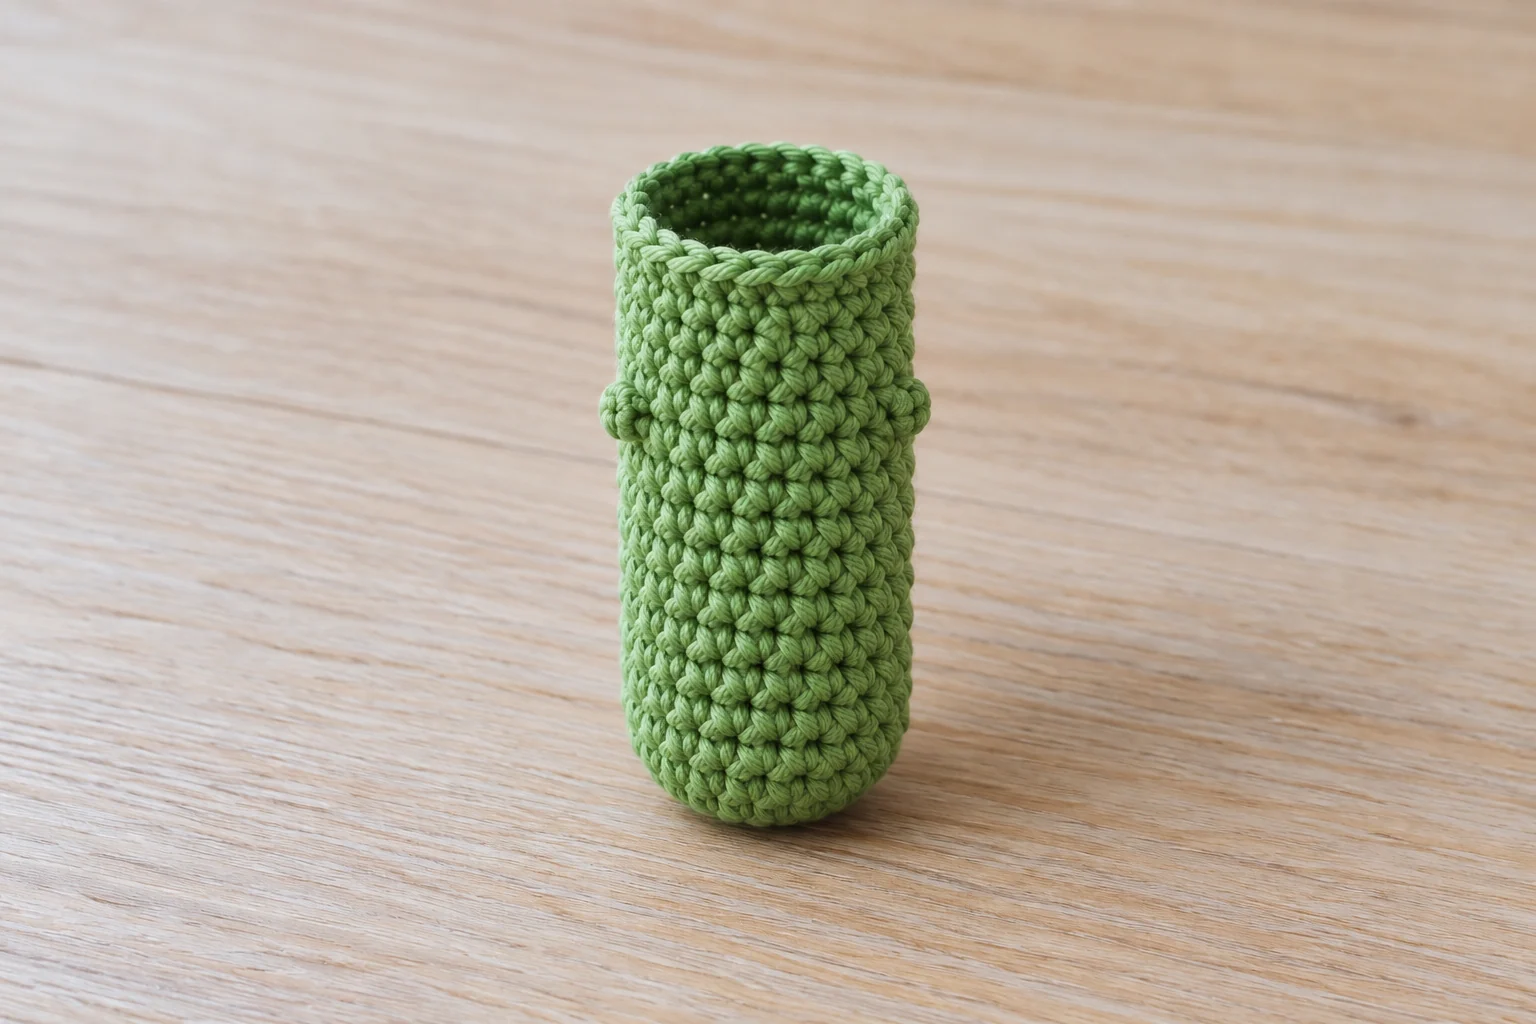
Step 3: Continue the Staggered Bumps
Round 9: sc once, one bobble, 10 sc, one bobble, then 5 sc, giving 18 stitches. Round 10: sc in every stitch for 18 sts. Round 11: 5 sc, one bobble, 8 sc, one bobble, then 3 sc, giving 18 stitches.
Rounds 12–13: sc in every stitch, keeping 18 sts in each round. You have now completed four textured rounds, each containing two bobbles. There are eight bobbles in the written design. Their positions follow the spiral, so judge the overall stagger rather than expecting perfectly level horizontal rows.
Hold the unfilled body gently to inspect its length and surface. Avoid stretching it to make it longer. If you want a longer version, first sample the written ornament; additional plain rounds are an intentional variation, not a correction for a missing round in this version.
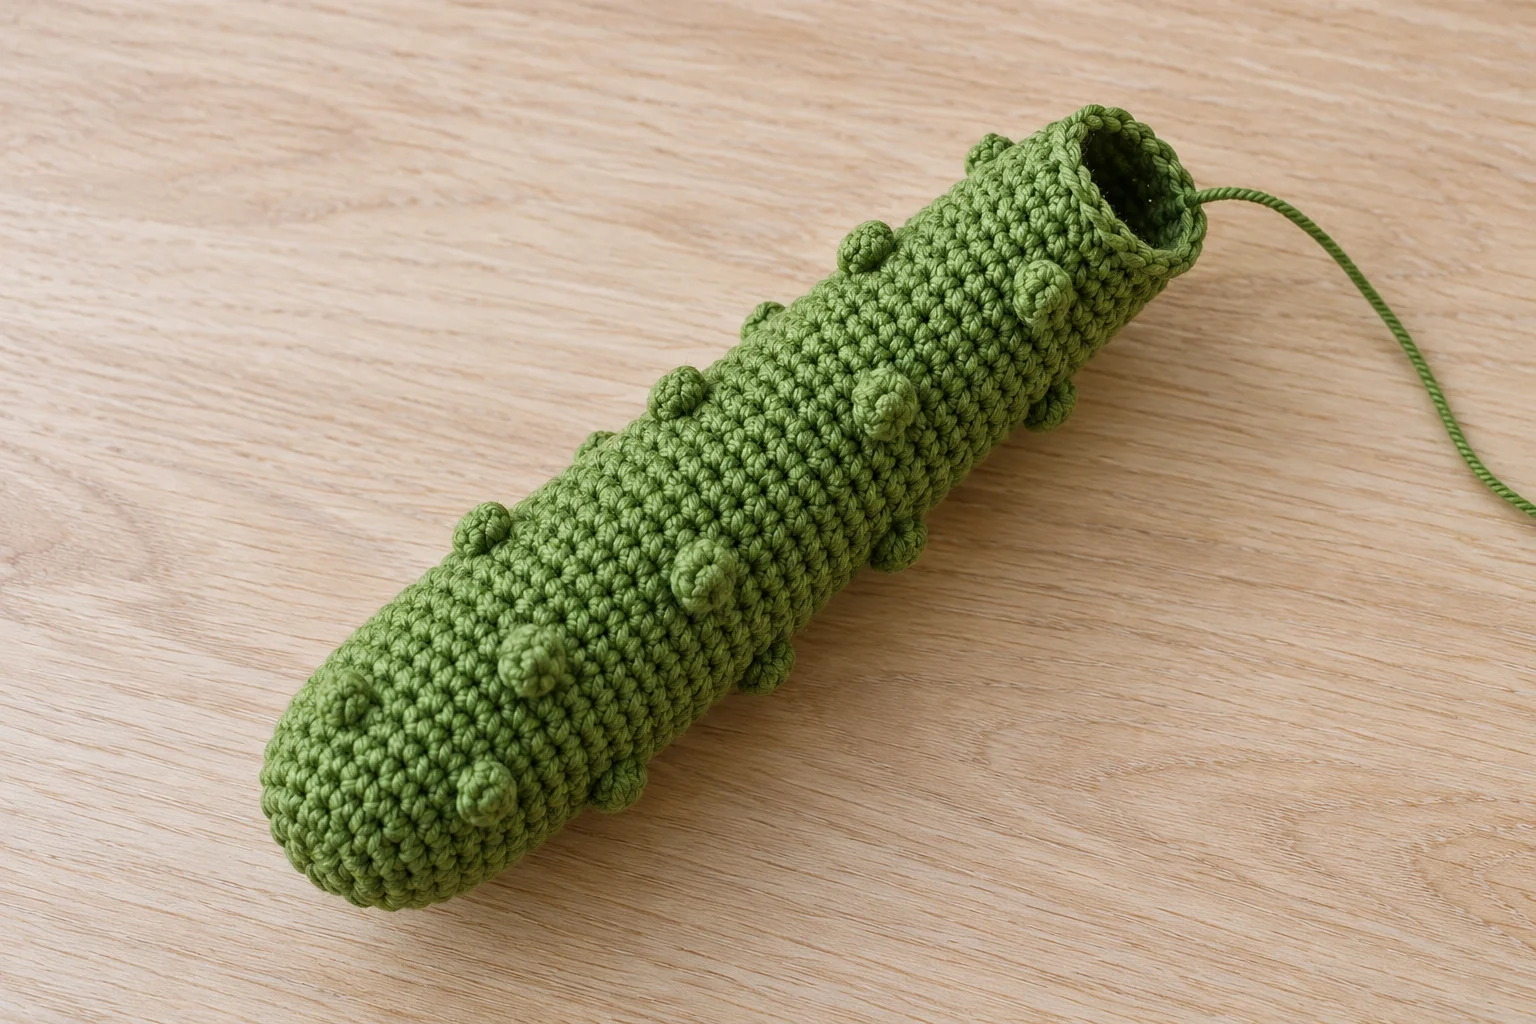
Step 4: Stuff and Shape the Pickle
Add small tufts of filling through the opening. Distribute them along the full body, starting at the rounded lower end. Keep the filling inside the plain crochet cylinder rather than forcing it into each individual bobble. The surface bumps should remain visible without making the body hard.
A narrow tool can help guide filling, but use a blunt end and avoid piercing the stitches. Add a little at a time and feel for empty sections. A tightly packed middle with soft ends can produce a lumpy shape that does not resemble the intended slim ornament.
A gentle natural curve is acceptable. For the first sample, do not add wire or pull an internal shaping thread tightly through the body. Those methods would introduce a different construction and could put stress on the small crochet surface.
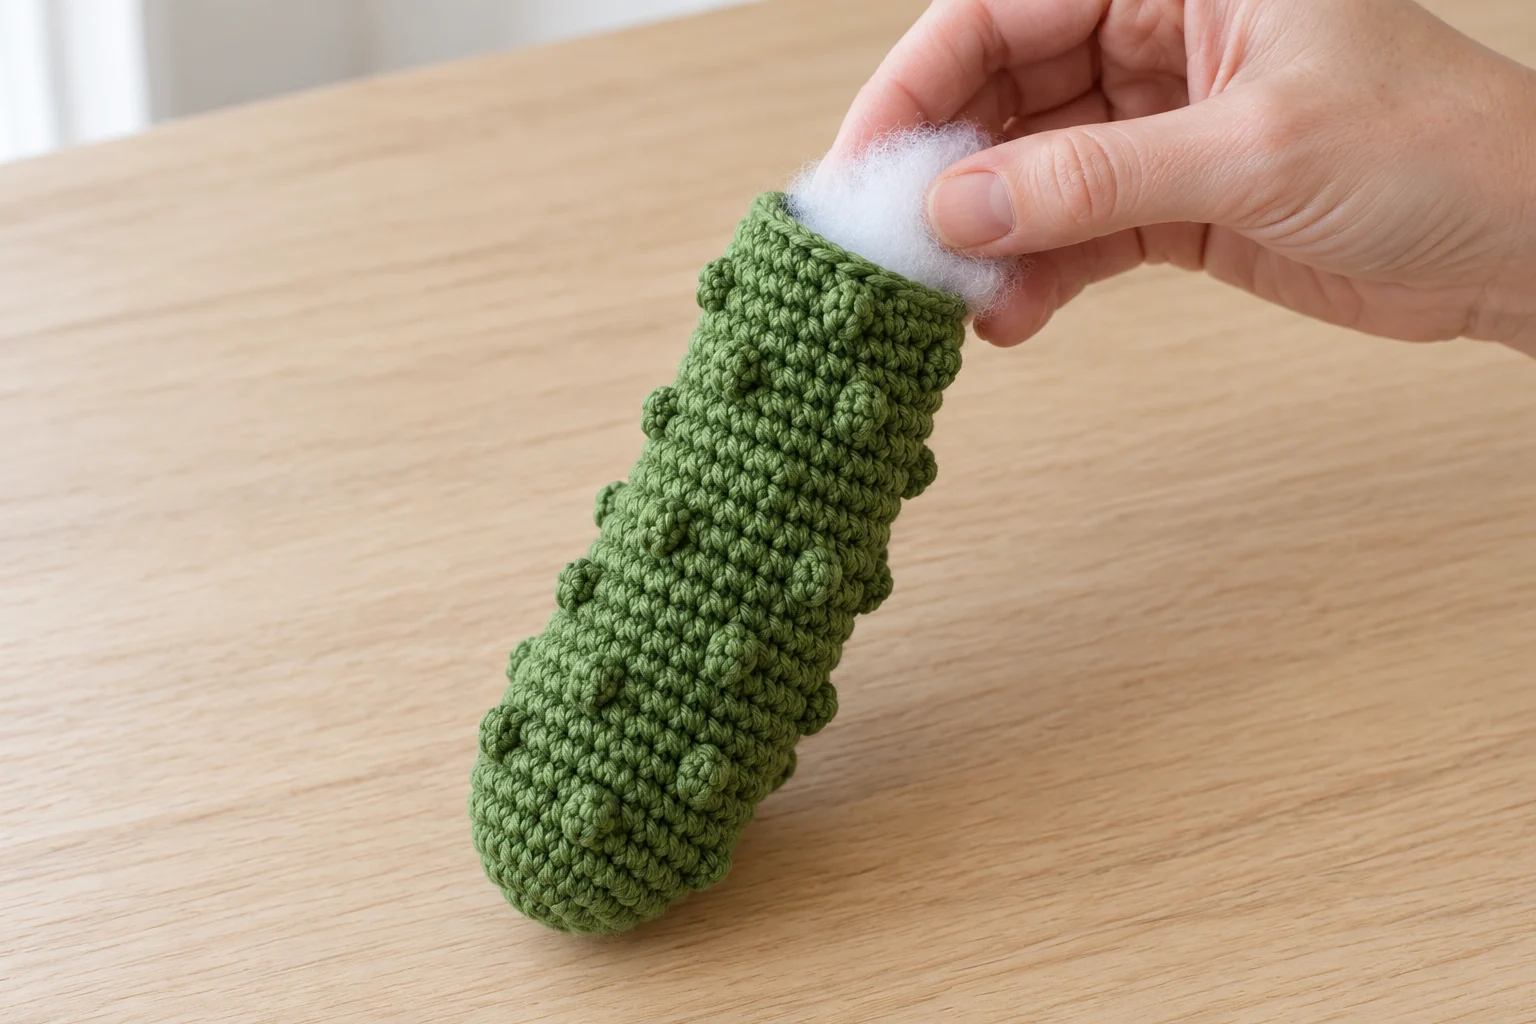
Step 5: Decrease and Close the Upper End
Round 14: repeat (sc, dec) six times, reducing 18 sts to 12. Round 15: sc in all 12 stitches. Add a final small amount of filling if the upper end needs support. Keep it below the opening so no loose fibers get caught in the closing stitches.
Round 16: dec six times for 6 sts. FO with a long sewing tail. Thread the tail through the front loops of the remaining six stitches and draw the opening closed. Weave the tail through nearby stitches and bury it inside the body.
Inspect both ends before attaching the hanger. The starting end and closing end do not have to look identical, but neither should have an open hole or exposed filling. If the upper end forms a sharp pucker, loosen the closing thread slightly and redistribute the filling underneath.
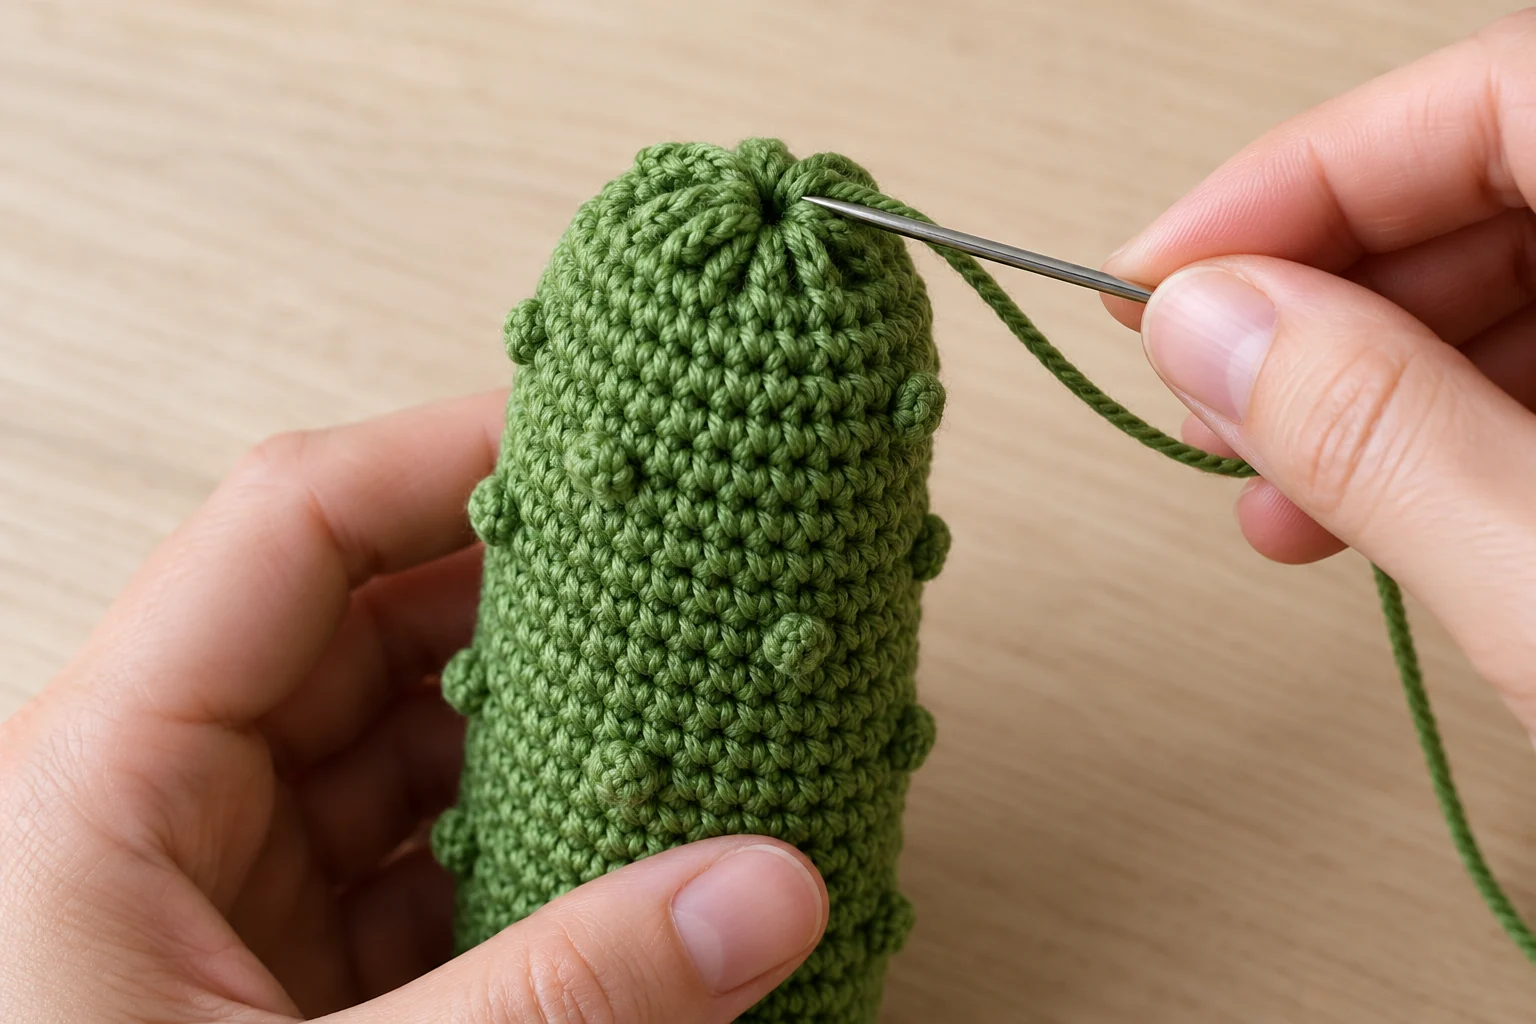
Step 6: Sew a Reinforced Hanging Loop
Make a separate green chain loop, starting with ch 24 and adjusting for the intended tree branch. FO with sewing tails. Attach the ends at two nearby points on the upper end, catching several sound body stitches on each side of the closure.
Do not support the whole ornament from only the gathered closing thread. Spread the sewing through the surrounding fabric and secure the tails in more than one direction. Lift the decoration by its loop and check that the textured front faces outward rather than turning toward the branch.
A green ornament can disappear against a dense tree. A lighter green yarn, a cream background ribbon elsewhere in the display, or a front branch with more space can make it easier to see. Keep the written construction unchanged while choosing a display position.
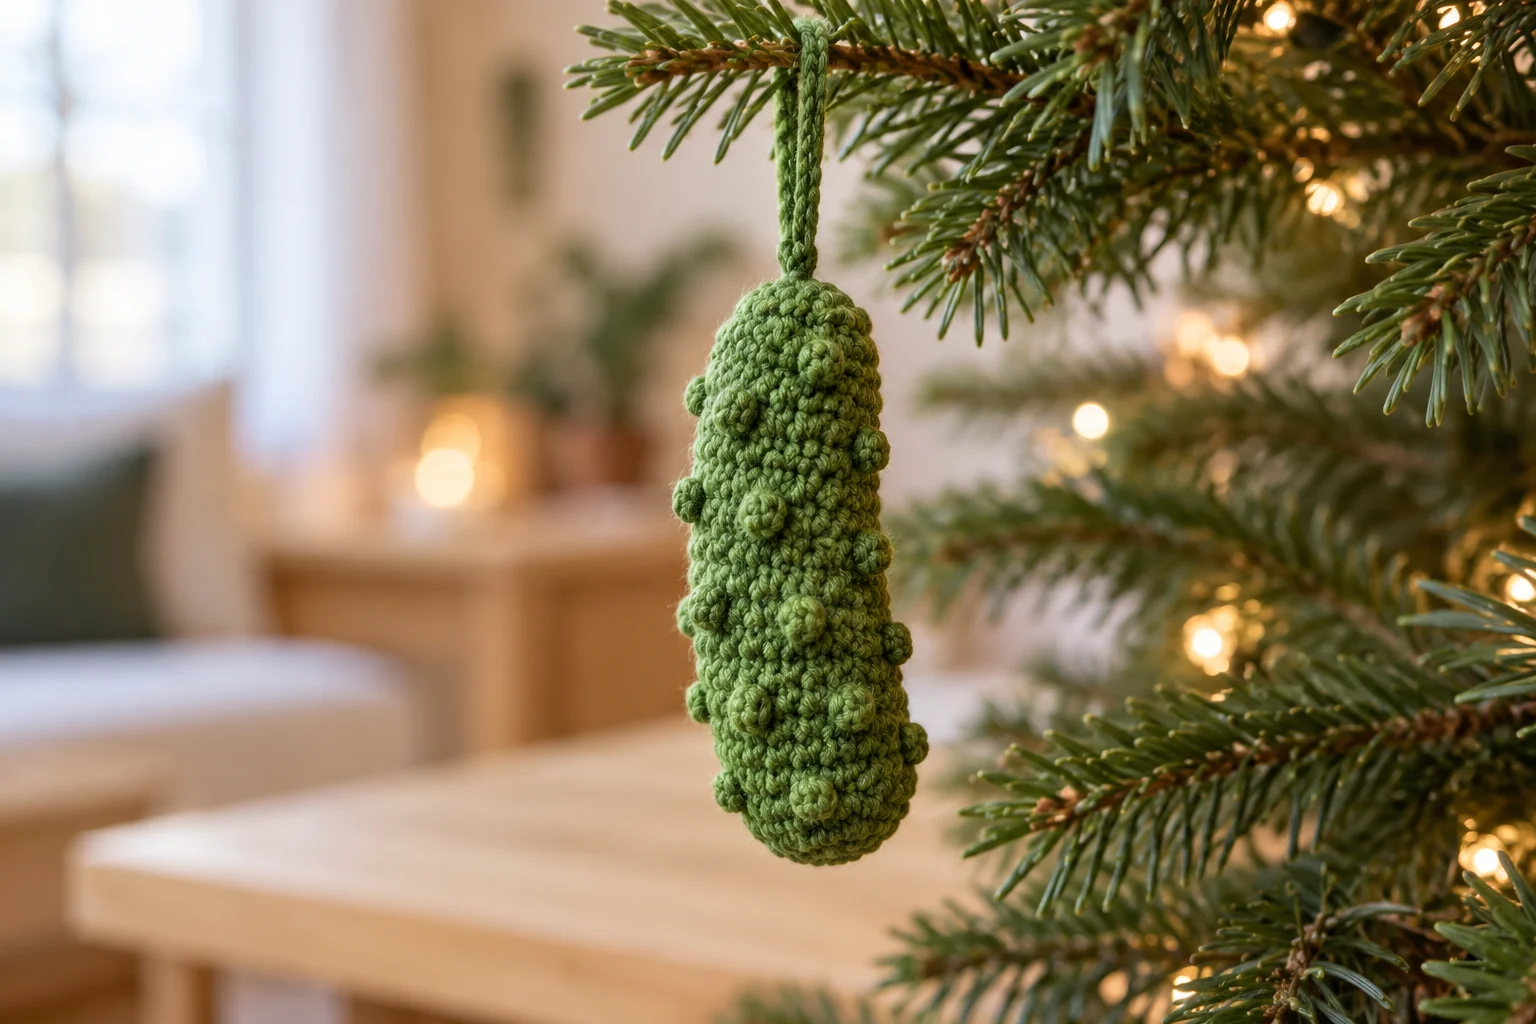
Troubleshooting Small Bobbles
If a textured round has more than 18 stitches, check whether you worked an extra sc into a bobble base or counted an added chain as a stitch. If it has fewer than 18, look for the stitch immediately after a bobble; it can be hidden behind the bump.
If a bobble is loose, verify that all five partial stitches went into the same base stitch and that the final pull-through closed all six loops. Do not solve the problem by adding a large knot on the outside. Rework the bobble before closing the body.
If filling shows between ordinary stitches, reduce the amount of filling and assess the fabric. Persistent large gaps mean the yarn and hook combination needs a denser sample. The bobbles should add texture to a sound fabric, not hide holes in an overstuffed body.
Frequently Asked Questions
Do the bobbles count as extra stitches?
No. Each bobble occupies one existing stitch and produces one top. Every textured round still has 18 stitches: 16 single crochets and two bobbles.
Should I chain after closing each bobble?
Not in this pattern. The closing pull-through is followed directly by the next single crochet. Adding a chain can create an unintended extra stitch position.
Can I make a smooth version?
Yes. Replace every bobble with one sc and keep all round counts unchanged. The result is a plain elongated green ornament without the textured bumps.
How many bumps are in the written pattern?
There are eight bobbles: two each in Rounds 5, 7, 9 and 11. Plain rounds separate the texture rounds and make the following stitch tops easier to count.
Can I wash it?
Follow the yarn and filling labels. Spot cleaning may be simpler for a small stuffed decoration. Let the inside dry completely before storage, and avoid pulling on the bobbles.
Is there a tested finished size?
No. This written draft has not been physically sample tested. Crochet one with your chosen yarn and hook, then measure it before planning a matching batch.
Add a Playful Ornament to Your Christmas Crochet
Balance the unusual green shape with a familiar snowman ornament or a mini crochet Christmas tree. The green also works beside a red crochet bow garland or a crochet poinsettia.
Place your crochet Christmas pickle ornament in a small crochet gift bag after checking its hanger and closure. Save the hook size and your sample notes before making another. Accurate bobble placement and moderate filling will make the set more consistent.