Tiny Crochet Dragon – Free Mini Fantasy Amigurumi Pattern
Make a tiny crochet dragon with lavender yarn, mint wings, soft horns, and a tapered tail. Free mini amigurumi pattern with clear assembly steps.
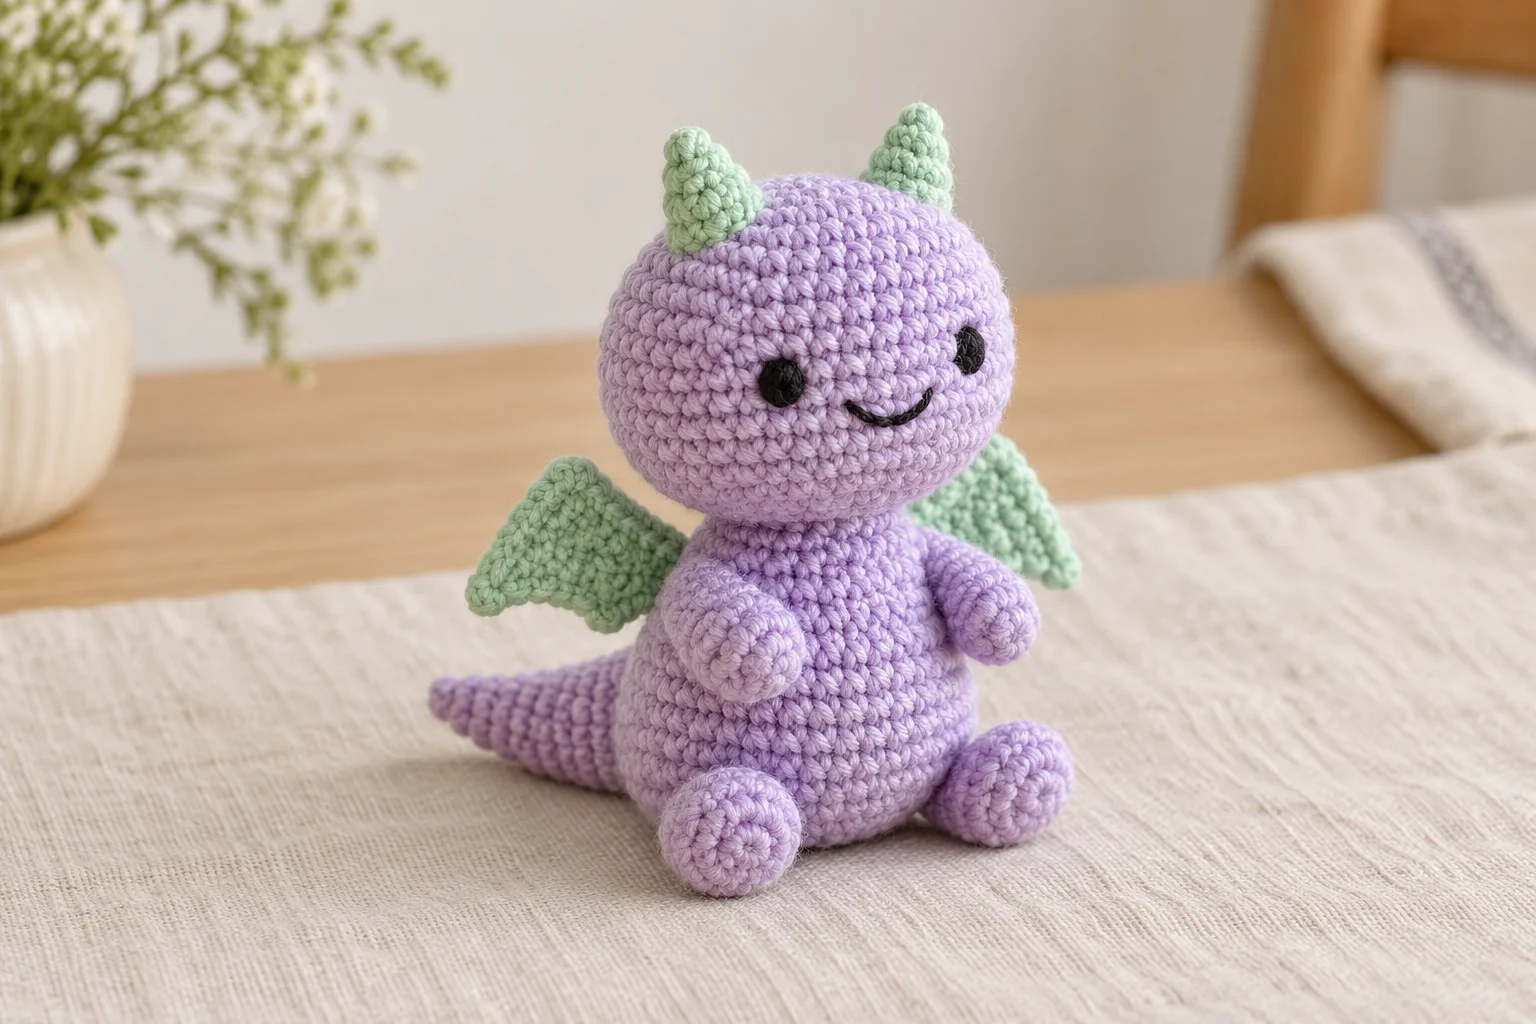
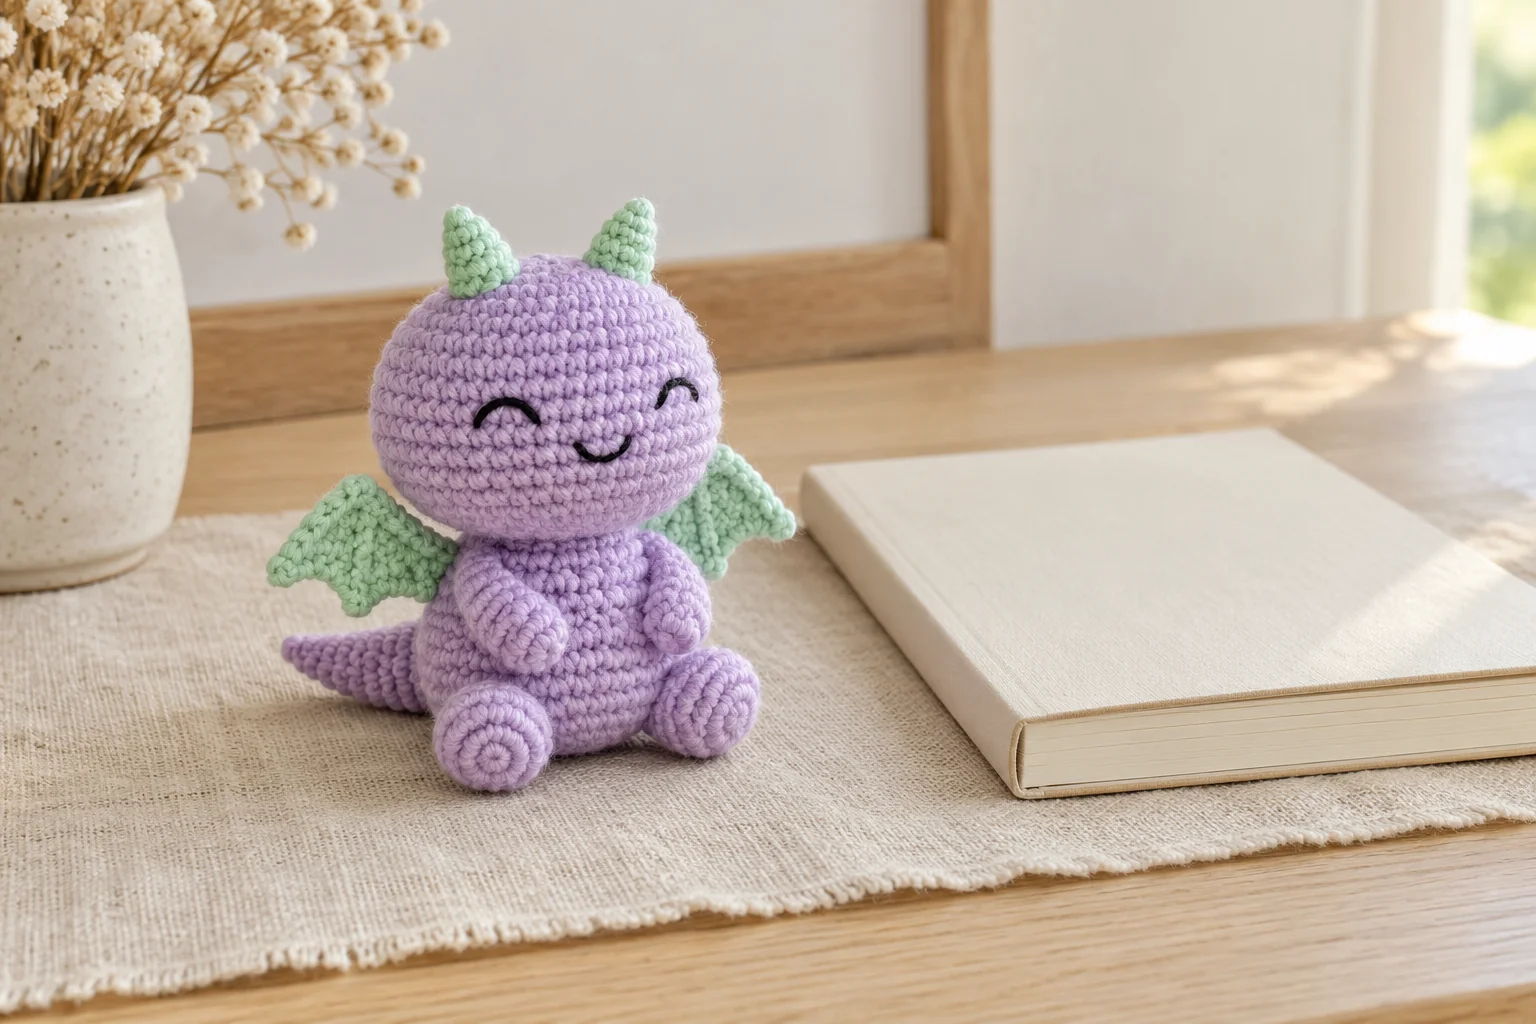
A tiny crochet dragon adds a fantasy character to a miniature animal collection. This version uses lavender yarn for the head, body, limbs, and tail, with mint green wings and horns. The face stays simple with embroidered eyes and a small smile.
The tiny crochet dragon is built from small separate components. Two flat triangular wings suggest flight without complicated shaping, while a tapered tail balances the silhouette. You can check every attachment before sewing, which is helpful when working at a small scale.
Design note: this original written pattern has not been physically sample-tested. Finished size and yarn quantities are estimates. AI-generated photographs illustrate the intended appearance. Follow the written counts and inspect the proportions as you assemble the dragon.
Tiny Crochet Dragon Materials and Size
Choose smooth DK cotton in lavender and mint green, with a little black embroidery yarn. Gather a 2.5–3 mm hook, a stitch marker, a blunt needle, scissors, and washable polyester filling. Estimate 20–25 g lavender and 5–10 g mint.
The intended finished height is approximately 8–10 cm, depending on the yarn, hook, and placement of the horns. This is a confident-beginner to intermediate project because several small pieces need careful sewing.
Your tiny crochet dragon has exactly two wings, two horns, two arms, two feet, and one tail. Keeping the component list simple helps avoid a crowded miniature. No wire, plastic eyes, beads, or separate scales are required.
For another pocket-sized creature, see the mini crochet turtle. Use related yarn weights if you want several figures to feel like one handmade collection.
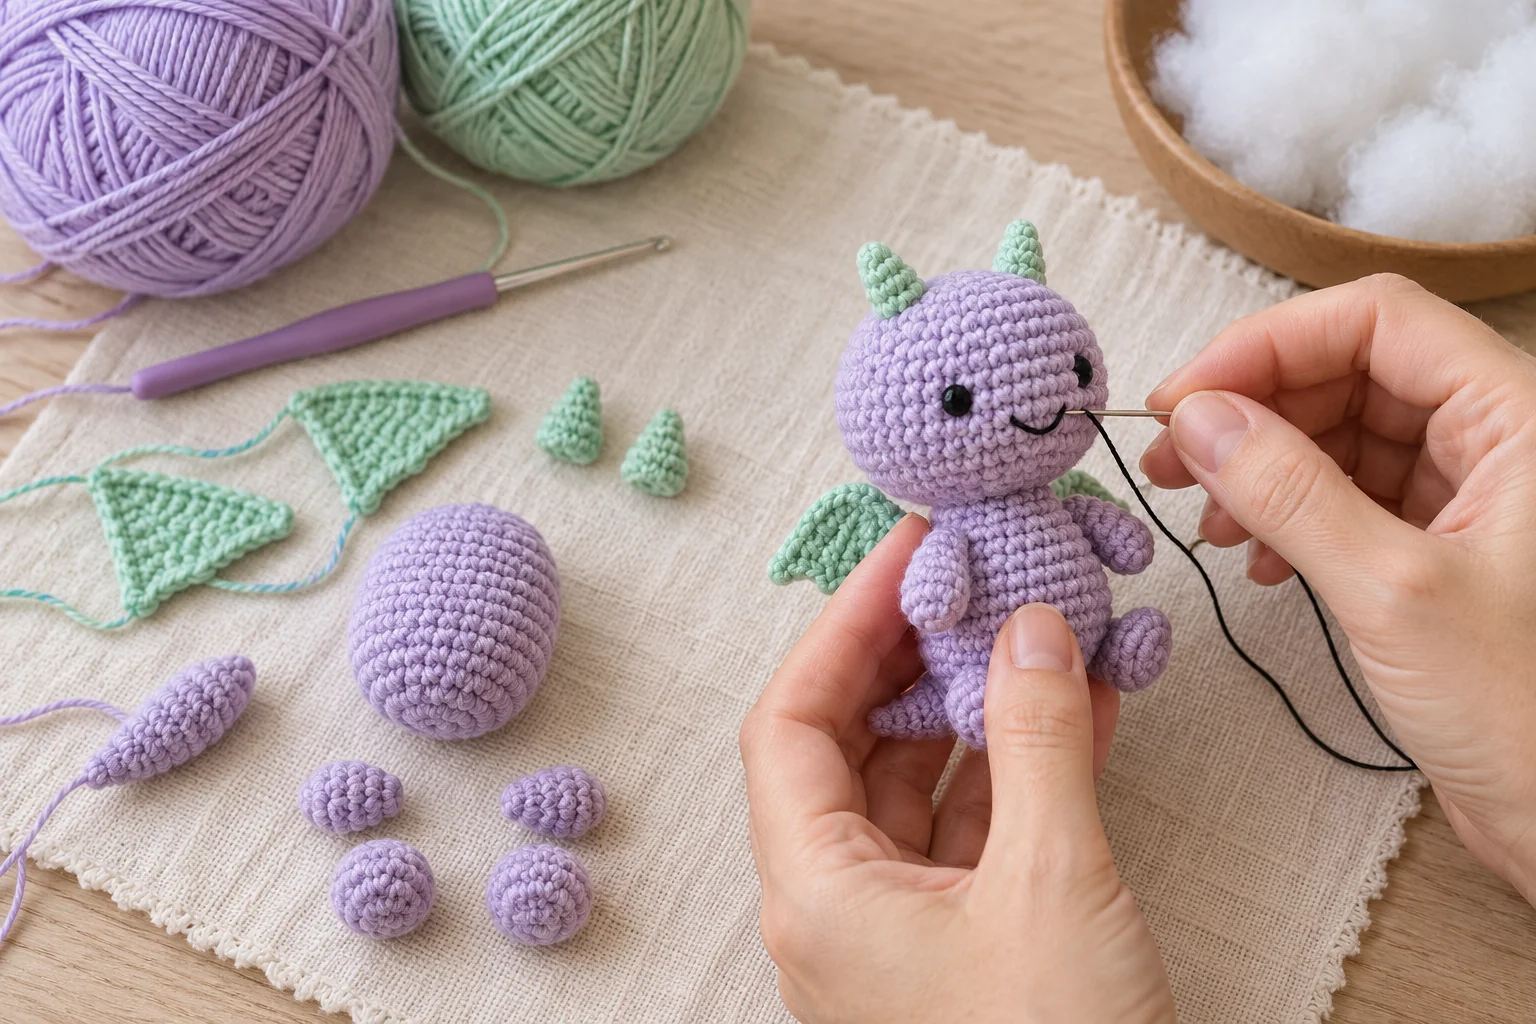
How to Read This Tiny Crochet Dragon Pattern
US crochet terms are used. ch = chain; sc = single crochet; inc = 2 sc in one stitch; dec = single crochet two stitches together; sl st = slip stitch. Numbers in parentheses give the completed stitch count.
Work the head, body, limbs, horns, and tail in continuous rounds. Mark the first stitch and count after shaping rounds. The wings are worked in rows, and their turning ch 1 does not count as a stitch.
Fill the head and body softly. The small limbs, horns, and wings stay unstuffed. Add only a tiny wisp near the wide end of the tail if it needs support.
A decorative miniature does not need rigid wings or a heavily packed body. Soft components are easier to position and make the seams less bulky.
For a standard reference when reading stitch instructions, consult the Craft Yarn Council crochet abbreviations. Check the US terms against the definitions in this pattern before starting.
Step 1: Tiny Crochet Dragon Head
With lavender, work 6 sc into a magic ring. (6) Round 2: inc in each stitch. (12) Round 3: repeat [sc, inc] six times. (18)
Round 4: repeat [2 sc, inc] six times. (24) Rounds 5–7: sc around. (24 each round) Keep the even rounds at the same tension.
Round 8: repeat [2 sc, dec] six times. (18) Round 9: repeat [sc, dec] six times. (12) Add small pieces of filling.
Round 10: dec six times. (6) Fasten off, close through the front loops, and leave an attachment tail. Shape the head gently into a rounded form.
Choose the front and embroider two small black eyes with a short smile below. Keep the face below the future horn positions. Use short stitches that lie close to the fabric.
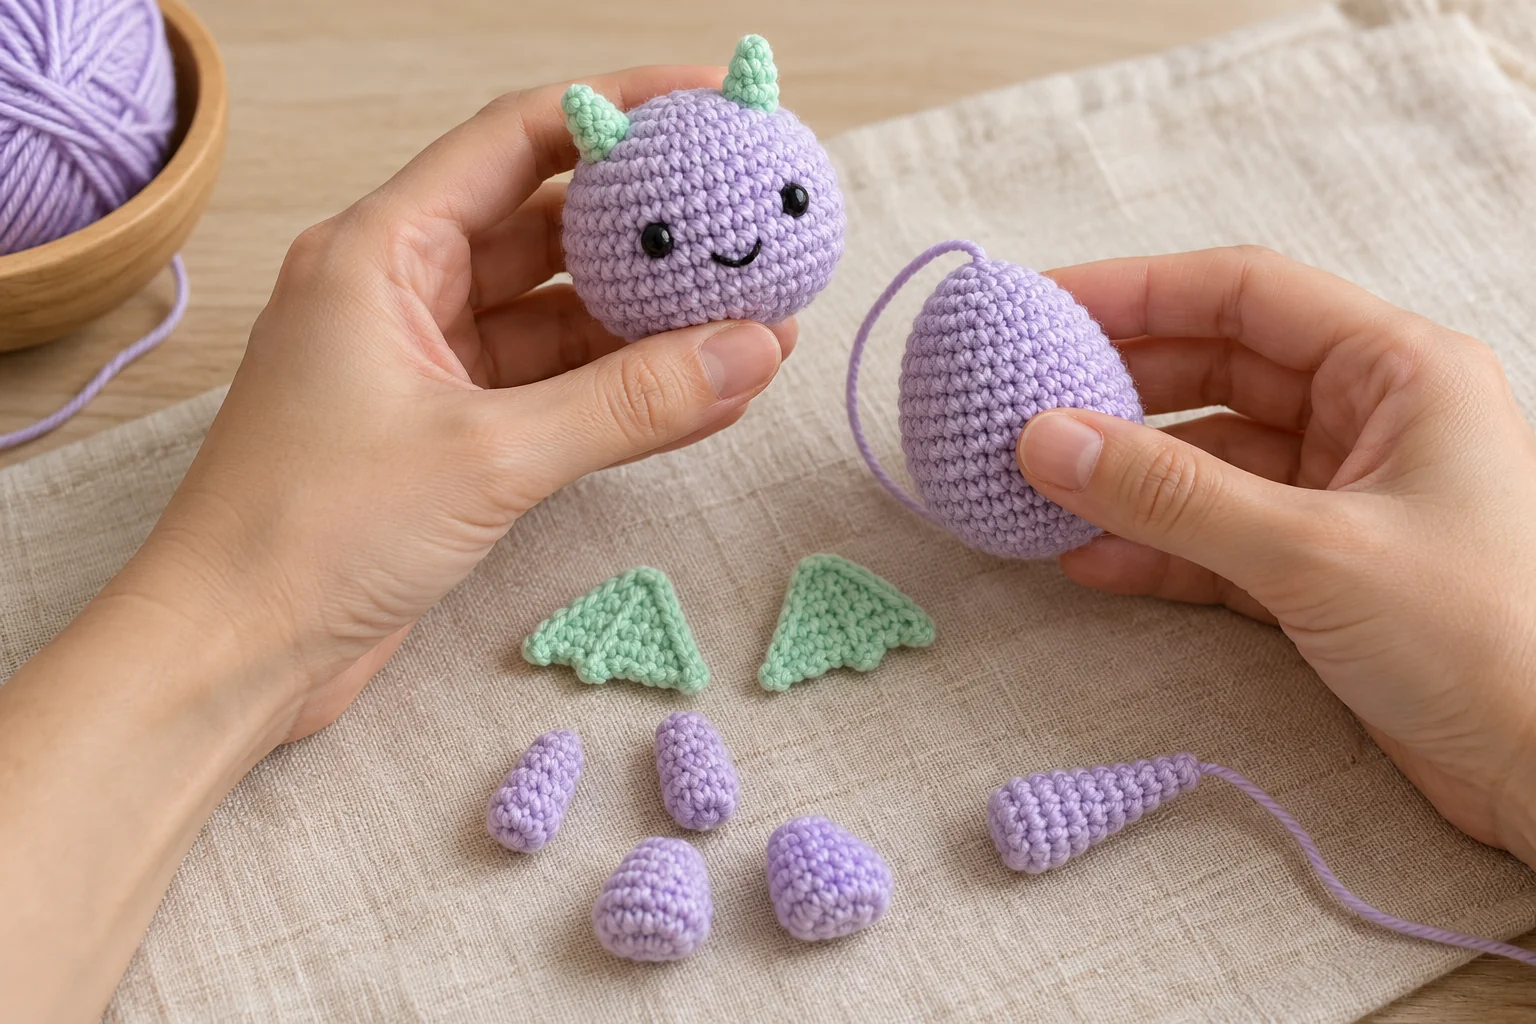
Step 2: Tiny Crochet Dragon Body
With lavender, work 6 sc into a magic ring. (6) Round 2: inc around. (12) Round 3: repeat [sc, inc] six times. (18)
Rounds 4–8: sc around. (18 each round) These five even rounds make a small oval body. Check that it is narrower than the head before adding filling.
Round 9: repeat [sc, dec] six times. (12) Fill lightly, spreading the filling through the center rather than packing a hard ball.
Round 10: dec six times. (6) Fasten off, close the opening, and leave a sewing tail. Mark the front and back with temporary yarn scraps if that helps you plan the attachments.
Set the head above the body without sewing. Your tiny crochet dragon will have a large friendly head and a smaller torso. Adjust the angle during assembly rather than adding extra stuffing to force a pose.
Step 3: Tiny Crochet Dragon Arms
For each arm, work 5 lavender sc into a magic ring. (5) Rounds 2–3: sc around. (5 each round) Fasten off with a long sewing tail.
Make two matching arms. Leave them unstuffed and flatten their openings. The closed starting ends become the hands.
Position the arms high on the sides of the body, slightly toward the front. Their ends can angle inward, but do not pull them across the whole belly. Keep room behind them for the wings.
Step 4: Tiny Crochet Dragon Feet
For each foot, work 6 lavender sc into a magic ring. (6) Rounds 2–3: sc around. (6 each round) Fasten off with a sewing tail.
Make two matching feet and leave them unstuffed. Flatten each opening before attaching it to the lower front of the body. The feet should be slightly broader than the arms.
Use their positions to suggest a sitting pose. A soft miniature may still need support in a display; the pattern does not guarantee that it will stand upright on its own.
Lay the four limbs beside the body and compare their sizes before moving on. Remaking one small piece is easier than trying to stretch it into a match after sewing.
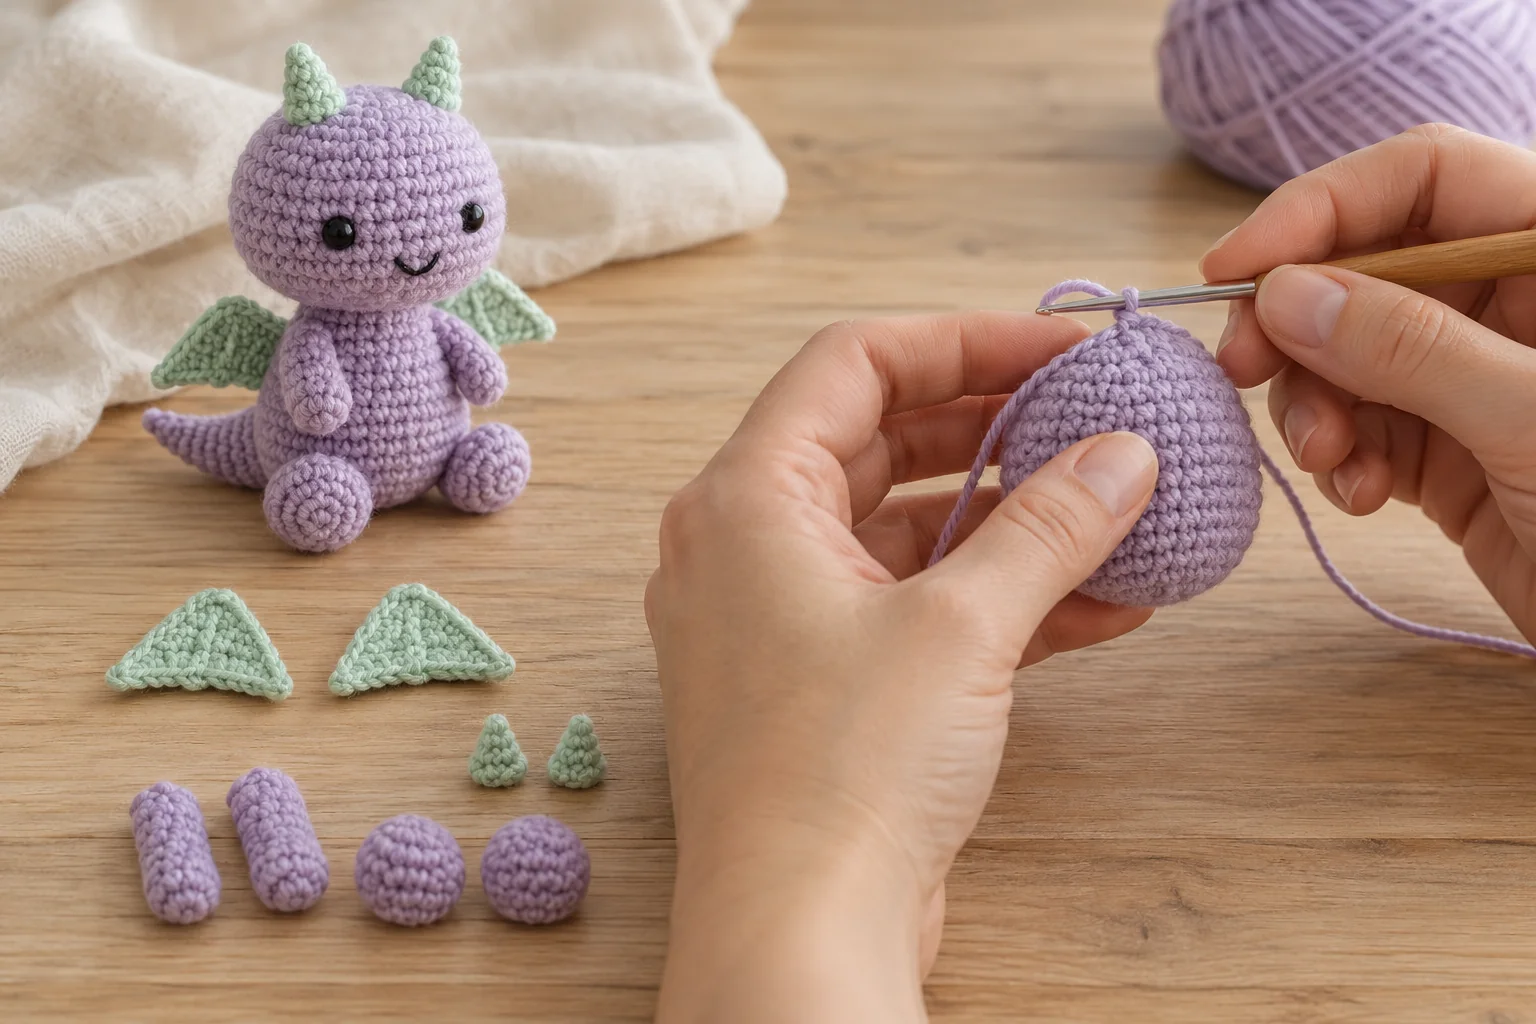
Step 5: Tiny Crochet Dragon Wings
With mint, ch 2. Row 1: sc in the second chain. (1) Row 2: ch 1, turn, work 3 sc in the only stitch. (3)
Row 3: ch 1, turn, inc, sc, inc. (5) Row 4: ch 1, turn, inc, sc in the next 3 stitches, inc. (7) Fasten off with a long sewing tail.
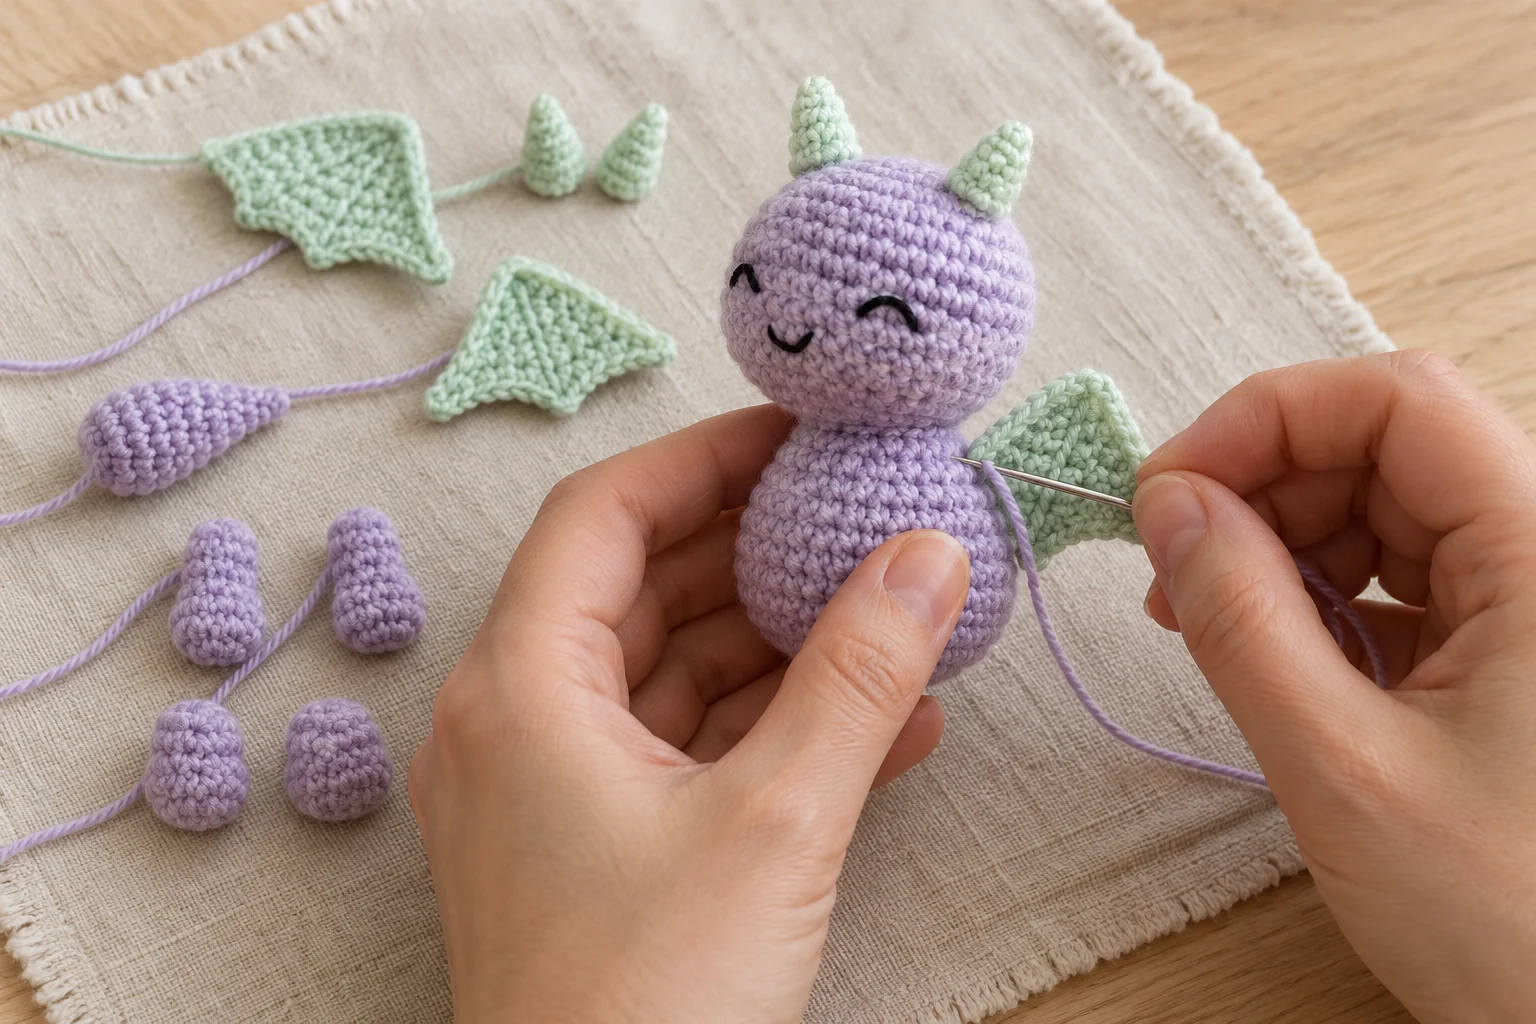
Make two identical triangles. Keep them flat and unstuffed. The narrow starting point becomes the upper tip, while the wider edge can angle down and outward behind the shoulders.
Sew one sloping side of each triangle to the upper back, leaving the opposite side free. Test the position with temporary yarn loops first. The wings should be visible from the front without looking like extra arms.
If your yarn label allows wet blocking, shape the triangles gently and dry them flat before attaching them. Do not use wire or a hard insert to hold their edges.
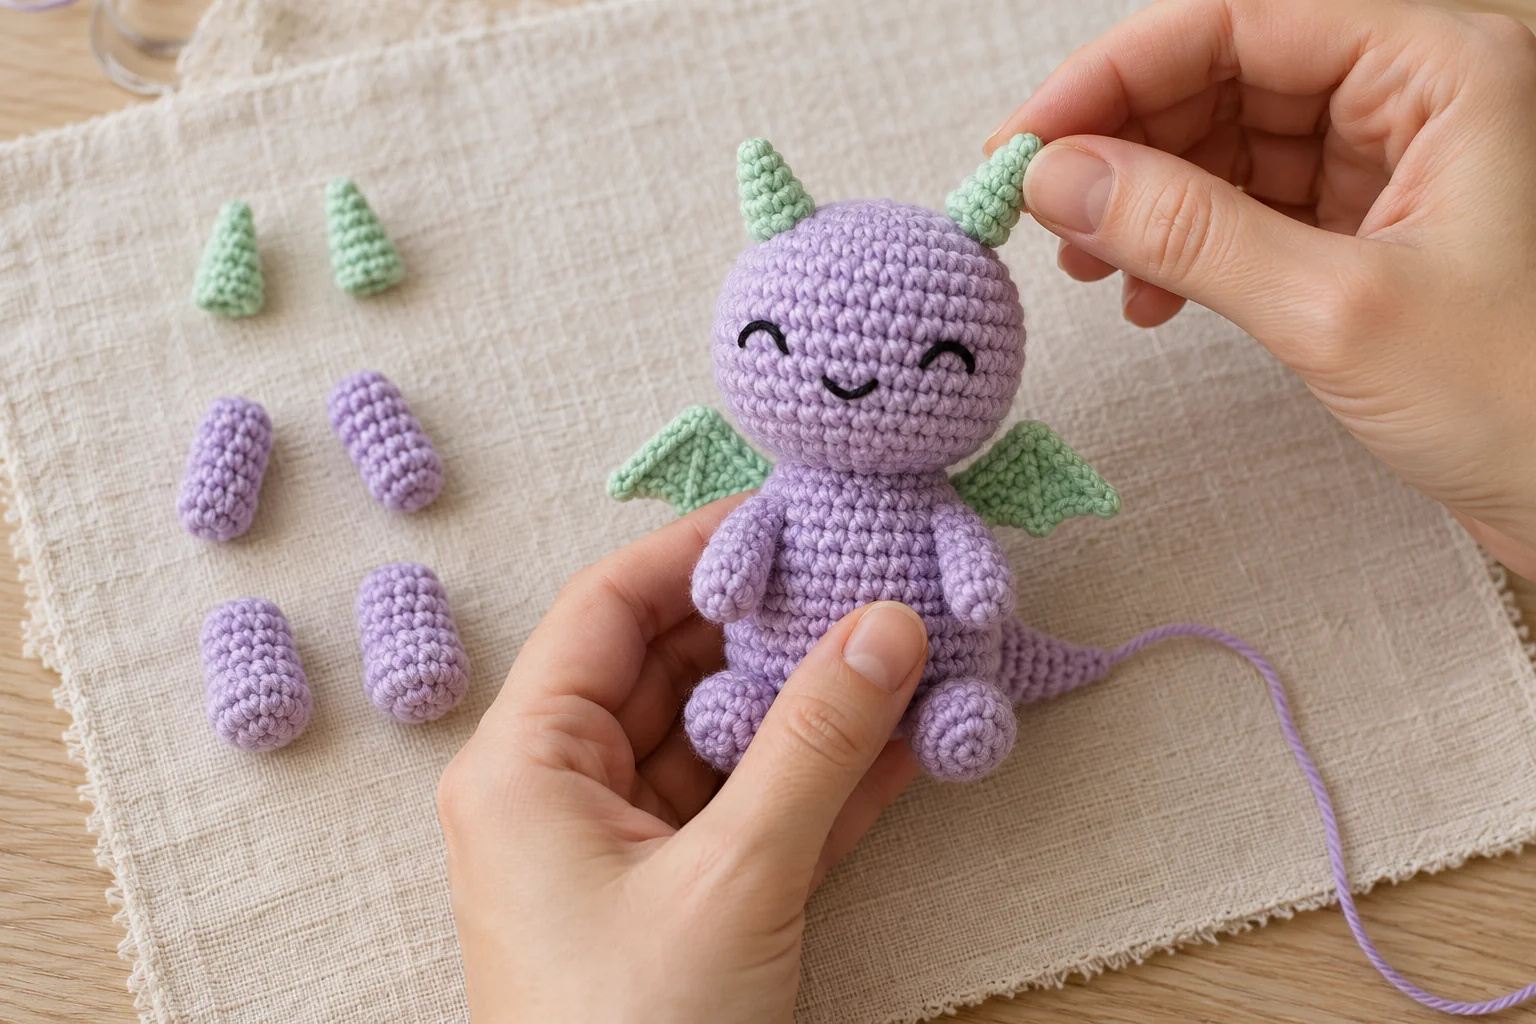
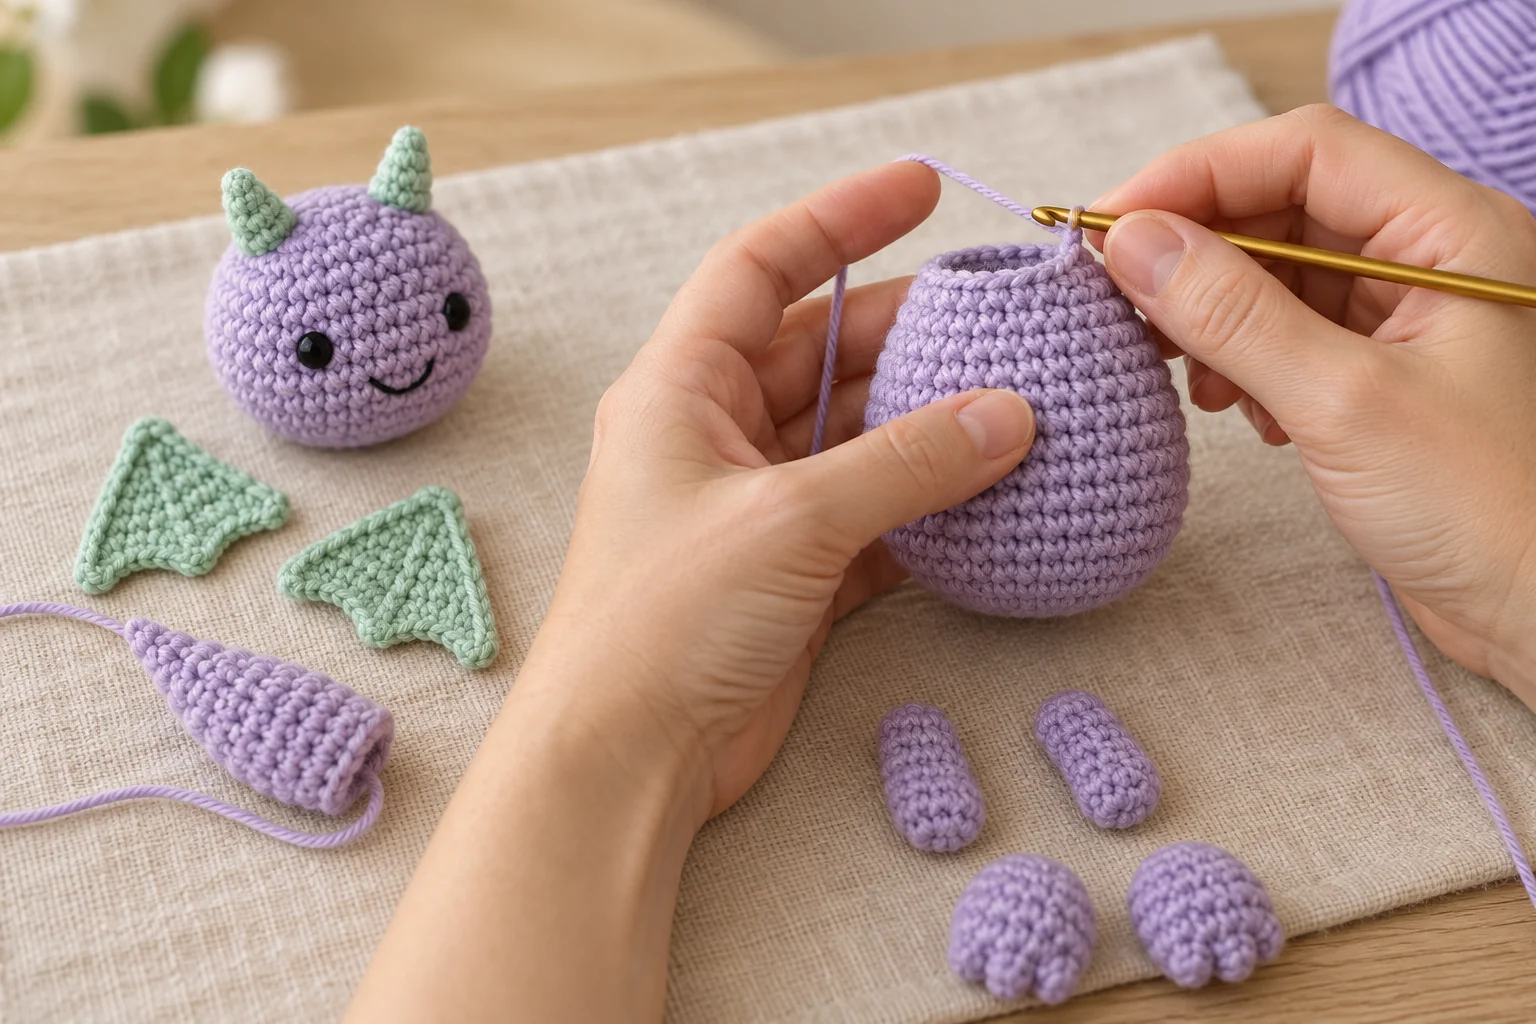
Step 6: Tiny Crochet Dragon Horns
With mint, work 4 sc into a magic ring. (4) Round 2: repeat [sc, inc] twice. (6) Round 3: sc around. (6) Fasten off with a sewing tail.
Make two matching horns. Leave them unstuffed. Their narrow starting ends become the tips and their six-stitch openings attach to the head.
Place the horns on the upper sides of the head with enough space between them. Sew around each opening through several head stitches. Keep the eye embroidery clear of the horn seams.
The horns are deliberately short and soft. Do not add pointed hard inserts. Their purpose is to suggest a dragon silhouette while staying consistent with the small crochet pieces.
Step 7: Tiny Crochet Dragon Tail
With lavender, work 4 sc into a magic ring. (4) Round 2: sc around. (4) Round 3: repeat [sc, inc] twice. (6)
Round 4: sc around. (6) Round 5: repeat [sc, inc] three times. (9) Round 6: sc around. (9) Fasten off with a long sewing tail.
Add only a tiny amount of filling near the wide opening if needed. Flatten that opening and position it at the lower back of the body. The narrow end should extend outward as the tail tip.
Keep the tail separate from the feet when planning the pose. It can angle slightly to one side so it remains visible in a front-facing display.
Step 8: Assemble and Check the Dragon
Sew the head to the body through a broad attachment area. Add the arms and feet, then attach the two wings, two horns, and tail. Check the figure from the front, sides, and back before securing all tails.
The guide to sewing amigurumi pieces together can help with hidden joins. Use several small stitches at every attachment rather than relying on one tight central stitch.
For a gift presentation, place the dragon in a suitable crochet gift bag or beside a crochet book sleeve for a fantasy reader.
A crochet bow charm can decorate the wrapping separately. Follow the yarn and filling care labels, reshape gently, and dry fully after cleaning.
This decorative figure has filling and small sewn components. It has not been tested as a children’s toy, and it should stay away from young children and pets.
Tiny Crochet Dragon: Frequently Asked Questions
How many wings does the dragon have?
Two. They are flat mint triangles sewn to the upper back, with their outer edges left free.
Can I make this tiny crochet dragon in other colors?
Yes. Preserve the same yarn weight and use enough contrast to distinguish the wings and horns from the body.
Do the horns need filling?
No. Their small soft cones stay unstuffed and are sewn around their openings.
Why does the head wobble?
The joining area may be too narrow. Add stitches across a broader connection and check the angle before securing the tail.
Can I add a hanging loop?
This pattern does not include one. A hanging version would need a separate reinforced attachment positioned for balance.
Is this a no-sew dragon?
No. Separate components make the pose adjustable, but they require careful sewing and seam checks.
Finish Your Tiny Crochet Dragon
Count the two wings, two horns, four limbs, and single tail, then inspect every seam. Your tiny crochet dragon is ready for a small fantasy-themed gift or display. Record the finished size and colors for a matching companion later.