Mini Crochet Hedgehog – Free Woodland Amigurumi Pattern
Make a mini crochet hedgehog with a pointed muzzle, tiny paws, and stitched quills. Free woodland pattern with clear rounds and assembly steps.
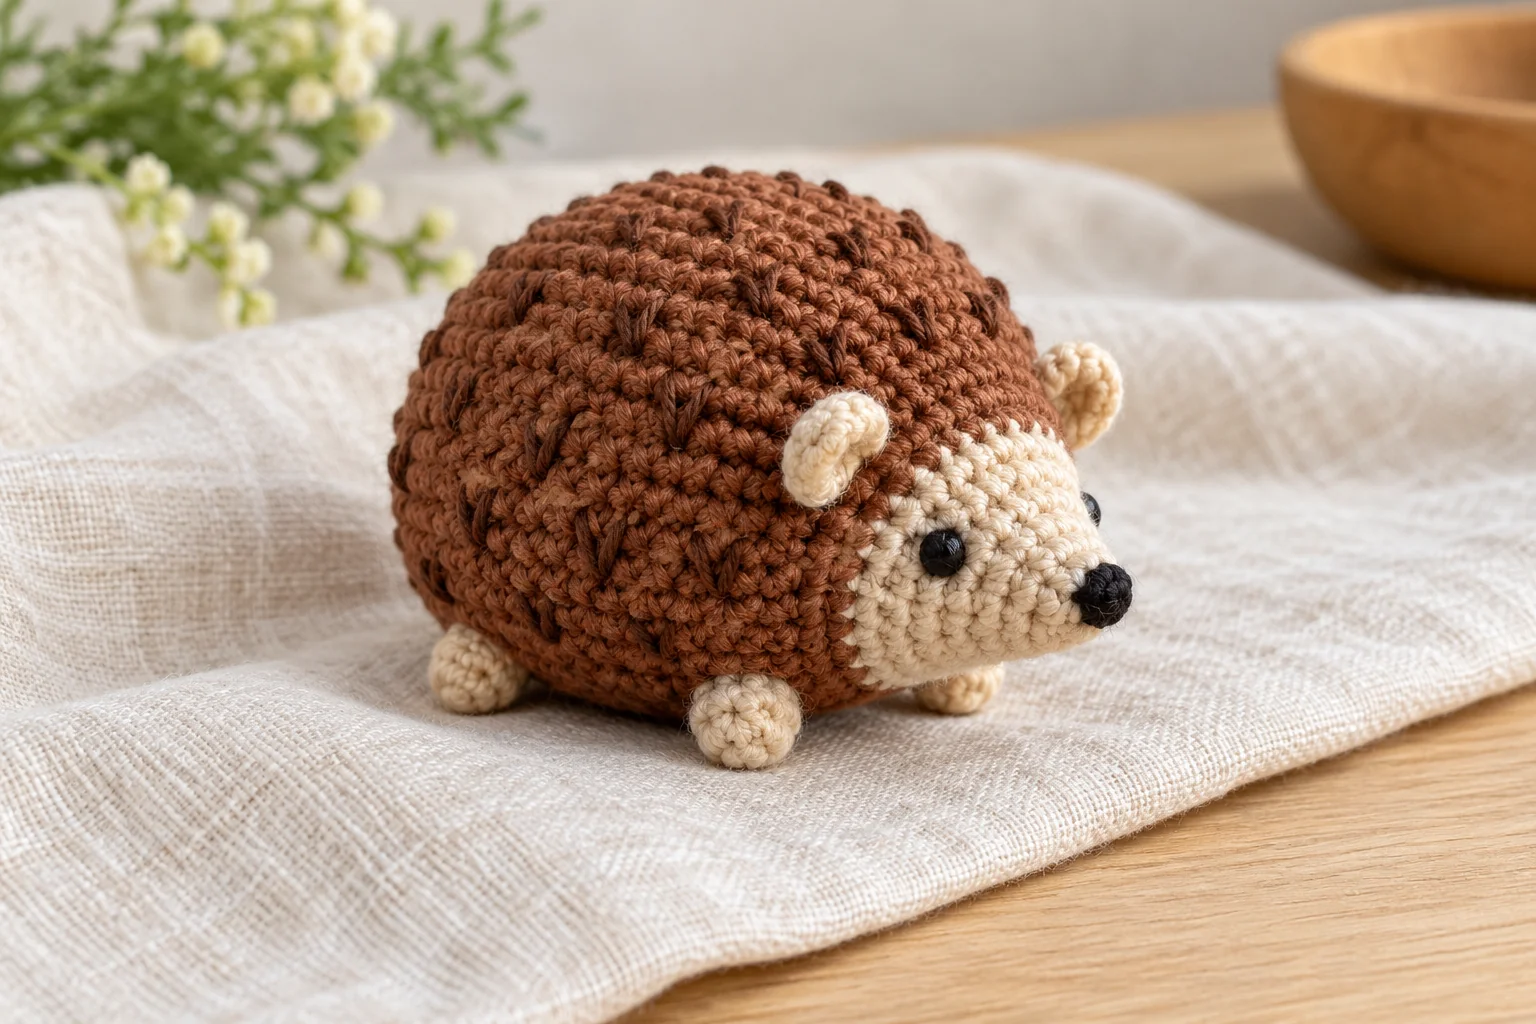
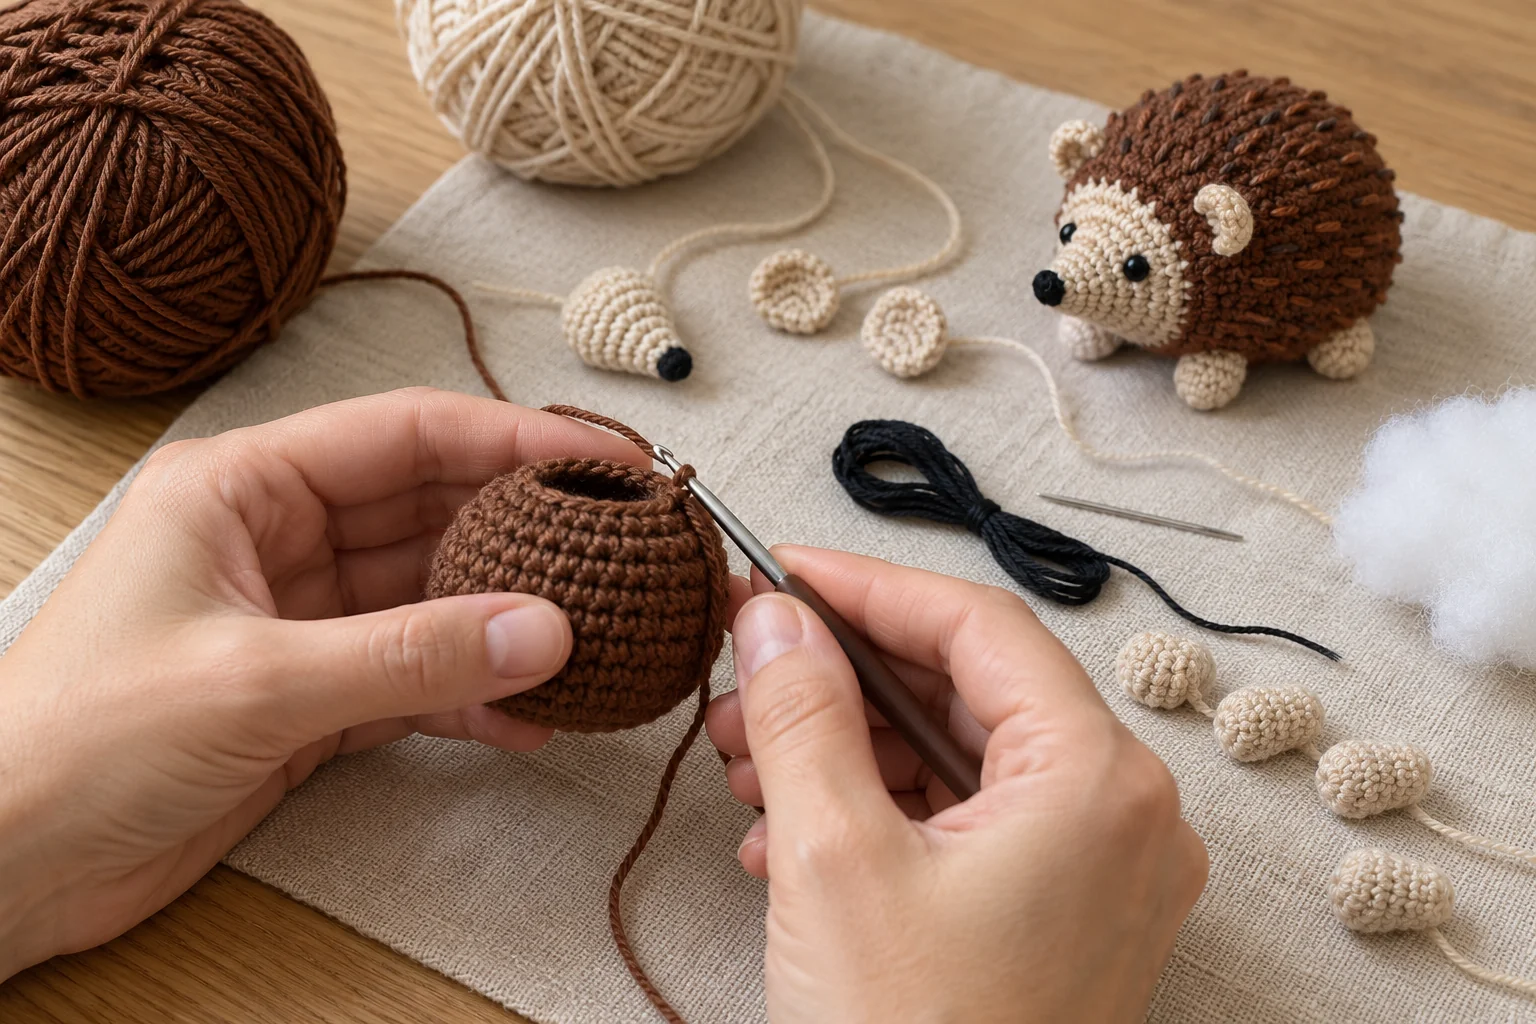
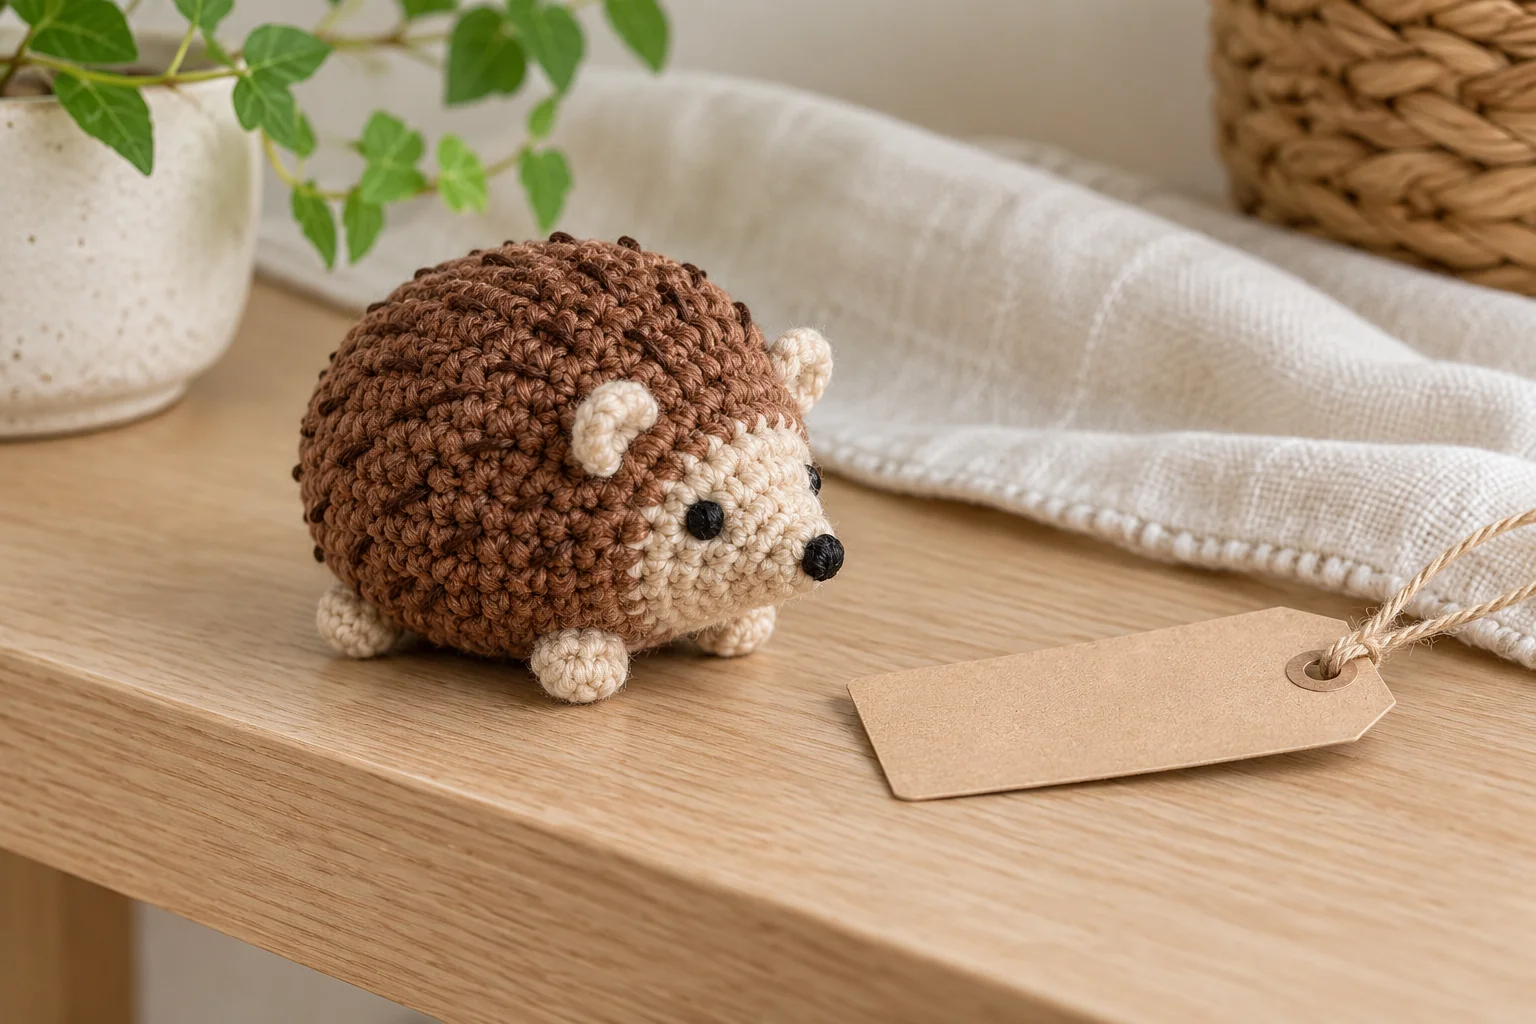
A mini crochet hedgehog makes a cheerful woodland companion for a shelf, a gift box, or a handmade autumn display. This version has a chestnut body, a pale pointed muzzle, tiny ears, and four short paws. Short embroidered marks suggest quills without requiring novelty yarn or a complicated loop-stitch coat.
The mini crochet hedgehog body is worked in continuous single crochet rounds. The muzzle and paws are made separately, then sewn into place. Keep the face simple with embroidered eyes and a small nose. You can use the same construction for several hedgehogs while changing the brown and beige shades.
Design note: this original written pattern has not been physically sample-tested. Sizes and quantities are estimates. AI-generated images illustrate the intended design, rather than proving an exact finished result. Count stitches and check the proportions before sewing the pieces permanently.
Mini Crochet Hedgehog Materials and Size
Choose smooth DK cotton in chestnut brown and beige, a little dark brown or black embroidery yarn, a 2.5–3 mm hook, washable polyester filling, a stitch marker, a blunt needle, and scissors. An estimated 15–20 g of brown and 5–10 g of beige should leave room for sewing tails. Make a sample if you need a precise quantity.
The finished hedgehog is intended to be approximately 6–8 cm long. Your yarn, hook, and stuffing will change that size. The skill level is confident beginner: you need single crochet, increases, decreases, small rounds, and basic sewing. A larger hook and yarn create a bigger animal, not an identical miniature.
For another small woodland companion, see the crochet mushroom keychain. Use the same yarn family if you want the two pieces to share a consistent texture.
Reading This Mini Crochet Hedgehog Pattern
This pattern uses US terms. ch means chain; sc means single crochet; inc means two single crochets in one stitch; dec means single crochet two stitches together; sl st means slip stitch. The number in parentheses is the stitch count at the end of a round.
Work continuous rounds unless told otherwise. Mark the first stitch and move the marker after every round. An invisible decrease works well: insert the hook through the front loop of each of the next two stitches, pull a loop through both, then complete one single crochet. Use an ordinary decrease if you find it easier.
Keep the fabric firm enough that filling does not show between stitches. Do not pull so tightly that the hook cannot enter the next stitch. Check the fabric after the third round; changing hooks at that stage is easier than remaking a completed body.
For a standard reference when reading stitch instructions, consult the Craft Yarn Council crochet abbreviations. Check the US terms against the definitions in this pattern before starting.
Step 1: Mini Crochet Hedgehog Body
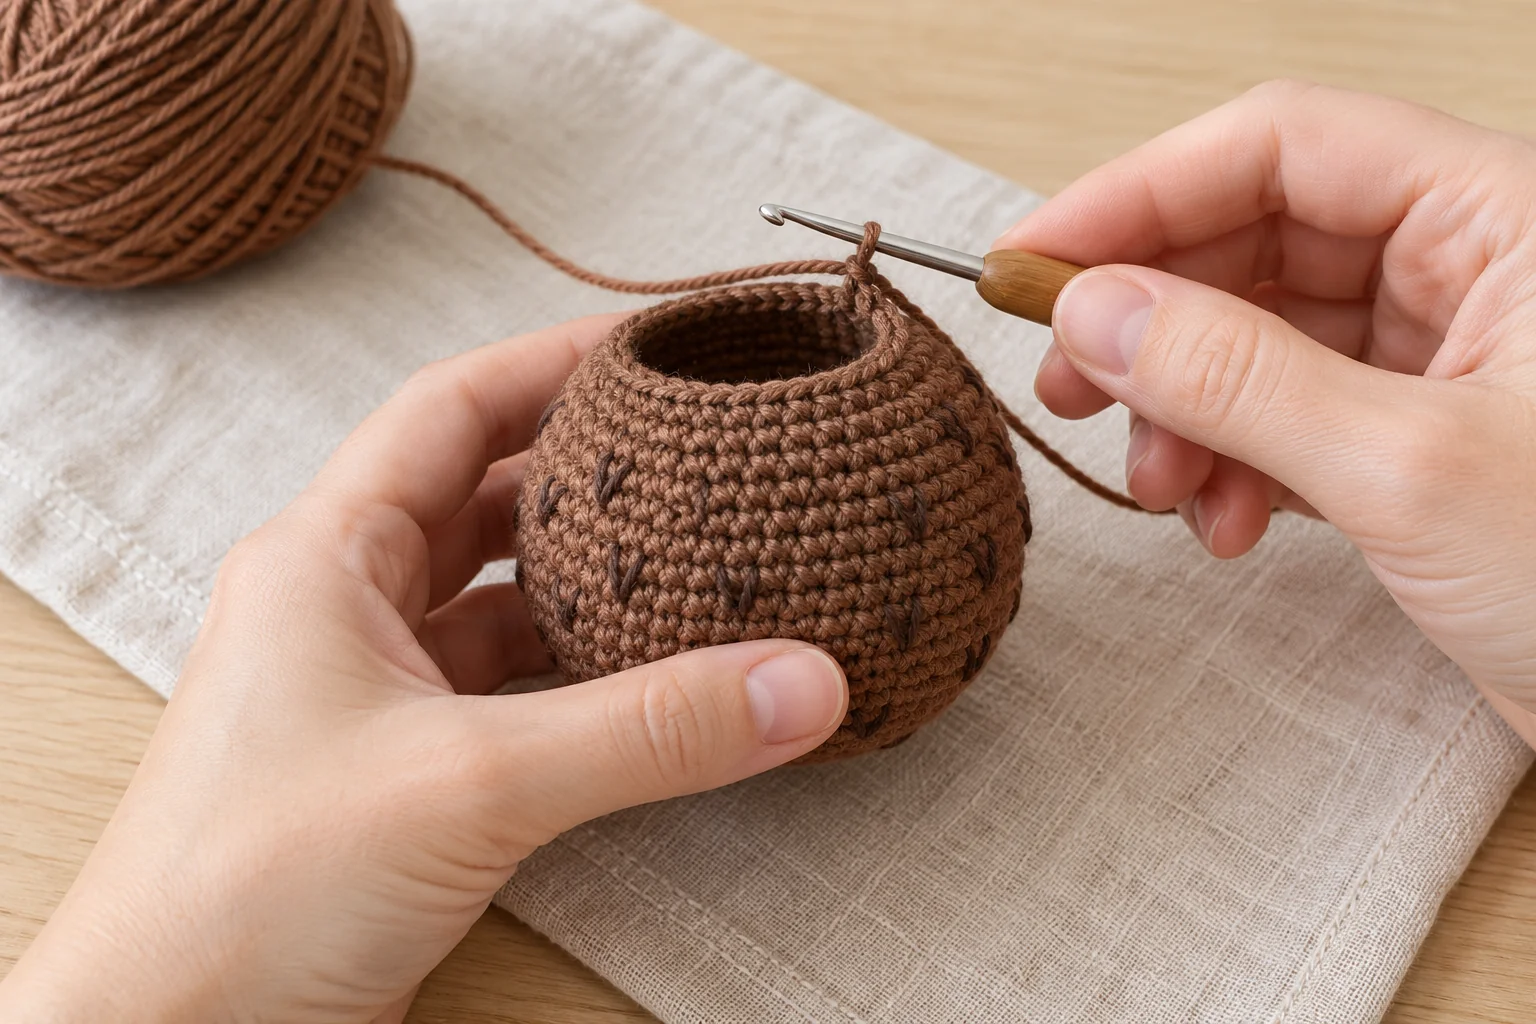
With brown yarn, make a magic ring. Round 1: work 6 sc into the ring. (6) Round 2: inc in each stitch. (12) Round 3: repeat [sc, inc] six times. (18) Round 4: repeat [2 sc, inc] six times. (24)
Rounds 5–8: sc in every stitch. (24 each round) These four even rounds create the middle of the mini crochet hedgehog body. Keep the starting tail inside and secure the magic ring so the base stays closed.
Round 9: repeat [2 sc, dec] six times. (18) Round 10: sc around. (18) Add small pieces of filling, distributing them evenly. The result should feel gently firm, with no hard lump pressing against the face area.
Round 11: repeat [sc, dec] six times. (12) Add the final small amount of filling. Round 12: dec six times. (6) Fasten off, thread the tail through the six front loops, draw closed, and weave the tail into the mini crochet hedgehog body.
The mini crochet hedgehog body is a compact rounded form. Choose one side for the face and one for the underside. Avoid placing the muzzle directly over the final closure if that closure is visibly uneven; rotating the body slightly can hide it toward the back.
Step 2: Mini Crochet Hedgehog Muzzle
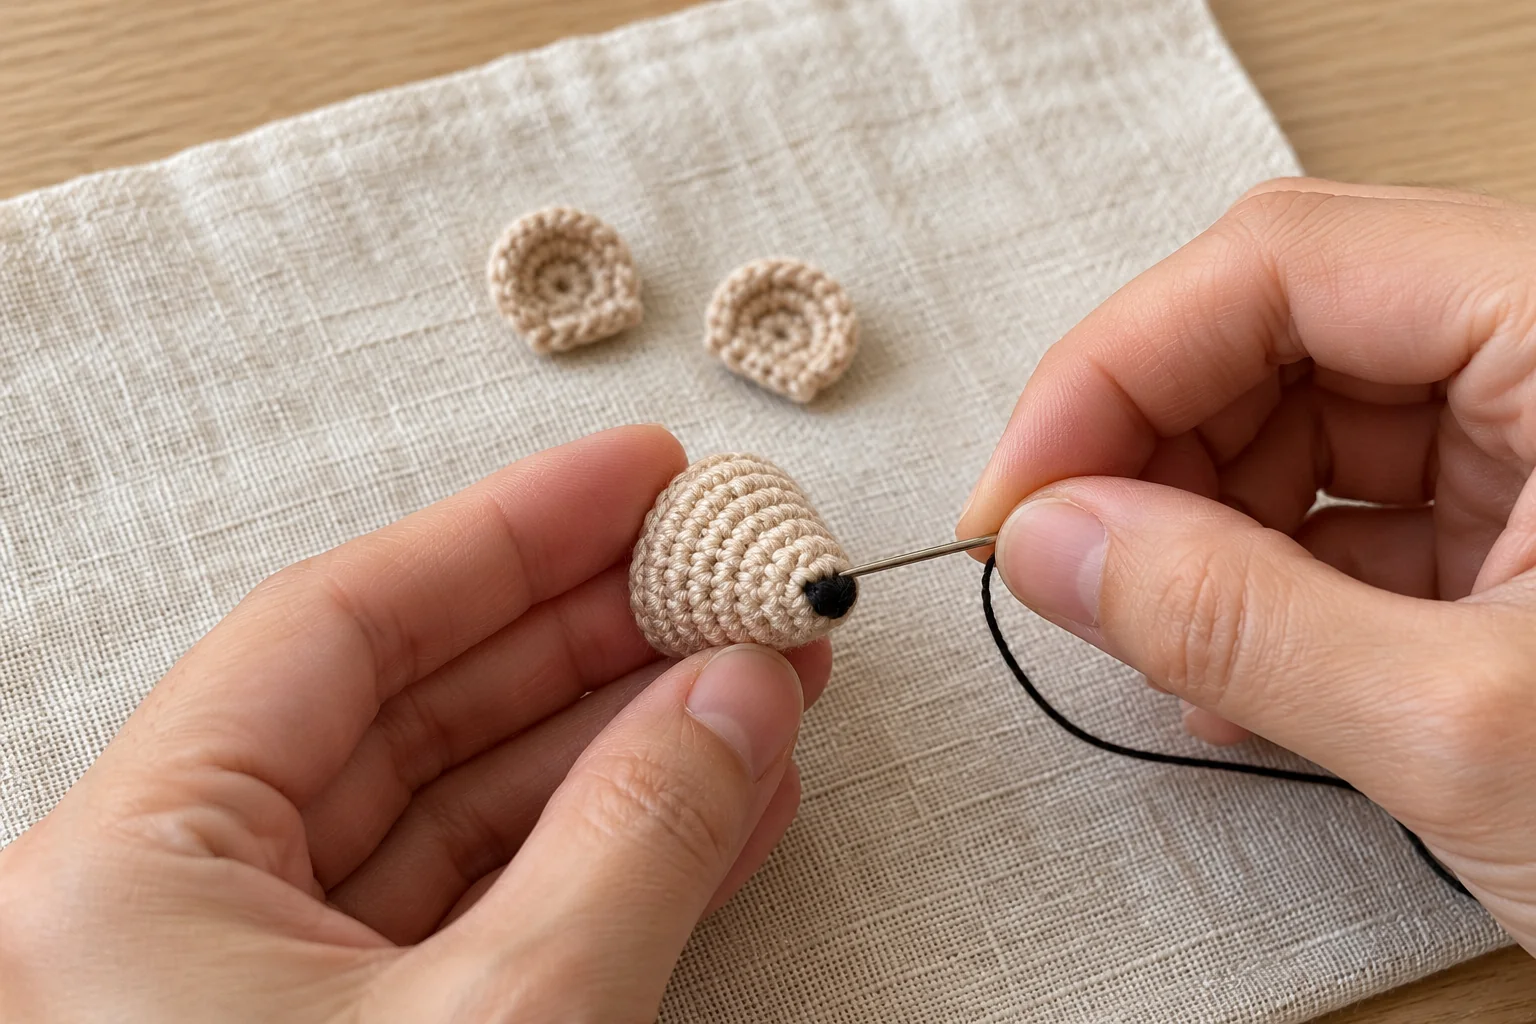
With beige, work 4 sc into a magic ring. (4) Round 2: repeat [sc, inc] twice. (6) Round 3: repeat [sc, inc] three times. (9) Round 4: sc around. (9) Fasten off with a long sewing tail.
The narrow starting end becomes the nose. Add only a tiny wisp of filling, leaving the wider opening flexible for sewing. A tightly packed muzzle can look like a ball instead of a short cone.
Embroider a small dark nose over the starting end before attaching the muzzle. Make two or three short stitches and secure the yarn inside. Position the wider opening against the chosen front of the mini crochet hedgehog body, with the nose pointing slightly forward and down.
Step 3: Mini Crochet Hedgehog Ears
For each ear, use beige yarn and work 6 sc into a magic ring. Pull closed and join with a sl st to the first sc. Fasten off, leaving a sewing tail. Keep the ears flat; they do not need filling.
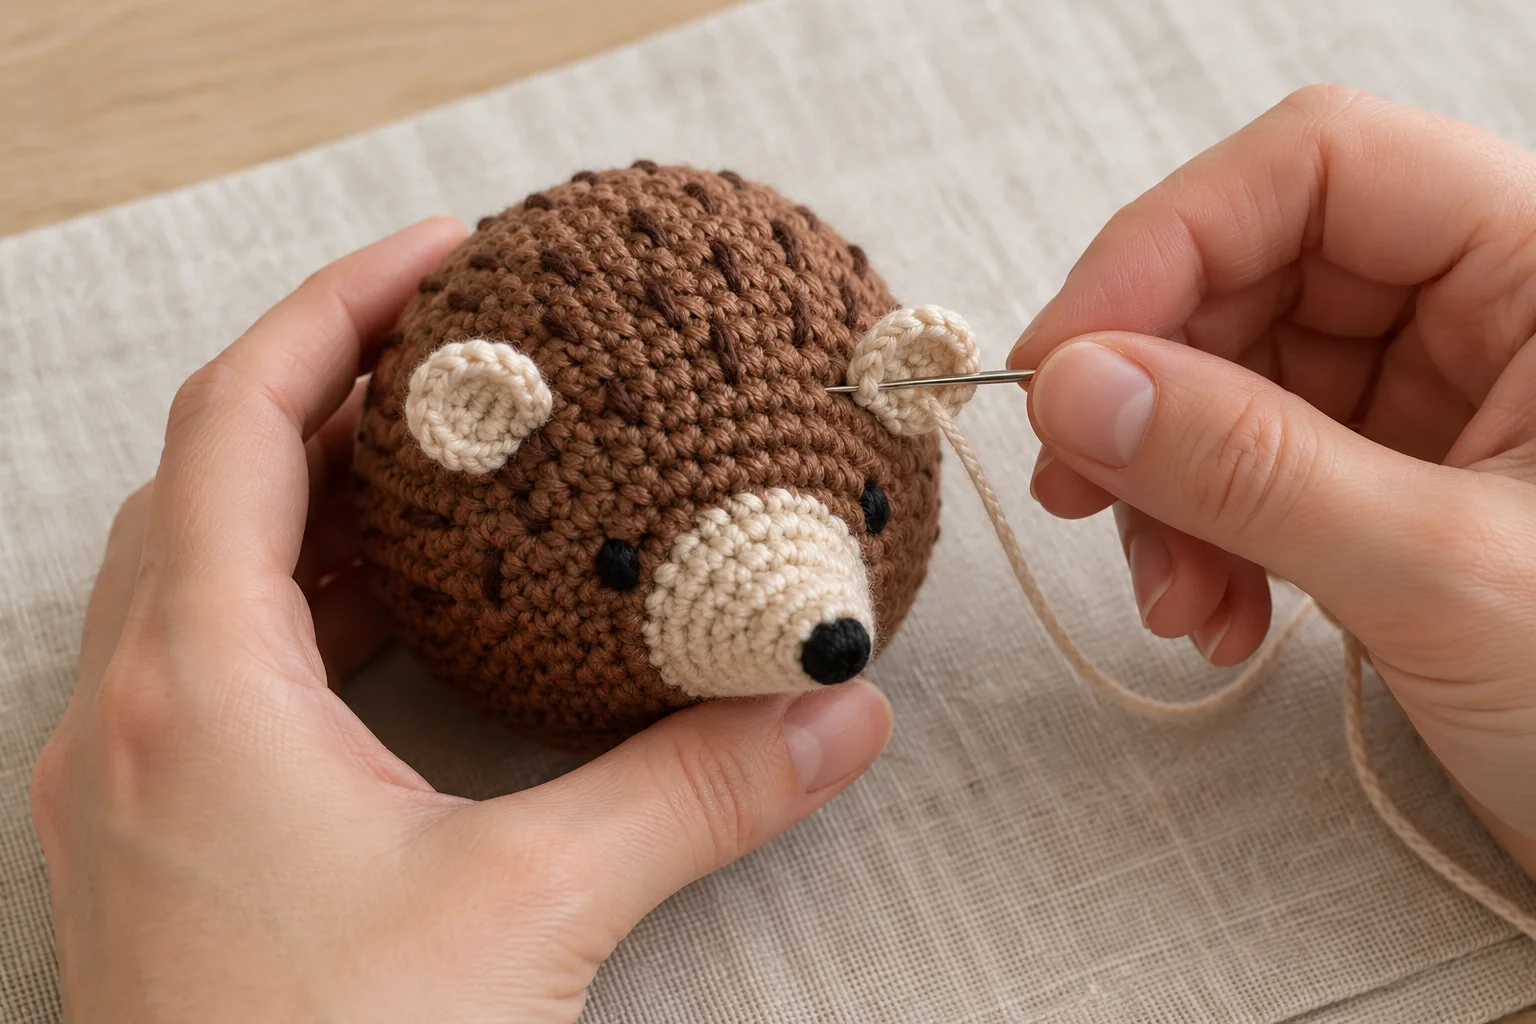
Fold only the lower edge slightly when attaching an ear. This gives a small cupped shape without adding another round. Lay both ears above the muzzle and check their spacing from the front before sewing.
If one ear looks bigger, compare the tension of its starting ring and finishing stitch. Remake that small piece rather than stretching the other ear. Matching tiny components helps the face look balanced.
Step 4: Mini Crochet Hedgehog Paws
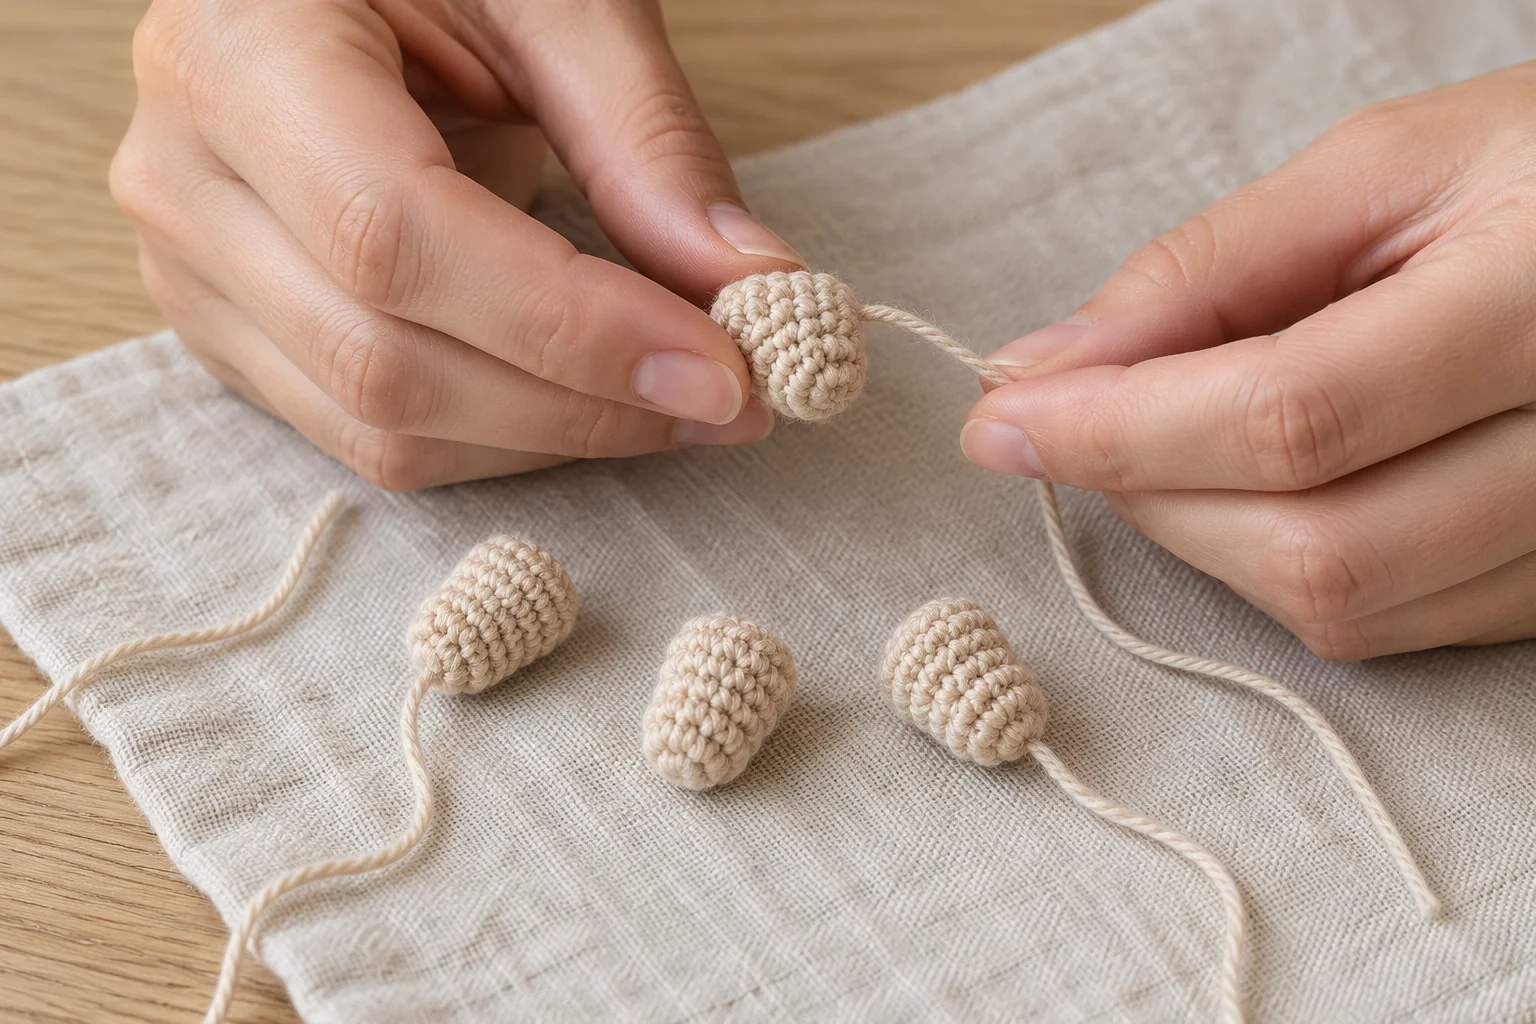
With beige, work 5 sc into a magic ring. (5) Round 2: sc in each stitch. (5) Fasten off with a sewing tail. Make four paws in total. Leave them unstuffed, flattening each opening gently.
Place the four paws in two pairs on the underside, leaving the front pair visible beneath the face. The small openings can be sewn closed while you attach them. Keep the front paws level so the hedgehog does not appear to lean.
Do not use the paws as handles or hanging points. They are decorative attachments. If you want a hanging ornament, add a separate reinforced yarn loop through several stitches across the top of the body.
Step 5: Mini Crochet Hedgehog Face and Limb Assembly
Use temporary lengths of contrasting yarn to hold the muzzle, ears, and paws in position. Check the hedgehog from the front and both sides. Once you like the arrangement, sew the muzzle around its nine-stitch opening with small beige stitches.
Sew each ear through several stitches at its base. Attach every paw securely along its flattened opening. The guide to sewing amigurumi pieces together explains how to hide joins and keep pieces aligned.
Embroider two small eyes just above and to either side of the muzzle. Use short horizontal or vertical stitches rather than long loose loops. Take the yarn through the body to secure it, then bury the end. Check that no dark thread crosses visibly behind the beige muzzle.
Step 6: Mini Crochet Hedgehog Quill Texture
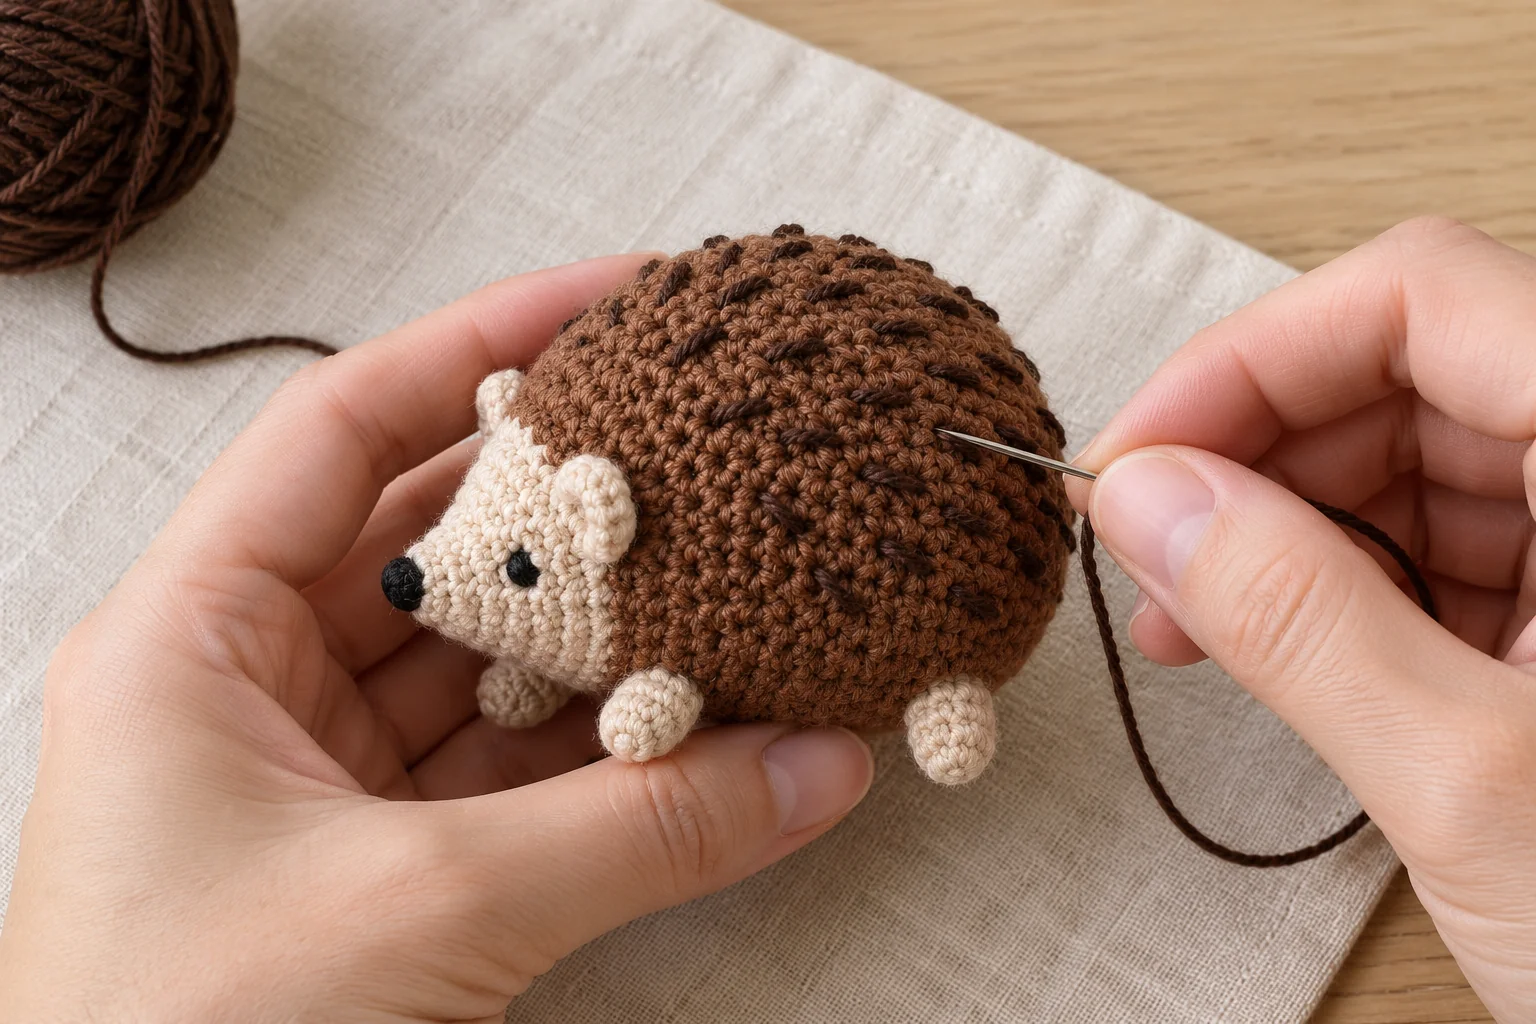
Use a slightly darker brown than the body. Begin behind the ears and embroider short straight stitches over the back, each spanning about one body stitch. Leave small spaces between them and change their angle gently.
Keep all quill stitches close to the fabric. Do not form loose loops or long spikes. Leave the face and underside clear so the contrast between the pale face and textured back remains easy to see.
Work in a few short lengths of yarn instead of pulling one very long thread through the whole animal. Secure each length, inspect the surface, and stop before the back looks crowded. The embroidery is a visual suggestion of quills, not a separate coat.
Finishing, Display, and Care
Roll the body lightly between your palms to distribute the filling. Check the seams, tug the attachments gently, and weave in any remaining ends. Follow your yarn and filling labels for washing; reshape carefully and allow the piece to dry fully.
For a small handmade gift collection, combine the hedgehog with a crochet acorn pouch. A crochet autumn sunflower can add a contrasting flat element to the wrapping.
This small decorative animal contains filling and sewn pieces. Keep it away from young children and pets. An embroidered face avoids separate plastic eyes, but it does not by itself make an untested design suitable as a toy.
Mini Crochet Hedgehog: Frequently Asked Questions
Before finishing your mini crochet hedgehog, review these questions about the construction, materials, and final use.
Can I use fluffy yarn?
You can, but the stitches and embroidery will be harder to see. Make the first version in smooth yarn, then decide whether the textured yarn gives enough definition for the face.
Does this pattern need safety eyes?
No. The design uses embroidered eyes and a stitched nose. Keep the stitches short and securely anchored.
Why is my muzzle too round?
It may contain too much filling or the first two rounds may be too loose. Remove some filling and check the four-round cone shape before sewing.
Can I skip the embroidered quills?
Yes. A smooth brown back still gives a simple hedgehog silhouette. Keep the beige pointed muzzle and small ears to distinguish the face.
How do I make a matching pair?
Use the same yarn, hook, and stuffing amount. Write down any adjustments you make to the first hedgehog before beginning the second.
What should I crochet next?
Try the mini crochet turtle for another small animal with separate decorative components and a different silhouette.
Your Mini Crochet Hedgehog Is Ready
Give the face a final check and make sure the paws and ears are secure. This mini crochet hedgehog offers a compact woodland project with clear shapes, simple rounds, and a little embroidered texture. Record the finished size so your next woodland companion can match.