Crochet Autumn Sunflower – Free Flower Pattern for a Cozy Fall Bouquet
Create a crochet autumn sunflower with twelve golden petals, a chocolate brown center, olive green leaves, and a wrapped stem. Includes step-by-step instructions and finishing tips.
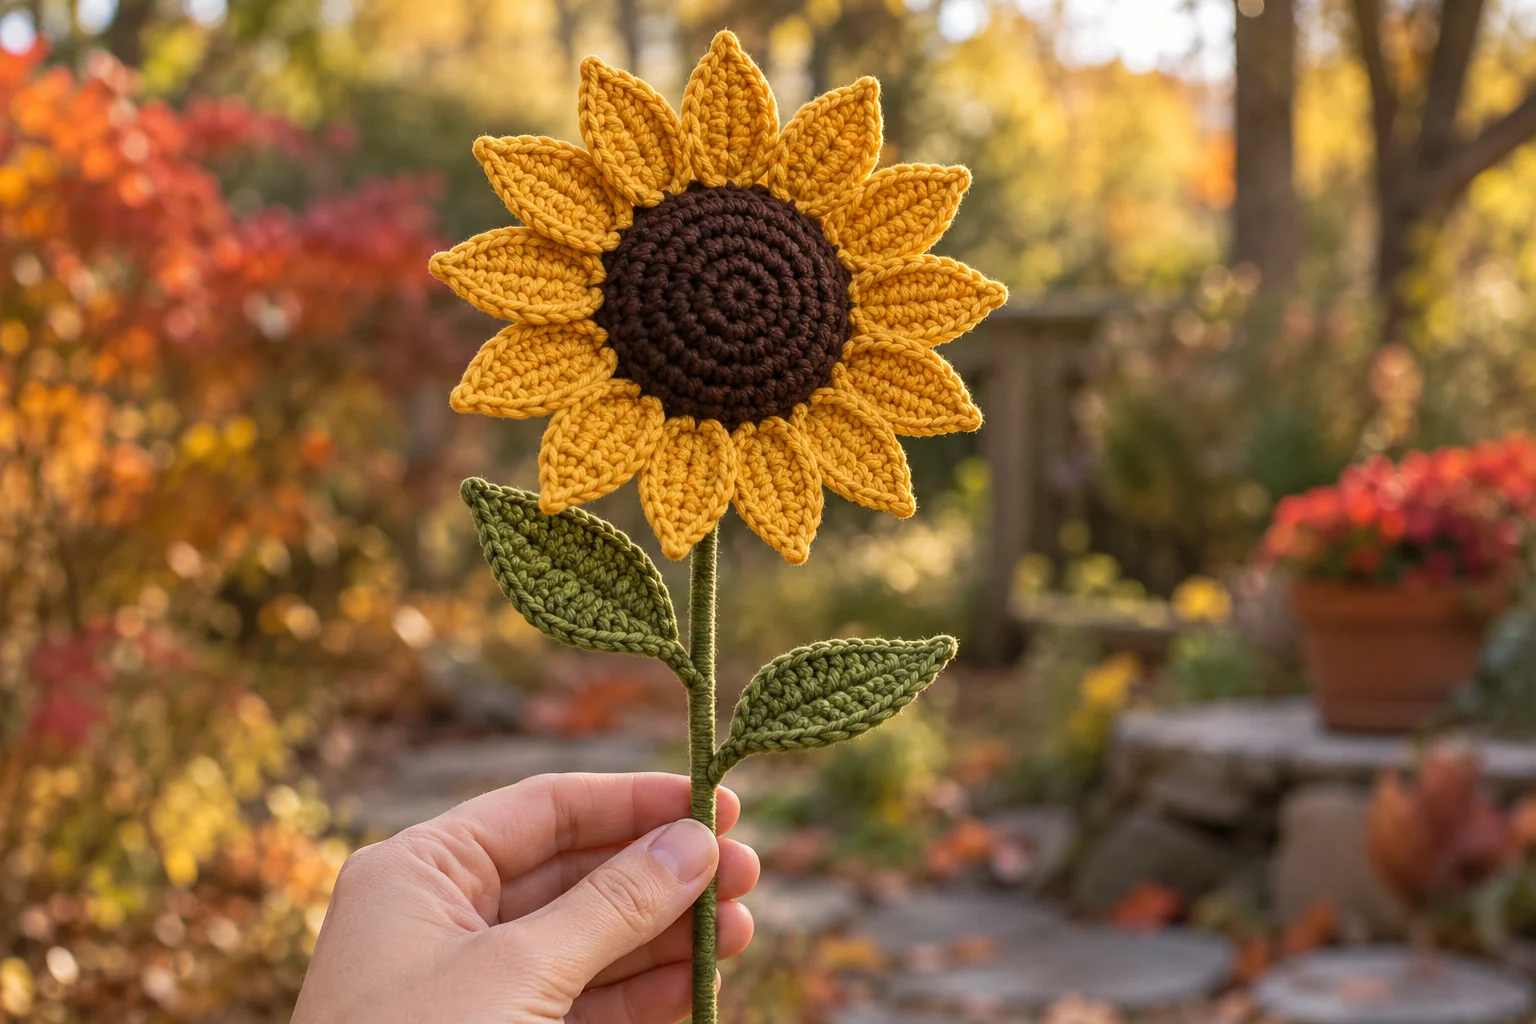
Bring warm autumn colors into your home with a handmade crochet autumn sunflower. Golden yellow petals surround a chocolate brown center, while an olive green stem and two pointed leaves complete the flower. Display a single stem in a narrow vase or make several flowers for a small fall bouquet.
This pattern breaks the project into manageable pieces: a circular front center, twelve separate petals, a green backing, and two leaves. You will assemble the flower head before covering the stem and attaching the leaves.
The separate petals let you adjust their spacing before sewing them permanently. They also make this a convenient project to work on in short sessions. Finish a few petals at a time, then arrange all twelve around the center when you are ready.
Pattern note: This is an original written pattern that has not been physically tested. Finished size and yarn usage are estimates. The generated reference images illustrate the intended colors and overall design; individual stitches and proportions may differ from a crocheted sample.
Project Overview
- Skill level: confident beginner to intermediate.
- Terminology: US crochet terms.
- Construction: separate pieces joined by sewing.
- Petals: 12 golden yellow petals.
- Leaves: 2 olive green leaves.
- Center: brown front with a green backing.
- Intended use: decorative flower or bouquet.
- Estimated flower diameter: approximately 11–14 cm.
- Suggested exposed stem length: approximately 25 cm.
Your flower’s size depends on yarn thickness, hook size, and tension. Make one petal and the brown center first, then place them together to assess the proportions. A firm fabric helps the petals hold their shape. Avoid stitches so tight that the pieces become difficult to sew through.
Materials and Tools
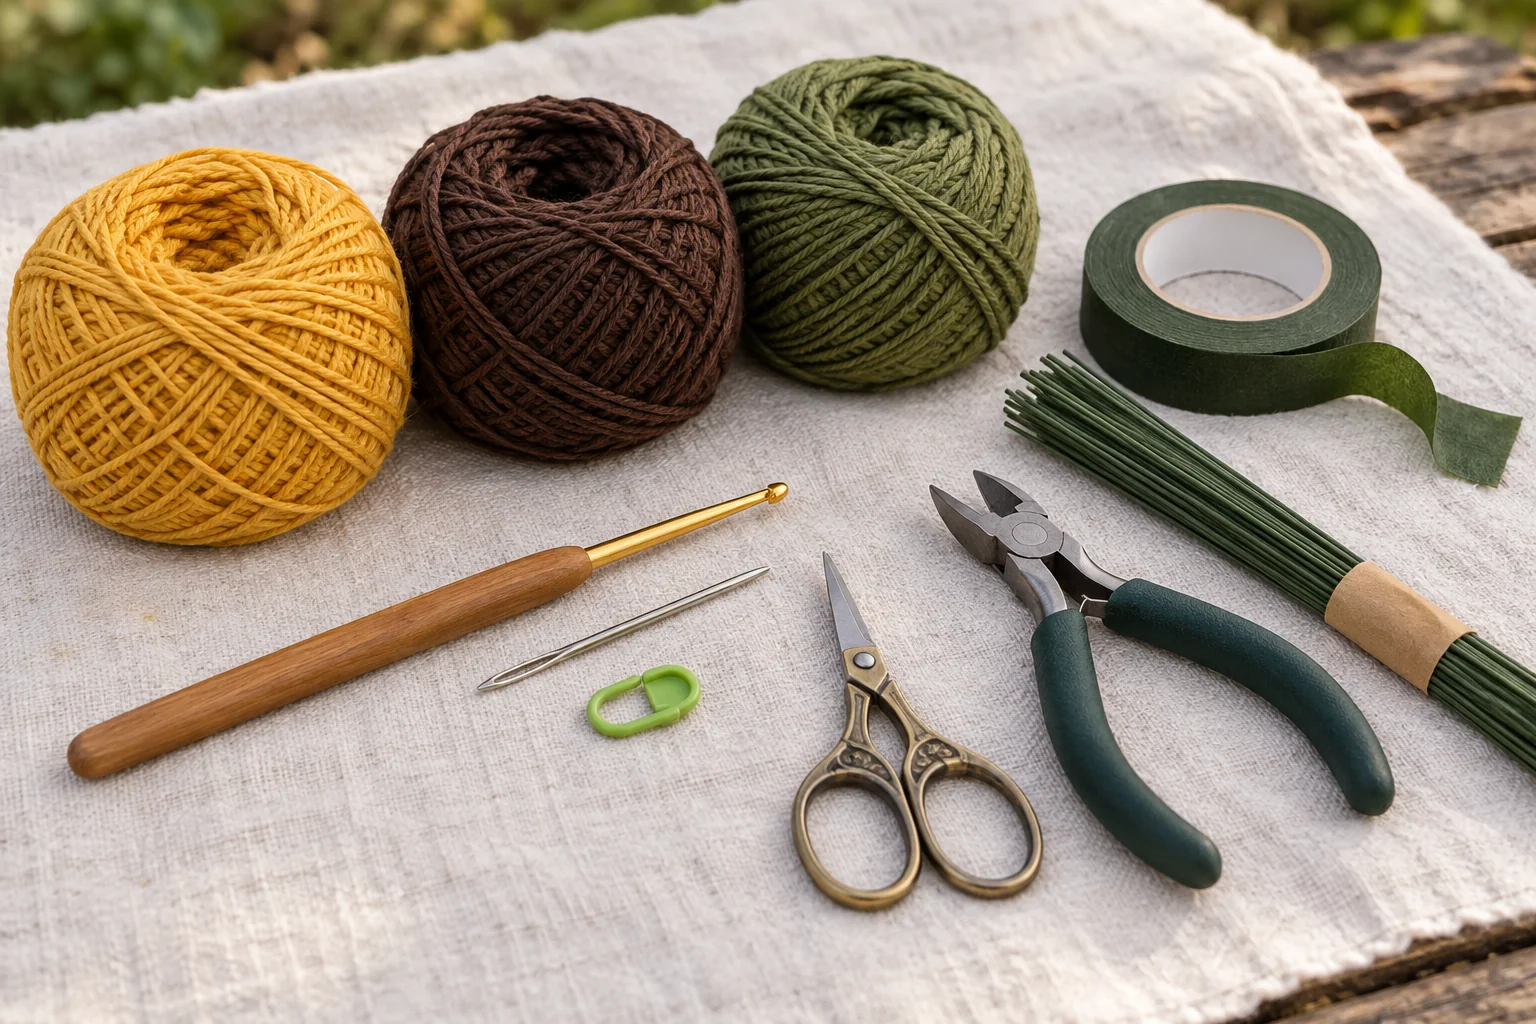
- Smooth DK-weight cotton or cotton-blend yarn in golden yellow, chocolate brown, and olive green.
- A 2.5–3 mm crochet hook, adjusted to your yarn and tension.
- A tapestry needle, scissors, and removable stitch marker.
- A measuring tape.
- A sturdy, paper-covered floral stem wire.
- Small pliers for shaping the wire and green floral tape.
- A small amount of fiberfill, optional.
Choose floral wire strong enough to support your finished flower head. Thin craft wire may bend under its weight. Keep enough green yarn for the backing, both leaves, and stem covering. Exact quantities need confirmation through a physical sample.
This project is intended as a display piece. Enclose both wire ends fully and check that no sharp section remains exposed.
Abbreviations and Pattern Notes
MR: magic ring. Ch: chain. Sc: single crochet. Hdc: half double crochet. Dc: double crochet. Tr: treble crochet. Sl st: slip stitch. Inc: work 2 sc into one stitch. St/sts: stitch/stitches.
Work the brown center and green backing in continuous rounds. Do not join after each round unless instructed. Mark the first stitch and move the marker as you progress.
Petals and leaves are worked around both sides of a foundation chain. When the instructions say to work along the opposite side, use the unused loops beneath the foundation stitches. Starting chains do not count as stitches.
Petal picot: Ch 2, then sl st into the first of those two chains. This creates a small pointed detail. The picot is additional decoration and is excluded from the main stitch count.
Step 1: Crochet the Brown Sunflower Center
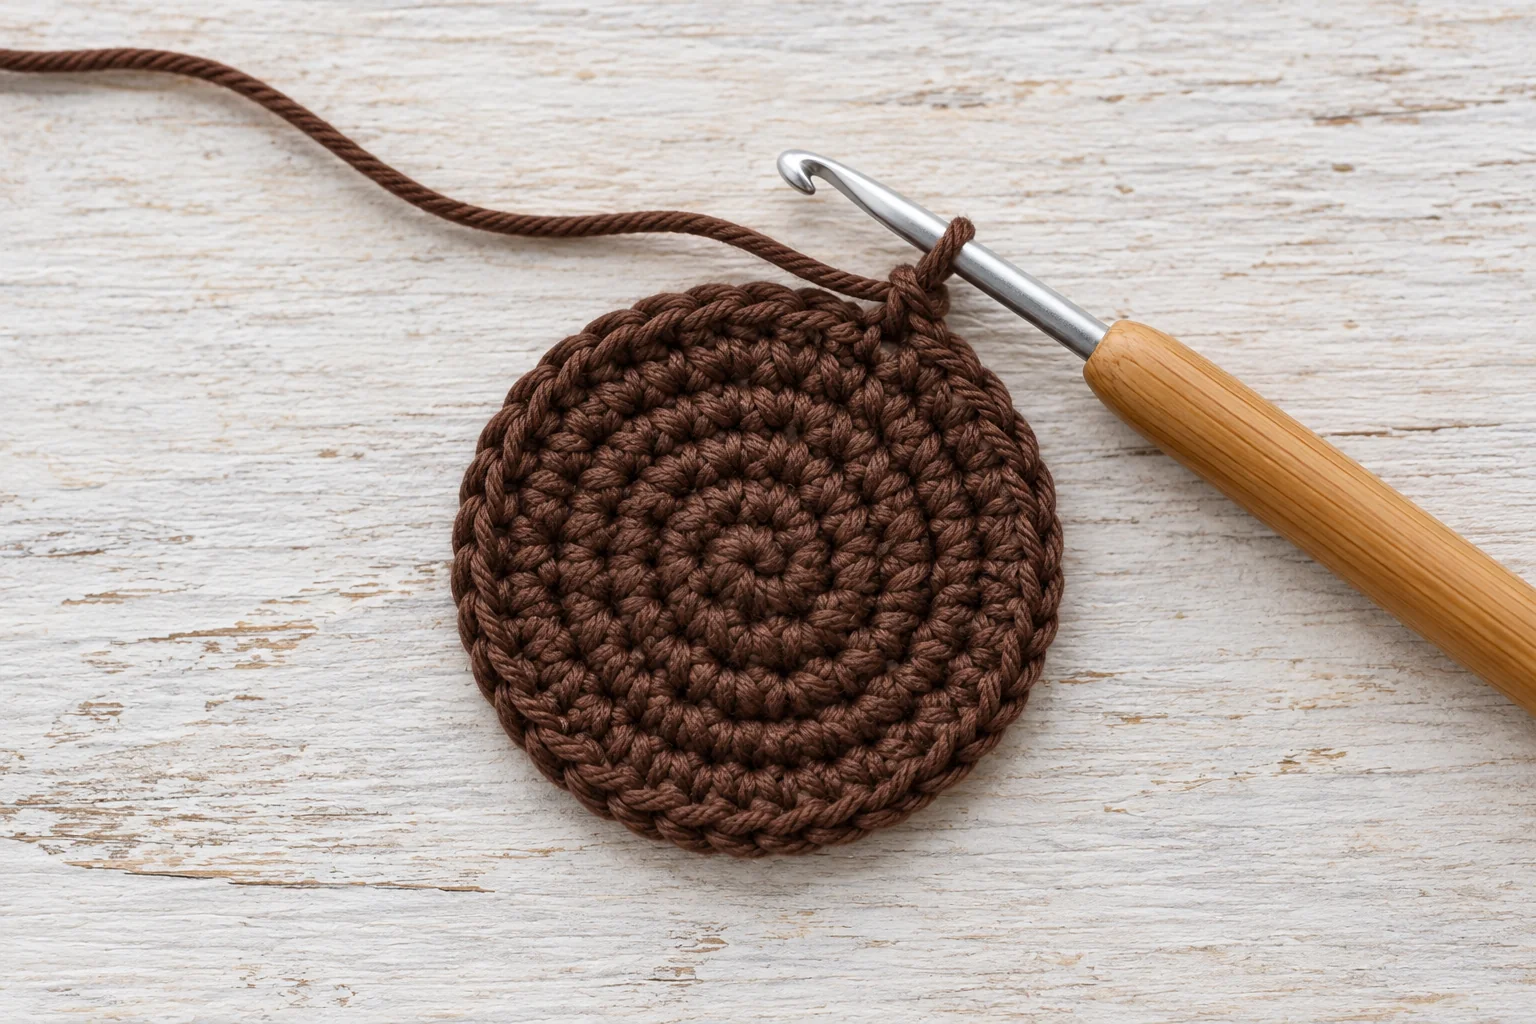
Using chocolate brown yarn, make a magic ring.
| Round | Instructions | Count |
|---|---|---|
| 1 | 6 sc into MR | 6 |
| 2 | Inc in each stitch around | 12 |
| 3 | (1 sc, inc) × 6 | 18 |
| 4 | (2 sc, inc) × 6 | 24 |
| 5 | (3 sc, inc) × 6 | 30 |
| 6 | (4 sc, inc) × 6 | 36 |
Sl st into the next stitch to finish. Fasten off, leaving a long tail for assembly. Pull the magic ring closed and weave in its starting tail on the wrong side.
Lay the piece flat. Slight corners at the increase points are acceptable, but strong rippling suggests extra stitches or uneven tension. The center should remain a shallow circular disc. A small amount of optional stuffing will be added during assembly rather than while crocheting.
Step 2: Crochet Twelve Golden Petals
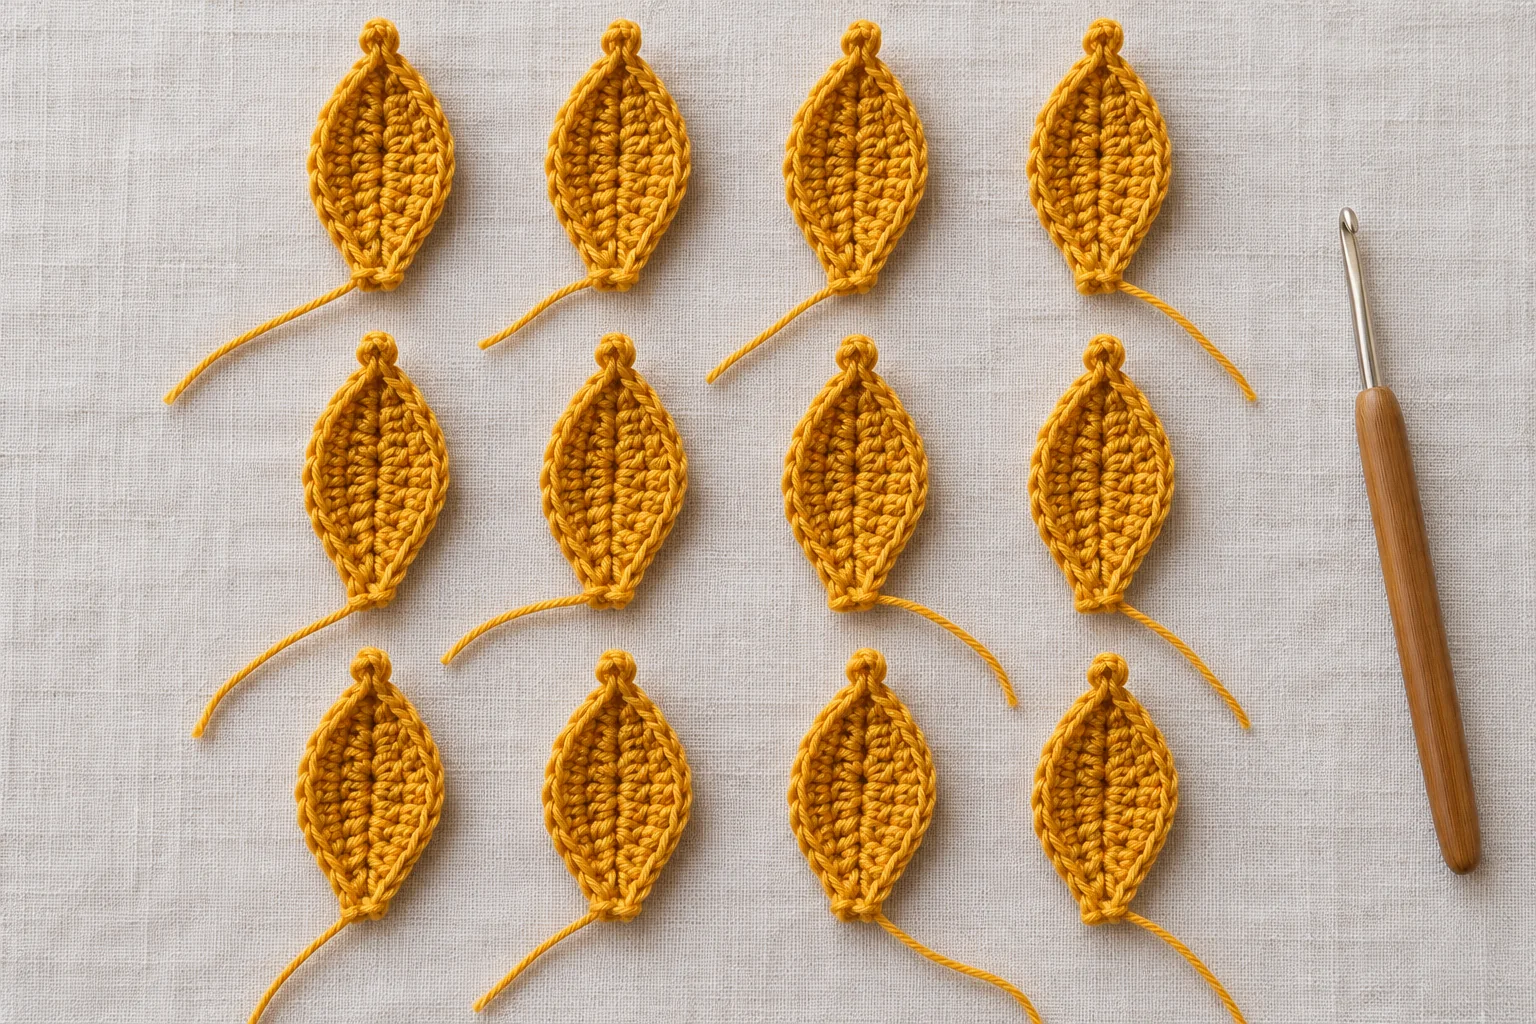
Using golden yellow yarn, ch 10. Starting in the second chain from the hook, work along the nine available chains: 1 sc, 1 hdc, 1 dc in each of the next 2 chains, 1 tr in each of the next 2 chains, 1 dc, 1 hdc. In the final chain, work 1 sc, picot, 1 sc, all in that chain.
You have now reached the pointed outer end. Rotate the piece to work along the unused underside of the foundation chain. Skip the final chain, which already contains the tip stitches.
Across the remaining eight chain positions, work: 1 hdc, 1 dc, 1 tr, 1 tr, 1 dc, 1 dc, 1 hdc, 1 sc. Sl st to the first sc to close the petal outline. Fasten off, leaving a sewing tail at the base.
Each petal contains 18 main stitches, plus the picot and closing slip stitch. Make 12 petals using the same tension.
Lay them together before proceeding. If one is noticeably larger, check its foundation chain and stitch order. A small variation is natural, but consistent lengths make assembly easier.
Step 3: Crochet the Green Backing
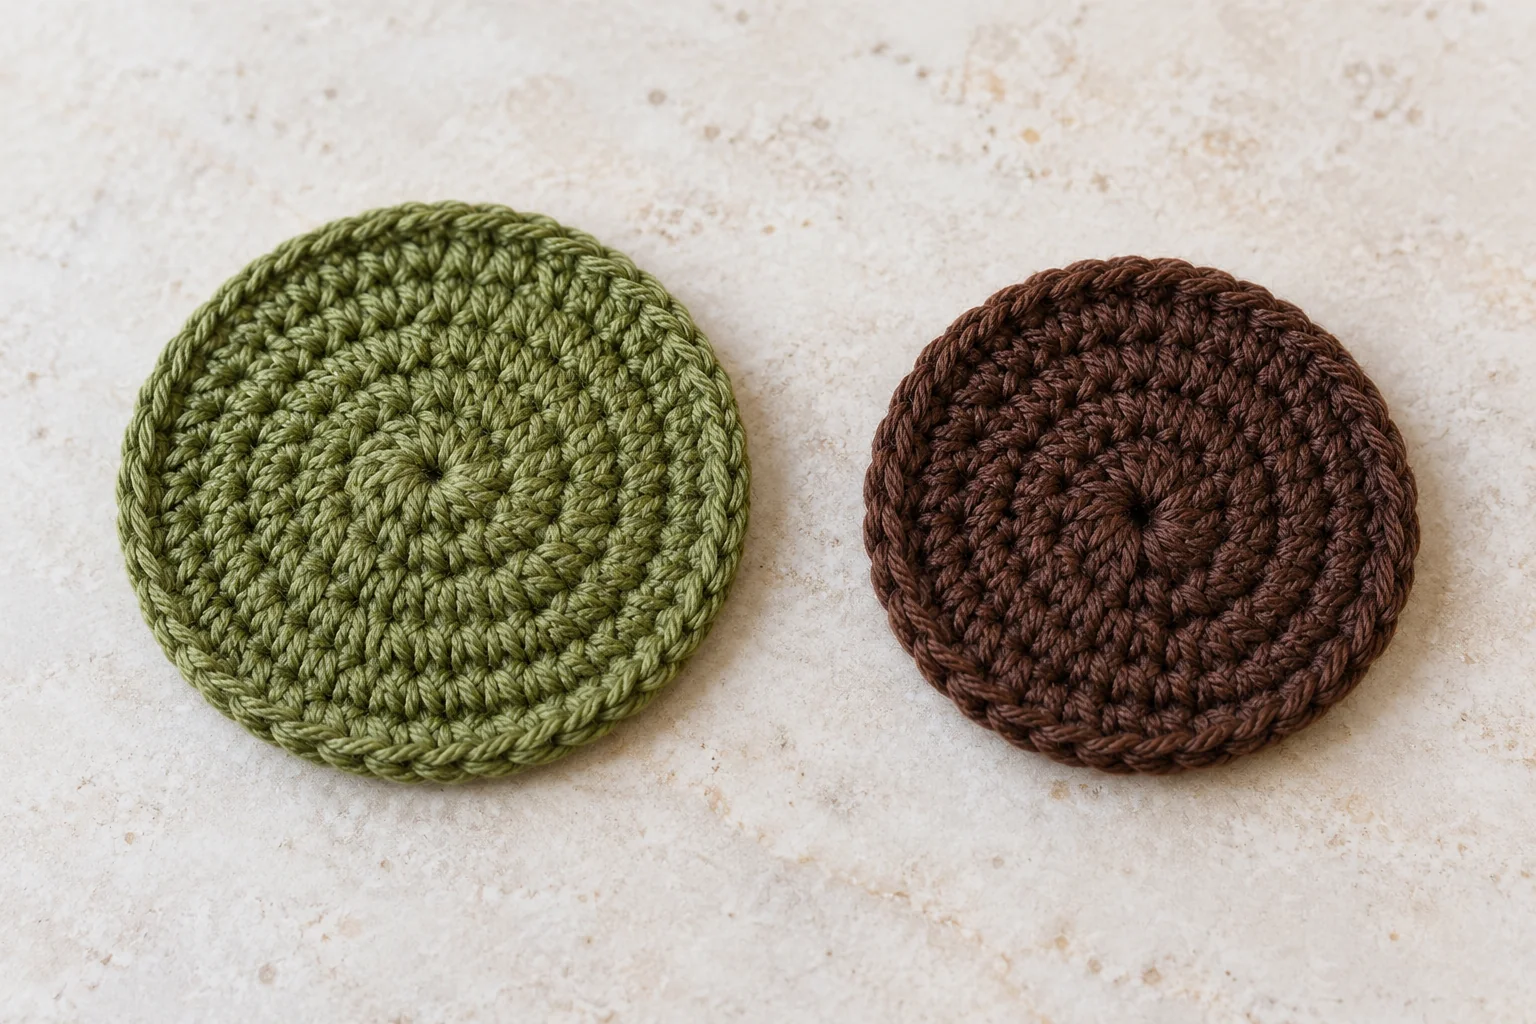
Using olive green yarn, repeat the six rounds used for the brown center.
| Round | Instructions | Count |
|---|---|---|
| 1 | 6 sc into MR | 6 |
| 2 | Inc in each stitch around | 12 |
| 3 | (1 sc, inc) × 6 | 18 |
| 4 | (2 sc, inc) × 6 | 24 |
| 5 | (3 sc, inc) × 6 | 30 |
| 6 | (4 sc, inc) × 6 | 36 |
Sl st into the next stitch and fasten off with a long sewing tail. Close and secure the magic-ring opening.
Compare the backing with the brown center. Their outer edges should be similar in circumference because you will join them stitch for stitch. If they differ substantially, check that both pieces contain 36 stitches and that your green yarn is similar in thickness to the brown yarn.
Step 4: Arrange and Attach the Petals
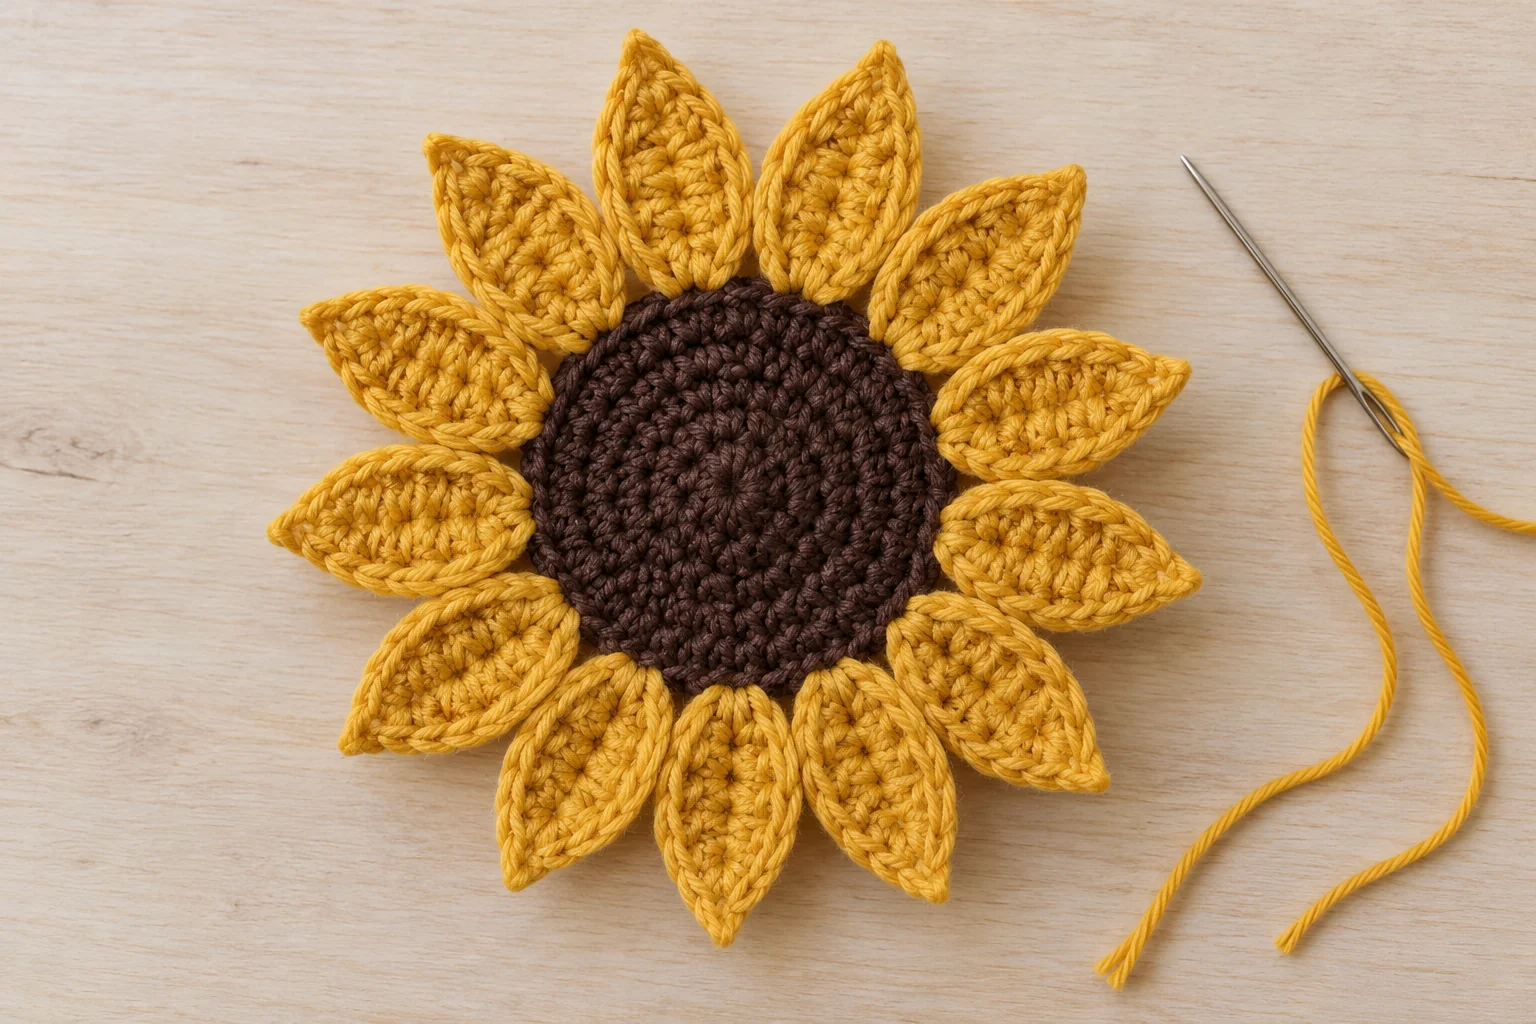
Place the brown center wrong side facing upward. Arrange the twelve petals around its edge with their right sides facing downward. Their pointed ends should extend away from the center.
The center has 36 outer stitches, giving you three edge stitches per petal. Mark twelve groups of three stitches around the circle. Position one petal base against each group, overlapping the base slightly onto the wrong side of the disc.
Check the arrangement from the front before sewing. The petals should form one ring with reasonably even spacing. Sew each petal base securely to its assigned section. Use several small stitches through the petal base and brown fabric.
Keep the pointed ends free. Avoid sewing too far along the petals, which can shorten their visible length. Weave the yellow tails into the back of the work. The green backing will cover these joins.
Step 5: Secure the Stem and Close the Flower Head
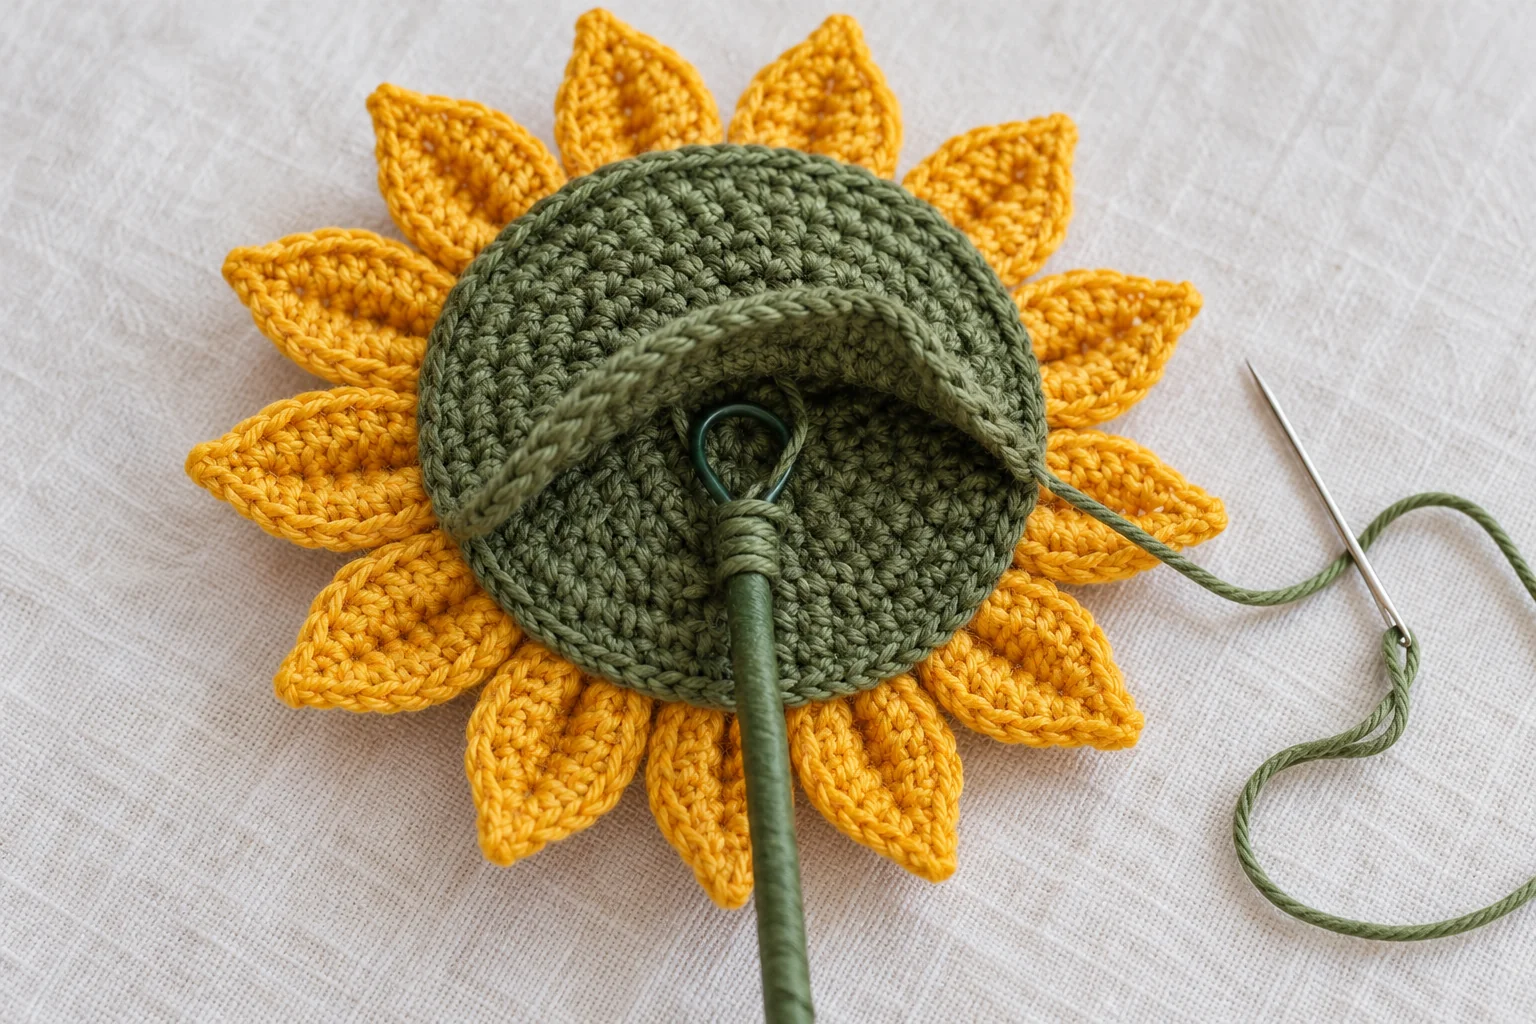
Using pliers, bend the upper end of the floral wire into a small, flat closed loop. Cover the cut end with floral tape. Place this loop against the inside face of the green backing, with the straight stem extending beyond its lower edge.
Using green yarn, tack the loop firmly to the backing at several points. The stitches should hold it against the fabric without letting it slide.
Place the backing behind the brown center, wrong sides together. The petal bases and wire loop should sit between the two discs. Using the brown sewing tail, join corresponding outer stitches around the head. Catch the petal bases where needed to reinforce their attachment.
Before closing the final section, add a thin layer of fiberfill if you want a gently rounded center. Leave it out for a flatter flower. Complete the seam around the stem exit. Secure the yarn and weave in remaining tails.
Lift the flower carefully by the stem and check that the head stays attached. The assembly illustration may simplify the interior; the written construction uses one brown front and one green backing.
Step 6: Crochet Two Green Leaves
Using olive green yarn, ch 12. Starting in the second chain from the hook, work: 1 sc, 1 hdc, 1 dc in each of the next 6 chains, 1 hdc, 1 sc, and 3 sc into the final chain.
Rotate to work along the opposite side of the foundation. Skip the final chain containing the three tip stitches. Across the remaining ten positions, work: 1 sc, 1 hdc, 6 dc, 1 hdc, 1 sc. Sl st to the first sc. Fasten off, leaving a long attachment tail.
Each leaf contains 23 main stitches, excluding the closing slip stitch. Make two leaves. Gently shape them into pointed ovals. If they curl, lightly dampen and lay them flat to dry according to the yarn’s care instructions. Leave the attachment tails free until the stem is ready.
Step 7: Cover the Stem and Attach the Leaves
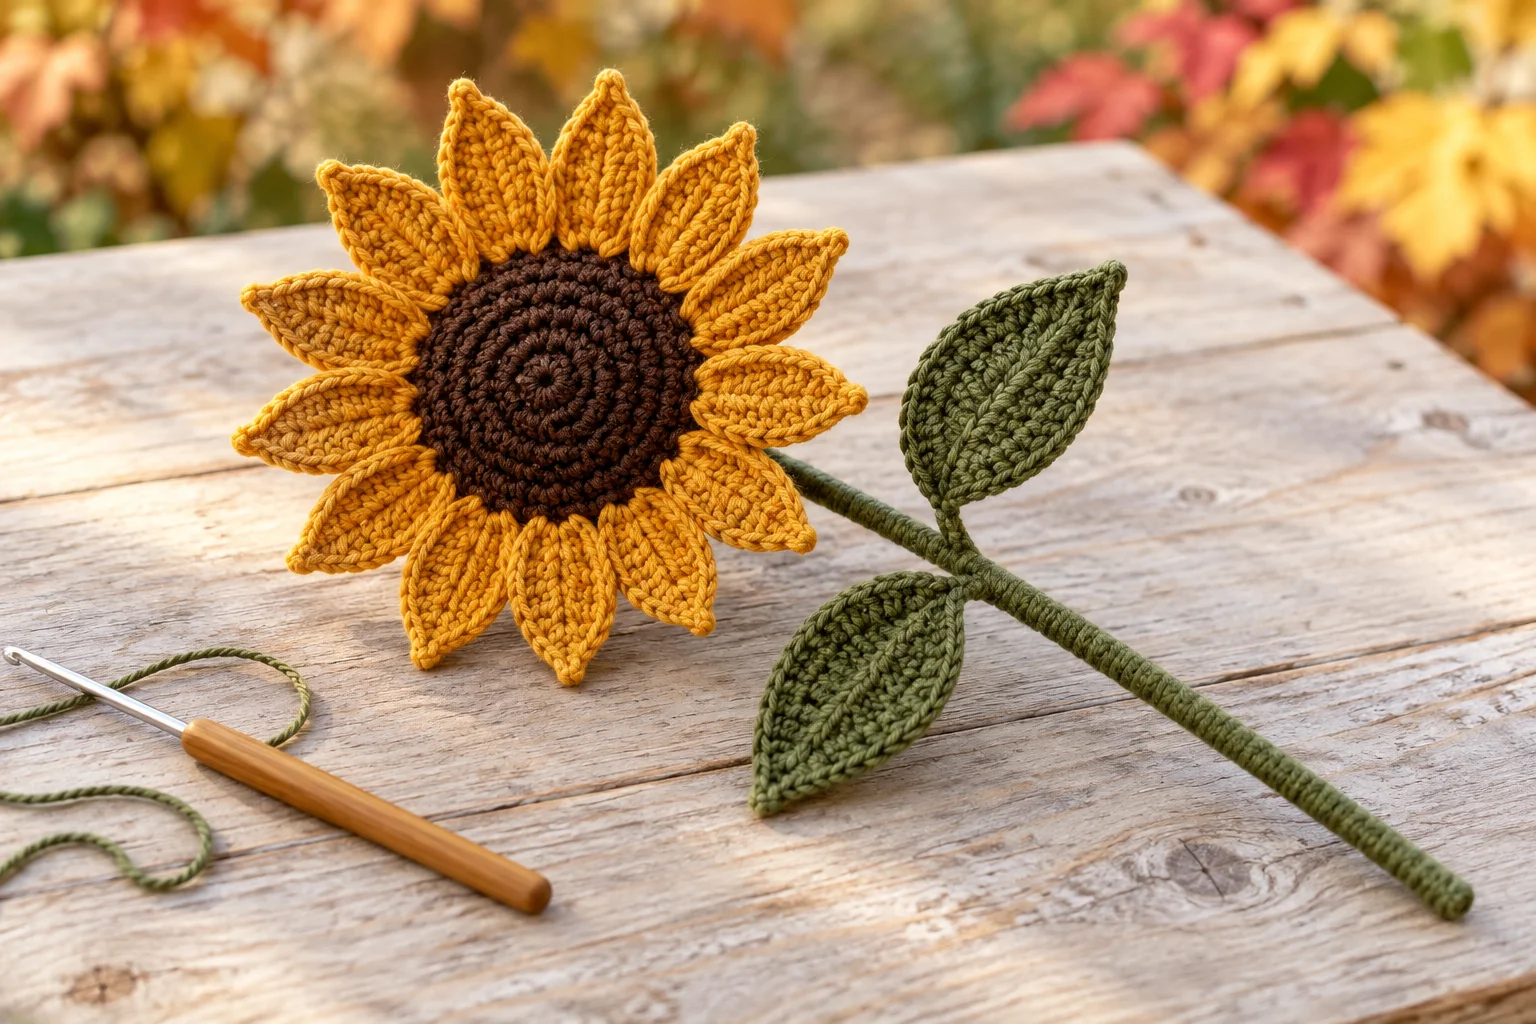
Cover the remaining wire with green floral tape, including its lower cut end. Anchor olive green yarn immediately beneath the flower head. Wrap it closely around the taped stem, working downward.
Keep the wraps snug and adjacent so the tape does not show through. At your chosen upper leaf position, hold one leaf base against the stem. Use its tail to bind the base firmly around the stem, then continue wrapping over the attachment.
Attach the second leaf slightly lower on the opposite side. Continue covering the stem to its lower end. Secure the wrapping yarn by threading it back beneath several tight wraps. Trim only after checking that it holds.
Arrange the leaves at gentle angles. They do not need to be perfectly symmetrical. Finally, spread the petals evenly and inspect every connection.
Troubleshooting Your Crochet Sunflower
Twisting petals: Check that you worked into the unused underside loops of the foundation chain. Uneven tension on the two sides can also twist a petal. Gently shape it before deciding whether to remake it.
Floppy flower head: The fabric may be too loose, the seam may need reinforcement, or the stem wire may be too thin. Check the attachment points first. For another flower, try a slightly smaller hook.
Bulging center: Too much stuffing can turn the shallow disc into a ball. Remove some filling before completing the seam.
Crowded petals: Their bases may overlap too far onto neighboring sections. Reposition them using the twelve marked groups before tightening the sewing stitches.
Styling a Cozy Fall Bouquet
Make three or five flowers and vary their stem lengths to create a relaxed arrangement. Keep the same brown centers and olive leaves for a coordinated look. A narrow ceramic vase suits a single stem. For a bouquet, choose a heavier container that can support the flower heads.
Combine mustard yellow flowers with a few rust-colored versions if you want a warmer autumn palette. Test a complete flower before making a large set so you can settle on your preferred proportions.
Frequently Asked Questions
Is this crochet autumn sunflower beginner-friendly?
It suits crocheters familiar with basic stitches, increases, and sewing. Working around both sides of a chain may require practice.
Can I make it without a stem?
Yes. Omit the wire and stem covering, then finish the head as a flat decoration. Attach it securely to your chosen project.
Can I use acrylic yarn?
Yes, although texture and stiffness will differ. Make one petal first and check how well it holds its shape.
Does the flower need stuffing?
No. A small amount is optional for a gently rounded center. The petals and leaves remain unstuffed.
Can I change the petal colors?
Yes. Golden yellow, ochre, and rust shades work with the brown center. Use comparable yarn thicknesses to maintain consistent proportions.
How should I clean a wired flower?
Follow the yarn’s care instructions and spot-clean when possible. Avoid soaking the assembled wire stem, and let the flower dry completely.
Will my flower match the reference photo exactly?
Not necessarily. The photos are generated, and this pattern has not been physically tested. Use the images for color and arrangement guidance while following the written instructions.
Finish Your Handmade Autumn Sunflower
Your crochet autumn sunflower is ready once the petals are secure, the stem is fully covered, and both leaves stay in place. Display it on its own or repeat the pattern to build a small bouquet with the warm colors of fall.