Crochet Christmas Star Garland – Free Step-by-Step Pattern
Make a crochet Christmas star garland with seven flat stars and a green chain cord. Free pattern with point-by-point instructions, spacing tips, and care.
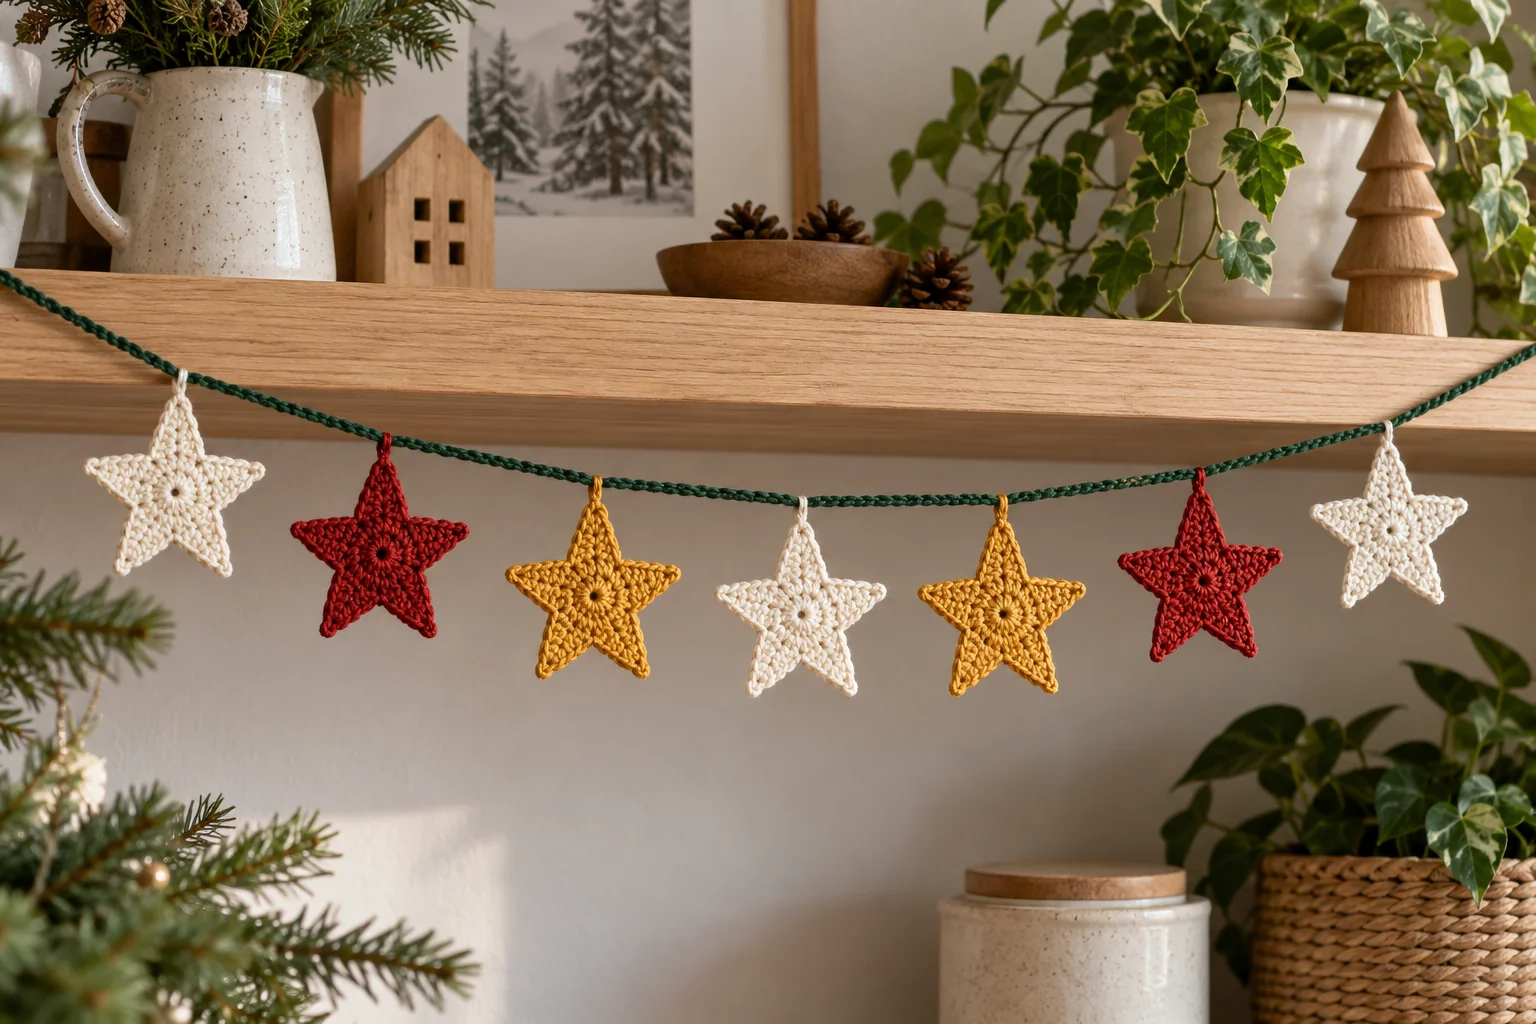
This crochet Christmas star garland uses seven small, flat stars attached to a green crochet chain. Cream, brick red, and mustard yellow create a traditional holiday palette, but the same instructions work with a single color. Each star is made separately, so you can check its shape before deciding how many to add to the cord.
To make the garland, crochet a ten-stitch center, build five chain-based points around it, and weave in the ends. Finish the stars, lay them out in your preferred order, then sew one tip of each star to the chain. The written design uses no stuffing, beads, wire, or electrical lights.
Pattern note: this is an original written design that has not been physically sample-tested. The stitch sequence and base-stitch count have been reviewed, but the point shape, finished size, and yarn amounts still need a real crochet sample. The AI-generated images illustrate the concept and stages; they are not photographs of a tested sample made from these instructions.
Crochet Christmas Star Garland at a Glance
Skill level: confident beginner. You will use a magic ring, chains, slip stitches, single crochet, half double crochet, and double crochet. The points are worked back along short chains, rather than built from several expanding rounds. This produces a compact motif with five narrow arms.
Make one practice star before preparing a full set. Use it to assess the shape, measure the width, and choose a suitable spacing. Approximately 4–6 cm across is a planning estimate with fine cotton and a 3 mm hook, not a guaranteed measurement. Your yarn, hook, and tension determine the actual size.
Materials and Color Plan
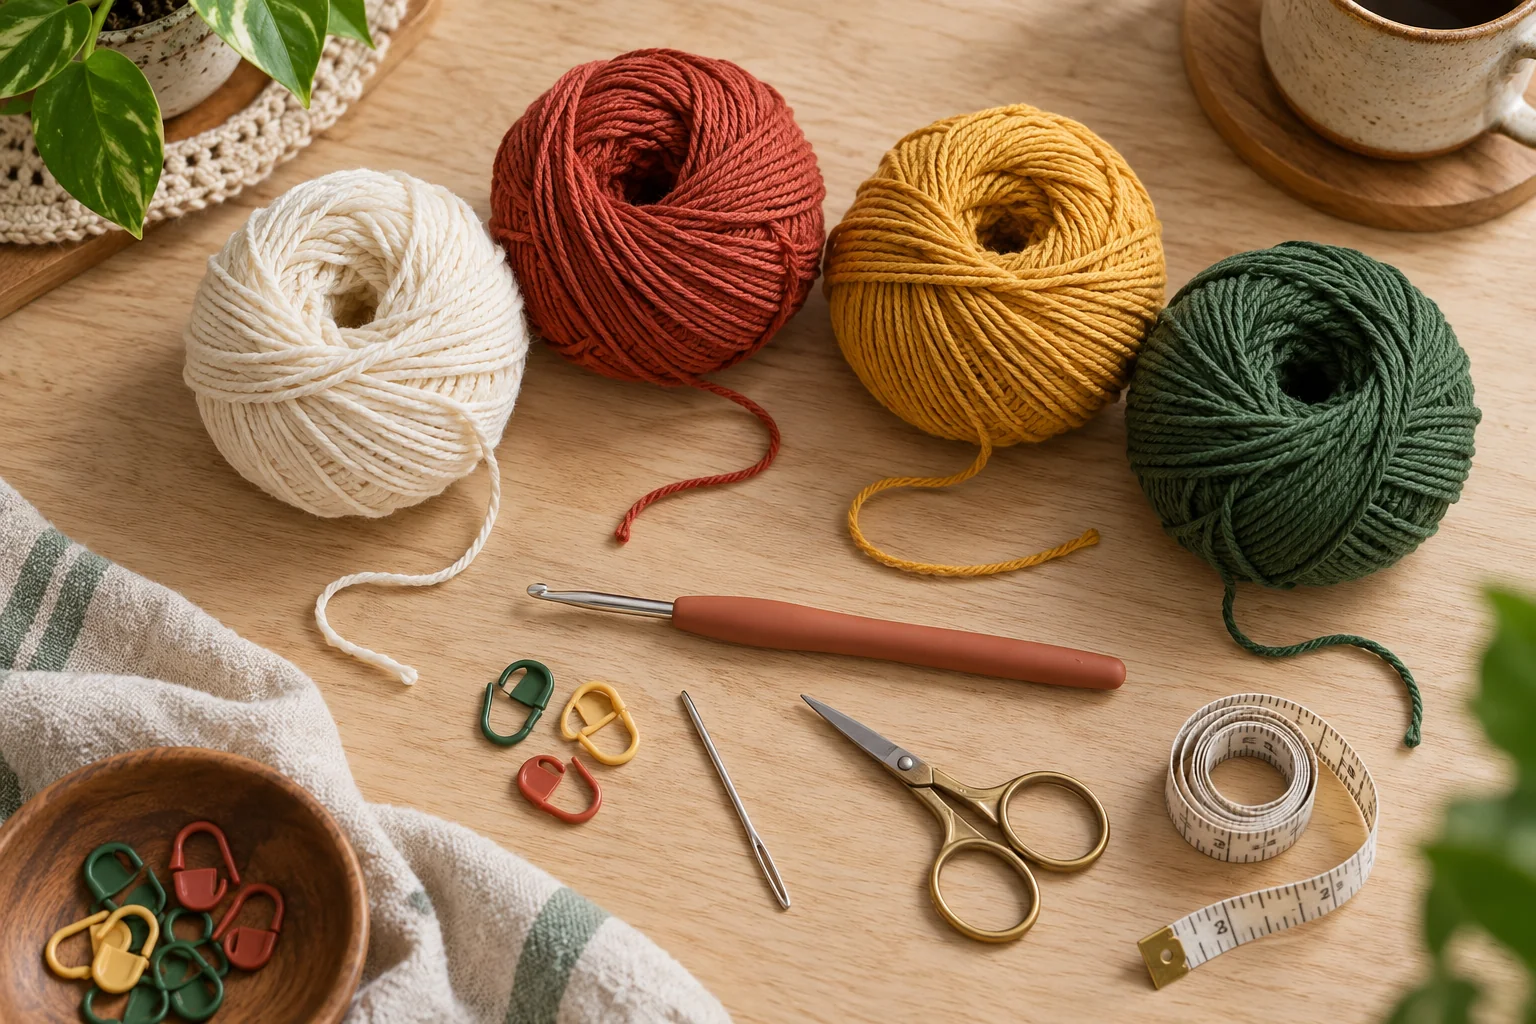
Choose smooth cotton yarn in cream, brick red, mustard yellow, and forest green. Keep the star colors the same weight so the motifs are similar in size. Cotton scraps are useful for this project, but check that you have enough of each color for the complete arrangement before starting.
Gather a hook suited to the yarn, a blunt tapestry needle, scissors, a stitch marker, a tape measure, and a flat surface for arranging the stars. A 3 mm hook is a starting suggestion. If you plan to damp-block the motifs, also prepare rust-resistant pins and a suitable blocking surface.
For the seven-star arrangement, make three cream stars, two red stars, and two mustard stars. Use green for the cord. Reserve roughly 20–30 g of yarn across all colors as an untested supply estimate, with spare yarn available. Measure the yarn used for your first star if you need a more reliable shopping estimate.
Abbreviations and Construction Notes
These instructions use US terminology: ch means chain; sl st means slip stitch; sc means single crochet; hdc means half double crochet; dc means double crochet; st and sts mean stitch and stitches. The initial ch 1 does not count as a stitch. A joining slip stitch is not an extra center stitch.
The center has ten sc. Five points attach around that center, using every other center stitch as an anchor. The stitches worked along a point’s chain are separate from the center stitches. Do not count them as part of the original ten, and do not work into the joining slip stitch as if it were an eleventh stitch.
Step 1: Crochet the Ten-Stitch Center
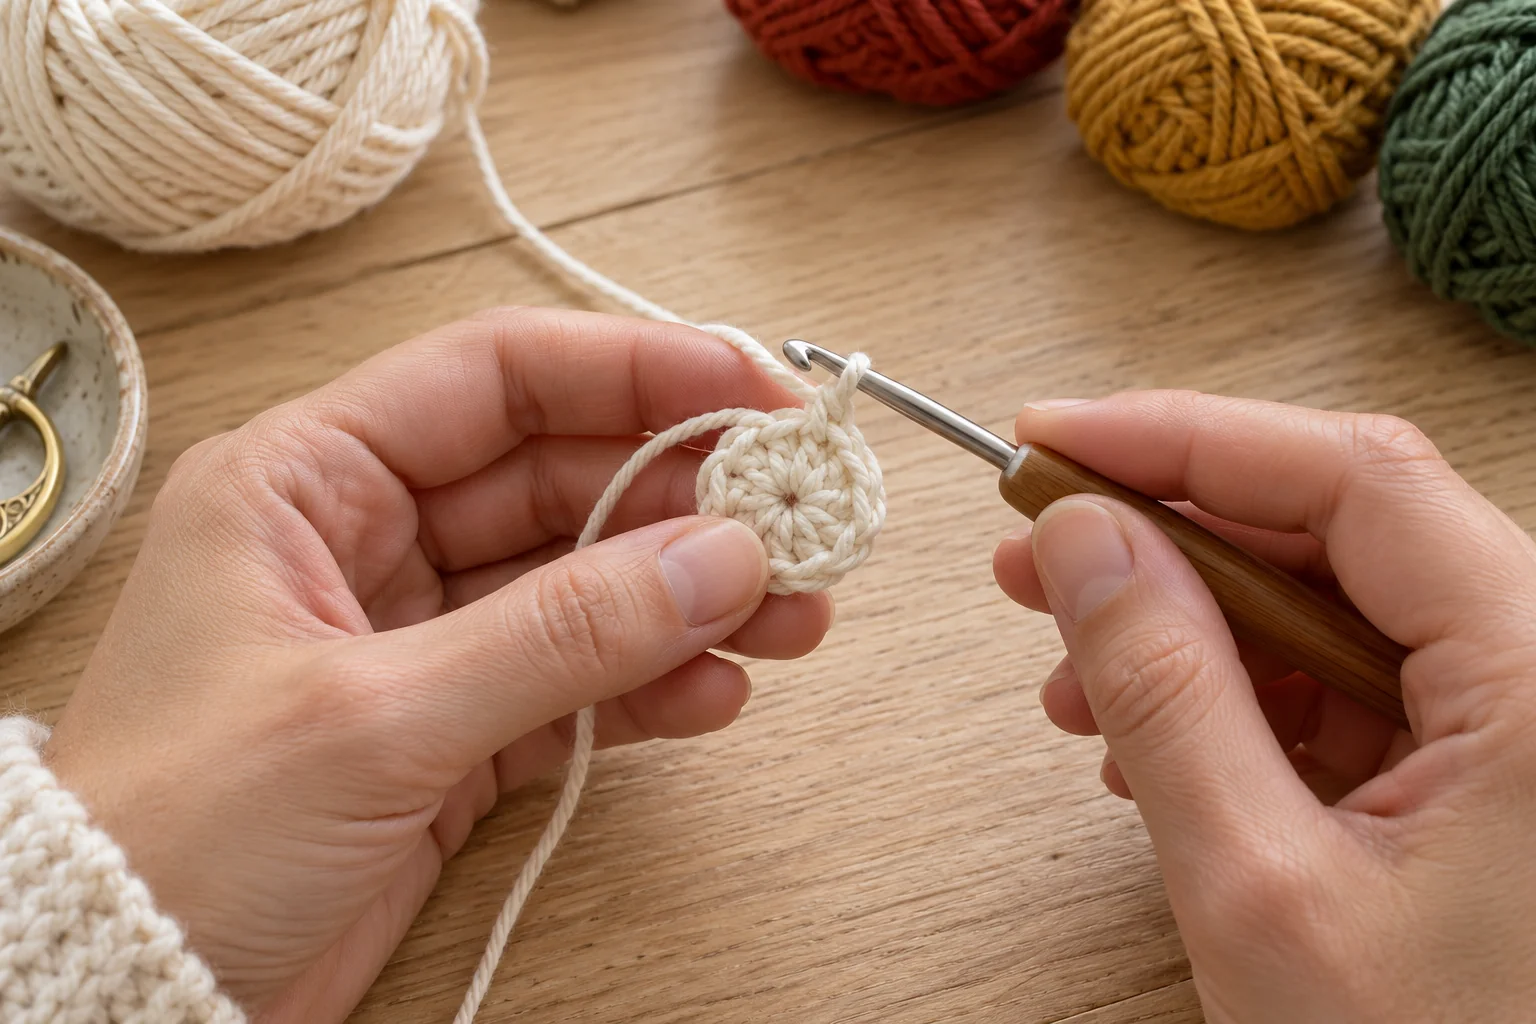
With a star color, make a magic ring. Ch 1, work 10 sc into the ring, and pull the starting tail to close the opening. Sl st into the first sc to join. Place a marker in that first sc, and count the ten stitches before making any points.
Keep the center small but workable. If it is difficult to insert the hook under the top loops, loosen your tension slightly on the next sample. Leave the starting tail long enough to weave securely through the back after the star is complete. Do not cut it flush against the ring.
Step 2: Form the First Star Point
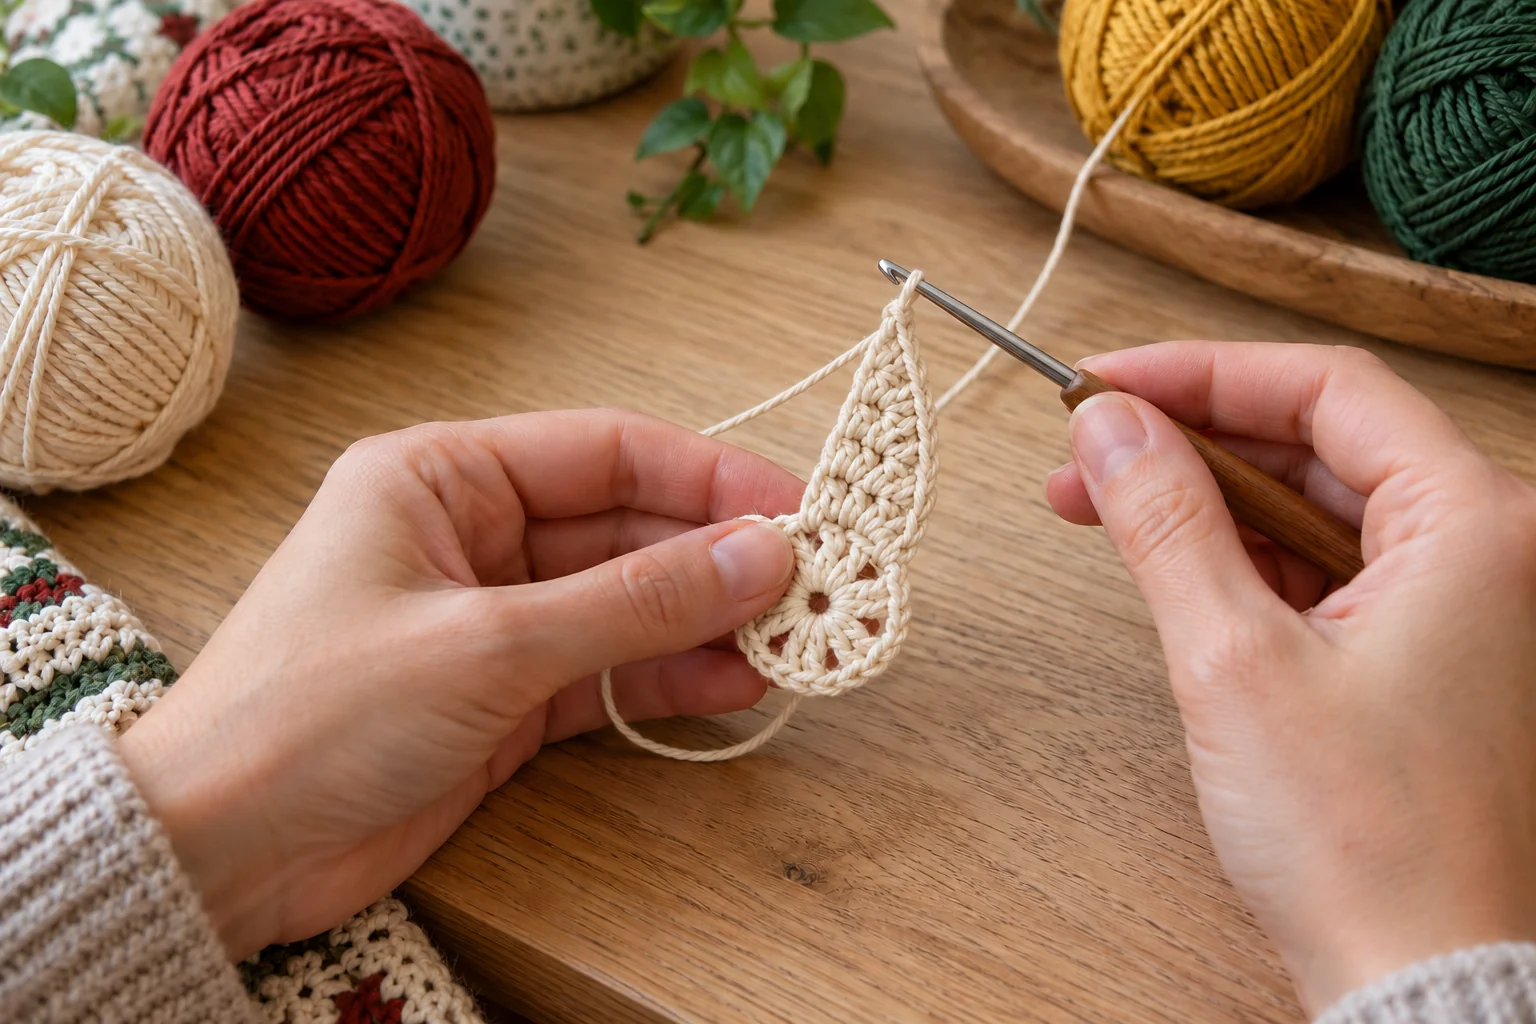
From the joined position at the first sc, ch 5. Work a sl st into the second chain from the hook, sc into the next chain, hdc into the next chain, and dc into the final chain nearest the center. You have worked back along four chains, increasing the stitch height toward the base of the arm.
Now return to the original center round. Skip its second sc and sl st into its third sc to anchor the first point. The skipped stitch sits beneath the point; the slip stitch forms the valley beside it. Keep this anchor relaxed enough that it does not pull the center into a tight fold.
Look at the arm before continuing. The slip stitch near the chain end forms the narrow tip, while the dc beside the center gives the base more height. If the arm looks twisted, straighten it with your fingers and check that you worked into four consecutive chains without missing one.
Step 3: Complete All Five Points
Make the second point from the current anchor: ch 5, sl st into the second chain from the hook, sc into the next, hdc into the next, and dc into the last chain. Skip the fourth center sc and sl st into the fifth center sc. This repeats the same arm and anchor movement.
Work the third point the same way, skipping center sc 6 and anchoring in sc 7. For point four, skip center sc 8 and anchor in sc 9. For point five, skip center sc 10 and anchor in the marked first sc. Fasten off with a tail of around 15 cm.
You should have five chain-based points and five valleys. The anchor stitches are center stitches 3, 5, 7, 9, and 1. If you run out of center stitches early, undo the points and recount the center. If a spare stitch remains, check whether you accidentally included the joining slip stitch.
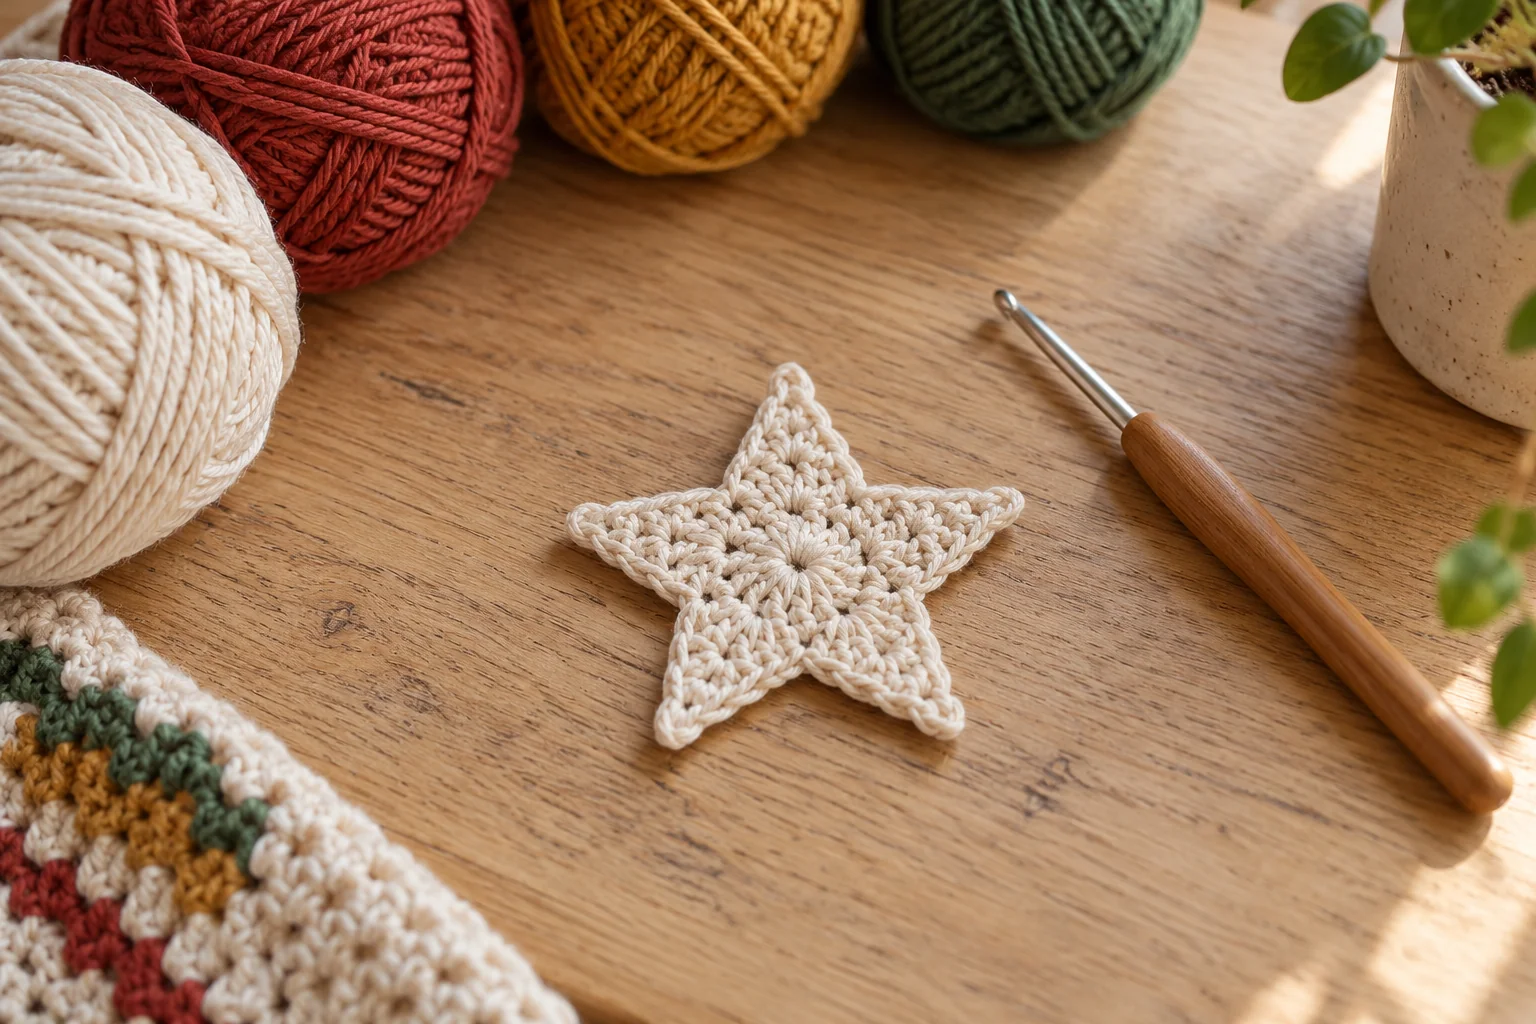
Step 4: Weave Ends and Shape the Stars
Thread the starting tail onto a tapestry needle. Weave it through several stitches on the back of the center, change direction, and pass through a few more stitches before trimming. Weave the finishing tail along the back without pulling the final valley out of shape. For more attachment techniques, see our guide to sewing crochet pieces together.
Lay the star flat and gently arrange the five tips. If the yarn label allows damp blocking, lightly wet the motif, press out moisture with a towel, and pin each point into a balanced position. Let it dry fully before unpinning. Keep the star’s natural proportions rather than stretching the tips aggressively.
Blocking can even out minor irregularities, but it cannot correct a missed point or an incorrect center count. If the practice star remains badly twisted, review the chain placement and anchor tension before making more. Do not apply an iron or hot steam unless the yarn manufacturer’s instructions explicitly permit it.
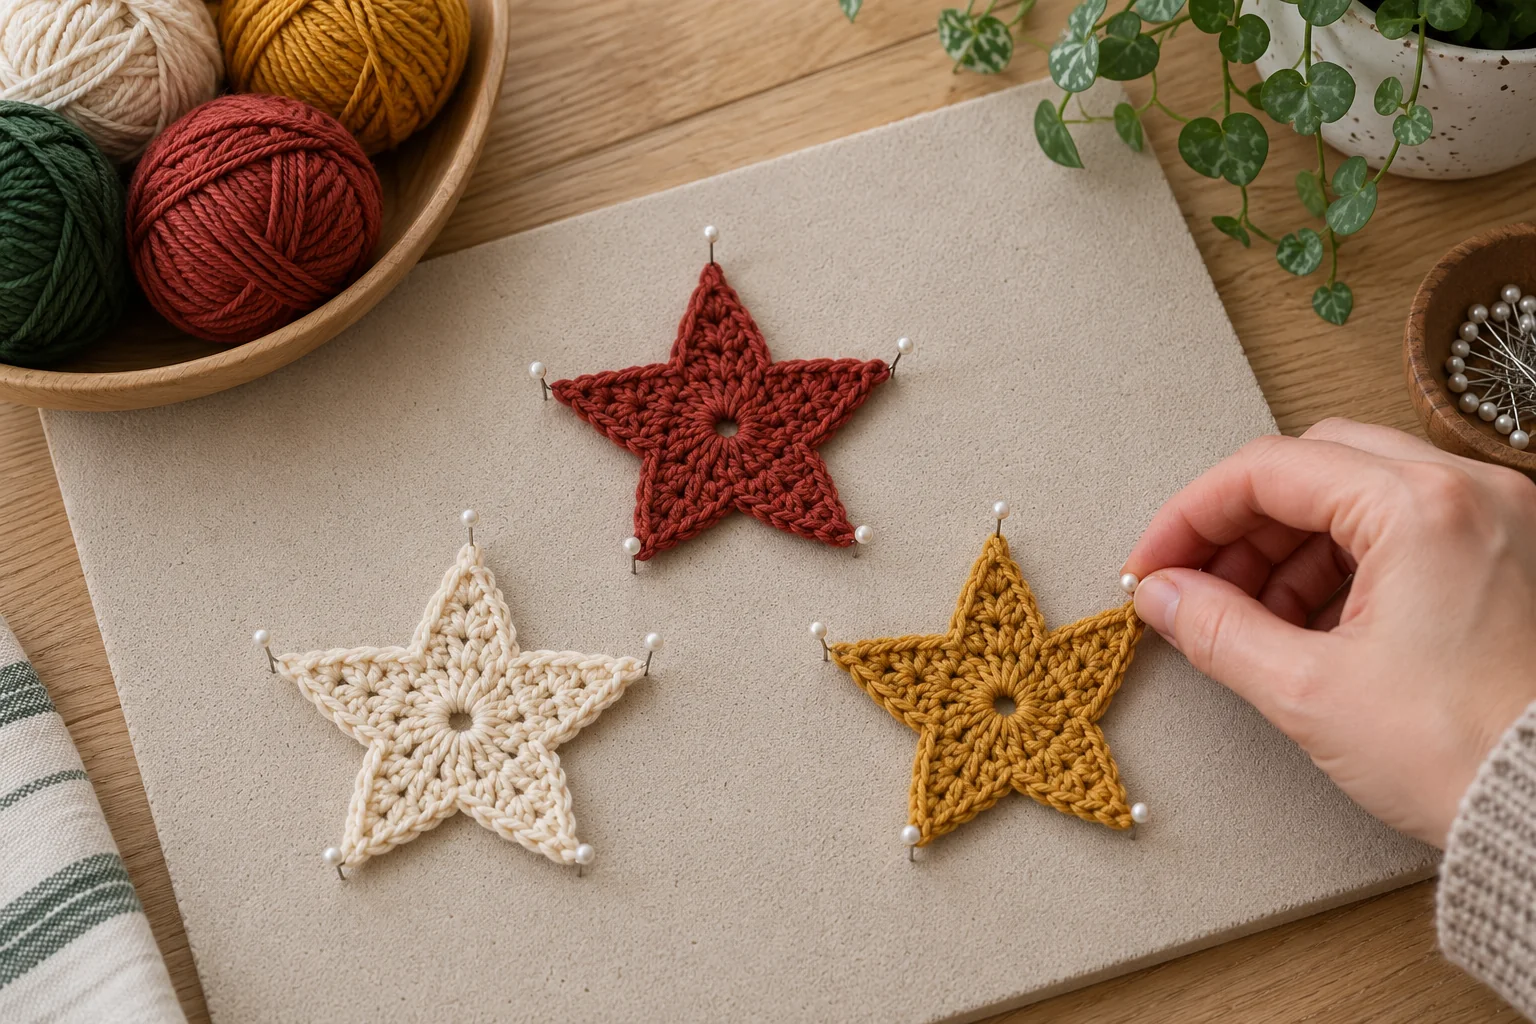
Step 5: Make and Arrange Seven Stars
Repeat the star instructions until you have three cream, two red, and two mustard motifs. Use the same hook throughout. Compare them side by side as you work; remake any unusually tight or loose star before assembling the garland. Small changes in tension become more visible when identical motifs hang next to one another.
Lay them out in this order: cream, red, mustard, cream, mustard, red, cream. The arrangement is symmetrical around the middle cream star. Leave equal gaps between the intended attachment tips. Turn the stars so the side you prefer faces upward and choose one point on each as its hanging point.
Plan the cord from actual measurements. With seven stars, there are six gaps between attachment points. For example, attachment points spaced 12 cm apart span 72 cm. Add a 20 cm tie at each end for a 112 cm cord before allowing for hanging loops or a deeper drape. Measure the chain itself rather than relying on a fixed stitch count.
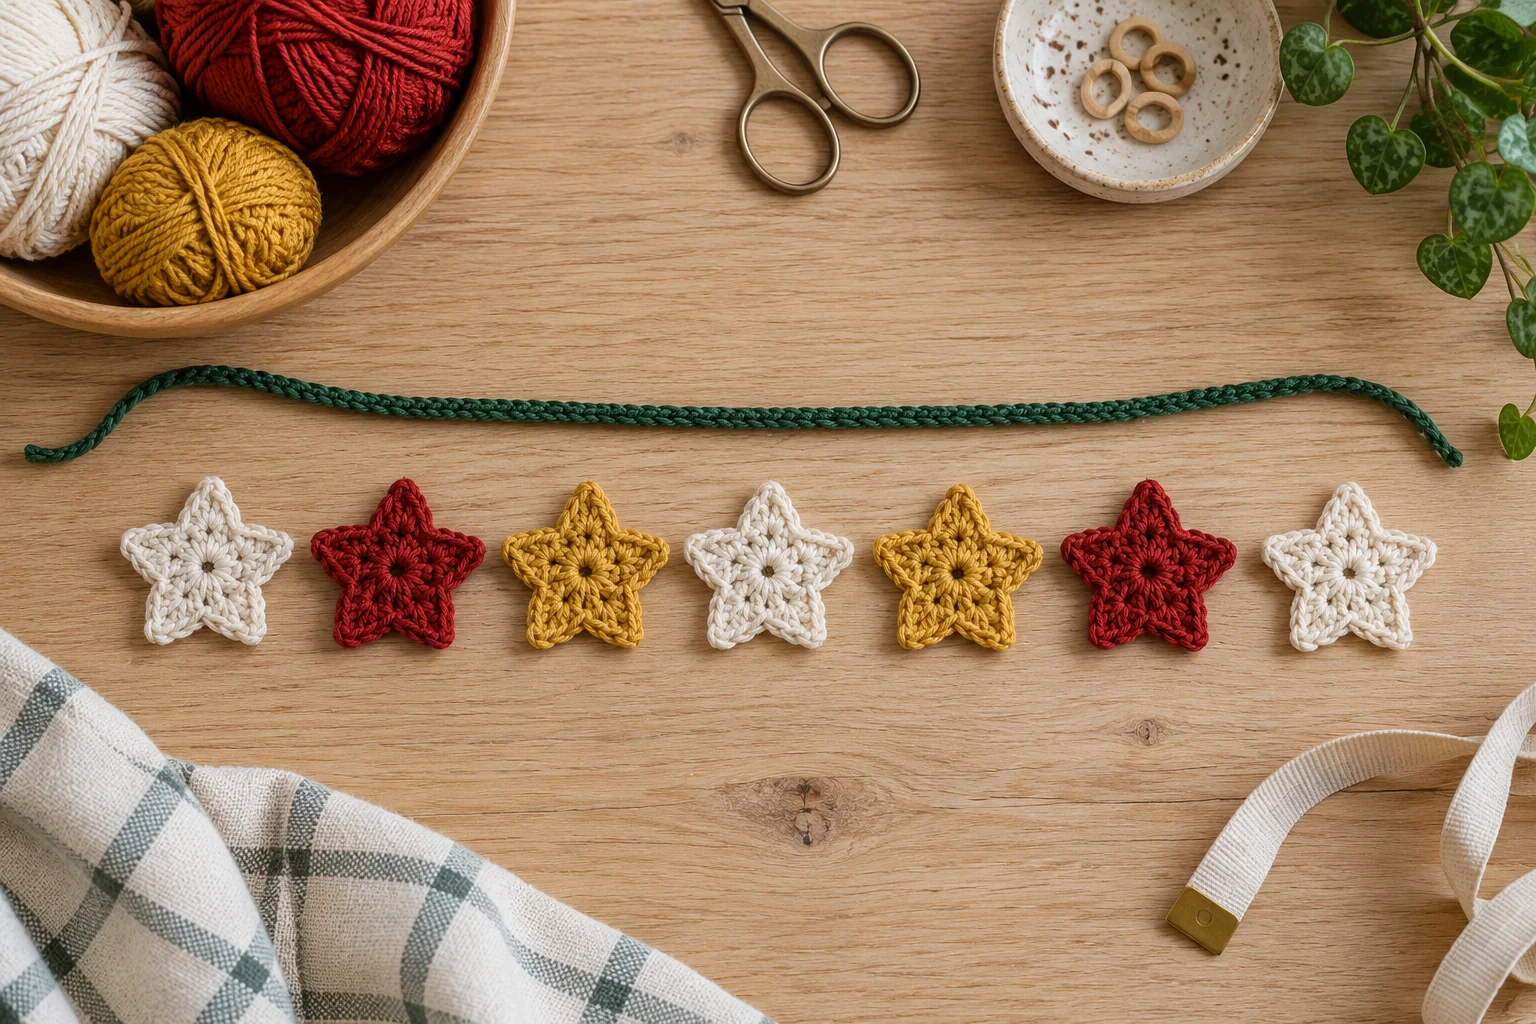
Step 6: Crochet the Green Hanging Cord
With forest green, chain until the cord reaches your chosen length when laid relaxed on the table. Do not stretch it while measuring. Fasten off with a tail at each end for weaving. A simple chain stays light enough for the small flat stars, although its exact appearance depends on the yarn used.
For optional end loops, fold approximately 3 cm of each end back onto the cord and sew the folded section securely with matching yarn. Check that the loop fits your intended hook before finishing the second end. Use ties instead if that suits the display better, and leave sufficient length outside the star arrangement.
Step 7: Sew the Stars to the Cord
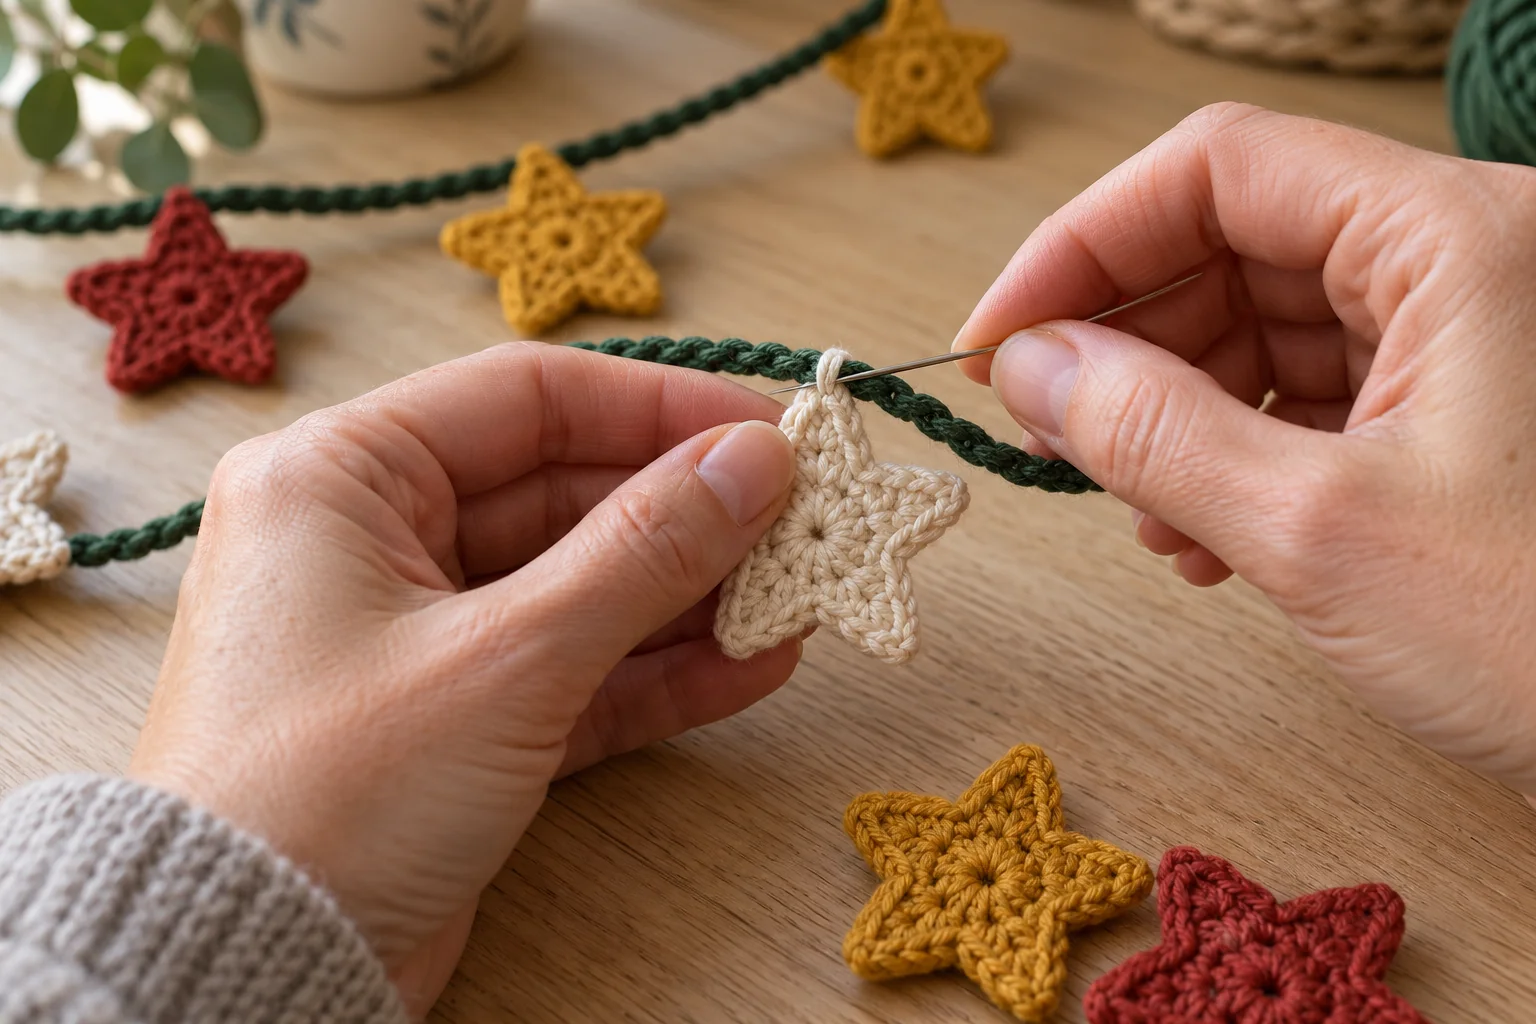
Mark the middle of the cord and attach the middle cream star first. Using a separate length of matching star yarn, take several small stitches through the top point and one cord link. Sew through the crochet fabric near the tip, not a single loose strand. Secure the yarn on the back and weave in both ends.
Measure equal distances outward and attach the remaining stars in the planned color order. Keep all fronts facing the same direction. Use a few neat stitches at each connection so the motifs cannot slide along the chain. Avoid pulling the sewing yarn so firmly that it bends the top point or gathers the cord.
Lift the garland after attaching the first three stars and check the way it hangs. Adjust the spacing before sewing the rest. If a star rotates, add another discreet stitch through a neighboring loop near its top tip. The attachment should support the motif without creating a large visible knot.
Display, Troubleshooting, and Care
Hang the garland from suitable supports and check both ends before leaving it in place. Keep yarn away from flames, heaters, and hot lighting. This is a decoration with a long cord, so display it out of reach of young children and pets. It is not a tested toy or nursery accessory.
Uneven points often come from tight chains, missed chain stitches, or different tension in the tall stitches. Practise one arm slowly and check the sequence: slip stitch, single crochet, half double crochet, double crochet. If the center curls strongly, check the ten-stitch count and avoid tightening the anchor slip stitches.
Follow the yarn label for cleaning. Spot-clean gently when possible and dry the garland flat with the stars spread out. Store loosely around a piece of plain card, separating the motifs so their points do not catch. Do not hang a wet garland under tension, because the cord and attachment points may stretch.
Frequently Asked Questions
Can I make a shorter garland? Yes. Use three or five stars and measure a cord that suits the smaller arrangement. Leave enough free cord at both ends for secure hanging.
Can I use acrylic instead of cotton? You can try a smooth acrylic of a similar weight. Test one motif first because the fabric and blocking behavior may differ. Follow its care label.
Do the stars need stuffing? No. Each star is a single flat motif. Adding a second layer and filling would create a different construction that is not covered by these instructions.
Can one star become an ornament? Yes. Sew a separate yarn loop through one tip, securing the ends on the back. Check the tip can support the loop without distorting.
Can I change the size by adding center stitches? Keep ten center stitches for this five-point sequence. To experiment with size, change yarn and hook together, then evaluate a new sample.
Is this a no-sew pattern? The stars themselves are crocheted in one piece, but they are sewn onto the finished chain. Calling the complete garland no-sew would be inaccurate.
More Christmas Crochet Patterns
For a coordinated tree display, pair these flat stars with the gingerbread cat ornament pattern. For a small gift accessory, try the mini Christmas mitten keychain. Browse the Christmas crochet collection for more seasonal projects.
Pair your crochet Christmas star garland with our snowman ornament or mini Christmas tree. For a larger seasonal project, explore the Christmas moose pattern.
Attach a single star to a crochet Christmas gift bag, or make a matching candy cane keychain. Finish by checking every attachment, weaving in loose ends, and hanging the garland where the small stars can keep their shape.


