Crochet Acorn House – Free Tiny Woodland Cottage Pattern
Make a crochet acorn house with tan walls, a brown cap, green door, and golden window. Free woodland cottage pattern with roof assembly instructions.
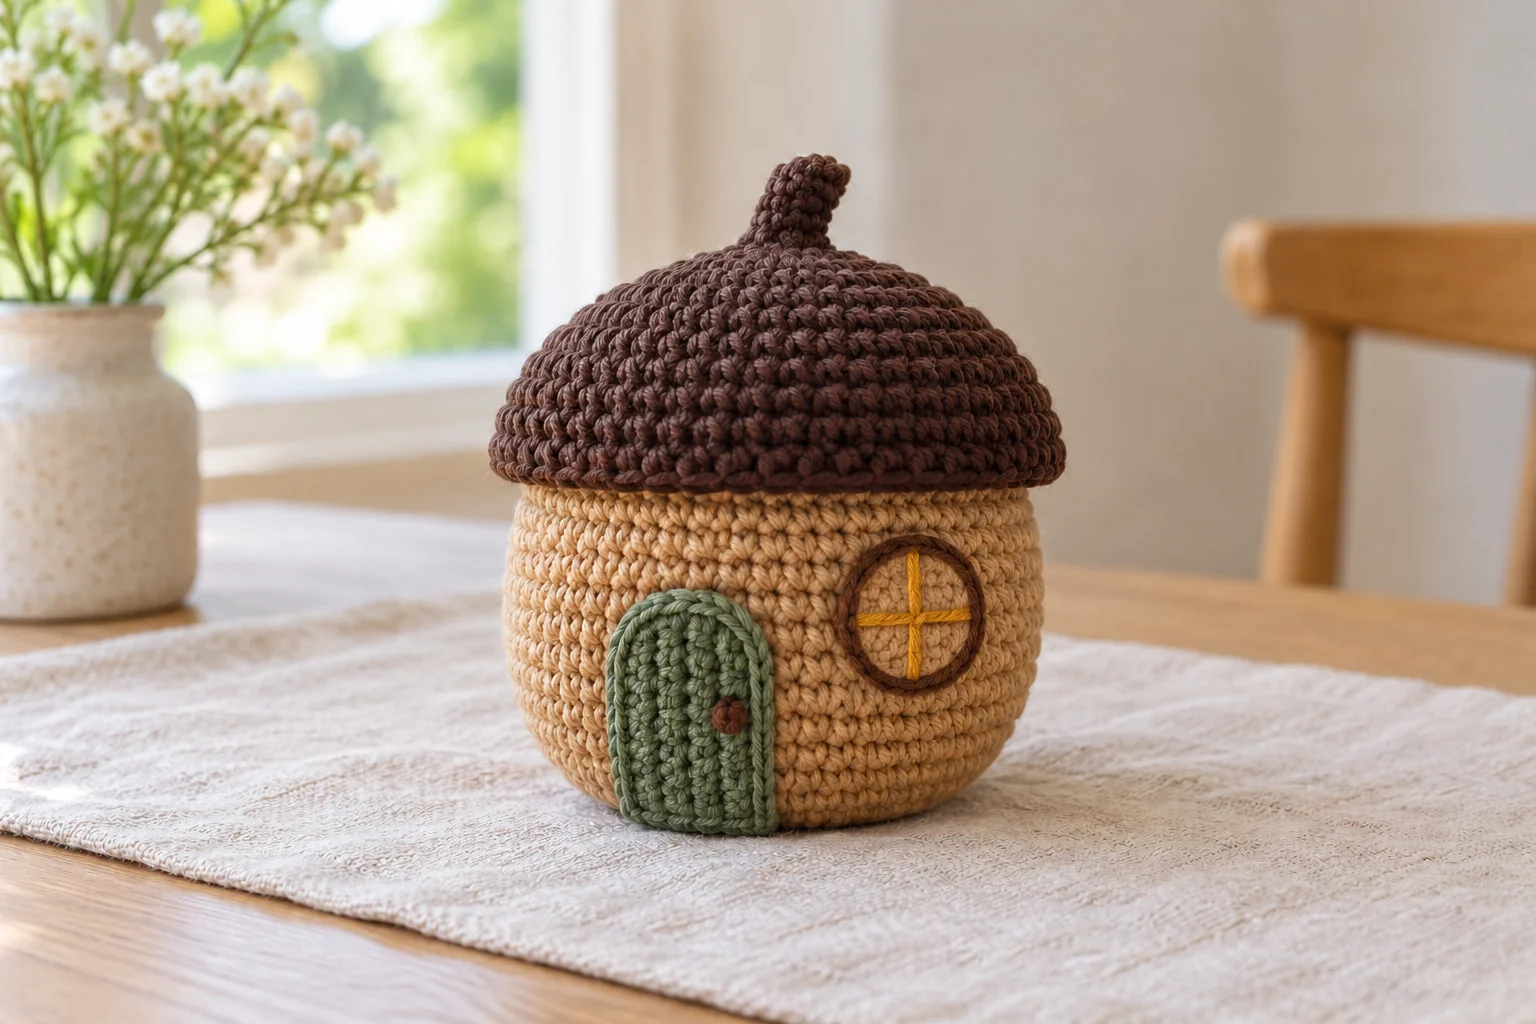
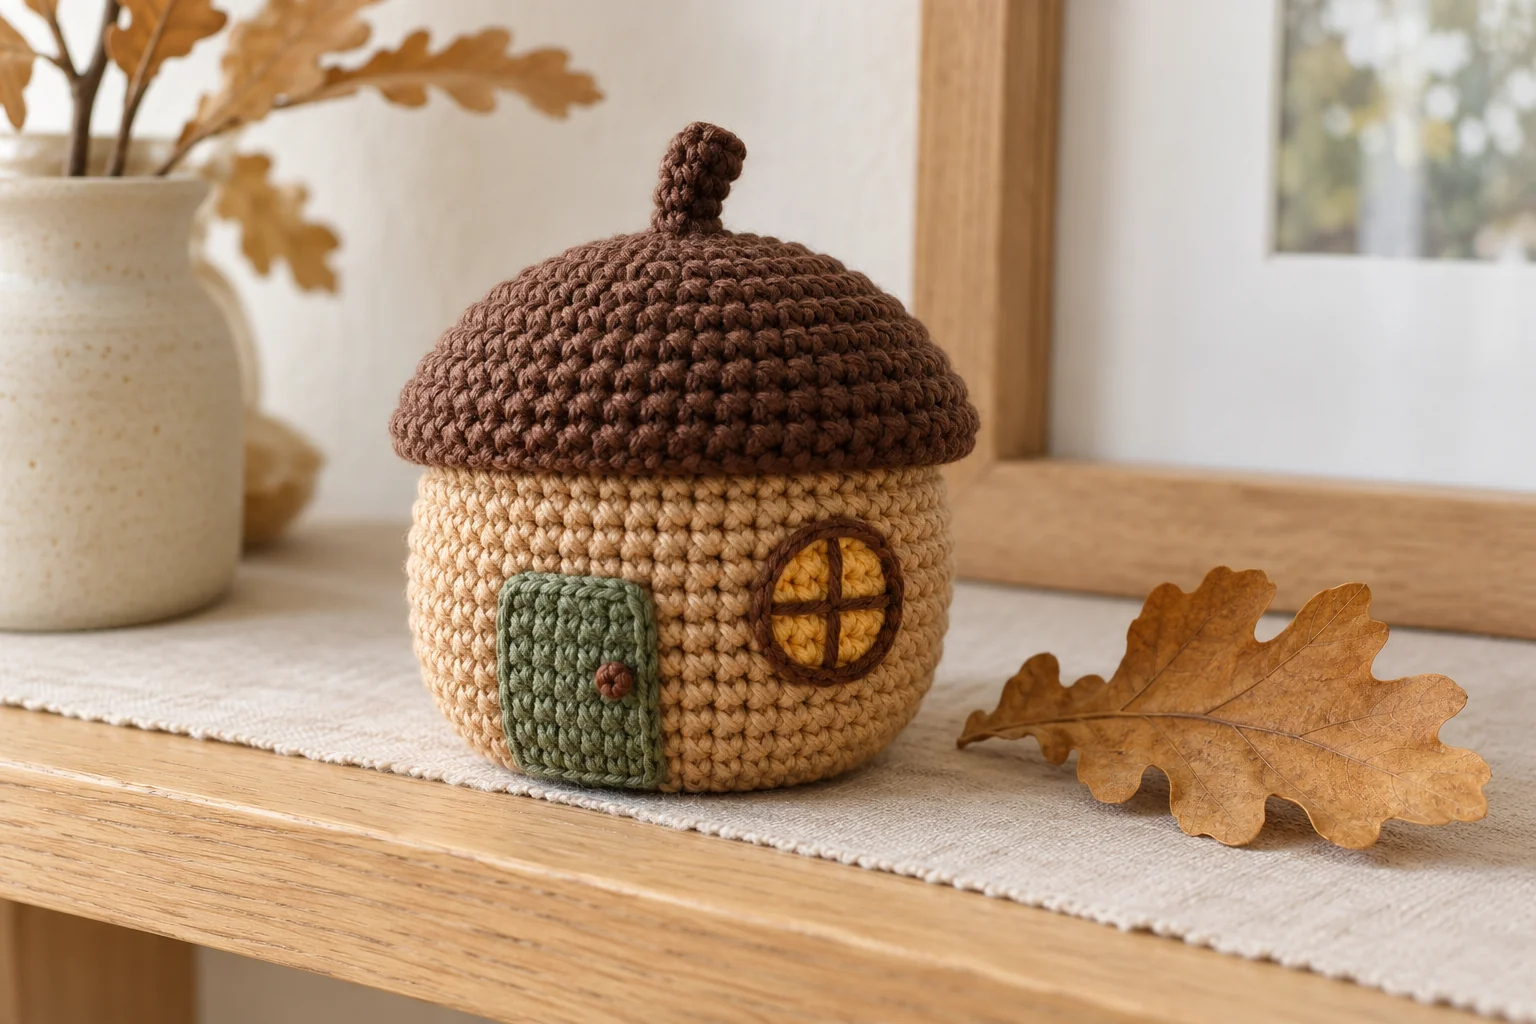
A crochet acorn house turns a woodland shape into a tiny decorative cottage. Honey-colored walls sit beneath a dark brown cap, with a small stem at the top. A green door and a golden round window give the piece a clear front without adding complicated openings.
This version is a sealed, lightly stuffed decoration. The acorn cap is sewn permanently to the walls, and the door is a flat appliqué. It is intended for a shelf, a seasonal arrangement, or a carefully wrapped handmade gift, rather than as a storage box.
Design note: this original written pattern has not been physically sample-tested. Dimensions and supply amounts are estimates. AI-generated photographs illustrate the intended appearance. Follow the written stitch counts and check the cap fit before closing the final seam.
Crochet Acorn House Materials and Size
Use smooth DK cotton in honey tan and dark brown, a little sage green for the door, and golden yellow embroidery yarn for the window. Gather a 3 mm hook, a stitch marker, a blunt needle, scissors, and washable polyester filling.
Estimate 20–25 g tan, 15–20 g brown, and small scraps of the other colors. The intended finished height is approximately 9–12 cm including the stem. Yarn thickness, tension, and filling can change that result.
The skill level is confident beginner. You will work continuous rounds, a few flat rows, a back-loop round, embroidery, and a roof seam with evenly distributed extra stitches. Smooth yarn makes those joining stitches easier to see.
For a separate useful woodland project, see the crochet acorn drawstring pouch. The crochet acorn house uses a permanently closed construction, while that linked project has a different purpose.
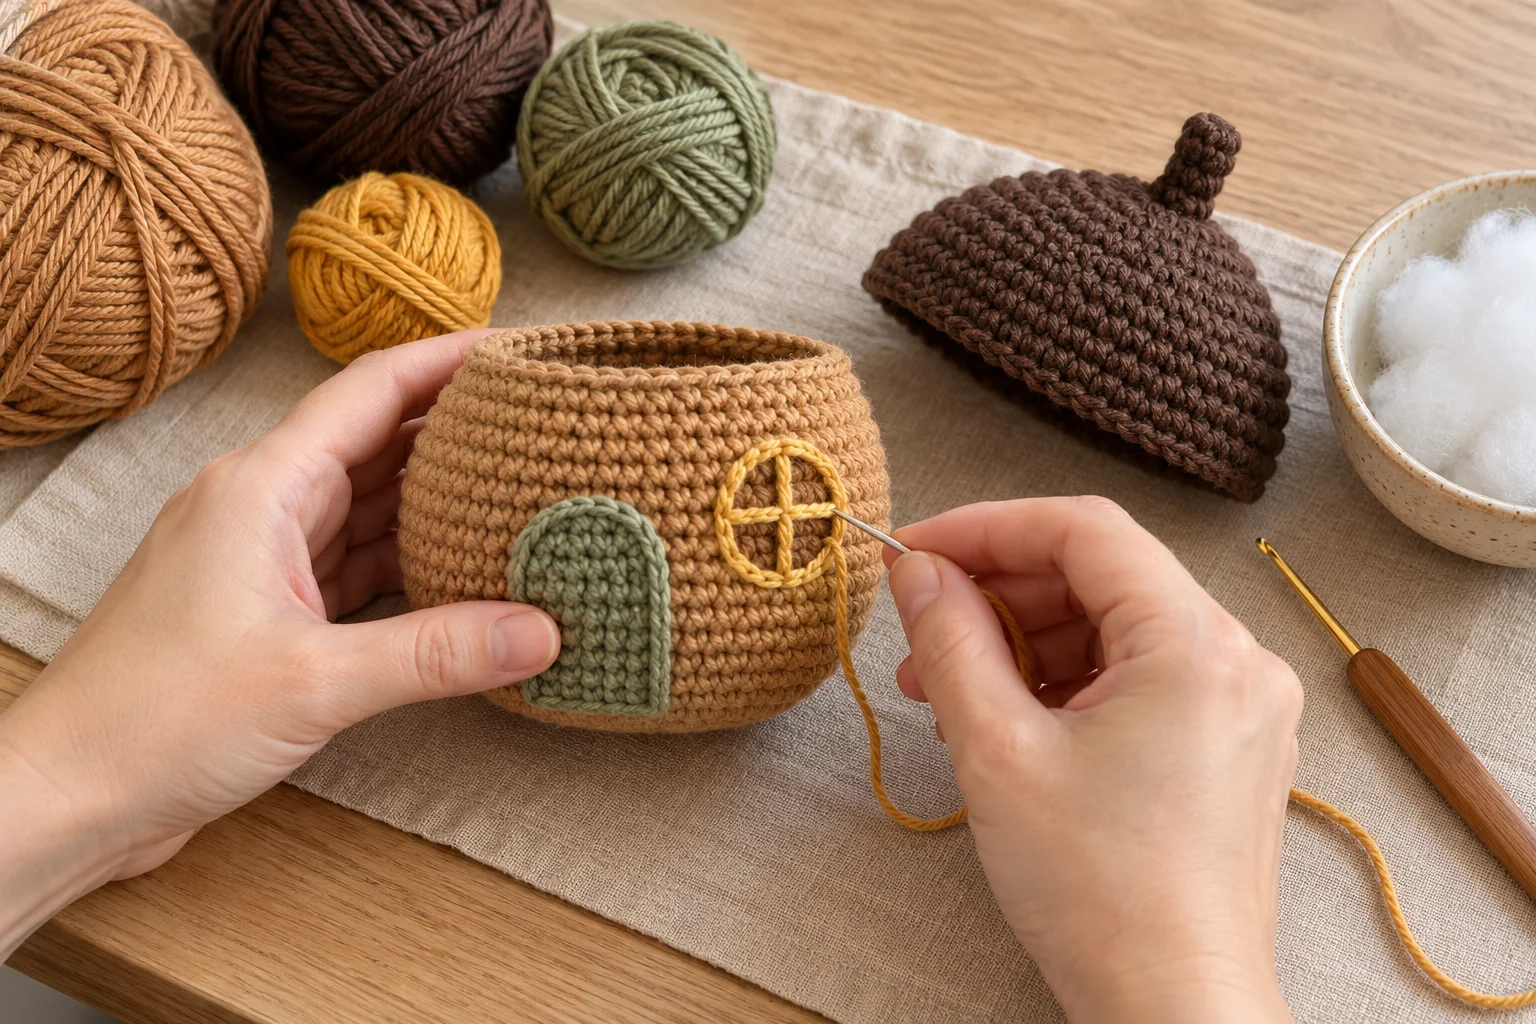
Reading This Crochet Acorn House Pattern
US terms are used. ch = chain; sc = single crochet; inc = 2 sc in one stitch; sl st = slip stitch; BLO = back loop only. Numbers in parentheses give the stitch count.
Work the crochet acorn house body, cap, and stem in continuous rounds unless a joining slip stitch is specified. Mark the first stitch. Do not count a finishing slip stitch as an additional single crochet.
The wall opening has 30 stitches and the cap edge has 36. Those six extra cap stitches produce a small overhang. Divide the edges into six sections during assembly, matching five wall stitches to six cap stitches in each section.
The stem is decorative and must be sewn through several cap stitches. It is not a handle, hanging loop, or load-bearing attachment.
For a standard reference when reading stitch instructions, consult the Craft Yarn Council crochet abbreviations. Check the US terms against the definitions in this pattern before starting.
Step 1: Crochet Acorn House Base
With tan, make a magic ring. Round 1: 6 sc into the ring. (6) Round 2: inc around. (12) Round 3: repeat [sc, inc] six times. (18)
Round 4: repeat [2 sc, inc] six times. (24) Round 5: repeat [3 sc, inc] six times. (30) Pull the starting ring closed and secure its tail inside.
The base is a small circle rather than a pointed acorn tip. That flatter underside helps the decorative house rest on a surface. Do not add a hard weight or rigid insert; the written design uses soft filling only.
Check the five increase rounds before building the walls. If the base ruffles, count for extra increases. If it forms a deep bowl, check your stitch count and whether the tension has become much tighter.
Step 2: Crochet Acorn House Walls
Round 6: sc in BLO around. (30) This creates a subtle lower ridge. Rounds 7–13: sc in both loops of every stitch. (30 each round)
The seven even rounds form a short wall cylinder with gently rounded lower corners. Keep the count at thirty and move the marker each time. A narrow cylinder is easier to decorate before it is filled.
Finish with a sl st in the next stitch and fasten off. Weave the finishing tail inside. Leave the opening accessible while you attach the door and embroider the window.
Choose a front area away from the finishing jog. Mark its center temporarily with a scrap of contrasting yarn. Check that the lower ridge is level before placing the door.
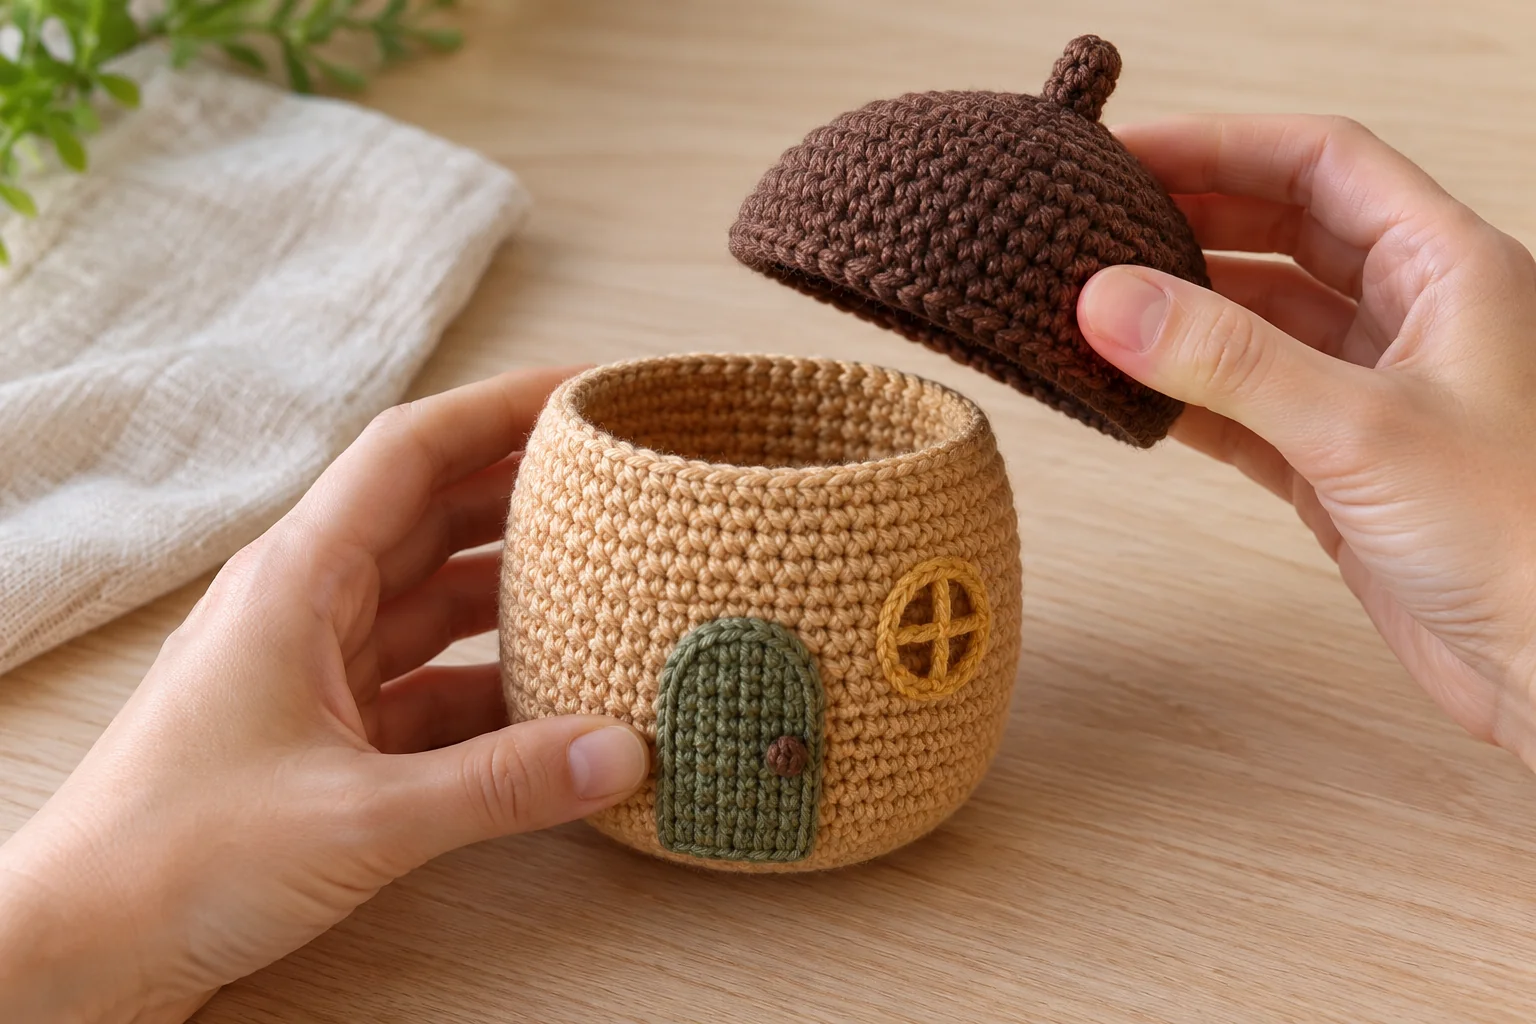
Step 3: Crochet Acorn House Cap
With brown, work 6 sc into a magic ring. (6) Round 2: inc around. (12) Round 3: repeat [sc, inc] six times. (18)
Round 4: repeat [2 sc, inc] six times. (24) Round 5: repeat [3 sc, inc] six times. (30) Round 6: repeat [4 sc, inc] six times. (36)
Round 7: sc around. (36) Round 8: sc in BLO around. (36) Round 9: sc in both loops around. (36) Fasten off with a long joining tail.
The back-loop round adds a slight ridge near the cap edge while preserving a simple single crochet texture. Shape the cap gently into a shallow dome. The center should rise slightly above its outer rim.
Place the empty cap over the wall opening to check the size. The cap should extend beyond the walls a little. If the brown yarn is much thicker than the tan, change to a closer yarn match rather than stretching the walls to fit.
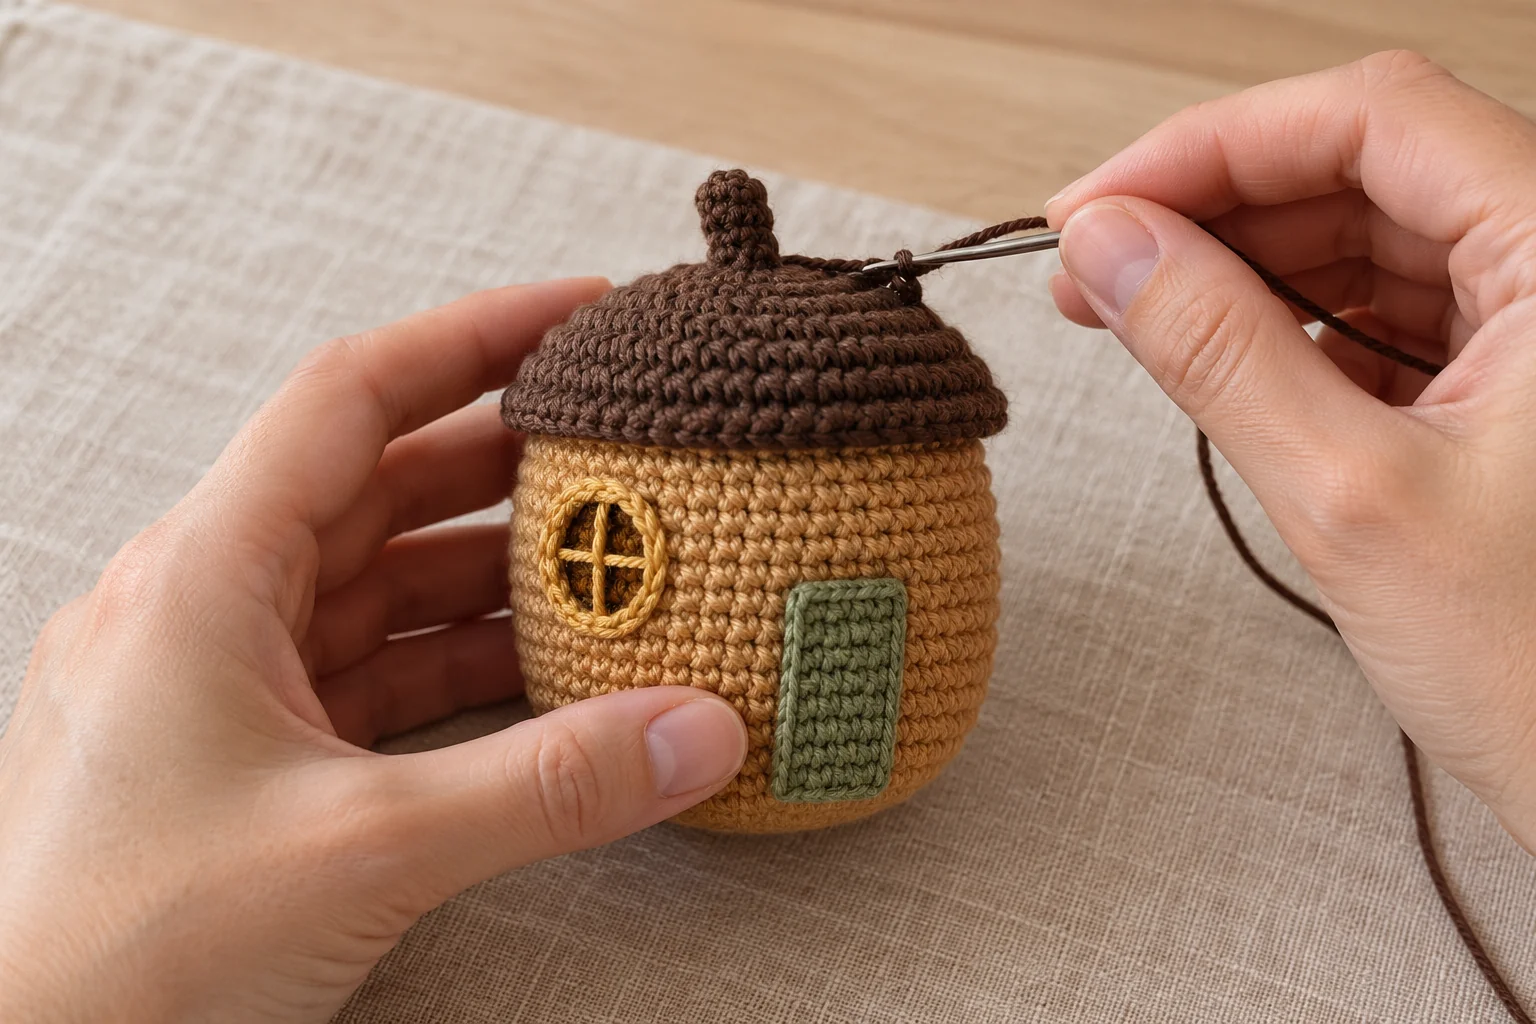
Step 4: Crochet Acorn House Stem
With brown, work 4 sc into a magic ring. (4) Rounds 2–3: sc around. (4 each round) Fasten off with a sewing tail.
Leave the tiny stem unstuffed. Flatten its opening and sew it to the center of the cap through several surrounding stitches. Keep it short and slightly upright.
Secure both tails on the underside of the cap. Do this before attaching the cap to the crochet acorn house so you can reach the join easily. Check that the stem does not loosen when moved gently.
If the four-stitch rounds are awkward, use a short chain of four instead and sew its ends close together at the cap center. This gives a flatter stem variation. Record which version you use for matching houses.
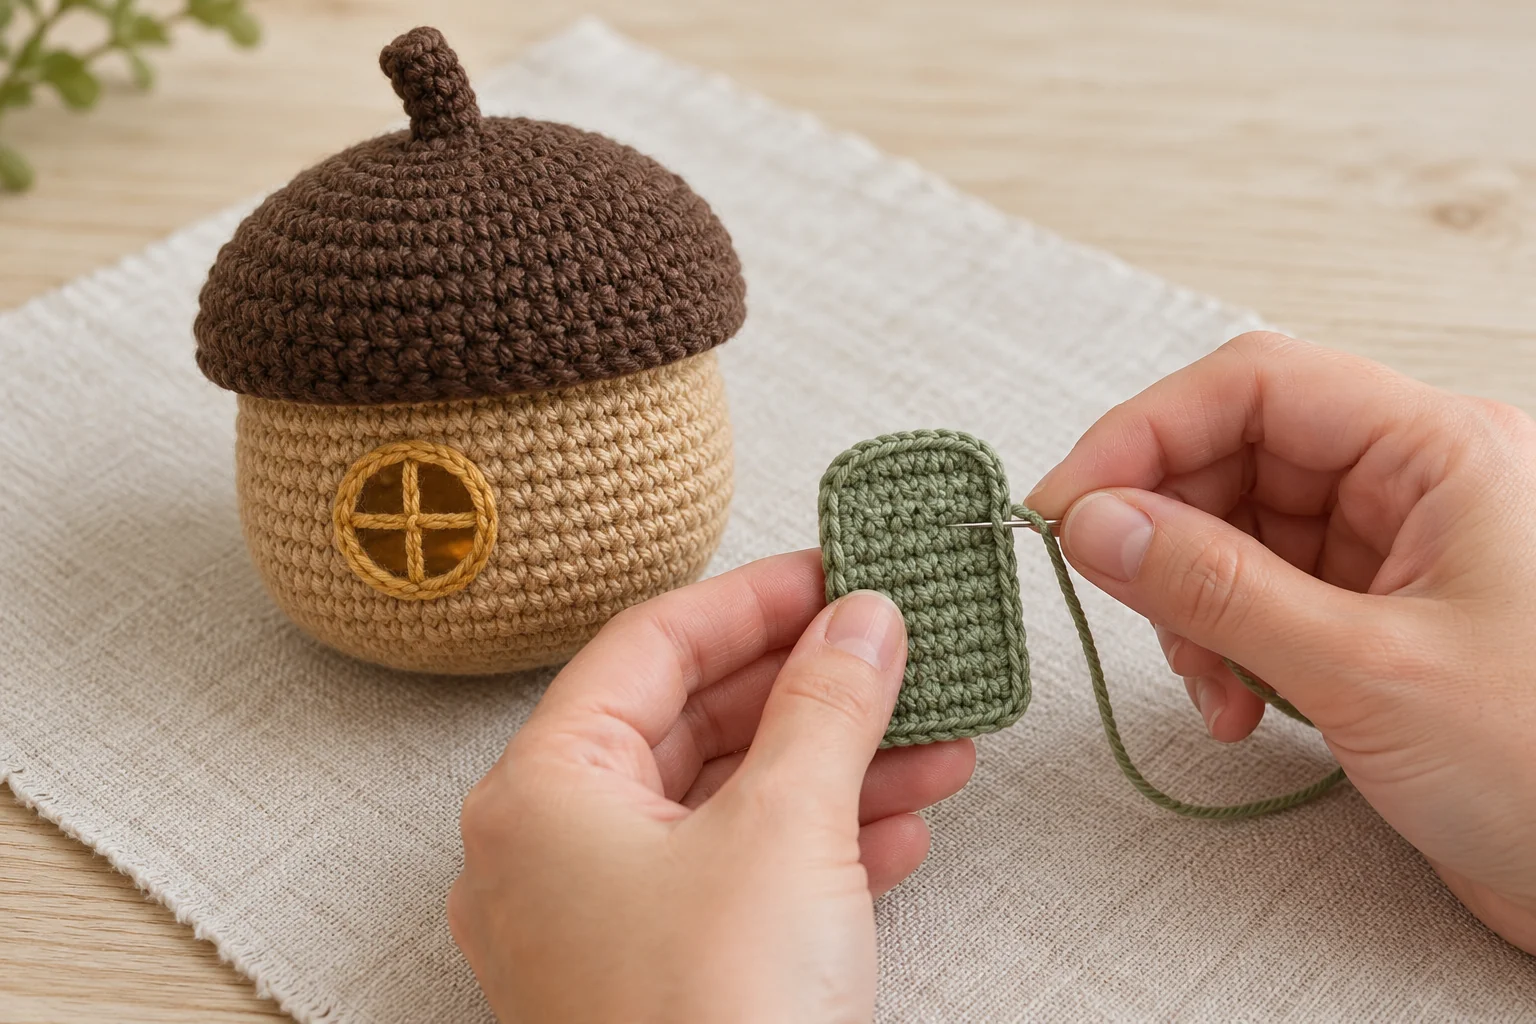
Step 5: Crochet Acorn House Door and Window
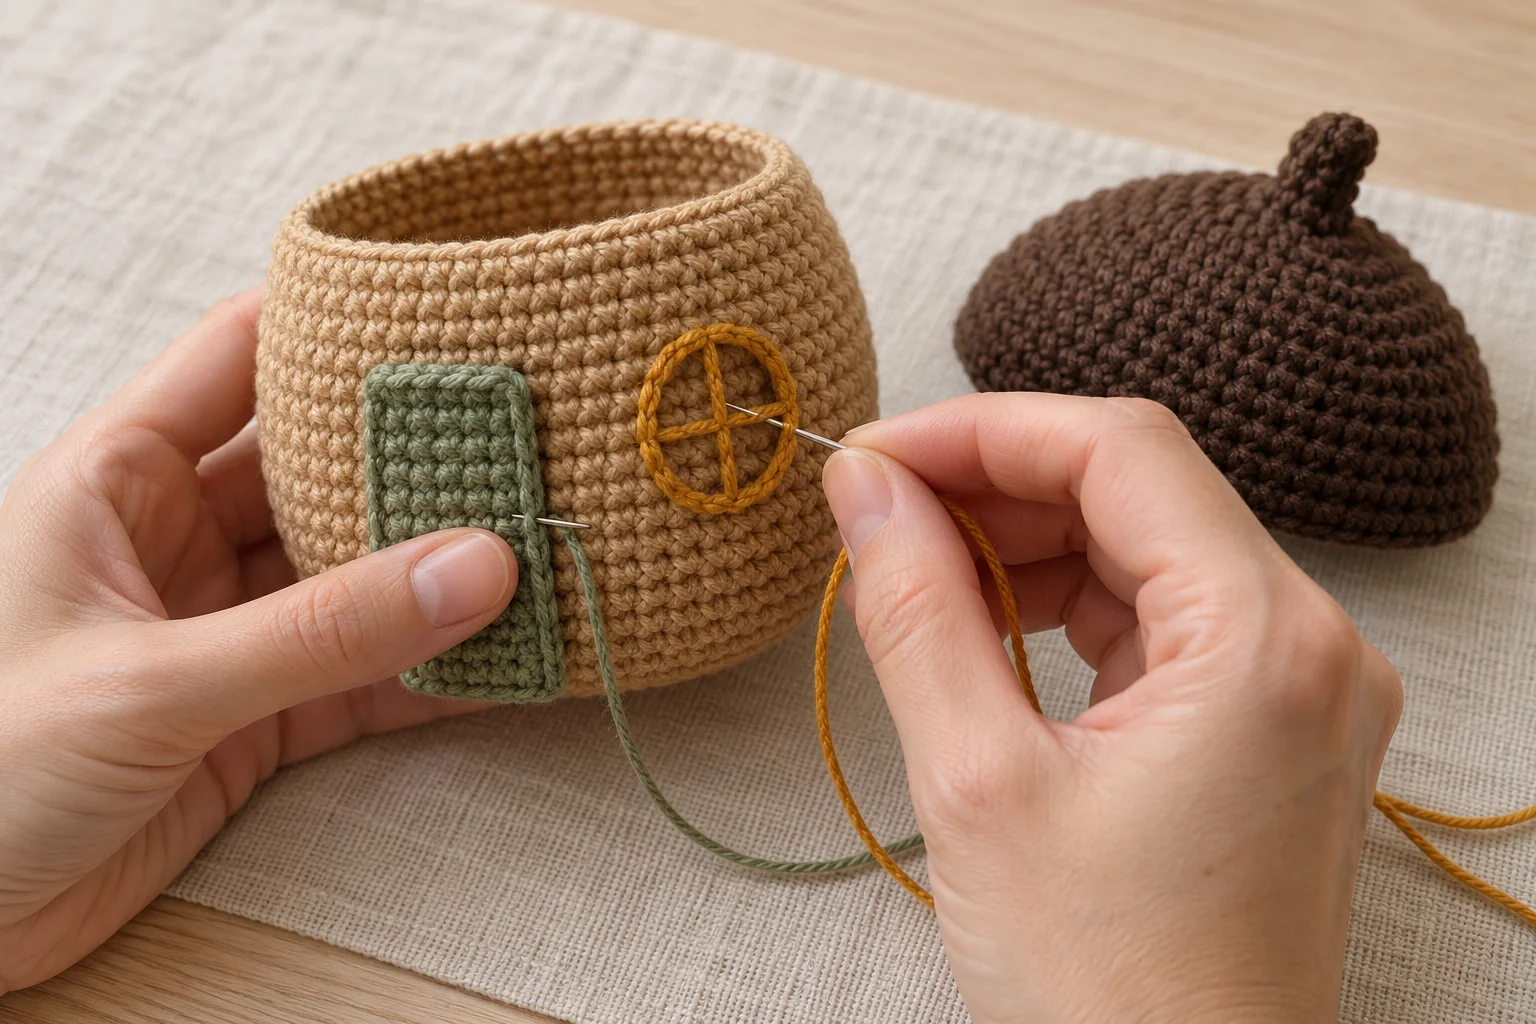
With sage green, ch 5. Row 1: sc in the second chain and remaining chains. (4) Rows 2–5: ch 1, turn, sc across. (4 each row) Fasten off with a sewing tail.
Position the door at the lower front, above the base ridge. Sew all four edges with small matching stitches. Add a tiny golden stitched doorknob if desired, keeping it embroidered rather than using a bead.
Beside the door, embroider a small golden circle spanning approximately three wall stitches. Add a short vertical line and a short horizontal line inside to suggest window panes.
Keep the back of the embroidery tidy and avoid pulling the wall inward. The guide to joining crochet pieces can help with neat attachment stitches and hidden ends.
The door and window are surface decoration. Do not cut an opening into the crocheted wall after it has been made; that would require a different construction and could unravel the fabric.
Step 6: Crochet Acorn House Filling and Closure
Add small wisps of filling to the tan shell. Spread them toward the base and sides, keeping the bottom reasonably flat. Stop before the walls become hard or visibly stretched.
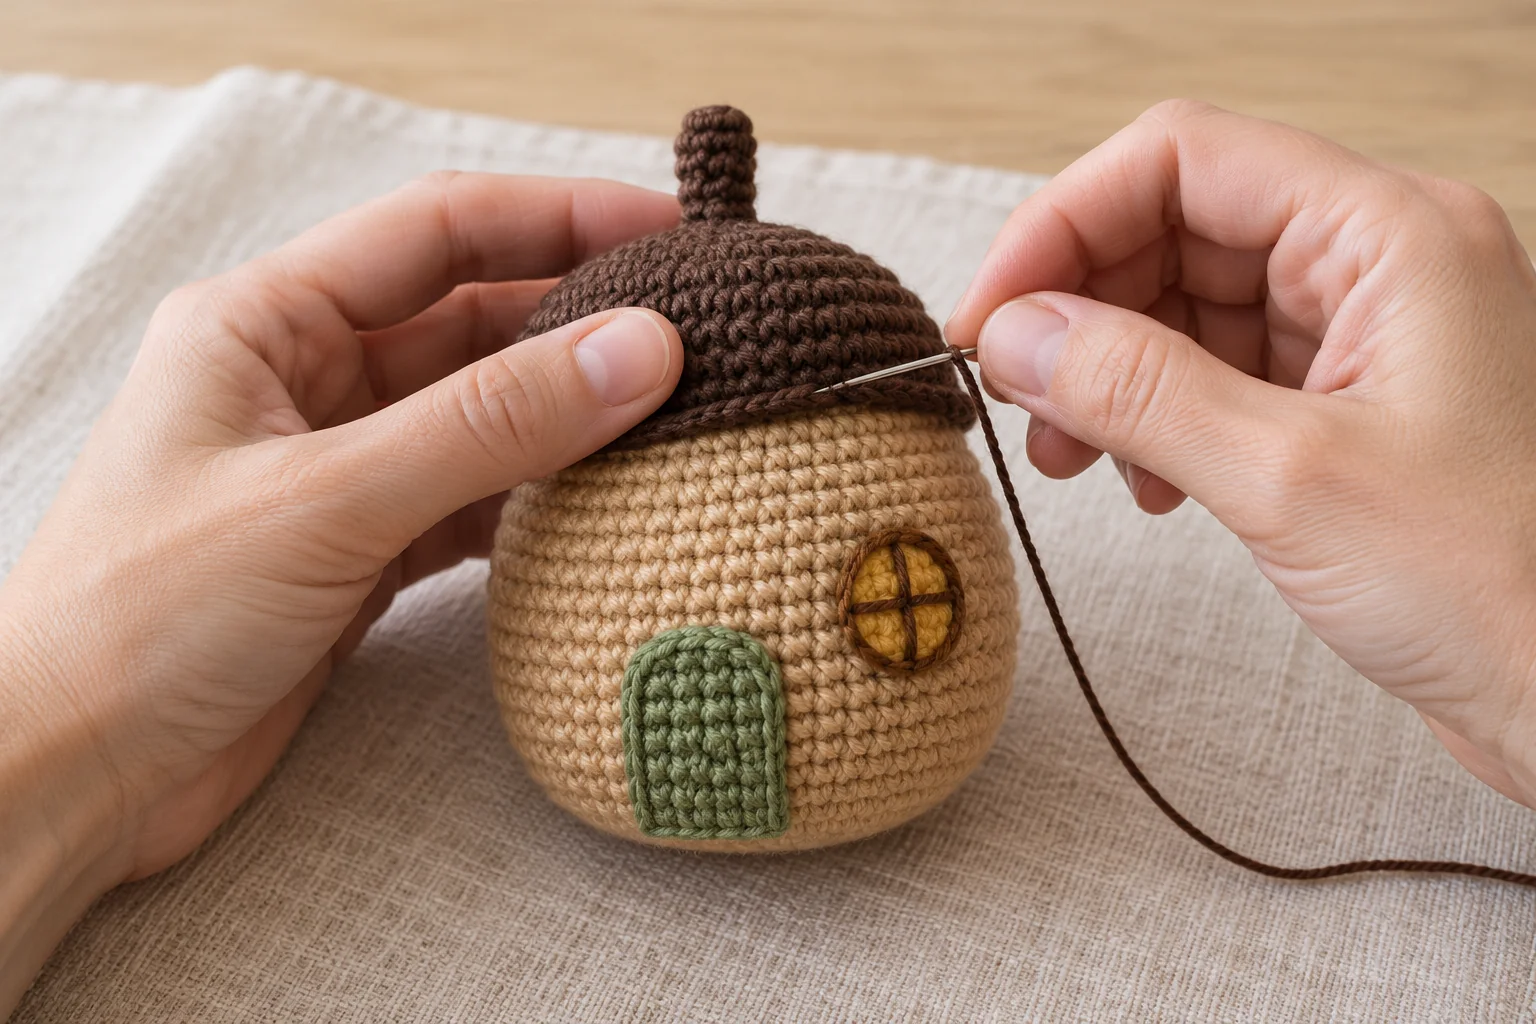
Mark six sections around each edge: five stitches per wall section and six stitches per cap section. Place the cap over the opening with the stem centered.
Sew section by section. Match the stitches evenly, catching one pair of adjacent cap stitches together against one wall stitch within each section. The remaining cap stitches in that section can join one to one with the remaining wall stitches.
Keep a small cap lip visible beyond the walls. Before closing the last section, add a little filling beneath the cap if it needs support. Close the seam, secure the yarn, and bury the tail.
Remove all temporary markers and inspect the seam from below. Fill any gaps with an extra small joining stitch. The cap should feel secure without crushing the rounded wall shape.
Styling and Care
A crochet autumn sunflower adds a contrasting color to a woodland arrangement. A small crochet mushroom can echo the cottage theme without adding another large object.
For a winter scene, place a mini crochet tree beside the crochet acorn house. Check all finished sizes first so the display feels balanced.
Follow the yarn and filling labels for cleaning. Reshape the cap gently and dry fully. Keep the decoration away from young children and pets; it contains filling and small sewn parts and has not been tested as a toy.
Crochet Acorn House: Frequently Asked Questions
Before finishing your crochet acorn house, review these questions about the construction, materials, and final use.
Does the cap come off?
No. The cap is permanently sewn to the walls in this version. The crochet acorn house is not a storage container.
Can I use a different door color?
Yes. Choose a contrasting yarn of the same weight so the door remains visible against the tan walls.
Why are there six extra cap stitches?
They create the cap overhang. Distribute them evenly during the six-section joining process.
Does the stem need filling?
No. Its small tube stays unstuffed. A short, securely sewn stem is enough for the silhouette.
Why does my house lean?
The filling or roof seam may be uneven. Adjust the filling before closing and keep the joining tension consistent around the cap.
Can I hang the house?
This pattern does not include a hanging attachment. Do not hang it by the decorative stem.
Finish Your Crochet Acorn House
Check the stem, cap seam, and door corners before trimming the last ends. Your crochet acorn house is ready for a small woodland display. Write down the yarn colors and finished height if you plan to make a matching village.