Crochet Santa Hat Ornament – Free Mini Christmas Pattern
Crochet a hollow red Santa hat with a folded cream cuff, soft tip ball and reinforced hanger. Follow six steps with clear round counts.
A Mini Santa Hat for the Tree
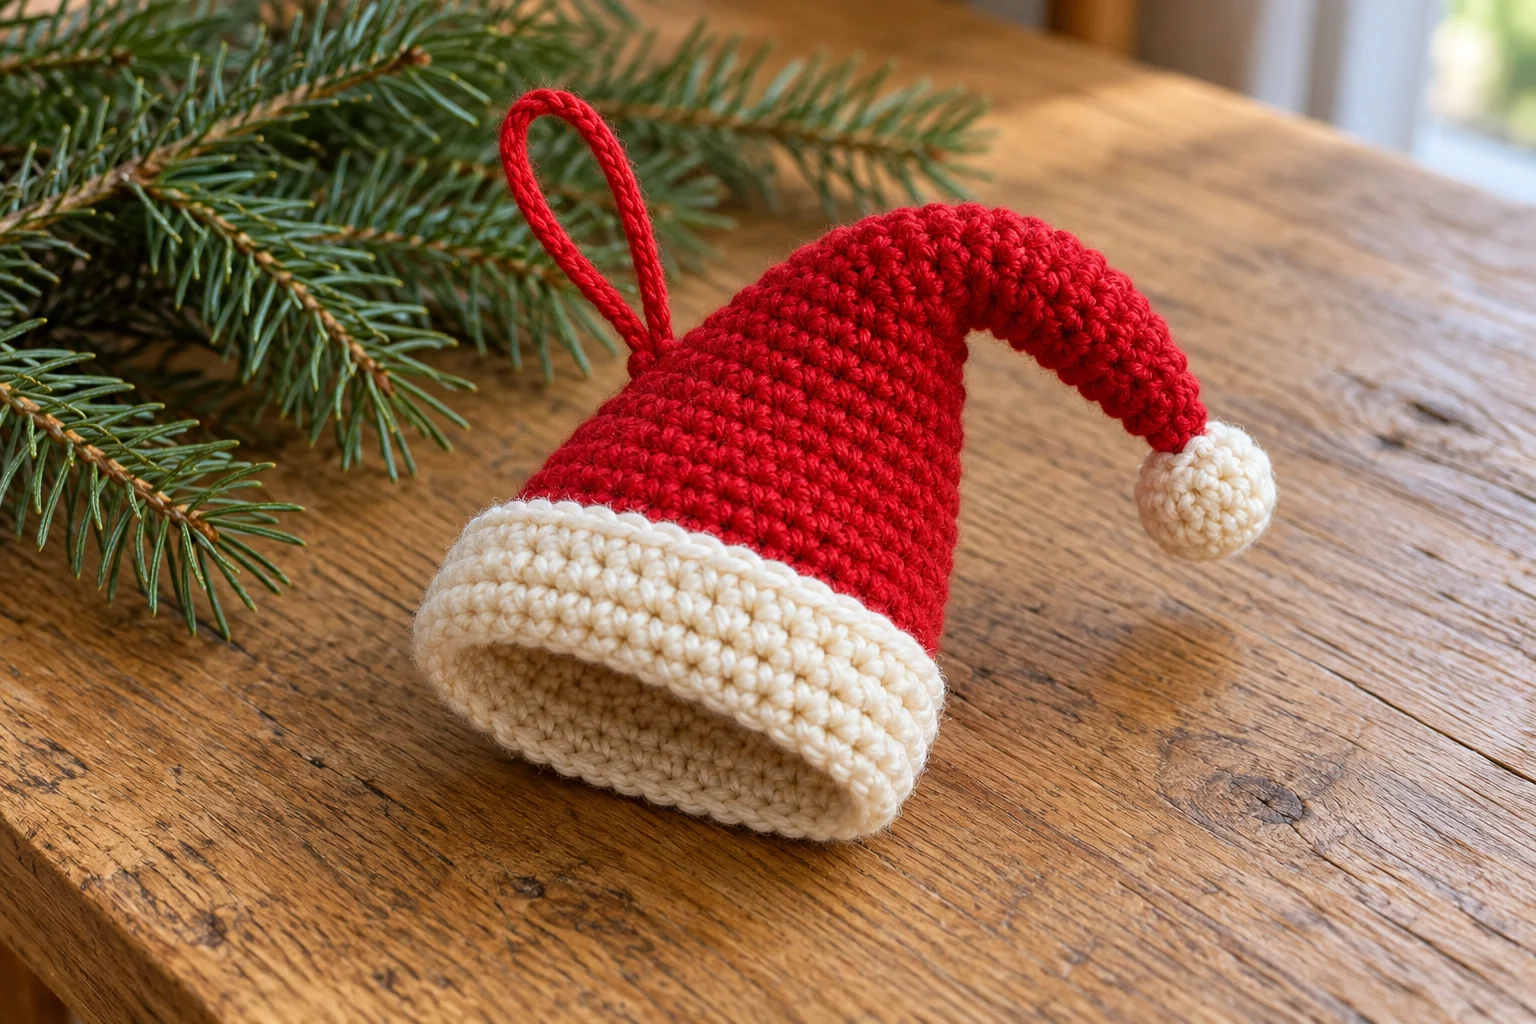
This crochet Santa hat ornament is a hollow red cone with a cream folded cuff and a small soft cream ball at its tip. Start at the narrow point, increase gradually toward the opening, and finish with a contrasting band. A separate yarn hanger attaches at the back near the cuff, so it supports the hat without stretching its pointed end.
The ornament is decorative, not a wearable hat for a baby, pet or doll. Its small scale makes stitch placement more important than a precise gauge measurement. The instructions are an original written draft with checked counts but have not been physically sample tested. Images are generated reference illustrations; use the written rounds for stitch numbers and make a sample before planning a matching set.
Materials and Yarn Selection
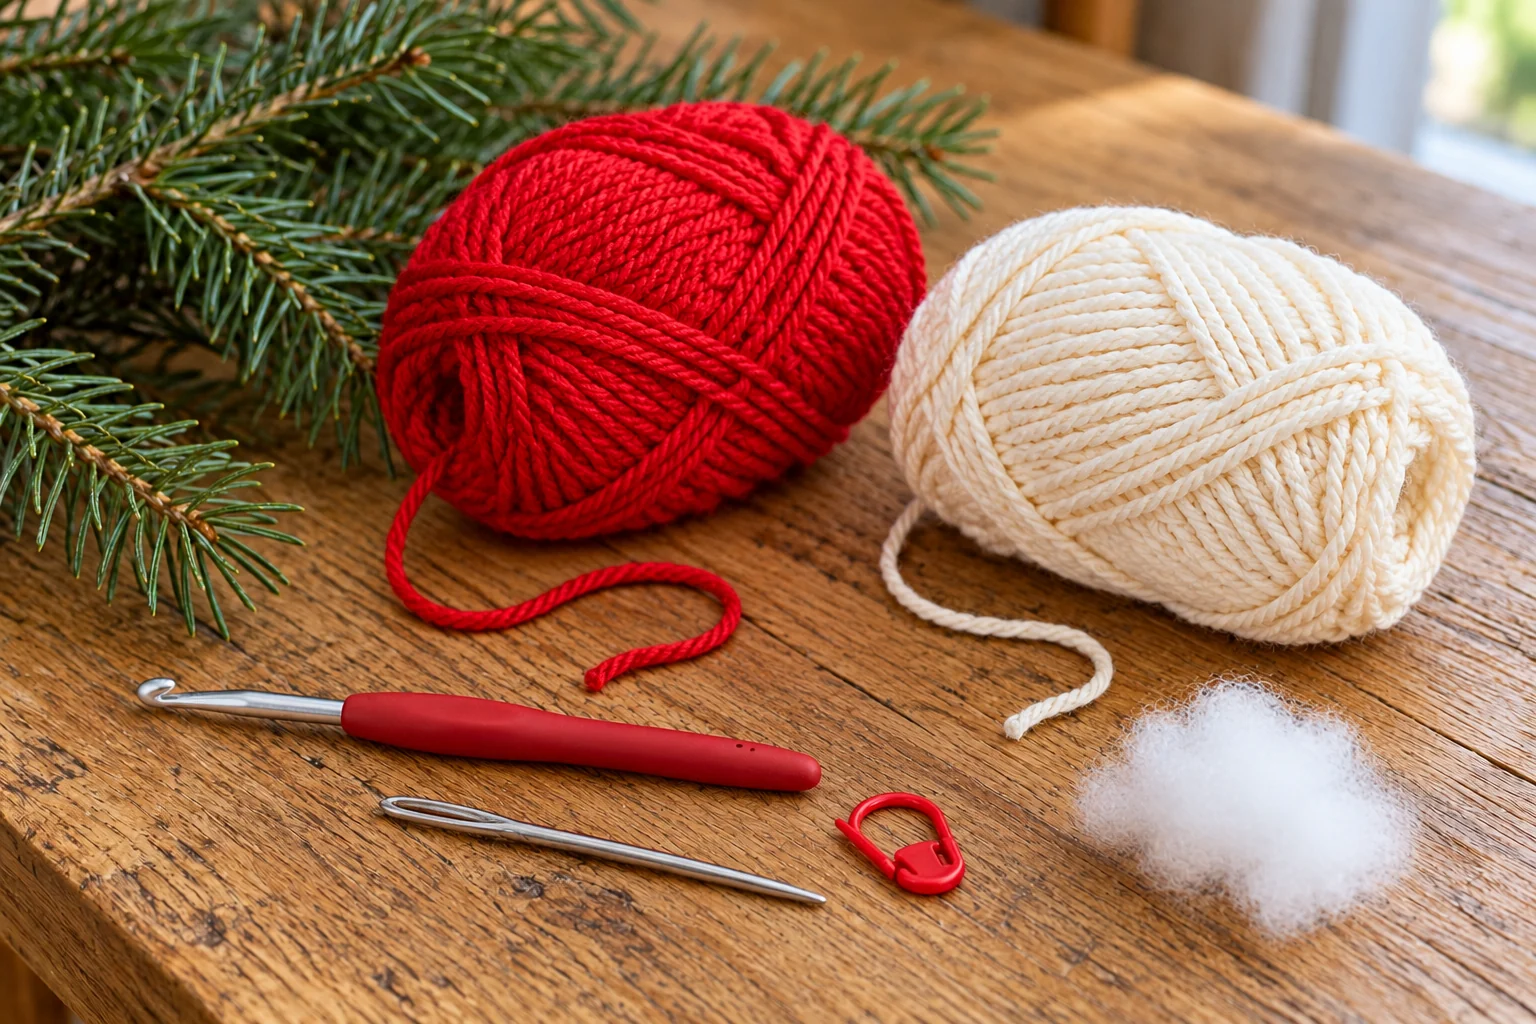
Use smooth red and cream DK cotton, a hook that produces a firm fabric, a removable marker, blunt yarn needle, scissors and a very small amount of filling for the tip ball. A 2.75 mm hook is a starting point to sample with this yarn weight. Adjust it if your own fabric is too loose or difficult to work.
Choose red and cream from the same yarn range so the cuff does not become unexpectedly wider or stiffer than the cone. Fuzzy white yarn can obscure stitch tops, especially when you join it to a small opening. Try plain cream first; its clean edge will still contrast clearly with the red.
The hat itself remains unstuffed. You do not need a plastic cone, wire, glue or ready-made pompom. A crocheted tip ball keeps the design yarn based and avoids a glued trim, although all sewn parts still require secure attachment. Keep finished decorations and loose materials out of reach of babies and pets.
US Crochet Terms and Working Method
Ch means chain, sc means single crochet, inc means two sc in one stitch, dec means a single crochet decrease over two stitches, st means stitch, sl st means slip stitch and FO means fasten off. Work the cone in a continuous spiral, moving the marker to the first stitch of each round.
The instruction (2 sc, inc) twice means work one sc in each of the next two stitches, then two sc in the following stitch; repeat that whole sequence once more. It consumes six existing stitches and produces eight new ones. Counts describe completed stitches, not the number of times you insert the hook.
For terminology questions, use the Craft Yarn Council abbreviation reference. This pattern uses US single crochet; it does not use UK single crochet terminology. Do not count a working loop on the hook as a finished stitch.
Step 1: Begin the Narrow Red Point
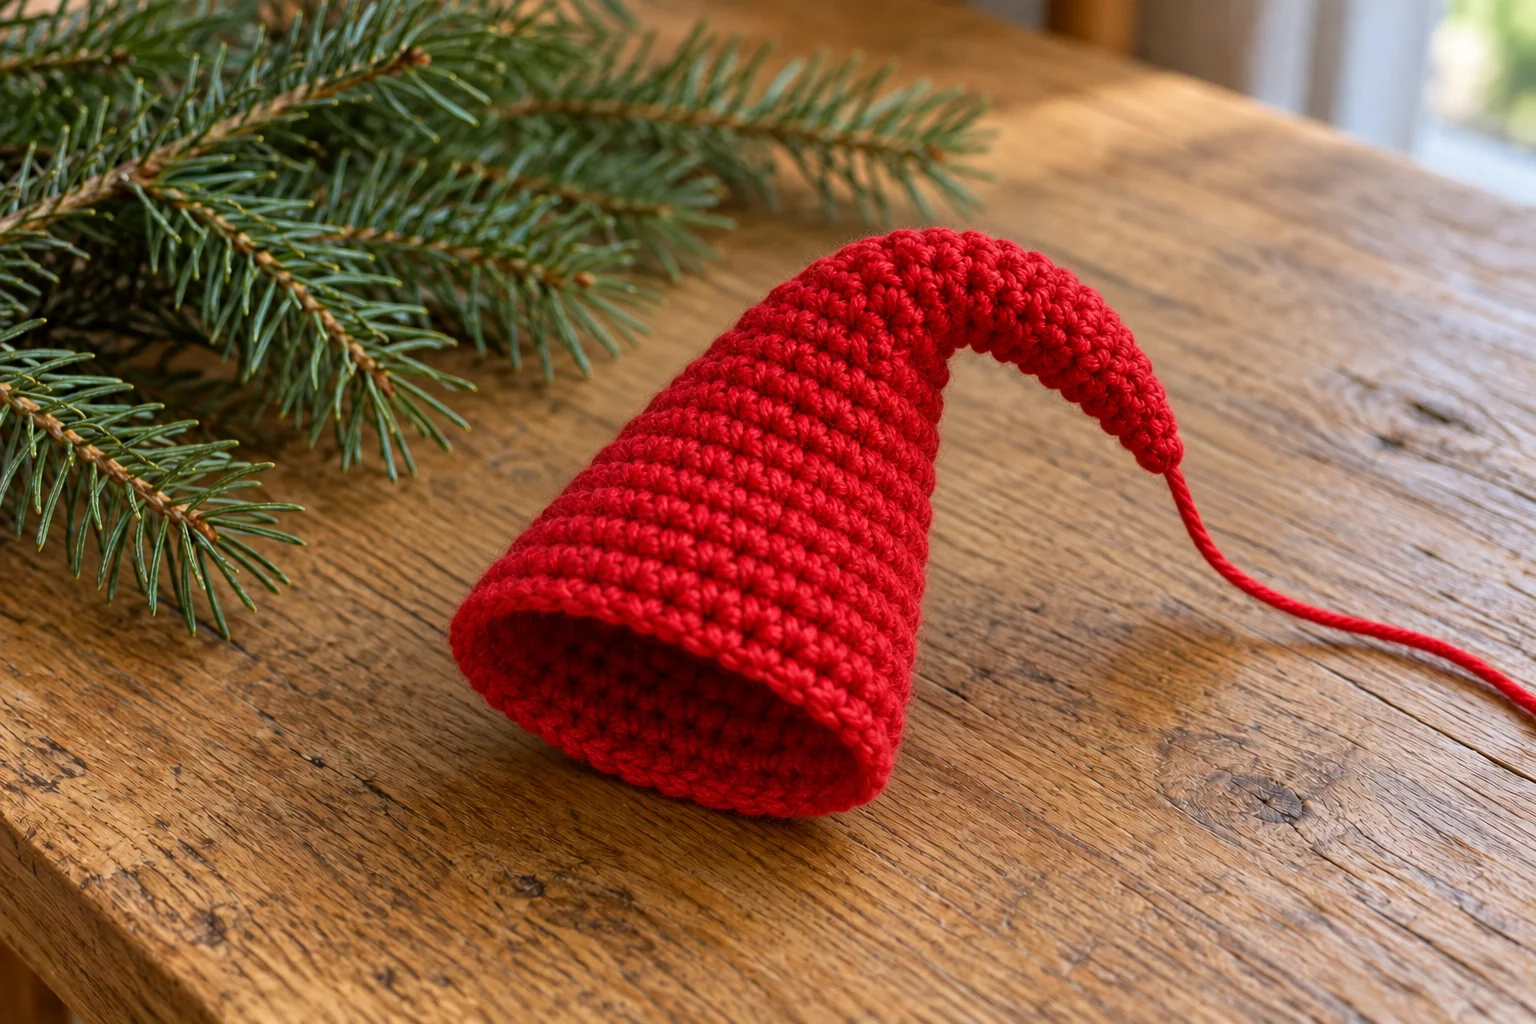
Make a magic ring with red yarn. Round 1: work 4 sc into the ring and close the center. Round 2: sc in every stitch, keeping 4 sts. Round 3: inc in every stitch, giving 8 sts. Round 4: sc in every stitch, keeping 8 sts. Secure the starting tail inside the narrow tip before it becomes difficult to reach.
Four stitches are a small opening, so avoid pulling the working yarn excessively tight. If you cannot find the first stitch, mark it immediately after making it. A marker in the starting ring instead of the first completed stitch can make the round boundary confusing.
The two plain rounds separate the increases and begin a tapered shape. Do not replace Round 2 with increases because the tip looks tiny; the narrow point is intentional. If you prefer a wider point, that would be a different shaping plan and should be sampled separately.
Step 2: Widen the Cone Gradually
Round 5: repeat (sc, inc) four times, giving 12 sts. Round 6: sc in each stitch, keeping 12 sts. Round 7: repeat (2 sc, inc) four times for 16 sts. Round 8: sc in each stitch, keeping 16 sts.
Round 9: repeat (3 sc, inc) four times for 20 sts. Round 10: sc in every stitch, keeping 20 sts. Round 11: repeat (4 sc, inc) four times for 24 sts. Round 12: sc in each stitch, keeping 24 sts. Round 13: repeat (5 sc, inc) four times for 28 sts.
After Round 13, stop and count the entire rim. You should have 28 stitch tops, with the marker identifying the first one. Each increase round added four stitches; each plain round kept the previous count. If your result differs, locate the first round that went wrong rather than adding a compensating stitch at the back.
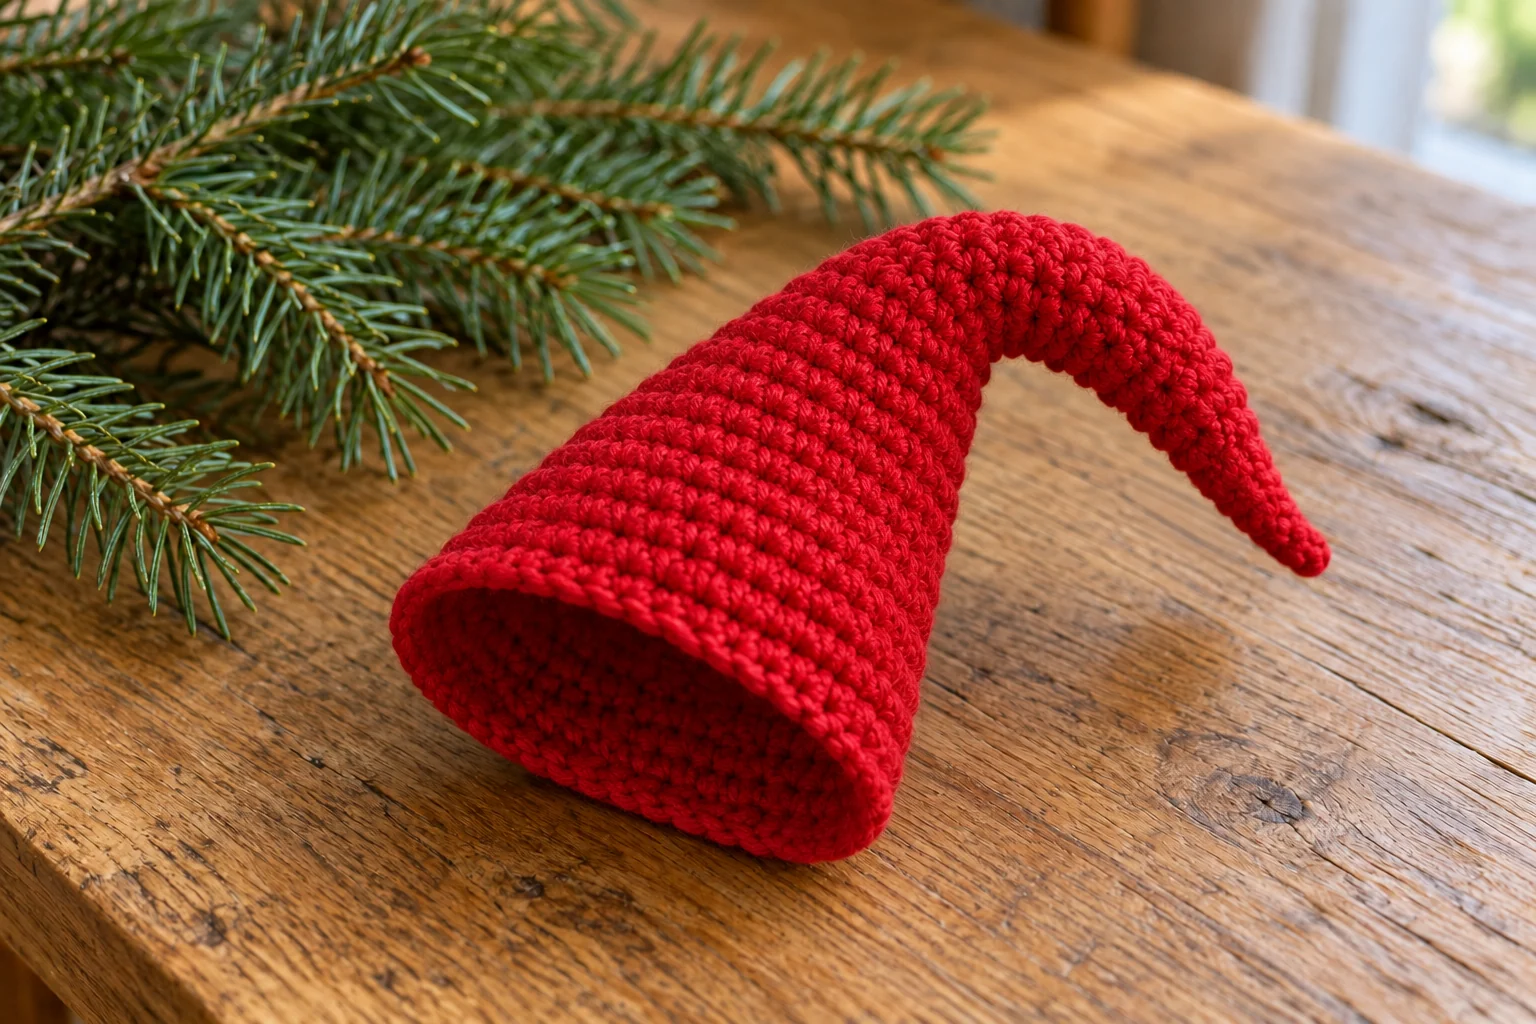
At this stage the hat is a narrow hollow cone. Smooth it with a finger and choose the front. A slight natural bend is acceptable, but a large ridge can come from placing all increases directly above one another with very tight tension. Do not force the cone flat or stretch the opening to change its silhouette.
Step 3: Finish the Red Cone Base
Round 14: sc in all 28 stitches. Round 15: sc in all 28 stitches again. These two rounds give the cuff a stable opening to join onto. Keep the fabric unstuffed and leave the base open. A stuffed version would become a different ornament shape.
Change to cream during the final pull-through of the last red stitch of Round 15. Complete the first part of that stitch in red, then use cream to finish it. The next stitch begins the cream cuff. Leave the red tail long enough to weave through the inside of the cone.
Before continuing, check that the red rounds have no loose marker left inside and no unsecured starting tail. It is much easier to correct the inside now than after adding a cuff and hanger. Keep the color-change point at the back so the front looks continuous.
Step 4: Crochet and Fold the Cream Cuff
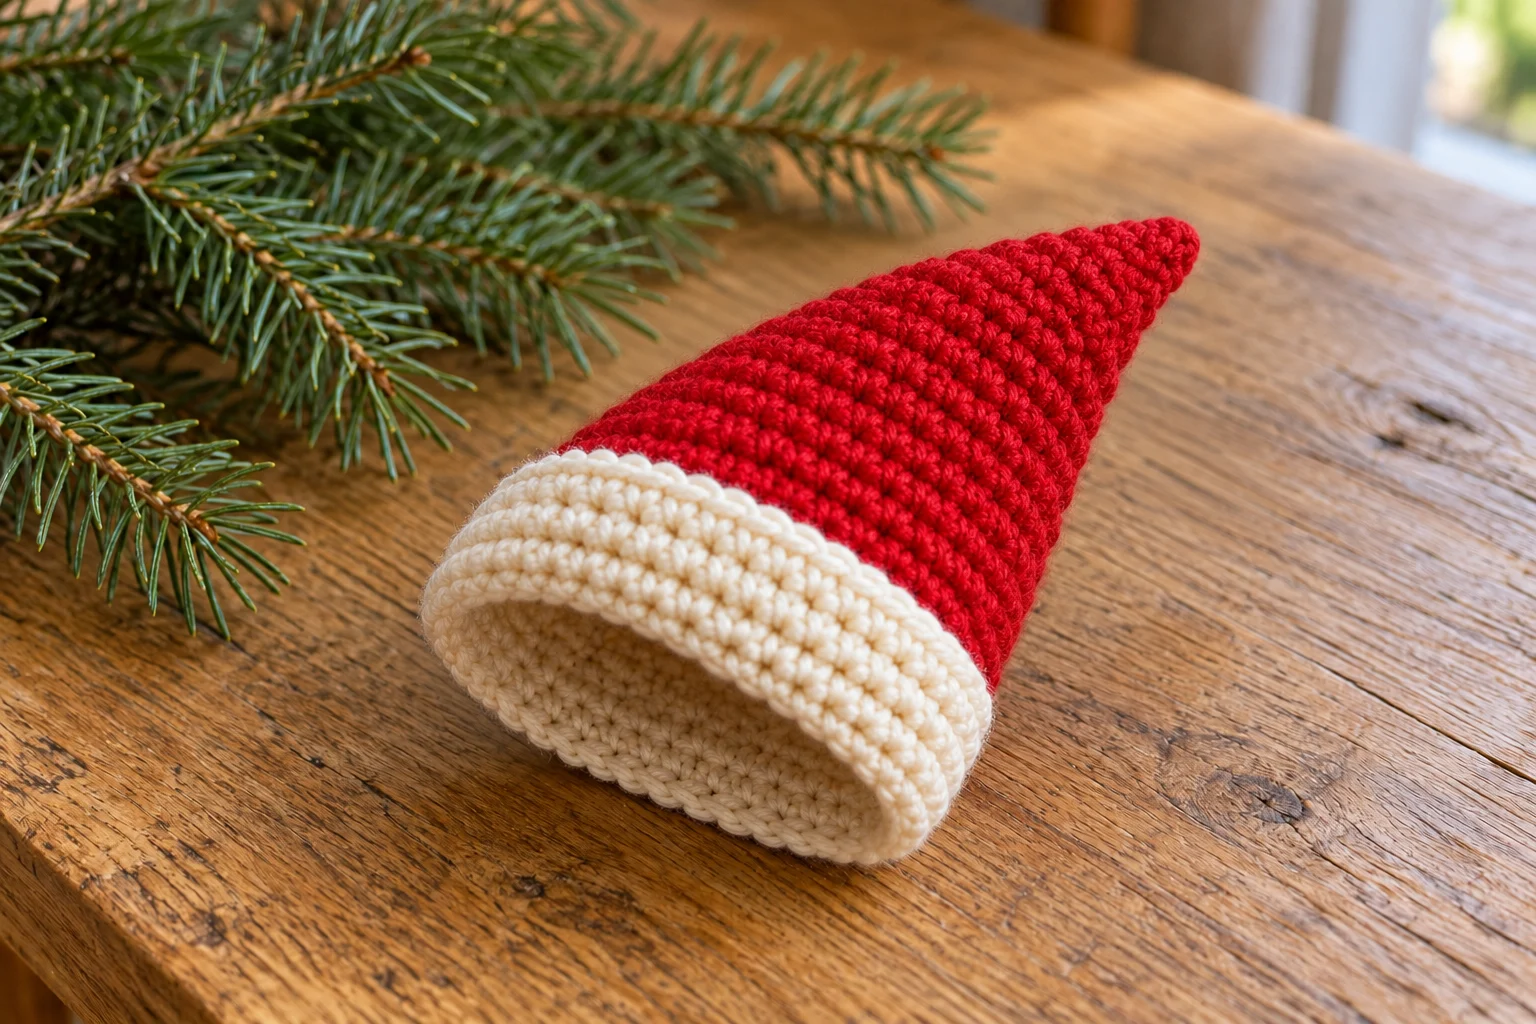
Rounds 16–19: with cream, sc in all 28 stitches for four rounds. Work through both loops in every stitch. The count stays at 28 throughout. Finish with a sl st in the next stitch to reduce the final height step, then FO and weave in the cream tail.
Fold the cream band outward approximately halfway up its height, making a doubled cuff with two rounds visible below the fold. Arrange the fold evenly around the opening. A light tack stitch at each side and at the back can hold the fold without sewing the opening closed.
If the cuff flares too much, compare the cream yarn thickness and tension with the red cone. Do not automatically skip stitches to tighten it; that changes the opening count. Rework the band more evenly or sample a slightly smaller hook for the cream section if necessary.
A folded cuff has more substance than a single contrasting edge, but it should not dominate the hat. Keep tack stitches inside the fold and catch only enough fabric to hold its position. Pulling them tight can create visible pinches at the opening.
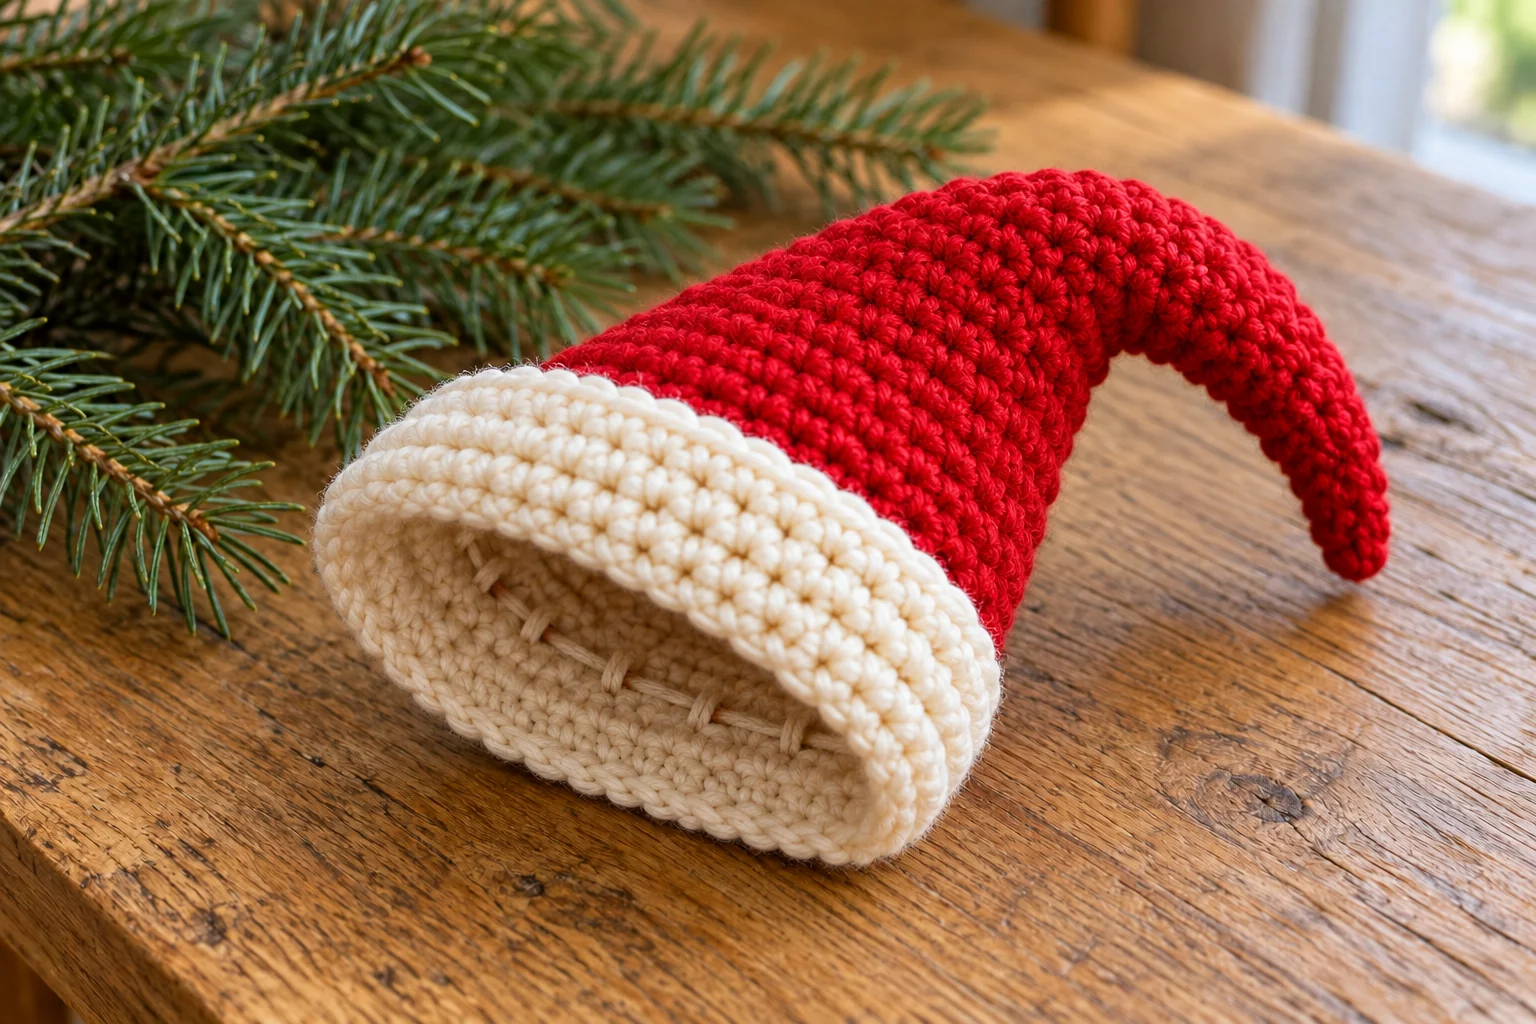
Step 5: Add the Soft Tip Ball
With cream yarn, make a magic ring. Ball Round 1: 6 sc into the ring. Ball Round 2: inc in every stitch for 12 sts. Ball Round 3: sc in all 12 stitches. Add a very small amount of filling, then Ball Round 4: dec six times for 6 sts. FO with a long sewing tail.
Close the remaining six stitches by drawing the tail through their front loops. Sew the ball to the red tip through multiple stitches in both pieces. Do not attach it only to the magic-ring starting tail. Give the ball a gentle pull before burying the final end.
For a bent Santa-hat silhouette, curve the red point to one side and add a small hidden tack between the side of the cone and the lower part of the tip. Keep the bend soft. Do not crease the whole cone or sew the tip so low that it hides the cream cuff.
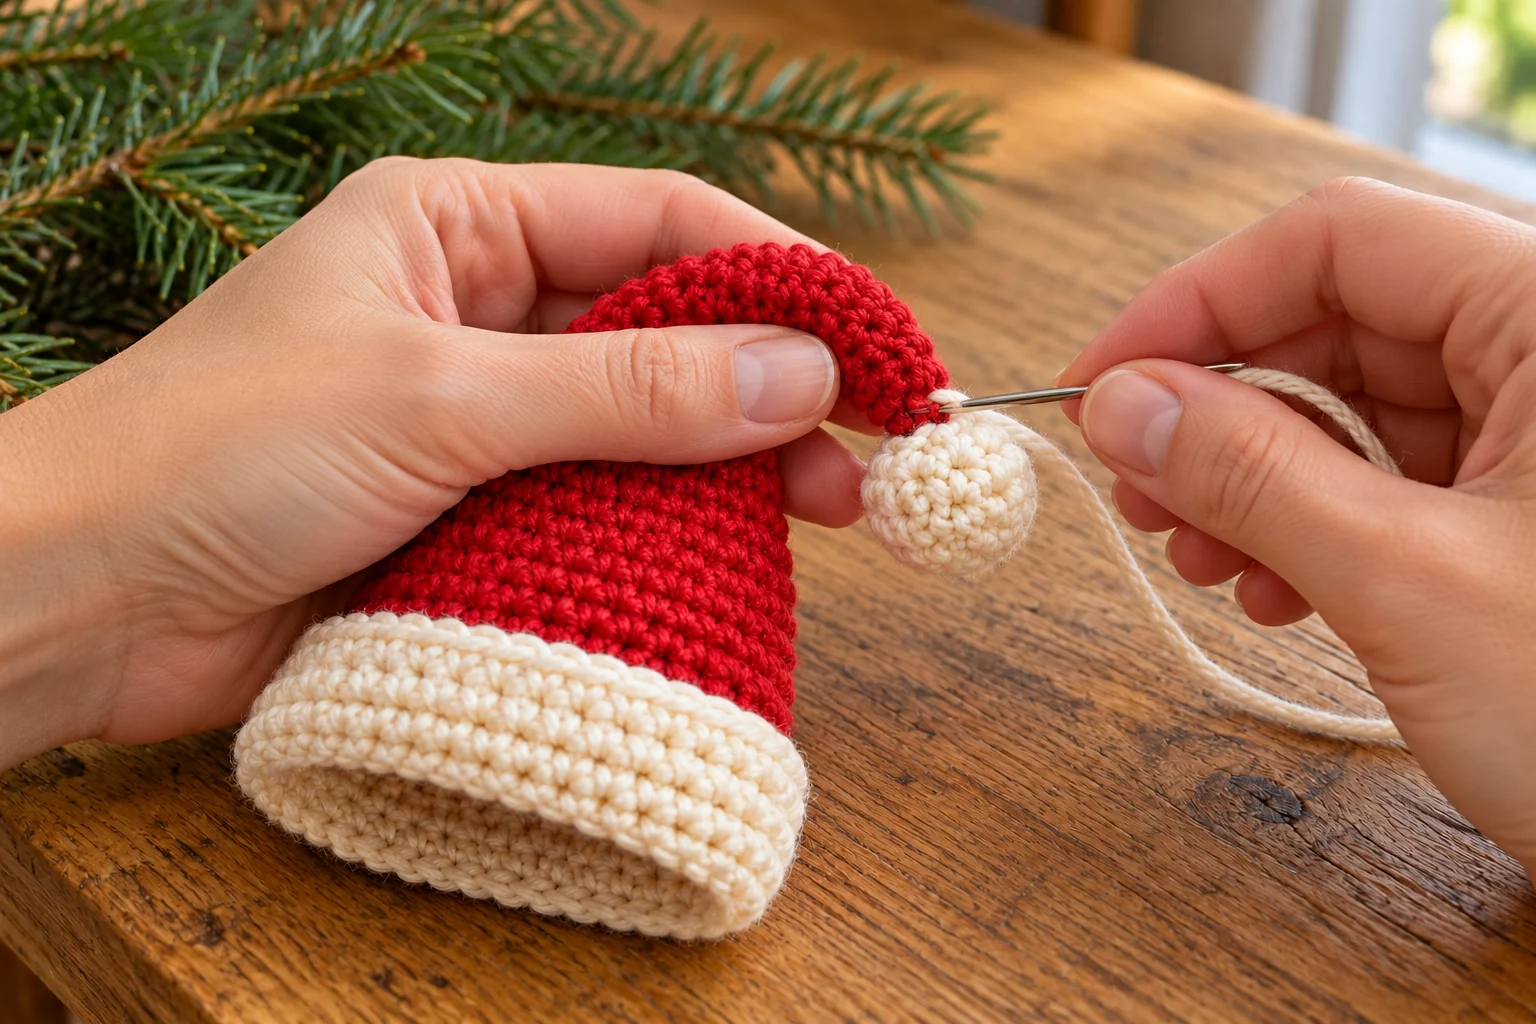
Step 6: Sew the Hanging Loop
Make a red chain loop, starting with ch 24 and adjusting the length for the intended branch. FO with sewing tails. Sew both ends to the back of the cone just above the cuff, catching several red stitches. Spread the attachment points slightly so the hat hangs without twisting.
Lift the ornament by the hanger and adjust its balance before securing the last tail. The front cuff should remain visible, and the tip ball should hang to the intended side. Avoid placing the loop at the very tip, which can pull the cone straight and strain the small ball attachment.
Weave in all tails and inspect the cuff from below. The opening should remain clear, without a loose strand stretched across it. If the yarn label permits damp blocking, gently arrange the cone and cuff and let them dry fully. Store the hat with its tip uncrushed.

Frequently Asked Questions
Is this a wearable Santa hat?
No. It is a small tree ornament with no established wearable sizing. Do not use the opening as a size guide for babies, pets or dolls.
Should I stuff the cone?
Leave it hollow. Only the small cream tip ball uses filling. The empty cone allows a soft bend and keeps the ornament light.
Why does my hat look too short?
Check the plain rounds between increase rounds. Skipping those rounds widens the cone more quickly and changes its proportions even when the final rim count reaches 28.
Can I use a fluffy white cuff yarn?
You can sample it, but its thickness may change the fold and opening. Make sure you can identify all 28 stitches. The written version assumes smooth yarn of matching weight.
Can I omit the tip ball?
Yes. Secure the red tip neatly and keep the same cone rounds. The silhouette will be simpler and the hanger should still attach at the back near the cuff.
How do I clean the finished ornament?
Follow the yarn and filling labels. Spot clean if suitable, reshape the cuff and let the filled ball dry completely. Avoid crushing the folded cuff during storage.
Ideas for a Coordinated Christmas Display
Match the hat’s red and cream to the mini Christmas mitten or a crochet bow garland. A snowman ornament provides a different silhouette, while a mini Christmas tree adds green to the group.
Place your crochet Santa hat ornament inside a reusable crochet gift bag when giving it away. Record the yarn, hook, cuff fold and hanger length from your sample. Those simple notes help the next hat match without needing extra trims.