Crochet Mini Sweater Ornament – Free Christmas Pattern
Make a flat crochet mini sweater ornament from simple rectangles, with surface embroidery, clear assembly instructions and a yarn hanging loop.
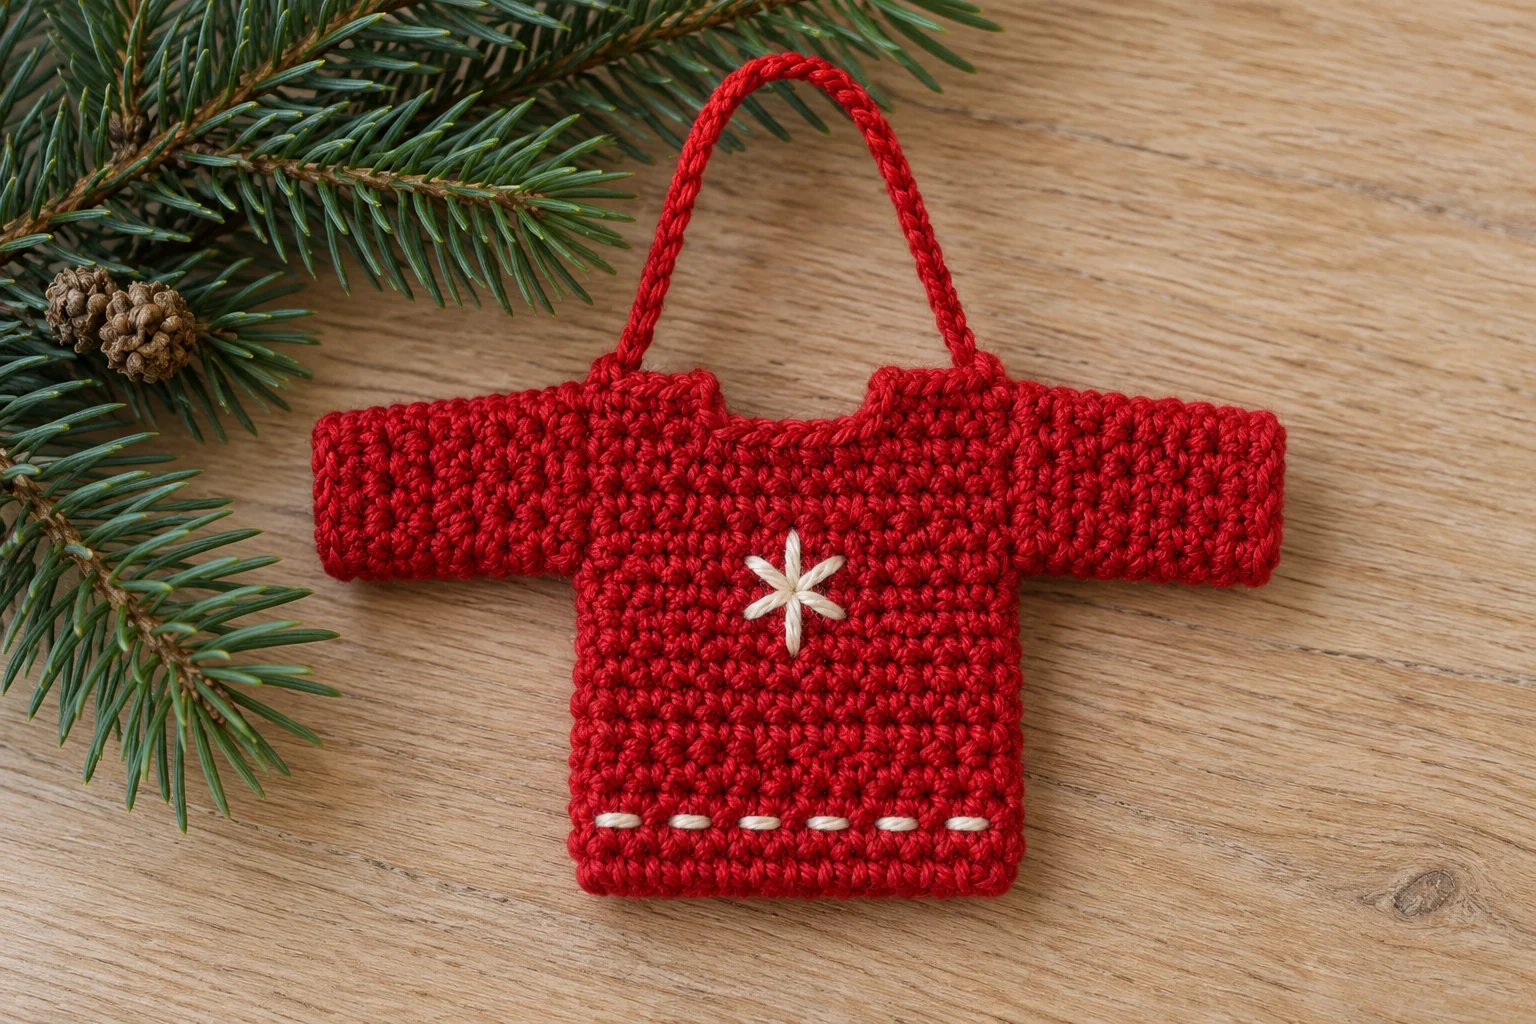
This crochet mini sweater ornament pattern creates a small flat Christmas jumper from two body rectangles and four sleeve rectangles. Join the rectangles into matching T-shaped panels, embroider the front, then sew the panels together while leaving a tiny neck opening. Add a hanging loop at the shoulders for a yarn-only tree decoration.
The little sweater is decorative: it is not sized as clothing for a baby, pet, or doll. Its simple construction lets you choose the front design after the crocheting is finished. A single white stitched snowflake or a few small cream crosses can give a plain red sweater a festive look without complicated colorwork.
How the Mini Sweater Ornament Is Built
Each side starts with a ten-stitch body rectangle. Two short sleeve rectangles attach to the upper left and upper right sides, giving the outline its T shape. Make the front and back separately, decorate the front while its reverse side is accessible, then join the matching outlines. The four sleeve pieces form two double-sided decorative sleeves.
This construction avoids shaping a wearable raglan yoke at miniature scale. Every crocheted piece is a plain rectangle worked in turned rows. The sewing and alignment matter more than stitch complexity, so this is a suitable project for a confident beginner who knows single crochet and can make an even seam. All stitch names use US terminology.
The pattern is an original written draft with checked rectangle counts. It has not been physically crocheted or sample tested, and no finished size or yarn consumption is claimed. Generated images are illustrations of the design direction, not exact stitch maps. Crochet one sample and measure it before making a matching set or offering a finished ornament for sale.
Materials and Color Planning
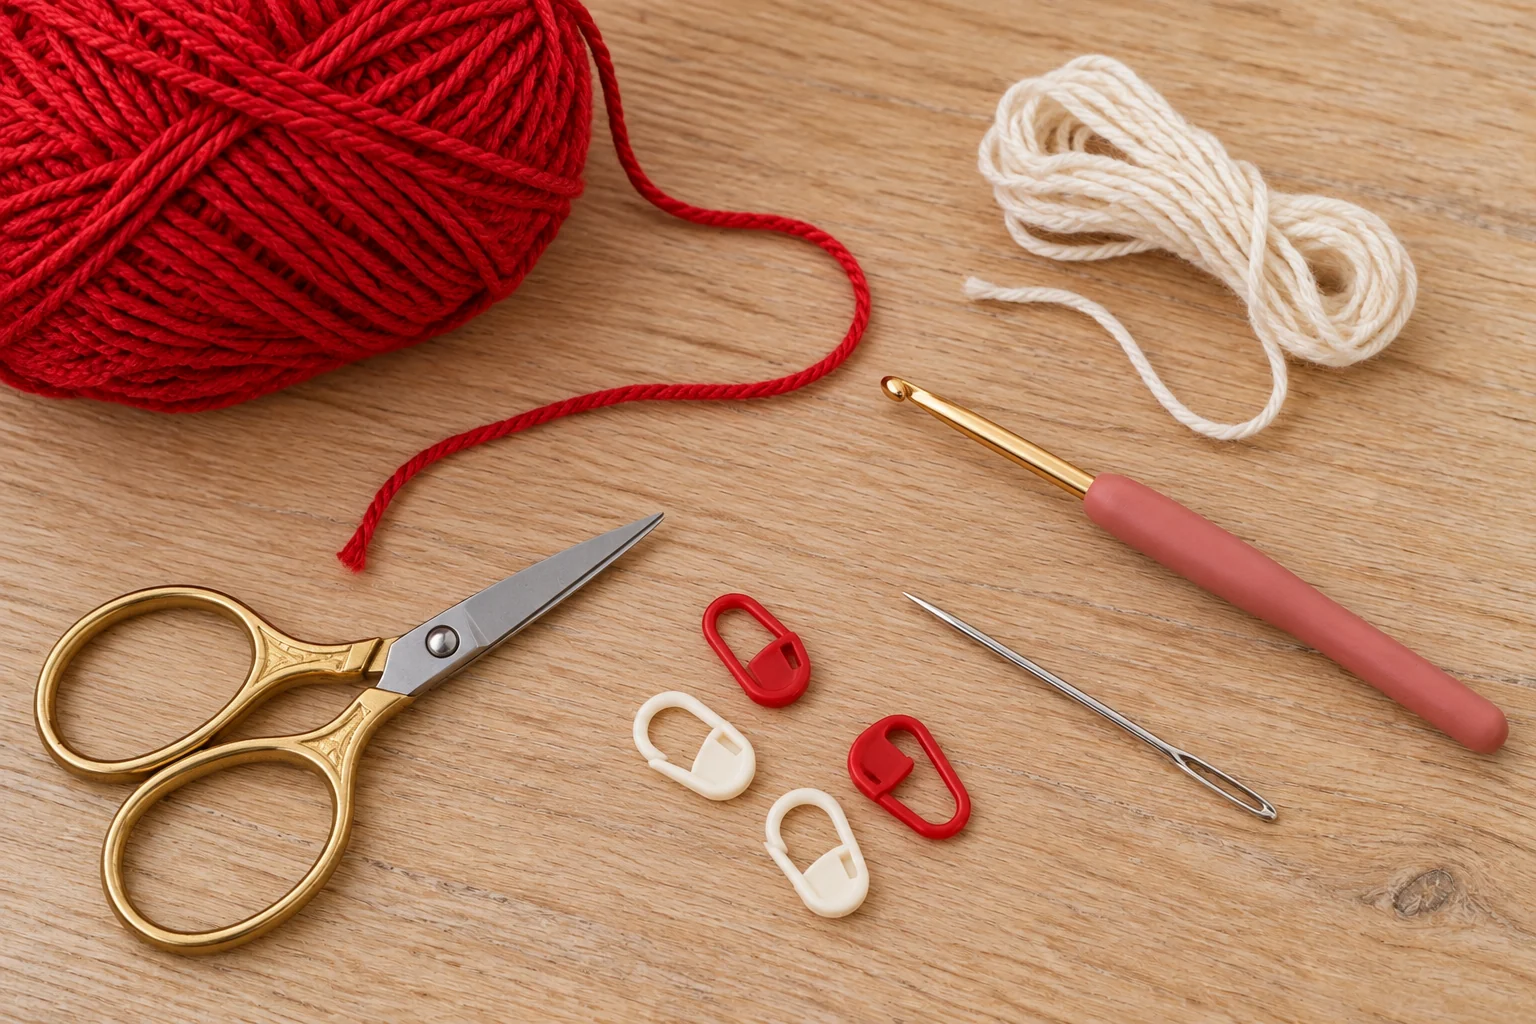
- Red DK cotton or smooth light worsted yarn for all six rectangles.
- A short length of white or cream yarn for surface embroidery and optional hem detail.
- A compatible crochet hook; sample around 3 mm with DK cotton and adjust for a neat fabric.
- Yarn needle, scissors, and removable markers or pins.
- Optional contrast yarn for a short hanging loop; no wire hanger is required.
Choose a smooth yarn with clear stitch definition for the first sweater. It makes the row ends easier to count when attaching the sleeves. Red and cream offer a traditional combination, but forest green with ivory stitching works equally well. Make the front and back from the same yarn so their rectangles respond similarly to blocking and sewing.
If the contrast yarn is thicker than the main yarn, split a suitable strand only if its construction allows it, or use a finer embroidery yarn. Heavy embroidery can pull a tiny panel out of shape. A short stitched motif should sit on the surface without tightening the red rectangle beneath it.
Abbreviations and Row Rules
- ch: chain.
- sc: single crochet.
- sl st: slip stitch.
- st/sts: stitch/stitches.
- FO: fasten off.
- Right side: the side you choose to display on the finished ornament.
The turning ch 1 never counts as a stitch. Work the first sc into the first actual stitch of each row and the final sc into the final actual stitch. A ten-stitch rectangle must keep ten stitches on every row. If one side becomes narrower, count before adding more rows. Standard stitch definitions are available in the Craft Yarn Council abbreviation reference.
Step 1: Make Two Body Rectangles
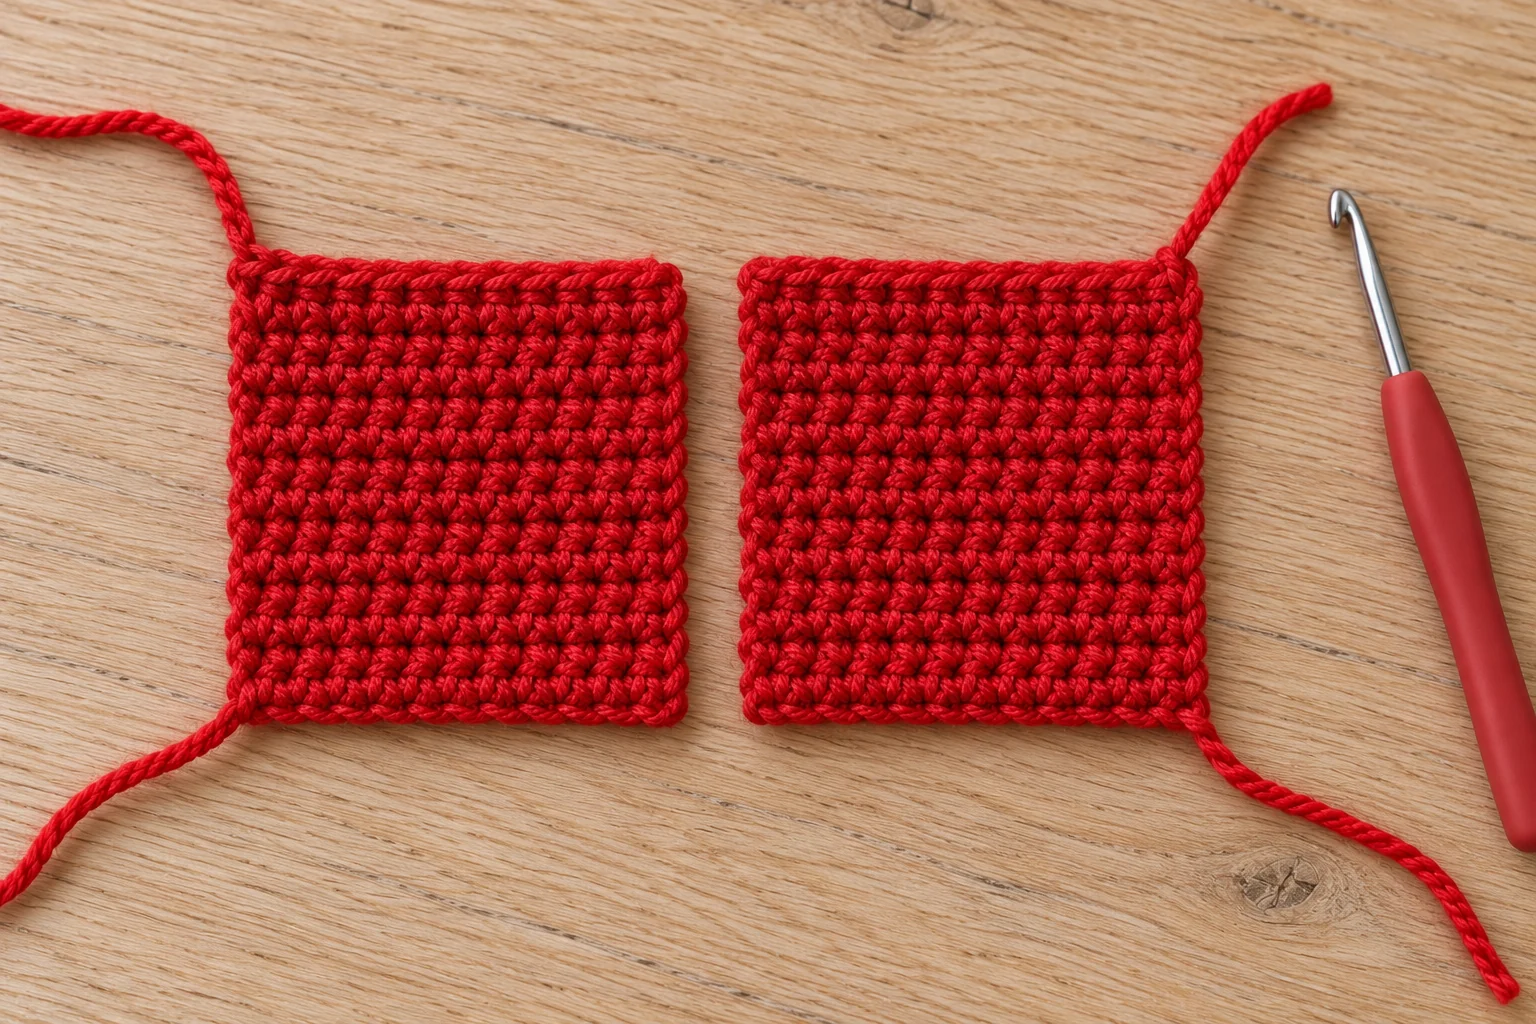
With red yarn, ch 11. Row 1: starting in the second chain from the hook, sc in each chain across. You have 10 sts. Rows 2–10: ch 1, turn, and sc in each of the 10 stitches across. FO after Row 10. Leave a sewing tail if you want to use it for an adjacent seam.
Make a second body rectangle in exactly the same way. Lay the two pieces together and compare their width and height before weaving in any ends. Ten single crochet rows are not necessarily the same physical height as ten stitches are wide, so the rectangle does not need to look square. Both pieces simply need to match each other.
Mark the top edge of each rectangle. This is the last completed row and will become the shoulder and neck edge. The beginning chain forms the lower hem. Do not rotate one panel sideways when comparing them, because then the stitch tops and row ends will no longer line up for sewing.
Step 2: Crochet Four Sleeve Rectangles
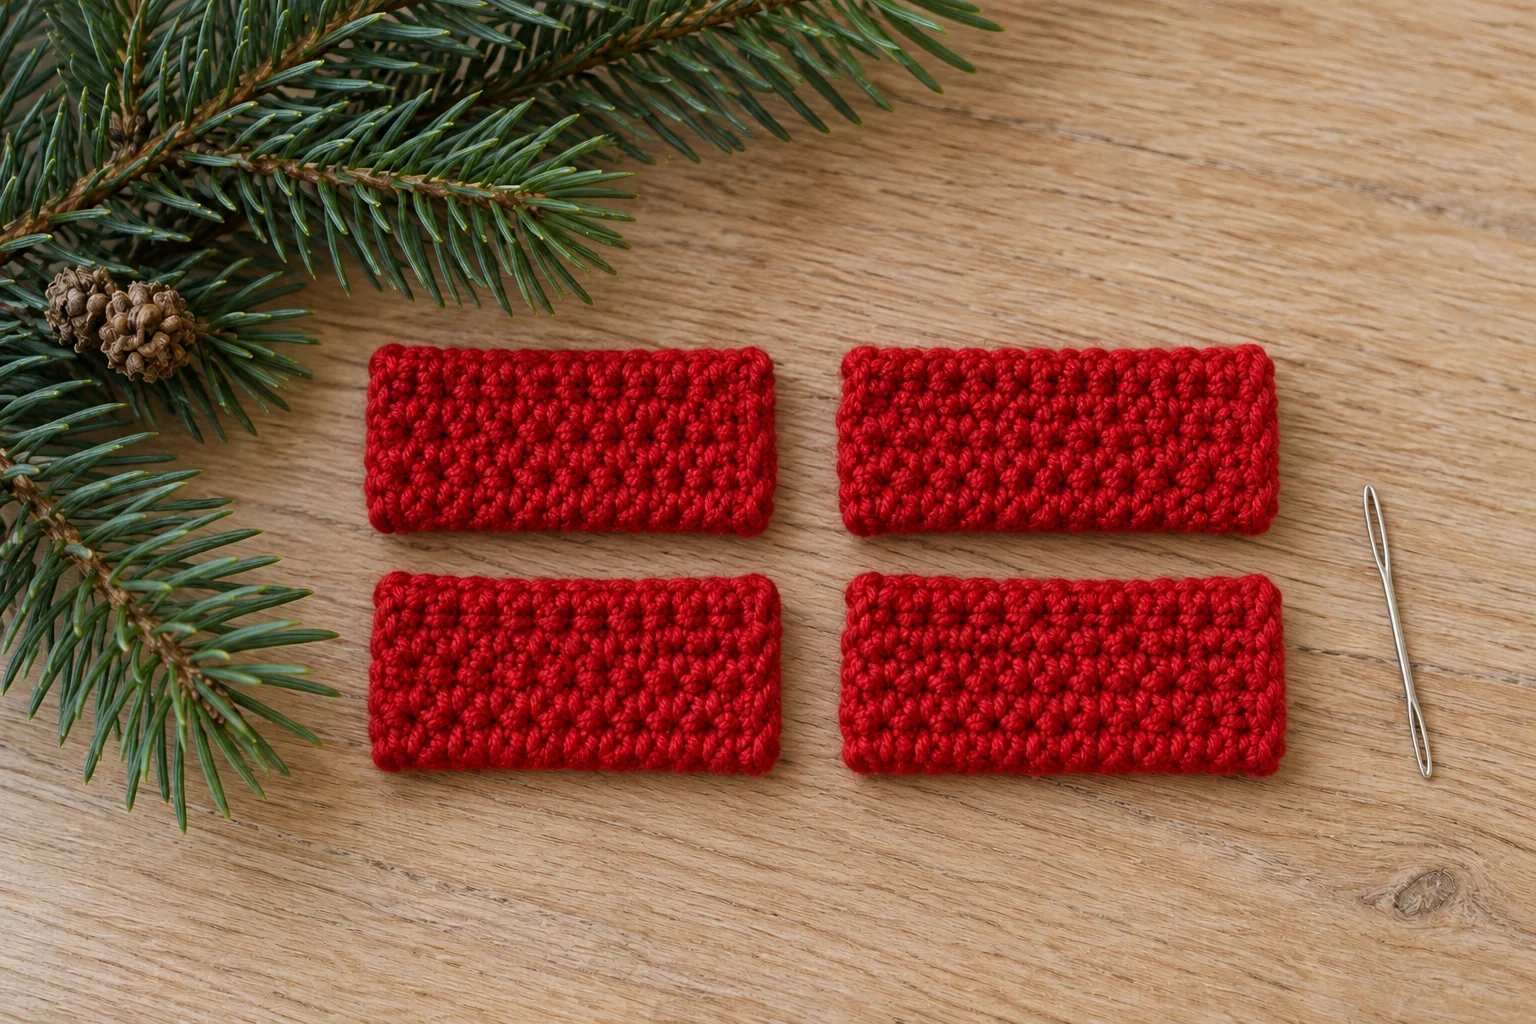
For each sleeve panel, ch 5. Row 1: sc in the second chain from the hook and in each remaining chain, giving 4 sts. Rows 2–4: ch 1, turn, and sc across, keeping 4 sts. FO. Make four identical rectangles: two for the front T panel and two for the back T panel.
Arrange one sleeve rectangle with its four-stitch rows running horizontally away from the body. Its short side edge will meet the upper four row ends of the body. In other words, a sleeve extends four stitches outward and spans four rows downward from the shoulder. Keep the same orientation for every sleeve piece.
Match the four sleeves as a stack. A noticeably larger rectangle usually means an extra row, an accidental fifth stitch, or a change in tension. Correct that piece before assembling the T shapes. Even a small difference becomes visible because the ornament has a simple symmetrical outline.
Step 3: Assemble Two Matching T Panels
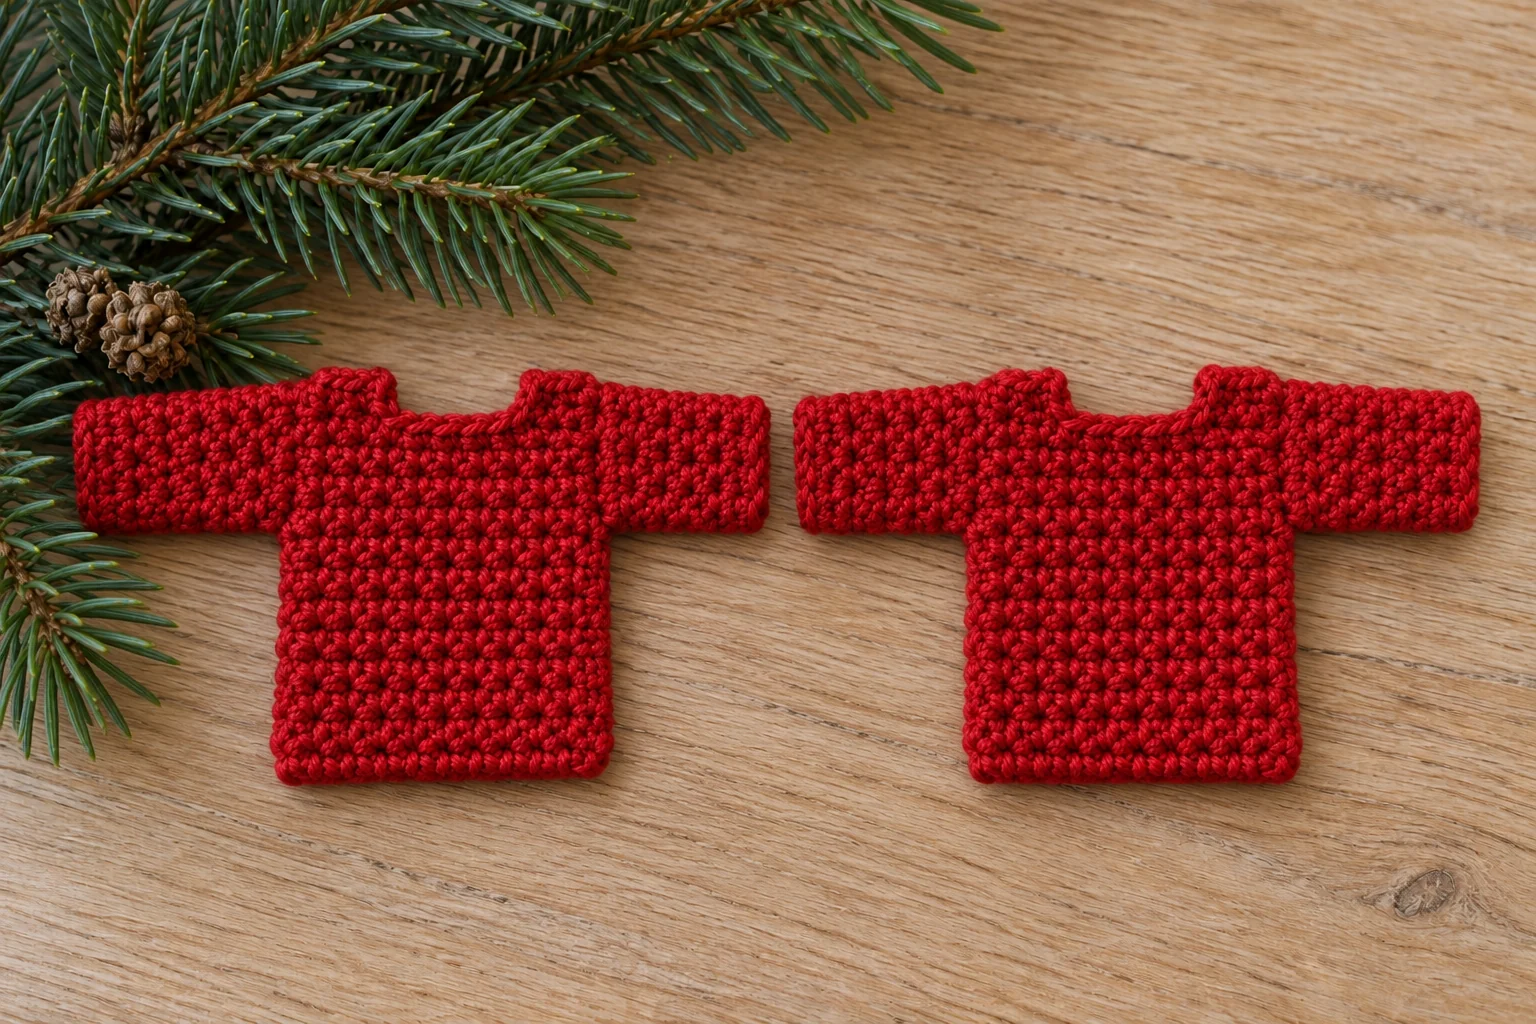
Lay the first body rectangle with its top row at the top. Place a sleeve panel against the upper left edge and another against the upper right edge. Their top edges should align with the body shoulder line. Each sleeve side edge meets the upper four body row ends, leaving six body rows below the sleeve join.
Sew each sleeve panel onto the body with four evenly spaced joining stitches, pairing one sleeve row end with one body row end. Keep the join relaxed and flat. Secure and weave the tails on the chosen wrong side. Repeat with the second body and the other two sleeves to create the back T panel.
Put the two T panels together with their chosen right sides facing outward. Check both sleeve tips, both underarm corners, and the lower hem. Their outlines should match closely. This is the time to reopen a tight sleeve attachment if it has pulled the body edge upward or made one shoulder slope.
Step 4: Embroider the Sweater Front
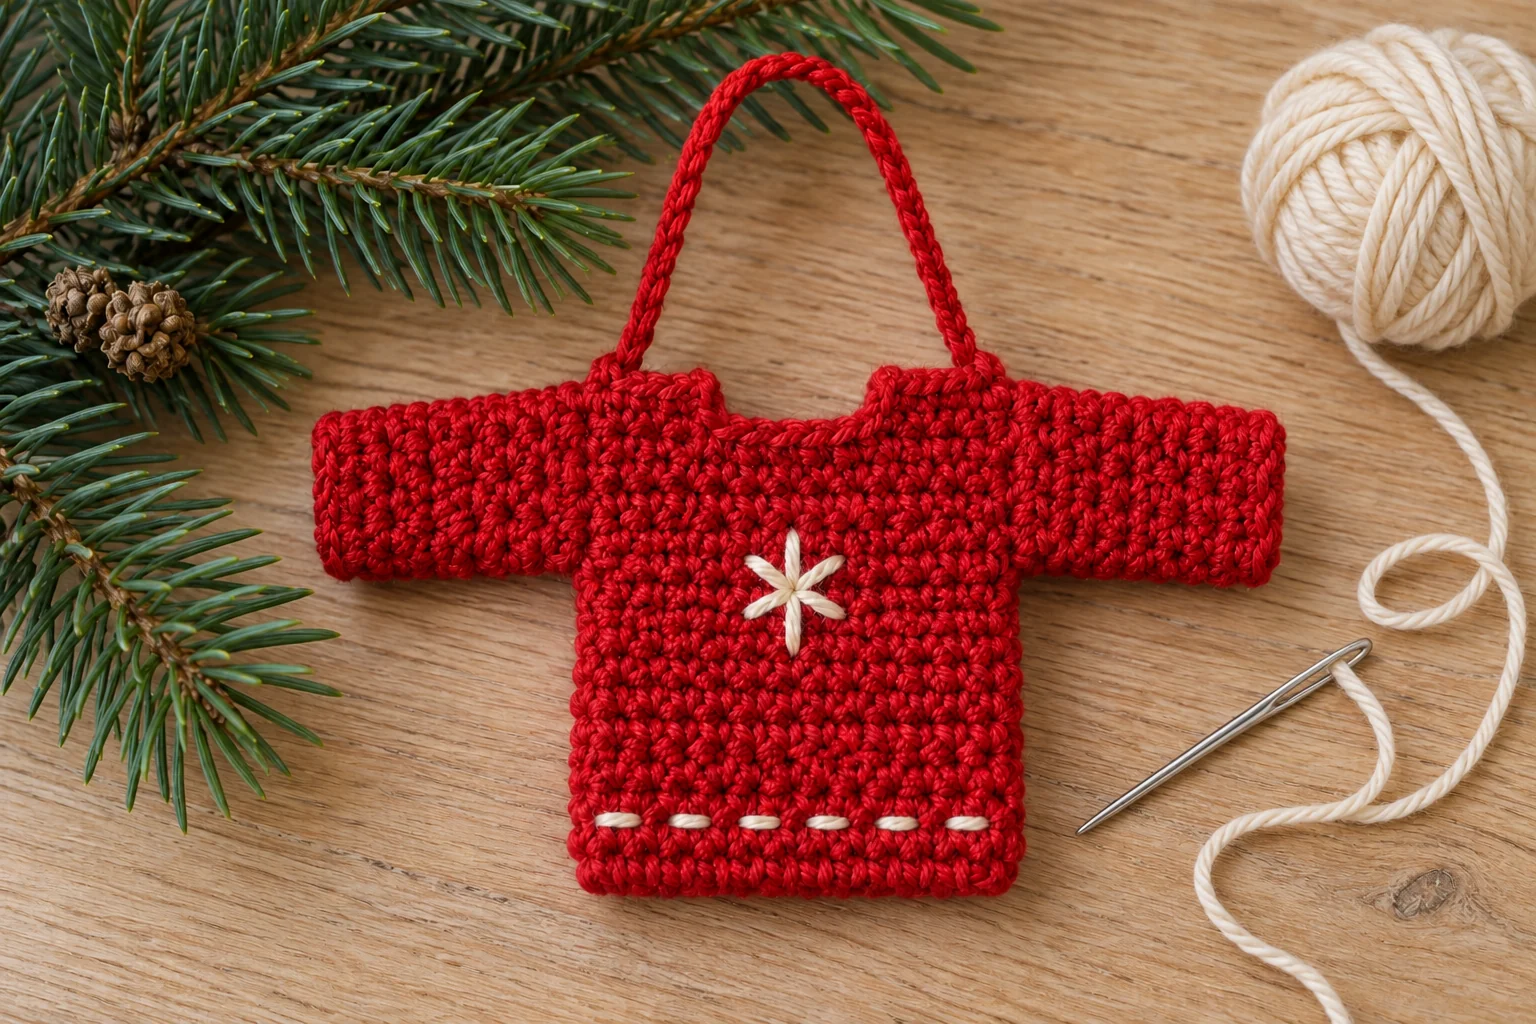
Separate the panels again and work only on the front. For a simple winter motif, mark a small center point on the upper body. Sew one short vertical line, one horizontal line, and two diagonals crossing through that point. Add only a few short tip stitches if there is room. Keep all stitches within the body rectangle.
Use the red crochet stitches as your placement guide rather than pulling the cream yarn into a perfectly rigid star. The little motif should remain soft and flat. To make a striped hem, sew a relaxed running-stitch line just above the lower foundation edge. This is surface embroidery, so it does not change any crochet stitch counts.
Secure embroidery ends behind the front panel before closing the sweater. Do not carry a long loose strand across the entire inside. Weave through nearby stitches and check that the front can still lie flat. If the motif puckers, loosen the strand now instead of relying on the back panel to hide the distortion.
Step 5: Join the Sweater Outline
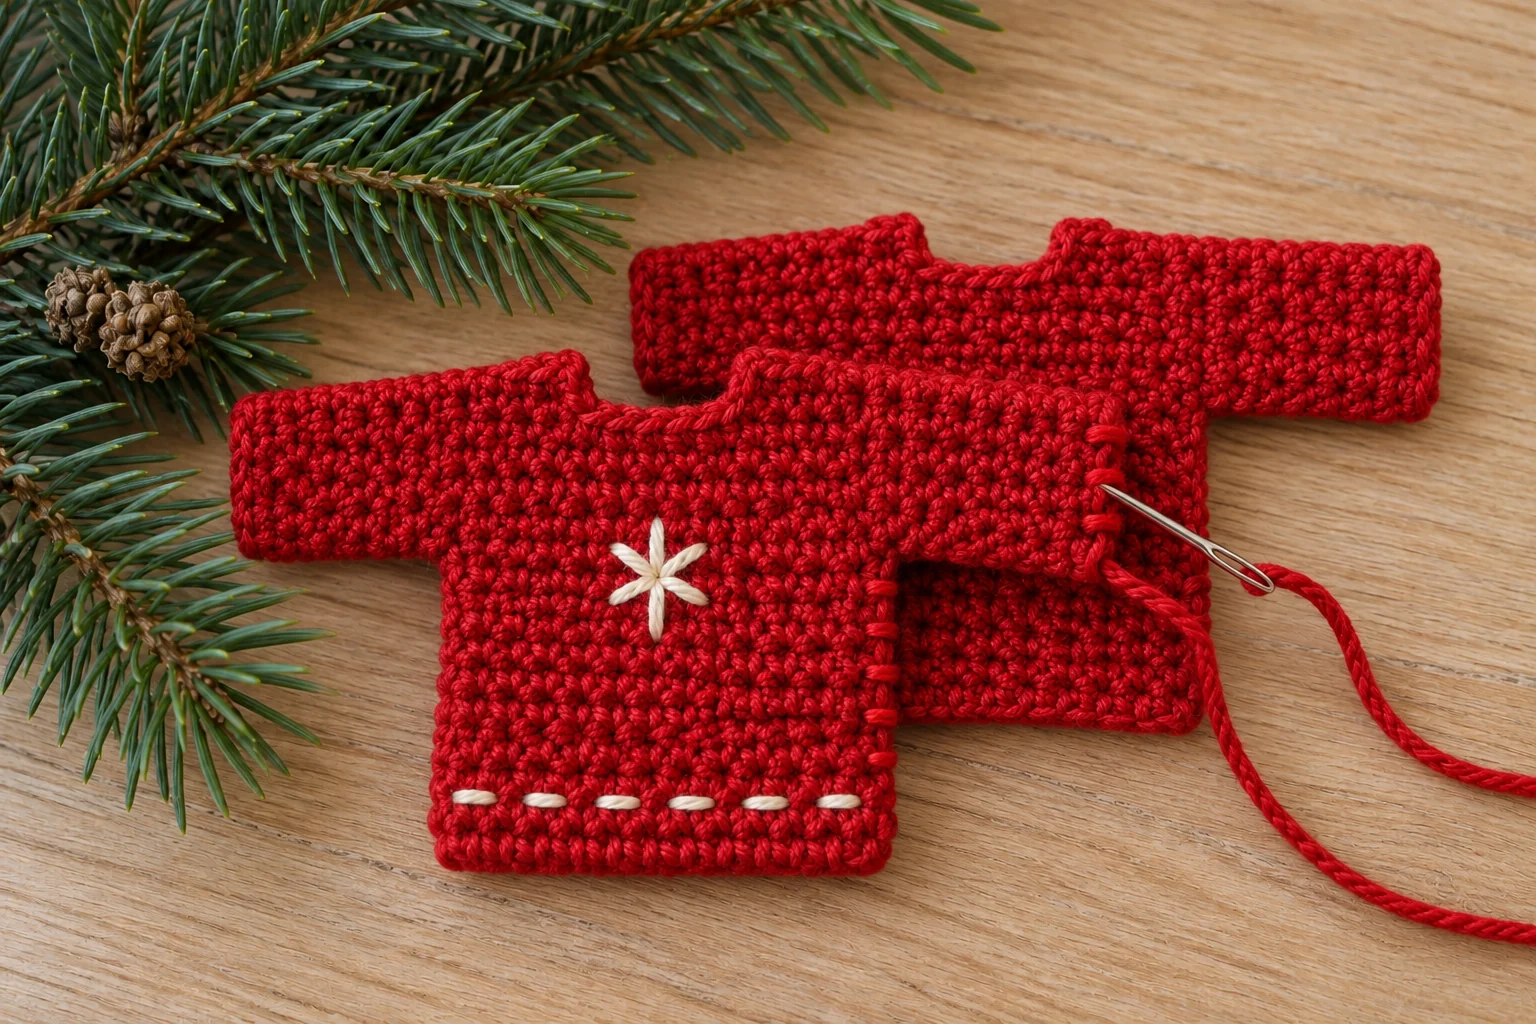
Place the T panels wrong sides together, with the embroidery facing you. Begin at one shoulder beside the future neck opening. Sew the outer edges together: across the shoulder and sleeve top, around the sleeve tip, along its underside, down the body side, across the lower hem, up the other side, and around the second sleeve.
Finish along the second shoulder, leaving the middle two body stitches at the top unsewn as a neck opening. The ten-stitch top edge is divided into four shoulder stitches, two neck stitches, and four shoulder stitches. Keep this small opening clear; the ornament is not intended to have a functional wearable neckline.
Use one-to-one stitch pairing wherever stitch tops meet, and evenly spaced sewing through row ends along the sides. Catch both panels without tightening the yarn enough to curl the edge. Leave the sweater flat and unstuffed. A flat shape makes the embroidery and sleeve silhouette easier to see on the tree.
Step 6: Add the Hanging Loop
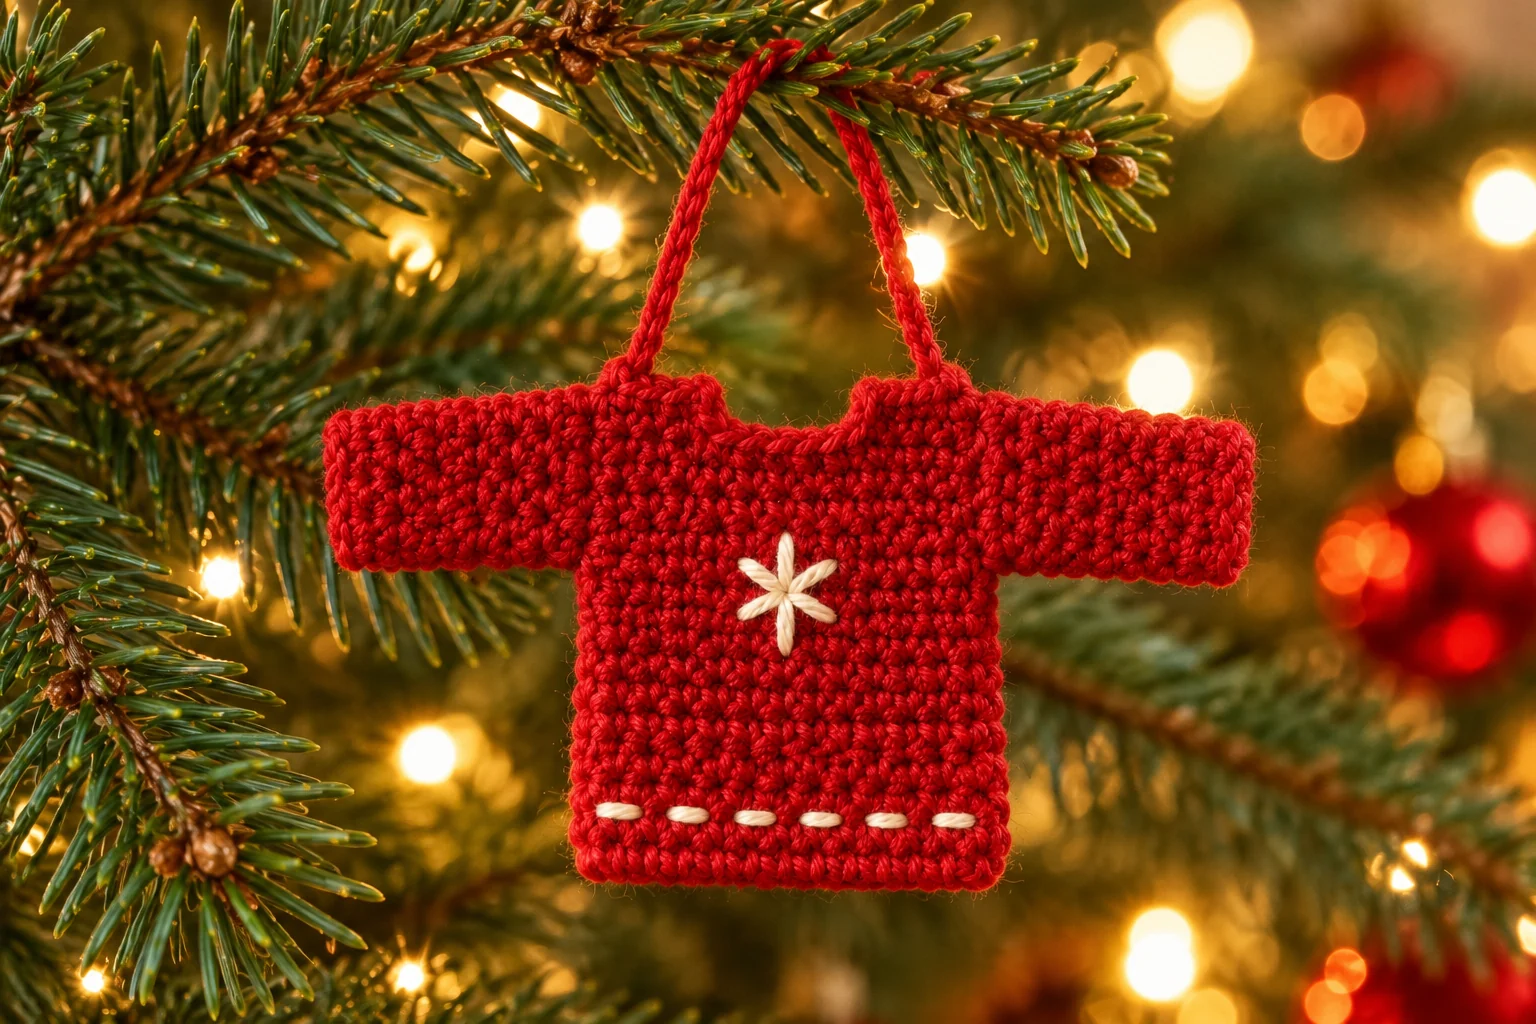
Make a separate chain long enough for your tree branch; ch 22 is a starting point to sample. FO with sewing tails. Fold the chain into a loop and sew one end into each shoulder beside the neck opening. Catch several stitches and both panel layers so the pull is shared across the top.
Hold the sweater by its loop before securing the final tail. The hem should hang level and the sleeves should remain visible. If one end sits lower, adjust its attachment rather than trimming the chain unevenly. Weave both tails inside the shoulder fabric and give the completed loop a gentle check.
Finishing and Variations
If the yarn label permits, dampen and lightly block the sweater on a towel. Arrange the sleeves at matching angles and smooth the hem. Let it dry completely before hanging. Avoid stretching a tight seam aggressively; reopening and resewing that seam is the better solution when the panels bunch together.
For a personalized version, embroider one small initial instead of the winter motif. Sketch the letter placement on paper first and check that it fits inside ten stitches of width. Another option is a green sweater with cream crosses, or an ivory sweater with a red heart. These surface changes keep the rectangle construction unchanged.
Frequently Asked Questions
Is this mini sweater ornament a wearable doll sweater?
No. The sewn outline, flat sleeves, and tiny neck opening are decorative. Doll clothing needs measurements and usable openings. Do not assume that changing the yarn automatically turns this ornament into a fitted garment.
Can I make the sweater without embroidery?
Yes. A plain red or green mini sweater still has a recognizable outline. You can also add a single running-stitch stripe near the hem. Complete the sewing neatly because a plain surface makes uneven joins more noticeable.
Does it need stuffing?
No. Keep both panels flat and join their edges directly. Stuffing would change the profile and could distort the small sleeve rectangles. If you want a padded design, treat that as a separate project requiring a new sample.
Can I join several sweaters into a garland?
Yes. Attach their shoulder loops to a separate cord after finishing all the sweaters. Space them evenly and check that the cord does not pull them sideways. A neutral cord helps the different embroidery motifs remain the focus.
How do I make a larger sweater ornament?
Try a thicker yarn with an appropriate hook while keeping the counts unchanged. Measure the new sample before committing to a set. Altering the body stitch count also changes the shoulder and neck division, so it needs a recalculated design.
Can I use a small metal hanger inside it?
This version does not require one. Its yarn loop avoids sharp wire ends and keeps the decoration light. If you add any hard accessory, check its suitability and attachment separately; it is not part of this pattern.
More Small Christmas Makes
Combine the sweater with the mini Christmas mitten for a winter gift theme. Decorate the room with the bow garland and light bulb garland. Our snowman ornament adds a character shape, while the mini Christmas tree offers another freestanding seasonal project.
Before putting the crochet mini sweater ornament away, check every seam and the two hanger attachments. Store it flat or loosely supported so the sleeve corners stay neat. Add a care note with the yarn information when giving it as a gift, and keep the hanging decoration away from young children, pets, and heat sources.