Crochet Ghost in a Pumpkin – Free Halloween Amigurumi Pattern
Make a cute crochet ghost in a pumpkin with this free Halloween pattern, including a removable ghost, pumpkin basket, and leaf-topped lid.
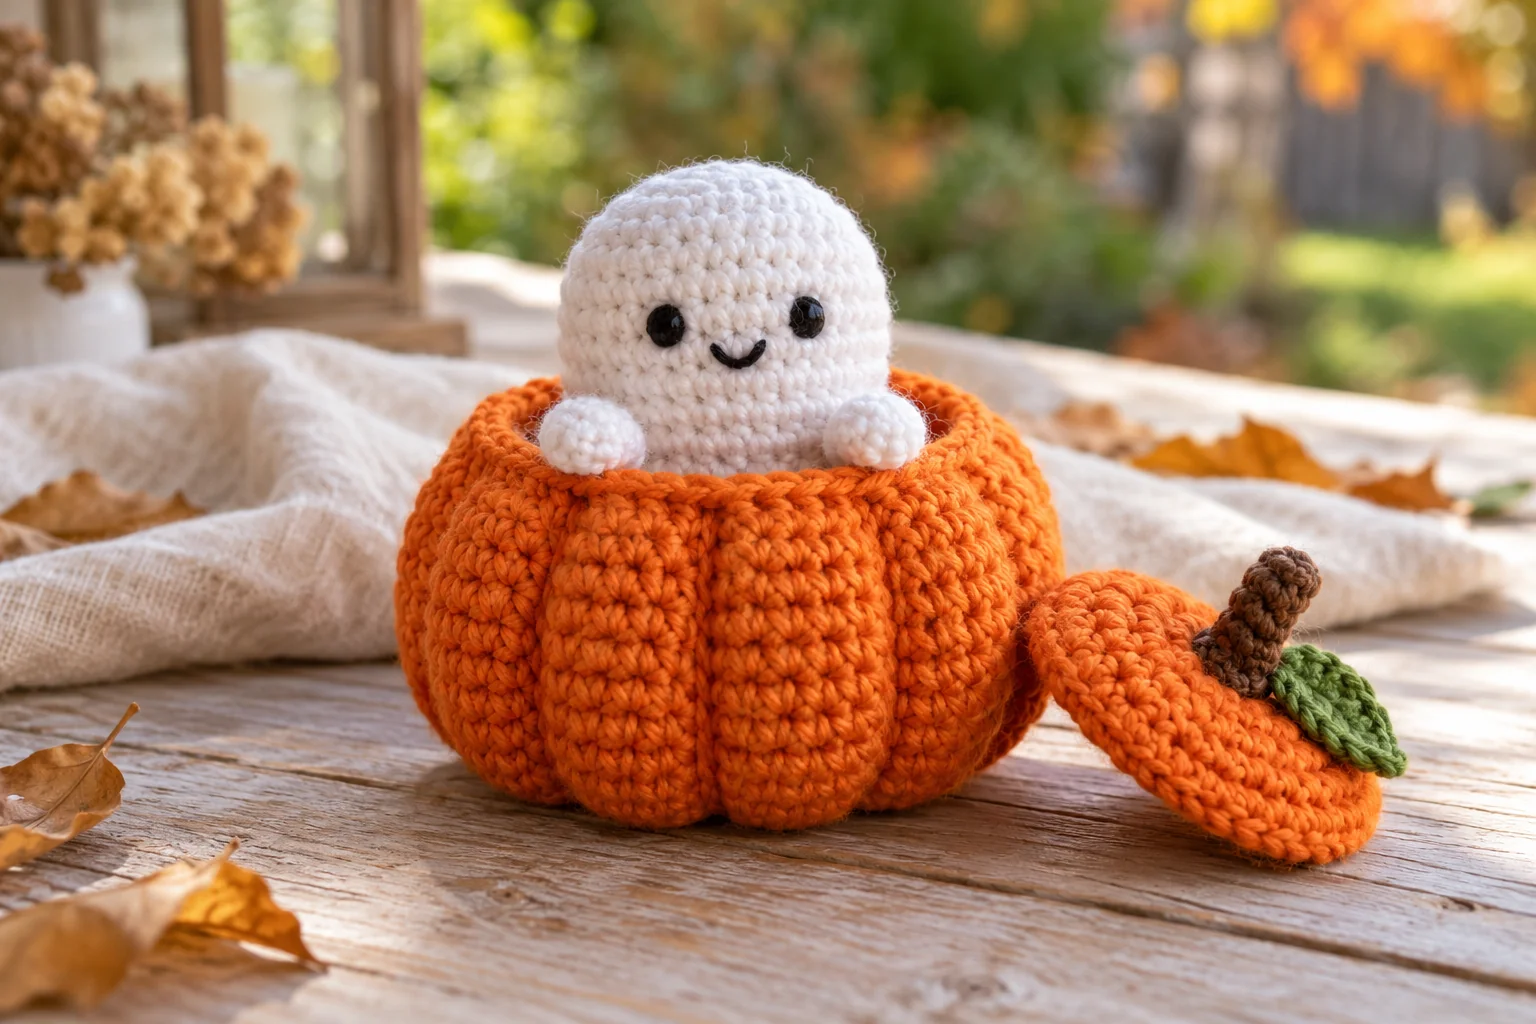
A little white ghost peeking out of an orange pumpkin makes a charming addition to your autumn shelf, desk, or Halloween display. With its cheerful embroidered smile and removable pumpkin lid, this small crochet project combines two decorations in one.
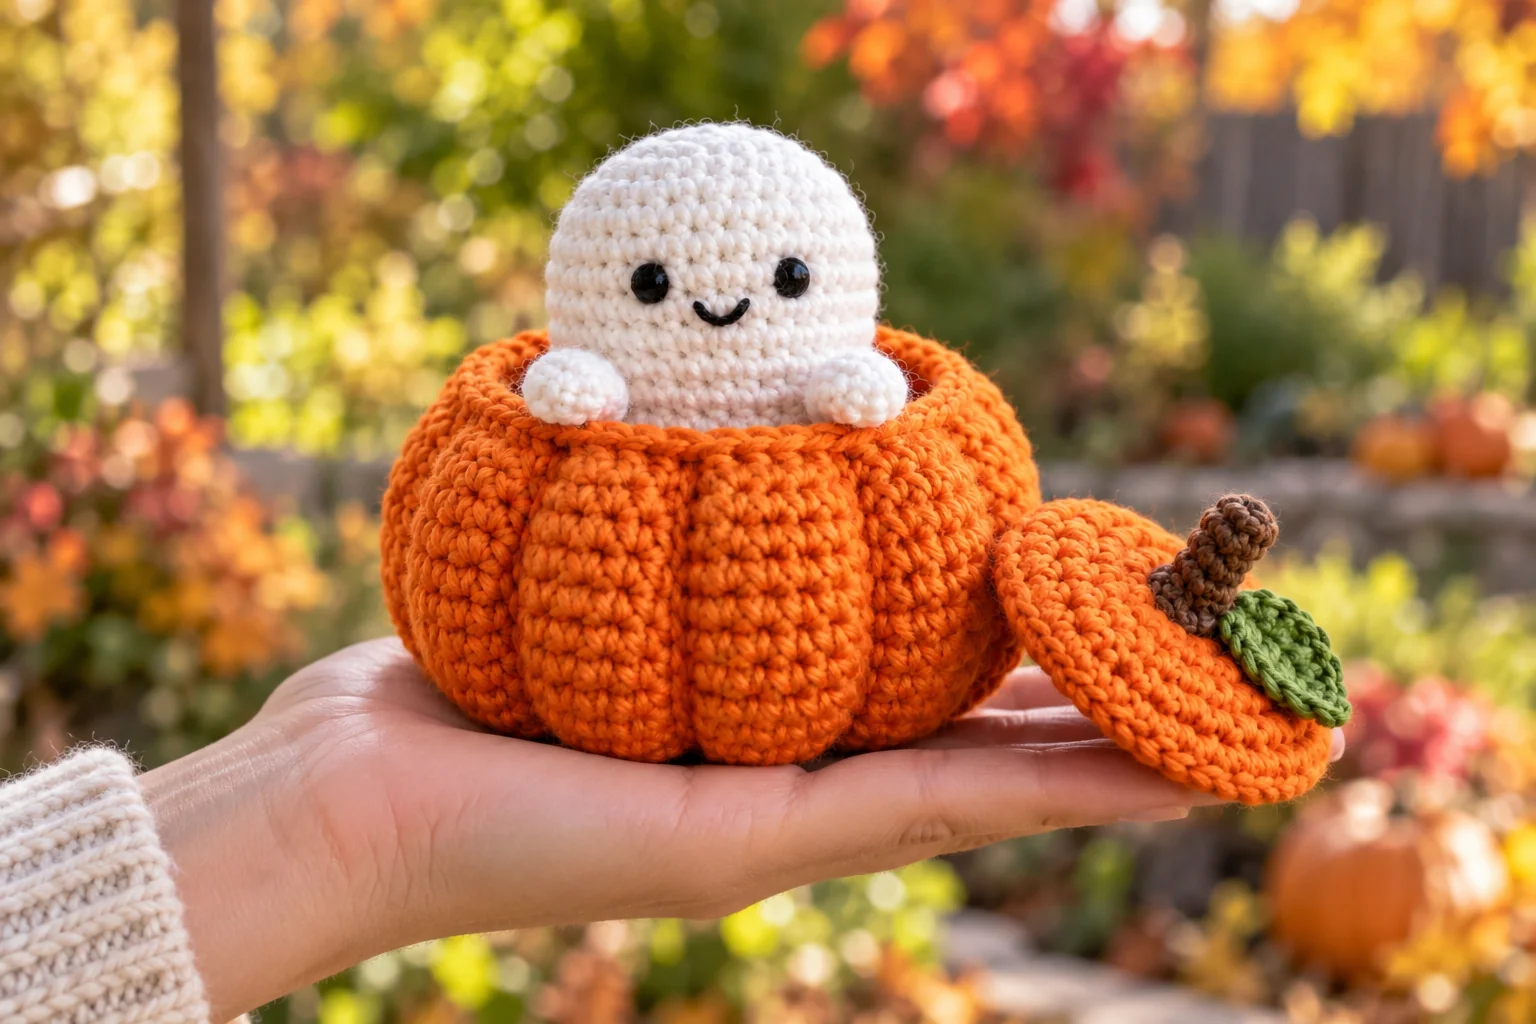
This crochet ghost in a pumpkin pattern includes instructions for a stuffed ghost, an open pumpkin basket, and a separate lid with a stem and leaf. Display the pieces together or lift the ghost out and arrange them separately. Choose orange and white yarn for a classic Halloween look, or muted terracotta and cream for softer autumn colors.
Pattern note: This is an original, untested written pattern. Stitch counts have been checked mathematically, but measurements, fit, and yarn quantities are estimates. The AI-generated images are illustrative and may differ in stitch structure and rib count. Check the ghost inside the pumpkin before finishing both pieces.
Project Overview
- Skill level: confident beginner.
- Terminology: US crochet terms.
- Estimated assembled height: 12–15 cm, depending on yarn and tension.
- Construction: separate ghost, pumpkin basket, lid, stem, and leaf.
- Main techniques: single crochet, increases, invisible decreases, embroidery, and sewing.
- Suggested use: indoor Halloween decoration.
The main pieces are worked in continuous rounds. Pumpkin grooves are added afterward using matching orange yarn.
Materials and Tools
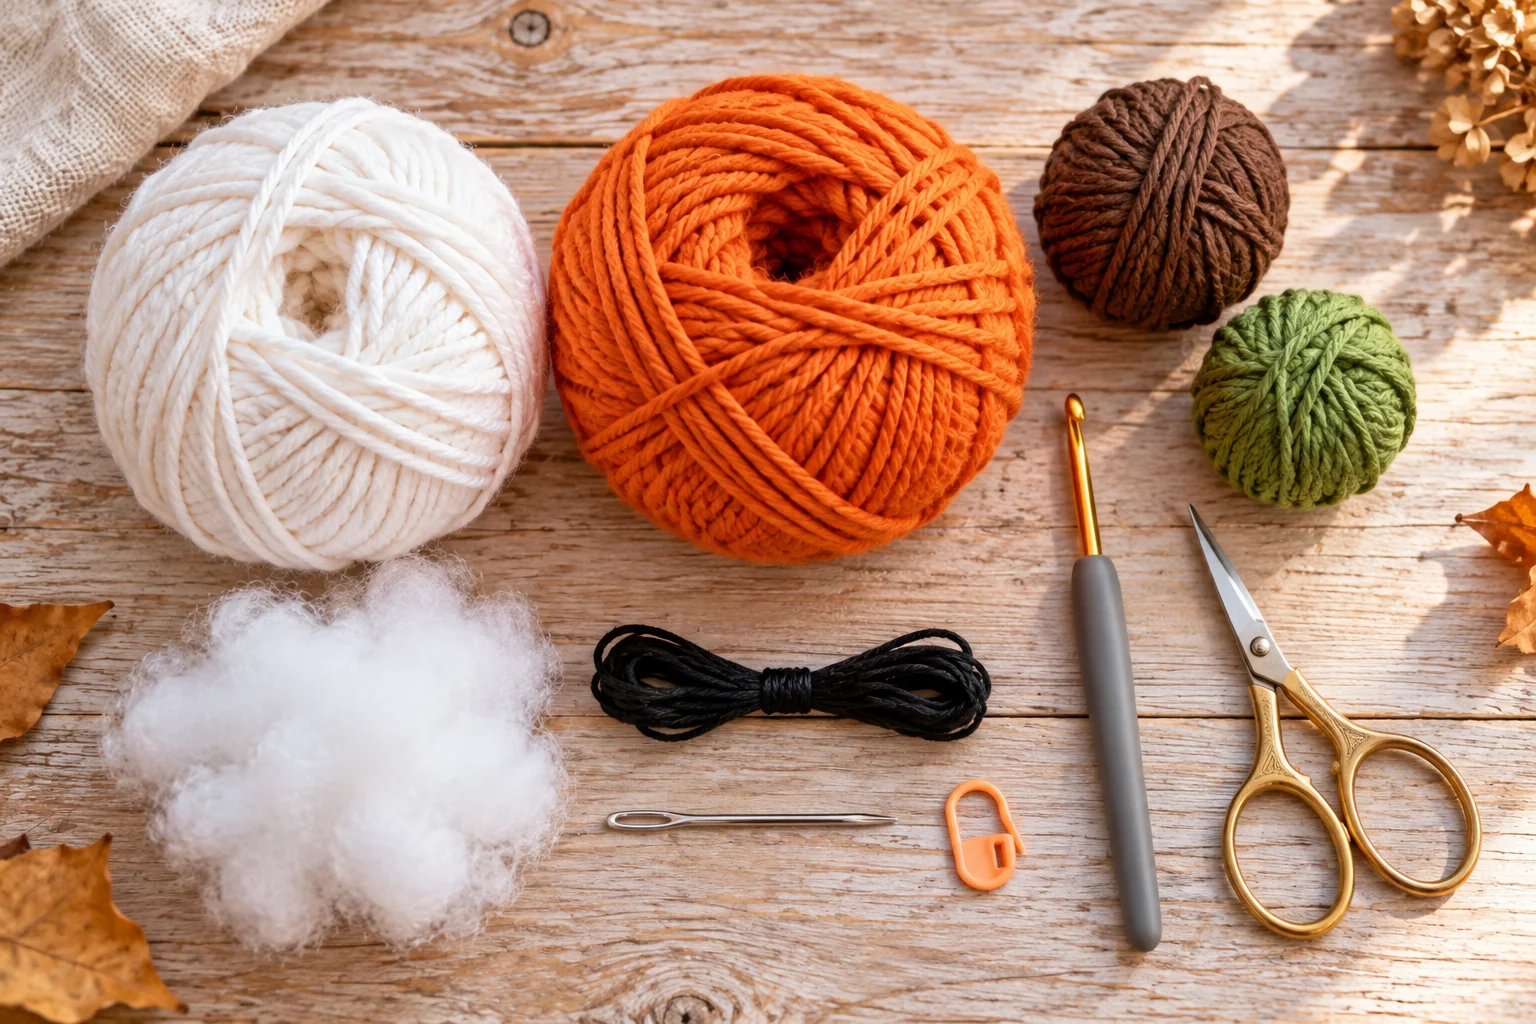
- DK cotton yarn: approximately 25–35 g white and 40–55 g orange.
- Small amounts of brown and green DK yarn.
- Black embroidery thread or fine black yarn.
- 2.75 mm or 3 mm crochet hook.
- Polyester stuffing, yarn needle, embroidery needle, stitch marker, and scissors.
- Optional cream felt circle for the basket interior.
Use the same yarn weight for the ghost and pumpkin. Choose a hook that makes close stitches without making crochet uncomfortable. If stuffing shows through the fabric, try a smaller hook. Firm cotton fabric helps the basket stand upright.
Embroider the face instead of using plastic eyes for a child-accessible decoration. Keep loose pieces away from babies and young children.
Abbreviations
MR = magic ring; ch = chain; sc = single crochet; inc = 2 sc in one stitch; dec = invisible single crochet decrease; sl st = slip stitch; hdc = half double crochet; dc = double crochet; BLO = back loop only; st/sts = stitch/stitches.
Numbers in parentheses show the total stitch count. For example, (sc 2, inc) × 6 (24) means repeat two single crochets followed by an increase six times, finishing with 24 stitches.
Before You Start
Mark the first stitch of each round and move the marker upward as you work. Do not join rounds unless instructed. Leave long tails on pieces that need sewing.
For an invisible decrease, insert your hook through the front loops of the next two stitches, yarn over and pull through both loops, then yarn over and complete the stitch. The pumpkin opening should hold the ghost comfortably without squeezing its stuffed body.
Step 1: Crochet the Ghost’s Head and Body
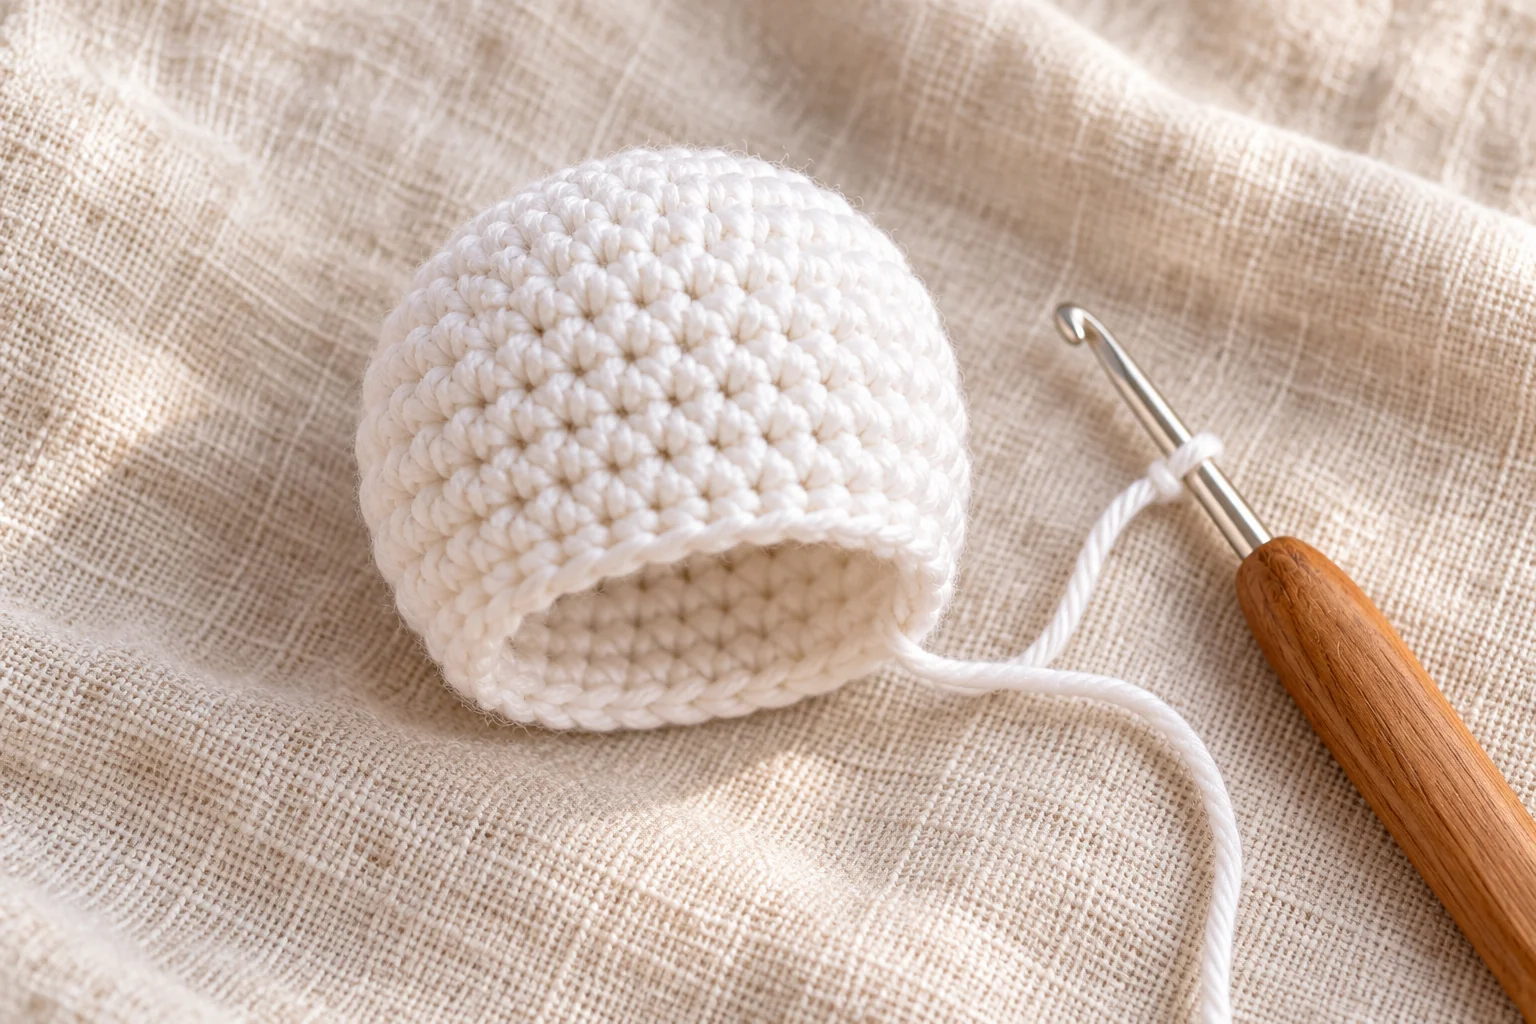
Using white yarn:
- Round 1: 6 sc into a MR. (6)
- Round 2: inc in every stitch. (12)
- Round 3: (sc 1, inc) × 6. (18)
- Round 4: (sc 2, inc) × 6. (24)
- Round 5: (sc 3, inc) × 6. (30)
- Round 6: (sc 4, inc) × 6. (36)
- Round 7: (sc 5, inc) × 6. (42)
- Rounds 8–14: sc in every stitch. (42)
- Round 15: (sc 5, dec) × 6. (36)
- Round 16: (sc 4, dec) × 6. (30)
- Rounds 17–19: sc in every stitch. (30)
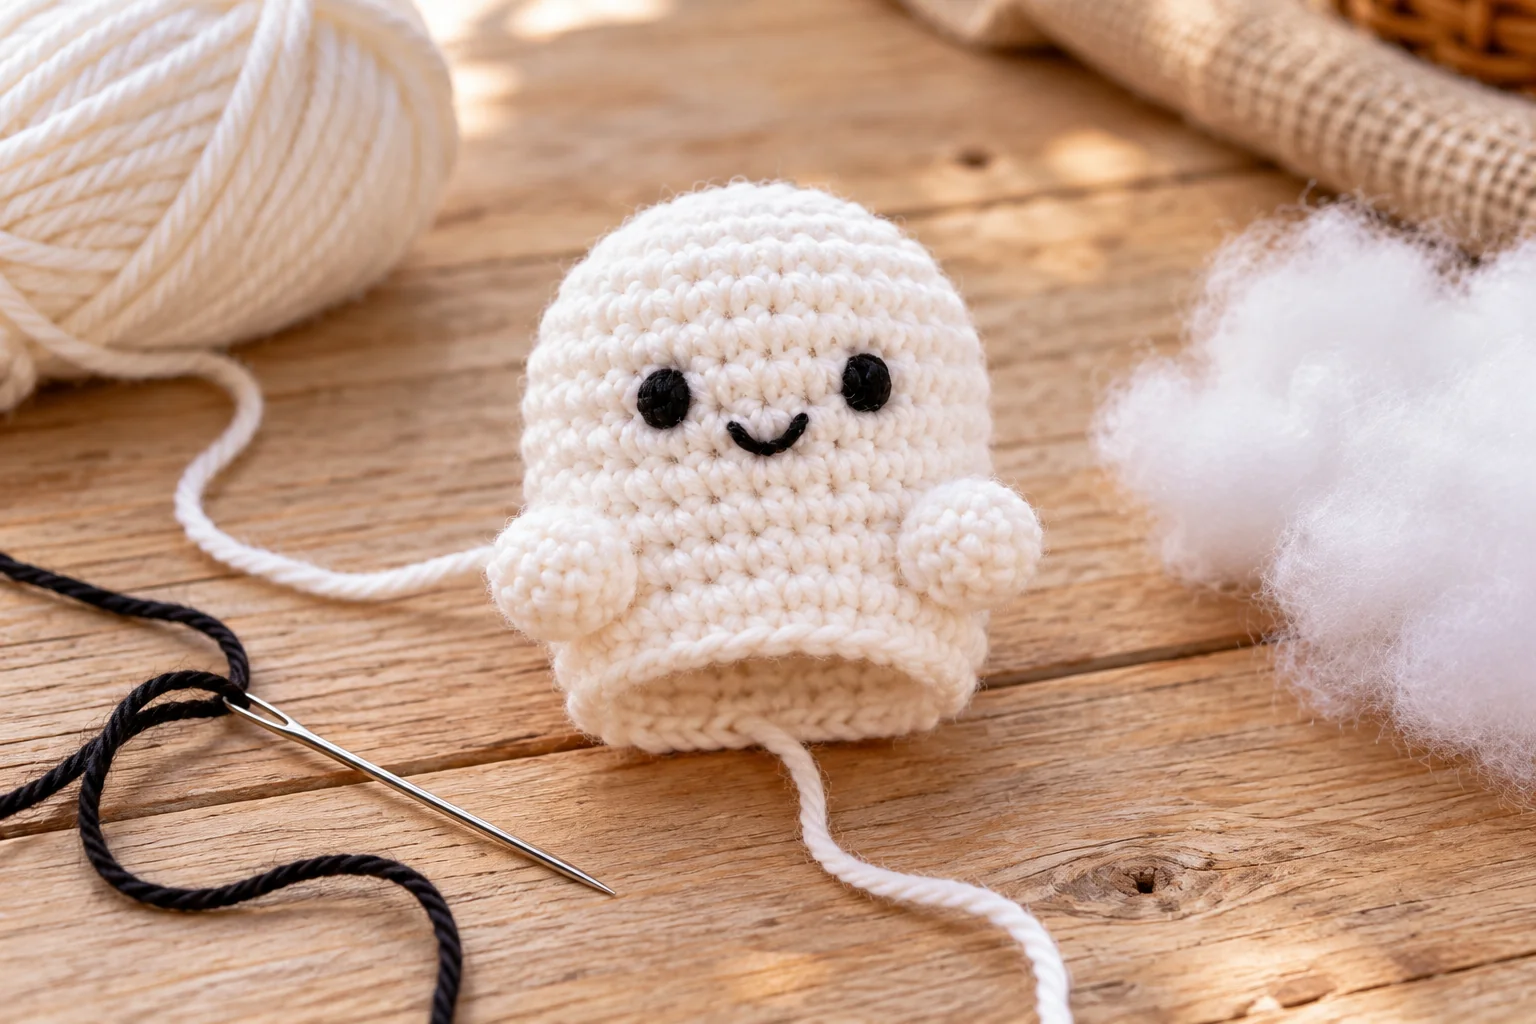
Pause to embroider the face while the inside remains accessible. Position the eyes around Rounds 10–11, with approximately six stitches between them. Use small stitches to make black ovals. Embroider a shallow smile one or two rounds lower. Secure the thread ends inside.
- Round 20: (sc 4, inc) × 6. (36)
- Rounds 21–23: sc in every stitch. (36)
- Round 24: working in BLO, (sc 4, dec) × 6. (30)
- Round 25: (sc 3, dec) × 6. (24)
- Round 26: (sc 2, dec) × 6. (18)
- Round 27: (sc 1, dec) × 6. (12)
- Round 28: dec × 6. (6)
Stuff before closing: fill the head firmly and the lower body more softly. Add the last stuffing before Round 28. Fasten off, thread the tail through the remaining front loops, pull gently to close, and weave in.
Optional Wavy Lower Edge
Join white yarn to the unused front loops of Round 24. Repeat (sl st in the next loop, 3 hdc in the following loop) × 18. Join to the first slip stitch and fasten off. Keep the stitches relaxed. This detail is mostly hidden inside the basket.
Step 2: Make Two Small Arms
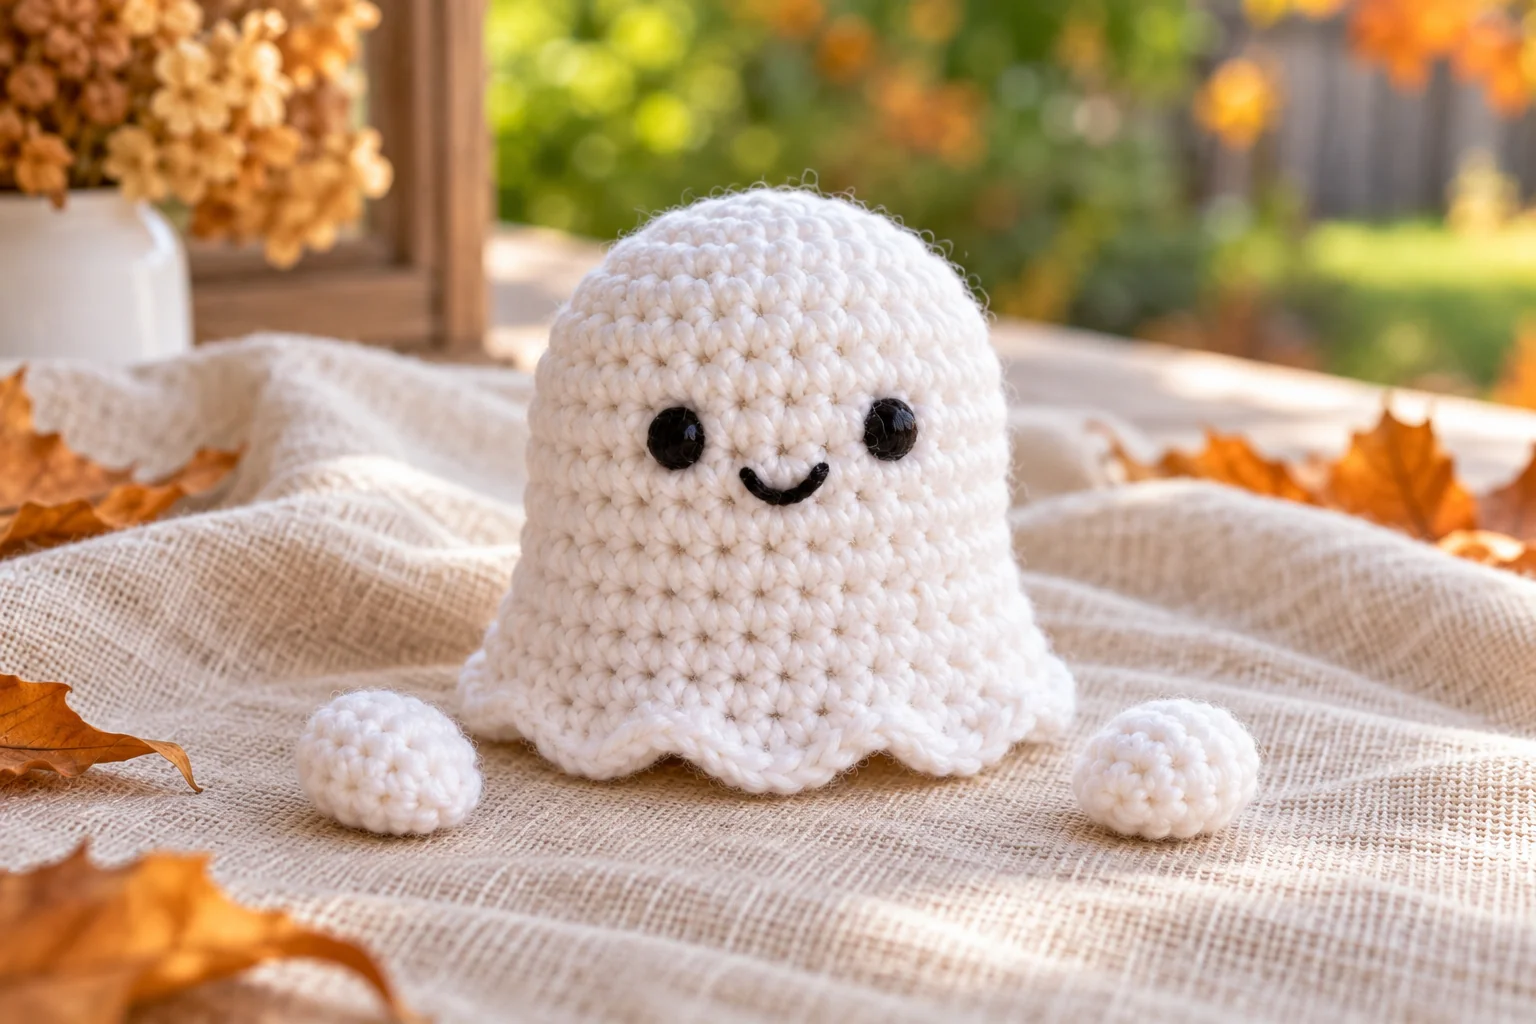
Using white yarn:
- Round 1: 6 sc into a MR. (6)
- Round 2: (sc 1, inc) × 3. (9)
- Rounds 3–4: sc in every stitch. (9)
- Round 5: (sc 1, dec) × 3. (6)
Add a little stuffing to the rounded end, leaving the opening unstuffed. Flatten the opening and work 3 sc through both layers. Fasten off with a sewing tail. Make a second arm.
Pin the arms around Rounds 16–18, angled forward. Check their position with the ghost inside the basket before sewing. The tips should rest naturally on the rim.
Step 3: Crochet the Pumpkin Basket
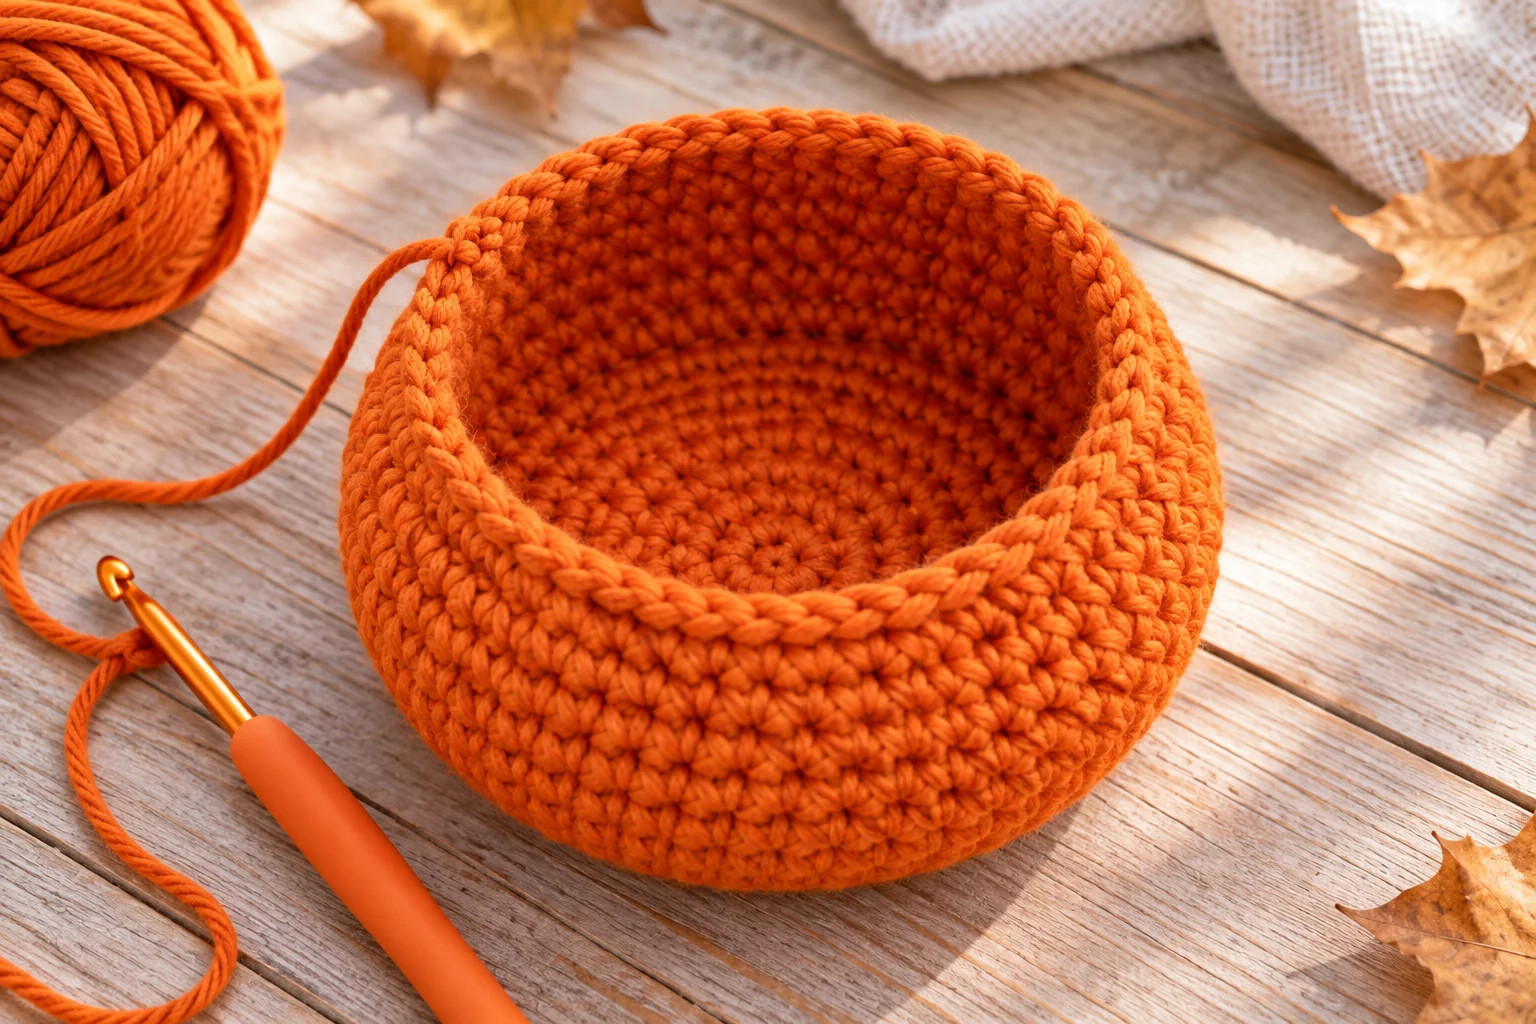
Using orange yarn:
- Round 1: 6 sc into a MR. (6)
- Round 2: inc in every stitch. (12)
- Round 3: (sc 1, inc) × 6. (18)
- Round 4: (sc 2, inc) × 6. (24)
- Round 5: (sc 3, inc) × 6. (30)
- Round 6: (sc 4, inc) × 6. (36)
- Round 7: (sc 5, inc) × 6. (42)
- Round 8: (sc 6, inc) × 6. (48)
- Round 9: working in BLO, sc around. (48)
- Round 10: (sc 7, inc) × 6. (54)
- Round 11: (sc 8, inc) × 6. (60)
- Rounds 12–16: sc around. (60)
- Round 17: (sc 8, dec) × 6. (54)
- Round 18: (sc 7, dec) × 6. (48)
- Round 19: sc around. (48)
- Round 20: sl st loosely around. (48)
Check the fit before completing Round 20. The opening should be slightly wider than the ghost’s head. Avoid tightening the slip stitches, which can shrink the opening. Fasten off and weave in.
Step 4: Shape the Pumpkin Ribs
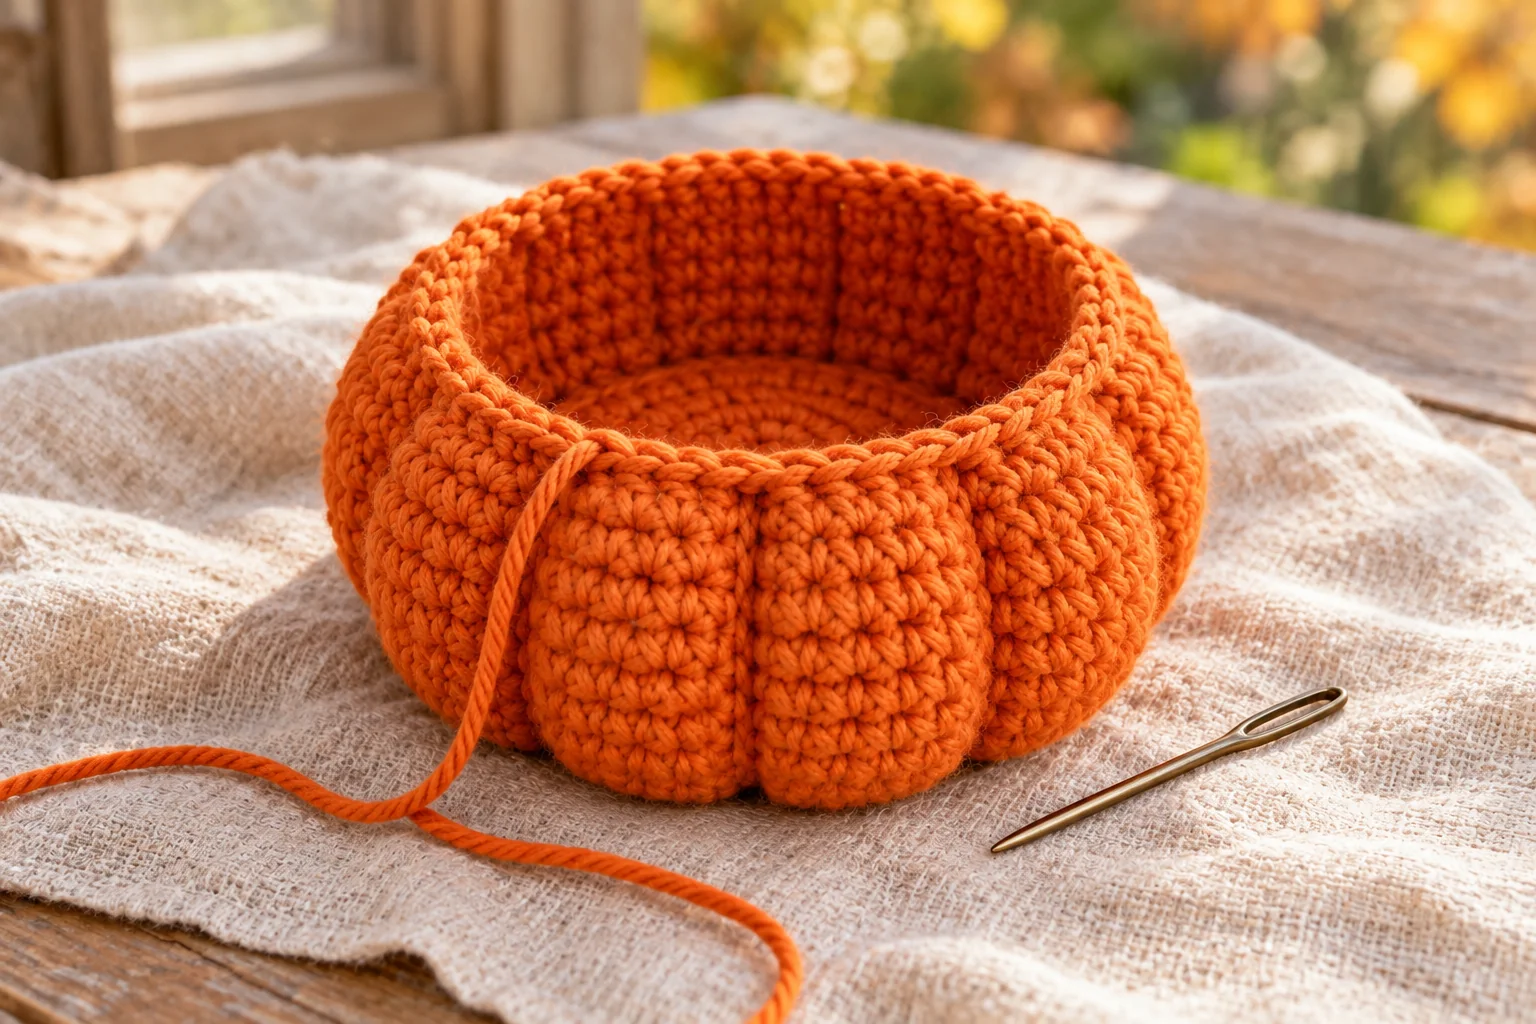
Cut six orange yarn strands, approximately 40–50 cm each. Secure a strand inside the basket near the bottom, bring the needle outside at the base, and run the yarn upward along the exterior. Insert the needle just below the rim and secure it inside.
Tighten gently to form a shallow vertical groove. Repeat at six evenly spaced positions, approximately eight rim stitches apart. Adjust gradually so the opening remains round. Hide the ends inside. The illustrations may show more grooves; follow these written instructions for six ribs.
Step 5: Crochet the Removable Lid
Using orange yarn:
- Round 1: 6 sc into a MR. (6)
- Round 2: inc around. (12)
- Round 3: (sc 1, inc) × 6. (18)
- Round 4: (sc 2, inc) × 6. (24)
- Round 5: (sc 3, inc) × 6. (30)
- Round 6: (sc 4, inc) × 6. (36)
- Round 7: (sc 5, inc) × 6. (42)
- Round 8: (sc 6, inc) × 6. (48)
- Round 9: (sc 7, inc) × 6. (54)
- Round 10: working in BLO, sc around. (54)
Slip stitch in the next stitch and fasten off. Check the shallow cap over the basket opening with the ghost removed. If too small, undo the edge round, add (sc 8, inc) × 6 (60), then work a BLO round of single crochet. Display the lid beside the basket while the ghost peeks out.
Step 6: Add the Stem and Leaf
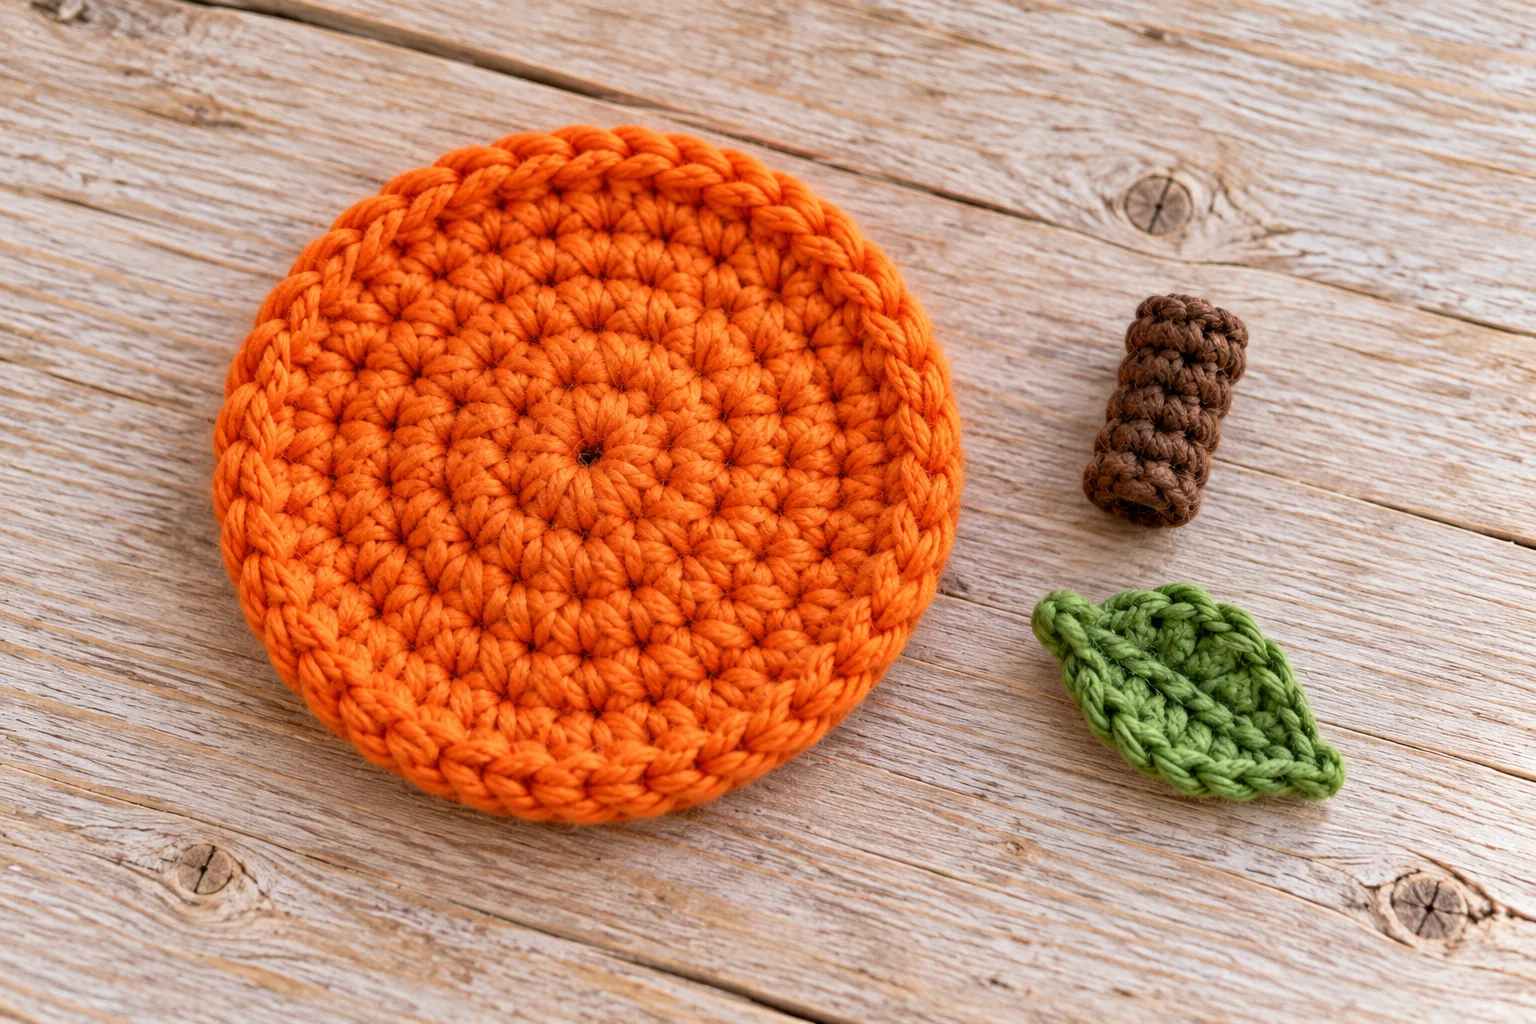
Brown Stem
Round 1: 6 sc into a MR (6). Rounds 2–6: sc around (6). Fasten off with a sewing tail. Add a little stuffing if needed. Sew the open end to the lid center, giving it a slight bend.
Green Leaf
Ch 7. Starting in the second chain, work sl st, sc, hdc, dc, hdc, then 3 sc in the last chain. Continue along the opposite side: hdc, dc, hdc, sc, sl st. Join to the first stitch and fasten off with a sewing tail.
Sew the narrow leaf end beside the stem. Leave most of the leaf unattached so it rests naturally on the lid.
Step 7: Assemble and Finish
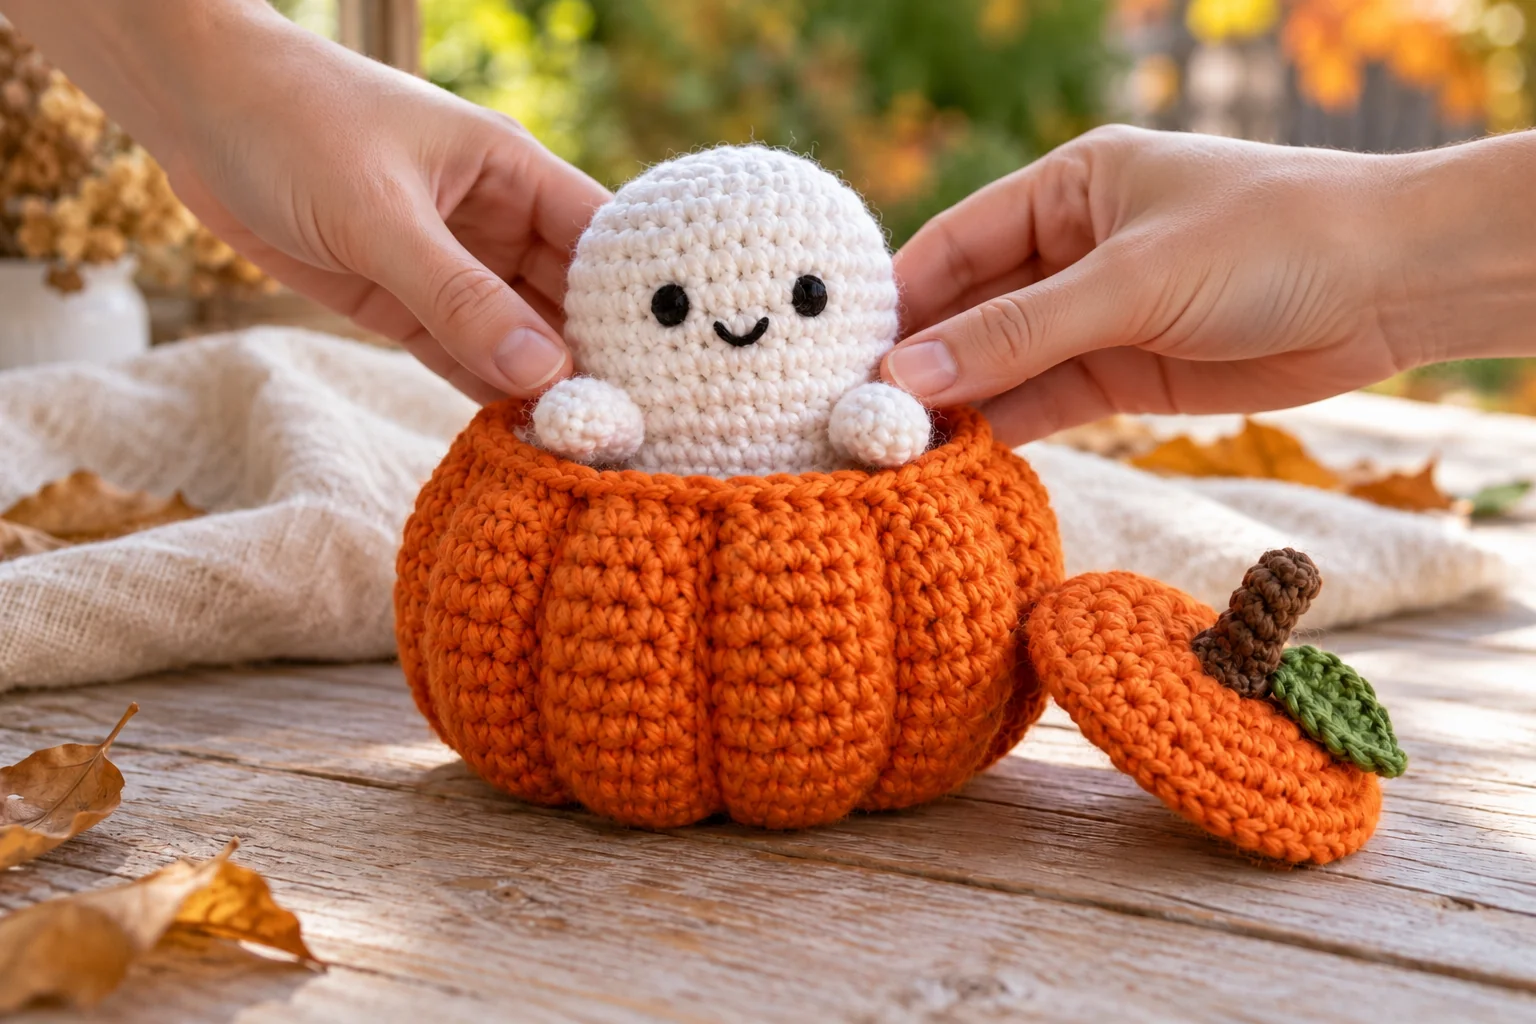
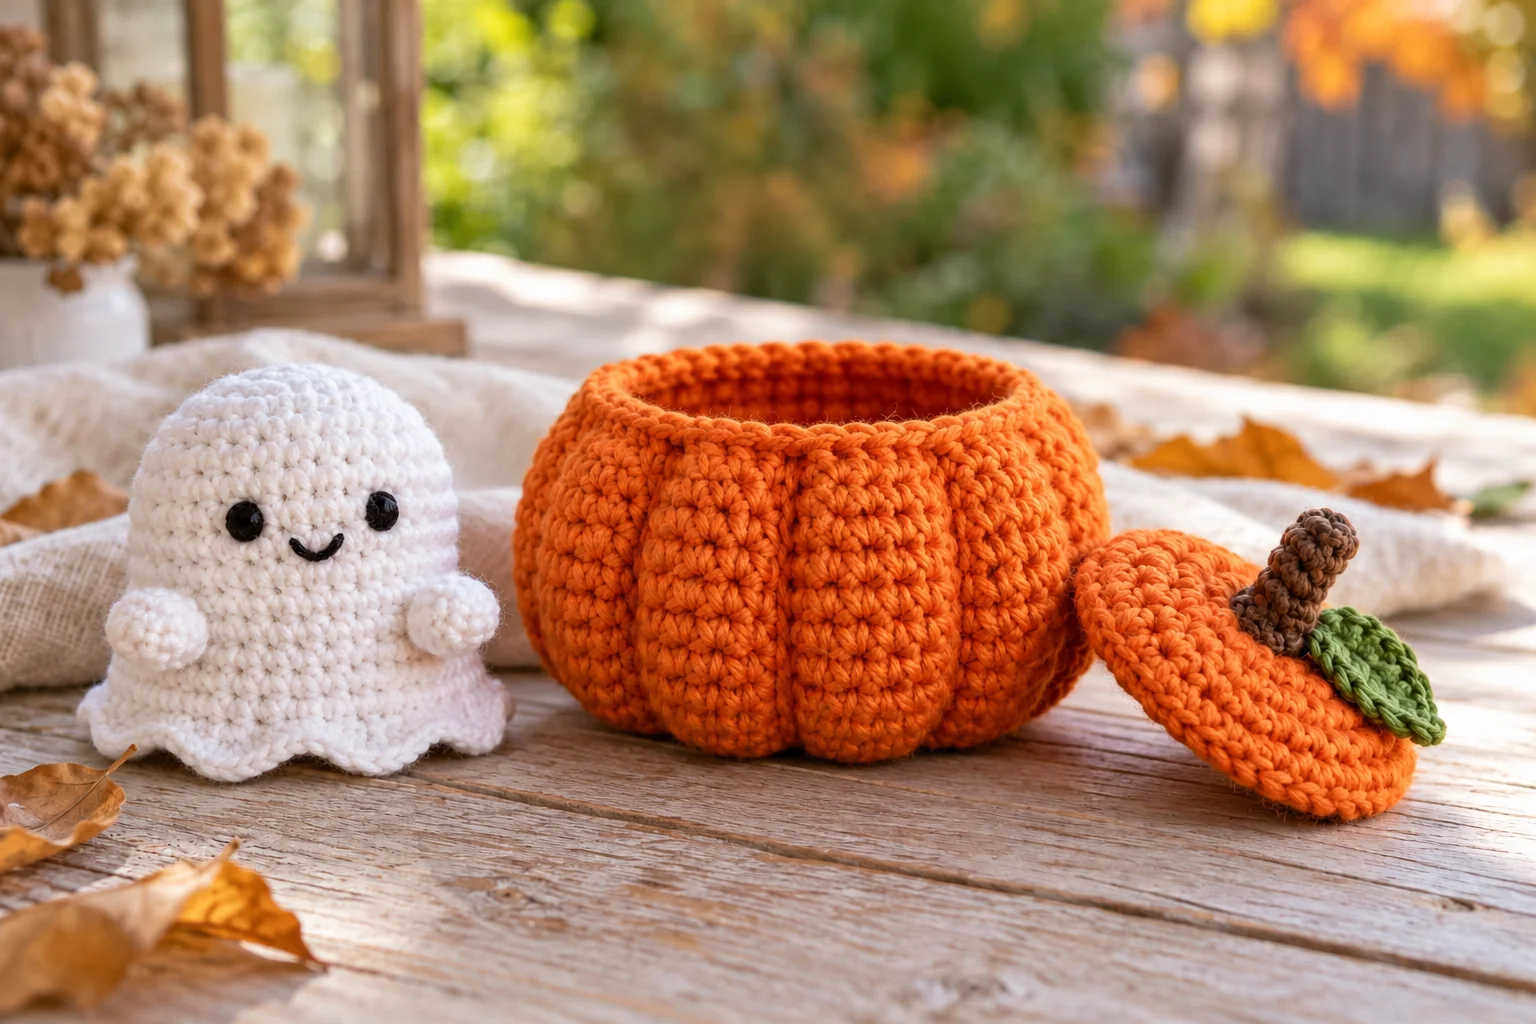
Place the ghost inside the pumpkin facing forward. Adjust the arms over the rim. If it sits too low, add a small securely enclosed crochet cushion beneath it; do not put loose stuffing in the open basket.
Check that the face is secure, the arms sit evenly, the basket rests flat, and all shaping strands and attachments are fastened. Keep the ghost removable or sew its lower body inside for a fixed decoration.
Helpful Tips and Troubleshooting
My basket is floppy
Try firmer cotton or a smaller hook. Tightening the shaping strands cannot fix loose fabric and may distort the opening.
The ghost does not fit
Check before finishing the rim. If the opening is too narrow, omit Round 18 and keep 54 stitches through the final rounds. Raise a low-sitting ghost with an enclosed cushion.
The lid ripples
Slight cupping after the BLO edge is expected. Strong rippling can come from loose tension or accidental extra stitches. Count and check against the basket before finishing.
Can I use plush yarn?
Yes, but it changes size and stitch appearance. Use matching yarn types for both main pieces and check their fit during construction. Use finer dark yarn for the embroidered face.
Can I change the colors?
Cream and terracotta suit a soft autumn display. White and sage create another gentle combination. Keep the face dark enough to remain visible.
More Halloween Crochet Ideas
For another small decoration, explore our witch ghost crochet pattern. You can also try the crochet poison apple pattern or make a practical Halloween trick-or-treat bag.
Display and Care
Arrange your crochet ghost in a pumpkin on a bookshelf, entryway table, or craft-room shelf. Lean the leaf-topped lid beside the basket. Keep all pieces away from candles and heat.
Dust gently or spot-clean according to the yarn label. If washing is necessary, reshape the pieces and let them dry completely before assembling. The rounded ghost and orange pumpkin make a cheerful handmade accent for Halloween.