Crochet Black Cat Amigurumi Pattern: Easy 7-Step Halloween Guide
Crochet a small black cat amigurumi for Halloween with a rounded body, pointed ears, tiny paws, tail, and simple embroidered details.
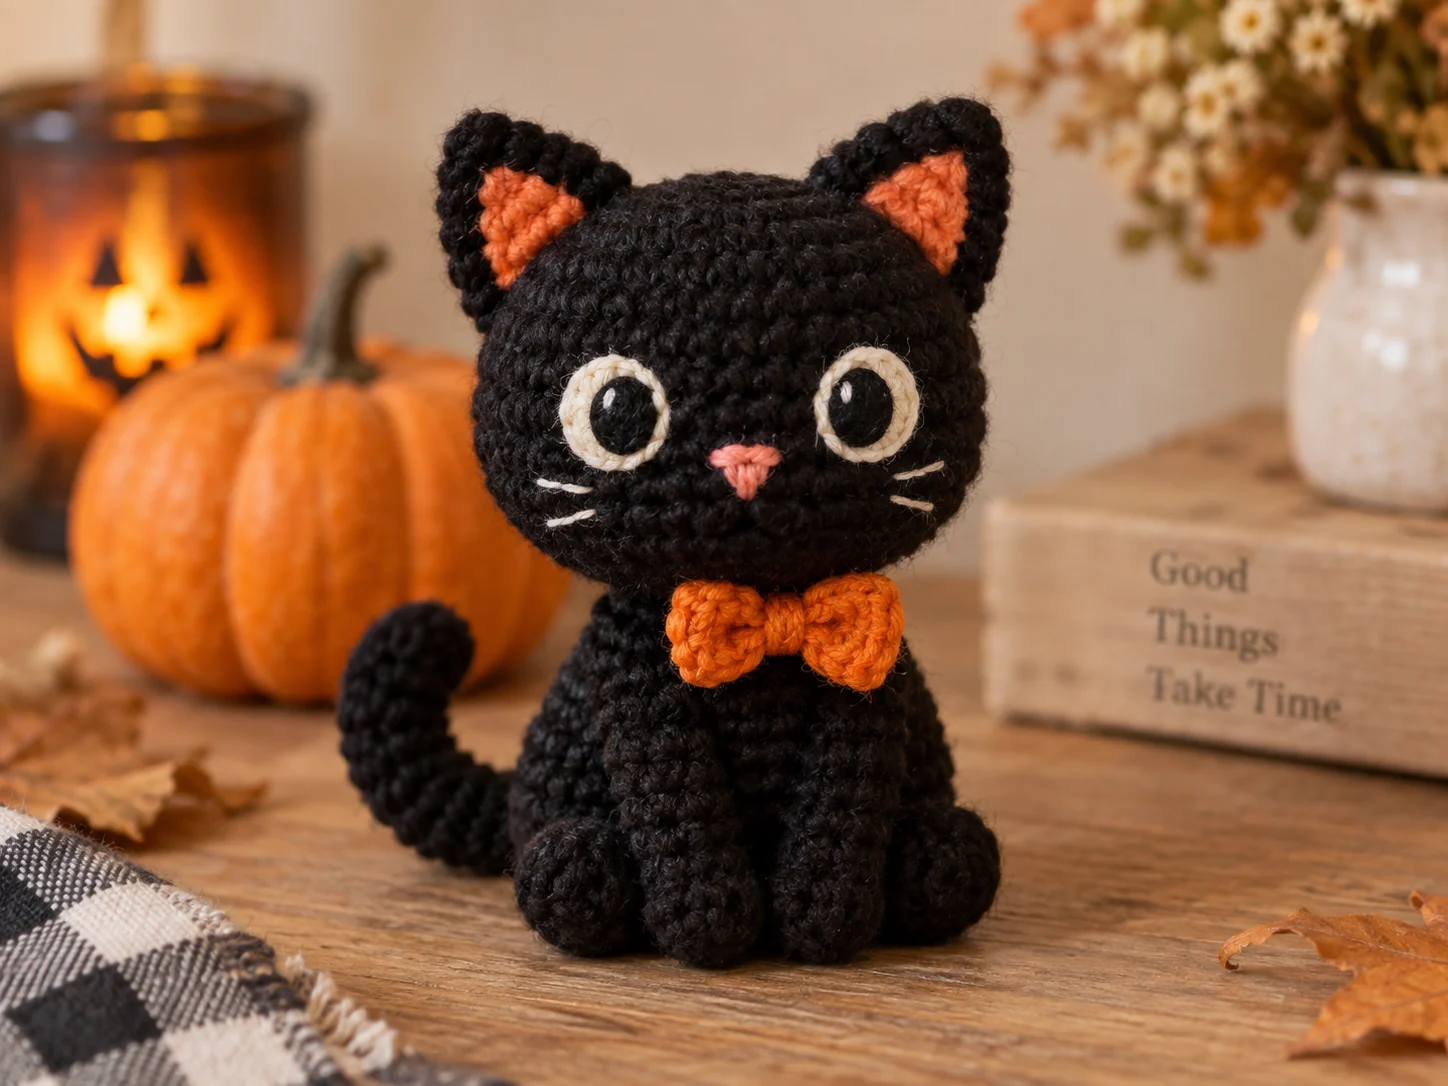
This crochet black cat amigurumi is designed as a compact Halloween project with a rounded body, small pointed ears, short paws, and a curved tail. The shape is intentionally simple so the personality comes from the finishing: the ear placement, eye position, nose, and the way the tail curves beside the body.
Table of Contents
Pattern at a Glance
Materials and Tools
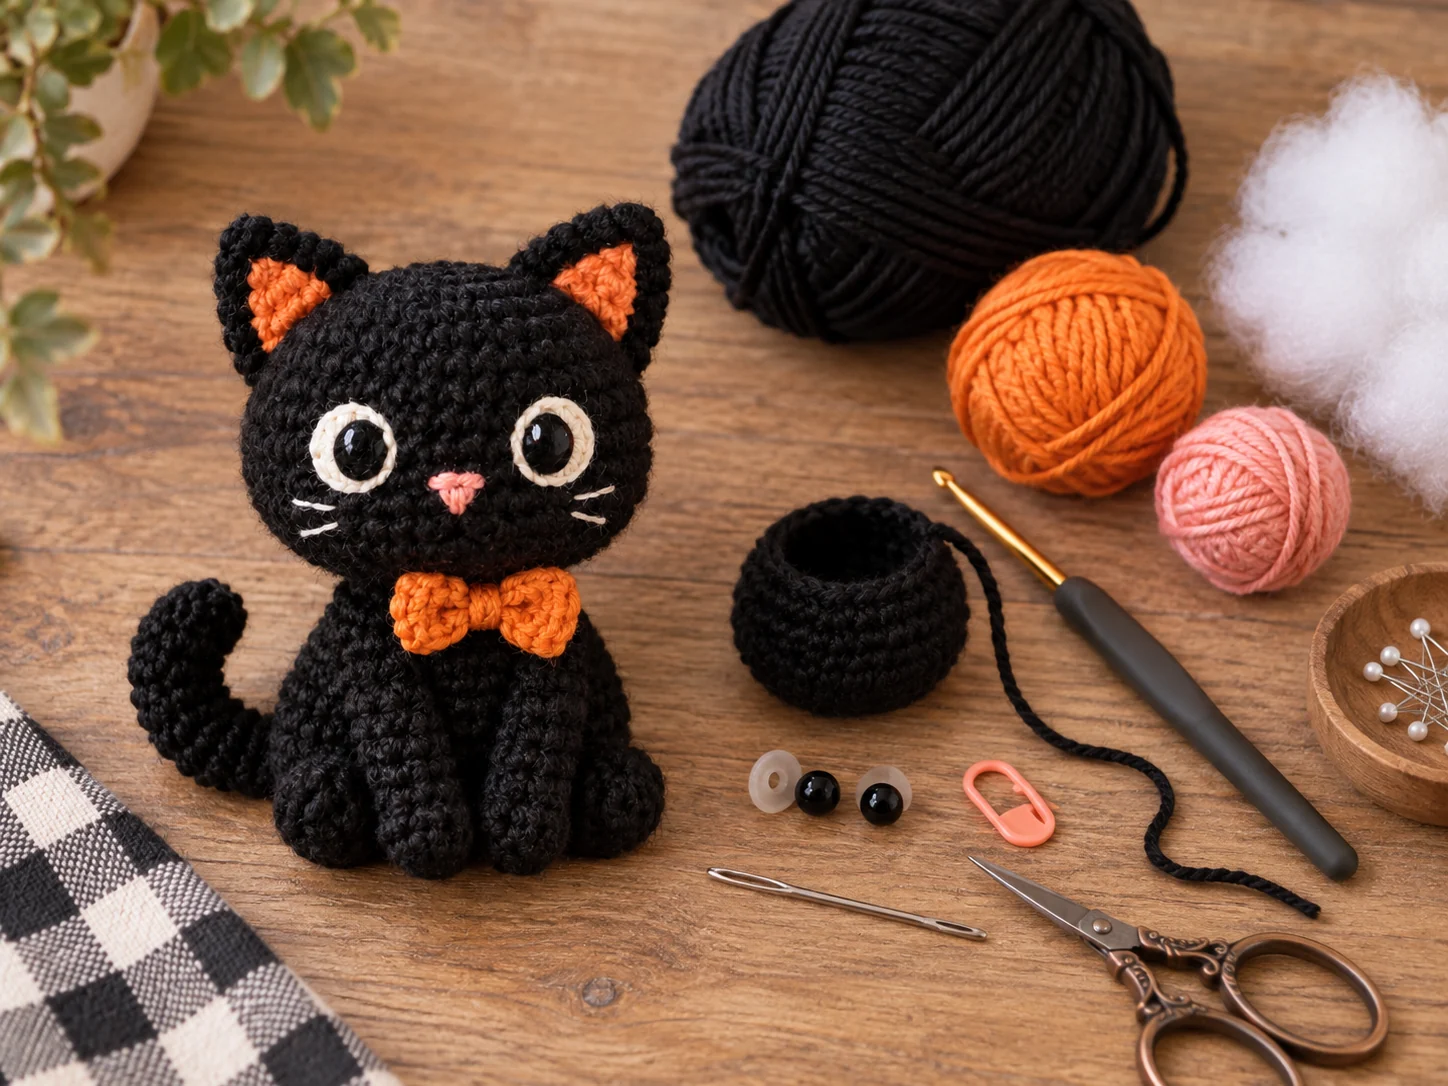
- About 70 g black DK or light worsted yarn
- Small amount of pink yarn for the nose, optional
- Small amount of yellow, green, or gold embroidery yarn for the eyes, or safety eyes
- 2.75 mm crochet hook
- Polyester fiberfill
- Yarn needle
- Stitch marker
- Scissors
- Sewing pins
For a child-safe version: embroider the eyes instead of using removable safety eyes. Always check seams and loose ends before gifting a handmade toy.
Abbreviations
| Abbreviation | Meaning |
|---|---|
| MR | Magic ring |
| sc | Single crochet |
| inc | 2 sc in the same stitch |
| dec | Invisible decrease over 2 stitches |
| ch | Chain |
| FO | Fasten off |
Before You Begin
Size, Tension and Yarn Notes
The finished size depends on yarn weight, hook size, and how firmly you crochet. With DK or light worsted yarn and a 2.75 mm hook, the cat should finish around 13–15 cm (5–6 in) tall. If your stitches are loose enough that stuffing is visible, move down one hook size. If the fabric feels extremely stiff and difficult to work into, move up slightly.
For the cleanest amigurumi shape, use the same yarn weight for the head, body, paws, ears, and tail. A small difference in thickness can make one part look oversized. Cotton gives crisp stitch definition, while acrylic is softer and usually easier to shape. Whichever fiber you choose, keep your tension consistent from the first round to the final assembly so both sides of the cat stay balanced.
Work the amigurumi in continuous rounds. Move your stitch marker at the beginning of every round. Keep the fabric firm enough that the stuffing does not show between stitches.
Black yarn can make stitches difficult to see. Work in good natural light and count each round carefully. If necessary, use a light-colored stitch marker so the first stitch is easy to find.
Head
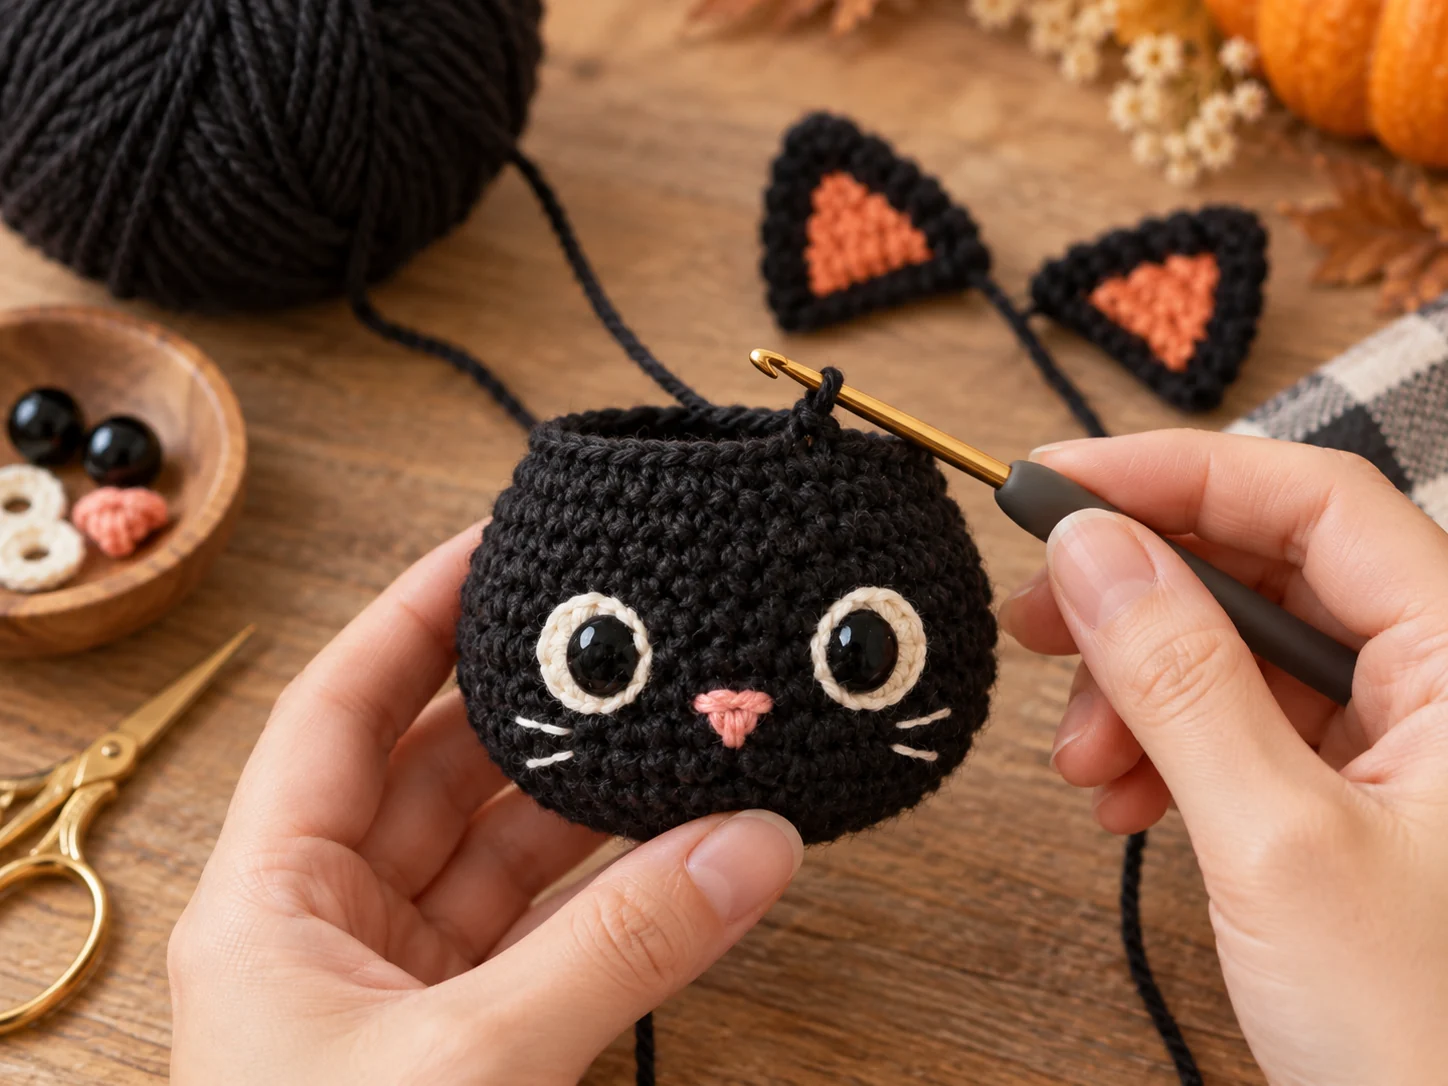
Start with black yarn.
- R1: 6 sc in MR. (6)
- R2: Inc × 6. (12)
- R3: [1 sc, inc] × 6. (18)
- R4: [2 sc, inc] × 6. (24)
- R5: [3 sc, inc] × 6. (30)
- R6–R11: Sc in every stitch. (30)
- R12: [3 sc, dec] × 6. (24)
- R13: [2 sc, dec] × 6. (18)
Begin stuffing the head. Add small pieces of filling and shape the front gently with your fingers.
- R14: [1 sc, dec] × 6. (12)
- R15: Dec × 6. (6)
Fasten off and close the opening. Leave a long tail if you prefer to sew the head onto the body with this yarn.
Body
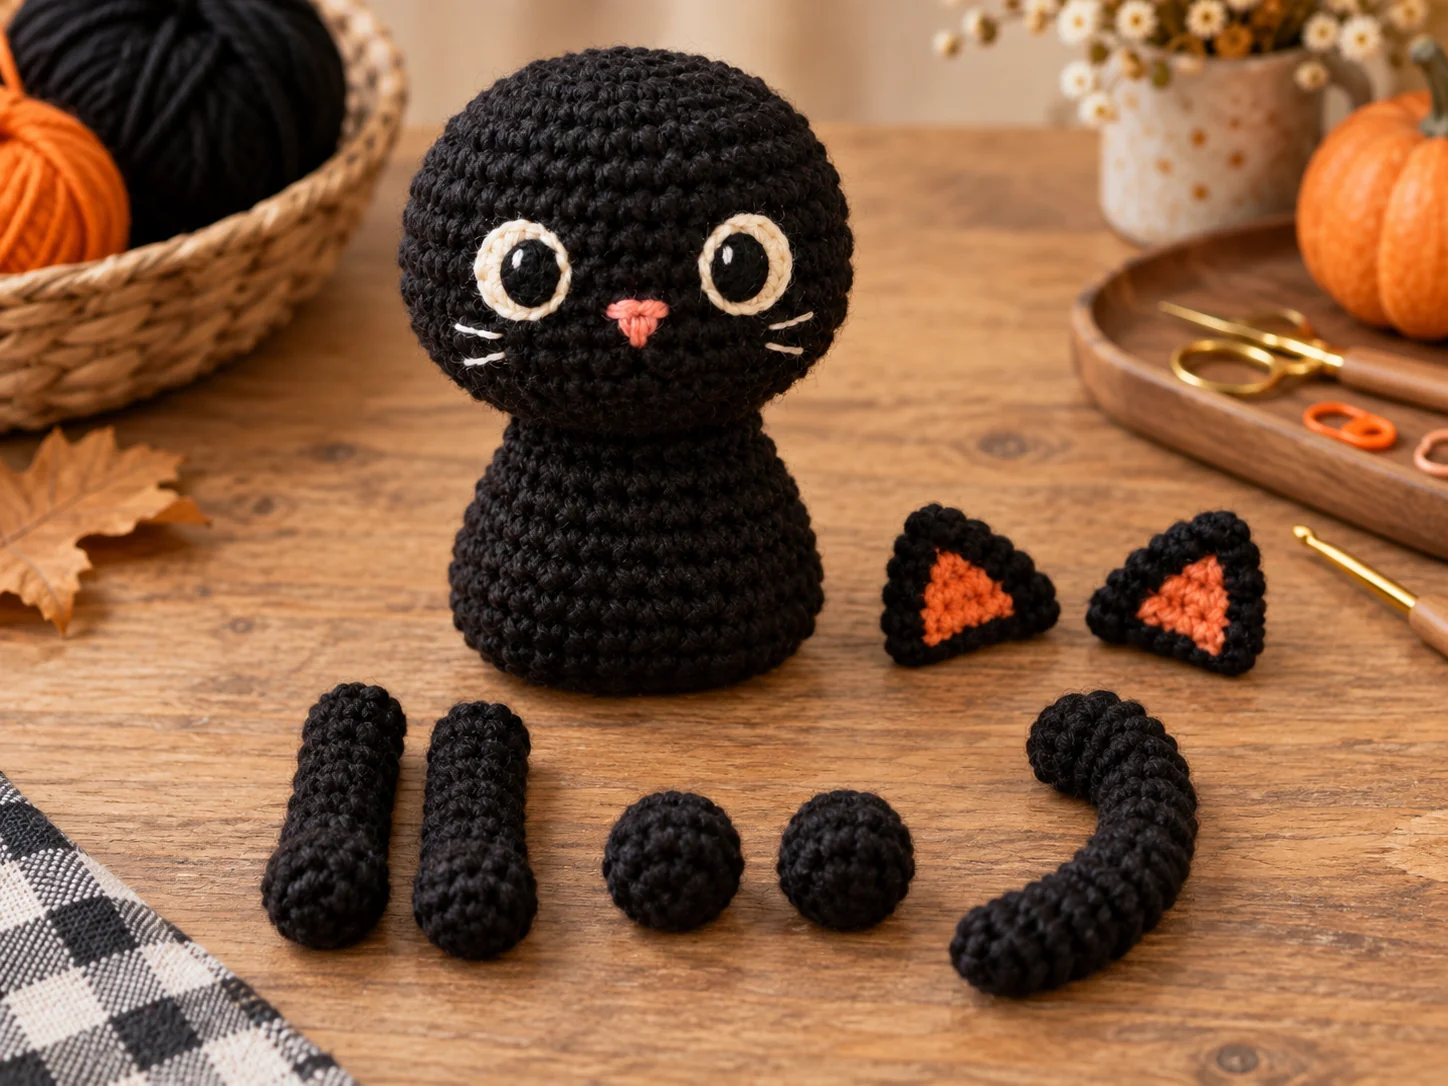
With black yarn:
- R1: 6 sc in MR. (6)
- R2: Inc × 6. (12)
- R3: [1 sc, inc] × 6. (18)
- R4: [2 sc, inc] × 6. (24)
- R5: [3 sc, inc] × 6. (30)
- R6–R10: Sc in every stitch. (30)
- R11: [3 sc, dec] × 6. (24)
- R12–R13: Sc around. (24)
- R14: [2 sc, dec] × 6. (18)
Stuff the body firmly at the lower half and a little more lightly around the neck area. This keeps the toy stable without making the head sit too high.
- R15: [1 sc, dec] × 6. (12)
- R16: Dec × 6. (6)
Fasten off and close.
Pointed Ears
Make two. Do not stuff.
- R1: 4 sc in MR. (4)
- R2: [1 sc, inc] × 2. (6)
- R3: [2 sc, inc] × 2. (8)
- R4: [3 sc, inc] × 2. (10)
- R5: Sc around. (10)
Flatten the ear gently and fasten off with a long tail. The ear should form a small triangle rather than a round cup.
Front Paws
Make two.
- R1: 6 sc in MR. (6)
- R2: Inc × 6. (12)
- R3–R4: Sc around. (12)
- R5: [2 sc, dec] × 3. (9)
- R6–R8: Sc around. (9)
Add a small amount of stuffing only to the lower half. Flatten the top and fasten off with a sewing tail.
Back Paws
Make two. These are slightly shorter and rounder than the front paws.
- R1: 6 sc in MR. (6)
- R2: Inc × 6. (12)
- R3–R4: Sc around. (12)
Stuff lightly, flatten the opening and fasten off with a long tail.
Tail
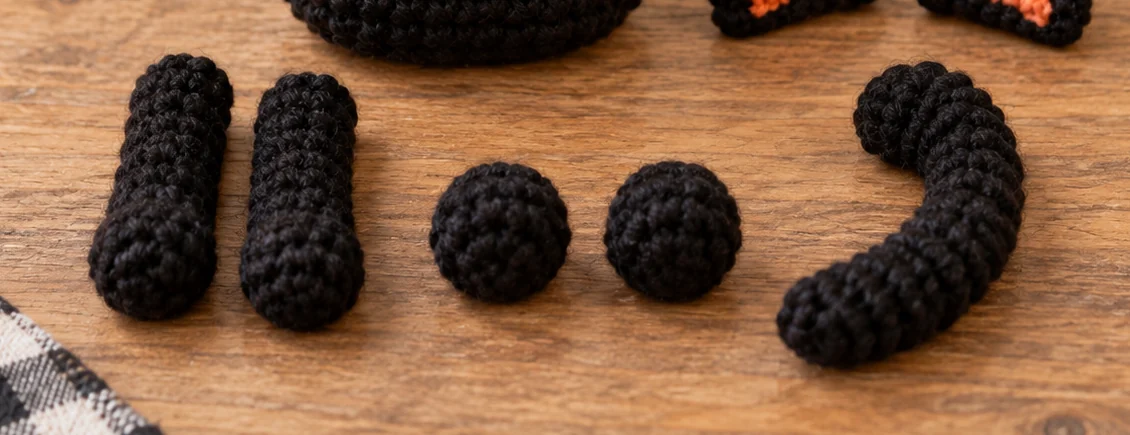
Chain 18. Starting in the second chain from the hook, work 17 sc. Fasten off, leaving a long sewing tail.
For a more curved tail, make the starting chain slightly tighter than the row of single crochet. The finished strip will naturally bend. You can also shape it with a few small securing stitches after attaching it to the body.
Face Placement
Pin the ears to the top of the head before sewing. Place them far enough apart to preserve the cat silhouette. If they are too close together, the head can look more like a bunny or bear.
Place the eyes around the middle of the head, approximately one stitch above the center line. Embroider a tiny triangular nose between them and slightly lower. Add a short line downward from the nose and one small stitch to each side if you want a simple mouth.
Optional Whiskers
Use thin embroidery thread rather than thick yarn. Make two or three short whiskers on each side of the muzzle. Keep them soft and slightly uneven; perfectly straight identical whiskers can make the face look stiff.
Crochet Black Cat Amigurumi Assembly
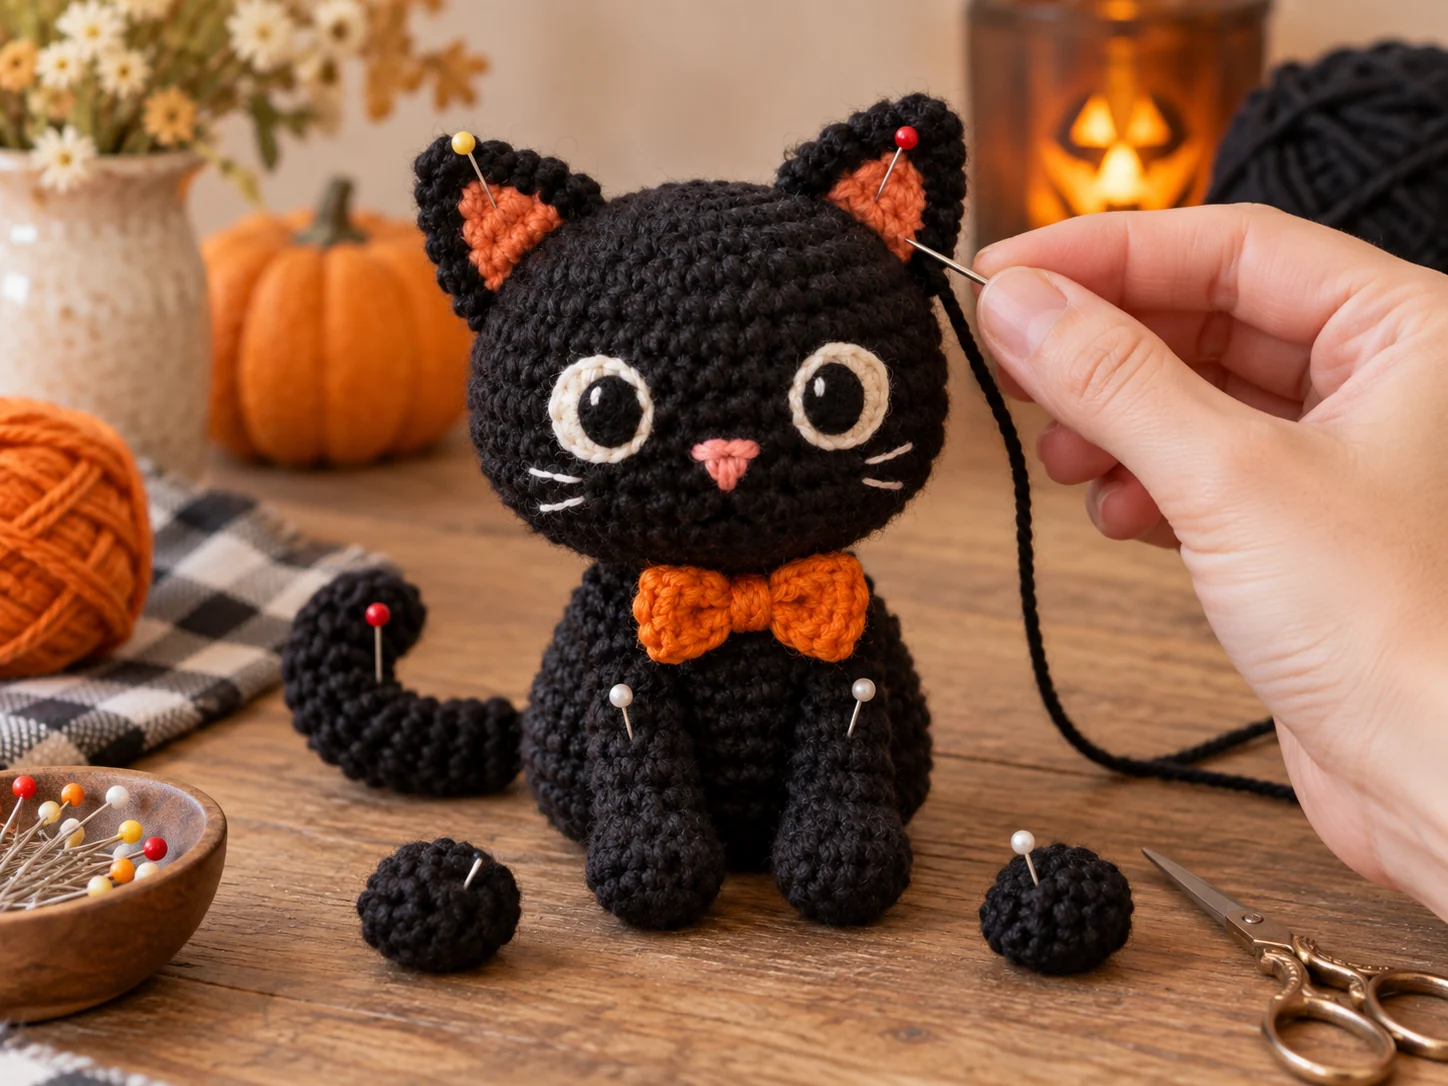
- Pin the head to the body and check the cat from the front and side.
- Sew the head securely around the neck opening.
- Pin the front paws to the lower front of the body.
- Place the back paws slightly wider so the toy can sit steadily.
- Sew the tail to one side of the lower body and curve it forward.
- Check all seams, then weave every yarn tail into the stuffed body.
How to Make the Cat Look More Expressive
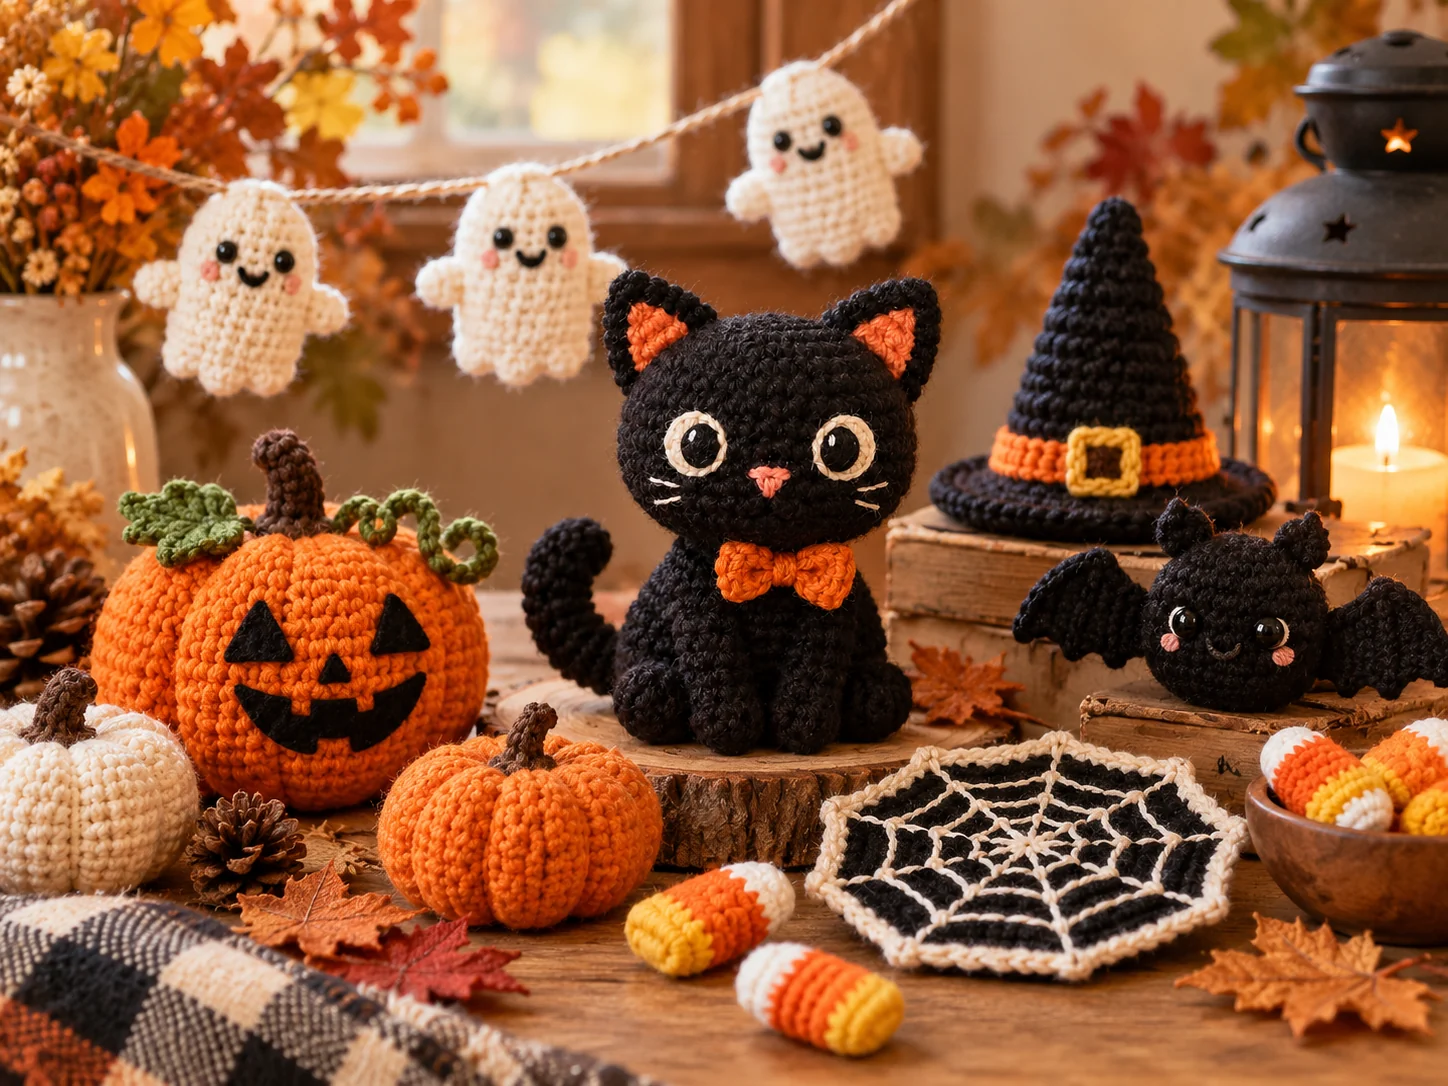
The easiest way to change the character is through small finishing adjustments rather than changing the whole pattern. Place the ears slightly outward for a relaxed expression, or more upright for an alert Halloween cat. Wider-set eyes usually look sweeter; closer eyes create a more intense expression.
A tiny embroidered crescent moon, purple collar, orange bow, or small crochet pumpkin can turn the same base cat into a stronger seasonal design.
Common Mistakes
The head looks too round
Do not overstuff the front of the face. Keep most of the filling toward the center and back, then shape the cheeks gently with your fingers.
The cat keeps falling forward
Move the back paws slightly farther apart and make sure the body is more firmly stuffed at the base than at the neck.
The ears do not look pointed
Pinch the top stitch gently before sewing, and avoid stuffing the ears. The triangular shape comes from the gradual increases.
Related Crochet Animal Patterns
Frequently Asked Questions
Can I use plush yarn?
Yes, but the finished cat will be much larger and the small ear shaping will be less defined. Increase the hook size to suit the yarn while keeping the fabric dense enough for stuffing.
Can I make the cat without sewing many parts?
You can simplify the project by crocheting the body and head as one continuous piece, but the separate construction used here makes the proportions easier for a confident beginner to control.
What colors work besides black?
Charcoal, smoky gray, cream, ginger, and dark purple all work. For Q4 photography, black with warm orange or dusty rose accessories creates a strong Halloween look without making the toy overly themed.
Final Check
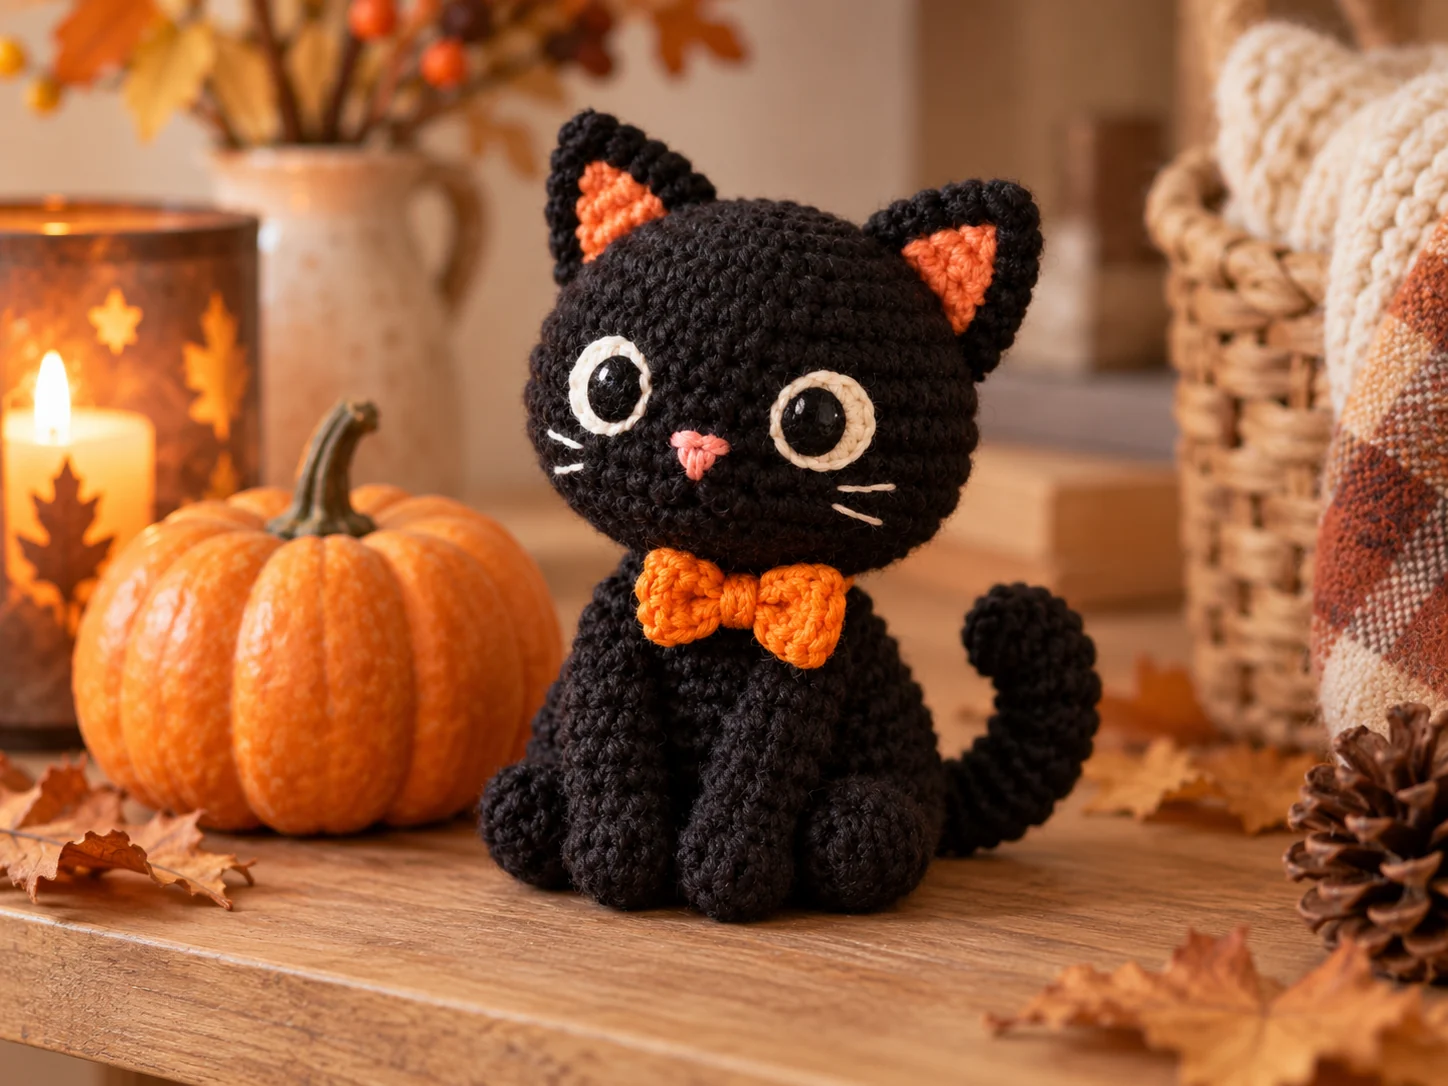
Before you finish, check that the ears are secure, the paws are balanced, the tail is attached firmly, and no loose yarn ends remain. Shape the body and head with your hands one final time, then your crochet black cat is ready for Halloween decorating or gifting.
Watch the Crochet Black Cat Amigurumi Video Tutorial
If you prefer to see the construction visually, this step-by-step black cat amigurumi tutorial follows the same core build used in this pattern: body, head, ears, arms, tail, facial embroidery, and final assembly. You can play it directly below while comparing each stage with the written instructions above.
Video tutorial source: AmareeLis on YouTube.