No-Sew Crochet Duck Pattern: Easy 7-Step Guide
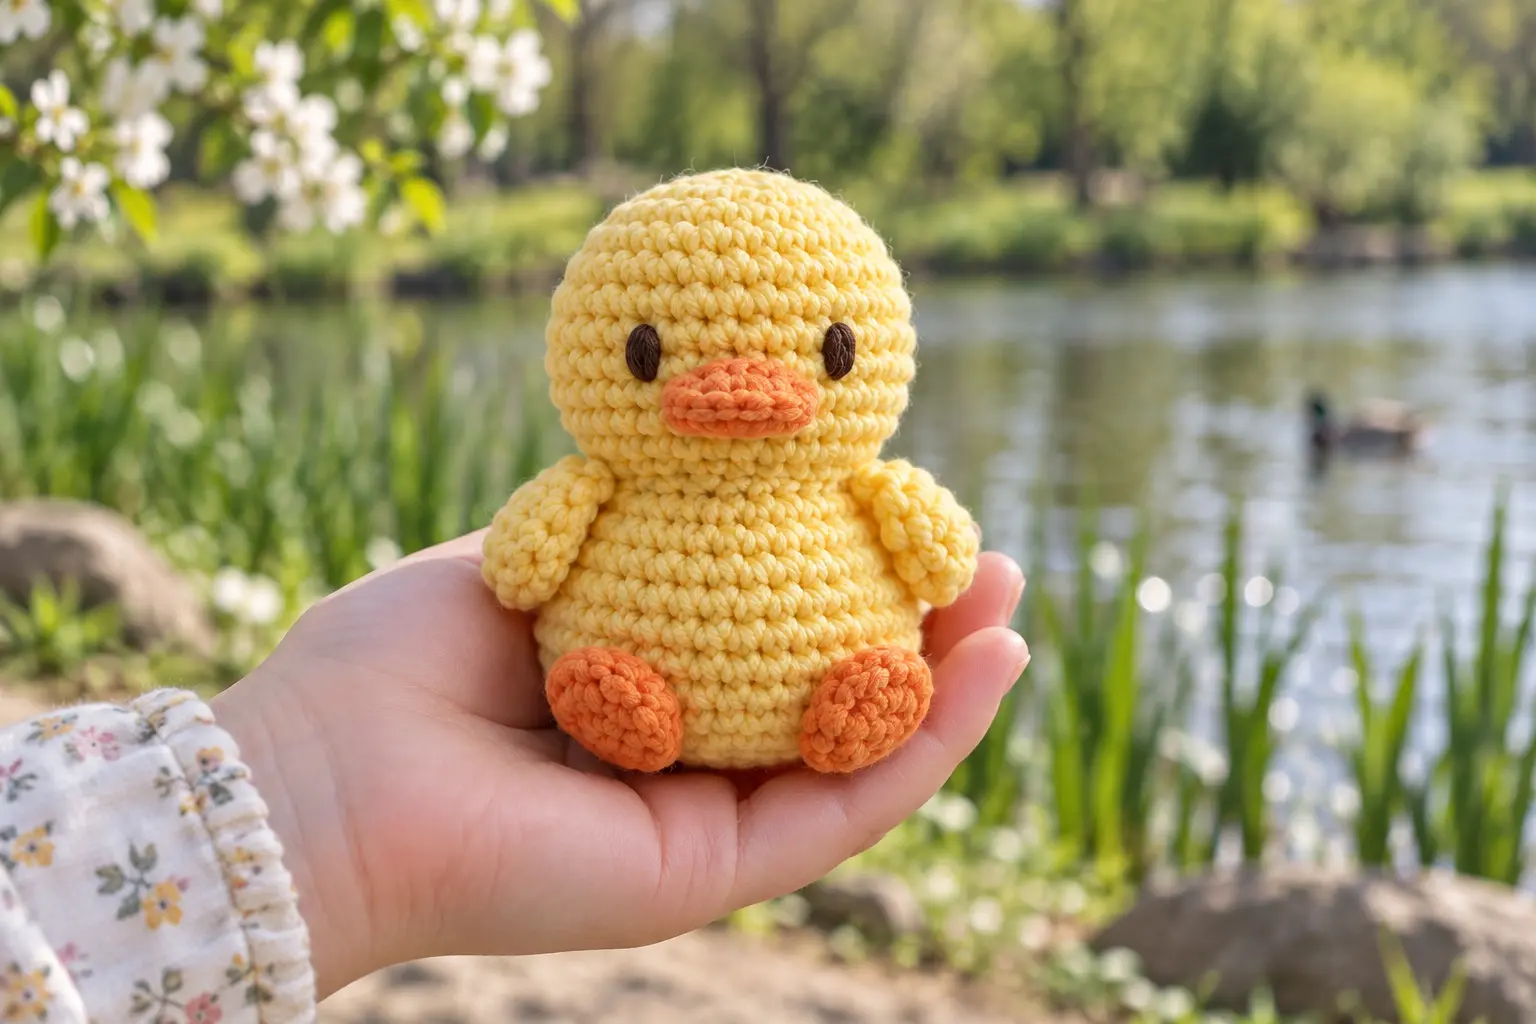
This no-sew crochet duck pattern uses simple shaping to create a plump yellow bird with wings worked directly into the body. Only the optional feet require a yarn needle, so it is a fast, portable project for markets, gifts and beginner amigurumi practice.
No-Sew Crochet Duck Pattern: Project Details
- Skill level: Beginner
- Finished size: About 4.25 in (11 cm) tall
- Time: 1.5–2 hours
- Terms: US crochet terminology
- Construction: Head and body in one piece; wings crocheted into marked stitches
Materials
- 40 g DK cotton yarn in golden yellow
- Small amount of orange yarn for the bill and optional feet
- 2.5 mm hook
- Fiberfill, stitch marker, yarn needle and scissors
- Black embroidery thread
Abbreviations
MR: magic ring; sc: single crochet; inc: increase; dec: invisible decrease; ch: chain; hdc: half double crochet; sl st: slip stitch.
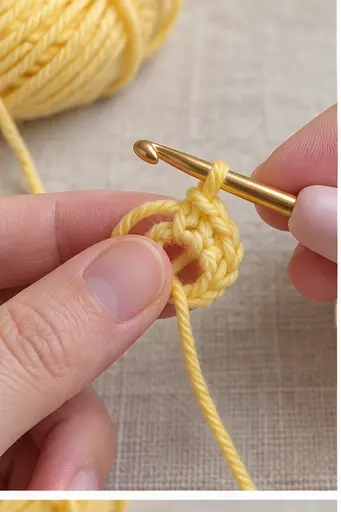
Head and Body
- R1: 6 sc in MR. (6)
- R2: Inc around. (12)
- R3: [Sc, inc] × 6. (18)
- R4: [2 sc, inc] × 6. (24)
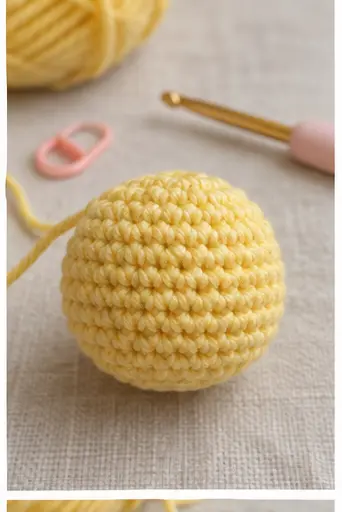
- R5–R8: Sc around. (24)
- Embroider eyes between R6 and R7, six stitches apart.
- R9: [2 sc, dec] × 6. (18)
- R10: [Sc, dec] × 6. (12)
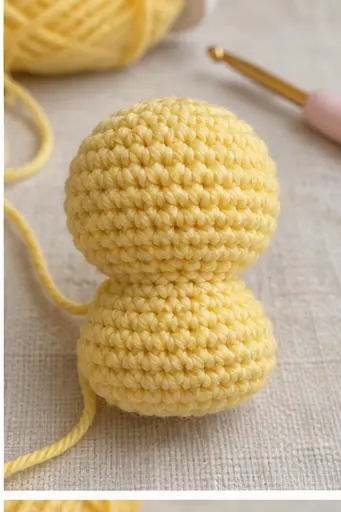
- R11: [Sc, inc] × 6. (18)
- R12: [2 sc, inc] × 6. (24)
- R13: [3 sc, inc] × 6. (30)
- R14–R17: Sc around. (30)
Bill Worked Into the Face
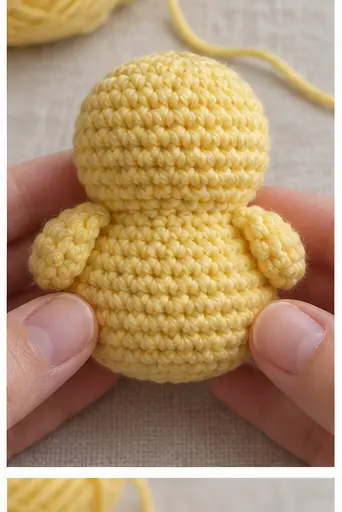
Join orange yarn in a front loop between the eyes, two rounds lower. Work: ch 2, 2 hdc in the same loop, sl st in the next loop. Turn the duck upside down and repeat into the loops directly below. Secure both tails inside the head. This forms a two-layer bill without a separate sewn piece.
Wings Crocheted Into Round 18
Place markers at the body sides, 12 stitches apart.
- R18: Sc to first marker; in the marked stitch work [ch 4, starting in second ch: sc, hdc, hdc], then sc in the same body stitch. Sc to the second marker and repeat the wing. Finish the round. (30 body stitches)
- R19: Sc around, working behind each wing. (30)
- R20: [3 sc, dec] × 6. (24)
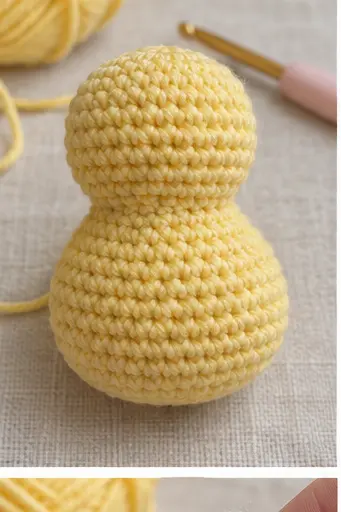
Shape and Close
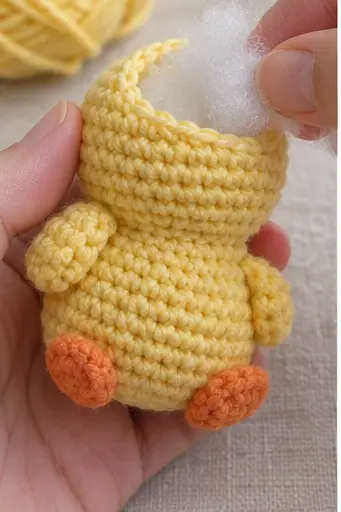
- Stuff the head first, then fill the body while keeping the base flat.
- R21: [2 sc, dec] × 6. (18)
- R22: [Sc, dec] × 6. (12)
- Add the last stuffing.
- R23: Dec × 6. (6). FO and close.
Optional Webbed Feet
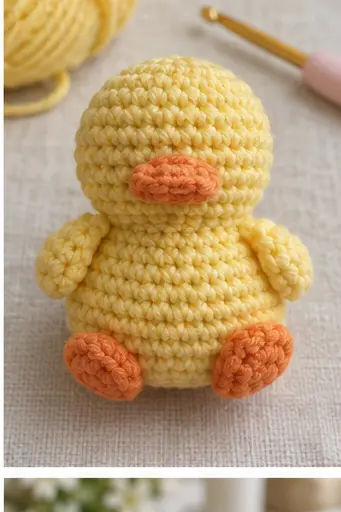
For each foot, join orange yarn to the lower front of the body. Ch 3, sl st in second ch and next ch; sl st into the same body stitch. Repeat two more toes beside the first, secure the tails and shape the three chains into a fan. Skip the feet for a completely needle-free version.
Finish the Duck
- Massage the stuffing upward to define the neck.
- Check that the eyes, bill and wings align.
- Hide every tail inside the body.
- Add two tiny embroidered cheek lines if desired.
Troubleshooting
Head collapses: add small pinches of stuffing through the neck before finishing the body. Wings point forward: dampen and pin them backward while drying. Duck falls over: flatten the base and redistribute the lower stuffing.
Frequently Asked Questions
Does this pattern use absolutely no sewing?
The main duck does not. A needle is useful only for hiding ends and adding optional feet or decorative cheeks.
Can I use chenille yarn?
Yes. Use a hook that prevents gaps, mark every round carefully and embroider the eyes before stuffing.
Can I turn it into a keychain?
Use sport-weight cotton, a 2 mm hook and a securely stitched fabric loop. Do not attach small hardware to toys intended for young children.
If you are new to continuous rounds, begin with our complete beginner crochet guide. Find more quick animals in the Crochet Animals collection.
No-sew crochet duck pattern: Final Checklist
Before finishing this no-sew crochet duck pattern, confirm the stitch count, shape, seam strength and care instructions. Photograph the completed no-sew crochet duck pattern in natural light and record the yarn and hook used so the result can be repeated accurately.