Crochet Round Crossbody Bag Pattern with a Zipper
Crochet a round cotton crossbody bag with two circular panels, an integral gusset and a curved zipper opening. Includes stitch tables and assembly checks.
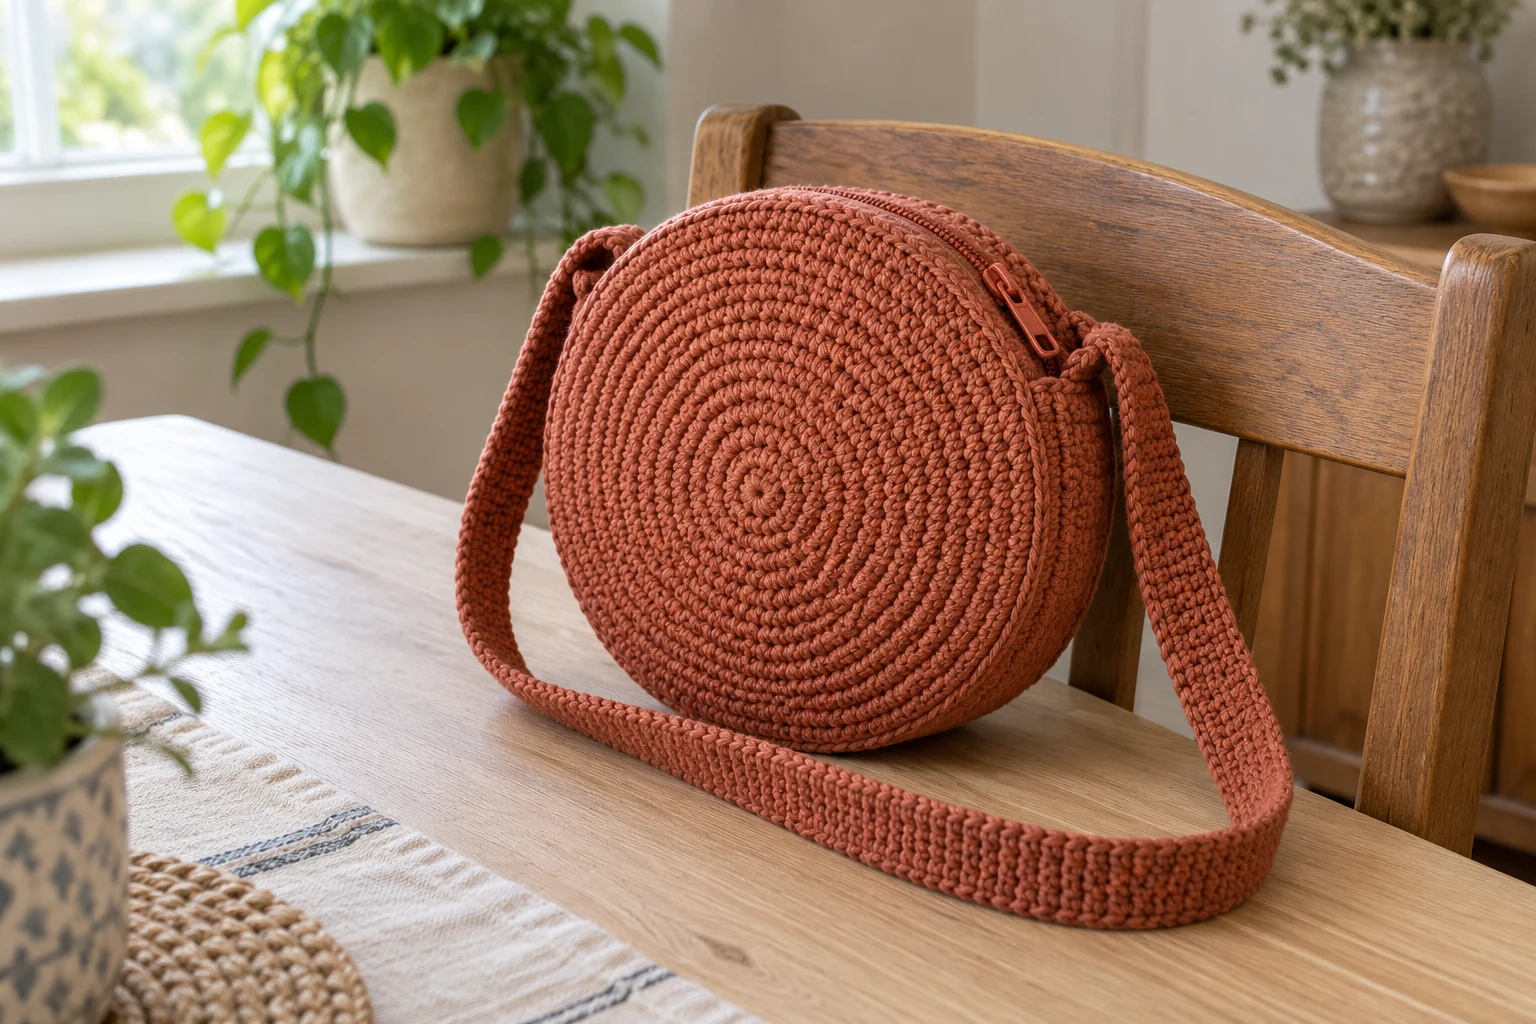
A round purse needs more than two circles sewn together: it also needs enough depth for small essentials and a practical way to open the top. This terracotta design adds its narrow gusset directly to the front disk, then joins the back around most of the edge. The remaining top arc holds a flexible zipper.
This crochet round crossbody bag pattern uses dense single crochet, one flat strap and a hand-sewn closure. The zipper is fitted to the measured opening rather than forced into a nominal length. No lining or internal stiffener is required for the basic draft, although the fabric still needs to be checked with the contents you intend to carry.
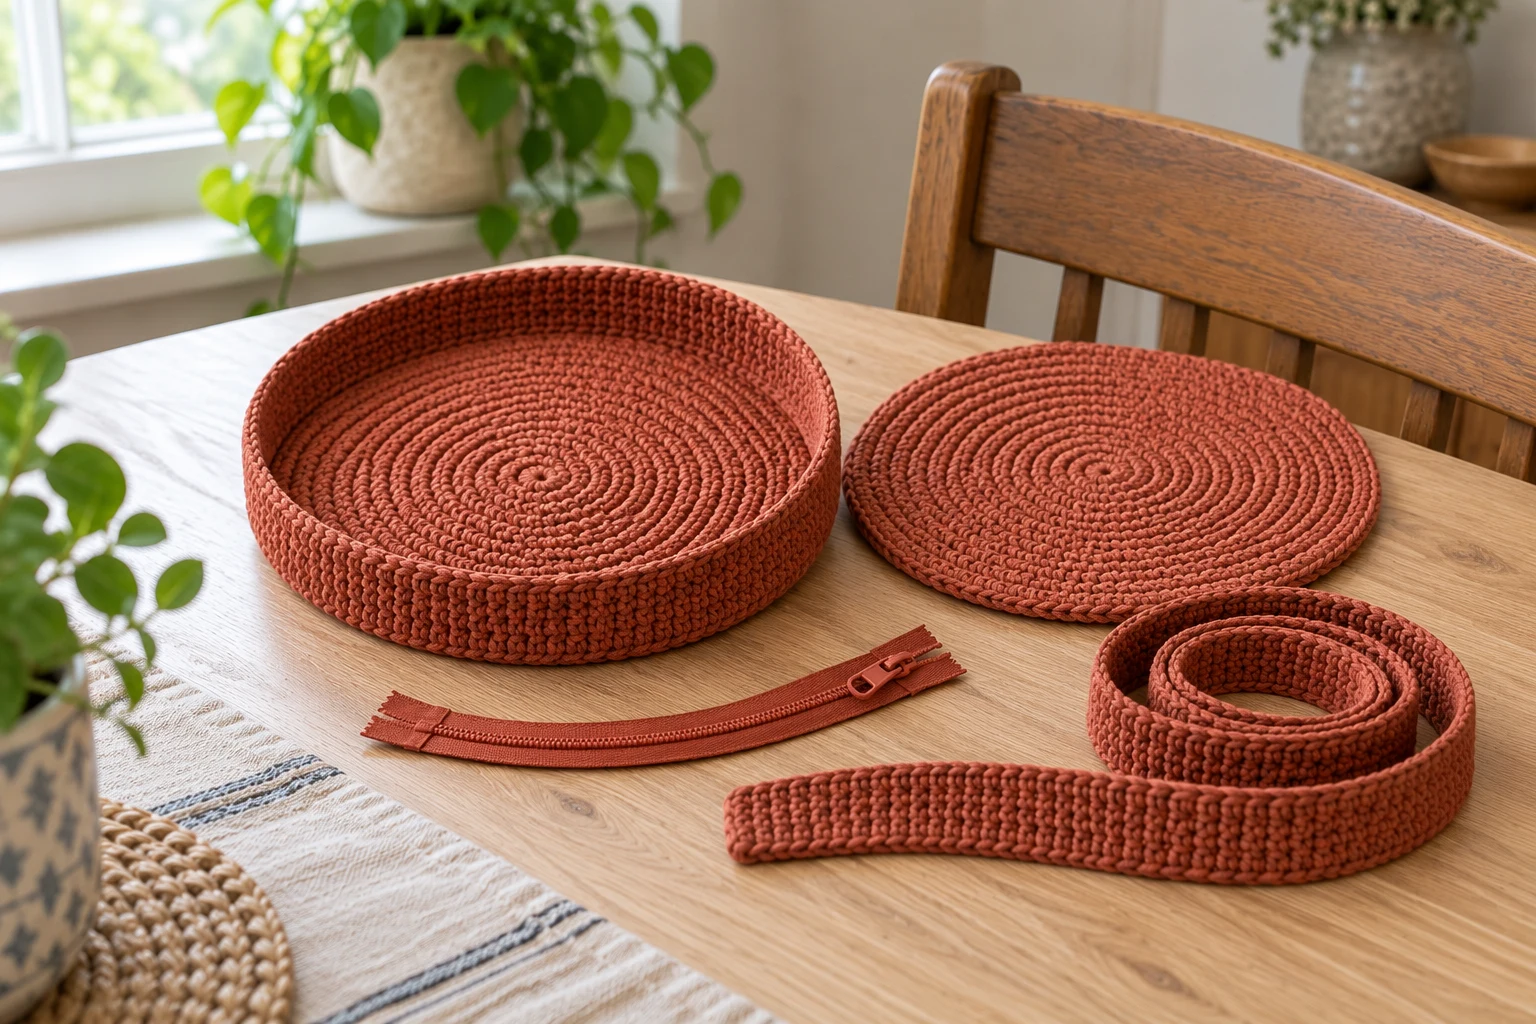
How is this project made? Make two 96-stitch disks. Continue six wall rounds from the front disk to form the gusset. Sew the back onto 72 rim stitches, leaving a 24-stitch arc for a flexible zipper, then attach the long flat strap beside the zipper ends.
Project Overview
| Detail | Pattern information |
|---|---|
| Skill | Confident beginner with basic hand sewing |
| Terms | US crochet |
| Hook | 4 mm, adjusted after swatching |
| Planning size | About 17 cm diameter × 3 cm deep, unverified |
| Gauge example | 18 sc and 22 rows per 10 cm; calculated planning gauge |
| Construction | Two disks, integral gusset, sewn zipper and strap |
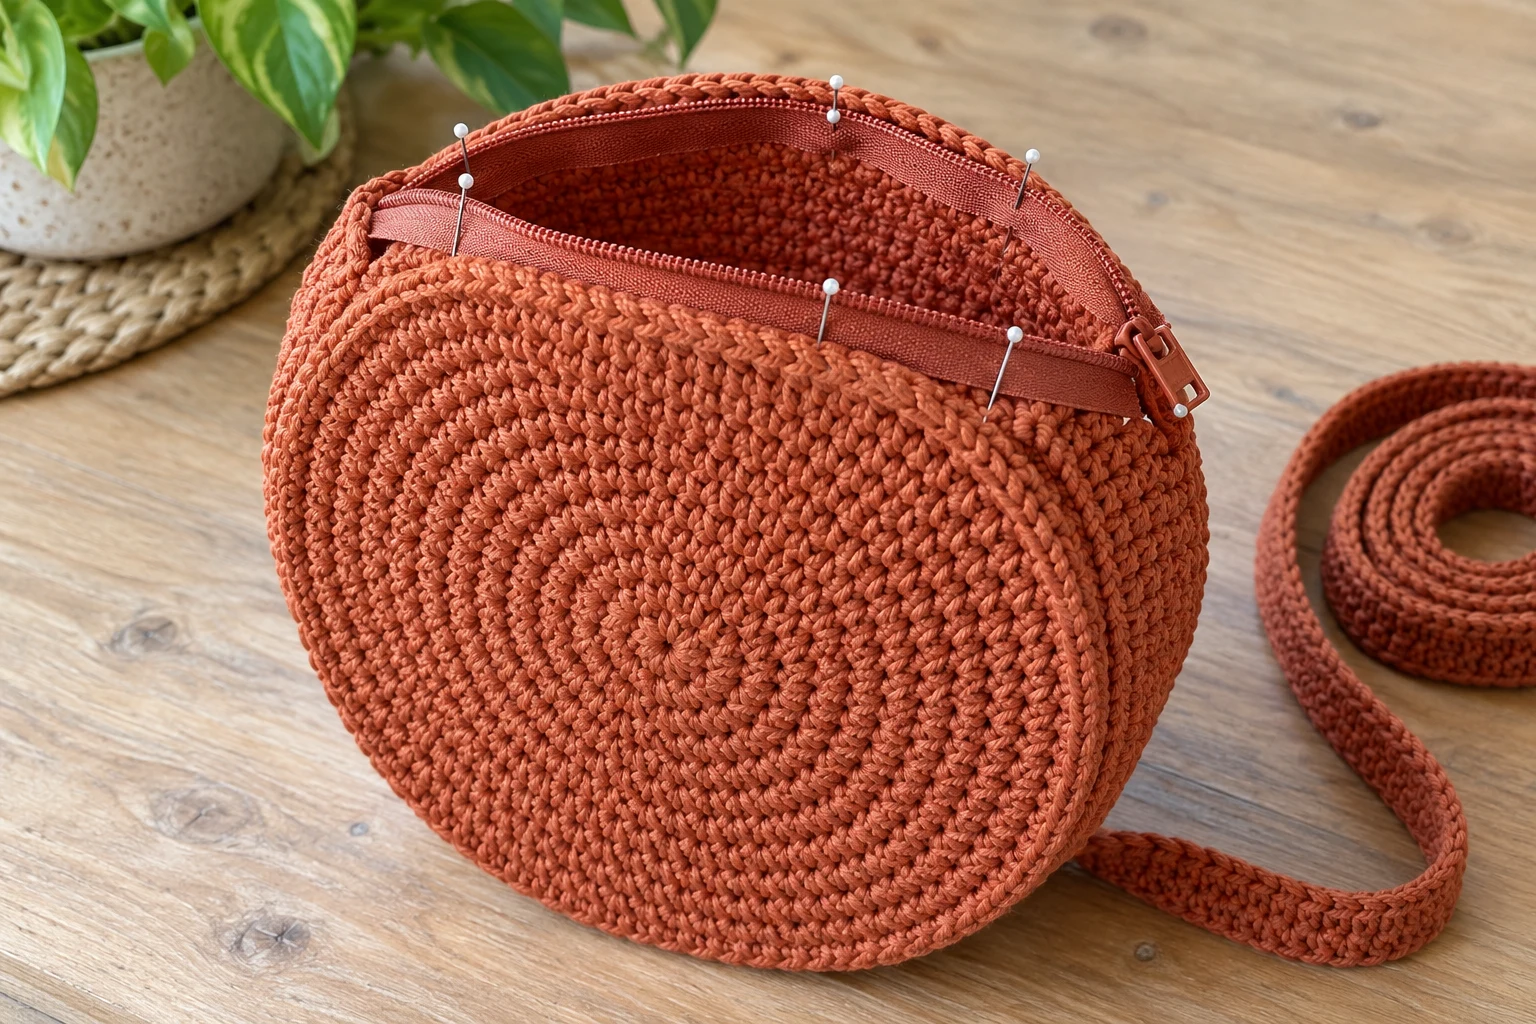
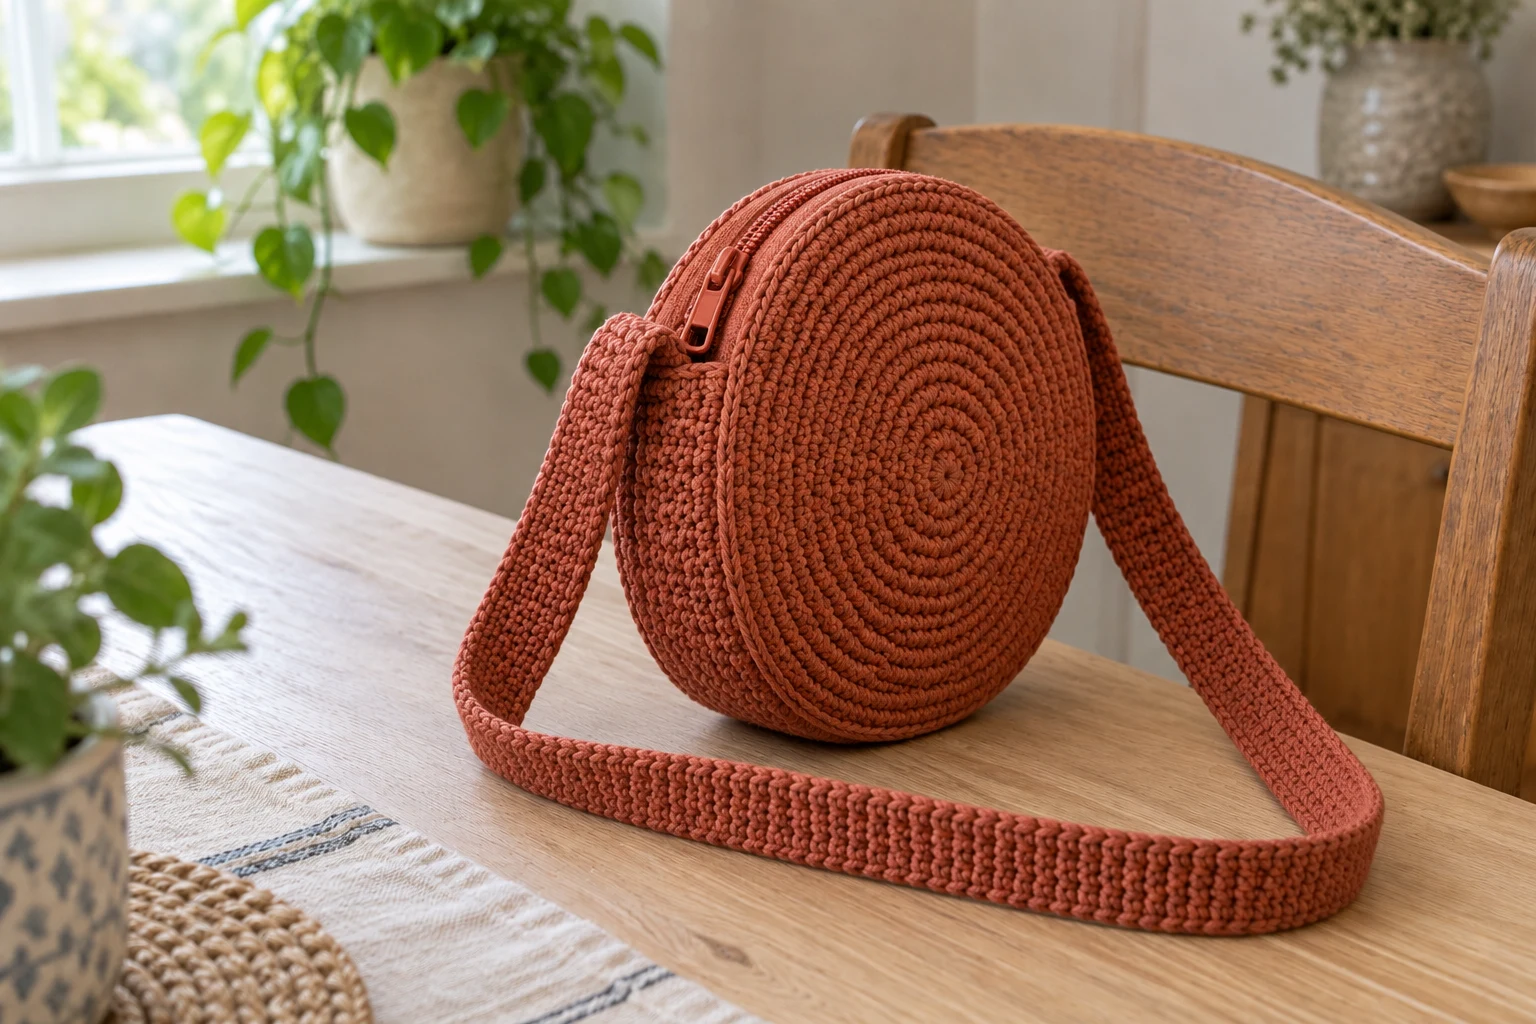
Illustrations and testing: These six project images are generated illustrations, not photographs of a test-crocheted sample. Counts are reviewed; sizes, yarn consumption, attachments and physical performance remain unverified.
Materials
| Material | Suggested specification |
|---|---|
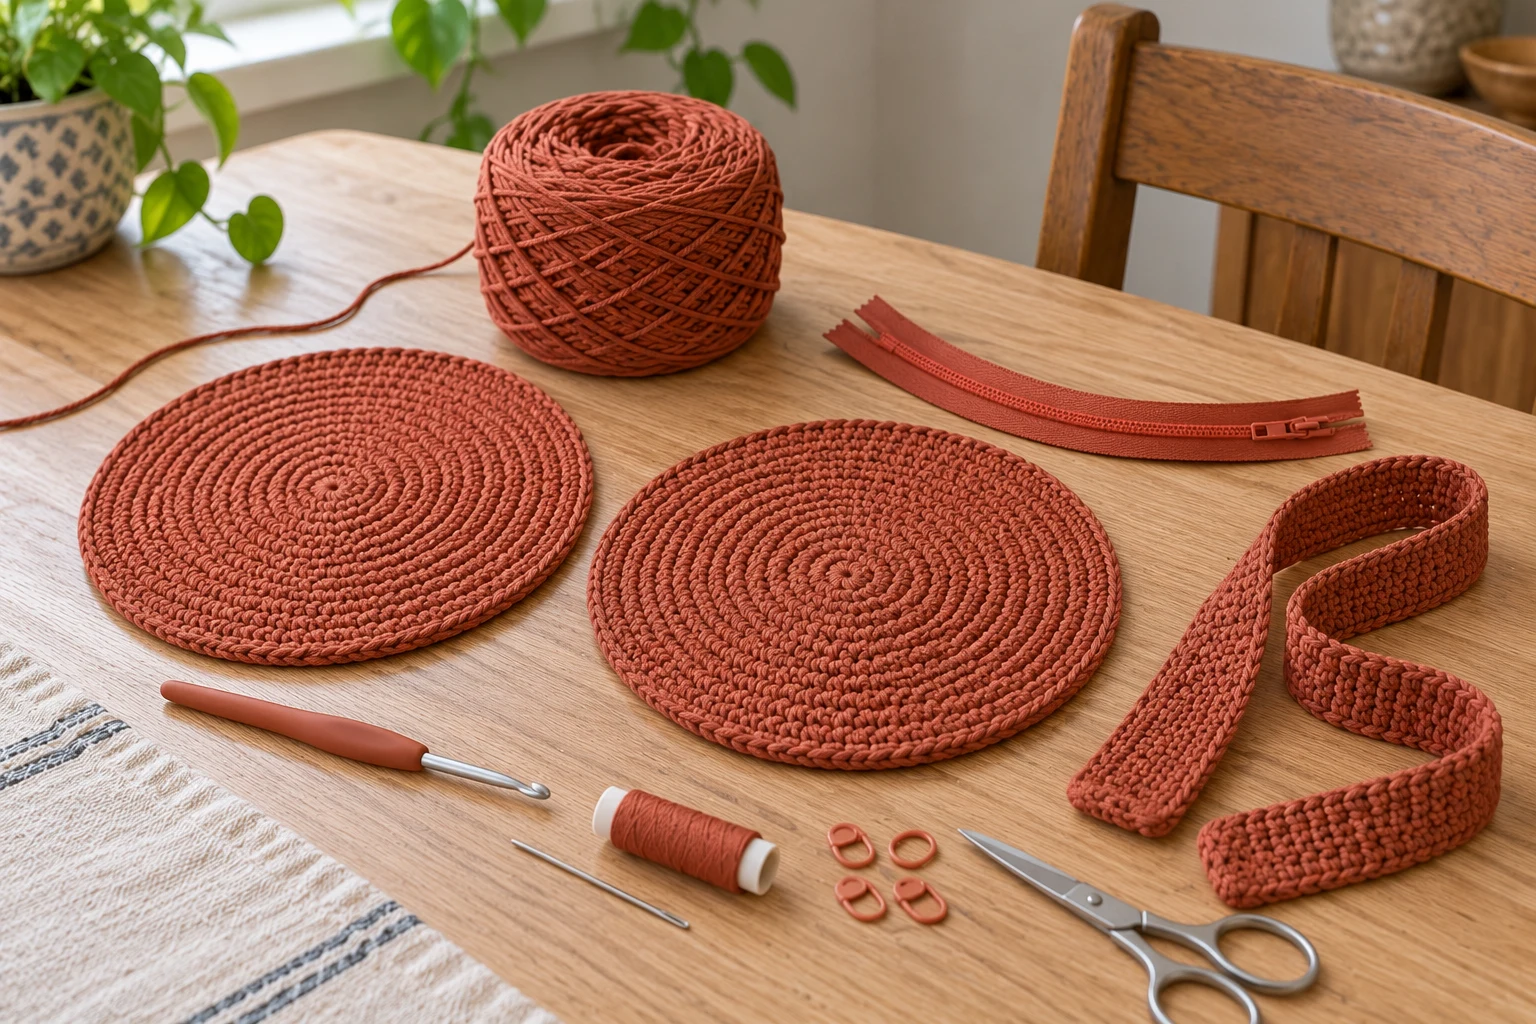
| Terracotta cotton | Approximately 150–200 g worsted cotton, around 80–90 m per 50 g; estimate |
| Hook | 4 mm or size needed for firm dense fabric |
| Zipper | Flexible nylon zipper matching the measured top arc, approximately 12–15 cm |
| Notions | Blunt needle, fine sewing needle, matching strong sewing thread, pins, scissors, markers |
Size, Gauge, and Yarn Choices
Swatch the solid fabric before making both disks. A 96-stitch circumference at the planning gauge is about 53 cm, corresponding to a circle near 17 cm across. That is a calculation, not a measured sample. Six wall rounds suggest about 3 cm depth, but fabric bending changes the result. Measure the actual opening before choosing a zipper and compare both disks before sewing.
Abbreviations and Working Notes
| Abbreviation | Meaning |
|---|---|
| ch | Chain |
| sc | Single crochet |
| sl st | Slip stitch |
| st / sts | Stitch / stitches |
| MR | Magic ring |
| inc | 2 sc in the same stitch |
| dec | Invisible sc decrease; uses 2 stitches and makes 1 |
Use joined rounds for the disks and gusset. Ch 1 does not count; put the first sc into the same stitch as the join and sl st to the first sc at the end. A marker makes the first stitch easier to identify.
The two disks must both end at 96 stitches. The back stops there; only the front receives the extra wall rounds. Rotate the work on a flat table regularly and correct missed increases before continuing.
The strap is worked in turned rows. Its turning ch 1 does not count. A decorative purse is not a tested load-bearing bag, so the finished seams and attachments need a practical light-load check.
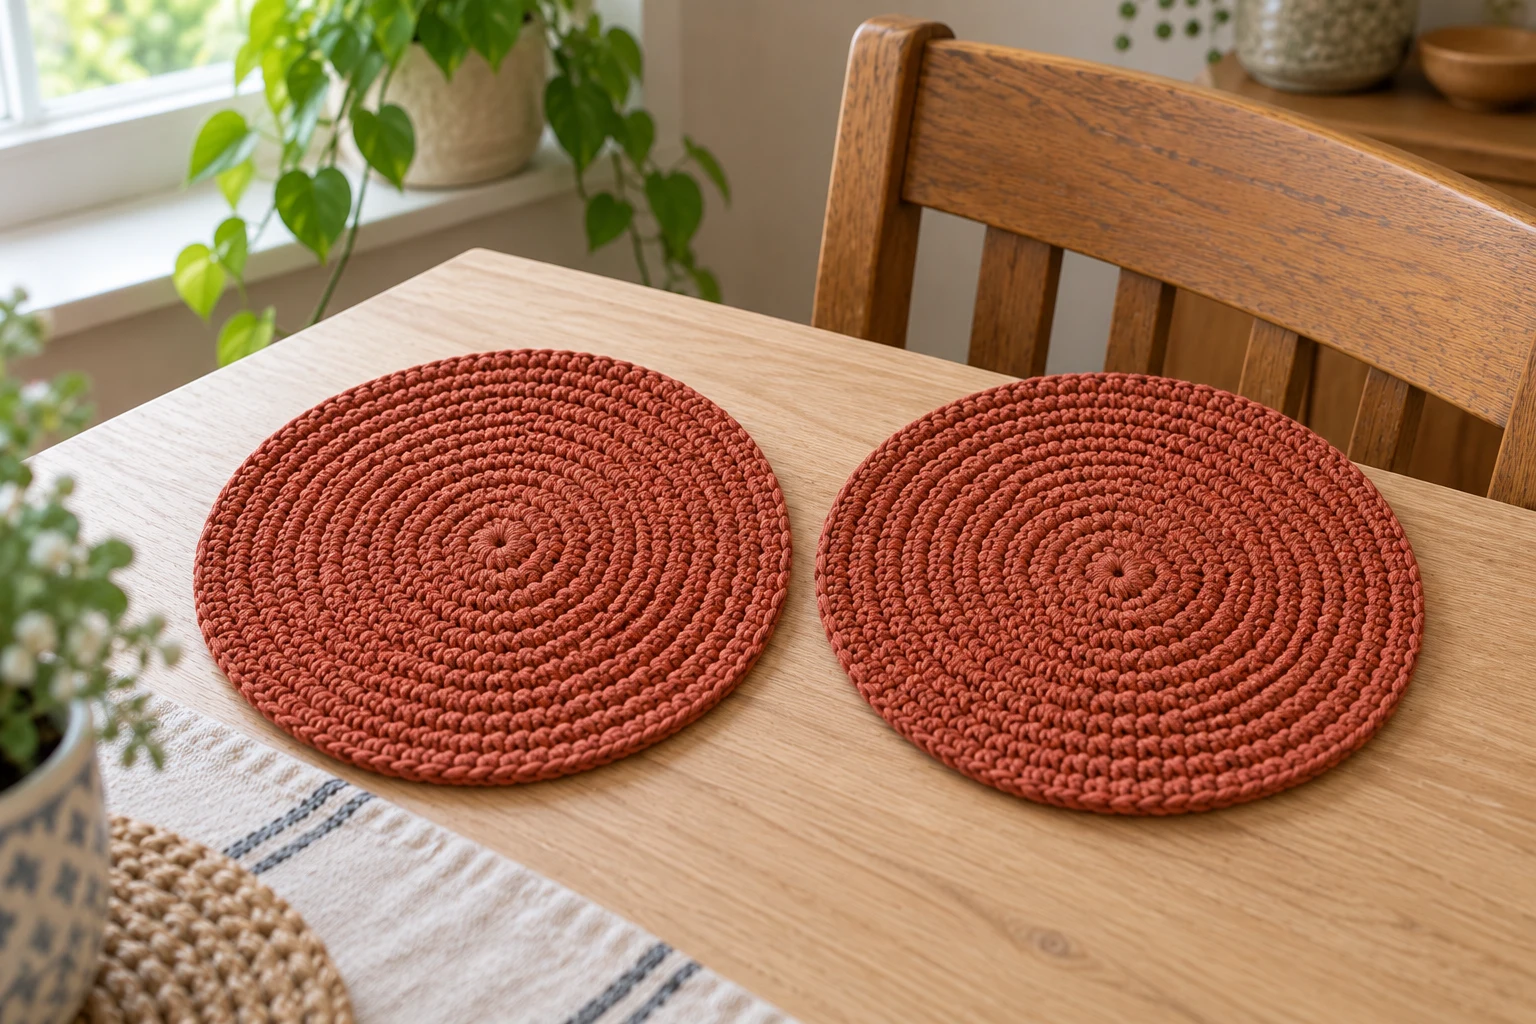
Crochet Two Matching Circular Panels
| Round / stage | Instructions | Count |
|---|---|---|
| 1 | 6 sc in MR; join | 6 |
| 2 | Inc in every st | 12 |
| 3–16 | On Round n, repeat ((n − 2) sc, inc) six times. Counts: 18, 24, 30, 36, 42, 48, 54, 60, 66, 72, 78, 84, 90, 96 | Add 6 each round |
For example, Round 3 is (sc, inc) × 6, Round 4 is (2 sc, inc) × 6 and Round 16 is (14 sc, inc) × 6. Keep the increases evenly spaced rather than adding extra stitches at the join.
Fasten off the back disk with a long sewing tail. Leave the front disk attached to the working yarn. If the disks cup strongly, check tension and counts; do not assume a stiff bowl will flatten when sewn.
Build the Integral Gusset
| Round / stage | Instructions | Count |
|---|---|---|
| 17 | Ch 1; sc in back loop only of each front-disk stitch; join | 96 |
| 18–22 | Ch 1; sc through both loops around; join. Five more rounds | 96 |
The back-loop round encourages a turn from the flat disk into the wall. The following five rounds make a narrow tube around the front disk. Do not add corner increases or repeat the disk increase formula here.
Fasten off after Round 22. Place four markers 24 stitches apart on its open rim. Check that the side depth is even all the way around before attaching the second disk.
Make the Flat Crossbody Strap
| Round / stage | Instructions | Count |
|---|---|---|
| Foundation | Ch 7 | 6 working chains |
| 1 | Sc in second ch from hook and across | 6 sc |
| 2–260 | Ch 1, turn; sc across; leave long sewing tails | 6 sc per row |
At the planning row gauge the strap is roughly 118 cm before overlap, not a measured finished length. Try a pinned fabric or yarn loop against your body first and adjust by complete rows if needed. Keep the strap flat and the width consistent.
The width is approximately 3.3 cm at the planning stitch gauge. If your swatch differs, the calculated length and width will differ too. A shoulder strap may stretch during wear, especially when a bag is overloaded.
Join the Back and Fit the Zipper
| Round / stage | Instructions | Count |
|---|---|---|
| Marked opening | Treat rim stitches 85–96 and 1–12 as the top opening | 24 stitches |
| Sewn seam | Match front rim 13–84 to back disk 13–84, stitch for stitch | 72 matched positions |
| Zipper | Baste one tape to the free gusset rim and the other to the matching back-disk arc | Fit measured opening |
Place the back against the open gusset with the right sides facing outward. Make sure both round-start positions align at the intended top. Sew the 72-stitch lower seam with small even stitches, catching full fabric loops without cinching the edge.
Open the zipper and pin the tapes just inside the two free arcs. Leave the teeth clear of the yarn so the slider does not catch. Use a flexible nylon zipper that follows the curve; do not sharply bend metal teeth or force an overlong zipper into the gap. Reposition until the two edges meet smoothly, then baste and hand-stitch each tape securely.
Check the slider several times before sewing the zipper ends down. Do not cut the teeth or remove a stop as part of this draft. If the length is unsuitable, use a better-fitting zipper or obtain proper zipper-alteration guidance. The top should open without pulling the circular panels out of shape.
Attach the Strap and Check the Bag
| Round / stage | Instructions | Count |
|---|---|---|
| Anchors | Place one end beside each zipper endpoint, outside the opening | 2 attachments |
| Overlap | Lay each strap end about 2–3 cm down the side wall | Broad fabric contact |
| Stitching | Sew around each overlap and add diagonal reinforcement | Inspect both joins |
Keep the strap clear of the slider and make sure it is not twisted. Sew through a broad area of the strap and bag fabric, taking care not to close the zipper opening by catching the opposite panel.
Try only light contents over a table first. If the wall distorts or stitching pulls apart, remove the load and remake the joint. The narrow depth suits a few small items; it is not a large shopping tote.
Troubleshooting
| Problem | Check | Adjustment |
|---|---|---|
| Circles do not match | Different counts or tension | Check both 96-stitch rims before sewing |
| Gusset flares | Disk increases repeated in wall rounds | Keep the wall at 96 sc |
| Zipper catches yarn | Tape sewn too close to teeth | Rebaste with clear slider space |
| Purse twists | Panel starts or strap anchors misaligned | Align top markers before joining |
Care and Related Projects
Spot clean first, and follow both the yarn and zipper care guidance. Protect the closure from harsh pulling. The basic draft is unlined, so add a separately fitted liner if small items work through the stitches. Inspect the anchors and seam before regular use.
For a currently live bag tutorial, compare the granny square tote.
Frequently Asked Questions
Why is the gusset attached to the front?
Continuing from the disk avoids calculating a separate strip whose row gauge may not match the panel circumference.
Can I use a metal zipper?
The intended opening is curved. This draft specifies a flexible nylon closure; a stiff metal zipper may not follow the arc.
Can I skip the zipper?
An open-top version needs its own edge and contents-retention check. Do not claim the zipped and open versions are equivalent.
Does it need stiffening?
No stiffener is specified. Dense fabric, the narrow wall and light contents create the intended form, which still needs sample testing.
Can I change the diameter?
Changing the last disk round also changes the gusset, seam and opening counts. Recalculate those together.
Has the strap been load tested?
No. The arithmetic is reviewed, but the fabric, zipper and carrying strength need physical checks.
Compact Pattern Card
| Component | Essential instructions |
|---|---|
| Disks | Two panels; increase 6 per round to 96 |
| Gusset | Front only; 6 wall rounds at 96 |
| Back seam | 72 positions joined; top 24 left open |
| Strap | 6 sc wide, 260 rows before adjustment |
| Closure | Fit and sew flexible zipper to measured opening |