Crochet Mesh Market Bag Pattern with a Reinforced Base
Make a crochet mesh market bag with a solid rectangular base, chain-loop sides, wide band and sewn handles. Includes stitch tables and assembly guidance.
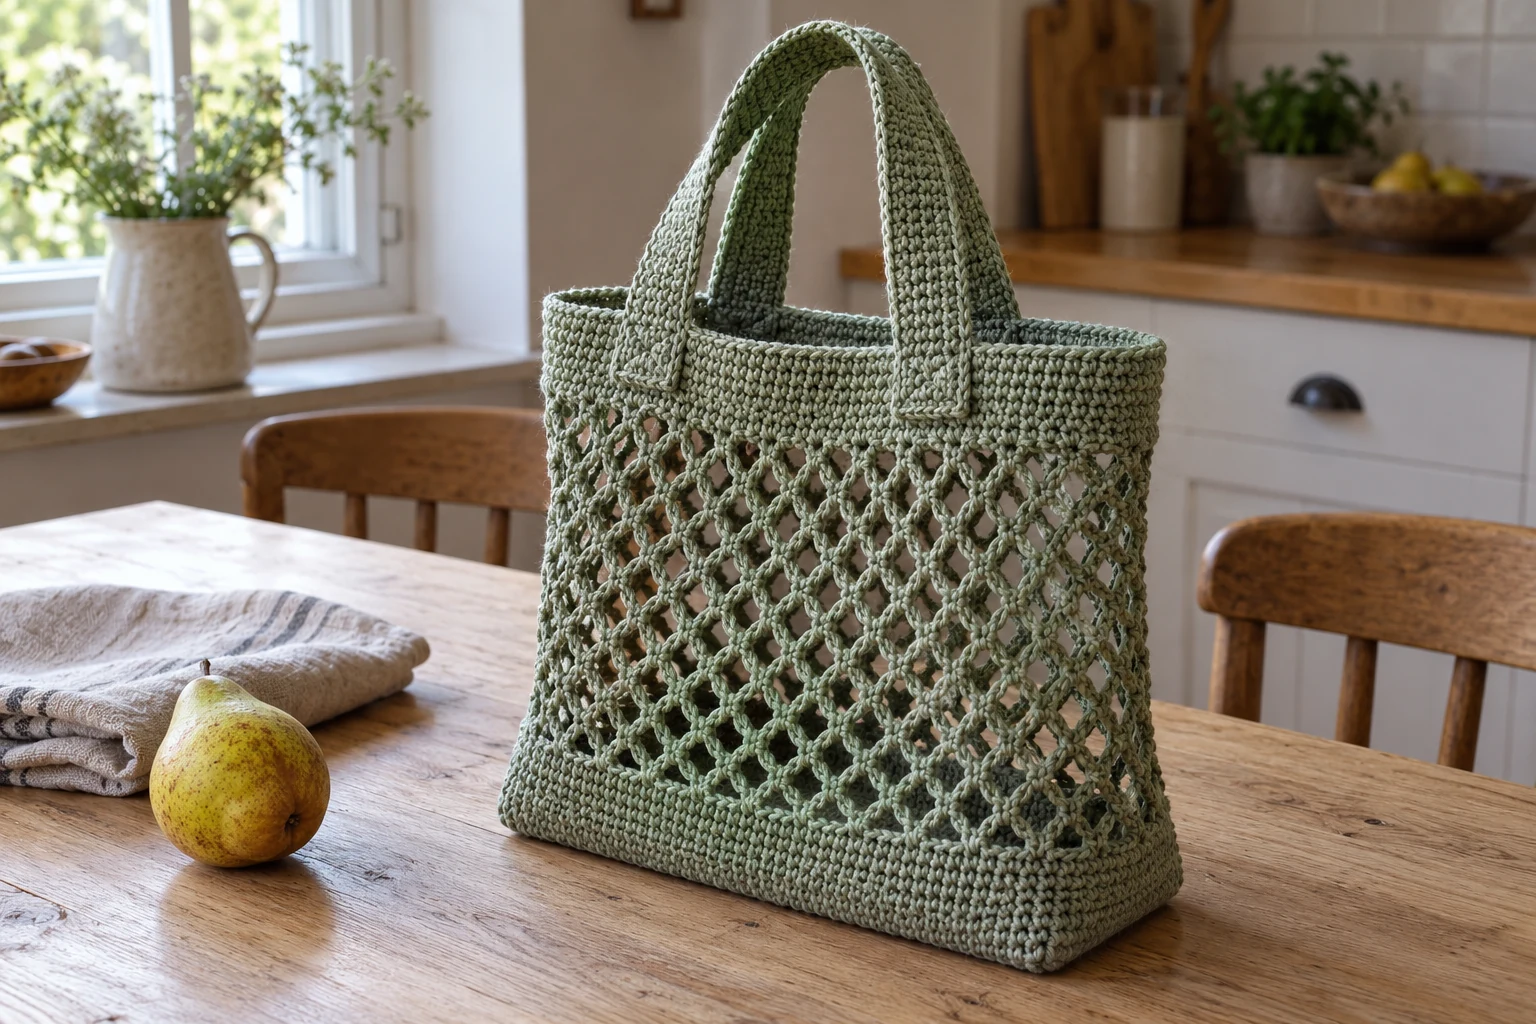
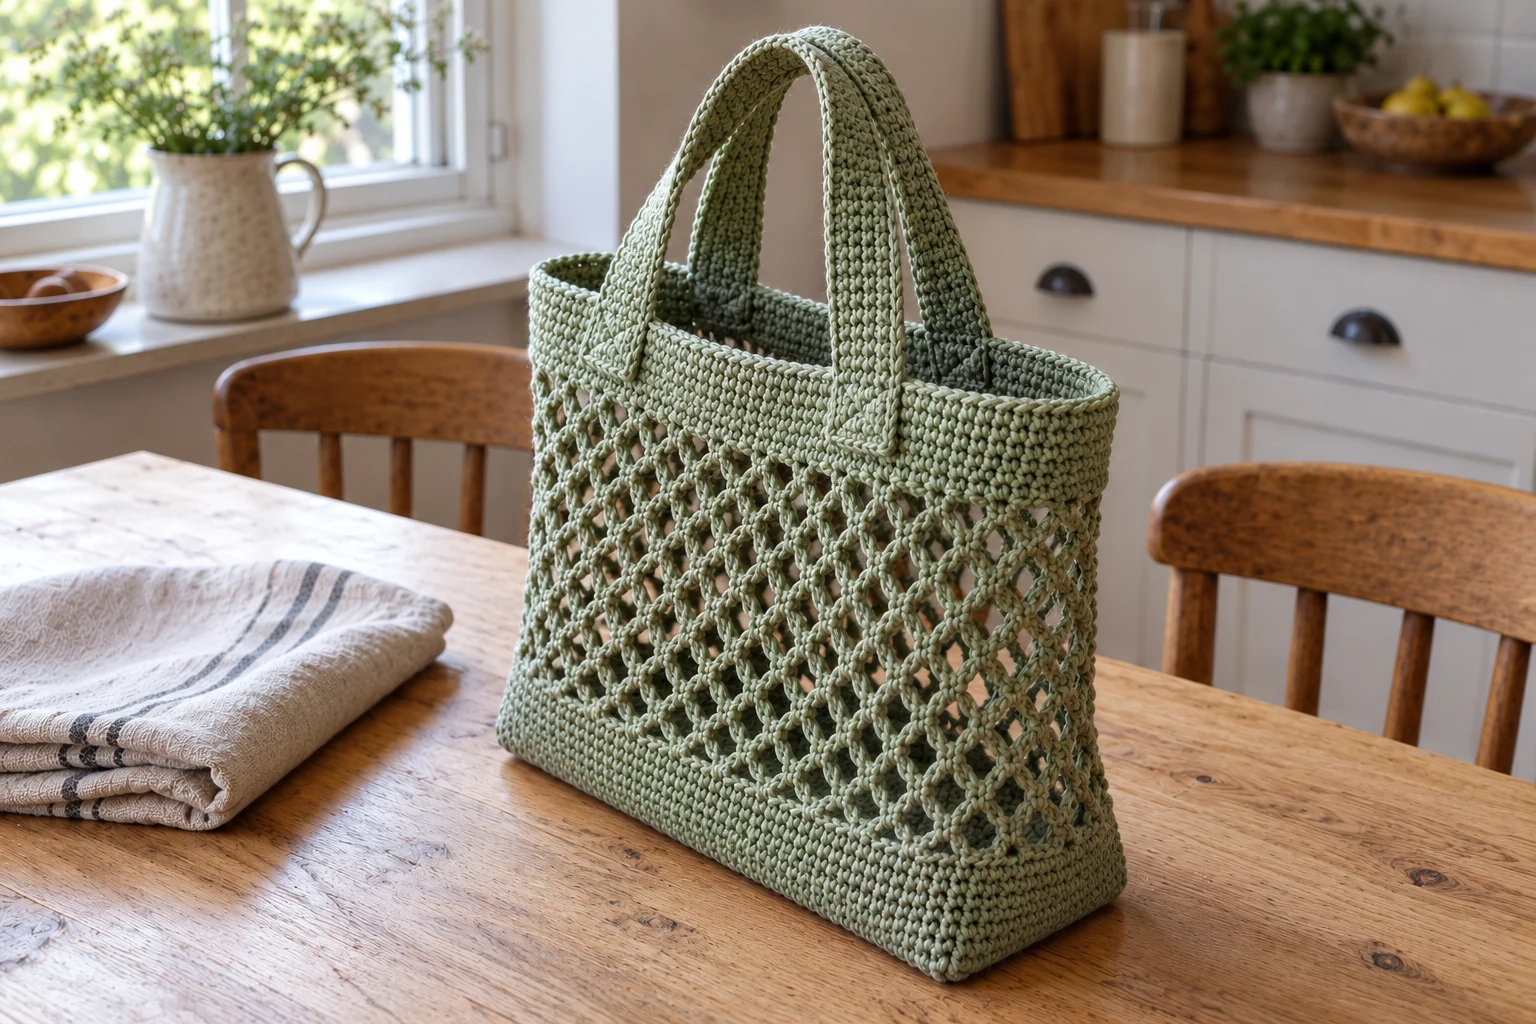
A mesh bag is useful when you want to see what you have packed without carrying a heavy fabric tote. This sage-green design starts with a dense rectangular base, builds a short solid lower wall, and then opens into chain-loop mesh. A wide top band gives the separate handles a firmer place to attach.
This crochet market bag pattern uses ordinary single crochet and repeated chain spaces. The base is worked in rows; the walls are worked in joined rounds. Both handles are made flat and sewn on after their positions have been marked.
How is the mesh market bag made? Crochet a 42-stitch rectangle, pick up 120 stitches around its four sides, and work a solid lower band. Make 60 chain-loop mesh spaces per round, return to a solid top band, and attach two flat straps. This is a small hand-carried bag; its carrying capacity has not been tested.
Project Overview
| Detail | Pattern information |
|---|---|
| Skill | Confident beginner |
| Terms | US crochet terminology |
| Construction | Row-worked base; joined-round walls; sewn handles |
| Suggested hook | 4 mm, adjusted after swatching |
| Planning size | Base roughly 23 × 9 cm; body roughly 25–30 cm tall, unverified |
| Gauge planning example | 18 sc and 22 rows per 10 cm in solid fabric; not a measured sample |
| Testing | Arithmetic reviewed; no load or sample test |
Illustrations and testing: The six project images are generated illustrations of the intended design, not photographs of a test-crocheted sample. The written instructions and stitch arithmetic have been reviewed; size, yarn use, handling and construction still need a physical sample check.
Materials
| Material | Suggested specification |
|---|---|
| Cotton yarn | Approximately 200–250 g worsted-weight cotton, around 80–90 m per 50 g; planning estimate |
| Crochet hook | 4 mm, or size needed for a firm base |
| Notions | Blunt yarn needle, scissors, at least 4 markers |
| Optional liner | Light washable fabric, only if you want to contain very small items |
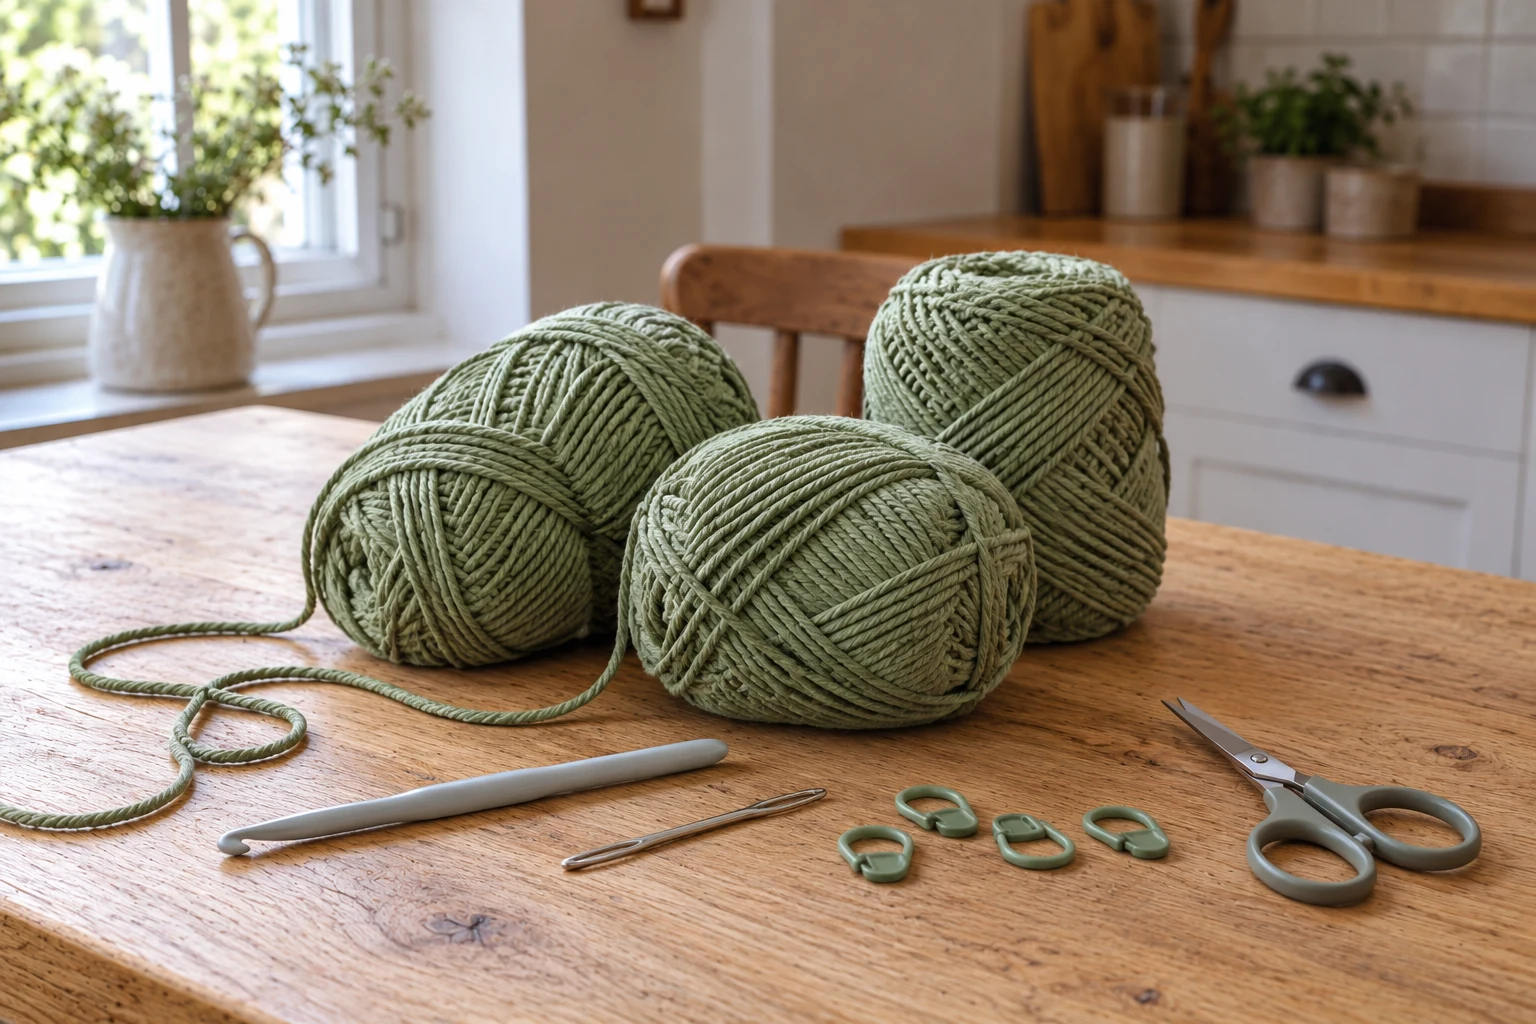
Size, Gauge, and Yarn Choices
Make a solid swatch in the yarn you intend to use. The planning gauge gives a base about 23 cm wide from 42 stitches and about 9 cm deep from 20 rows. Mesh height and cotton stretch cannot be inferred from that solid swatch, so measure the bag as you work and record the result. Yarn use is an estimate. Use the same yarn and hook for the base, bands and handles.
Abbreviations and Working Notes
| Abbreviation | Meaning |
|---|---|
| ch | Chain |
| sc | Single crochet |
| ch-sp | Chain space |
| sl st | Slip stitch |
| st / sts | Stitch / stitches |
A turning ch 1 does not count as a stitch. Work the first sc into the first stitch of the previous row. Count every base row before turning.
For solid joined rounds, ch 1, work the first sc in the same stitch as the join, and sl st to that first sc at the end. Do not count the ch 1 or the joining sl st. The perimeter has four marked sections: 42, 18, 42 and 18 stitches.
A mesh round contains 60 single-crochet anchors and 60 ch-4 spaces. A chain space is one unit for placement; it is not a single stitch. Keep the chains relaxed enough to open but not so loose that the bottom sags.
Crochet the Rectangular Base
Chain 43. Work the first row into the chain without twisting it. The rectangle is deliberately simple so you can check its width before committing to the mesh.
| Row | Instructions | Count |
|---|---|---|
| 1 | Sc in second ch from hook and in each remaining ch | 42 sc |
| 2–20 | Ch 1, turn; sc in each stitch for 19 more rows | 42 sc per row |
Fasten off. Lay the rectangle flat. It should not curl tightly or ripple. Place a marker at each corner. Rejoin yarn at a corner of the last row, ready to travel along that long edge. Do not add unlisted corner increases in the perimeter round.
Build the Solid Lower Wall
| Round | Instructions | Count |
|---|---|---|
| 1 | Sc across the 42 stitches of the last row; 18 sc evenly along the first short side, one in each row end between the corner rows; 42 sc into the unused underside of the foundation; 18 sc up the second short side. Join | 120 sc |
| 2–8 | Ch 1; sc in each stitch; join. Seven additional rounds | 120 sc each |
The top and bottom long edges already include the four corner positions. The short sides use only the 18 row ends between them, which prevents counting each corner twice. Move the four markers upward as you work. This solid lower wall is fabric reinforcement, not a rigid or waterproof base.
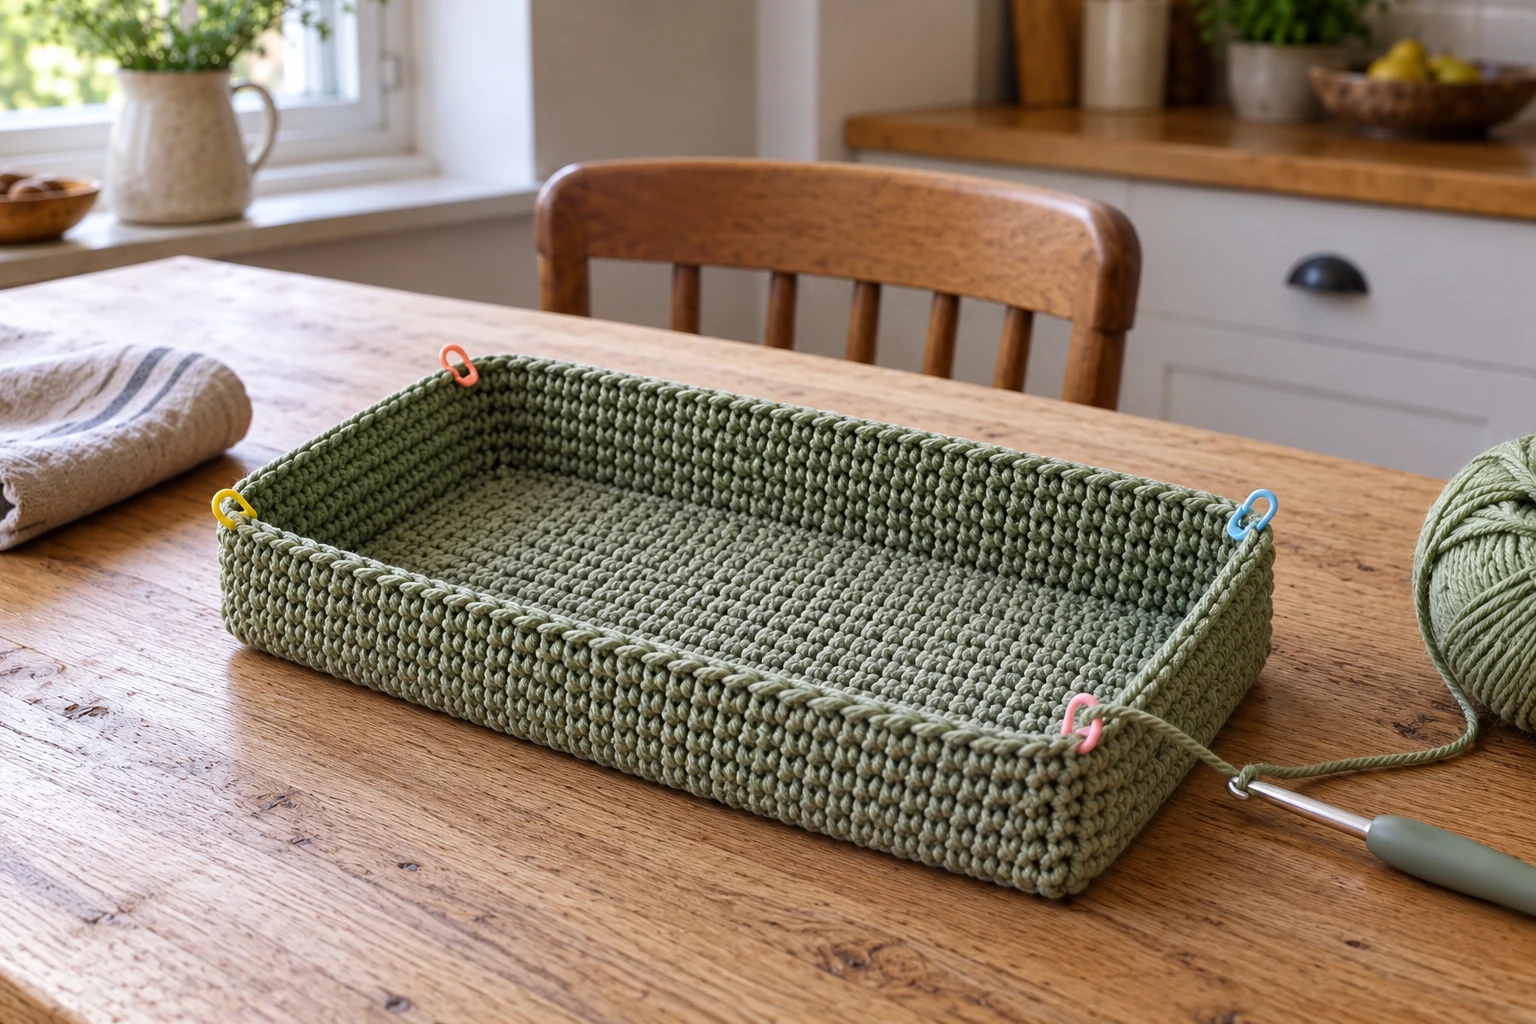
Work the Chain-Loop Mesh
| Mesh round | Instructions | Units |
|---|---|---|
| 1 | Ch 1, sc in first st. Repeat (ch 4, skip 1 st, sc in next st) 59 times. Ch 4, skip the last st, join to first sc | 60 sc anchors + 60 ch-sp |
| 2–18 | Sl st into the first ch-sp, ch 1 and sc in that space. Repeat (ch 4, sc in next ch-sp) 59 times. Ch 4 and join to the first sc. Work 17 rounds this way | 60 sc anchors + 60 ch-sp each |
Mark the first anchor so the join stays in the same area. Do not work additional sc into the anchors from the previous round; the new anchors go into the chain spaces. Lay the work down occasionally and compare both sides. If a round has 59 or 61 spaces, find the skipped or doubled space before adding height.
Make the Top Band and Two Handles
| Part | Instructions | Count |
|---|---|---|
| Top band 1 | Ch 1; work 2 sc into each of the 60 chain spaces, skipping all old sc anchors; join | 120 sc |
| Top band 2–8 | Ch 1; sc in each st; join. Fasten off after Round 8 | 120 sc each |
| Handle foundation | For each of 2 handles, ch 9 | 8 working chains |
| Handle row 1 | Sc in second ch from hook and across | 8 sc |
| Handle rows 2–96 | Ch 1, turn; sc across. Leave a long sewing tail after Row 96 | 8 sc per row |
At the planning row gauge, each strap is roughly 44 cm long and 4.4 cm wide, before overlap and stretch. Those are calculated estimates. Make both straps with the same row count. Do not narrow the handles to thin cords: the width spreads pressure over your fingers.
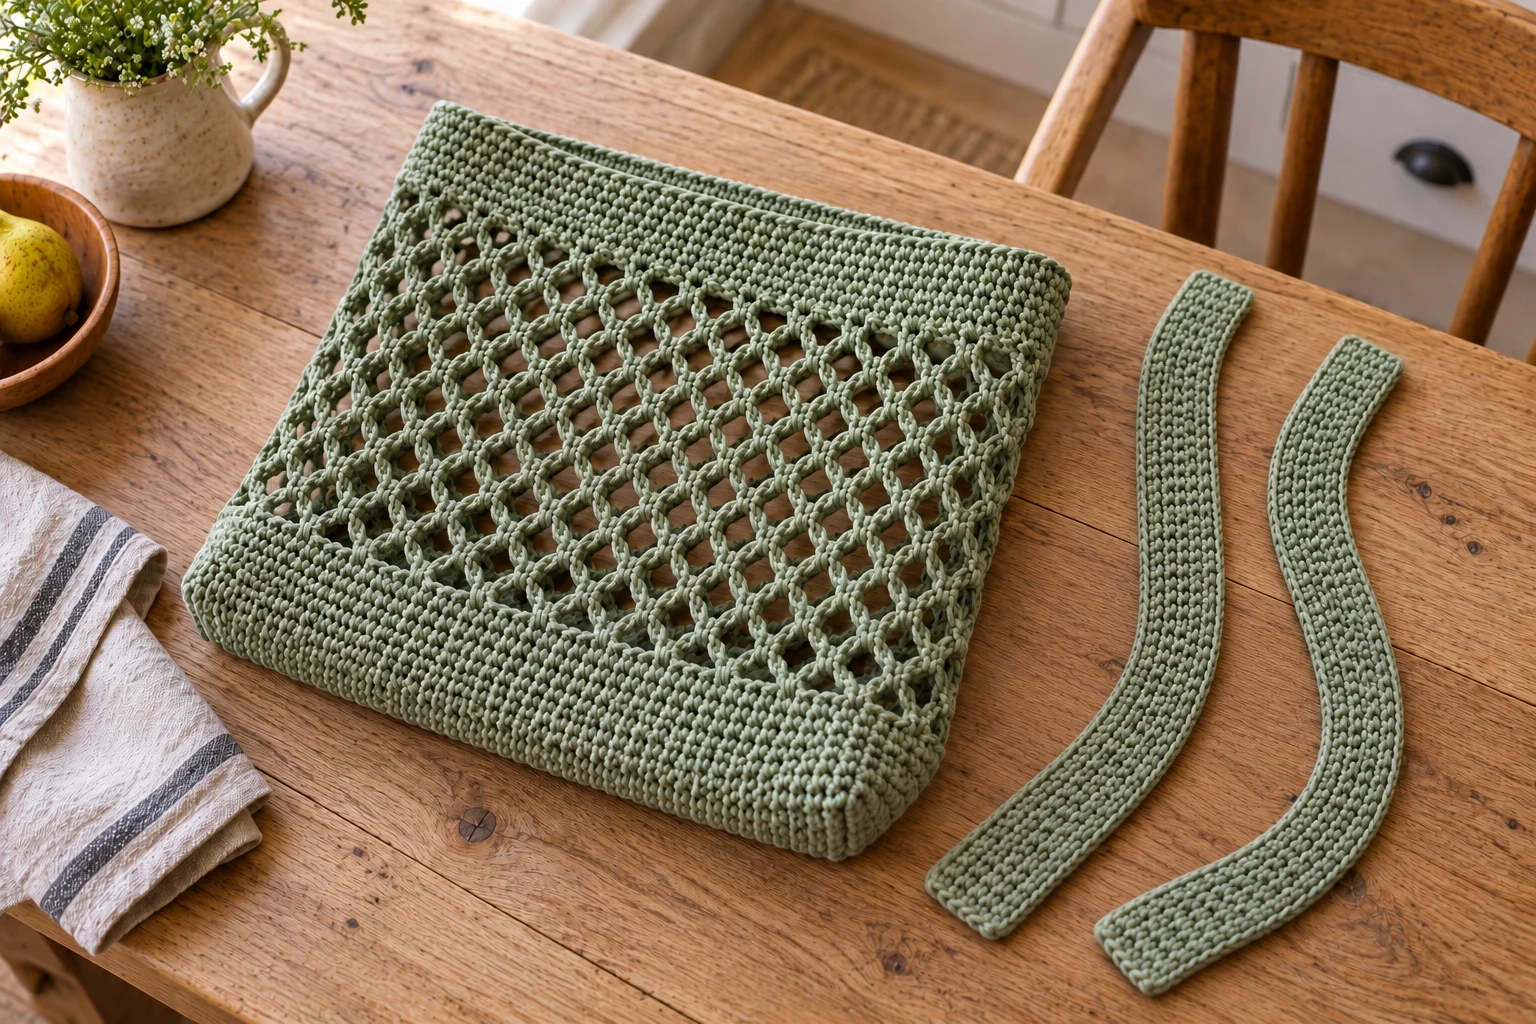
Attach and Check the Handles
Number the top-band stitches from 1 at the first long-side marker. The long sides occupy stitches 1–42 and 61–102. On the front long side, align one handle end with stitches 6–13 and the other with 30–37. On the back, use 66–73 and 90–97. Pin the ends down over nearly the full band height. Keep the handles untwisted and at equal heights.
Sew a rectangle around each overlapped end, then add two diagonal lines through that rectangle. Catch the strap and top-band fabric without pulling it into a hard ridge. Secure the tails through several nearby stitches on the inside. A stitched box does not establish a tested load rating: inspect all four joins with the bag empty, then try a light soft load over a table before normal use.
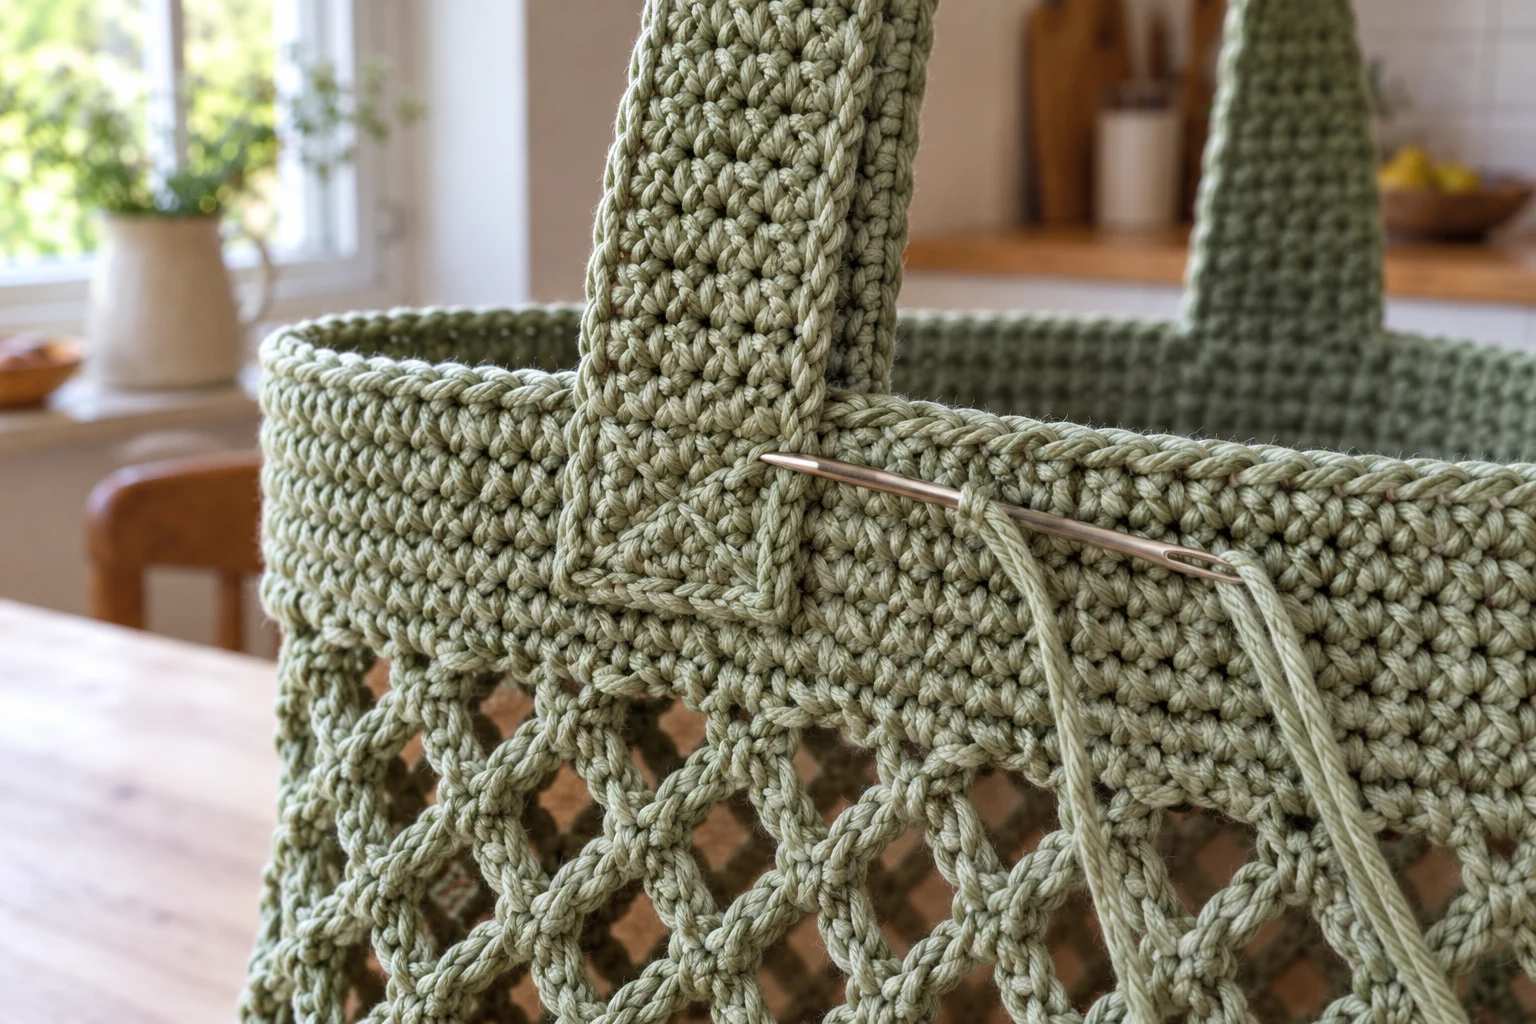
Troubleshooting
| Issue | Likely cause | Adjustment |
|---|---|---|
| Base corners bunch | Corners counted twice | Use 42 + 18 + 42 + 18 in the perimeter |
| Mesh becomes narrower | A chain space was skipped | Count 60 spaces before continuing |
| Top band flares | Sc worked into both spaces and old anchors | Use only 2 sc per chain space in its first round |
| Bag hangs unevenly | Unequal handles or attachment spacing | Count rows and mirror the marked positions |
| Contents stretch the mesh | Cotton and open fabric move under weight | Use a light load; add a separately fitted liner if needed |
Care and Everyday Use
Carry lightweight produce or yarn rather than sharp or very heavy objects. The openings will not contain loose coins or tiny notions. Follow the cotton label for washing, reshape the base and let the bag dry completely. Test a wash on a swatch first; shrinking or dye transfer can change the finished result.
For another bag construction, compare the granny square tote. Keep this mesh pattern and that square-based pattern separate in your notes because their base, joins and sizing work differently.
Frequently Asked Questions
Can I use acrylic yarn?
You can, but fabric behavior and stretching will change. Swatch the base and handles, check the fabric under a light load, and do not assume the cotton estimates will apply.
Can I make it taller?
Add complete mesh rounds while keeping 60 chain spaces. Extra height increases stretch and yarn use. Recheck the proportions before starting the top band.
Why does the pattern use a sewn handle?
Separate flat straps let you match their lengths and spread the attachment over the solid band. They still require careful sewing and a practical load check.
Do I work into each chain of the mesh?
No. In the top-band transition, put 2 sc into each whole ch-4 space. In later band rounds, work into the resulting single crochets.
Can I change the base stitch count?
Not by changing only one number. The short-side pickup, mesh-space count and handle positions must all be recalculated together.
Is the carrying capacity tested?
No. This is a draft with checked arithmetic, not a tested shopping-bag load specification.
Compact Market Bag Pattern Card
| Section | Essential instructions |
|---|---|
| Base | Ch 43; 42 sc across for 20 rows |
| Perimeter and lower wall | 120 sc; 8 rounds including pickup |
| Mesh | 60 ch-4 spaces for 18 mesh rounds |
| Top band | 2 sc per space = 120; 8 band rounds |
| Handles | 2 strips, each 8 sc × 96 rows |
| Finish | Attach over the band, secure ends, inspect and test lightly |