Crochet Calla Lily Pattern with a Shaped Spathe
Make a cream crochet calla lily with a curved spathe, yellow center and covered stem. Includes shaping counts, leaf instructions and assembly.
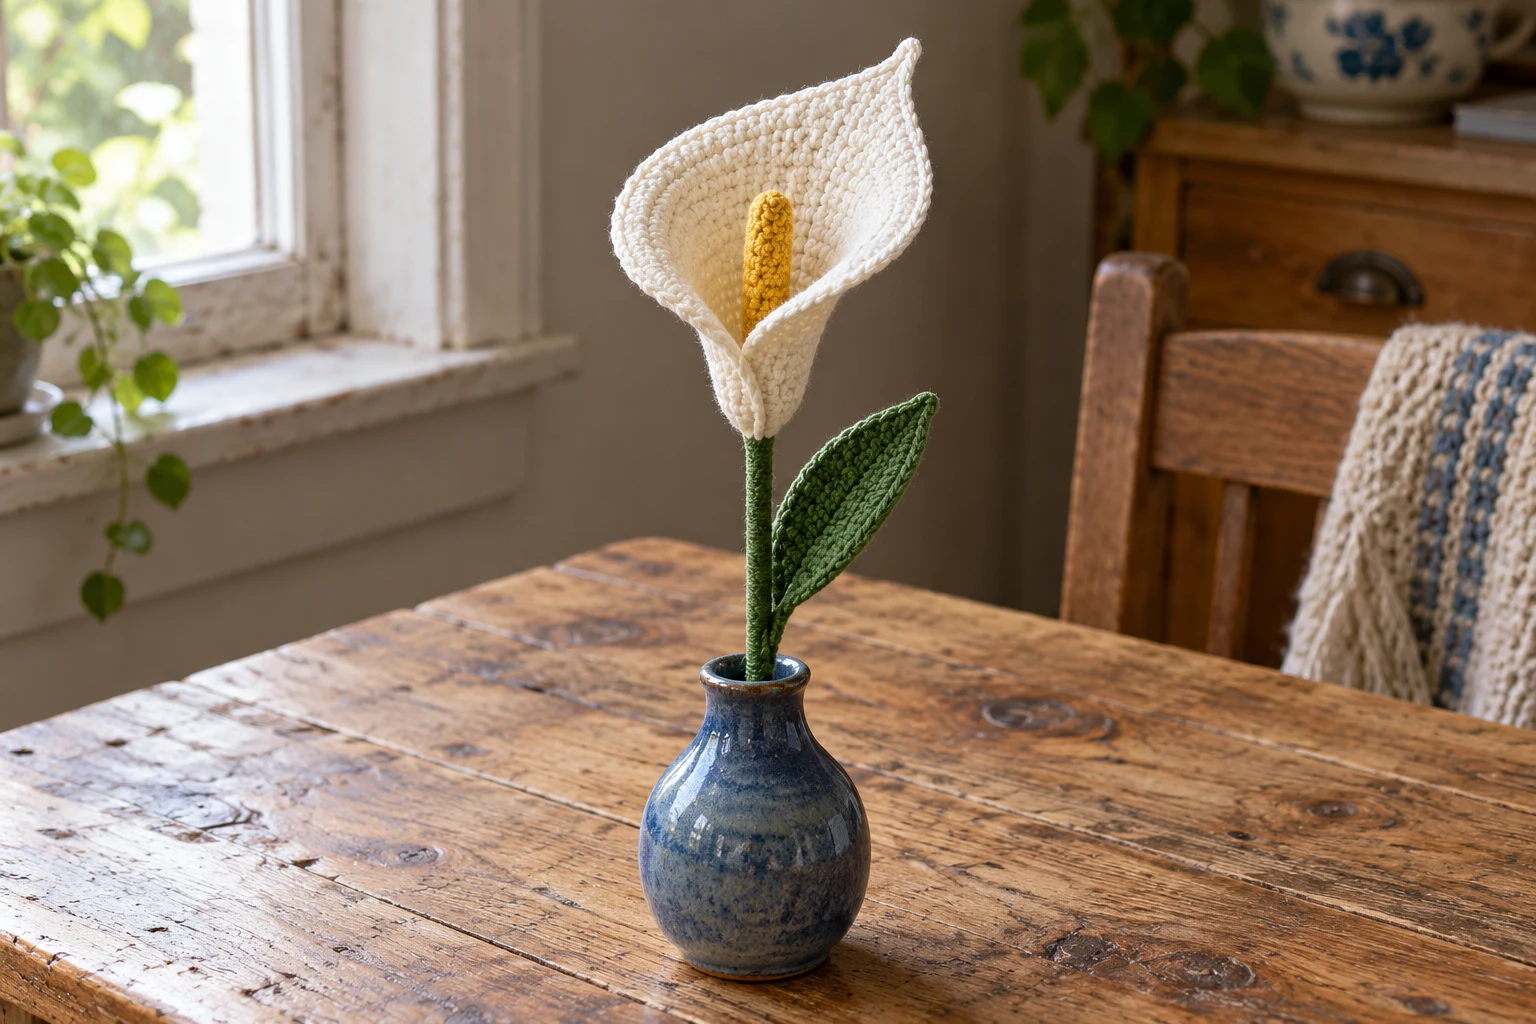
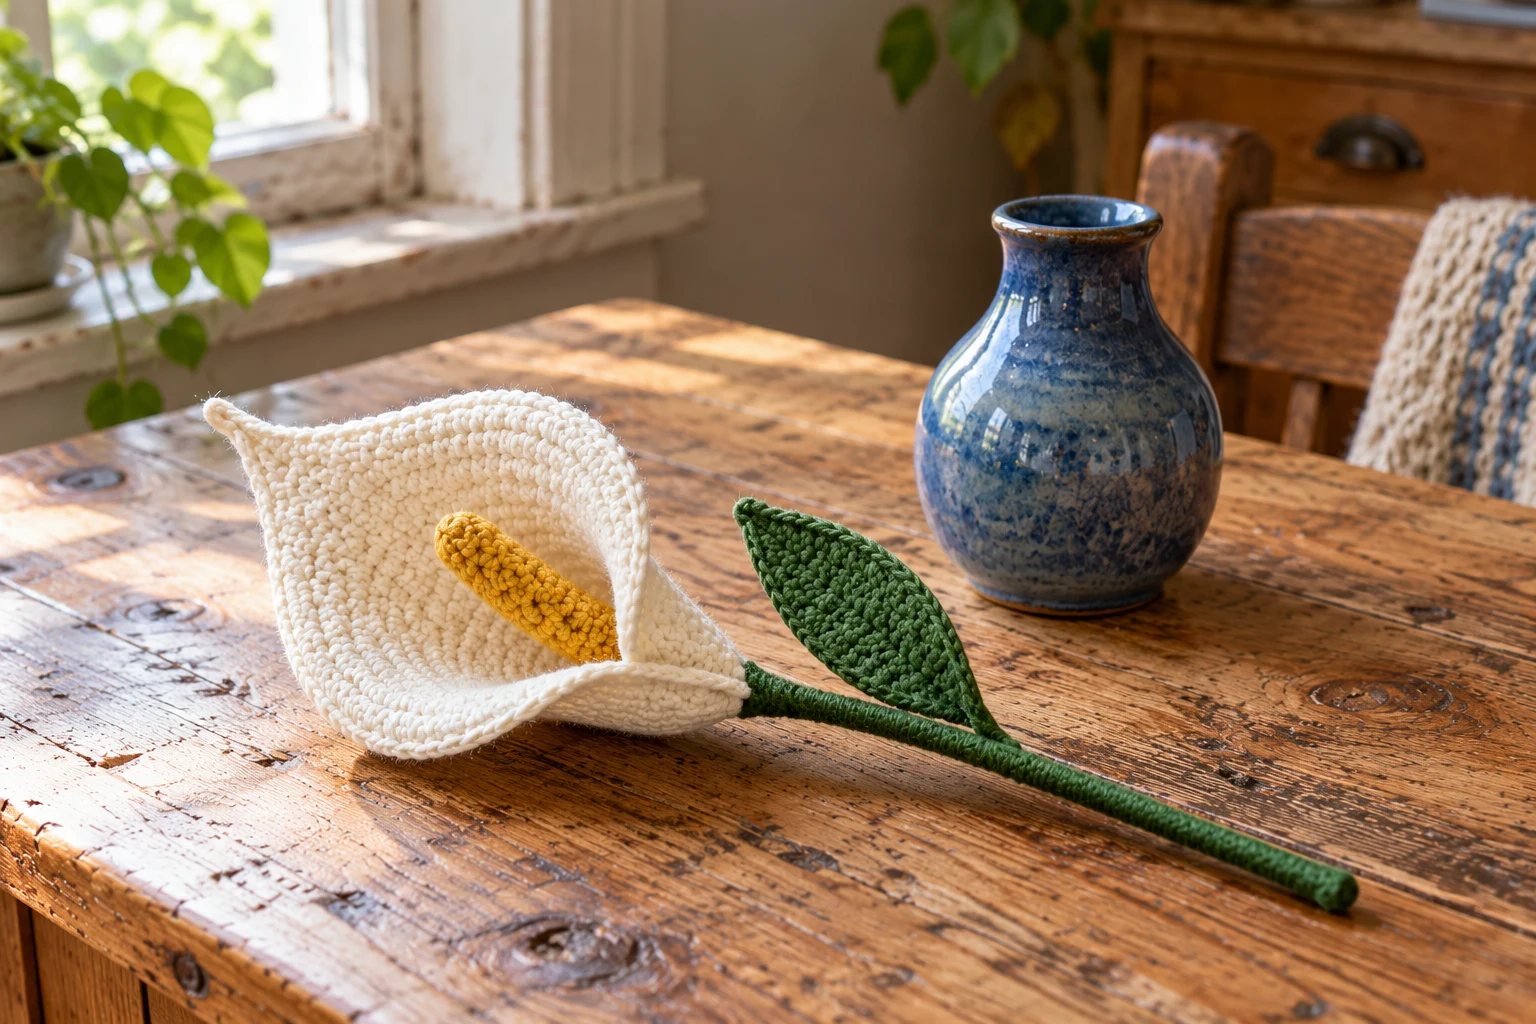
A calla lily gets its silhouette from one curved spathe wrapped around a narrow center. This cream cotton version uses a broad oval that is worked around a foundation chain, then folded at its base. A separate yellow cylinder sits inside the funnel, and a covered support forms the stem.
Crochet one cream oval around a 15-chain foundation, enlarging both ends over three rounds. Add a small pointed tip at one end, sew the opposite end into an overlapping cone, and attach a yellow six-stitch cylinder inside. Finish with one green leaf and a covered blunt stem.
Project Overview
| Detail | Information |
|---|---|
| Terms | US crochet |
| Skill | Confident beginner with sewing |
| Construction | Crochet one cream oval around a 15-chain foundation, enlarging both ends over three rounds. Add a small pointed tip at one end, sew the opposite end into an overlapping cone, and attach a yellow six-stitch cylinder inside. Finish with one green leaf and a covered blunt stem. |
| Testing | Counts reviewed; physical sample not tested |
The project views are generated illustrations of the intended construction. Sizes, yarn quantities and attachment performance remain unverified on a physical sample.
Materials
| Material | Suggested specification |
|---|---|
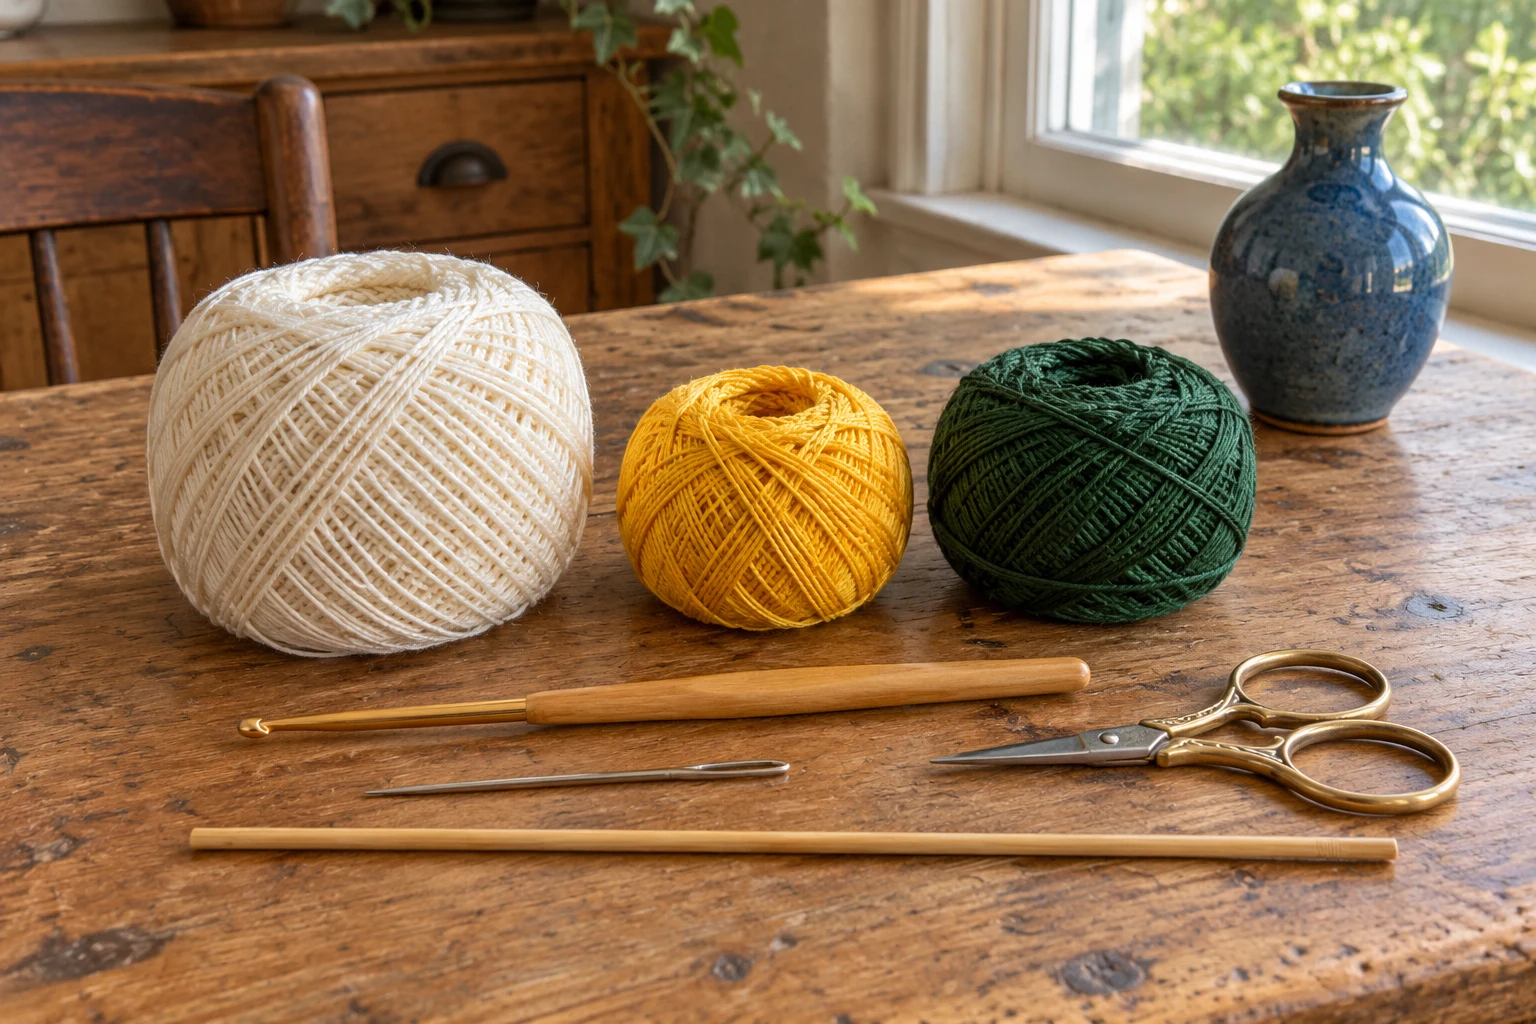
| Yarn | About 15–20 g cream,5 g yellow and 5–10 g dark green fine cotton; estimates |
| Hook | 2.5 mm or suitable size for closely worked cotton |
| Stem | One 20 cm blunt bamboo support, both ends fully covered |
| Tools | Yarn needle, scissors, markers, sewing pins |
Size and Gauge
No physical sample gauge is available. With fine cotton, the intended spathe is approximately 7–9 cm long; this is an estimate, not a measured result. Keep the same yarn and hook for both sides of the oval. Make the spadix first if you want to assess its scale against the spathe before joining.
Abbreviations and Working Notes
| Term | Meaning |
|---|---|
| ch | Chain |
| sc | Single crochet |
| sl st | Slip stitch |
| inc | 2 sc in one stitch |
| dec | Invisible sc decrease over 2 stitches |
| MR | Magic ring |
| hdc | Half double crochet |
| dc | Double crochet |
US terms. Ch 1 at the start of a joined round does not count. Sl st joins do not add to the round total. Hdc means half double crochet; dc means double crochet.
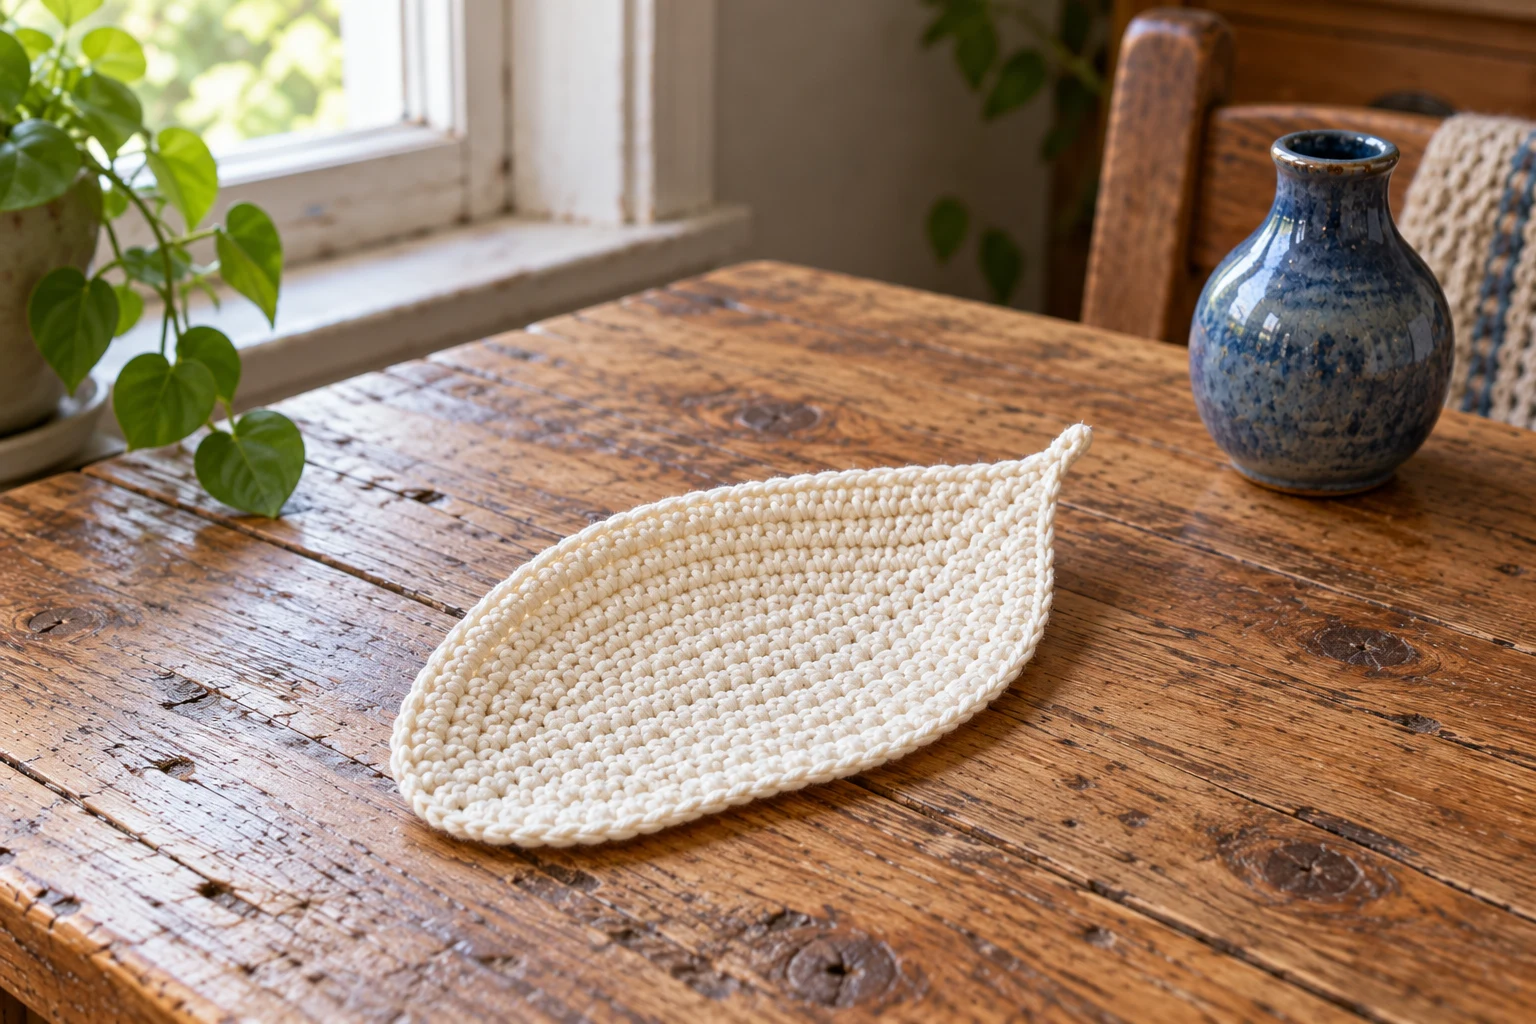
The cream oval has two straight sides of 13 stitches and two three-stitch end groups in its first round. Mark both end groups; all increases stay at these ends.
This is decorative craft work with a rigid stem support, not an established child-safe toy. Keep the support blunt and concealed. Remove every pin after sewing.
Crochet the Cream Oval Spathe
| Round / stage | Instructions | Count / check |
|---|---|---|
| Foundation | Ch 15 | 14 usable chains |
| 1 | Sc in second chain and next 12 chains;3 sc in last chain. Work underside: sc in next 12,2 sc in starting chain; join | 30 sc |
| 2 | 13 sc; inc in next 3;13 sc; inc in last stitch; join | 34 sc |
| 3 | 13 sc; (sc,inc) ×3;13 sc; (sc,inc); join | 38 sc |
Round 1 has 13 sc on the first straight run,3 at the far end,12 returning sc and 2 in the start:30 total. In Round 2 the starting chain’s first sc belongs to the 13-stitch returning side; the final two starting-chain sc are not both at the end of the round. The written Round 2 deliberately adds four increases, with three at one tip and one at the other, making one end broader. Round 3 repeats that asymmetry. Keep markers so the wide tip stays identifiable.
Add the Point and Shape the Funnel
| Round / stage | Instructions | Count / check |
|---|---|---|
| Tip placement | Fasten off Round 3; locate middle of the broad 6-stitch end from Round 2 | One chosen tip |
| Point | Join cream at the chosen edge stitch; ch 3; sl st in second chain,sc in next; sl st in same edge stitch | One short point |
| Base fold | Bring opposite narrow end edges together; overlap about 1 cm | One cone |
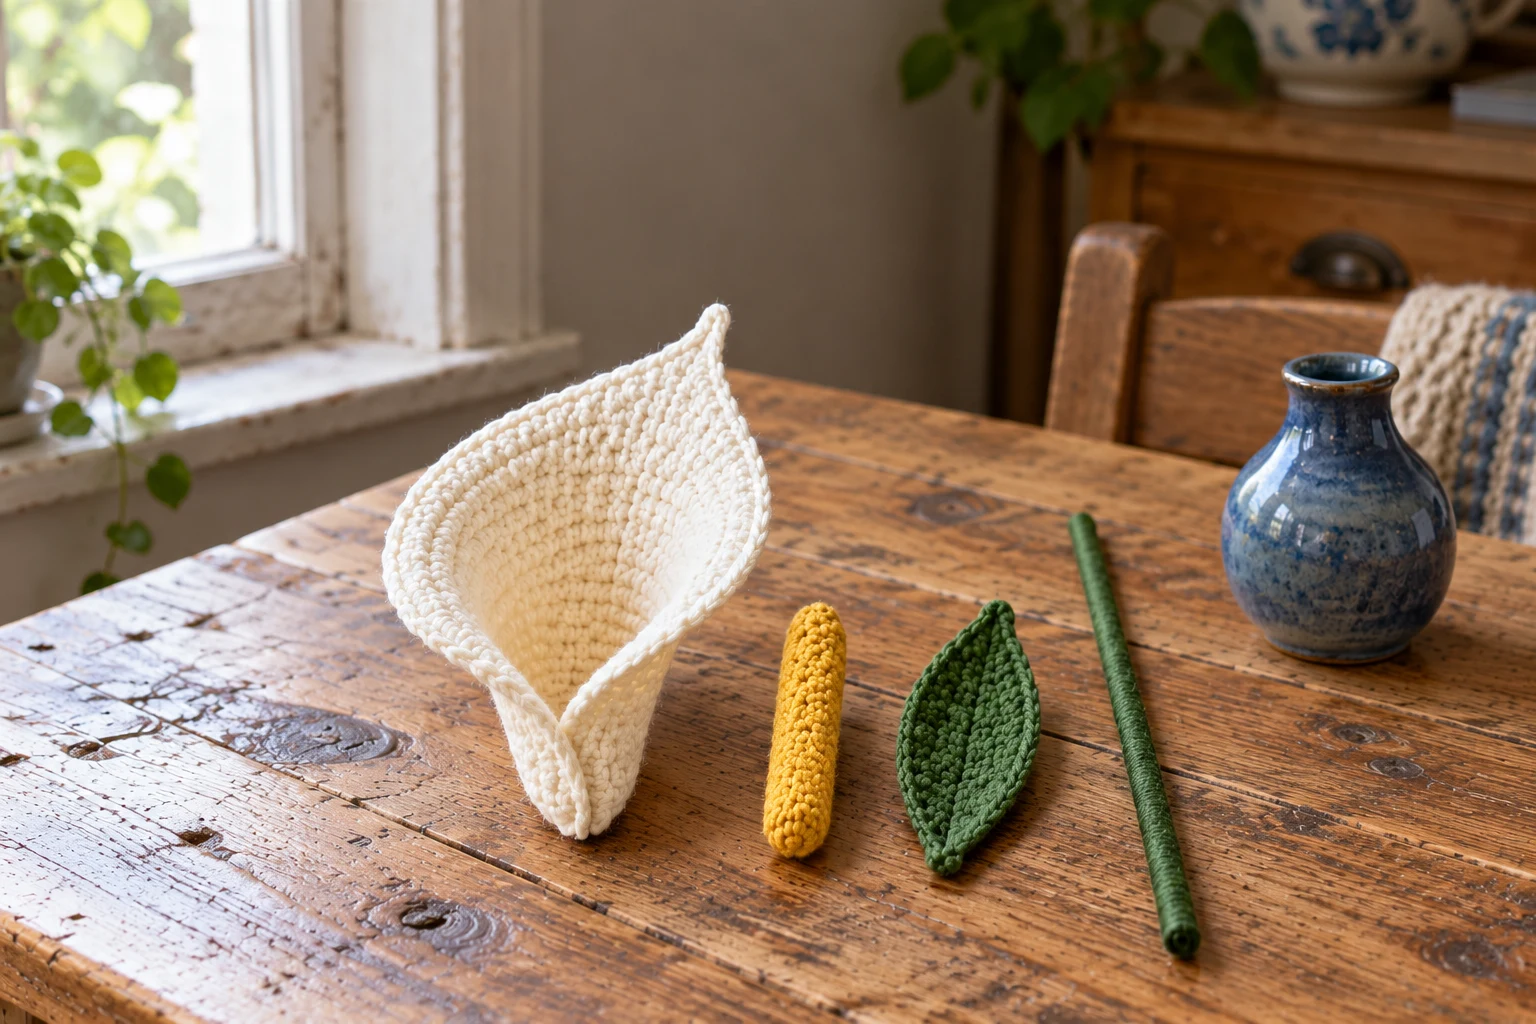
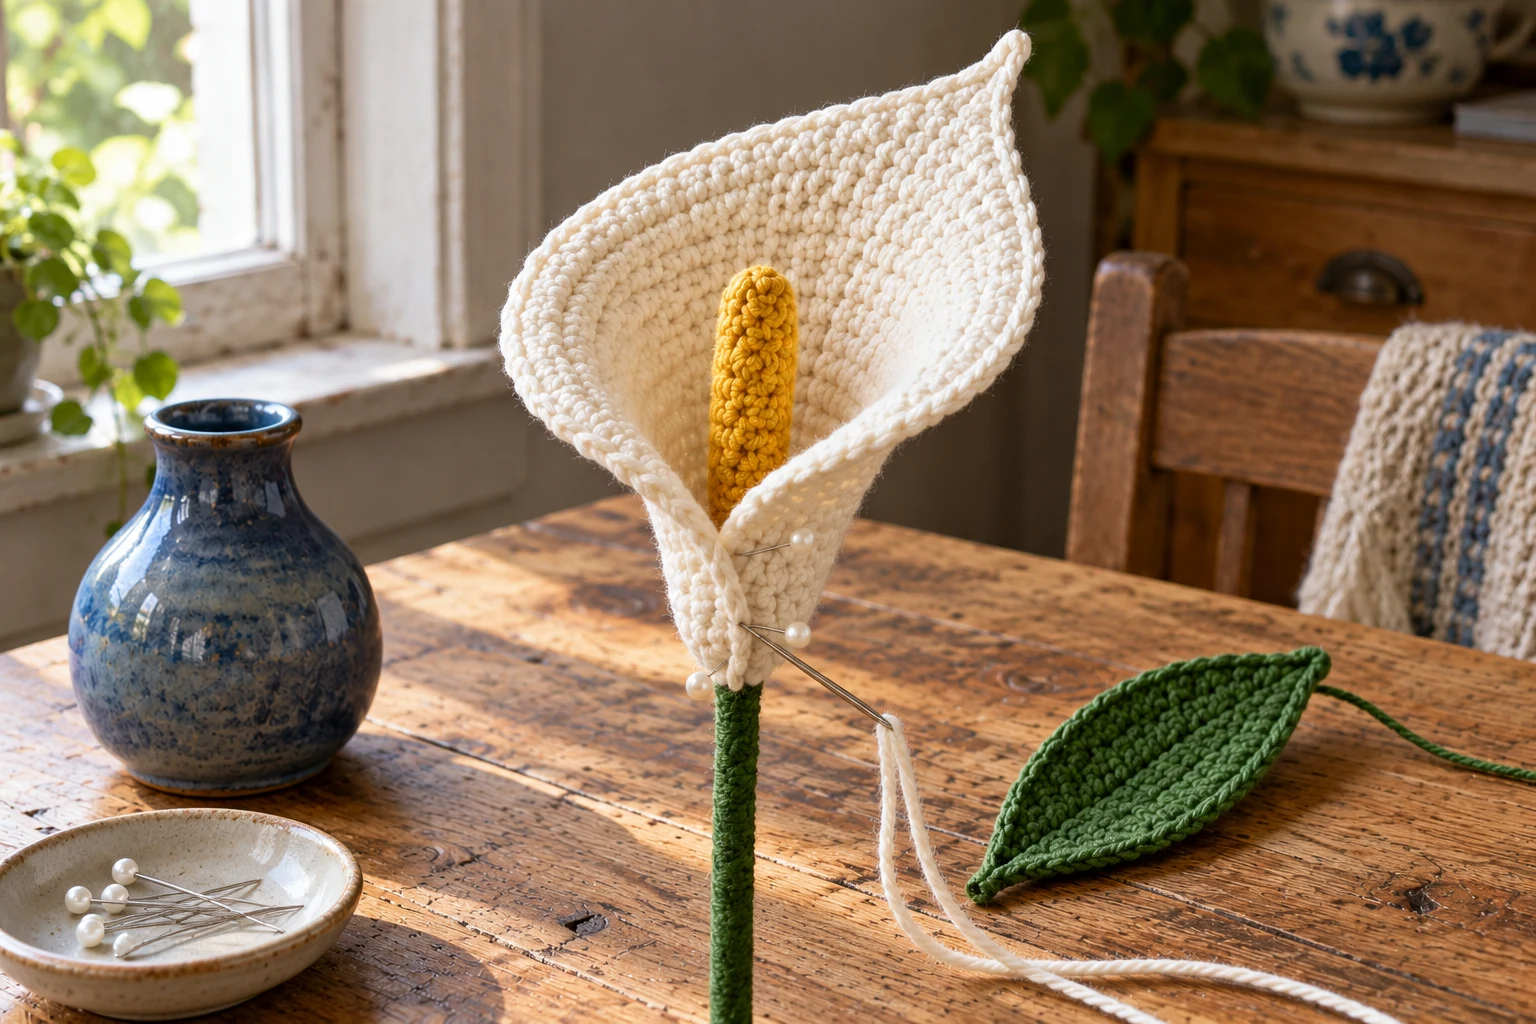
The point is a tiny chain-worked extension, not a full additional edging round. Fold the lower third of the oval so the two side edges overlap and the upper rim remains open. Pin first, place the yellow center inside, and adjust the overlap before sewing. Do not sew the entire long edge shut. The intended shape is an open funnel, not a closed bud.
Crochet the Yellow Spadix
| Round / stage | Instructions | Count / check |
|---|---|---|
| 1 | 6 sc in MR | 6 |
| 2–10 | Sc around in a continuous spiral | 6 each |
Start at the rounded exposed tip. Work nine further rounds, fasten off with a long tail and leave the base open. Do not overfill; a tiny amount of filling is optional if the cylinder collapses. Sew the cylinder to the covered top of the support and conceal its lower opening inside the cream cone. The center should project above the lower throat but remain shorter than the cream point.
Make One Green Leaf
| Round / stage | Instructions | Count / check |
|---|---|---|
| Foundation | Ch 12 | 11 working chains |
| First side | Sc 1,hdc 1,dc 7,hdc 1;3 sc in last chain | 13 stitches |
| Return side | Hdc 1,dc 7,hdc 1,sc 1 underneath; join | 10 more;23 total |
Work the return stitches into the unworked underside loops of the foundation. Keep the three-stitch tip group free to curve. Leave a sewing tail at the leaf base and attach the leaf to the lower stem; no wire is required. The leaf is one layer and should not be stuffed.
Cover and Assemble the Stem
| Round / stage | Instructions | Count / check |
|---|---|---|
| Support | Wrap green yarn closely over both blunt ends and shaft | No exposed wood |
| Flower base | Sew overlapped cream base around covered top below spadix | Open upper funnel |
| Leaf | Sew leaf base below flower on stem | One leaf |
Hold a starting yarn tail along the shaft and wrap over it. Secure the final tail with half-hitches and tuck it beneath the wrapping. At the top, sew through yarn covering rather than relying on glue alone. The cream base must catch secure wrapping and the yellow base without pulling the funnel flat. Rotate the piece and check the back seam, underside and top opening.
Troubleshooting
| Problem | Likely cause | Adjustment |
|---|---|---|
| Spathe is a closed tube | Overlap sewn too high | Open upper seam and refold lower third |
| Yellow center leans | Base not anchored evenly | Sew around base rather than one point |
| Oval twists | Increases misplaced | Recount each marked end |
| Stem covering slips | Loose wraps or unsecured tails | Rewrap before assembly |
Care and Related Projects
Keep the decorative flower dry unless every material is washable. Dust gently with a soft brush. A bamboo-supported stem should not be soaked. Store without crushing the cream funnel.
For another construction, see this related crochet project. Compare its construction separately rather than transferring its stitch counts to this design.
Frequently Asked Questions
Can I make it without a rigid stem?
You can make the cream funnel and yellow center as a decorative flower head. A freestanding stem needs support; unsupported yarn wrapping alone will not hold the same upright shape.
Does the spathe need starch?
Starch is not required by these instructions. Test any stiffener separately because it changes color, handling and washability.
Can I make a bouquet?
Make each stem separately, checking that all wrapping and joins are secure. Do not use the count tables as evidence of a tested bouquet size.
Can I leave off the leaf?
Yes. Keep the stem fully covered and finish its tails even when no leaf is attached.
Compact Pattern Card
| Part / stage | Essential instruction |
|---|---|
| Crochet the Cream Oval Spathe | 13 sc; (sc,inc) ×3;13 sc; (sc,inc); join |
| Add the Point and Shape the Funnel | Bring opposite narrow end edges together; overlap about 1 cm |
| Crochet the Yellow Spadix | Sc around in a continuous spiral |
| Make One Green Leaf | Hdc 1,dc 7,hdc 1,sc 1 underneath; join |
| Cover and Assemble the Stem | Sew leaf base below flower on stem |