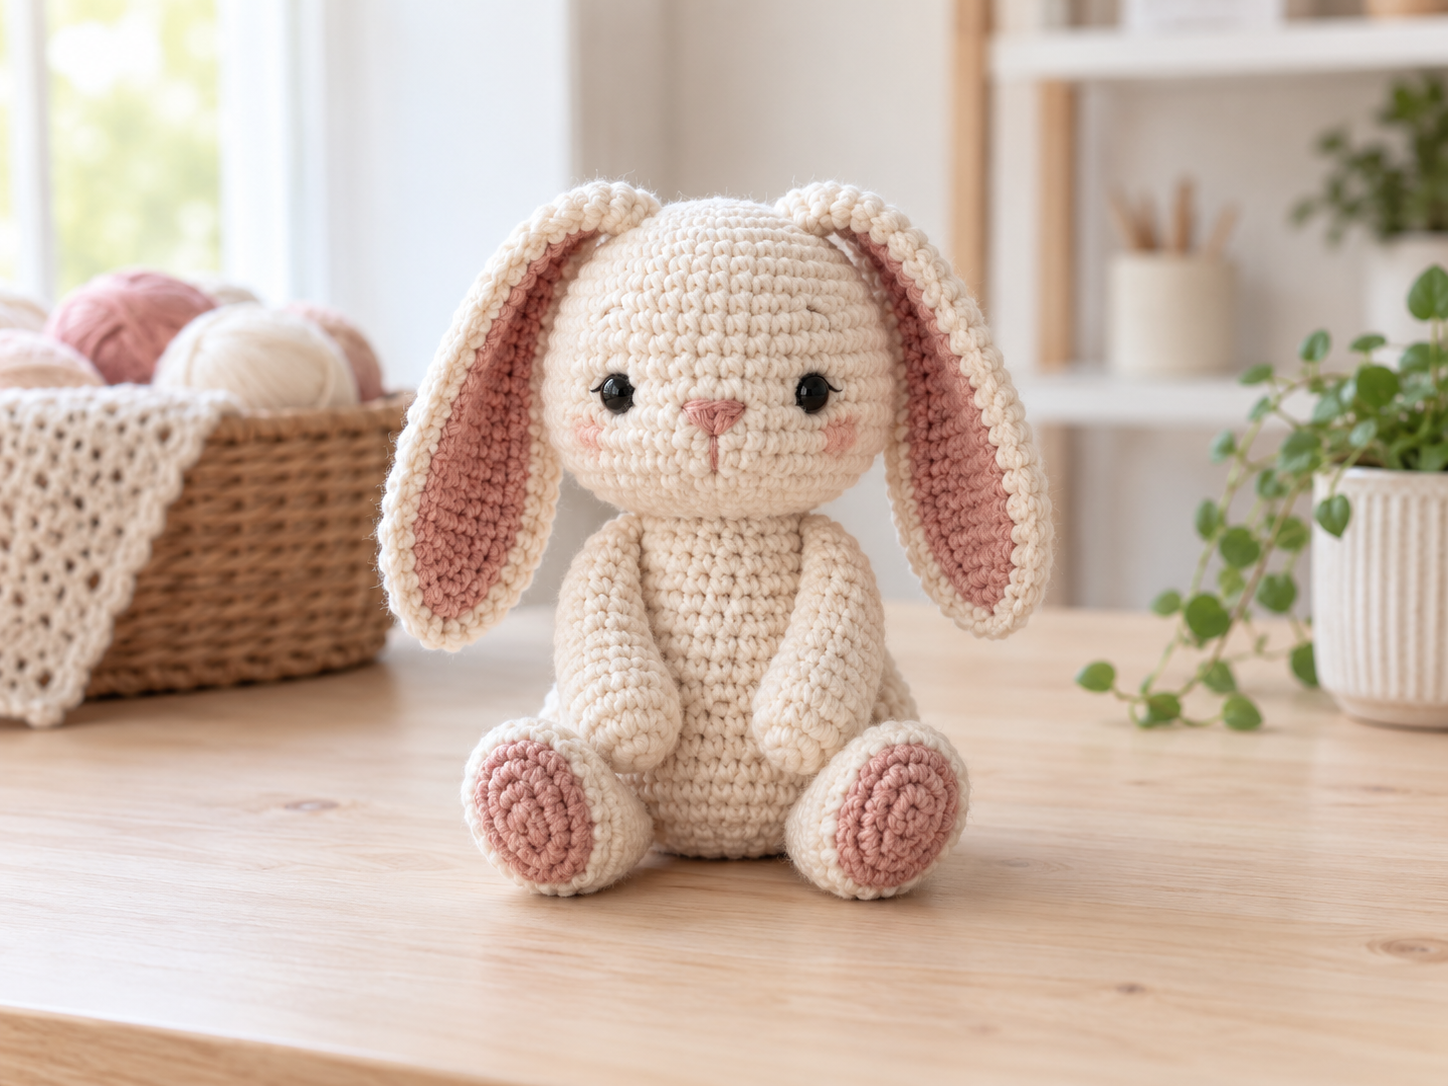
Beginner Crochet Animal Guide: Shapes, Assembly & Safety
A crochet animal looks complex only after all its parts are assembled. During construction, it is usually a small collection of balls, tubes, flat ears, and simple curves. Learning how those shapes are formed—and how to check them before sewing—makes your first amigurumi much easier.
What You Need
- Pattern with stitch counts. Counts at the end of rounds help you identify mistakes immediately.
- Smooth, light-colored yarn. It is easier to see the top loops and find the next stitch.
- A smaller crochet hook. Amigurumi fabric should be firm enough to contain stuffing without becoming painful to work.
- Locking stitch marker. Mark the first stitch of every continuous round.
- Polyester stuffing. Add it in small pieces for smoother shaping.
- Tapestry needle and removable pins. Use them to test placement and sew parts securely.
- Embroidery yarn or thread. Useful for facial details, especially on items intended for babies or very young children.
Amigurumi Abbreviations
- MR — magic ring
- ch — chain
- sc — single crochet
- inc — increase: work two single crochet stitches into one stitch
- inv dec — invisible decrease
- st / sts — stitch / stitches
- FLO / BLO — front loop only / back loop only
- FO — fasten off
Understand the Shapes Before Starting
A sphere begins with regular increases, grows through several even rounds, and closes with regular decreases. A tube uses fewer increases and more even rounds. Ears, wings, and tails may be flat pieces, narrow tubes, or shapes folded before sewing.
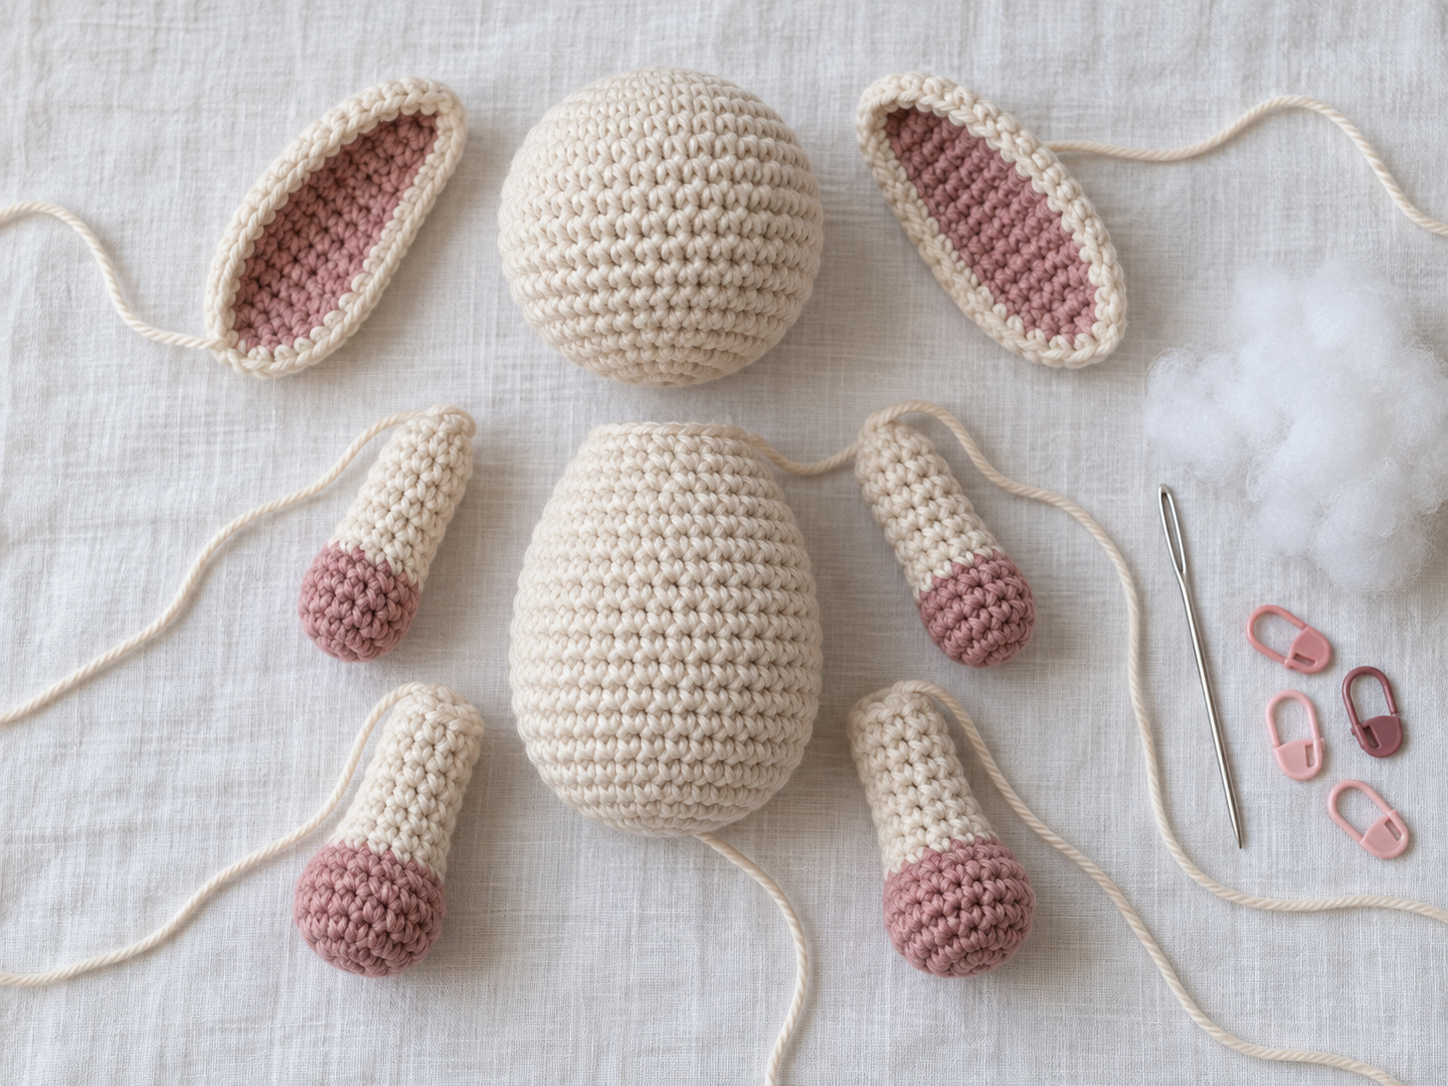
Read the pattern once and label each part mentally: head, body, arm, leg, ear, tail. Then note which pieces are made twice and which must be positioned before the opening is closed.
Step-by-Step Construction Method
Make a firm magic ring
Place the first stitches into an adjustable loop, then pull the yarn tail until the center closes. Leave a tail long enough to secure the ring from the inside. The center should close without creating a hard knot that changes the shape.
If the yarn is slippery and the ring loosens, secure the tail through nearby stitches after the first rounds. Do not cut the tail immediately.
Mark and count every round
Most amigurumi is worked in a spiral, so there is no visible join showing where the next round begins. Put the marker in the first stitch of the round and move it every time you return to it.
Count before starting the next round. If the pattern expects 24 stitches and you count 23, correct the mistake now. Adding a random stitch later may restore the number but can shift the shaping and make the animal lean.
Place increases evenly
An increase adds width by placing two stitches into one stitch. Patterns distribute increases at regular intervals so the fabric expands smoothly. If every increase sits directly above the previous increase, a sphere can develop subtle corners. Some patterns intentionally stagger increases for a rounder shape.
Use the stitch count as your main check. The visual shape can look uneven while it is still small, but the correct count preserves the intended construction.
Use invisible decreases when possible
For an invisible decrease, insert the hook through the front loop of the next stitch and then through the front loop of the following stitch. Yarn over, pull through both front loops, then complete the single crochet. This reduces a stitch with less bulk than skipping a stitch.
Work decreases firmly but do not pull the yarn so hard that the fabric puckers. Keep the working loop on the shaft of the hook so the stitch remains manageable.
Stuff gradually and shape with your fingers
Add small pieces of stuffing as the opening becomes narrower. Push the first pieces toward the edges, then fill the center. Large clumps create hard lumps and empty pockets.
- Keep narrow arms and ears lightly stuffed so they can move naturally.
- Fill the lower body evenly before adding more to the center.
- Add extra support at the neck only when the pattern construction requires it.
- Stop before the stitches spread enough to reveal white stuffing.
Close openings securely
After the final decrease round, cut a long tail. Thread it through the front loop of each remaining stitch, pull the opening closed, then pass the needle through the body and bring it out farther away. Pull gently, trim the yarn, and let the end disappear inside.
Do not depend on one loose knot at the surface. A clean closure distributes tension across the remaining stitches.
Pin every part before sewing
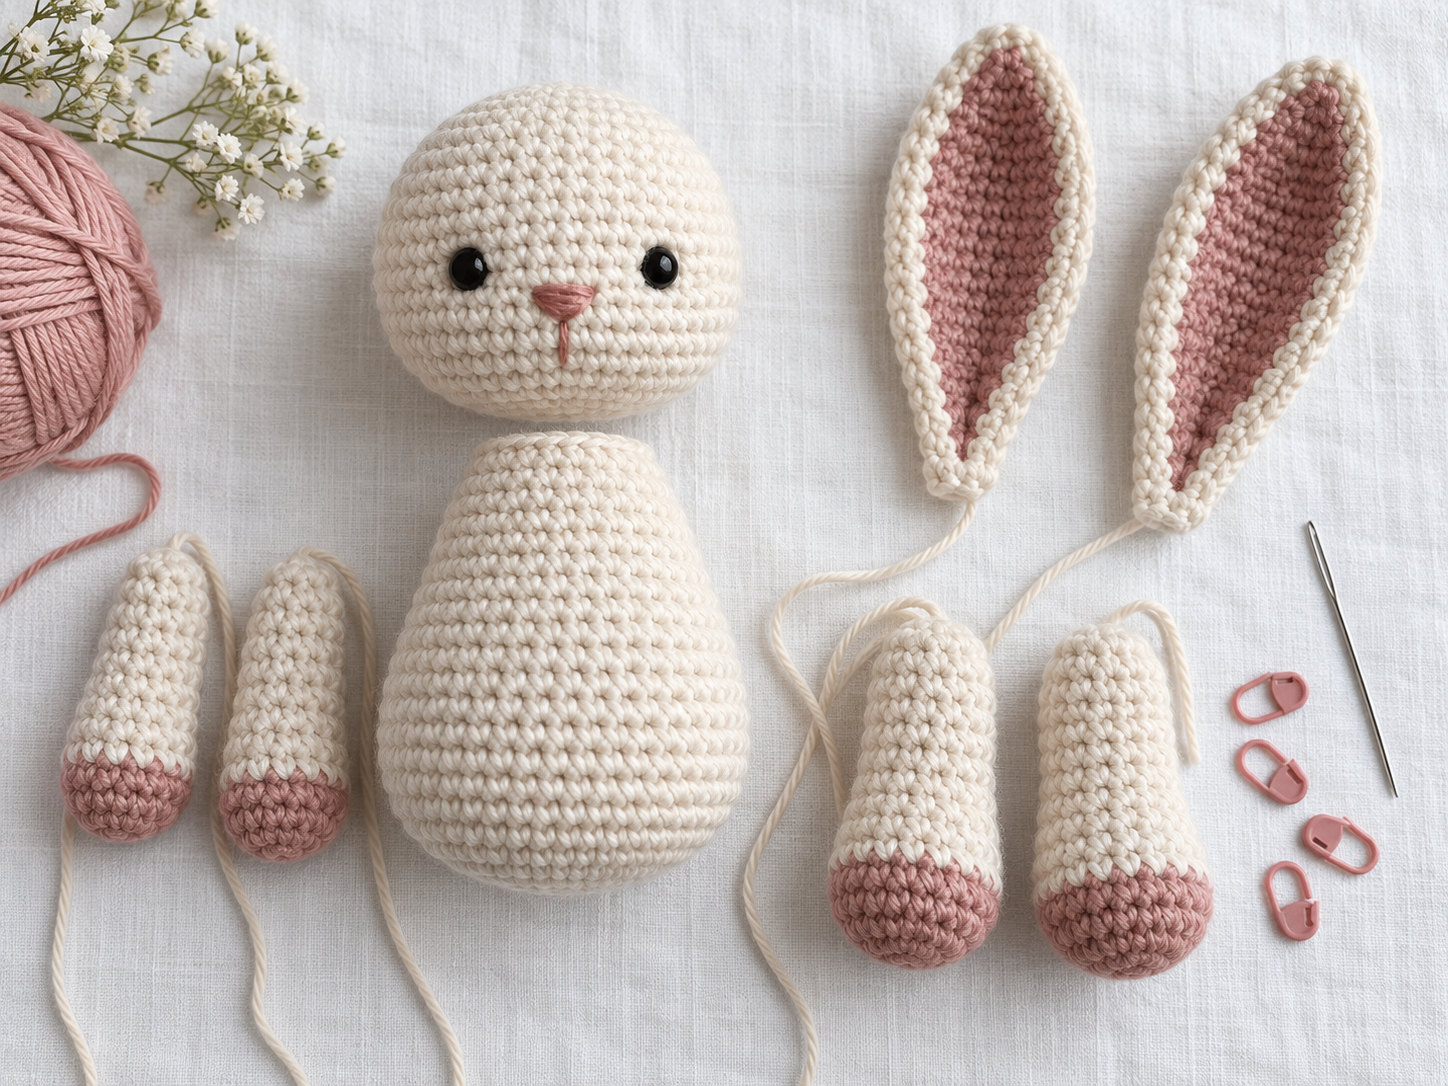
Place the head and body on a flat surface. Pin both arms, both legs, ears, and tail before attaching any one piece permanently. View the animal from the front, both sides, above, and below.
Use stitch rows as reference lines. For example, place both ears between the same two rounds and the arms the same number of stitches from the body center. Visual judgment is still important, but counted reference points make it repeatable.
Sew with small, consistent joins
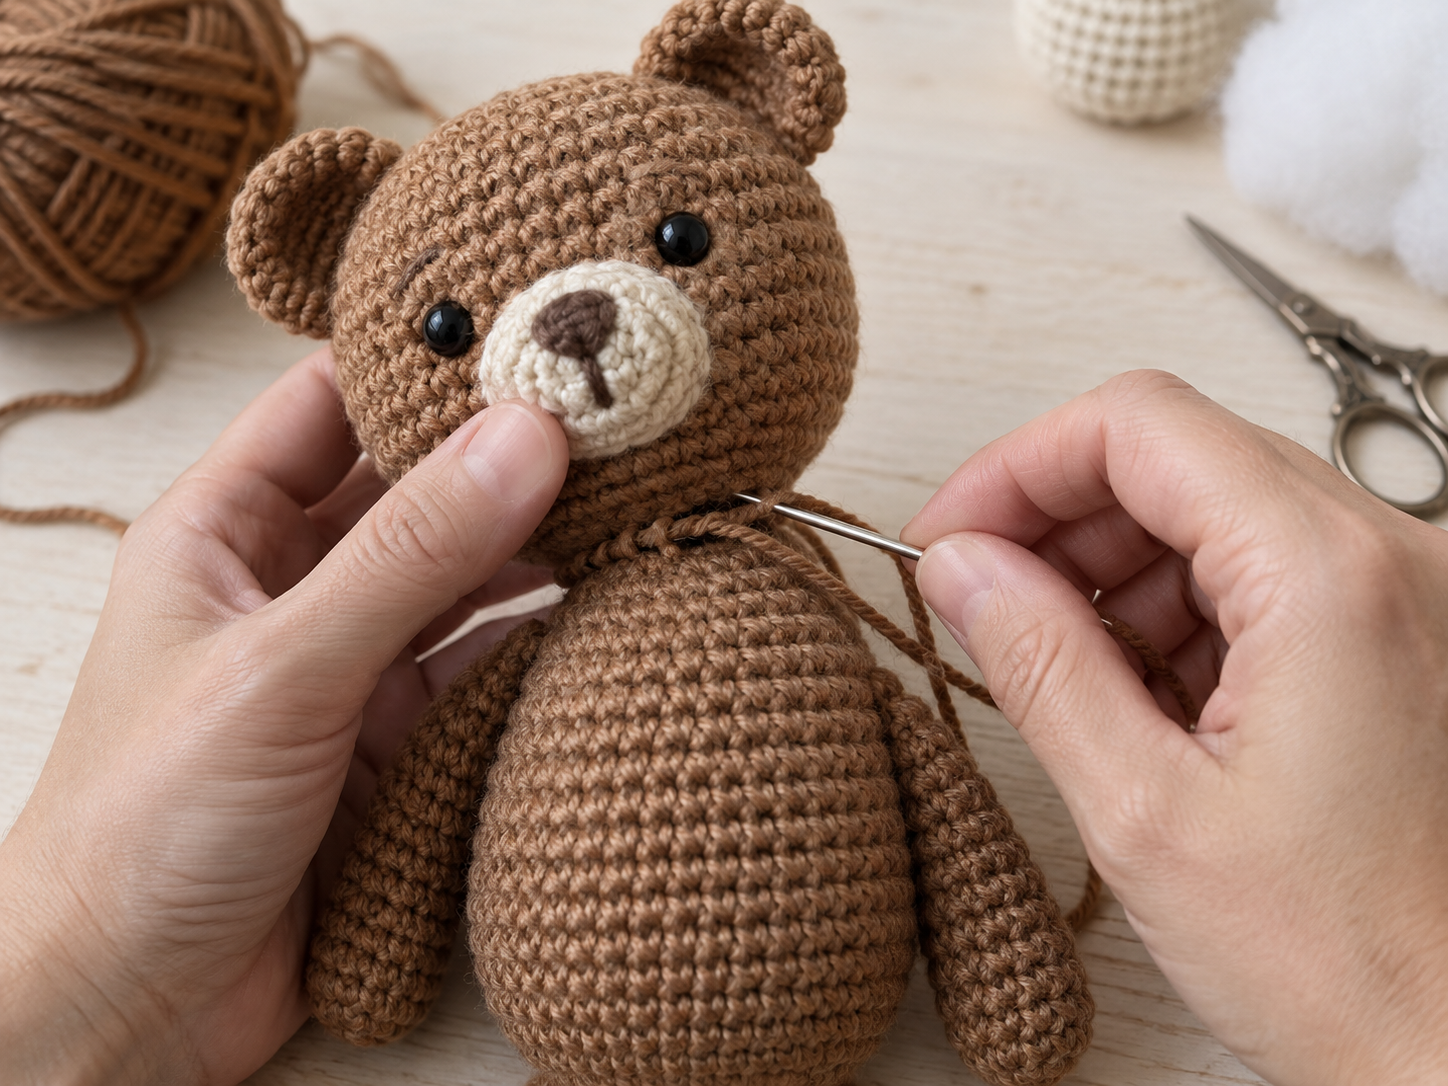
Use the yarn tail left on the part. Pass the needle through the part edge and then through one body stitch directly below it. Repeat with evenly spaced stitches around the attachment.
Pause halfway and check the angle. A limb can rotate while sewing even if it was pinned correctly. When finished, secure the yarn and bury the tail inside the body.
Position the face last
The distance between the eyes, their height, and the position of the nose change the animal’s expression. Use the center of the magic ring and the visible rounds as a grid.
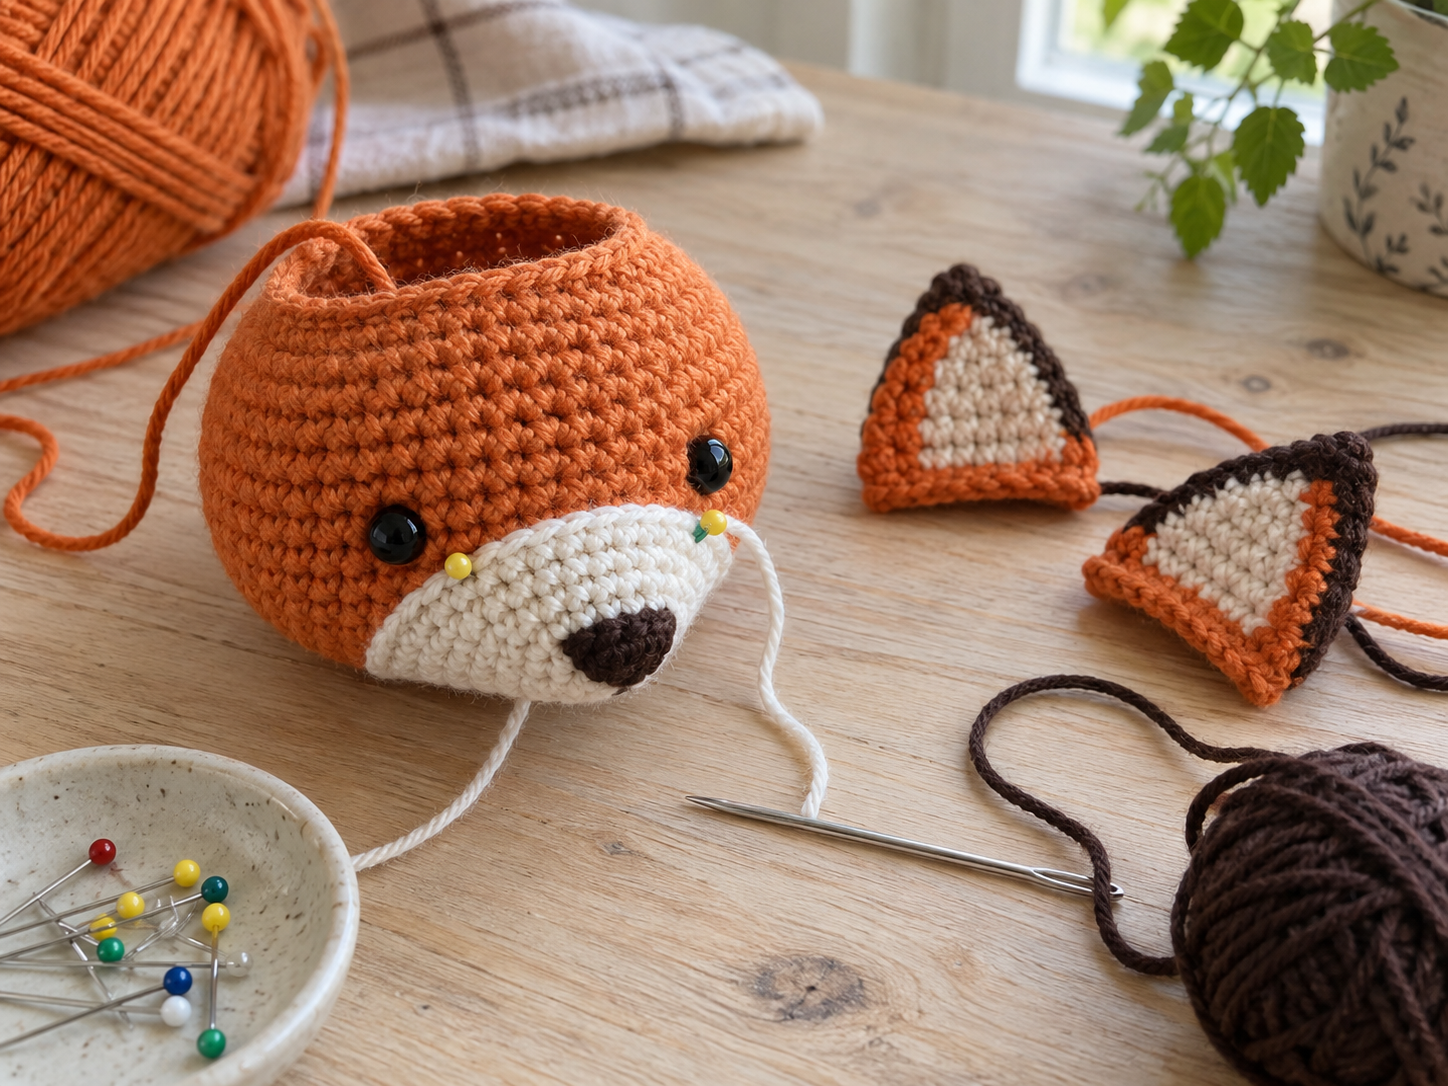
When using embroidered details, sketch the position with pins or removable markers first. Make several small stitches instead of pulling one long strand tightly across the fabric.
Final Quality Check
- Count and compare paired arms, legs, and ears.
- Check that the animal can sit or stand as the design intends.
- Look for visible stuffing, loose yarn tails, or open seams.
- Gently pull each attached part to test the join.
- Confirm that embroidered details are secured and cannot form long loose loops.
- Record the yarn, hook size, finished height, and any changes before starting another version.
Common Problems and Fixes
- The stuffing shows: use a smaller hook, reduce stuffing, or improve stitch consistency.
- The body looks polygonal: check whether increases are stacked; follow the pattern’s placement or stagger them only when the pattern allows.
- One limb is longer: recount both pieces and compare them before fastening off the second.
- The head tilts: check that the neck opening is centered and that the joining stitches have equal tension.
- The face looks uneven: remove the detail before securing it and use round numbers and the center line as coordinates.
- The toy leans after assembly: compare stuffing distribution and leg placement from below, not only from the front.
Frequently Asked Questions
Why use a smaller hook for amigurumi?
A smaller hook creates a denser fabric that holds stuffing. The correct size is still one you can work comfortably without splitting yarn or hurting your hands.
Should I join rounds with a slip stitch?
Only if the pattern instructs you to. Many amigurumi patterns use continuous spiral rounds, which require a stitch marker instead of a joined seam.
How much should I stuff the animal?
Enough to support the intended shape without widening the holes between stitches. Add small amounts, shape often, and stop before the piece becomes hard.
Can I change the yarn thickness?
Yes, but the finished size, required hook, stuffing amount, and possibly eye size will change. Make every repeated part with the same yarn and tension.
Are plastic safety eyes safe for babies?
Do not rely on the product name alone. Embroidered facial details avoid a detachable hard component and are the safer choice for babies and very young children.