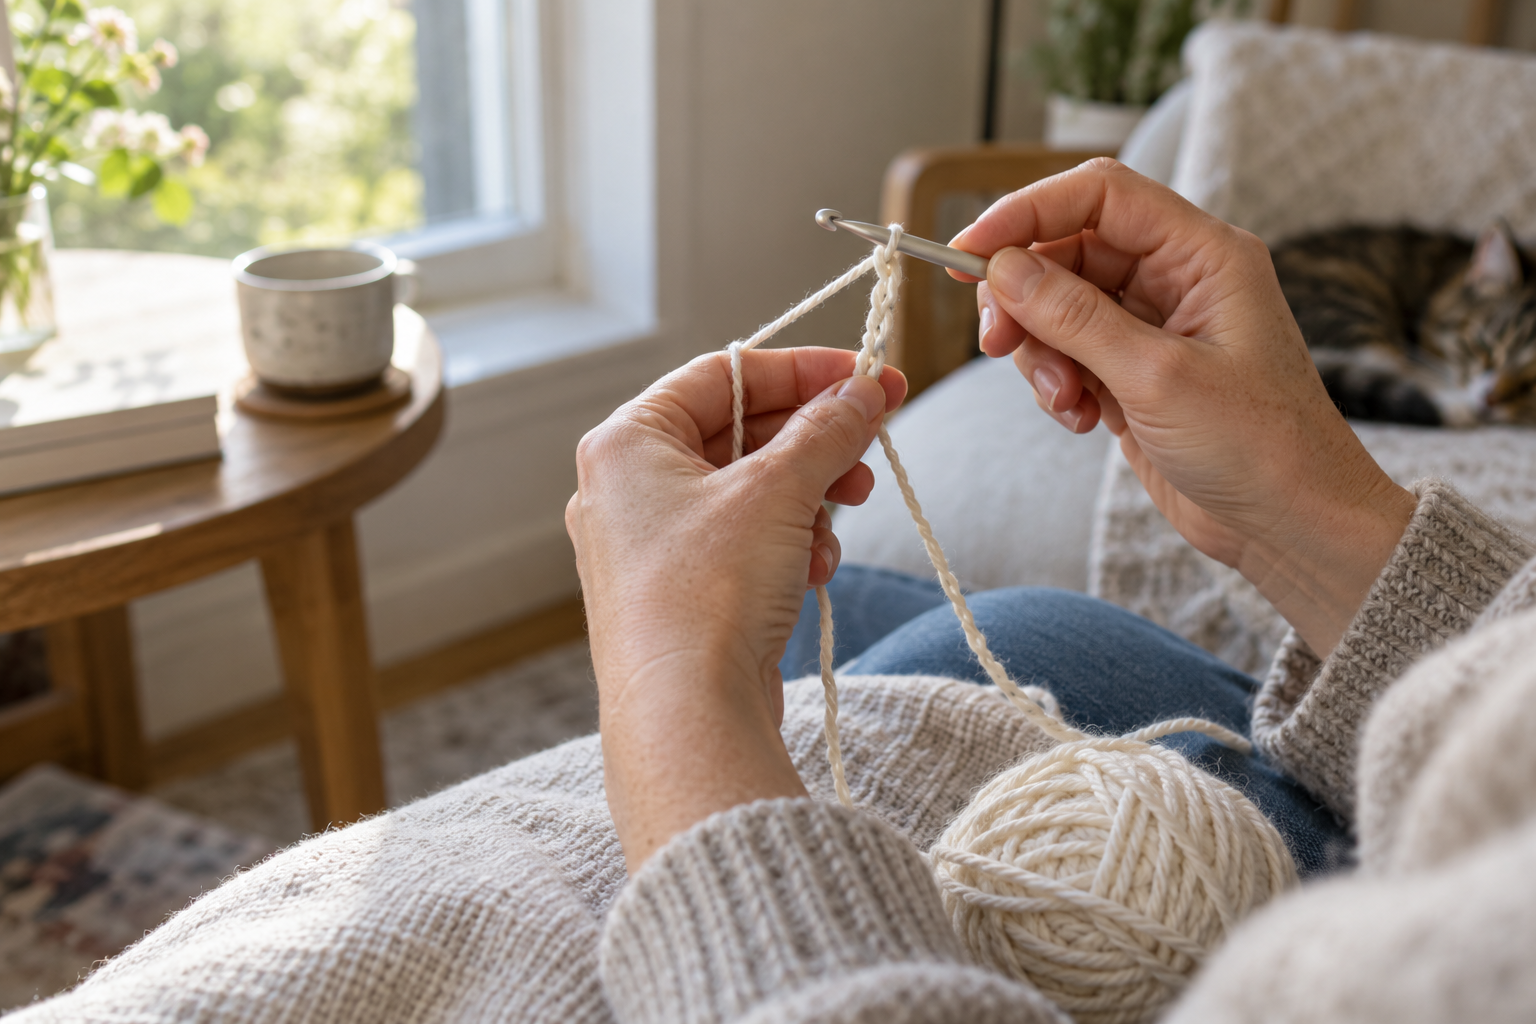
How to Hold a Crochet Hook and Yarn
Your first crochet stitches become much easier when the hook can move freely and the yarn feeds at a steady pace. This guide shows both common hook grips, a simple way to control yarn tension, and a short practice routine you can repeat until your chains look even.
What You Need
- One 5 mm crochet hook. A hook with a flat thumb rest is easy to position.
- A small ball of smooth, medium-weight yarn. Cream, pale blue, or another light solid color makes each loop easier to see.
- Scissors. You will only need these when you finish practicing.
- A comfortable chair and good light. Support your forearms if your shoulders begin to rise.
Useful Crochet Terms
- ch — chain
- yo — yarn over
- st — stitch
- working yarn — the strand connected to the yarn ball
- tail — the short loose end left after the slip knot
Before You Begin: Relax the Working Position
Sit so your shoulders can stay down. Bring the work toward you instead of bending your neck toward the hook. Your fingers should guide the tools, not squeeze them. If your knuckles become white or your wrist feels locked, stop, shake out your hands, and begin again with less pressure.
There is no prize for choosing one particular grip. Pencil grip and knife grip are both correct. Try each for a few minutes, then use the one that lets you turn the hook smoothly.
Step-by-Step: Hold the Hook and Yarn
Try the pencil grip
Hold the hook as you would hold a pencil. Rest your thumb on the flat grip, place your index finger above the hook, and support it gently with the middle finger. Keep the hook angled slightly toward the work.
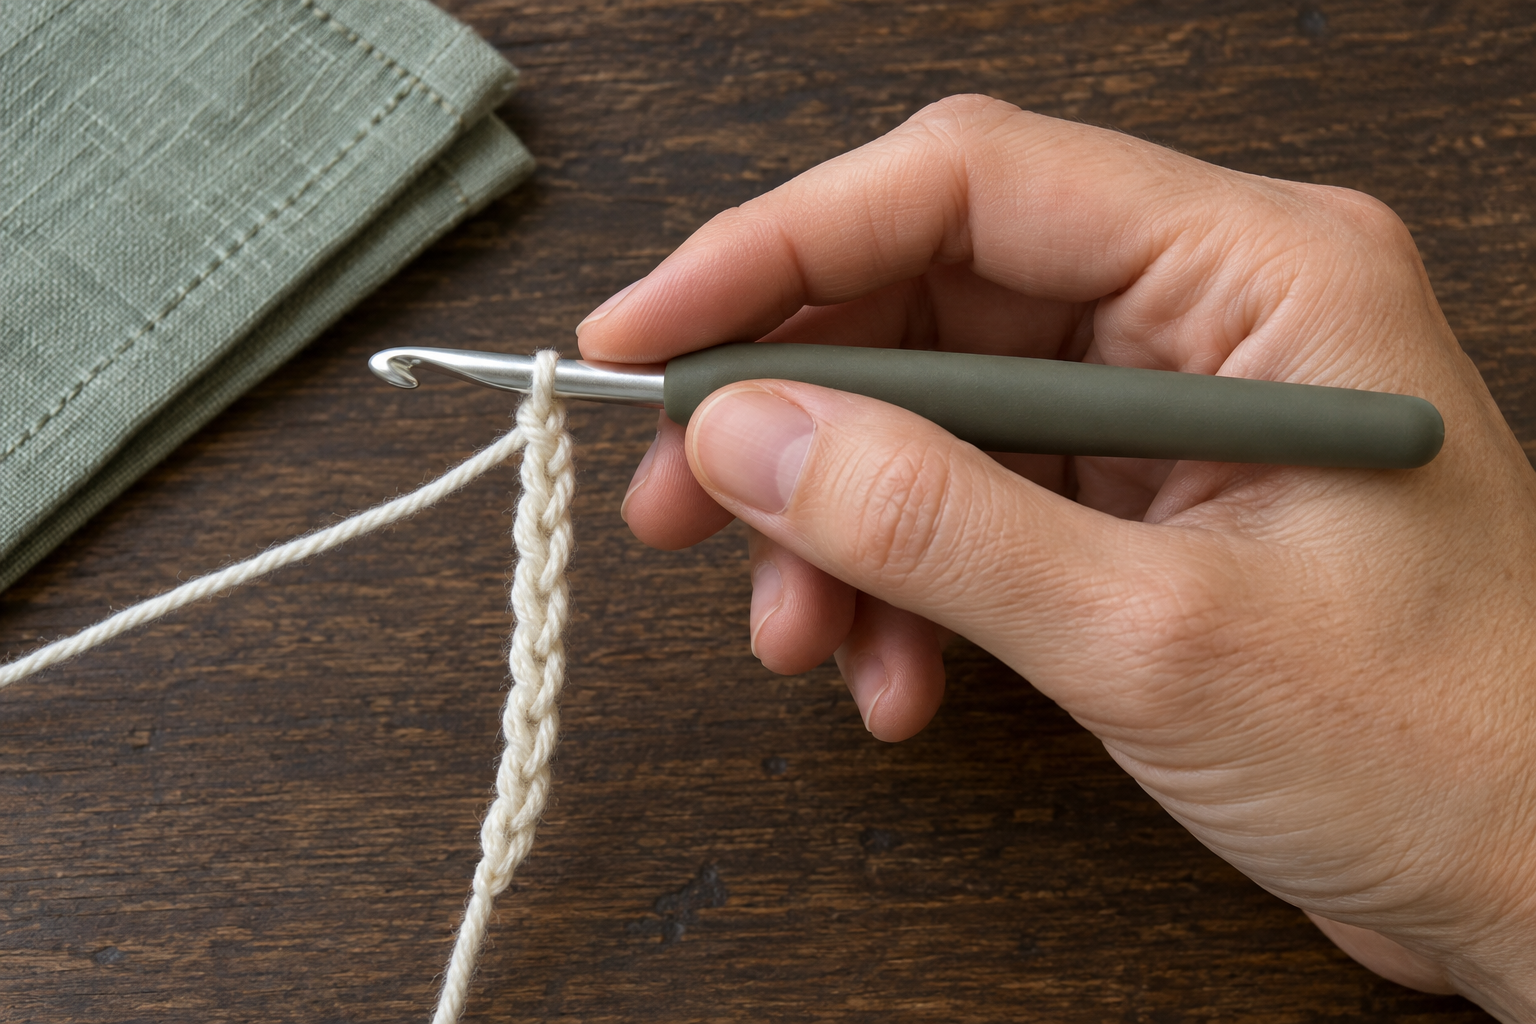
Check yourself: you should be able to roll the hook a little between your fingers. If it cannot turn, loosen your grip.
Try the knife grip
Place your hand over the hook as if you were holding a table knife. Rest the thumb on the flat grip and let the index finger settle along the handle. The movement should come from small finger and wrist motions rather than the whole arm.
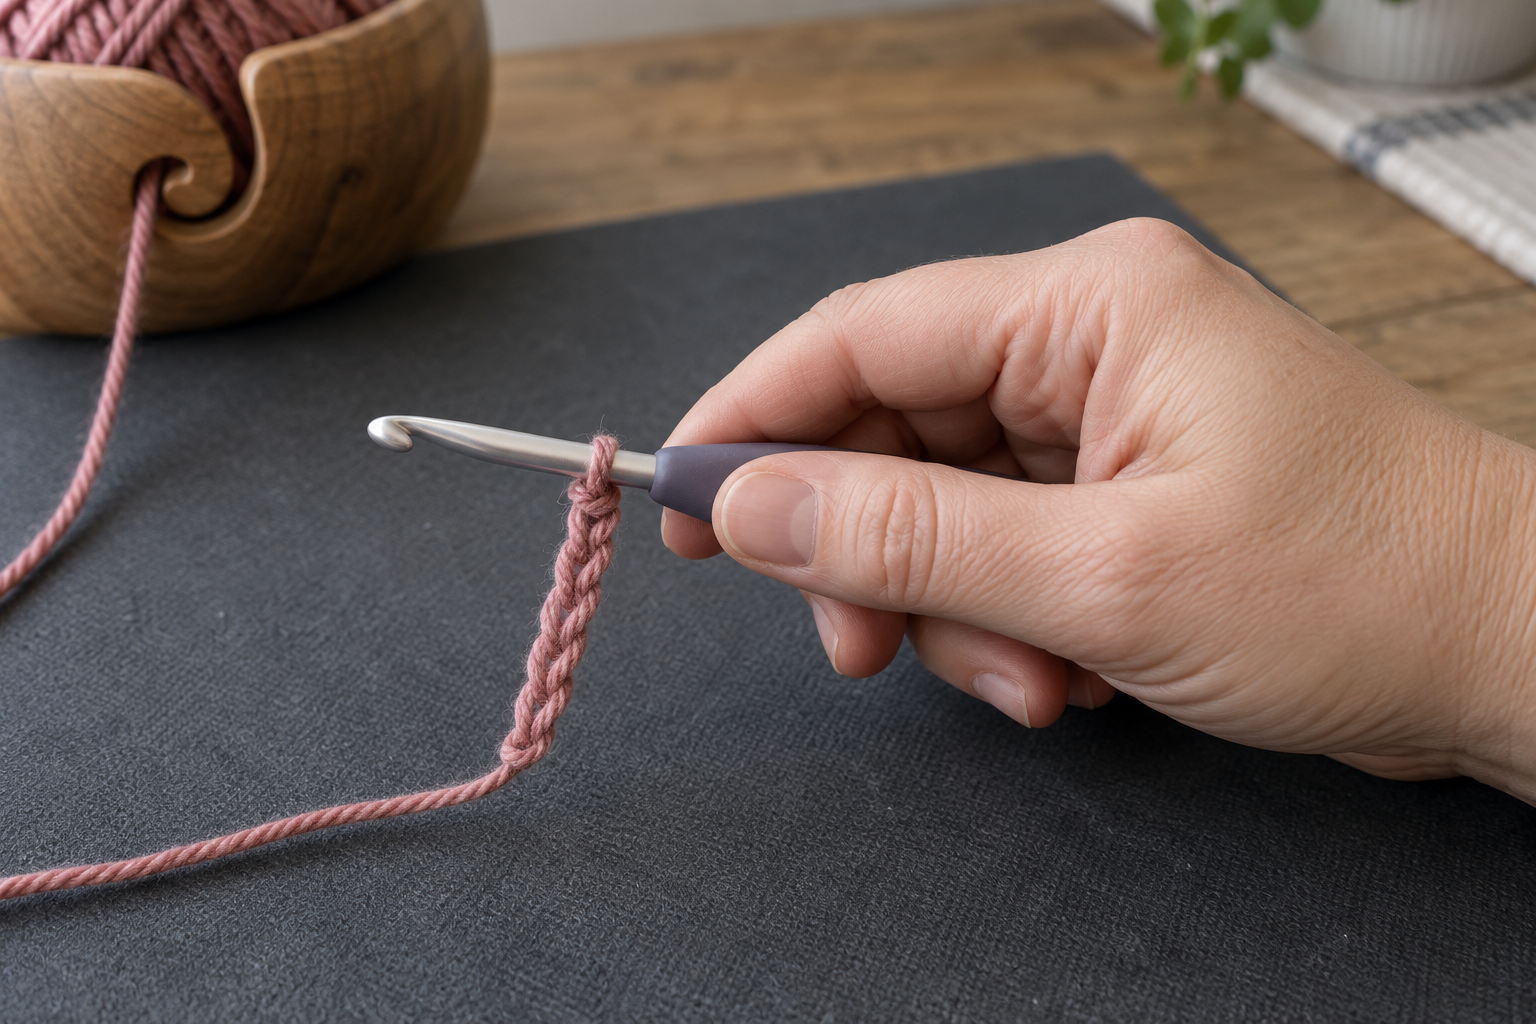
Make five slow yarn-over movements with each grip. Choose the grip that feels controlled and relaxed—not simply the one that looks more familiar.
Position the yarn in your other hand
Let the working yarn travel from the ball, across or around your little finger if extra control is needed, under the middle fingers, and over the index finger. Pinch the base of the slip knot or chain lightly between the thumb and middle finger.
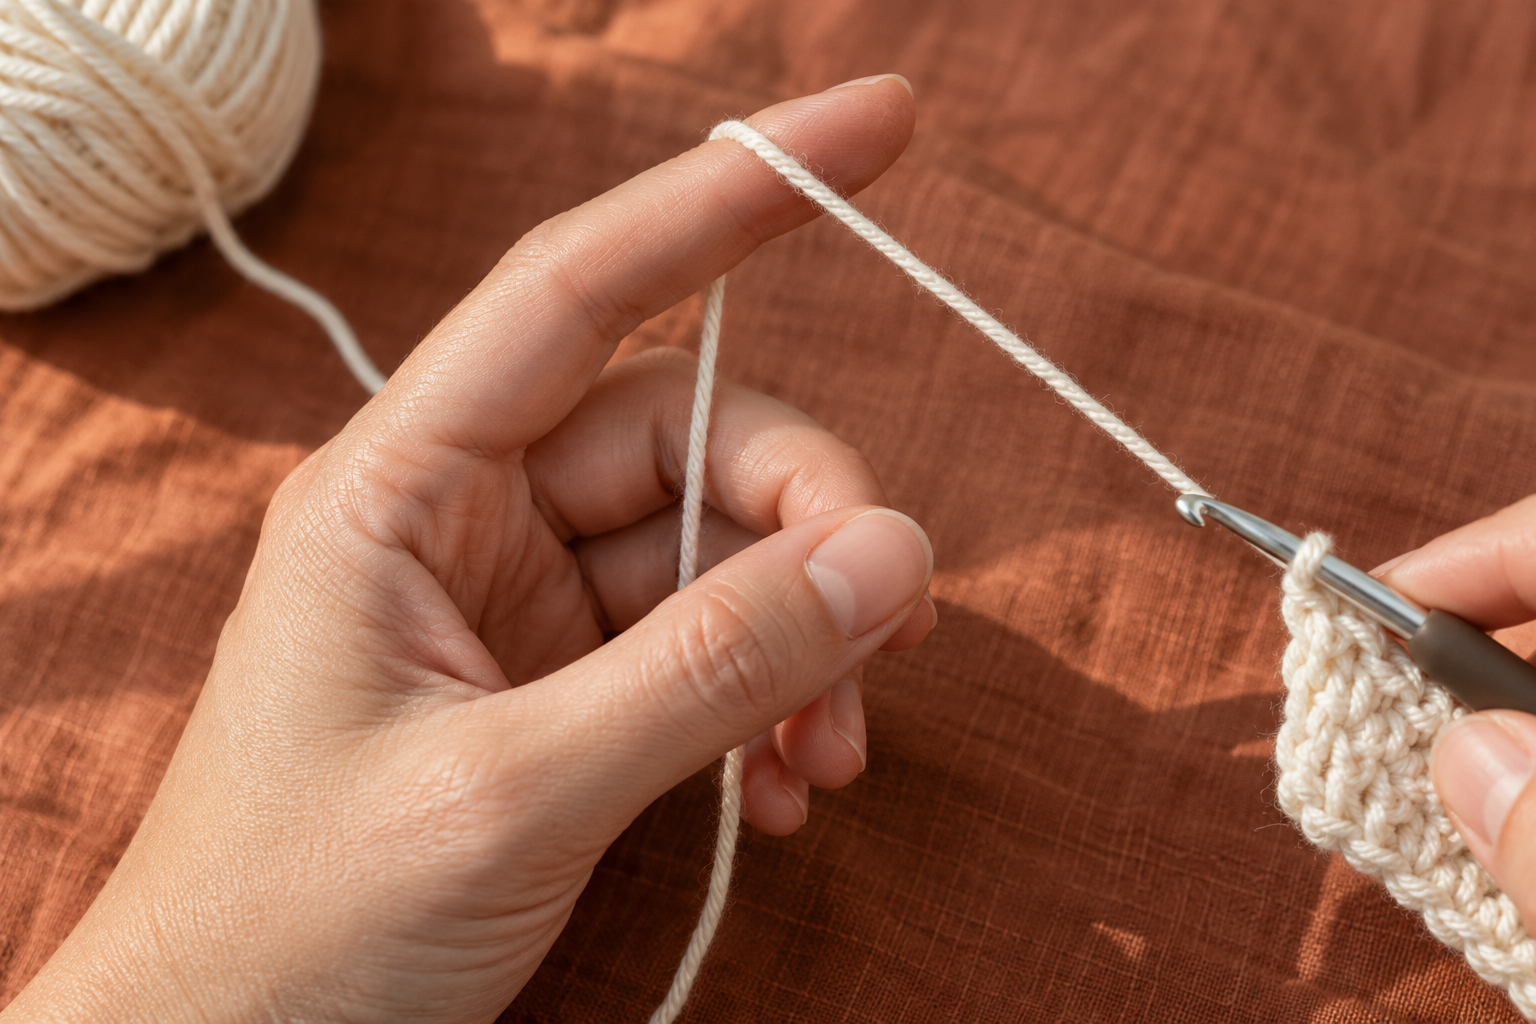
Your index finger is a guide, not a winch. The yarn must slide when the hook pulls it. If the strand leaves a deep mark on your finger, your tension is too strong.
Make and adjust a slip knot
Form a loop with the yarn, pull a new loop through it, and place that loop on the hook. Pull the working yarn until the loop rests on the hook shaft. It should hug the shaft but still slide when you nudge it.
Crochet 20 slow chain stitches
Move the hook under the working yarn, catch it in the hook groove, then turn the hook slightly downward and pull through the loop already on the hook. That makes one chain. Repeat until you have 20 chains.
- Keep one loop on the hook.
- Yarn over from back to front.
- Rotate the hook mouth slightly toward the chain.
- Pull the yarn through without tugging the new chain tight.
Move the pinch point forward every few stitches so your fingers stay close to the hook. Holding the chain far below the hook makes control harder.
Read the result and adjust
Lay the chain on a table without stretching it. Even chains have similar-sized V shapes and lie reasonably flat. A chain that curls hard, feels stiff, or will not accept the hook is usually too tight.
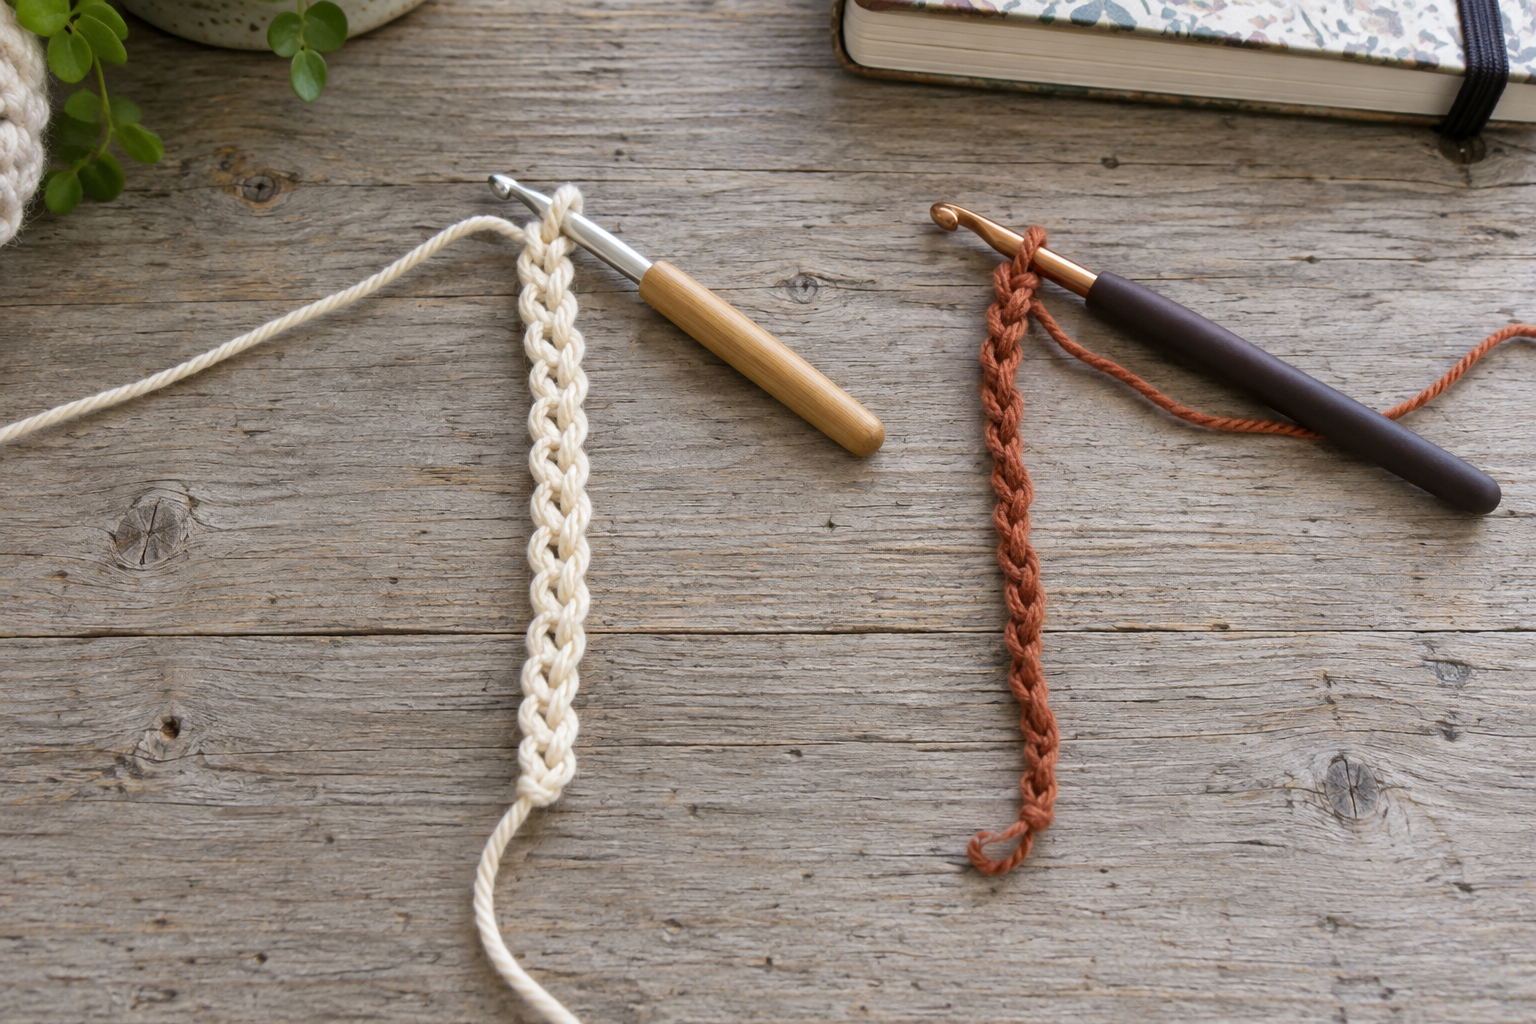
If the chain is tight, do not pull harder. Loosen the yarn hand, make each loop on the hook shaft, or try a hook one size larger for the foundation chain.
A Simple 10-Minute Practice Routine
- Make a slip knot and 20 chains at a comfortable speed.
- Put the chain down and check whether the V shapes are similar.
- Undo the chain slowly. Notice how little force the yarn needs.
- Repeat once using slightly less pressure in both hands.
- Stop after three chains. Short, relaxed practice teaches more than continuing with sore hands.
Your goal is consistency, not speed. Speed appears naturally after the motion becomes familiar.
Common Problems and Practical Fixes
- The hook keeps slipping out: keep the working loop on the wider shaft and reduce large wrist movements.
- The yarn splits: turn the hook groove toward the yarn before pulling through, and use a smooth plied yarn while learning.
- The chain becomes tighter with every stitch: lower your shoulders, loosen the yarn hand, and stop pulling the working yarn after each chain.
- The first few chains are very loose: move your pinch fingers closer to the hook after every two or three stitches.
- Your hand hurts: stop immediately. Change grip, support your forearms, and practice for shorter periods. Crochet should not require working through pain.
Frequently Asked Questions
Is pencil grip better than knife grip?
No. Both are widely used. The better grip is the one that keeps your hand relaxed and lets you control the hook consistently.
How tightly should I hold the yarn?
Only tightly enough to keep the strand from becoming slack. It should move through your fingers whenever the hook draws a new loop.
Why does my foundation chain curl?
A slight curve is normal. A stiff spiral usually means the loops are too tight. Form each loop around the full hook shaft and avoid tugging after the stitch.
Can a left-handed beginner use this guide?
Yes. Hold the hook in your left hand and manage the yarn with your right. Mirror the hand positions while keeping the same tension principles.
When am I ready to learn single crochet?
When you can make a chain that the hook can enter without force. It does not need to be perfectly uniform before you move on.