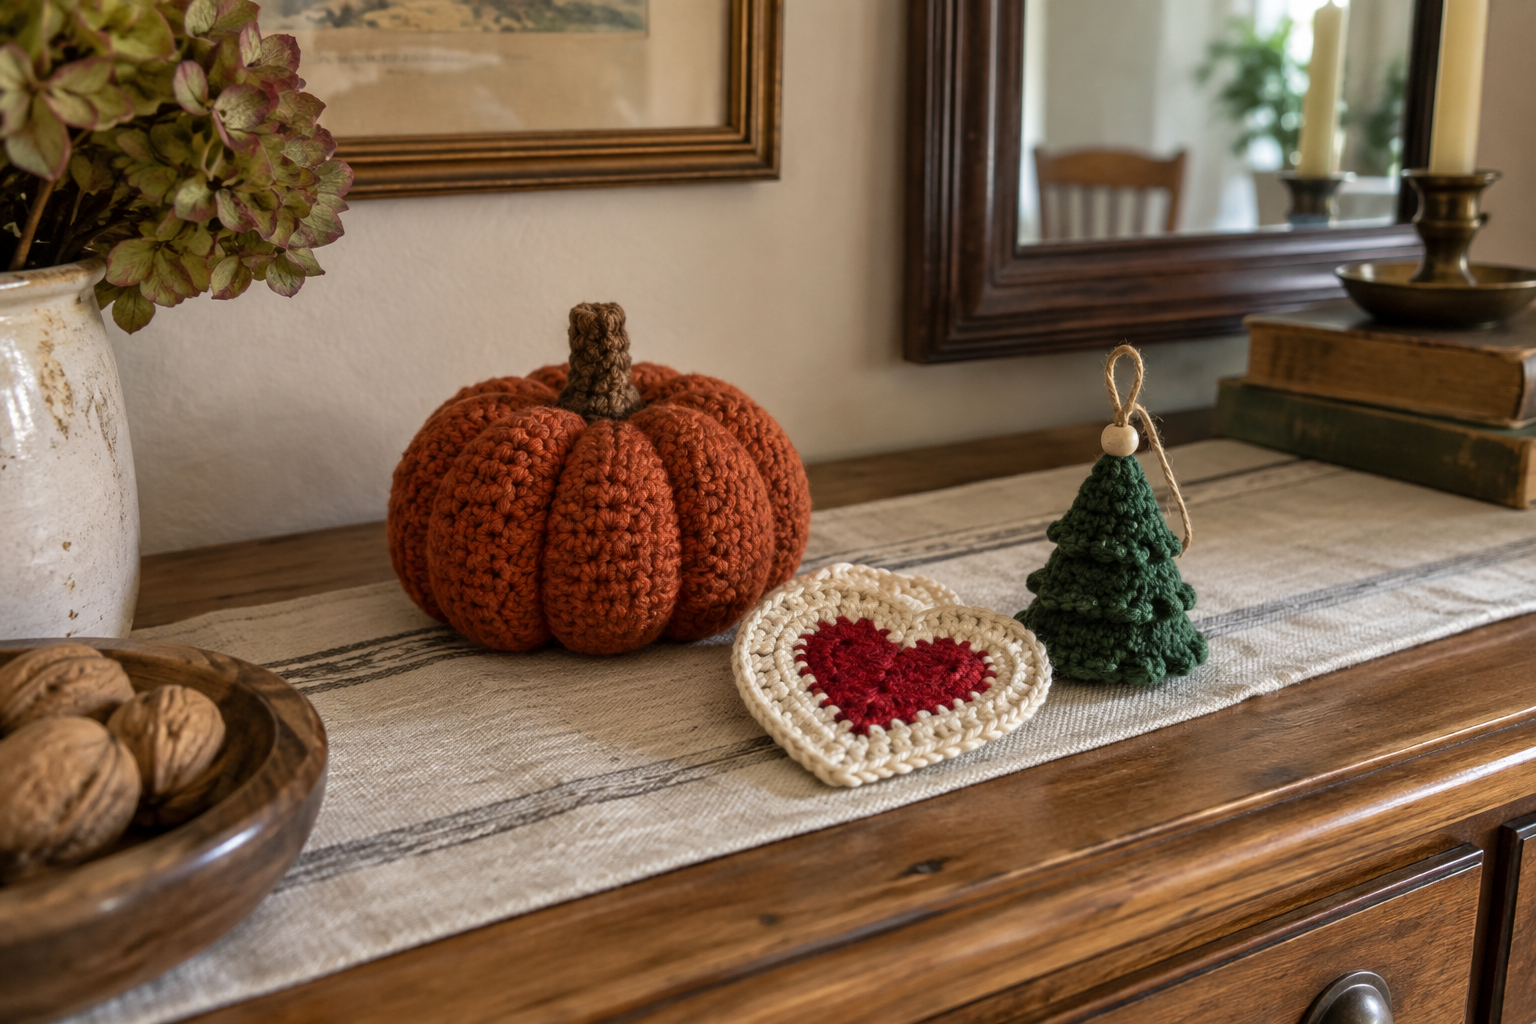
How to Plan Easy Seasonal Crochet Projects
A seasonal crochet project should feel thoughtful, not rushed. The best choice is not always the largest or most impressive pattern—it is the project whose purpose, materials, difficulty, and finishing time match the occasion you are making it for.
Why Seasonal Projects Often Go Wrong
The common mistake is choosing with the eyes first: a beautiful photograph creates excitement, but it does not show how many evenings the project needs, how much assembly is involved, or whether the yarn is practical for the recipient.
Before committing, answer four questions: What will the object do? Who will use it? When must it be finished? Which part of the pattern is new to you? Those answers determine whether the project is realistic.
Useful Terms
- yds / m — yards or metres of yarn required
- g — grams of yarn
- st — stitch
- rep — repeat
- gauge — the number of stitches and rows within a measured area
- blocking — shaping and setting the finished fabric using the method appropriate for its fiber
Step-by-Step Seasonal Project Plan
Start with the occasion and the real deadline
Write down the date the finished piece must leave your hands—not only the event date. If it needs shipping, washing, drying, photographing, or wrapping, those tasks belong inside the schedule.
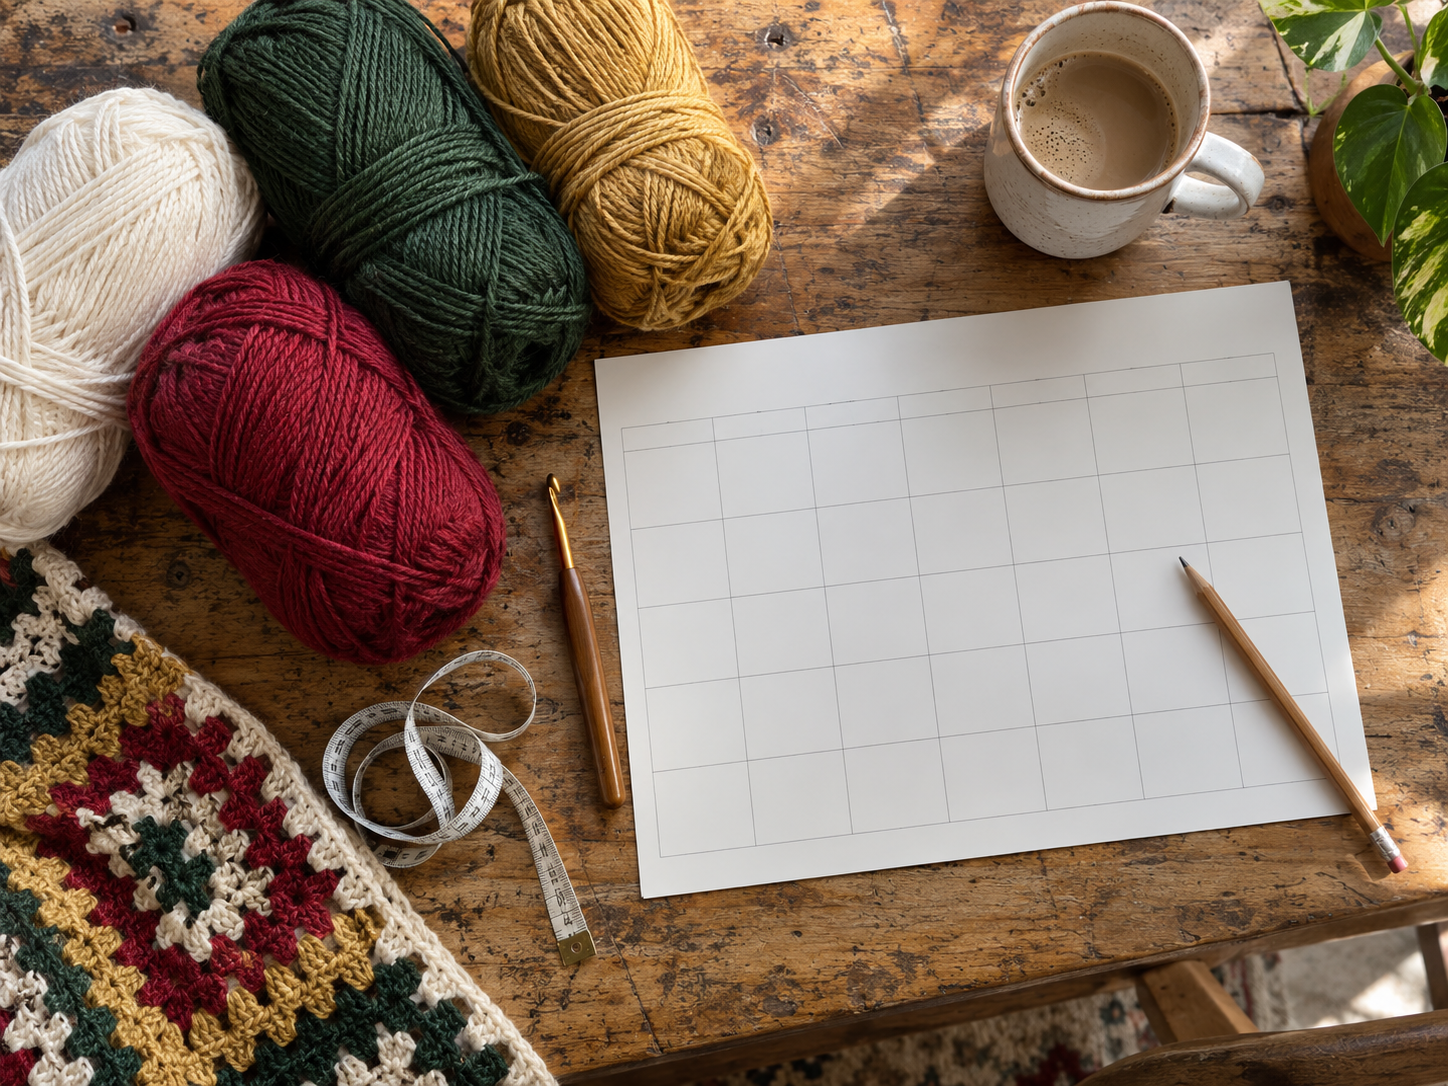
Count the available crochet sessions rather than calendar days. If you normally crochet twice a week, a fourteen-day window may contain only four useful work sessions.
Choose one clear purpose
Decide whether you are making a decoration, a washable household item, a wearable, or a toy. Purpose controls the most important technical choices:
- Decoration: shape and color can take priority because the object receives little wear.
- Coaster or kitchen item: use a fiber suited to heat, moisture, and washing; cotton is often the practical choice.
- Wearable: softness, gauge, size, and care instructions matter more than speed.
- Toy: secure construction and age-appropriate facial details are essential. Avoid detachable parts for babies and very young children.
Match the yarn to the object
Do not select yarn only because its color looks seasonal. Touch, drape, stitch definition, washability, and thickness change the final object.
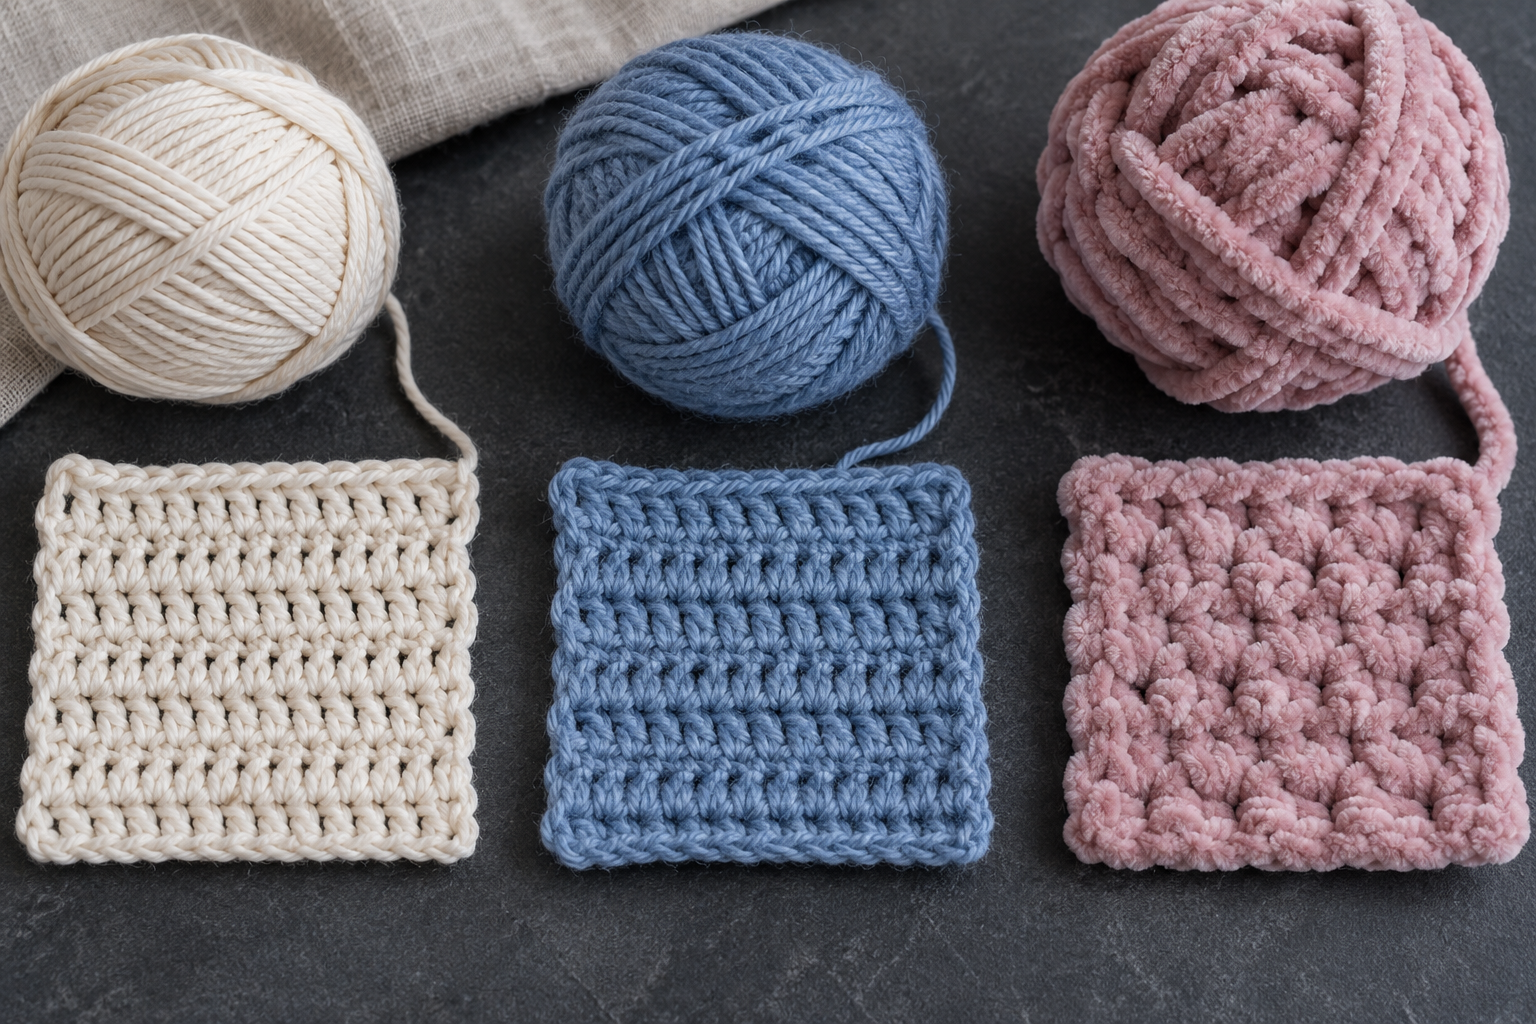
A smooth yarn makes small motifs and stitch details easier to read. Plush yarn makes fast, soft objects but can hide stitches and complicate counting. If you substitute yarn, compare both weight and fiber behavior, then make a small swatch.
Reduce the palette
Use one main color, one supporting color, and one small accent. This keeps the project calm and makes leftover yarn easier to use. For a Christmas ornament, for example, forest green can be dominant, cream can soften it, and muted gold can appear only in a hanging loop or tiny detail.
You do not need a different palette for every holiday. A consistent group of muted colors can become part of dCrochet’s visual identity while the objects and settings change.
Read the entire pattern before the first stitch
Mark every technique you have not used before: color changes, working in the back loop, invisible decreases, joining parts, or special finishing. Practice the hardest movement on scrap yarn before the deadline project.
Also check whether the stated measurements refer to the unblocked or finished item. Look for stitch counts at the end of rows or rounds. A pattern that provides counts makes it easier to catch a mistake early.
Make a time and yarn estimate
Crochet a small measured section for fifteen minutes. Count how many rows, rounds, or motifs you completed without rushing. Use that result to estimate the work, then add at least 25 percent for joining, ends, corrections, and finishing.
For yarn, use the designer’s amount as the starting point. Buy a little extra when changing hook size, substituting yarn, adding length, or working at a looser gauge.
Measure during the project
Do not wait until the end to discover that the object is too large. Measure after the first meaningful section and again halfway through. For stuffed shapes, compare both circumference and height because stuffing can change the final proportions.
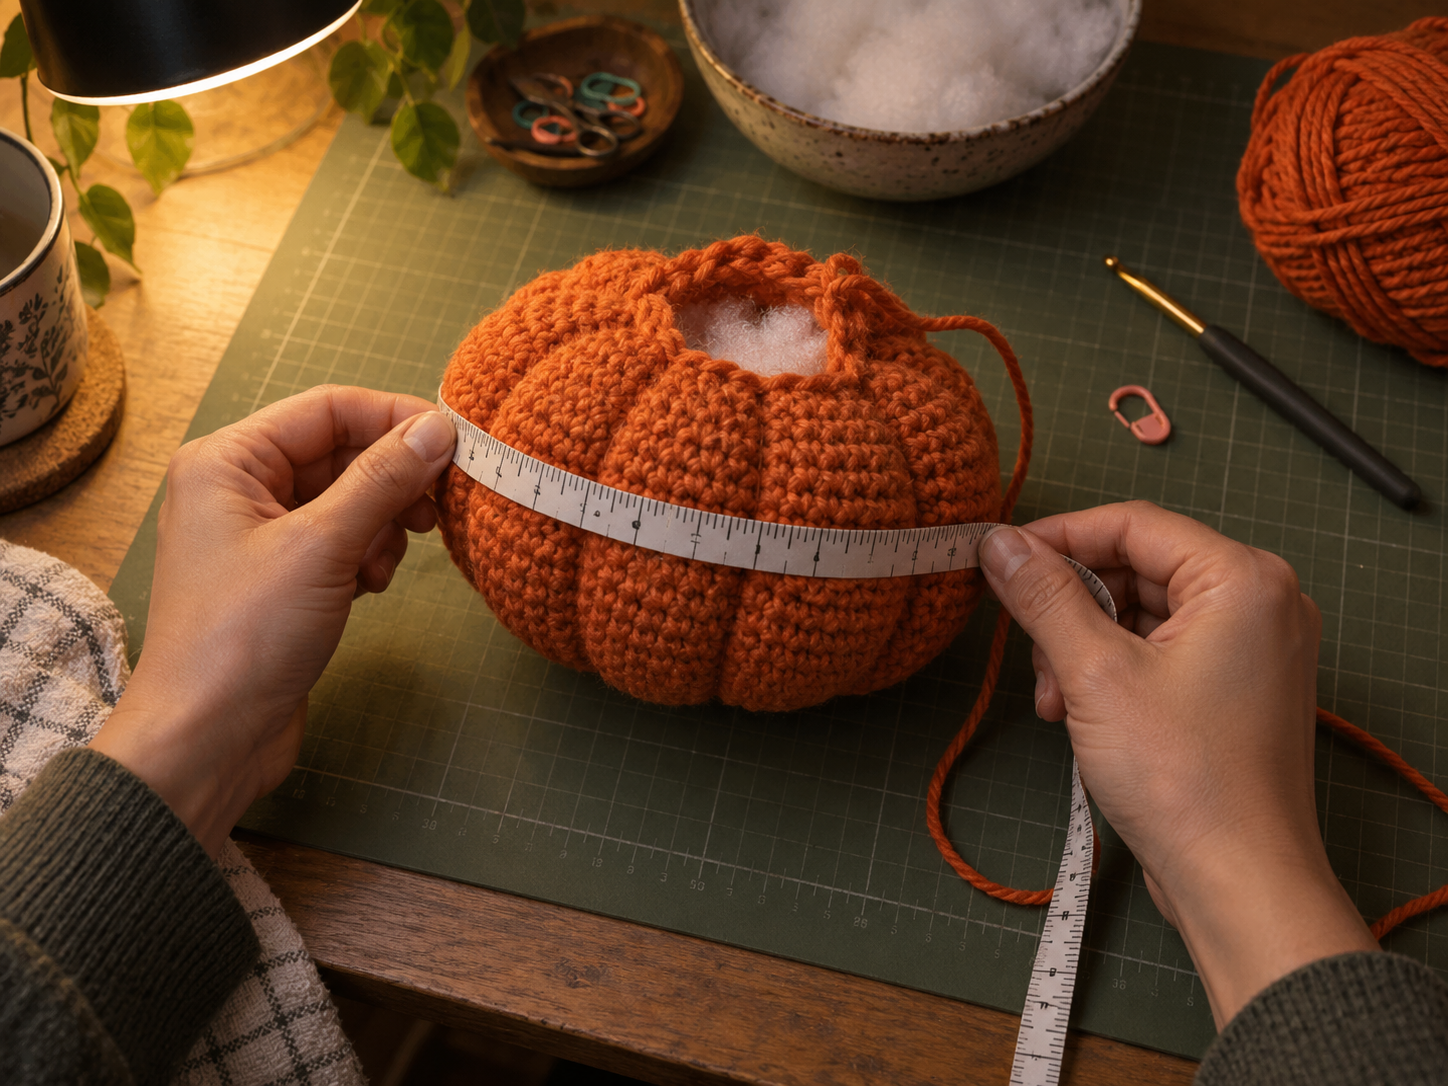
If the piece is growing too large, check gauge and hook size before removing many rows. If it is a decoration rather than a fitted item, decide whether the new size still suits its intended place before restarting.
Reserve a complete finishing session
Finishing is part of the pattern, not an optional task after it. Set aside time to weave ends securely, attach pieces evenly, block when appropriate, inspect seams, add care instructions, and remove loose fibers.
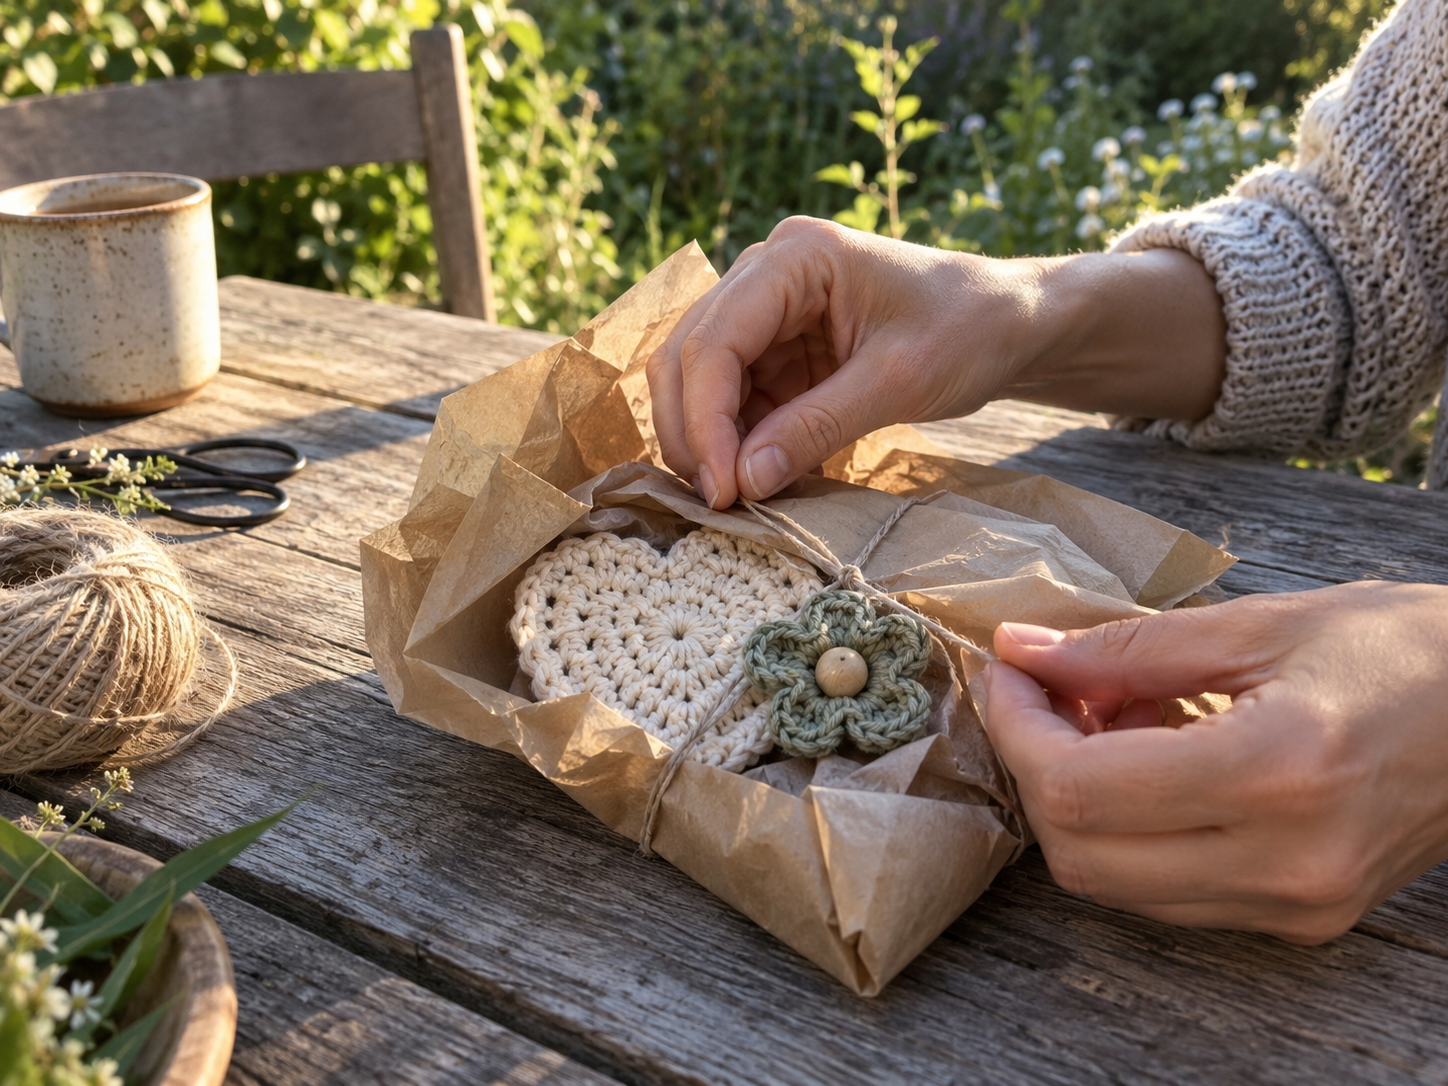
For gifts, use simple packaging that protects the stitches without overpowering them. Make sure the piece is completely dry before wrapping.
A Realistic Beginner Timeline
- Session 1: read the pattern, prepare materials, practice the new technique, and make a swatch if size matters.
- Sessions 2–3: complete the main construction and record any changes.
- Session 4: assemble and measure.
- Session 5: weave ends, block or shape, inspect, and wrap.
Common Mistakes and Better Decisions
- Choosing a project because it looks quick: count the separate pieces and finishing steps before deciding.
- Starting with unfamiliar fuzzy yarn: practice the stitch with smooth yarn first so your hands understand the construction.
- Changing several things at once: yarn weight, hook size, and dimensions interact. Change one variable, then measure.
- Ignoring the recipient: consider allergies, washing habits, age, preferred colors, and how the object will actually be used.
- Adding decorations when behind schedule: complete the strong, clean construction first. Optional details should remain optional.
Frequently Asked Questions
How early should I begin?
Begin when you still have one extra work session beyond your estimate. A small familiar project may need several days; a wearable, blanket, or unfamiliar amigurumi may need weeks.
What is the easiest occasion project for a beginner?
Choose a small flat object or simple decoration made with stitches you already know. Coasters, basic ornaments, and small appliqués usually require less sizing and assembly than garments or toys.
What should I do if I fall behind?
Remove optional edging or decoration, reduce the number of matching pieces, or choose a smaller coordinated item. Do not rush structural seams or toy safety.
Can I use leftover yarn?
Yes, if you have enough of a suitable fiber and weight. Weigh the remaining yarn when the project amount is important, and keep extra for joining and repairs.
How can I make a handmade gift look professional?
Use even finishing, secure ends, clean shaping, restrained colors, and simple packaging. Include the fiber content and care instructions when known.