Crochet Iris Pattern with Upright and Drooping Petals
Crochet a purple iris with three upright standards and three drooping falls. Includes oval counts, white stripes, yellow embroidery and assembly.
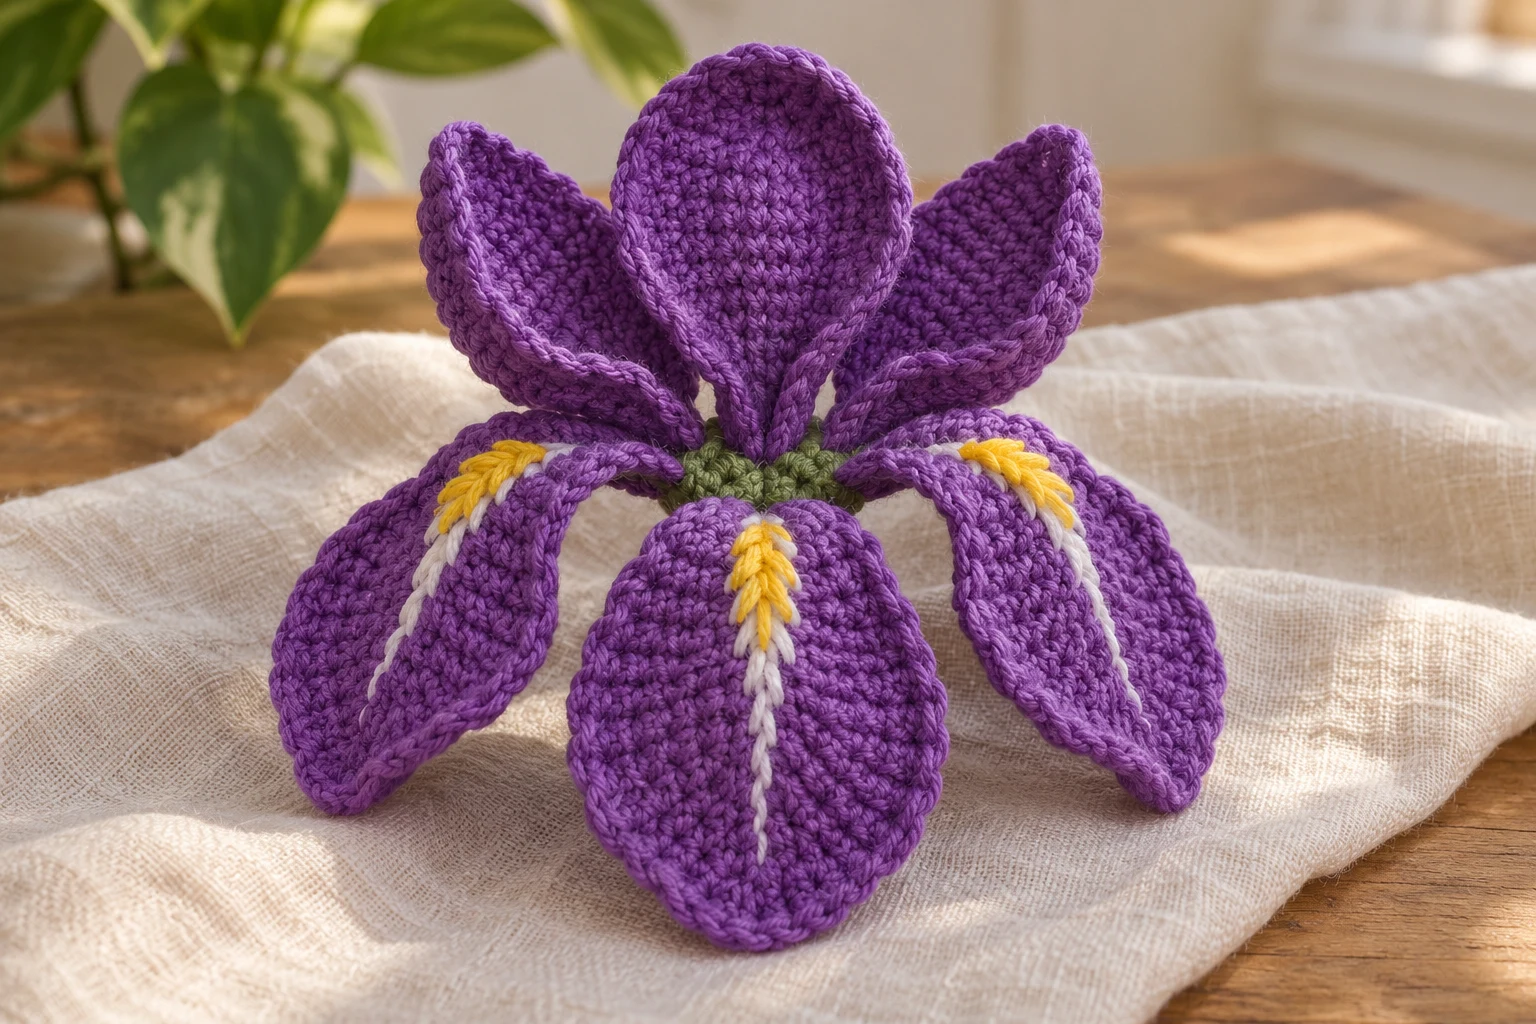
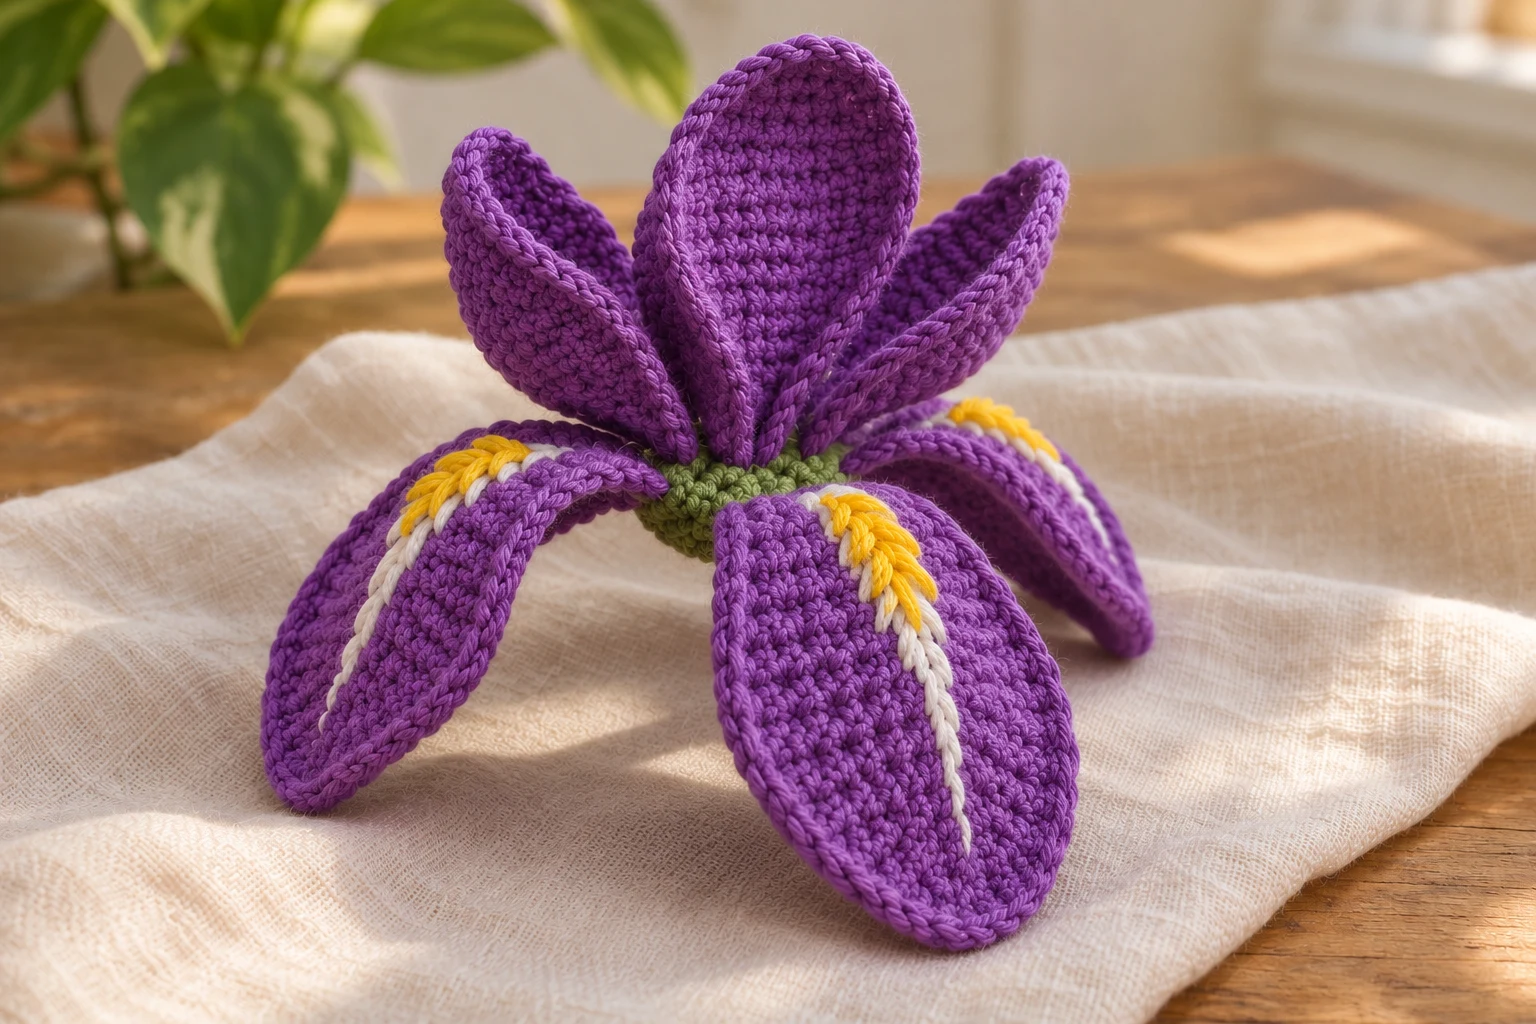
This purple crochet iris has three upright standards and three larger falling petals. White and yellow embroidery marks the center of each fall. All six pieces attach to a small green backing, with their bases arranged before sewing so the up-and-down silhouette stays clear.
Make three twenty-two-stitch purple ovals for the upright standards and three twenty-eight-stitch ovals for the falls. Add a white center line and short yellow beard stitches to each fall. Sew the six bases around a twelve-position green disk, alternating standards and falls.
Project Overview
| Detail | Information |
|---|---|
| Terms | US crochet |
| Skill | Confident beginner with sewing |
| Construction | Make three twenty-two-stitch purple ovals for the upright standards and three twenty-eight-stitch ovals for the falls. Add a white center line and short yellow beard stitches to each fall. Sew the six bases around a twelve-position green disk, alternating standards and falls. |
| Testing | Arithmetic reviewed; physical sample not tested |
Project views are generated illustrations of the intended construction. Sizes, yarn use and attachment performance remain unverified on a physical sample.
Materials
| Material | Suggested specification |
|---|---|
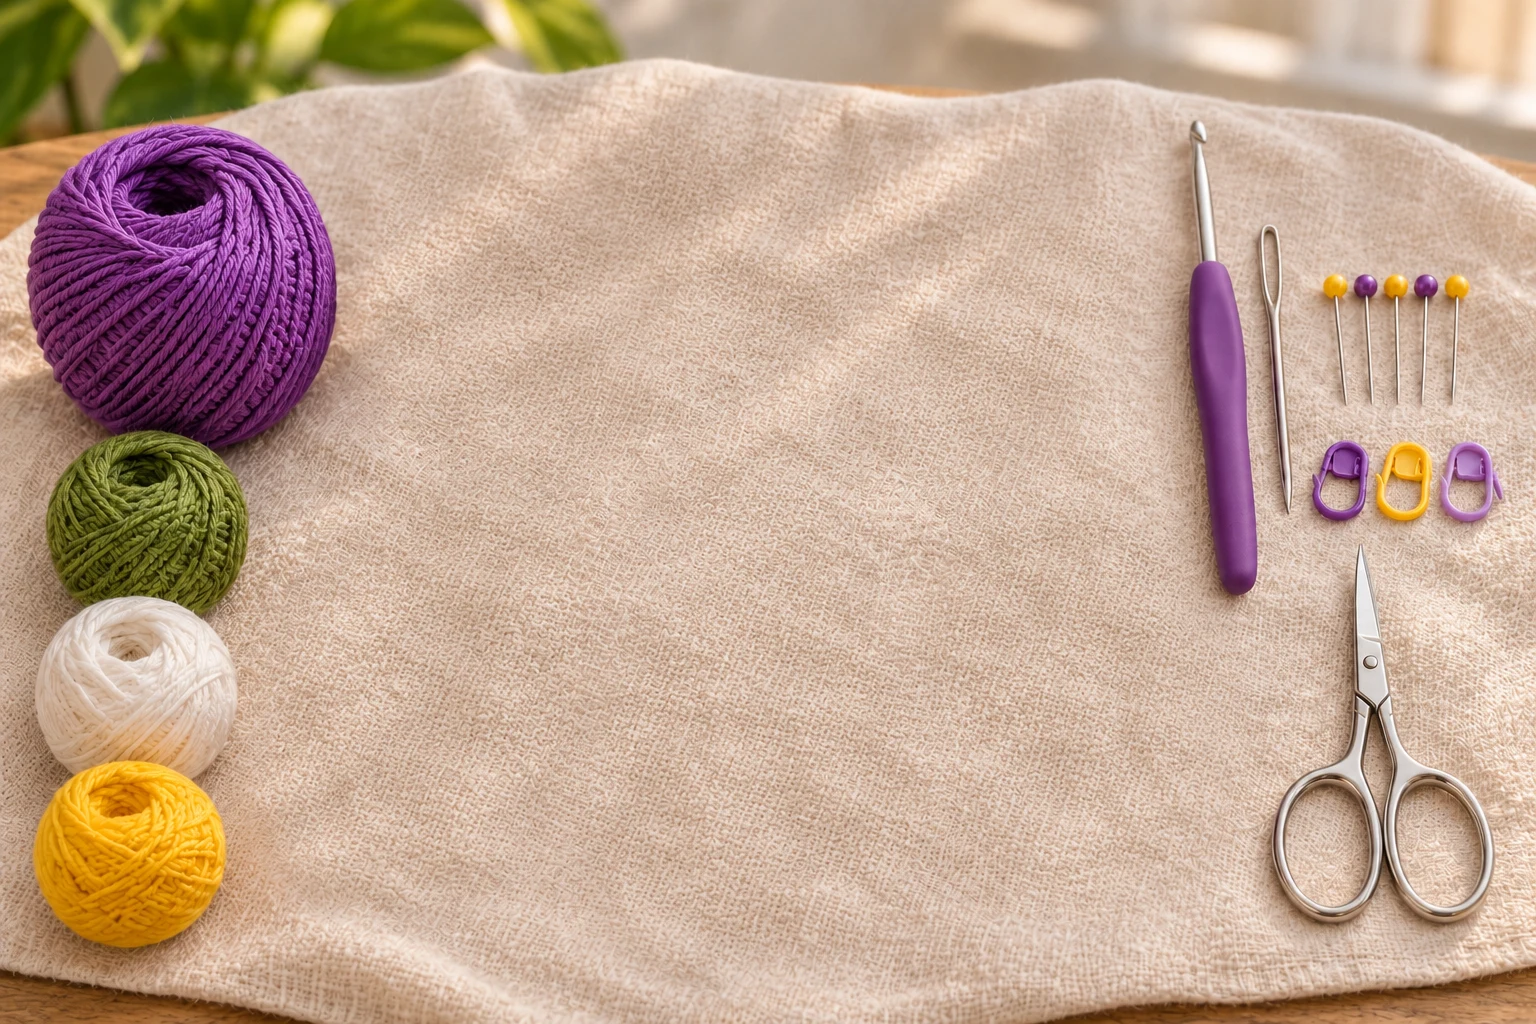
| Cotton | About 25–35 g purple fine cotton with small amounts green, white and yellow; estimates |
| Hook | 2.5 mm or suitable size for flexible dense petals |
| Tools | Needle, pins, markers and scissors |
Size and Gauge
The intended flower is about 7–9 cm across, unmeasured. Each fall has one more increase round than a standard. Cotton firmness and base pinching affect whether standards hold upward without support. The design contains no wire; a physical sample must establish the final pose and dimensions.
Abbreviations and Working Notes
| Term | Meaning |
|---|---|
| ch | Chain |
| sc | Single crochet |
| sl st | Slip stitch |
| inc | 2 sc in one stitch |
| dec | Invisible sc decrease over 2 stitches |
| MR | Magic ring |
| dc | Double crochet |
US terms. Work joined oval rounds with joining sl st and ch 1 excluded. Keep five stitches on each straight side while increases stay at the two curved ends.
Standards and falls are separate components, three of each. The upper petals have no white or yellow embroidery; those details belong only to the three falling petals.
No stem, pot, leaves, glue or rigid support is included. Shape gently and retain flexible fabric rather than claiming a fixed botanical posture.
Make Three Upright Standards
| Round / stage | Instructions | Count / check |
|---|---|---|
| Foundation | Purple: ch 8 | 7 usable chains |
| 1 | Sc in second and next 5; 3 sc in last; underside 5 sc, 2 sc in start; join | 16 |
| 2 | Inc in first; 5 sc; inc in next 3; 5 sc; inc in last 2; join | 22 |
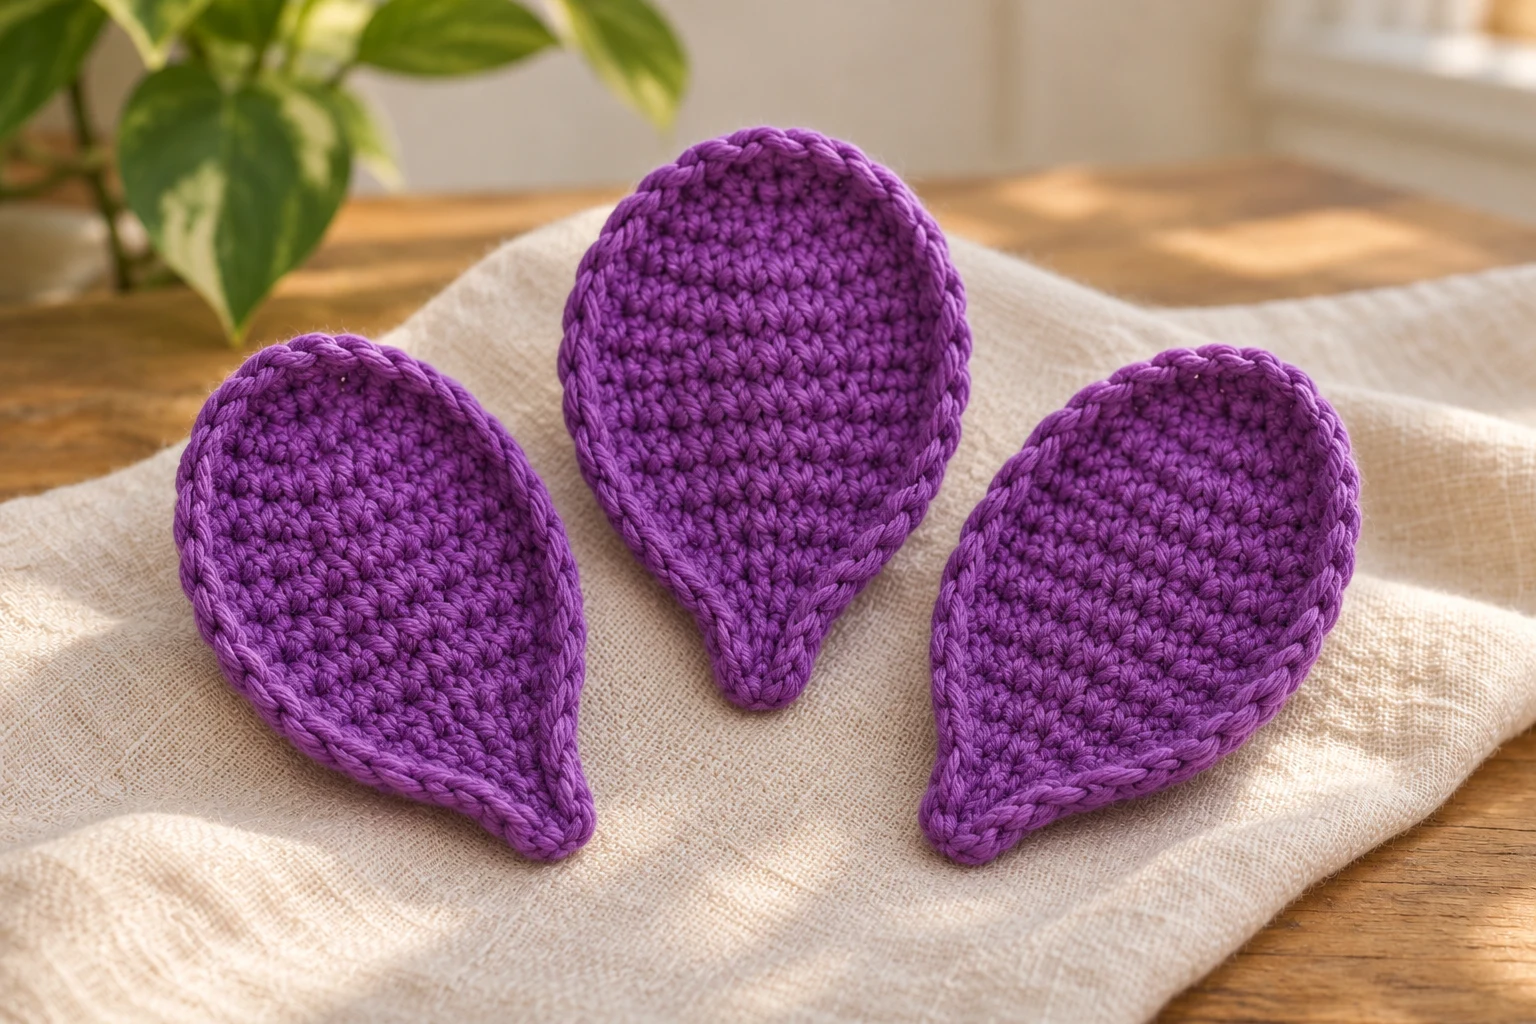
Make three. Mark one narrow end of each as its base. Round 1 has two five-stitch straight sides and two three-stitch curved ends, one split by the round marker. Round 2 adds six stitches at those ends. Keep the pieces unstuffed and compare their outlines.
Make Three Larger Falls
| Round / stage | Instructions | Count / check |
|---|---|---|
| Rounds 1–2 | Repeat a standard through Round 2 | 22 |
| 3 | Keep five sc on each straight side; (sc, inc) × 3 within each six-stitch end group; join | 28 |
| Quantity | Make three matching larger ovals | Three falls |
The six increases widen both ends equally while the straight sections stay unchanged. Leave a long purple sewing tail at the marked attachment end. Do not add a border or ruffle; that changes the flat oval construction.
Embroider the Fall Centers
| Round / stage | Instructions | Count / check |
|---|---|---|
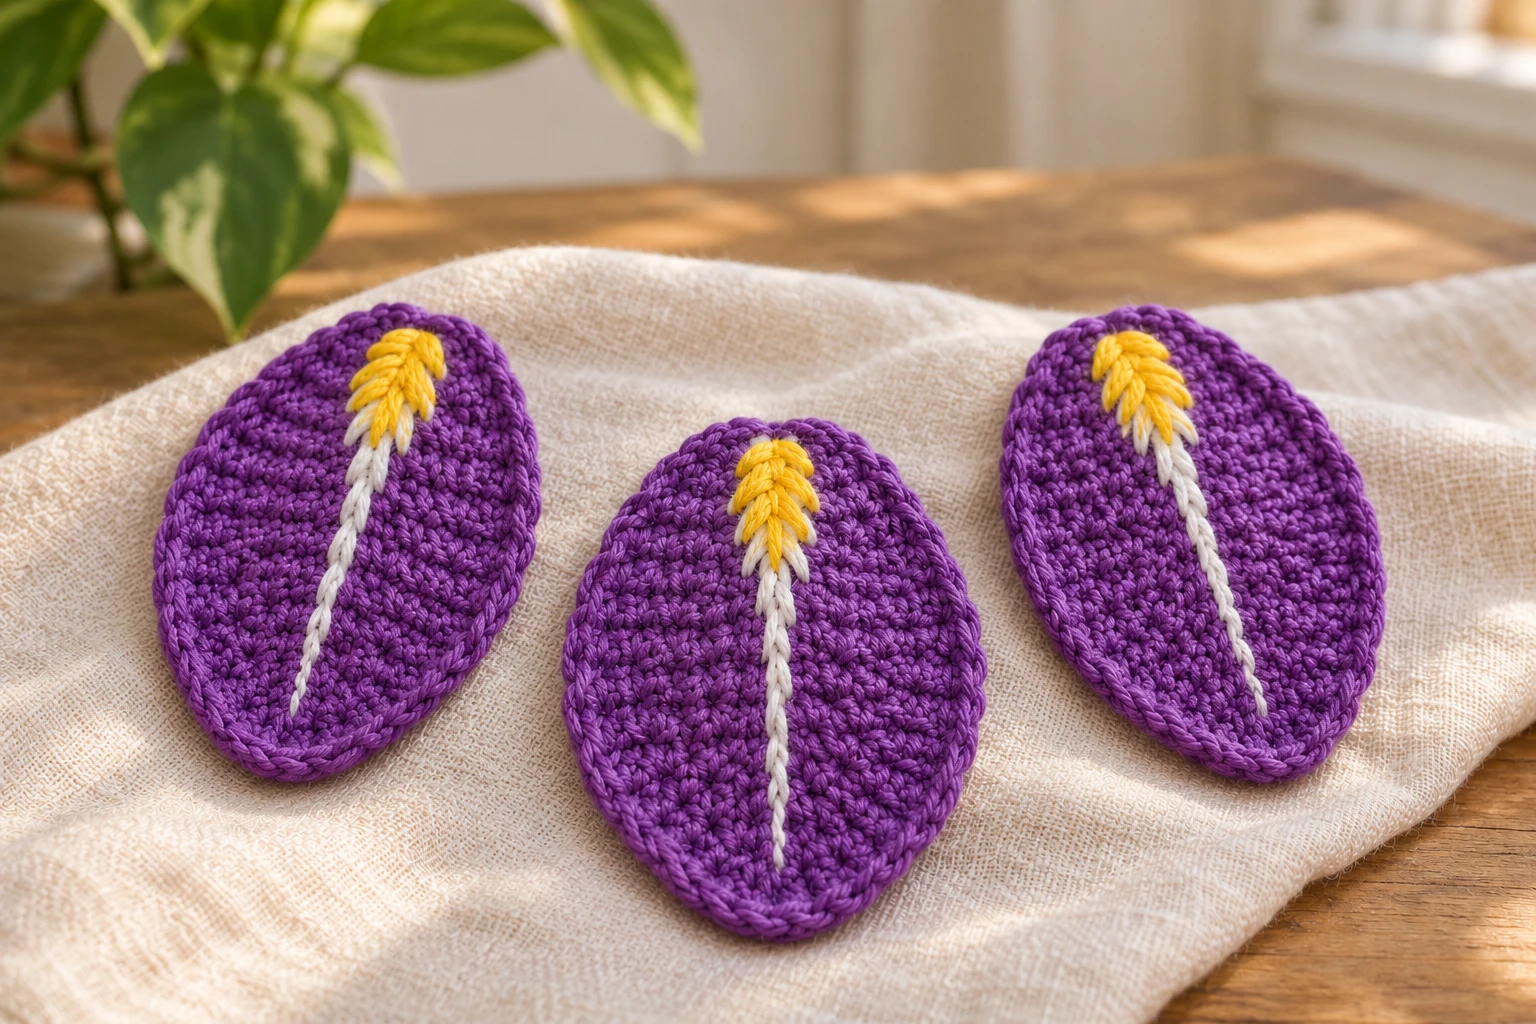
| White stripe | Make short connected straight stitches down center of each fall | Stop before outer tip |
| Yellow beard | Place short yellow stitches over upper part of white stripe near base | Three matching accents |
| Back | Bury all ends within dense fabric | No long exposed floats |
Support the petal on a flat surface while embroidering. Keep the white line narrow and the yellow stitches short and slightly radiating. Do not pull them tight enough to shorten or curl the oval. Compare all three decorated falls before assembly. The standards stay plain purple.
Make Backing and Alternate Bases
| Round / stage | Instructions | Count / check |
|---|---|---|
| Backing | Green: 6 sc in MR; inc around; join | 6 then 12 |
| Standards | Bases at positions 1–2, 5–6 and 9–10 | Three upright ovals |
| Falls | Bases at positions 3–4, 7–8 and 11–12 | Three decorated ovals |
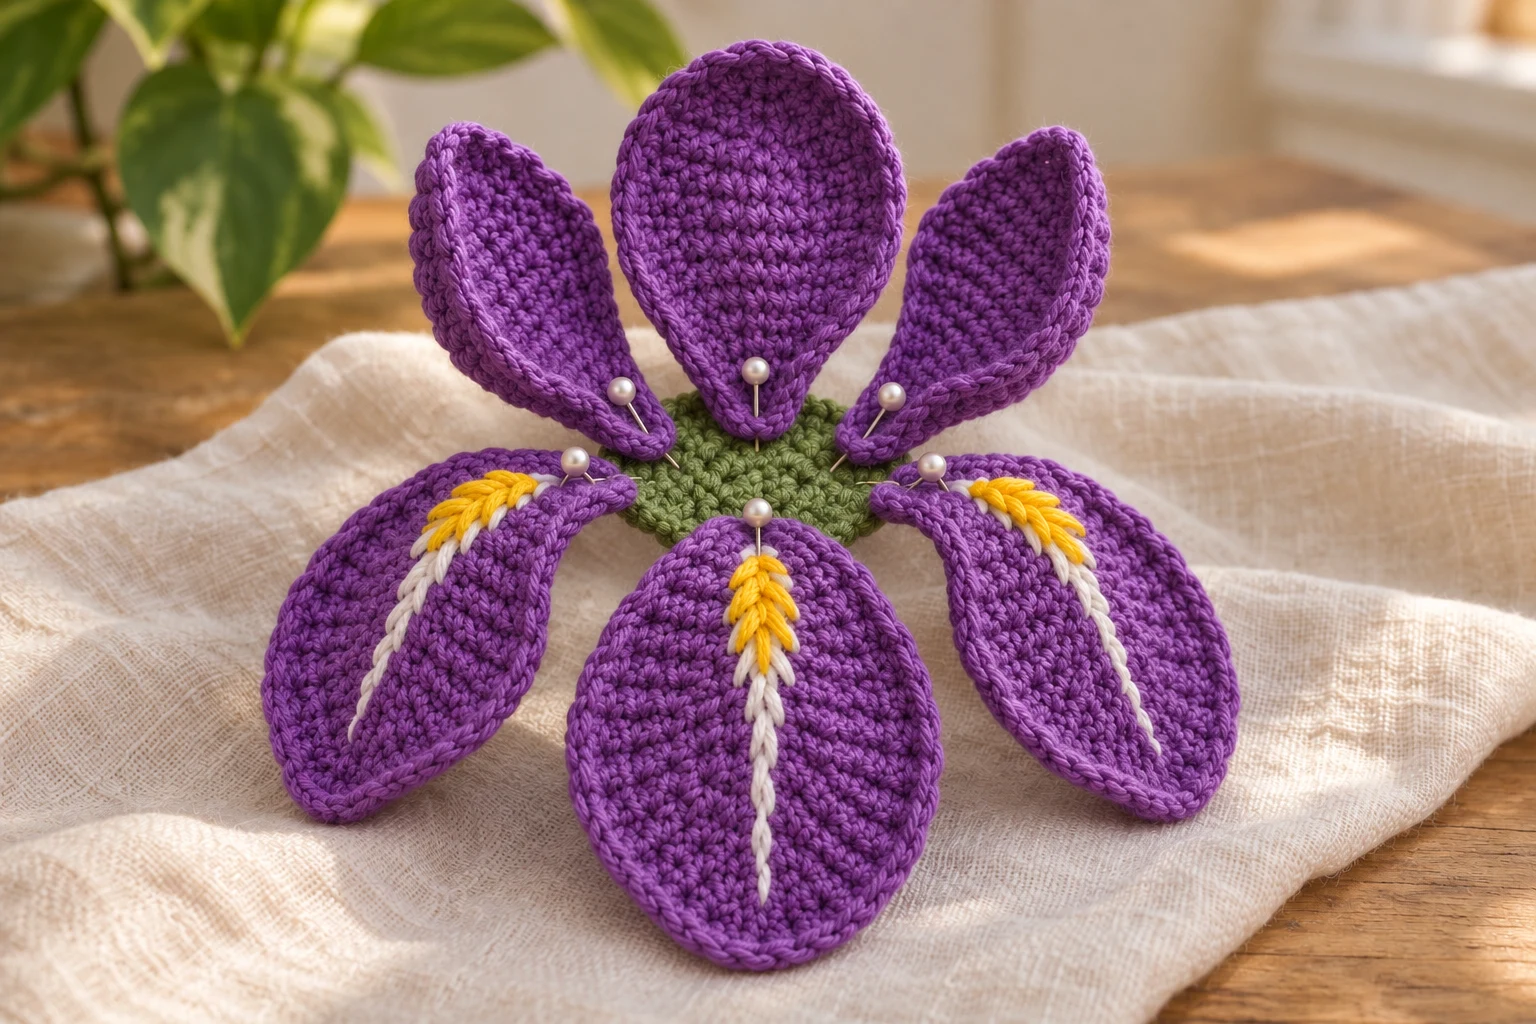
Pin each standard with its lower four edge positions gently pinched into a small base and its broad oval directed upward. Pin the falls between them, turning the decorated faces outward and allowing their lengths to bend downward. Ease each four-position base across its two backing reference stitches, catching neighboring green fabric to spread the seam.
Sew and Refine the Iris Pose
| Round / stage | Instructions | Count / check |
|---|---|---|
| Attachment | Sew all six bases broadly | Keep free oval edges |
| Check | Three plain standards up, three decorated falls down | Six pieces total |
| Finish | Remove pins and bury ends on green back | No support wire |
Work around the backing a little at a time rather than tightening one side completely first. Support each standard while securing its base so it does not get stitched flat against a fall. Shape the free fabric gently with your fingers. A drooping standard may need firmer gauge or a better base seam; do not add a hidden wire to match an illustration.
Troubleshooting
| Problem | Likely cause | Adjustment |
|---|---|---|
| All petals fall flat | Bases not pinched or fabric too loose | Recheck gauge and base seams |
| Falls curl sharply | Embroidery tension too tight | Ease decorative stitches |
| Colors on standards | Groups mixed before sewing | Keep three plain ovals separate |
| Center bulky | Too many bases stacked at one point | Use six spaced groups |
Care and Related Projects
Follow cotton care labels, shape gently while damp and support the petals while drying. Avoid crushing standards in storage. Inspect embroidery and base seams after cleaning.
For another useful construction reference, see this related crochet project. Its stitch counts and attachment positions belong to that project; keep the instructions for this design separate.
Frequently Asked Questions
How many petals does this iris have?
Six: three standards and three falls.
Which petals carry yellow embroidery?
Only the three larger falling petals.
Does it contain wire?
No. Its intended pose depends on fabric and sewn bases.
Are the two groups the same size?
Standards stop at twenty-two stitches; falls receive another round to twenty-eight.
Compact Pattern Card
| Stage | Key instruction |
|---|---|
| Make Three Upright Standards | Inc in first; 5 sc; inc in next 3; 5 sc; inc in last 2; join |
| Make Three Larger Falls | Make three matching larger ovals |
| Embroider the Fall Centers | Bury all ends within dense fabric |
| Make Backing and Alternate Bases | Bases at positions 3–4, 7–8 and 11–12 |
| Sew and Refine the Iris Pose | Remove pins and bury ends on green back |