Crochet Rhinoceros Amigurumi Pattern with a Soft Yarn Horn
Make a gray crochet rhinoceros with four short legs and one soft yarn horn. Includes component tables, shaping counts and assembly checks.
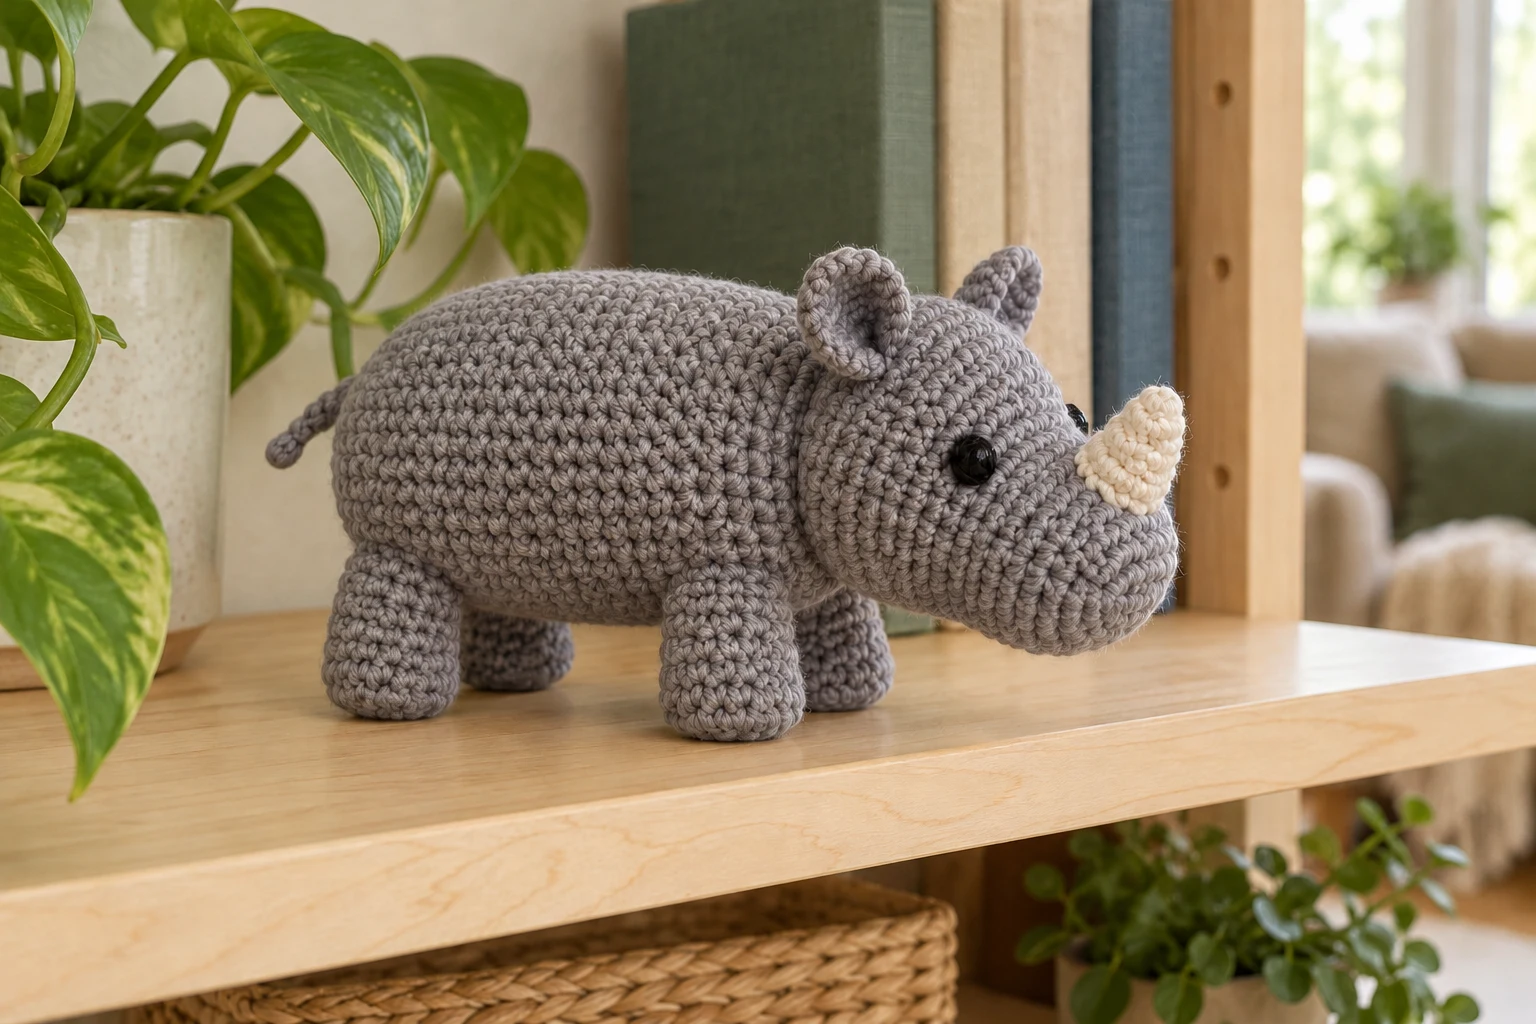
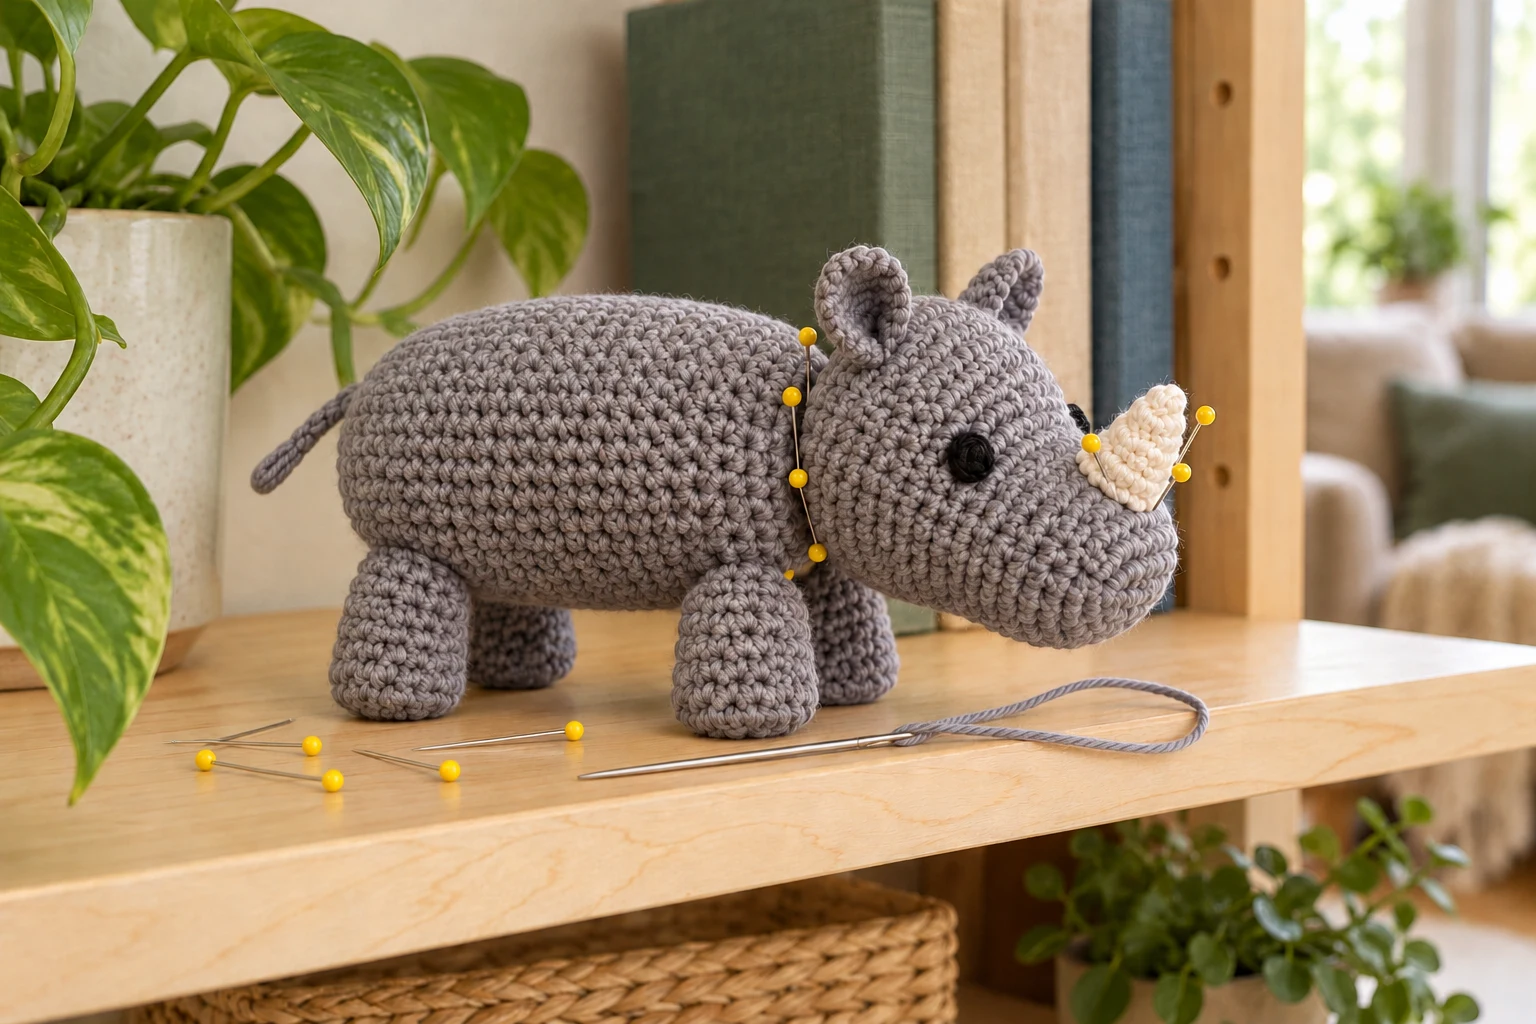
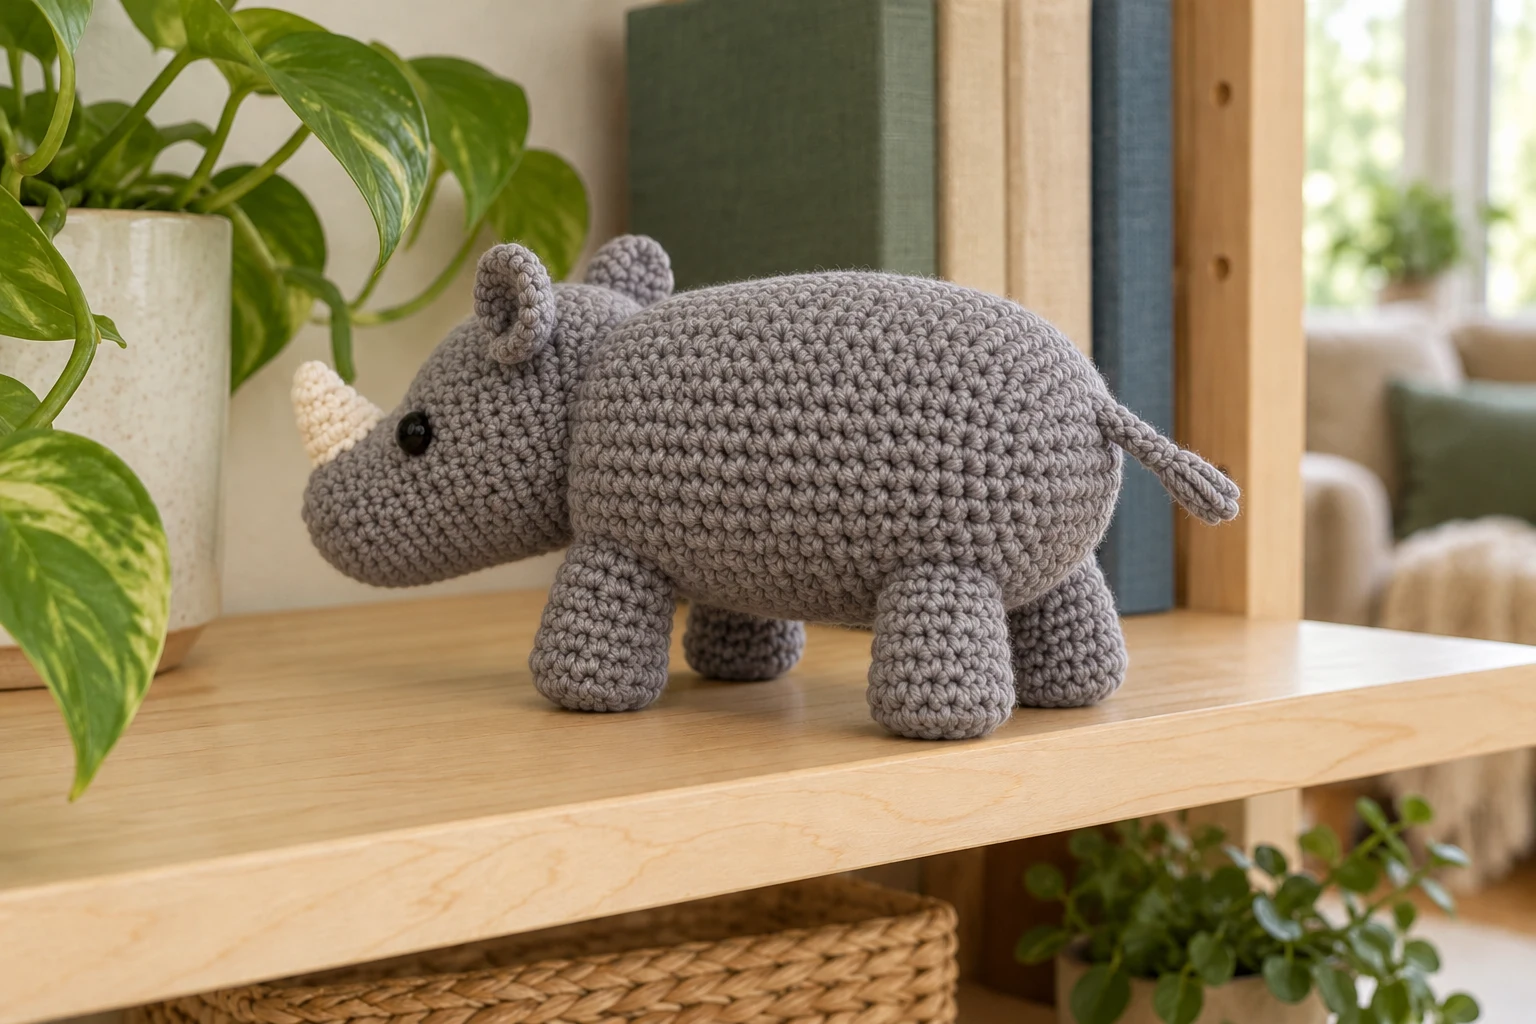
This crochet rhino pattern uses a horizontal steel-gray oval body, four short legs and a separate head with one small cream yarn horn. The horn is a soft crocheted component, without wire or an internal hard point. Embroidered eyes and a plain tail keep the details simple.
Crochet a 36-stitch oval body and a 24-stitch head, then close each after shaping. Make four 12-stitch legs, two folded ears and one small soft horn. Pin all four feet on a flat surface before sewing the head and details permanently.
Project Overview
| Detail | Information |
|---|---|
| Terms | US crochet |
| Skill | Confident beginner with sewing |
| Construction | Crochet a 36-stitch oval body and a 24-stitch head, then close each after shaping. Make four 12-stitch legs, two folded ears and one small soft horn. Pin all four feet on a flat surface before sewing the head and details permanently. |
| Testing | Arithmetic reviewed; physical sample not tested |
Project views are generated illustrations of the intended construction. Sizes, yarn use and attachment performance remain unverified on a physical sample.
Materials
| Material | Suggested specification |
|---|---|
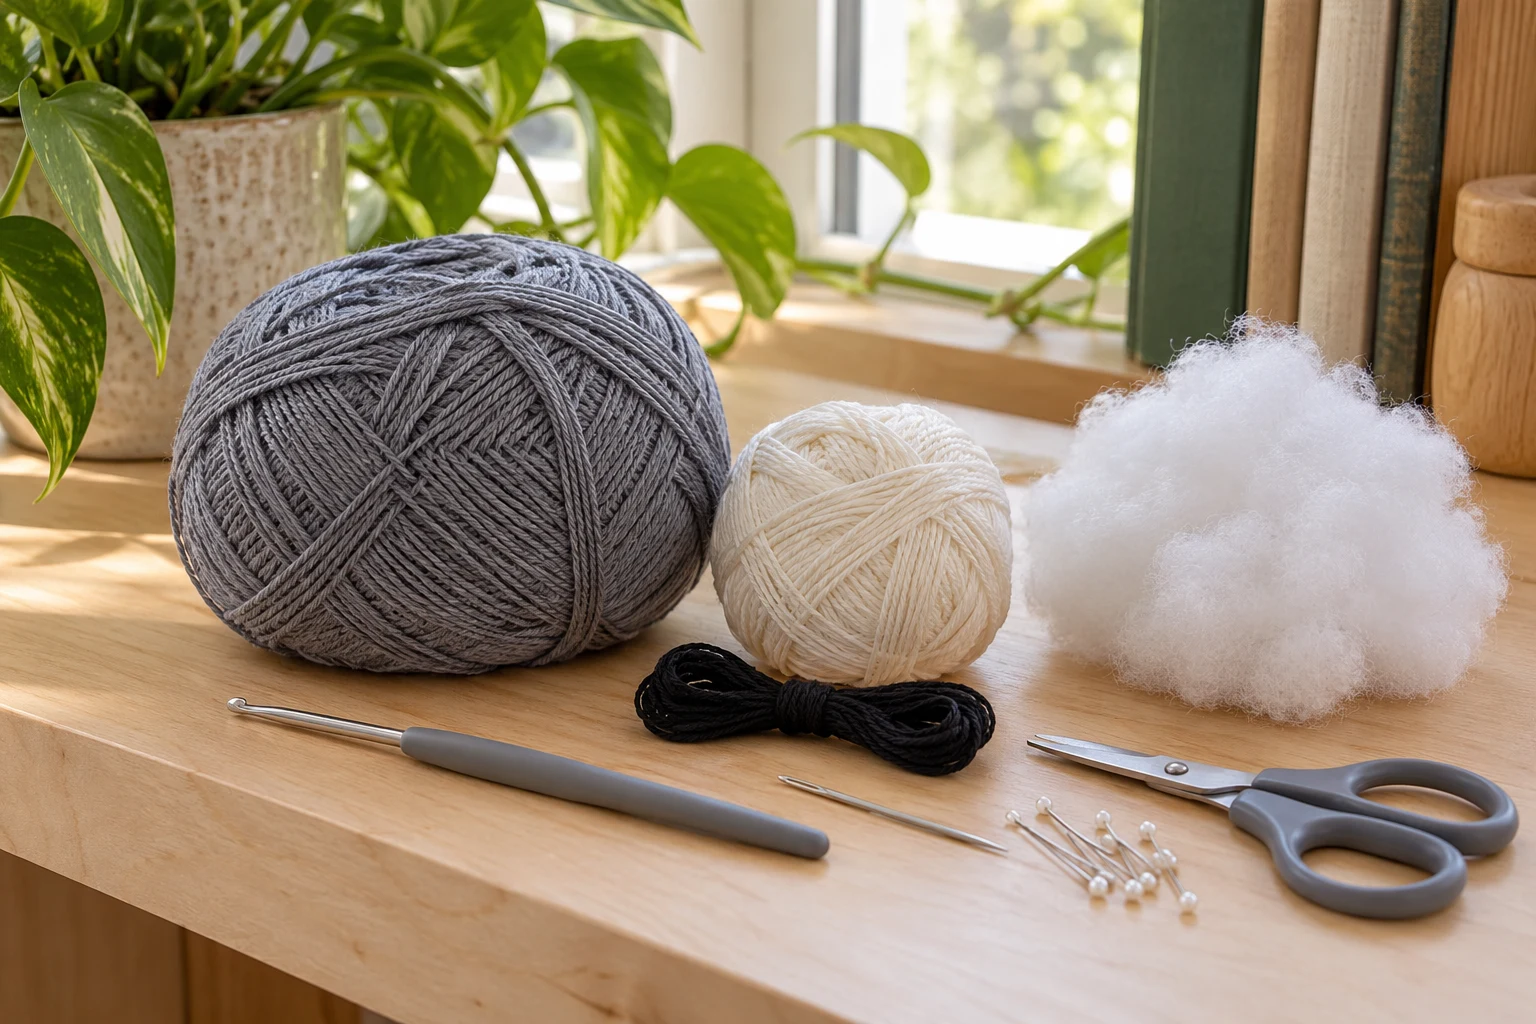
| Yarn | About 70–90 g steel-gray DK cotton and a few grams cream; estimates |
| Hook | 2.75 mm or suitable size for dense single crochet |
| Details | Black embroidery thread; no plastic eyes or rigid horn insert |
| Tools | Filling, needle, marker, scissors and positioning pins |
Size and Gauge
The intended body length is about 12–14 cm, unmeasured. Use one yarn family and hook for the gray pieces. Gauge and stuffing affect the standing pose; mathematical counts do not establish that the completed sample will balance. Make a dense swatch and check that filling stays concealed when the fabric is gently stretched.
Abbreviations and Working Notes
| Term | Meaning |
|---|---|
| ch | Chain |
| sc | Single crochet |
| sl st | Slip stitch |
| inc | 2 sc in one stitch |
| dec | Invisible sc decrease over 2 stitches |
| MR | Magic ring |
| dc | Double crochet |
Work the main pieces in continuous spirals. An increase makes 2 sc in one stitch; a decrease uses 2 stitches to make 1. No joining chains are added to these counts.
The body begins at its rear and closes at the front. The head begins at the muzzle and closes at the back. Mark these directions before pinning the pieces.
The design has one blunt yarn horn, two ears and four equal legs. No hard insert is specified. Small sewn parts still require physical durability and safety assessment.
Crochet the Horizontal Body
| Round / stage | Instructions | Count / check |
|---|---|---|
| 1 | 6 sc in MR | 6 |
| 2 | Inc around | 12 |
| 3 | (Sc,inc)×6 | 18 |
| 4 | (2 sc,inc)×6 | 24 |
| 5 | (3 sc,inc)×6 | 30 |
| 6 | (4 sc,inc)×6 | 36 |
| 7–14 | Sc around for 8 rounds | 36 each |
| 15 | (4 sc,dec)×6 | 30 |
| 16 | (3 sc,dec)×6 | 24 |
| 17 | (2 sc,dec)×6 | 18 |
| 18 | (Sc,dec)×6 | 12 |
| 19 | Dec 6 times | 6 |
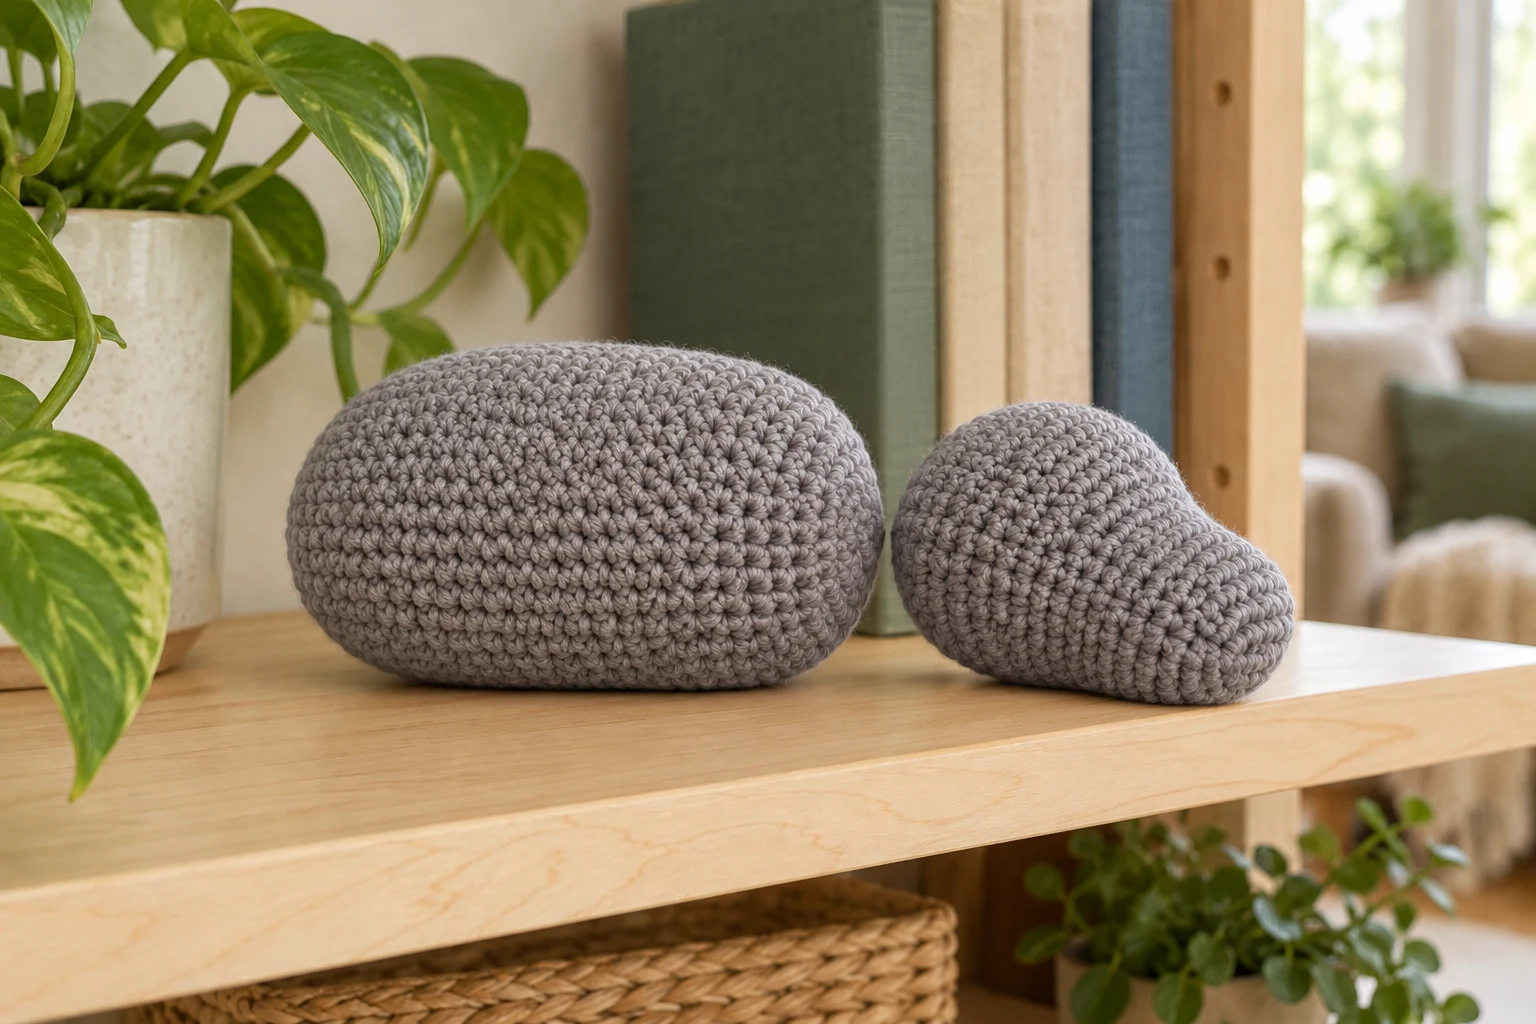
Add filling gradually before the front narrows. Keep a broad oval cross-section rather than packing a hard spherical lump. Thread the tail through the final six front loops, close and bury it. The magic-ring end is the rear; the closed decrease end is the front. The body will lie horizontally above the legs.
Crochet the Separate Head
| Round / stage | Instructions | Count / check |
|---|---|---|
| 1 | 6 sc in MR | 6 |
| 2 | Inc around | 12 |
| 3 | (Sc,inc)×6 | 18 |
| 4 | (2 sc,inc)×6 | 24 |
| 5–10 | Sc around for 6 rounds | 24 each |
| 11 | (2 sc,dec)×6 | 18 |
| 12 | (Sc,dec)×6 | 12 |
| 13 | Dec 6 times | 6 |
Stuff evenly and close the final six stitches. The magic-ring end forms the front muzzle and the decrease end faces the body. Keep the muzzle rounded, not sharply pointed. Leave a separate long gray strand for attaching the closed rear of the head over a broad upper-front body area.
Make Four Equal Legs
| Round / stage | Instructions | Count / check |
|---|---|---|
| Rounds 1–2 | 6 sc in MR;inc around | 6 then 12 |
| Rounds 3–7 | Sc around for 5 rounds | 12 each |
| Closure | Lightly stuff lower end;flatten upper rim;sc through paired stitches | 6 closing sc |
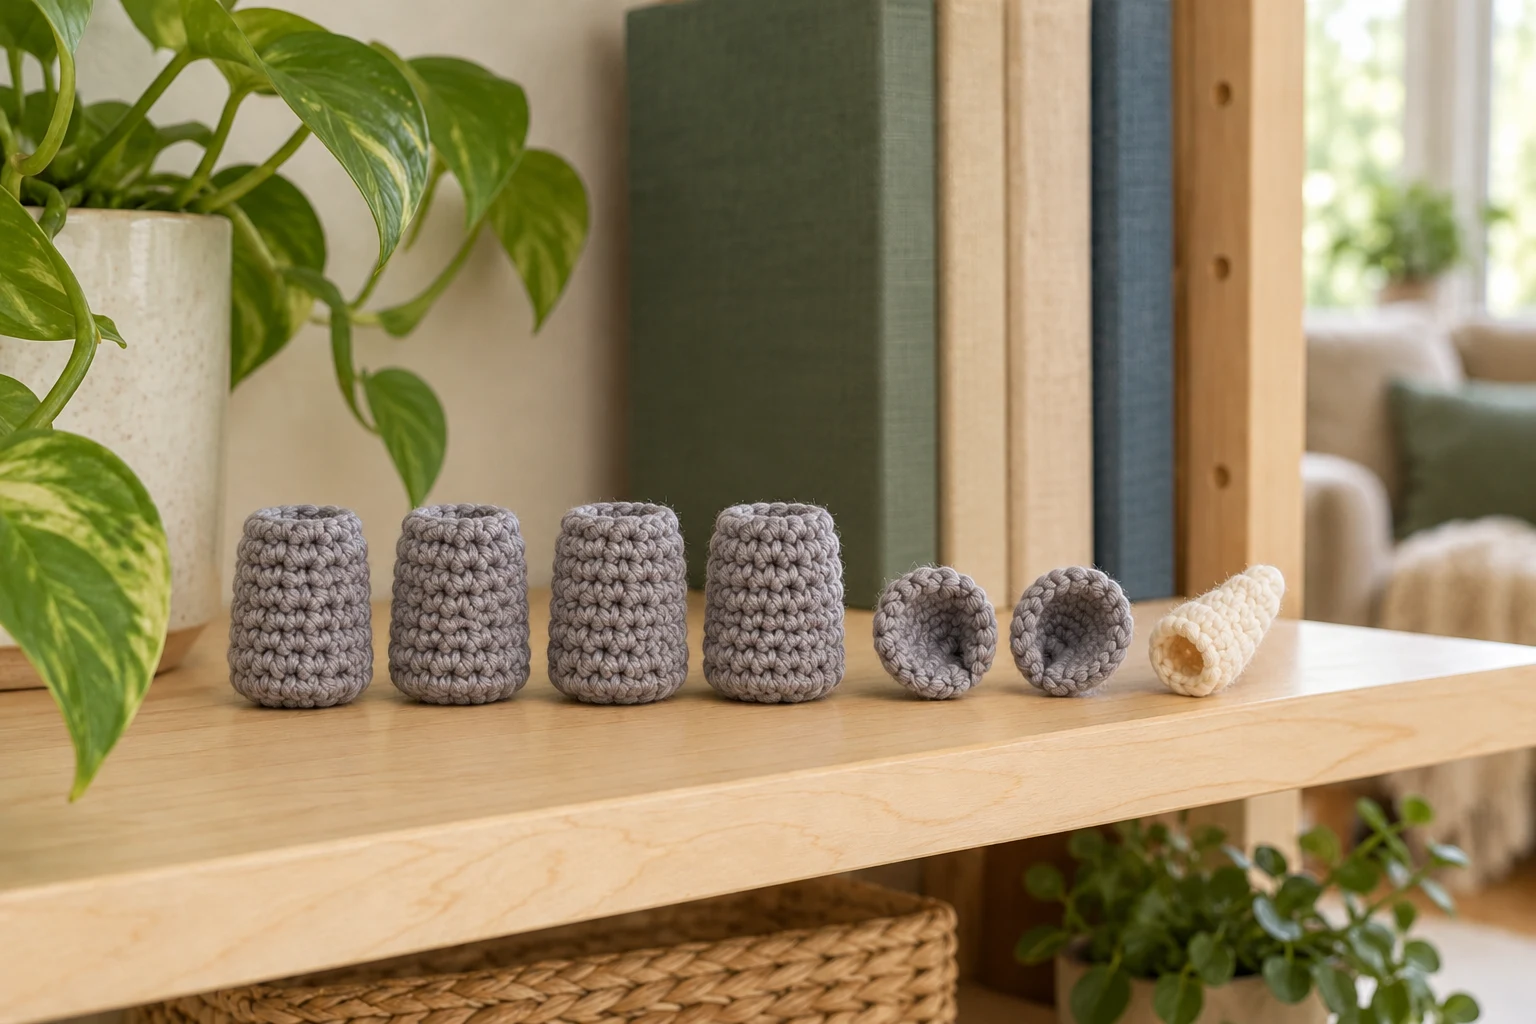
Make four legs to the same row count and tension. Leave the upper portion soft for attachment. Each closing sc passes through one front and one back rim stitch, consuming 12 rim stitches as 6 pairs. Compare all four on the table before sewing. If one is taller because of filling, correct it now rather than tilting the entire body to compensate.
Crochet Ears and the Soft Horn
| Round / stage | Instructions | Count / check |
|---|---|---|
| Ears,make 2 | Gray:6 sc in MR;inc around;finish and pinch base | 12 stitches at edge |
| Horn 1–2 | Cream:4 sc in MR;sc around | 4 each |
| Horn 3 | (Sc,inc)×2 | 6 |
| Horn 4 | (Sc,inc)×3 | 9 |
| Horn 5 | Sc around;leave base open | 9 |
Do not stuff the ears. Pinch only each attachment base and leave the round outer edge free. The horn begins at its blunt tip; its open 9-stitch base will be sewn onto the top-front muzzle. Use only a trace of soft filling if needed to prevent collapse. Never add a toothpick, wire or a hard point.
Pin the Four-Foot Stance
| Round / stage | Instructions | Count / check |
|---|---|---|
| Hind pair | Pin underneath body around Rounds 6–9 | Two rear legs |
| Front pair | Pin underneath body around Rounds 12–15 | Two front legs |
| Head | Pin closed rear to broad upper-front body near Rounds 15–18 | Muzzle projects forward |
Set all four feet on the same flat surface before sewing any limb permanently. Leave the body horizontal and adjust attachment positions together. Sew each flattened leg edge across its full width and reinforce into neighboring body fabric. Attach the closed head over a broad area, adding several passes around its lower rear surface rather than a single pivot point. Check the pose again before tightening.
Sew the Horn, Ears and Embroidered Face
| Round / stage | Instructions | Count / check |
|---|---|---|
| Horn | Sew full 9-stitch base to upper muzzle near head Rounds 3–5 | One blunt horn |
| Ears | Sew folded bases to top-rear head near Rounds 8–10 | Two ears |
| Eyes | Embroider two small black eyes behind horn near Rounds 6–7 | Even placement |
| Tail | Gray:ch 7;sl st back 6 chains;sew lower rear body | One plain tail |
Use temporary markers to place both eyes relative to the pinned horn. Keep embroidery short and bury all ends. Sew the horn base around its entire circumference so it does not hang from a single stitch. Remove every pin and inspect the underside, ear bases, horn root and leg seams. No physical standing or toy-safety test has been completed.
Troubleshooting
| Problem | Likely cause | Adjustment |
|---|---|---|
| Body tips forward | Head angle or front legs misplaced | Repin on flat surface before tightening |
| One foot floats | Unequal leg length or attachment height | Compare all four together |
| Horn folds sharply | Base attached at one point | Sew full 9-stitch rim |
| Stuffing shows | Loose gauge or overfilling | Reduce stuffing or remake dense fabric |
Care and Related Projects
Follow yarn and filling care labels. Spot clean where practical and dry fully. Inspect all small parts before gifting; embroidered eyes and a soft horn do not by themselves establish suitability for a child.
For another useful construction reference, see the amigurumi sewing guide. Its stitch counts and attachment positions belong to that project; keep the instructions for this design separate.
Frequently Asked Questions
Does it have one or two horns?
This construction has one small cream yarn horn. An additional horn is not included.
Are the legs crocheted into the body?
No. Four separate equal legs are flattened at the top and sewn to the underside after the stance is pinned.
Where does the head begin?
At the muzzle. Its closed decrease end attaches to the upper-front body.
Is the standing pose tested?
No. It is the intended arrangement; gauge, filling and attachment positions need a physical sample check.
Compact Pattern Card
| Stage | Key instruction |
|---|---|
| Crochet the Horizontal Body | Dec 6 times |
| Crochet the Separate Head | Dec 6 times |
| Make Four Equal Legs | Lightly stuff lower end;flatten upper rim;sc through paired stitches |
| Crochet Ears and the Soft Horn | Sc around;leave base open |
| Pin the Four-Foot Stance | Pin closed rear to broad upper-front body near Rounds 15–18 |
| Sew the Horn, Ears and Embroidered Face | Gray:ch 7;sl st back 6 chains;sew lower rear body |