Crochet Phone Crossbody Bag Pattern with a Button Flap
Make a dense crochet phone pouch with a folded button flap and flat crossbody strap. Includes panel counts, fit checks and sewing instructions.
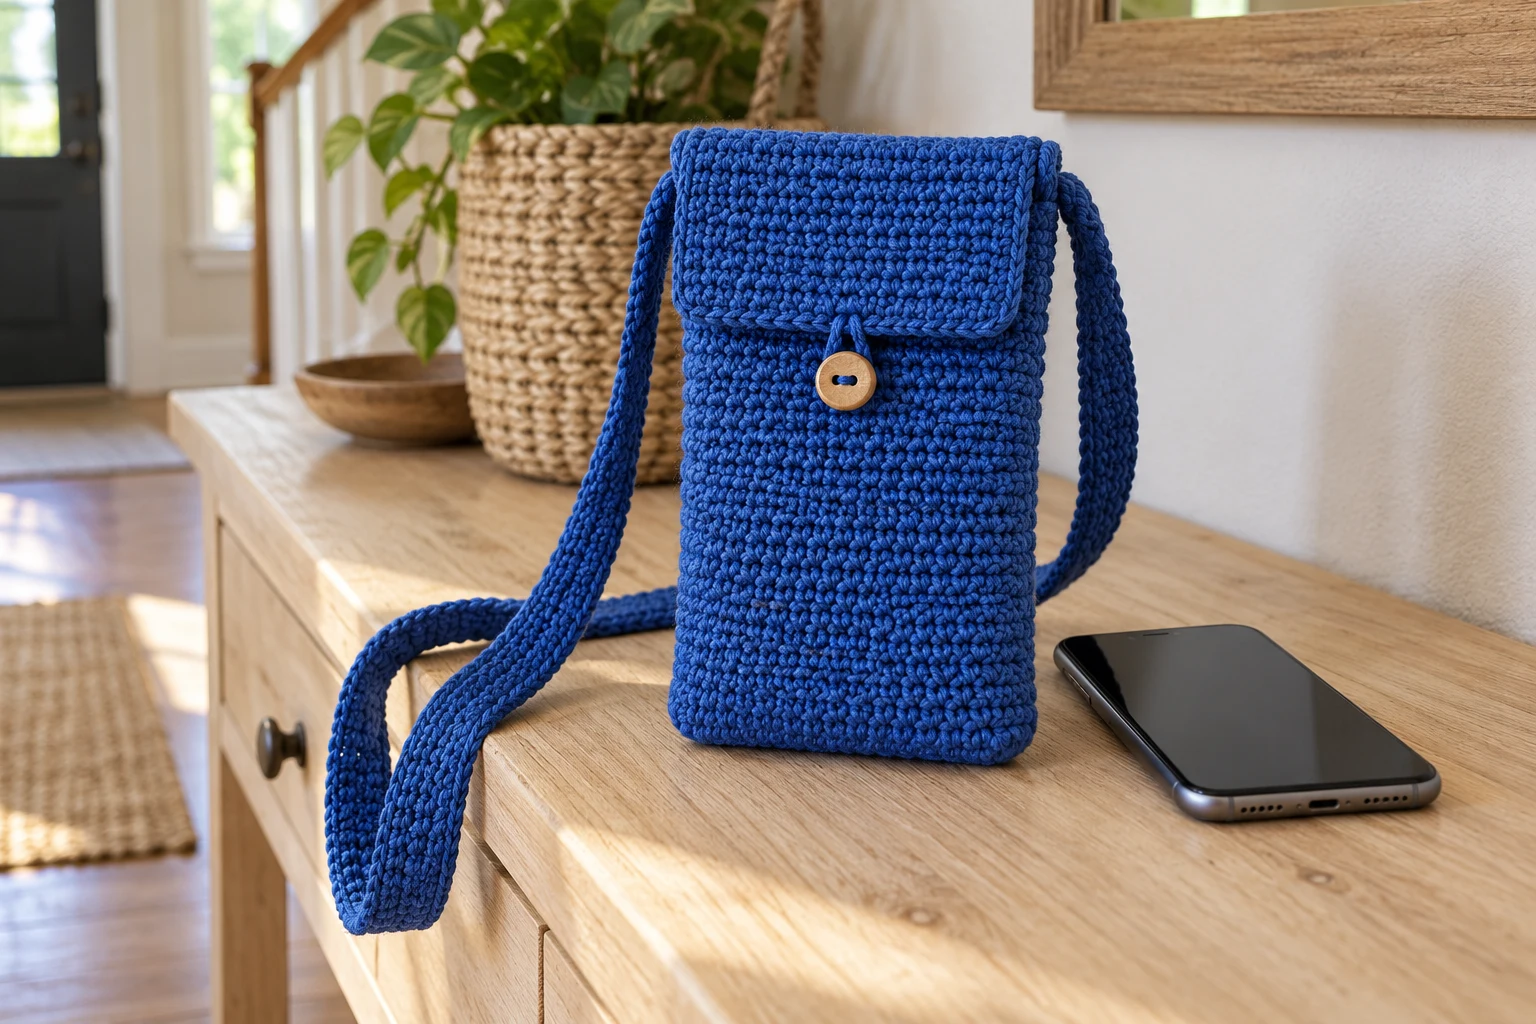
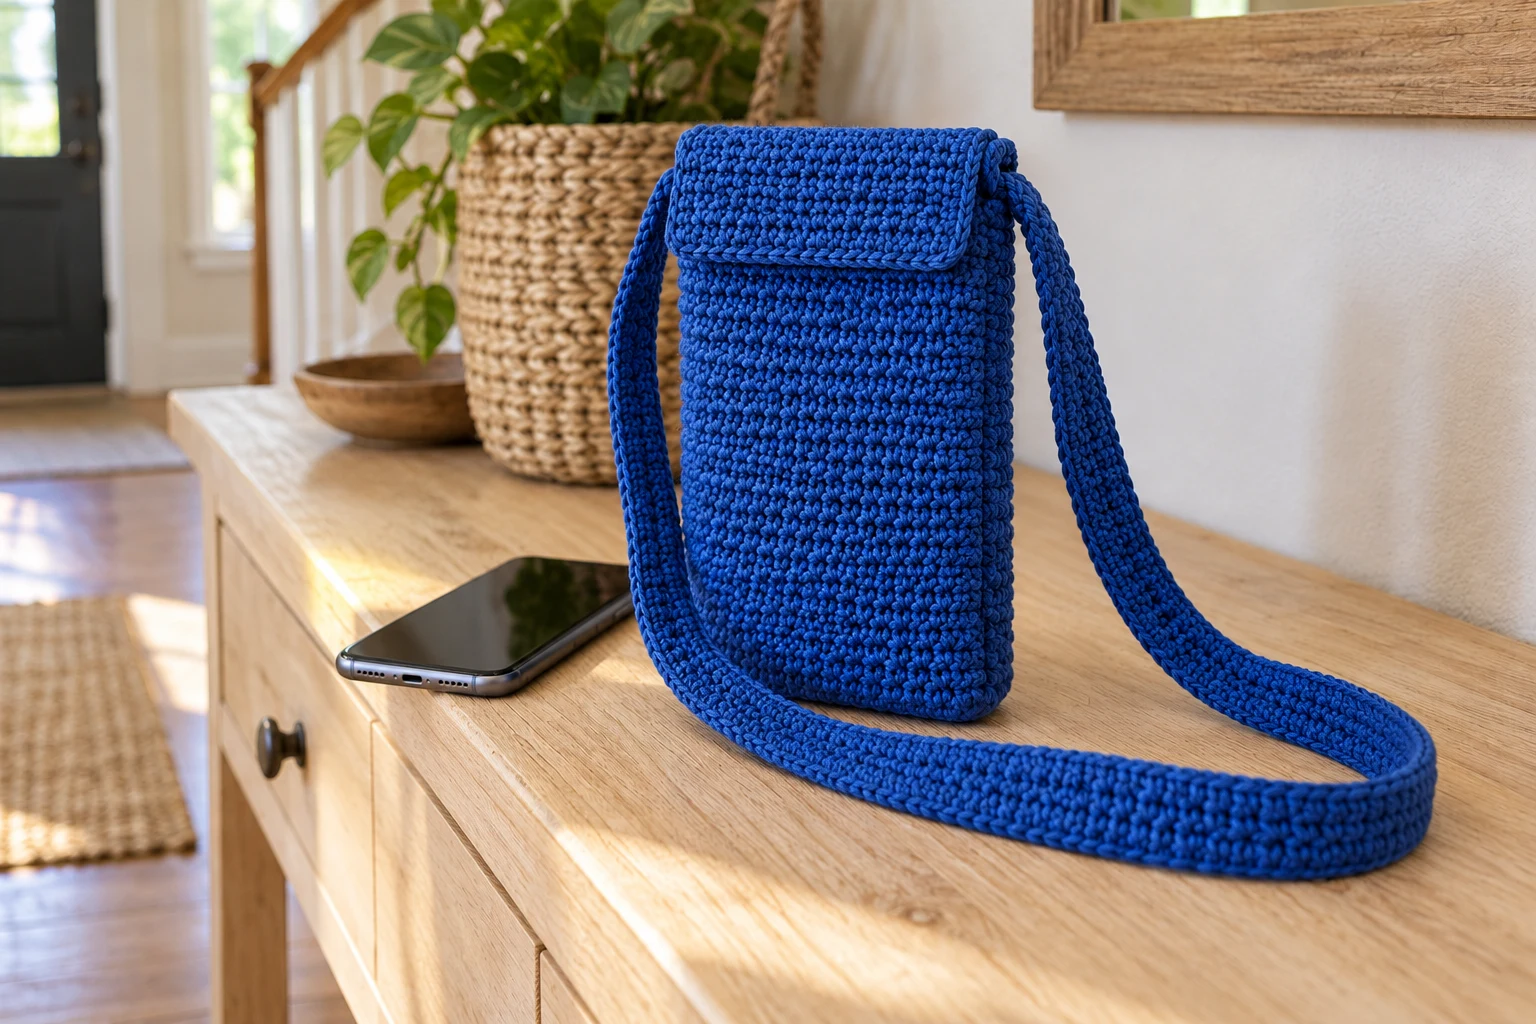
A phone pouch should be sized around the phone and its case, not a generic label. This cobalt-blue design uses two flat panels with a little extra room at the sides. The back panel continues upward into a rectangular flap, and a small chain opening closes over a wooden button.
This crochet phone bag pattern keeps the main fabric plain so the fit and seams are easy to inspect. The strap is a separate flat strip. There are no metal clips, rings or zipper in the basic construction.
How is this project made? Work a 20-stitch front for 42 rows and a matching back that continues for a 12-row flap. Sew three sides, fit the button to the flap opening, and attach one flat strap to the upper side seams. Check the actual phone fit before sewing permanently.
Project Overview
| Detail | Pattern information |
|---|---|
| Skill | Confident beginner |
| Terms | US crochet |
| Hook | 3.5 mm, adjusted after a swatch |
| Planning size | About 10 cm wide × 19 cm body height, unverified |
| Gauge example | 20 sc and 22 rows per 10 cm; not measured |
| Construction | Two panels, integral flap, sewn strap |
Illustrations and testing: These six project images are generated illustrations, not photographs of a test-crocheted sample. Counts are reviewed; sizes, yarn consumption, attachments and physical performance remain unverified.
Materials
| Material | Suggested specification |
|---|---|
| Cobalt cotton | Approximately 80–120 g DK or light worsted cotton; estimate |
| Hook | 3.5 mm or size needed for a dense fabric |
| Button | One smooth 12–15 mm wooden button, checked against the loop |
| Notions | Needle, pins, marker and scissors |
| Sizing reference | Your actual phone with its usual case |
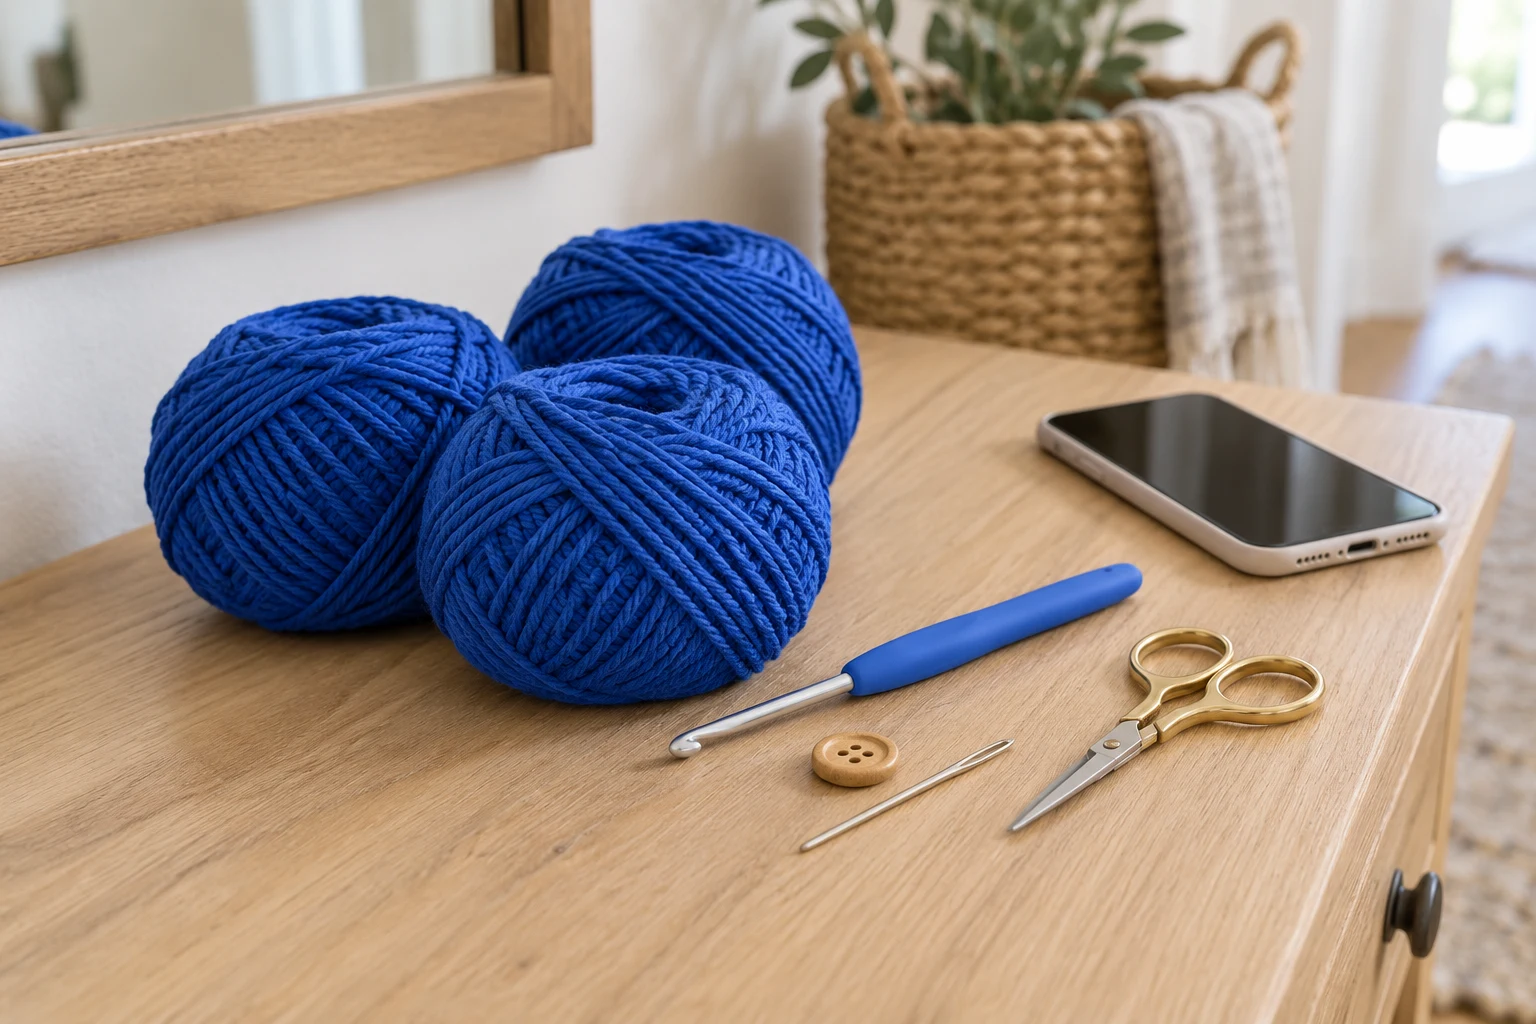
Size, Gauge, and Yarn Choices
Make a solid swatch and compare it with the phone and case. The planning gauge gives a 10 cm panel width and about 19 cm body height. Two flat panels have little depth, so do not choose a width equal to the phone alone. Aim for room to slide the case in without pulling the seams. These are calculated starting dimensions, not a promise that every phone fits.
Abbreviations and Working Notes
| Abbreviation | Meaning |
|---|---|
| ch | Chain |
| sc | Single crochet |
| sl st | Slip stitch |
| st / sts | Stitch / stitches |
| MR | Magic ring |
| inc | 2 sc in the same stitch |
| dec | Invisible sc decrease; uses 2 stitches and makes 1 |
Ch 1 at a row start does not count. Turn after each row and put the first sc into the first stitch, not the turning chain.
Keep the front and back body sections at exactly the same row count before adding the flap. The extra back rows remain free above the pouch mouth.
The button and strap are sewn accessories that require inspection. This pouch is not an impact-proof or waterproof phone case.
Crochet the Front Panel
| Row / stage | Instructions | Count |
|---|---|---|
| Foundation | Ch 21 | 20 working chains |
| 1 | Sc in second ch from hook and across | 20 sc |
| 2–42 | Ch 1, turn; sc in each stitch | 20 sc each |
Fasten off with a long sewing tail. Lay the panel flat and measure it without stretching. Place the phone on top, leaving space around the case; the side seams will use some of the apparent width.
If the fabric is too small, stop before making a matching back. Adjust the starting chain and recalculate the flap opening symmetrically, or remake at a suitable gauge. Do not squeeze a large phone into a tight prototype.
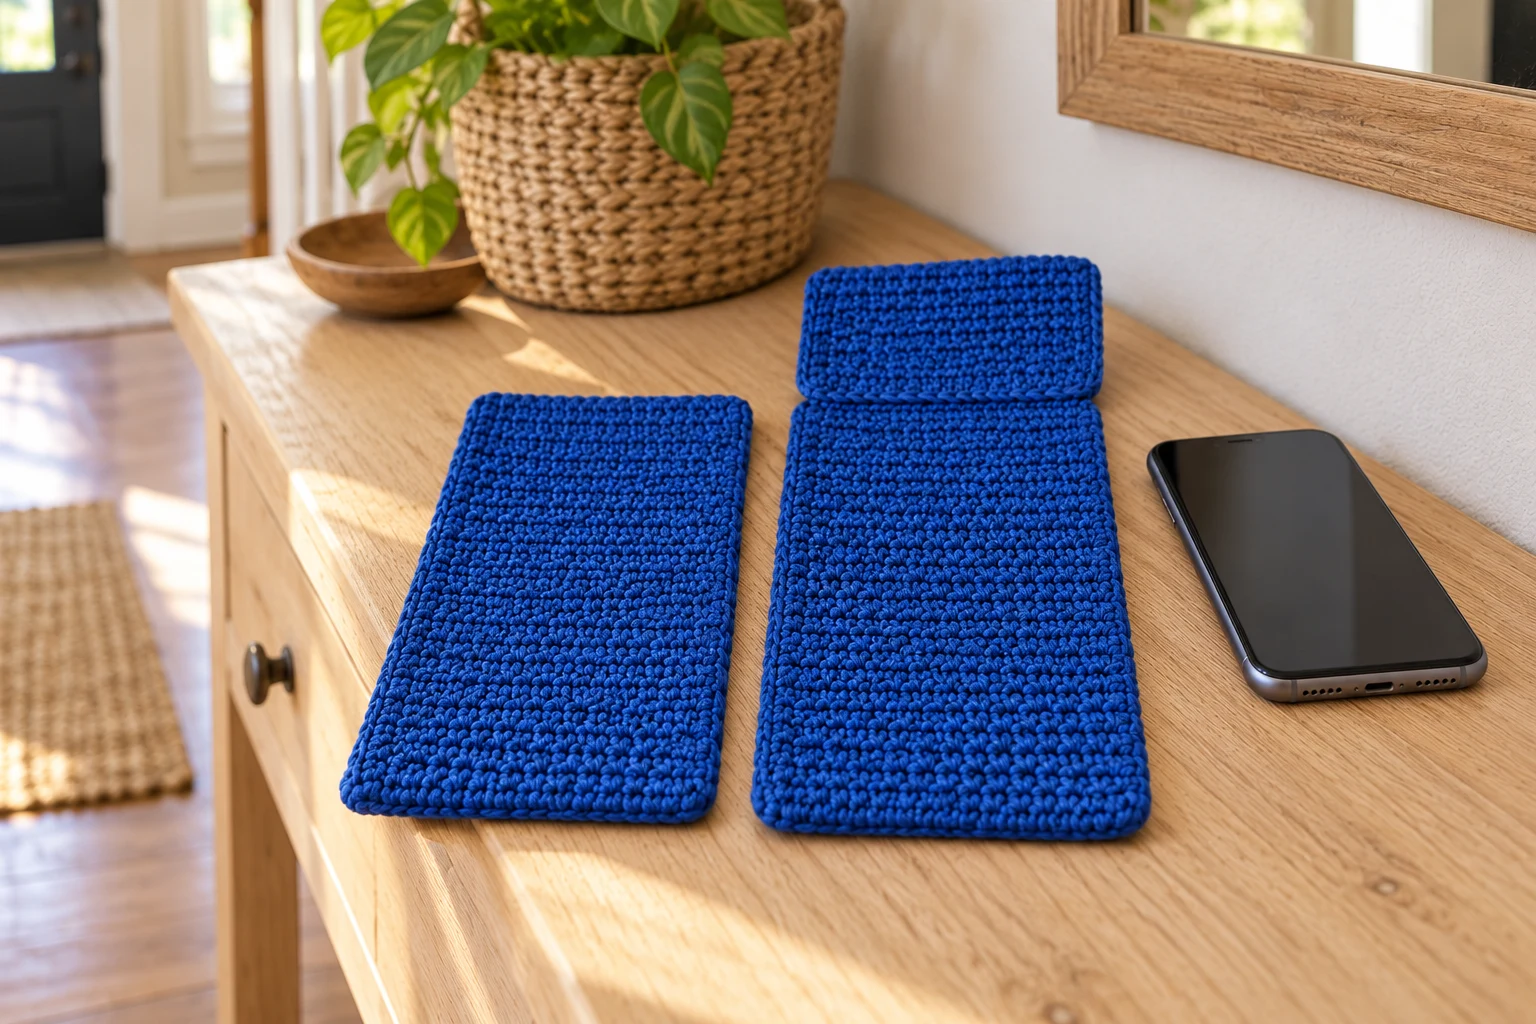
Make the Back and Button Flap
| Round / stage | Instructions | Count |
|---|---|---|
| Back rows 1–42 | Repeat the front panel without fastening off | 20 sc each |
| Flap rows 43–53 | Ch 1, turn; sc across for 11 further rows | 20 sc each |
| Flap row 54 | Ch 1, turn; 9 sc, ch 5, skip 2 sts, 9 sc | 18 sc + one ch-5 space |
Mark the boundary between Rows 42 and 43 on both edges. The last row consumes all 20 base stitches: nine on each side and two skipped at the center. The chain space is the button opening, not five extra single crochets.
Fasten off and weave in the flap end neatly. Try the intended button through the loop now. The fit depends on chain tension and the button thickness; if it is too tight or loose, remake the final row with a suitable chain length and keep the two skipped center stitches unchanged.
Crochet the Flat Strap
| Row / stage | Instructions | Count |
|---|---|---|
| Foundation | Ch 7 | 6 working chains |
| 1 | Sc in second ch and across | 6 sc |
| 2–242 | Ch 1, turn; sc across | 6 sc each |
The planning gauge gives a strip roughly 110 cm long and 3 cm wide before overlap and stretch. Check a pinned length against the intended wearer before finishing. Leave long tails at both ends.
Keep both strip edges straight and do not twist the strip during assembly. If using a different yarn, make a separate short strap swatch and check its stretch with a light pull.
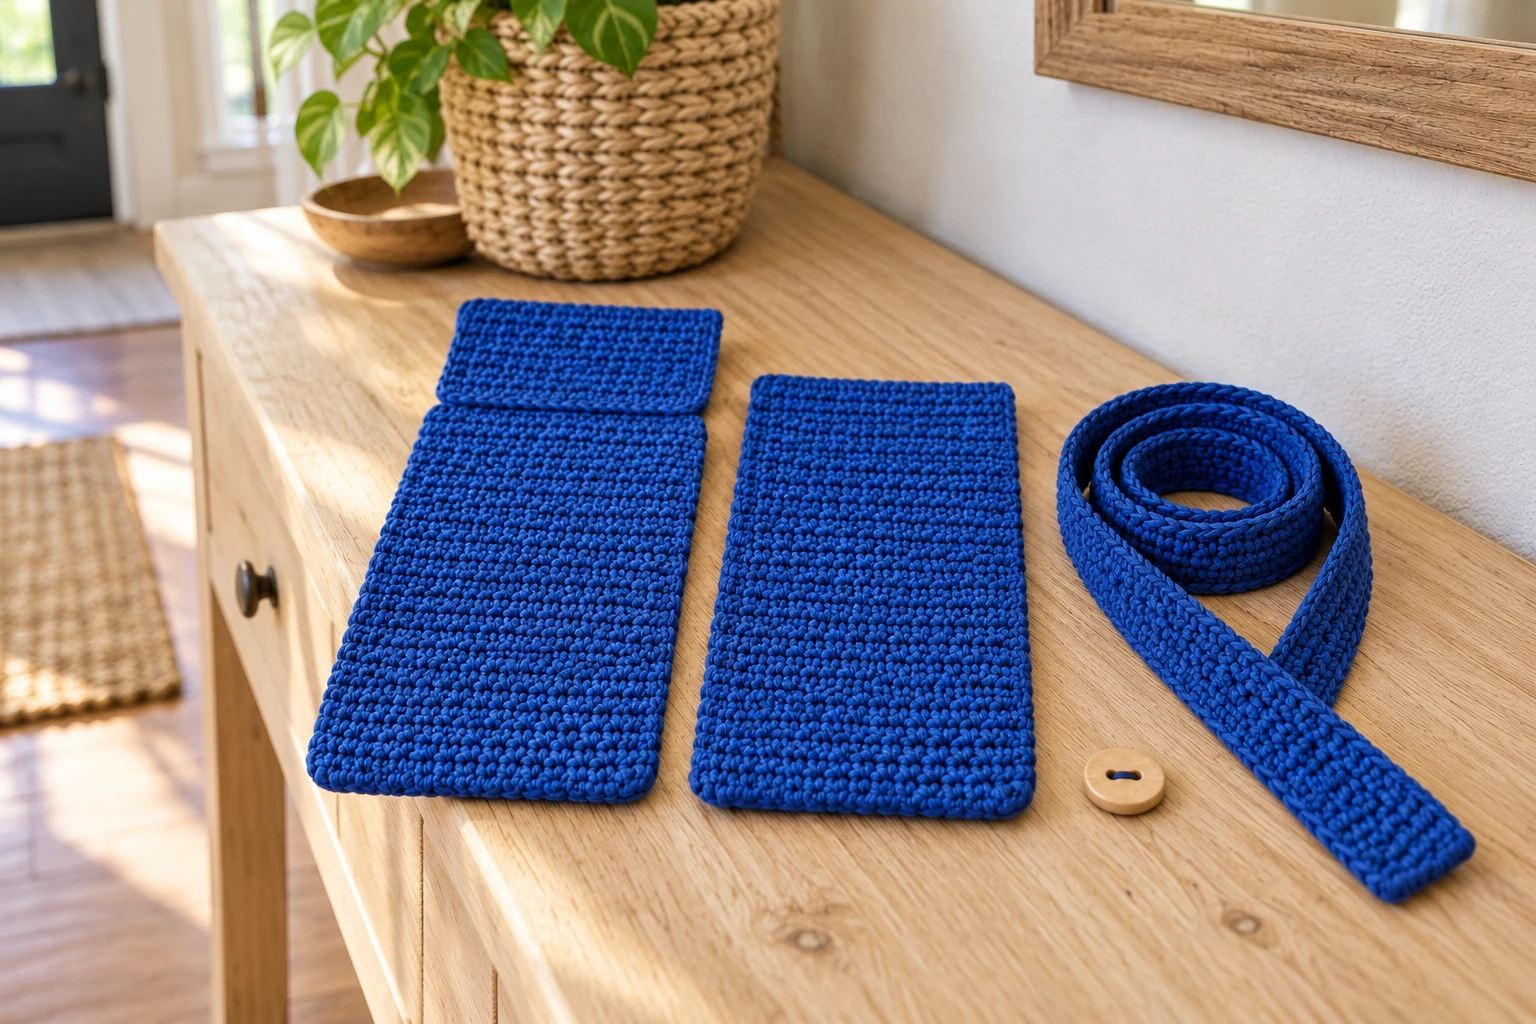
Sew the Panels and Fit the Closure
| Round / stage | Instructions | Count |
|---|---|---|
| Body alignment | Match the front 42 rows to back rows 1–42 | Flap remains above opening |
| Seams | Sew both side edges and bottom; leave top mouth free | Three closed edges |
| Button | Fold flap over actual phone fit; mark button through opening | Sew to front only |
Pin the panels with their intended outer faces outward. Join corresponding side row ends with small mattress stitches, then sew the foundation edges together along the bottom. Avoid bulky knots at the corners. Do not catch the flap sides in the body seams.
Slide the phone and case in gently. Fold the flap naturally and mark the button position through the chain opening. Near the planning gauge this falls around Front Rows 30–31, but the measured fold matters more. Remove the phone before sewing the button. Use several secure passes through the front panel only, leaving clearance behind the button so it can close.
Sew one strap end at each upper side seam, overlapping roughly Rows 38–42. Spread the stitching across the strap width and catch both body panels where they meet, without sewing the pouch mouth shut. Use a neat rectangle and additional crossing stitches.
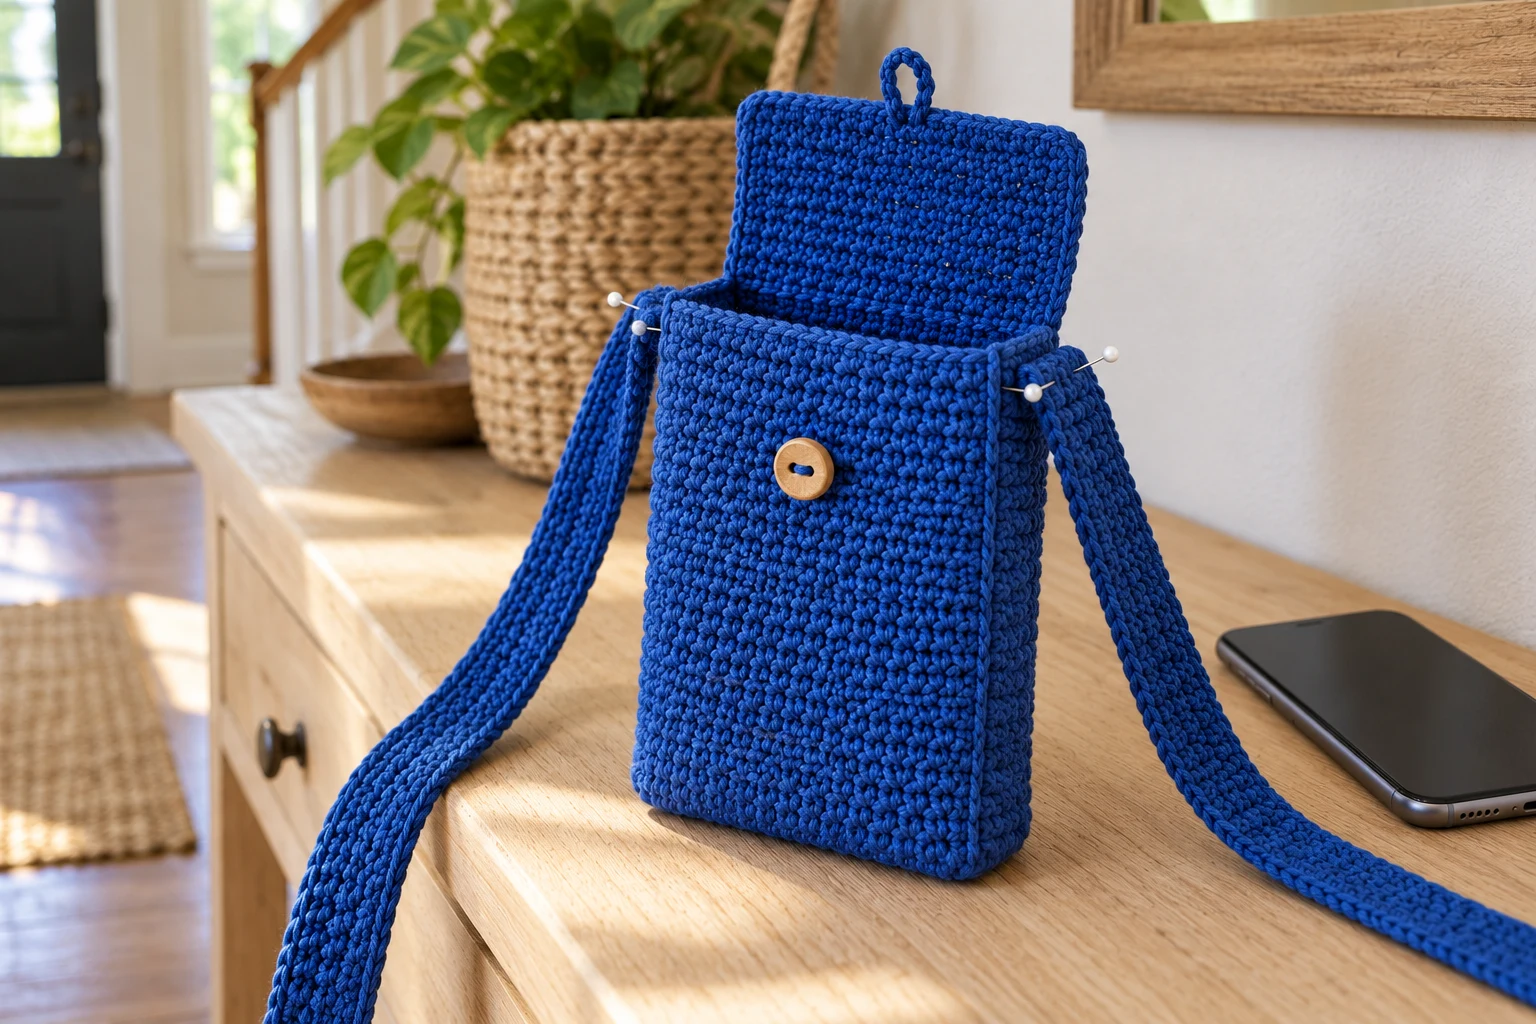
Check the Pouch with Your Phone
| Round / stage | Instructions | Count |
|---|---|---|
| Fit | Insert the actual phone and usual case | No forced stretching |
| Flap | Close the loop over button | Phone top stays covered |
| Strap | Test lightly over a table | No pulling gaps |
Check the phone can be removed without catching on the button stitches. If any thread or yarn tail projects into the pouch, secure it flat. A separately fitted soft lining can help protect a delicate case from the button stitching.
The flap is not a security lock. Do not rely on the pouch to retain an expensive phone during running, climbing or other vigorous movement. This draft has not been load or drop tested.
Troubleshooting
| Problem | Check | Adjustment |
|---|---|---|
| Phone will not slide in | Too little ease for case and seam | Remake larger after measuring |
| Flap sits crooked | Back marker line or seams uneven | Align body rows before sewing |
| Button loop slips off | Loop too long or button too small | Refit final flap row |
| Strap pulls seam open | Too little overlap | Spread anchors across both side edges |
Care and Related Projects
Remove the phone before any cleaning or fit adjustment. Follow the cotton and wooden-button care guidance. Spot clean where possible; if washing is allowed, reshape gently and dry fully before putting a phone back inside.
For a different bag shape, see the granny square tote. The same principle of pinning a closure before sewing is useful, even though the panel counts and construction differ.
Frequently Asked Questions
Will it fit my phone?
Only a measured swatch and a fit check with your phone and case can establish that. The dimensions here are planning examples.
Can I make it without the strap?
Yes. Secure the upper side seams and use it as a pouch; check that the flap still closes comfortably.
Can I replace the button with a snap?
That changes the closure and eliminates the chain opening. It needs a separate fastening and fit check rather than adding hardware blindly.
Is a lining required?
Not for the basic draft, but a fitted lining can cover interior button stitches. Account for its thickness when checking fit.
Can the strap be adjusted?
The basic strap is a fixed sewn strip. Change its row count before sewing, rather than adding an untested adjuster.
Is this a protective phone case?
No. It is a crochet carrier draft, without impact or water-resistance testing.
Compact Pattern Card
| Component | Essential instructions |
|---|---|
| Front | 20 sc × 42 rows |
| Back | 20 sc × 53 rows, then centered loop row 54 |
| Loop row | 9 sc, ch 5, skip 2, 9 sc |
| Strap | 6 sc × 242 rows before fitting |
| Finish | Sew three edges, fit button and anchor strap |