Crochet Strawberry Keychain Pattern with Embroidered Seeds
Crochet a small strawberry keychain with embroidered seeds, a six point green leaf cap and a doubled hanging loop. Includes shaping and attachment tables.
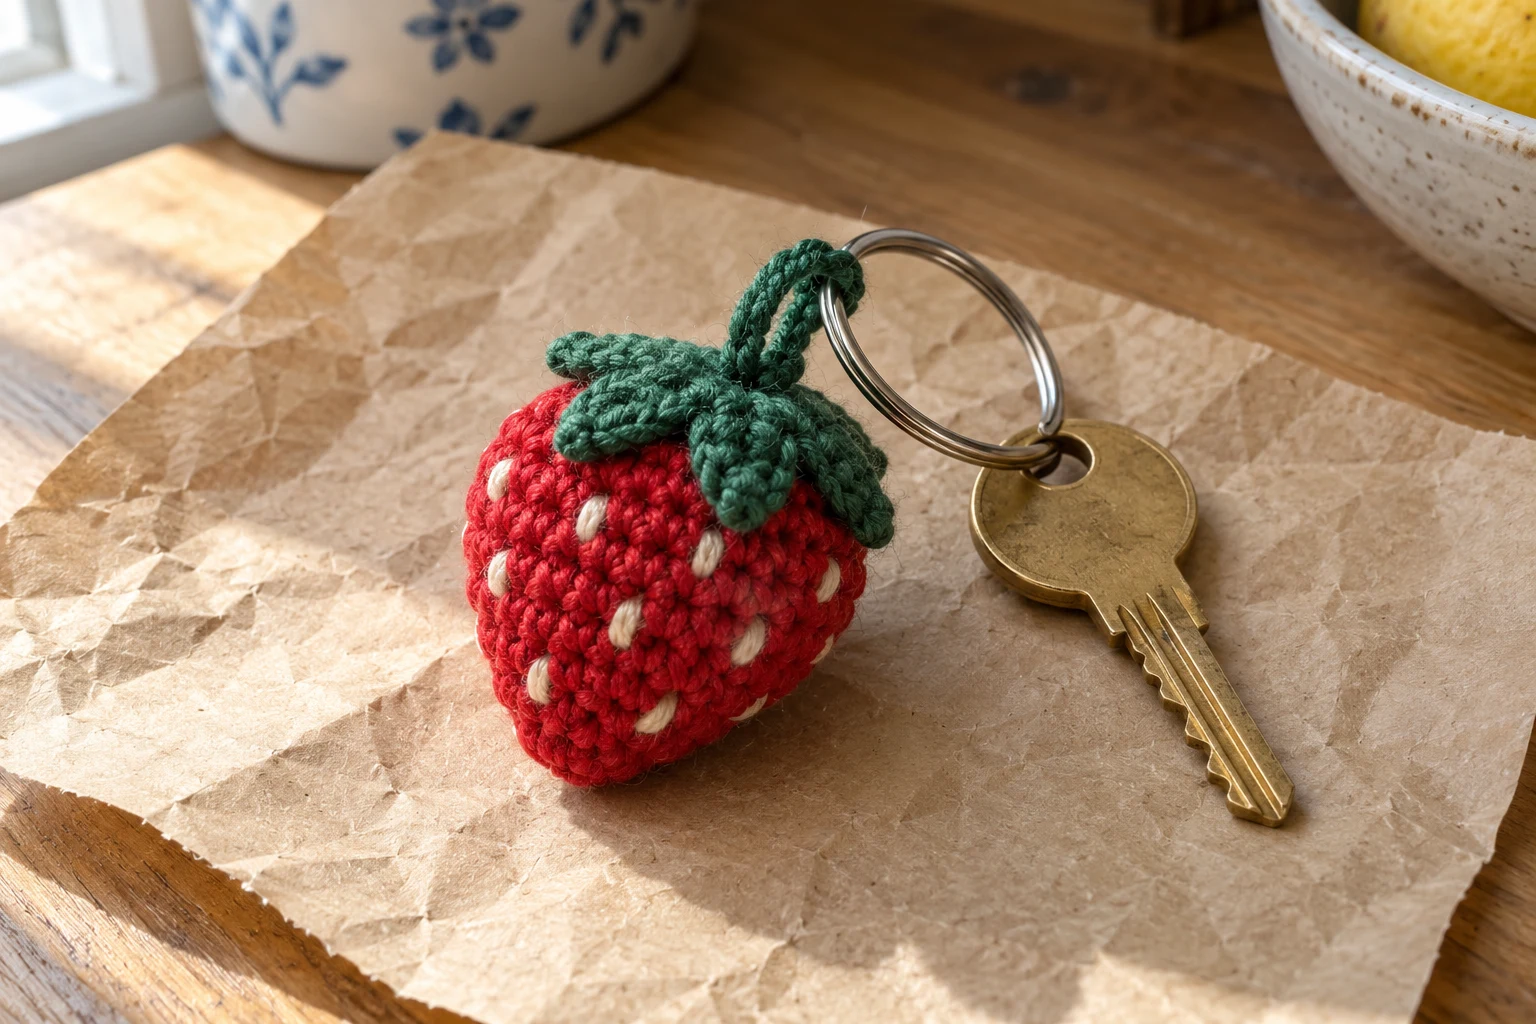
A small strawberry has a useful shape for practicing increases at different rates: a narrow lower tip grows into rounded shoulders before closing at the top. Cream embroidered seeds and a six-point green cap make the fruit recognizable without adding a face.
This crochet strawberry keychain pattern uses continuous rounds for the fruit and a separate chain-worked cap. The hanging loop is anchored through the cap and the body, rather than relying on a single delicate leaf point.
How is this project made? Start at the strawberry tip, widen to 24 stitches and shape the shoulders closed. Embroider small seeds, sew on a six-point leaf cap and add a doubled green loop to a plain split ring.
Project Overview
| Detail | Pattern information |
|---|---|
| Skill | Confident beginner |
| Terms | US crochet |
| Hook | 2.5 mm, adjusted for dense fabric |
| Planning size | Approximately 4–5 cm fruit height, unverified |
| Construction | Stuffed fruit plus separate green cap |
| Testing | Arithmetic reviewed; hardware strength untested |
Illustrations and testing: These six project images are generated illustrations, not photographs of a test-crocheted sample. Counts are reviewed; sizes, yarn consumption, attachments and physical performance remain unverified.
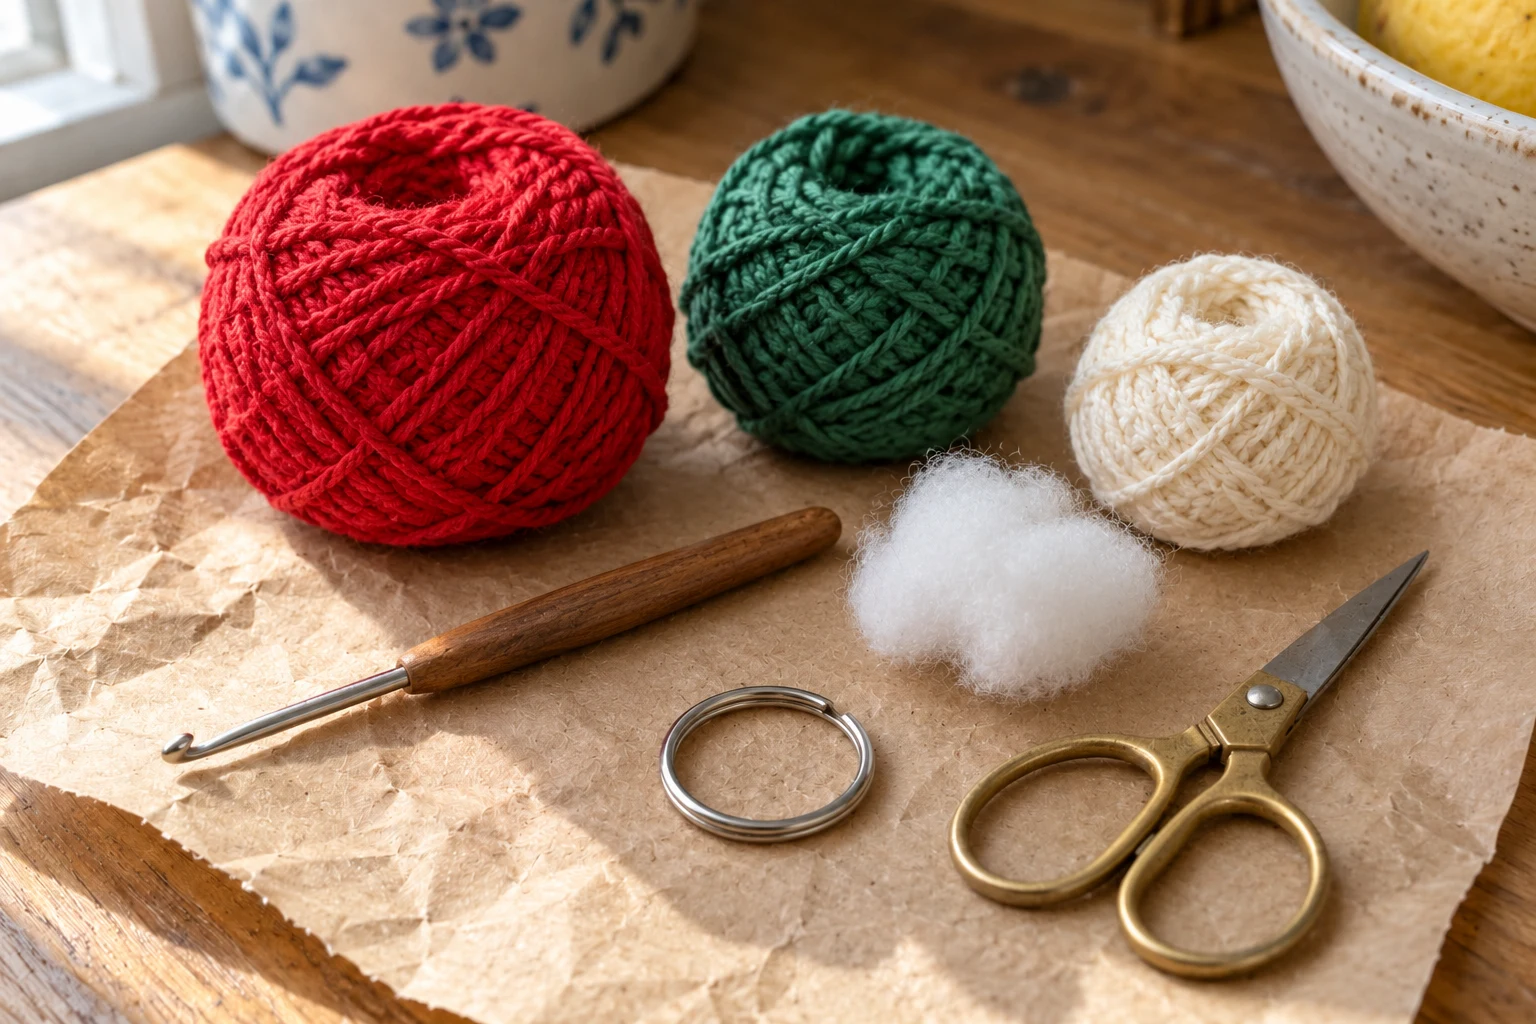
Materials
| Material | Suggested specification |
|---|---|
| Red cotton | About 10–15 g fine/sport cotton; estimate |
| Green cotton | About 5 g matching weight; estimate |
| Cream thread | Short length for embroidered seeds |
| Hook and filling | 2.5 mm hook and small amount of toy filling |
| Hardware and notions | Plain 20–25 mm split ring, blunt needle, marker, scissors |
Size, Gauge, and Yarn Choices
Make the first few fruit rounds and stretch them gently. If filling will show, use a more suitable hook before continuing. The estimated height is not a sample measurement. Keep the cap and body yarns in the same weight; a heavy cap can overwhelm a small strawberry.
Abbreviations and Working Notes
| Abbreviation | Meaning |
|---|---|
| ch | Chain |
| sc | Single crochet |
| sl st | Slip stitch |
| st / sts | Stitch / stitches |
| MR | Magic ring |
| inc | 2 sc in the same stitch |
| dec | Invisible sc decrease; uses 2 stitches and makes 1 |
| hdc | Half double crochet |
| dc | Double crochet |
Work fruit rounds in a spiral without joining. The magic-ring end is the lower tip; the final decrease closure is hidden under the cap.
Secure the starting tail inside. A marker is particularly useful when the early rounds have 6,9 and 12 stitches rather than the usual six-increase sequence.
The cap uses six separate chain points joined to one ring. Its anchor slips do not count as extra leaves. This accessory is not a baby toy.
Crochet the Strawberry Body
| Round / stage | Instructions | Count |
|---|---|---|
| 1 | 6 sc in MR | 6 |
| 2 | Sc around | 6 |
| 3 | (Sc,inc) ×3 | 9 |
| 4 | (2 sc,inc) ×3 | 12 |
| 5 | (Sc,inc) ×6 | 18 |
| 6 | (2 sc,inc) ×6 | 24 |
| 7–10 | Sc around for 4 rounds | 24 each |
| 11 | (2 sc,dec) ×6 | 18 |
| 12 | (Sc,dec) ×6 | 12 |
| 13 | Dec 6 times | 6 |
Pause after Round 10 to inspect the shape. Add small pieces of filling rather than one tightly packed lump. Keep the lower tip rounded, not stretched into a long cone.
Continue adding filling while the opening is still accessible, then thread the final tail through the remaining six front loops and pull closed. Leave the upper closure accessible for the cap and loop anchors.

Embroider the Cream Seeds
| Round / stage | Instructions | Count |
|---|---|---|
| Placement | Distribute short stitches around red body | Approximately 12–18 seeds |
| Length | Use one short straight stitch per seed | Avoid long exposed loops |
| Finishing | Secure thread through body and bury ends | No loose tail |
Use the crochet columns as a placement guide rather than trying to make a perfect printed grid. Stagger neighboring rows and leave space for the green cap.
Keep the stitches short and loose enough not to dent the stuffed fabric. Check the reverse as you work. If the needle drags filling out, smooth it back inside and adjust the path.
Make the Six-Point Green Cap
| Round / stage | Instructions | Count |
|---|---|---|
| Center | 6 sc in MR; join | 6 base stitches |
| Each leaf point | Sl st in next base st; ch 4; sl st in second ch, sc in next, hdc in last; sl st into same base st | 1 point |
| Complete | Repeat once in every base stitch | 6 points |
Hdc means half double crochet. Each chain point has three return stitches, while the slips into the ring keep its base attached. Leave a long sewing tail after the sixth point.
Lay the cap over the closed top before sewing. Spread all six points evenly and check that the red shoulders remain visible between them. Do not crochet a separate leaf for every seed.

Attach the Cap and Hanging Loop
| Round / stage | Instructions | Count |
|---|---|---|
| Cap | Sew center and roots of 6 points to red top | Catch body fabric |
| Loop | Pass a doubled green yarn length through split ring | Short clear hanging loop |
| Anchors | Sew both ends through cap center and different body stitch paths | Spread attachment |
Sew the cap over the fruit closure, catching red fabric underneath rather than only the finishing tail. Keep the leaf tips free.
Cut about 25 cm of green yarn and pass its middle through the split ring. Adjust the short doubled loop above the cap. Sew each end through the cap center and several red body stitches in different directions, then bury both ends. Do not make a leaf tip the only ring attachment.
Gently test the loop over a table before adding keys. If the cap lifts or stitches spread, remake the anchors. Reinforcement does not establish a tested pulling strength.

Final Shape and Hardware Check
| Round / stage | Instructions | Count |
|---|---|---|
| Fruit | Compare shoulders and lower tip | Even filling |
| Seeds | Inspect all sides | No loose embroidery |
| Ring | Check loop and split-ring closure | No snagging gap |
Keep the key on the metal ring, not on the crochet loop alone. The fruit is a decorative charm and should not be the sole connector holding valuable keys to a bag.
Inspect the attachment after use because yarn can abrade against metal. A neat first appearance does not predict long-term wear.
Troubleshooting
| Problem | Check | Adjustment |
|---|---|---|
| Fruit looks spherical | Tip overstuffed or early shaping missed | Check 6,6,9,12,18,24 sequence |
| Cap hides too much fruit | Cap yarn thicker than body yarn | Use matching weights |
| Seeds dent the body | Embroidery pulled too tightly | Ease stitches and redistribute filling |
| Loop lifts cap | Only cap fabric anchored | Sew through body fabric as well |
Care and Related Projects
Spot clean first and keep metal hardware from prolonged soaking. Follow the yarn and filling care guidance and let the fruit dry fully. Keep the small charm and ring away from babies and young children.
For a different shape and join, see the mushroom keychain. The fruit here closes at the top and uses its own cap and ring anchors.

Frequently Asked Questions
Is it no-sew?
No. The fruit is crocheted in one piece, but the cap, seeds and hanging loop are sewn.
Can I leave out the seeds?
Yes, but the plain red shape will look less like a strawberry. That does not change the fruit stitch counts.
Can I use a lobster clasp?
The written draft specifies a plain split ring. Different hardware needs its own clearance and attachment check.
Why does Round 3 increase by three?
It gently widens the tip from 6 to 9. The first two increase rounds use three repeats; later shaping uses six.
Can it be a bag charm?
It can decorate a bag if the attachments are checked, but it is not a tested heavy-duty connector.
Is the finished size verified?
No. Measure a physical sample and record its yarn, hook and actual consumption.
Compact Pattern Card
| Component | Essential instructions |
|---|---|
| Body | 6,6,9,12,18,24;4 rounds at 24;18,12,6 |
| Seeds | Short cream embroidery |
| Cap | 6-point green chain-worked star |
| Loop | Doubled green yarn through ring, anchored into body |


