Mini Crochet Whale Pattern: Easy 7-Step Amigurumi
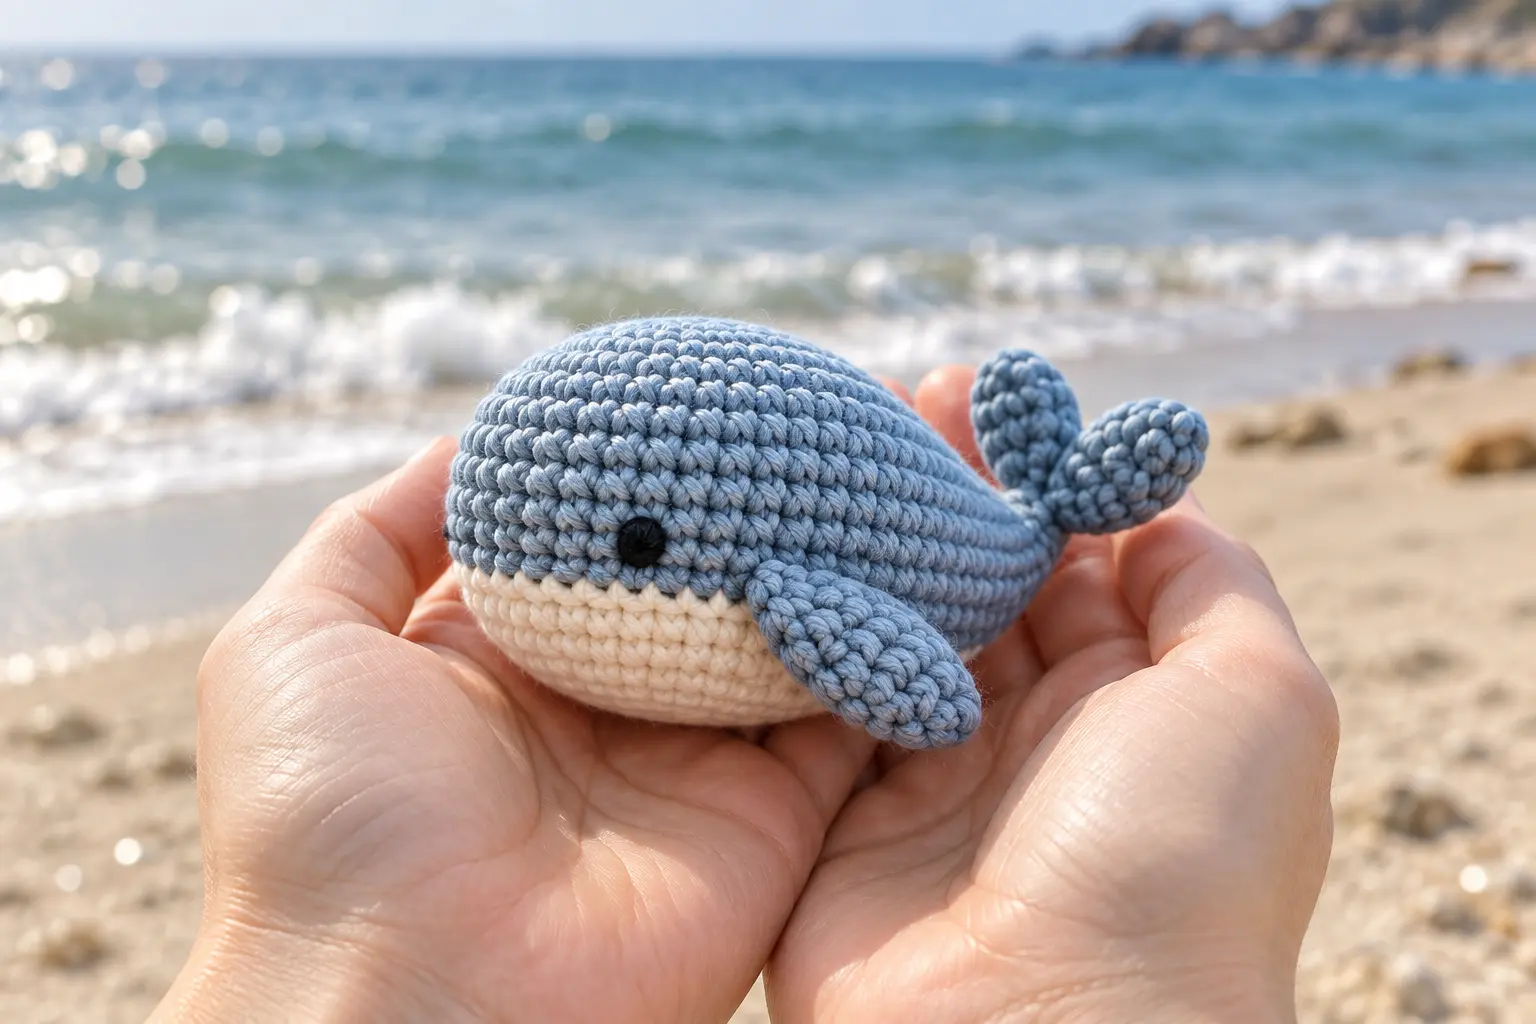
This mini crochet whale pattern makes a palm-size amigurumi with a rounded body, tiny fins and an embroidered smile. The continuous one-piece body keeps sewing to a minimum, making it a quick project for beginners who already know single crochet and invisible decrease.
Mini Crochet Whale Pattern: Quick Facts
- Skill level: Beginner
- Finished size: 4.5 in (11.5 cm) long
- Time: 1.5–2.5 hours
- Terms: US crochet terms
- Construction: One-piece body with two fins and two tail flukes
Materials
- 35 g DK cotton yarn in ocean blue
- 10 g cream yarn for the belly
- 2.5 mm hook
- Fiberfill, yarn needle, stitch marker and scissors
- Black embroidery thread
Abbreviations
MR magic ring; sc single crochet; inc 2 sc in one stitch; dec invisible decrease; ch chain; sl st slip stitch; FO fasten off.
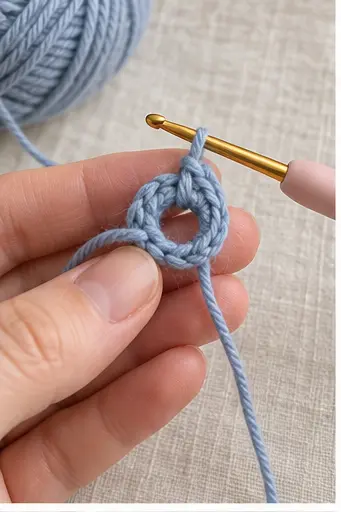
Body
- R1: 6 sc in MR. (6)
- R2: Inc around. (12)
- R3: [Sc, inc] × 6. (18)
- R4: [2 sc, inc] × 6. (24)
- R5: [3 sc, inc] × 6. (30)
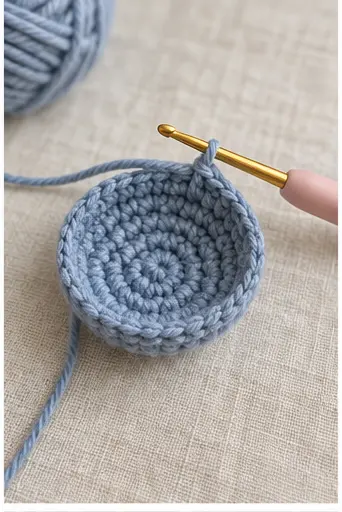
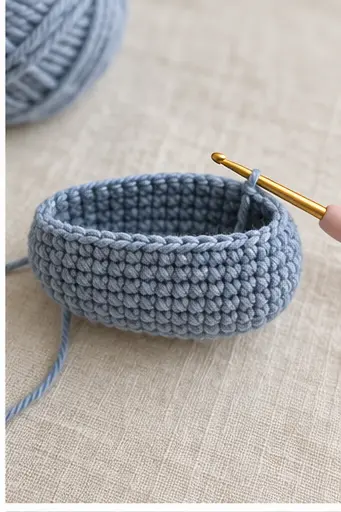
- R6–R11: Sc around. (30)
- R12: [3 sc, dec] × 6. (24)
- R13–R14: Sc around. (24)
- R15: [2 sc, dec] × 6. (18)
- R16: Sc around. (18)
- Stuff the nose and center evenly.
- R17: [Sc, dec] × 6. (12)
- R18: Dec × 6. (6). FO and close.
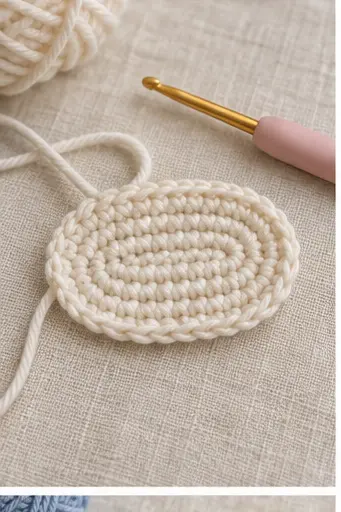
Cream Belly Patch
- Ch 9.
- Starting in second ch: 7 sc, 3 sc in final ch; continue on the opposite side with 6 sc, inc. (18)
- R2: Inc, 6 sc, inc × 3, 6 sc, inc × 2. (24)
- FO with a long tail.
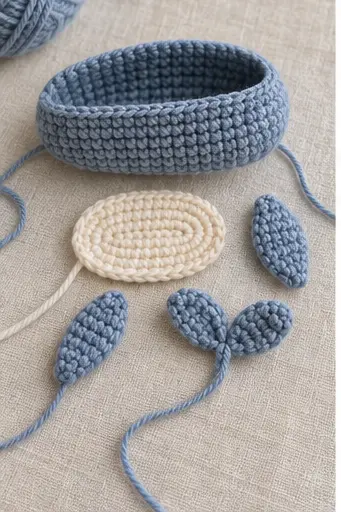
Pin the oval along the lower center of the body. Sew with small stitches and no stuffing beneath it.
Side Fins
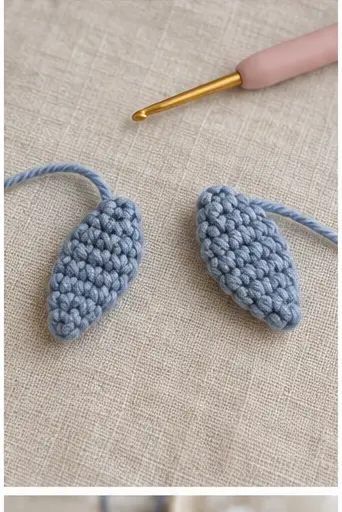
Make two in blue.
- R1: 6 sc in MR. (6)
- R2: [Sc, inc] × 3. (9)
- R3: Sc around. (9)
- Flatten, work 4 sc through both layers and FO.
Sew the fins between body rounds 9 and 12, angled slightly backward.
Tail Flukes
Make two.
- R1: 5 sc in MR. (5)
- R2: Inc around. (10)
- R3: [Sc, inc] × 5. (15)
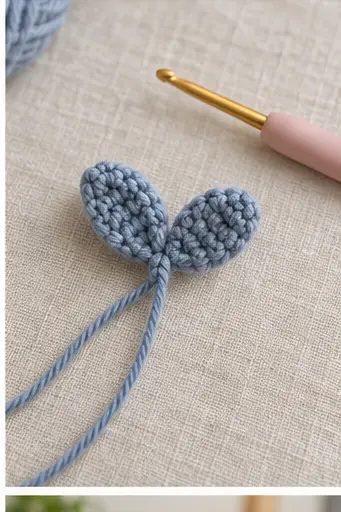
- Fold in half and crochet 7 sc through both layers. FO.
Overlap the narrow ends and sew them to the rear of the body to form a symmetrical V.
Face and Water Spout
Embroider two eyes between rounds 5 and 6, about eight stitches apart. Add a shallow curved smile one round lower. For an optional spout, attach three short blue yarn strands at the top center, knot securely and trim to 1 in (2.5 cm).
Final Assembly
- Check the belly, fins and tail from above.
- Reinforce the base of each fin with two hidden stitches.
- Shape the stuffing with your fingers to lengthen the body.
- Hide all yarn tails inside the whale.
Common Problems
Round rather than oval: move stuffing toward the nose and tail. Twisted belly: pin at four points before sewing. Uneven fins: count from the magic ring and attach both on the same round.
Frequently Asked Questions
Can I make a no-sew whale?
The body is already one piece. Crochet the fins into round 10 and make a single flattened tail if you want an almost no-sew version.
Is this suitable for a baby?
Use embroidered features, machine-washable yarn and secure seams. Handmade toys should still be inspected regularly and used with appropriate supervision.
How can I make it larger?
Use thicker yarn and a suitable hook without changing the stitch counts.
See our magic ring tutorial for the starting rounds, then explore more small designs in Crochet Animals.
Mini crochet whale pattern: Final Checklist
Before finishing this mini crochet whale pattern, confirm the stitch count, shape, seam strength and care instructions. Photograph the completed mini crochet whale pattern in natural light and record the yarn and hook used so the result can be repeated accurately.