Crochet Watermelon Slice Keychain Pattern
Make a flat triangular crochet watermelon keychain with red flesh, cream stripe and green rind. Includes two-panel shaping, six seeds and hanger.
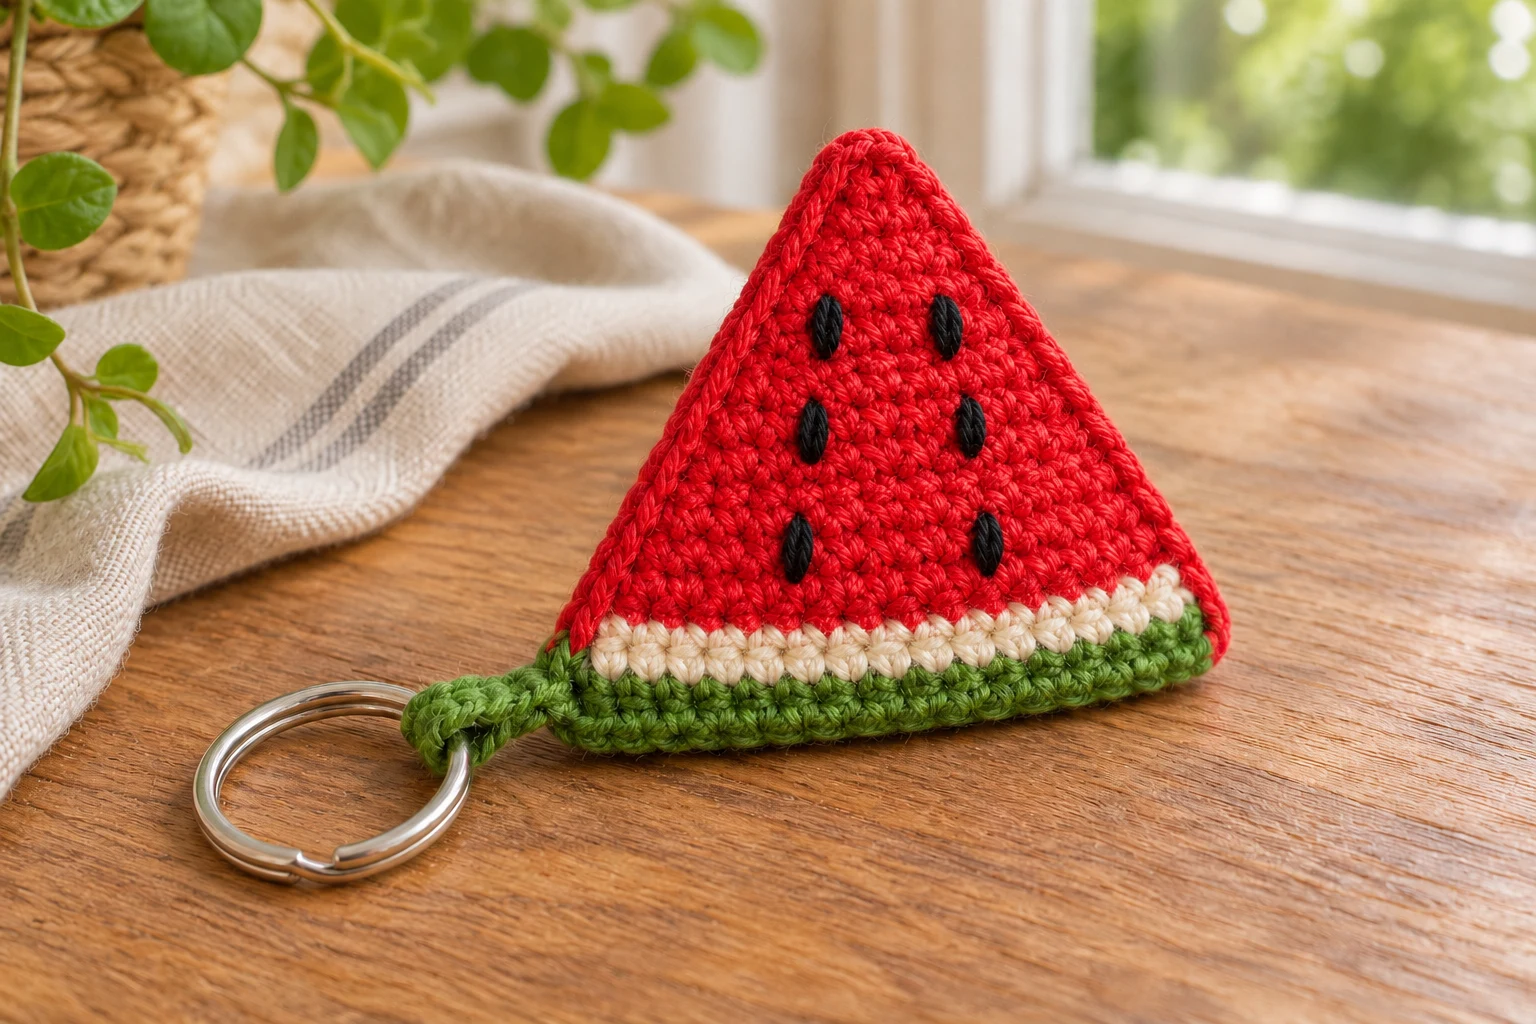
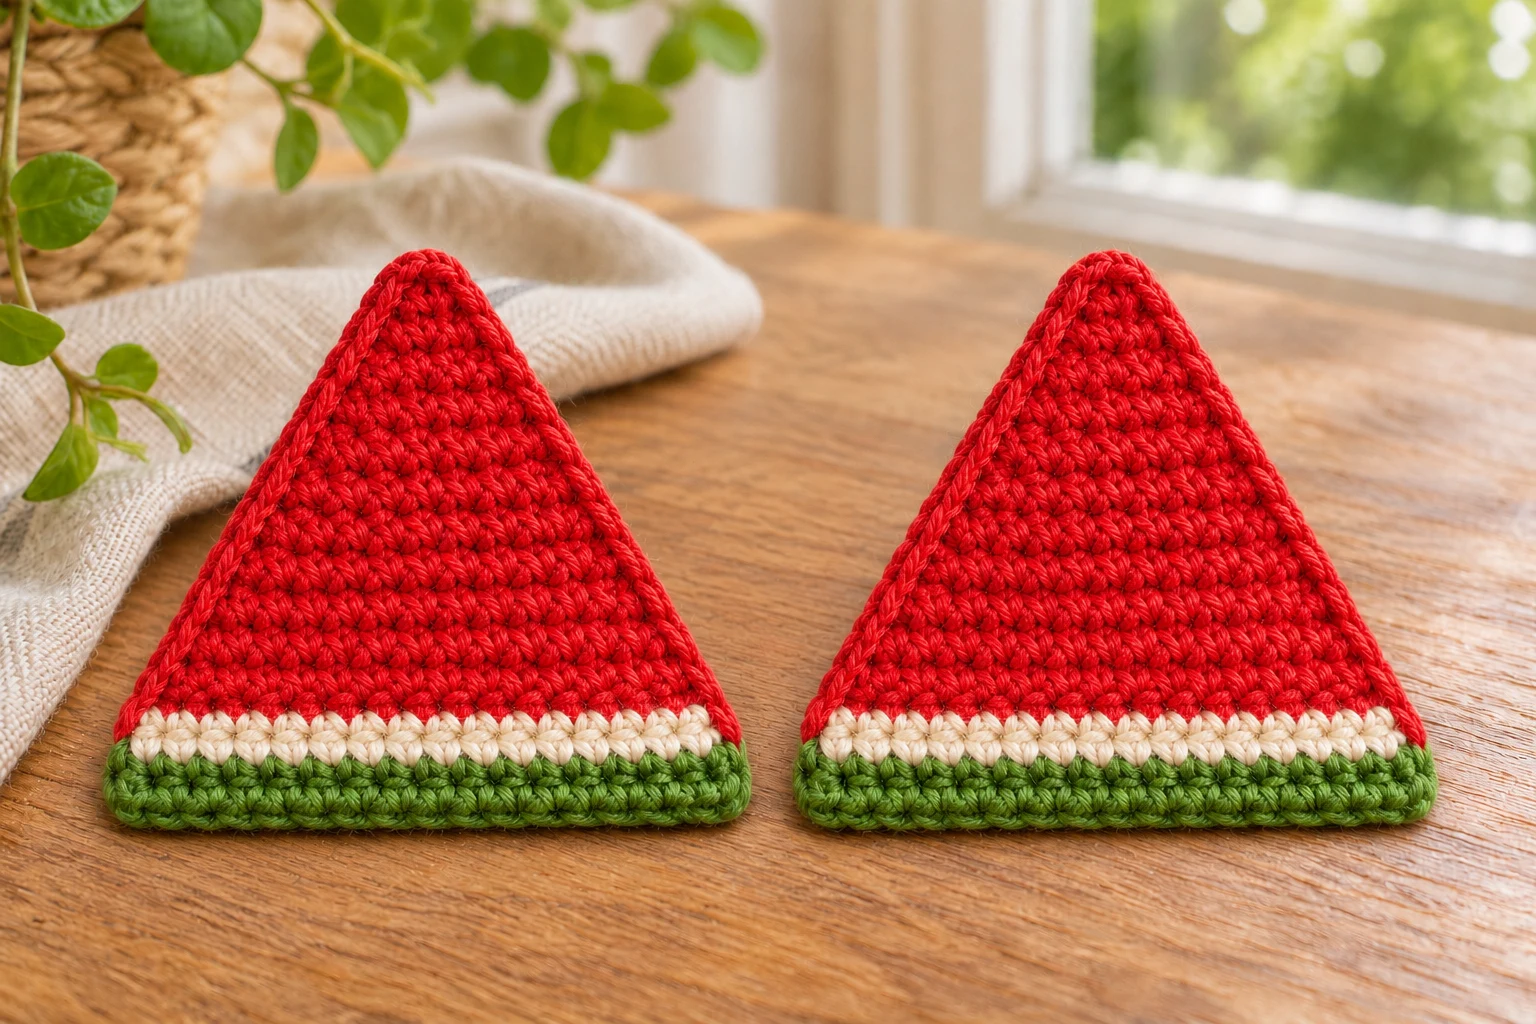
This crochet watermelon slice keychain is made from two matching turned-row triangles. Red flesh widens from the small top, followed by a cream stripe and green rind across the broad bottom. Six short black seed stitches decorate the front.
Increase two stitches per red row from 2 to 12 stitches, then add one cream and two green rows without increases. Make a matching back, embroider the front, and sew the outlines together without stuffing. Anchor the ring loop through both panels at one lower rind corner.
Project Overview
| Detail | Information |
|---|---|
| Terms | US crochet |
| Skill | Confident beginner with sewing |
| Construction | Increase two stitches per red row from 2 to 12 stitches, then add one cream and two green rows without increases. Make a matching back, embroider the front, and sew the outlines together without stuffing. Anchor the ring loop through both panels at one lower rind corner. |
| Testing | Arithmetic reviewed; physical sample not tested |
Project views are generated illustrations of the intended construction. Sizes, yarn use and attachment performance remain unverified on a physical sample.
Materials
| Material | Suggested specification |
|---|---|
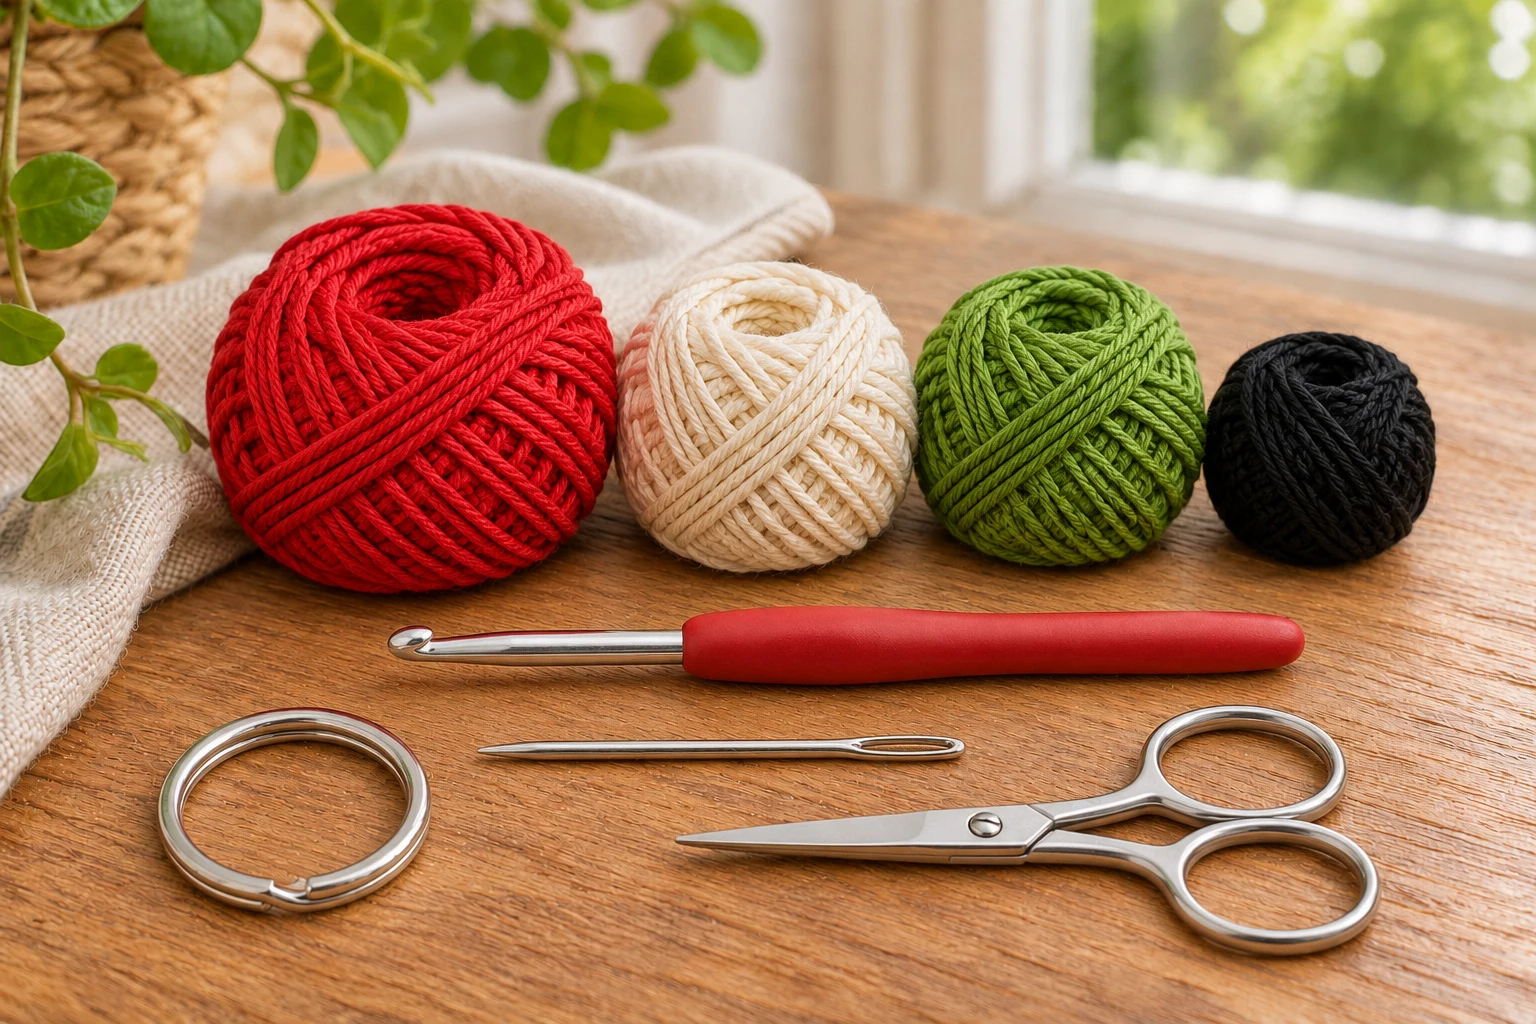
| Cotton | Small amounts red, cream and green fine cotton; about 10–15 g total estimate |
| Hook | 2.5 mm or suitable size for dense flat panels |
| Features | Black embroidery yarn for six seeds |
| Hardware | One plain silver split ring |
| Tools | Needle, scissors, markers and pins |
Size and Gauge
The intended slice is approximately 4–5 cm wide, unmeasured. Both panels must use the same yarn family, hook and tension. The two-stitch top is intentionally blunt rather than a hard point. The charm is flat and contains no filling.
Abbreviations and Working Notes
| Term | Meaning |
|---|---|
| ch | Chain |
| sc | Single crochet |
| sl st | Slip stitch |
| inc | 2 sc in one stitch |
| dec | Invisible sc decrease over 2 stitches |
| MR | Magic ring |
| dc | Double crochet |
US terms. Ch 1 to turn; it never counts. Each red increase row adds one stitch at both edges. A color change occurs on the last pull-through of the previous row’s final stitch.
The cream and green rind rows stay at twelve stitches; their straight lower edge distinguishes this triangle from a semicircular fruit disk.
Keep the ring hanger independent of the seed embroidery and spread its anchors through both joined panels. No face or decorative beads are included.
Crochet the Red Triangle
| Round / stage | Instructions | Count / check |
|---|---|---|
| 1 | Red: ch 2; 2 sc into second chain | 2 |
| 2 | Ch 1, turn; inc in both stitches | 4 |
| 3 | Ch 1, turn; inc, 2 sc, inc | 6 |
| 4 | Ch 1, turn; inc, 4 sc, inc | 8 |
| 5 | Ch 1, turn; inc, 6 sc, inc | 10 |
| 6 | Ch 1, turn; inc, 8 sc, inc | 12 |
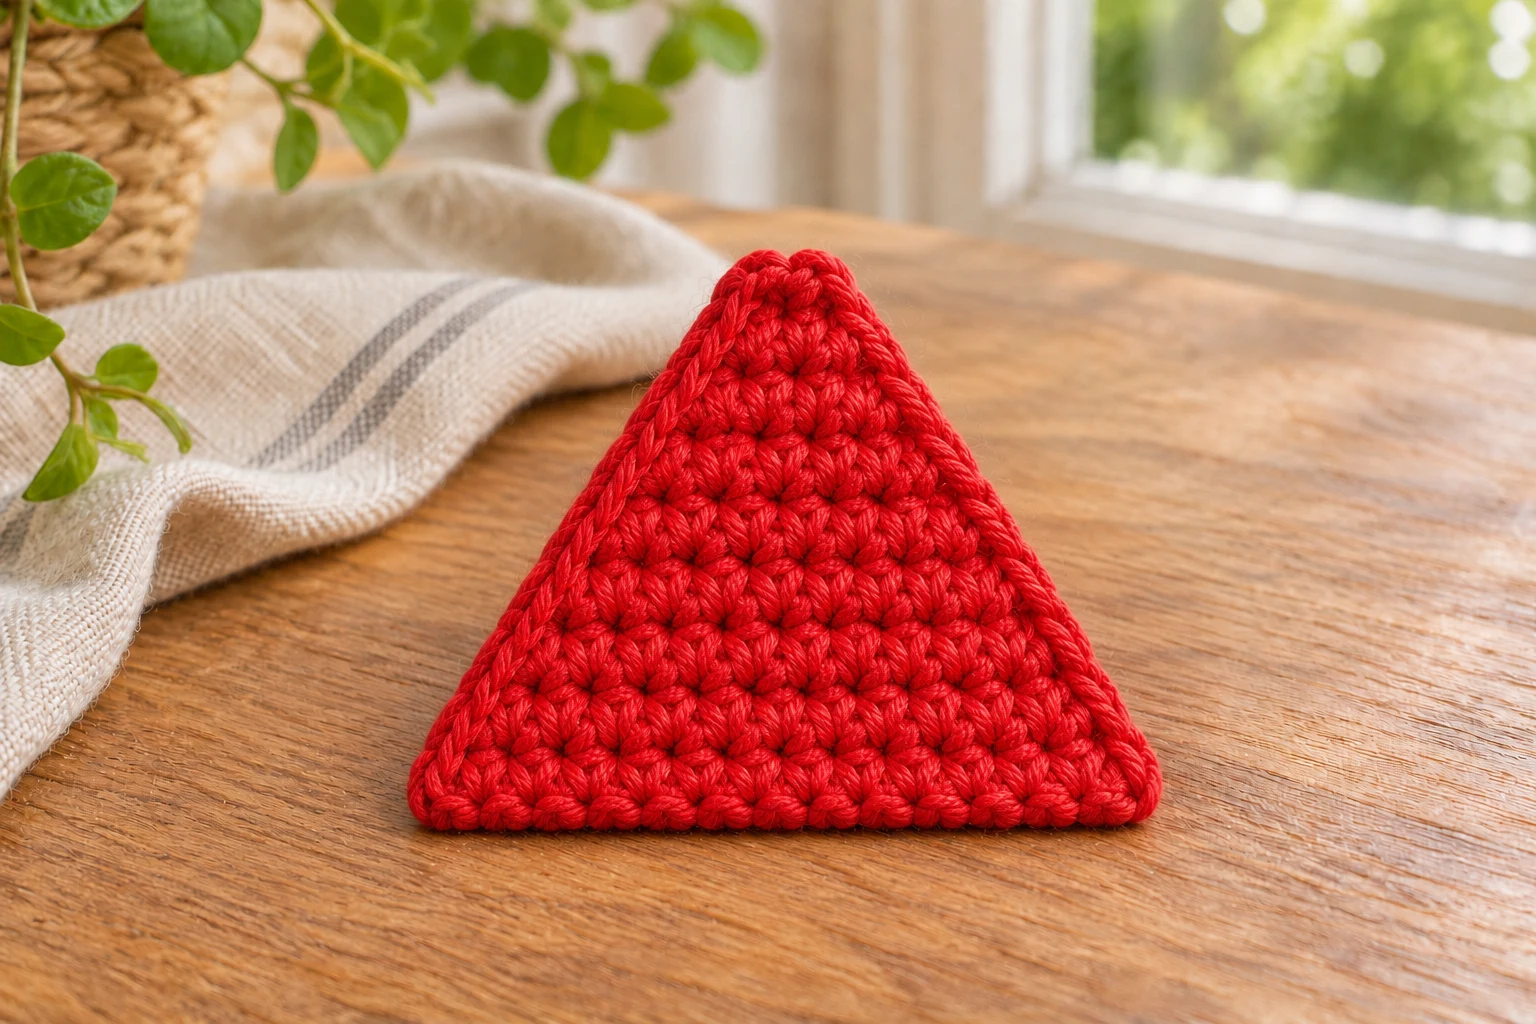
Mark the starting two-stitch top. Keep the two edge increases in their first and last old stitches rather than putting both into a middle stitch. Stop after Row 6; adding more increase rows changes both width and the matching back instructions.
Add Cream Stripe and Green Rind
| Round / stage | Instructions | Count / check |
|---|---|---|
| Row 7 | Cream: ch 1, turn; sc across | 12 |
| Rows 8–9 | Green: ch 1, turn; sc across | 12 each |
| Back | Repeat Rows 1–9 in the same colors | One matching panel |
Secure color tails on the reverse and compare both panels flat. The cream is one row, green two rows. Do not crochet a green border all around the red triangle: only the broad lower strip represents the rind. Leave a sewing tail in each edge color or use separate matching strands for the perimeter.
Embroider Six Front Seeds
| Round / stage | Instructions | Count / check |
|---|---|---|
| Upper pair | Two short black marks near red Row 3 | Two seeds |
| Middle pair | Two marks near red Row 4 | Two seeds |
| Lower pair | Two marks near red Row 5 | Two seeds |
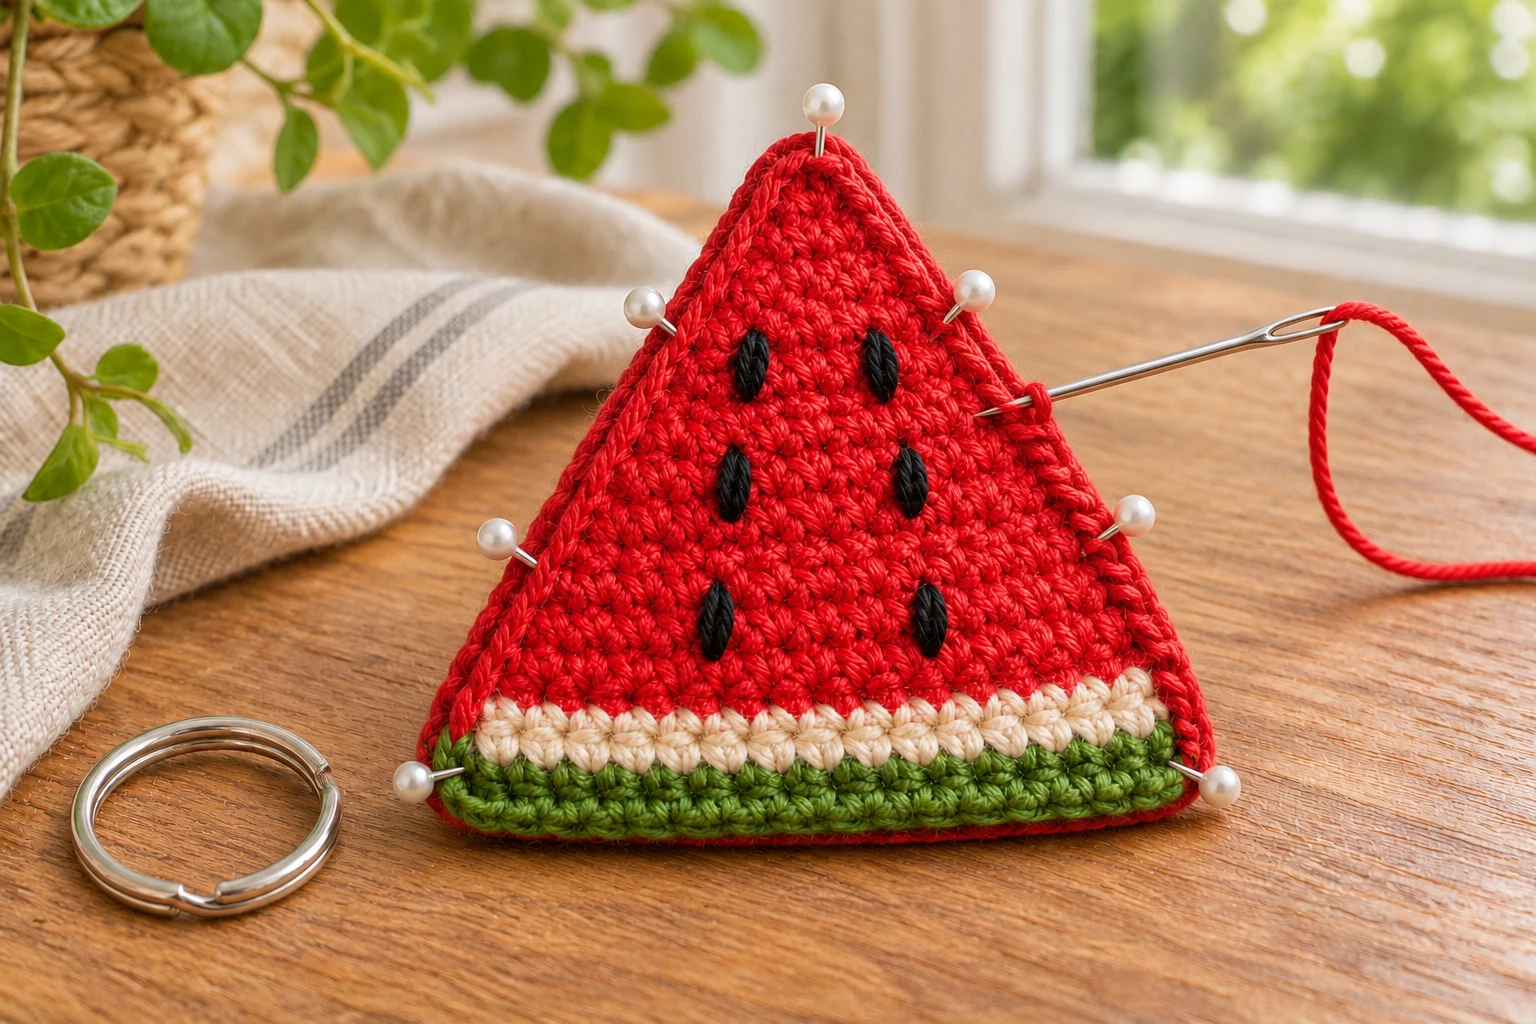
Pin temporary placement markers before embroidering. Keep the marks balanced around the centerline and wholly within red fabric. Each seed is one short stitch over one or two neighboring crochet stitches; do not make projecting loops. Bury the tails on the reverse so they will be enclosed by the back panel.
Sew the Flat Perimeter
| Round / stage | Instructions | Count / check |
|---|---|---|
| Alignment | Place wrong sides together; match top, row ends and lower edge | No filling |
| Red edges | Sew corresponding red row ends and blunt top with red yarn | Both sloping sides |
| Cream/green edges | Use matching yarn through stripe ends and broad lower green row | Keep color boundaries clean |
Pin the three corner areas first and then match each row end. Sew the whole outline with small neat whip stitches, using the edge color appropriate to each section. Do not pull the two panels into a pouch or stuff them. Check that the back has the same red, cream and green arrangement when flipped.
Attach the Corner Ring Loop
| Round / stage | Instructions | Count / check |
|---|---|---|
| Loop | Pass doubled green yarn through silver split ring | Short hanger |
| Placement | Anchor ends through both panels near one lower corner at Rows 8–9 | Spread through several stitches |
| Inspection | Check seeds, perimeter and ring gap | No loose strands |
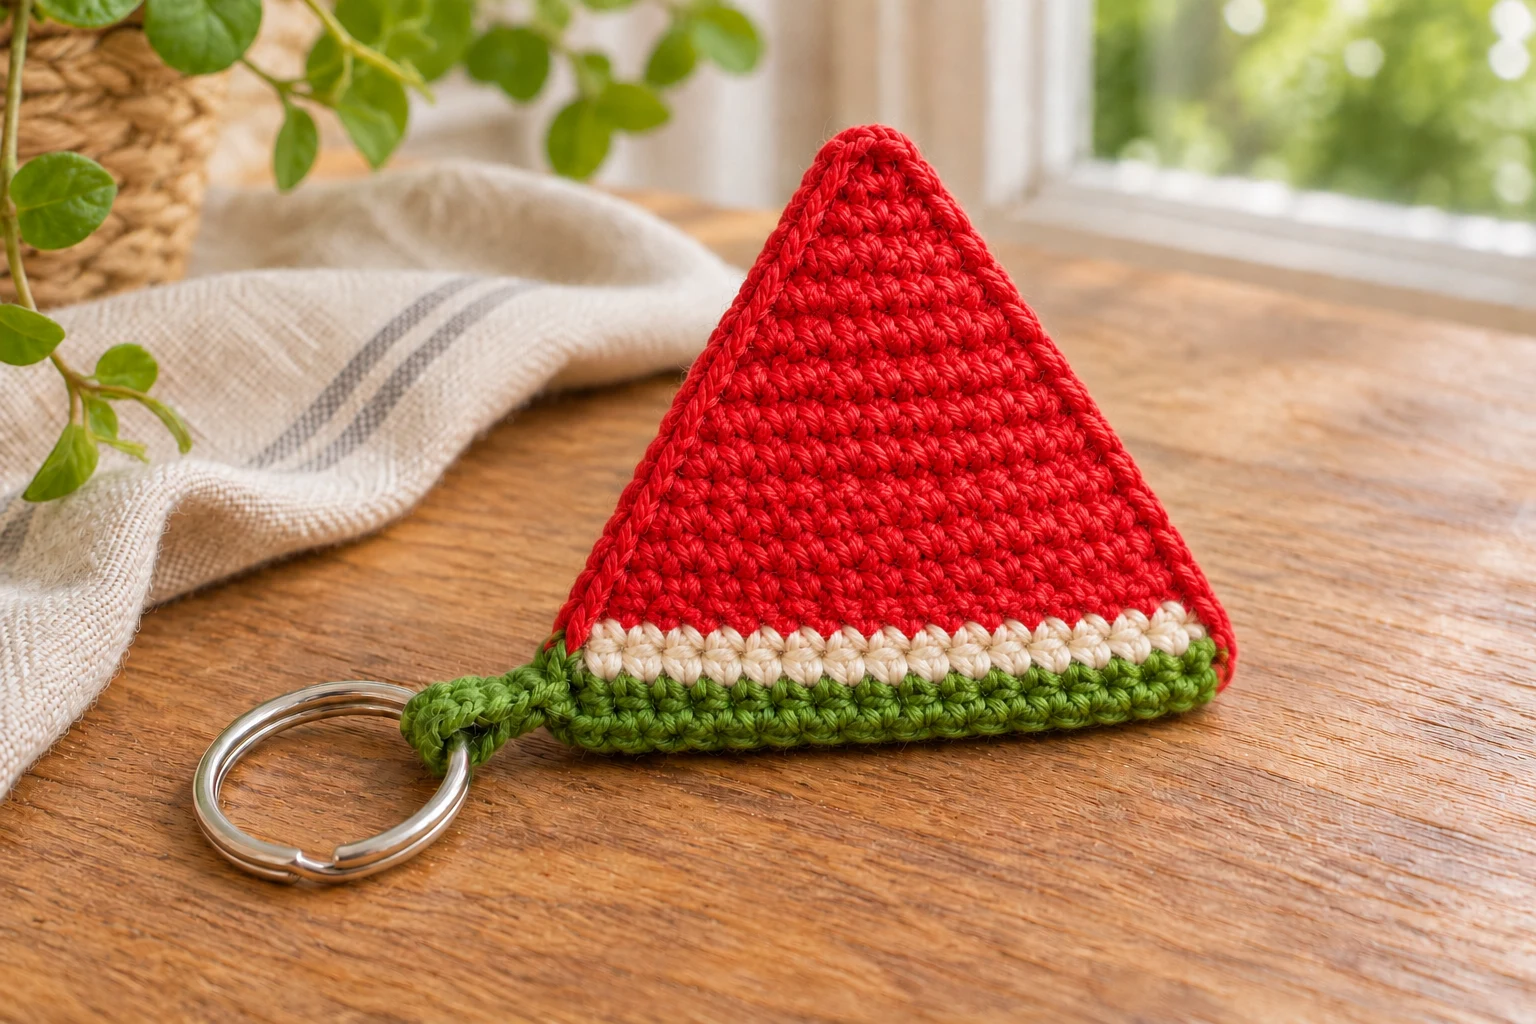
Keep the hanger at the same lower corner on front and back. Sew its ends along separate fabric paths through both panels, including neighboring green stitches; avoid relying on one corner stitch. Leave the metal split-ring gap clear of yarn. Inspect gently over a table without assuming a load rating.
Troubleshooting
| Problem | Likely cause | Adjustment |
|---|---|---|
| Triangle leans | One edge increase missed | Count both ends each red row |
| Back does not match | Different rind rows | Use one cream and two green rows |
| Seeds show on back | Back attached before embroidery | Embroider front before joining |
| Rind gathers | Seam overtightened | Ease lower perimeter stitches |
Care and Related Projects
Remove keys before spot cleaning. Follow cotton label and dry flat. Inspect the corner hanger and all six seed stitches after use; replace fraying yarn before carrying the charm.
For another useful construction reference, see this related crochet project. Its stitch counts and attachment positions belong to that project; keep the instructions for this design separate.
Frequently Asked Questions
Is the slice stuffed?
No. Two matching panels are sewn flat.
How many seeds are included?
Six short black embroidered marks on the front only.
Is the green rind all around?
No. It forms the two-row strip on the broad lower edge.
Where is the ring attached?
At one lower rind corner, through both panels with a separate green loop.
Compact Pattern Card
| Stage | Key instruction |
|---|---|
| Crochet the Red Triangle | Ch 1, turn; inc, 8 sc, inc |
| Add Cream Stripe and Green Rind | Repeat Rows 1–9 in the same colors |
| Embroider Six Front Seeds | Two marks near red Row 5 |
| Sew the Flat Perimeter | Use matching yarn through stripe ends and broad lower green row |
| Attach the Corner Ring Loop | Check seeds, perimeter and ring gap |