How to Weave In Crochet Ends Securely: 7-Step Guide
Knowing how to weave in crochet ends securely prevents a beautiful project from loosening after washing. The safest method changes direction, passes behind stitch posts and finishes without knots or visible bumps.
Tools and Tail Length
- Blunt tapestry needle with an eye large enough for the yarn
- Sharp scissors
- At least 6 inches (15 cm) of yarn tail
Do not rely on one straight pass. Movement and washing can pull it back out.
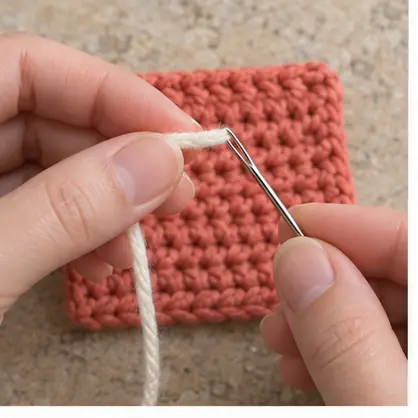
Step 1: Work on the Wrong Side
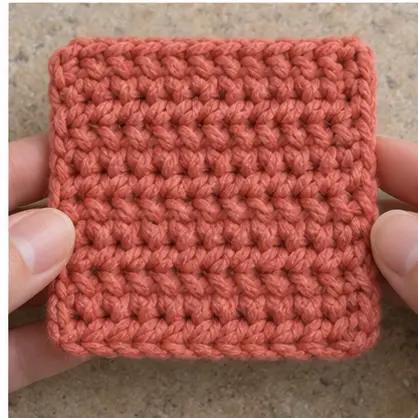
Turn the swatch over. Choose a row with enough density to hide the yarn, ideally in the same color. A contrasting tail is used in these photos only to make the route visible.
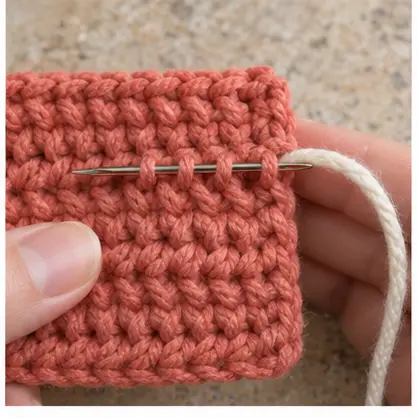
Step 2: Pull Through Gently
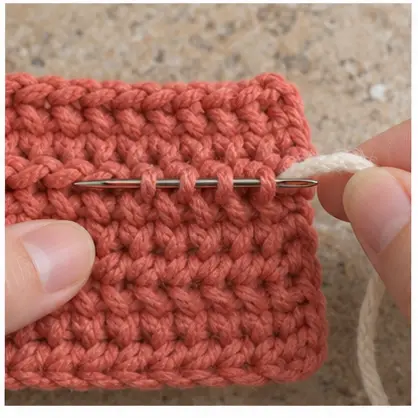
Draw the yarn through until it lies flat. Stop before the fabric puckers and stretch the swatch lightly to restore its natural width.
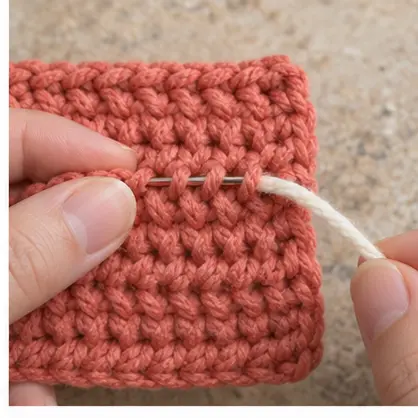
Step 3: Change Direction
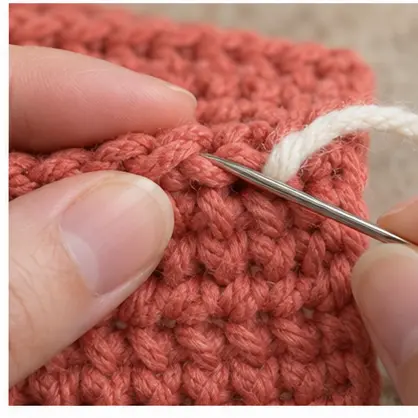
Skip one stitch post, turn the needle and weave back through a neighboring path. The small change in direction creates friction that resists movement.
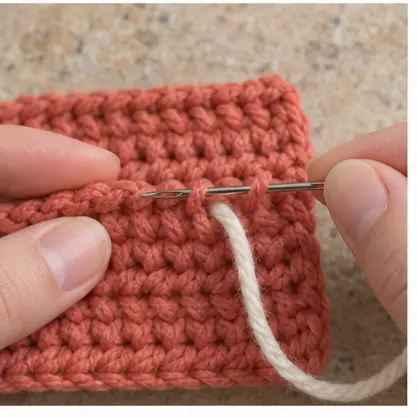
Step 4: Make a Third Short Pass
For washable projects, turn once more and work through three or four stitches. With multi-ply yarn, carefully pass the needle through one strand of the tail on the final route for extra grip.
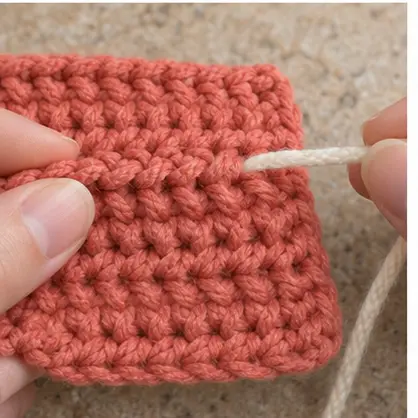
Step 5: Trim the Tail
Stretch the fabric once, let it relax and trim the tail close to the surface. Do not cut a structural stitch.
Different Project Types
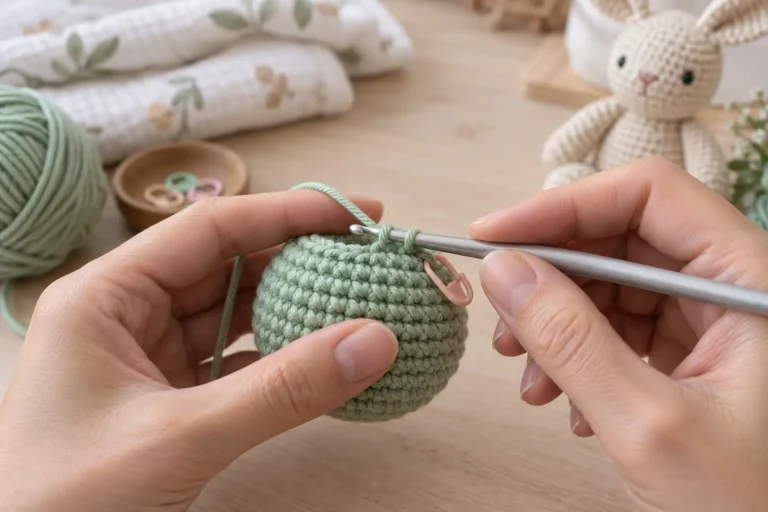
- Amigurumi: thread the tail through the stuffed body, exit several inches away, pull gently and trim so the end retracts inside.
- Granny squares: follow stitch posts of the same color before joining squares.
- Open lace: split the yarn and follow the edges of nearby stitches; long straight passes remain visible.
- Wearables: weave in the direction the fabric naturally stretches and test it before trimming.
Common Mistakes
A knot alone can form a hard bump and may loosen. Weaving only in one direction can slide out. Pulling too tightly puckers the fabric, while trimming before a stretch test leaves a visible short end.
Frequently Asked Questions
Should ends be woven before blocking?
Weave them most of the way, block the project, then test and trim. This allows the yarn to settle.
Can I use a crochet hook instead of a needle?
A small hook can pull short ends under stitches, but a blunt needle gives more control for long secure paths.
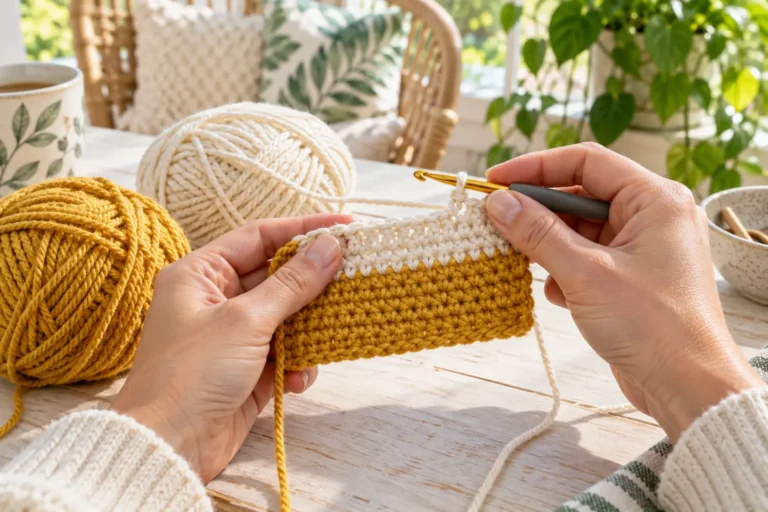
Use this method after the clean join in our color-change tutorial or after completing the beginner coaster.
Match the Finishing Method to the Fiber
Learning how to weave in crochet ends securely includes understanding the yarn. Cotton has little elasticity, so change direction at least twice. Wool can be woven through matching stitches and lightly blocked so the fibers settle together. Slippery synthetic yarn benefits from a longer tail and a third short pass. Never rely on fabric glue for a washable handmade item.
Check the Finish Before Trimming
After weaving, stretch the fabric horizontally and vertically, then relax it. The tail should remain hidden without puckering the stitches. Leave the last 0.25 in (6 mm) untrimmed until the project has rested for a few minutes, then cut it close while the fabric is relaxed. On reversible pieces, follow the path of an existing row and avoid crossing open spaces where the tail can be seen.
Use the Craft Yarn Council yarn-weight chart when substituting yarn; a needle that suits the actual strand thickness makes secure finishing much easier.
How to weave in crochet ends securely: Final Checklist
Before finishing this how to weave in crochet ends securely, confirm the stitch count, shape, seam strength and care instructions. Photograph the completed how to weave in crochet ends securely in natural light and record the yarn and hook used so the result can be repeated accurately.